
This post may contain affiliate links. Please read our disclosure policy.

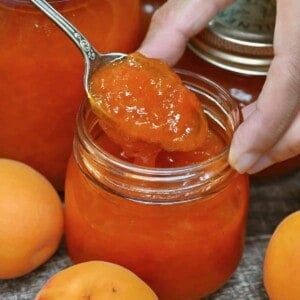
How to make apricot jam without pectin and just 3 ingredients. A sweet, tangy, fruity preserve using fresh or dried apricots and stored in the fridge, freezer, or pantry (after canning)!
Making homemade preserves, jams, and jellies is one of my favorite ways to capture the taste of summer to enjoy all year long. And unlike homemade rhubarb jam or rose petal jam, this homemade apricot jam recipe doesn’t even require additional pectin to help set the jam, since apricots have enough of their own.
While apricot jam without pectin takes longer to simmer – softening the fruit and concentrating its natural pectin – this recipe is super simple, even for beginners in the kitchen! You only need three simple ingredients (using fresh or dried apricots!) and under an hour to prepare these sticky, sweet, tangy apricot preserves.

Not only does this practically foolproof apricot recipe taste so much better than store-bought and can help save you money, but it’s also free from any additives and preservatives. You can even flavor it in over a dozen ways (refer to the Recipe Notes below)!
Want to save this recipe?
Table of Contents
Ingredients in this no pectin apricot jam recipe
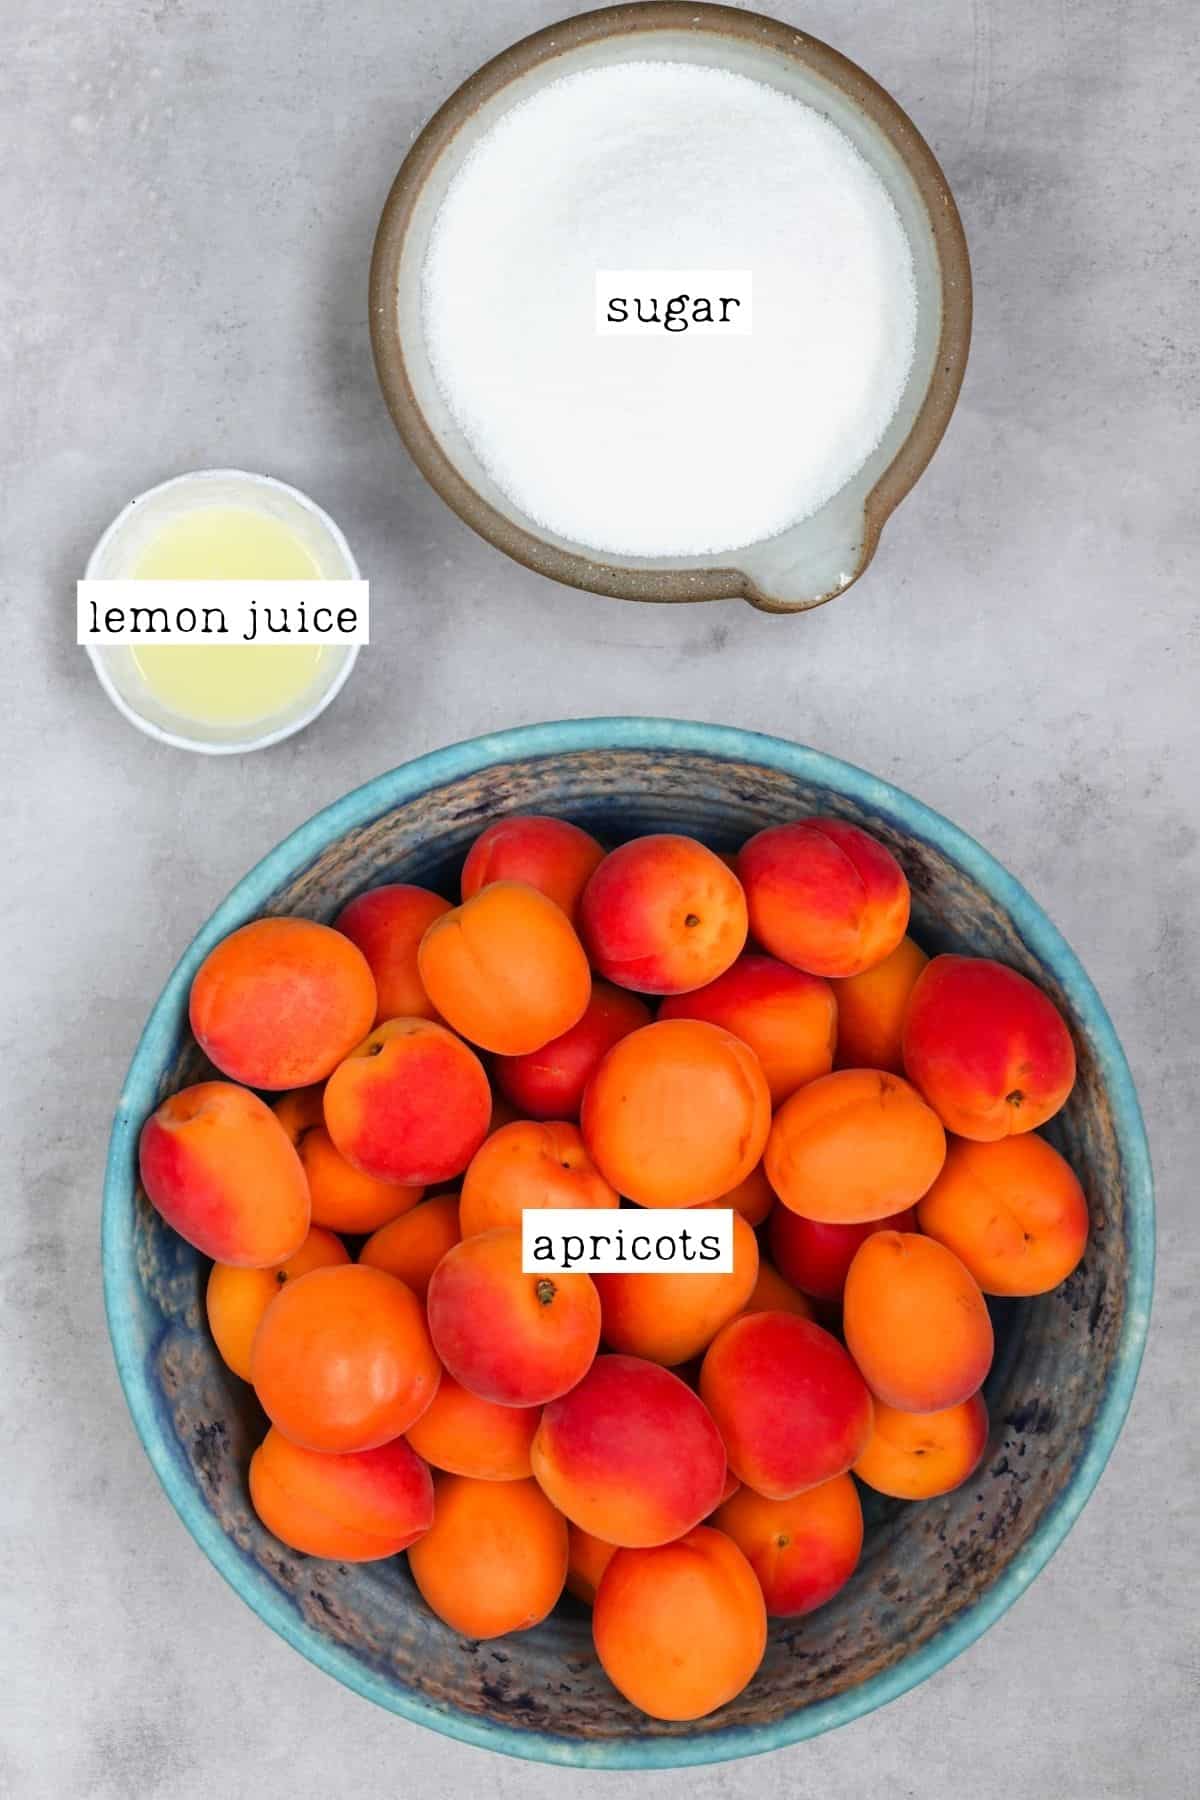
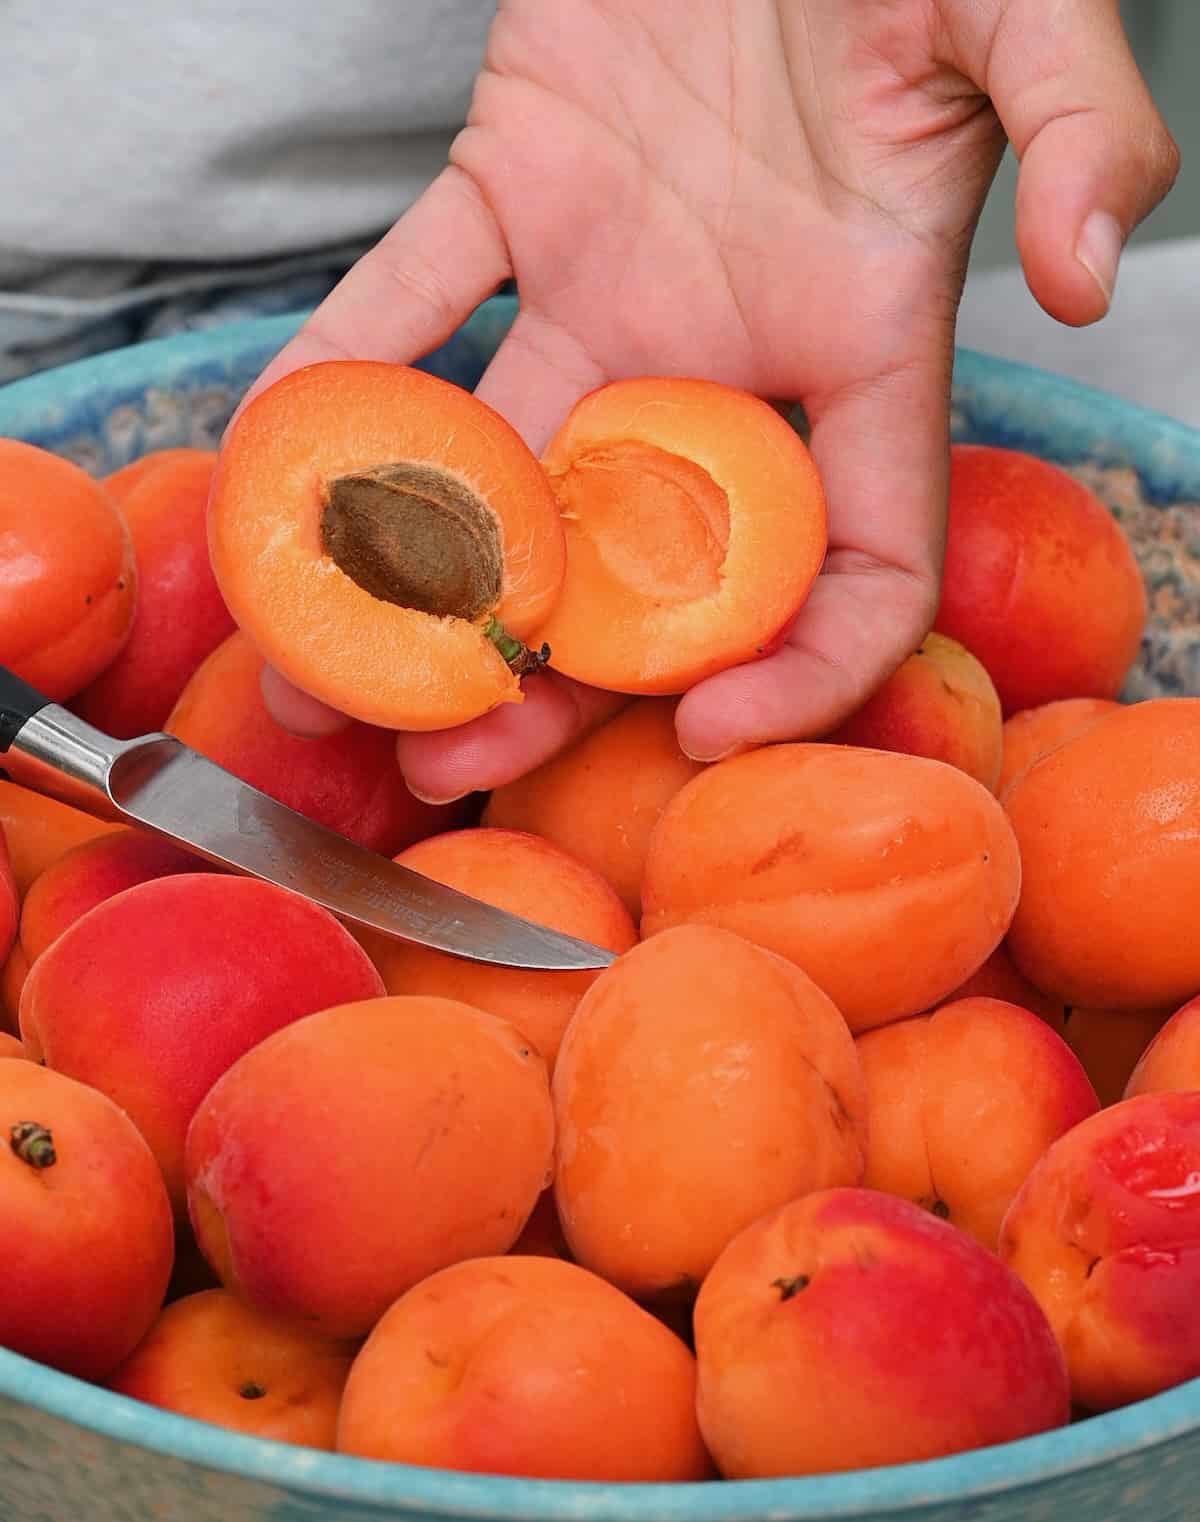
- Apricots: I like to use a combination of “only just ripe” and ripe apricots. The latter (or even slightly under-ripe apricots) contain more pectin and are more acidic/tart, making a more full-bodied flavor.
- Sugar: Granulated white sugar will sweeten and preserve without adding extra flavor. However, unrefined sugars like coconut or date sugar also work. I don’t recommend using a sugar alternative, as regular sugar helps set and preserve the pectin-free jam.
- Lemon juice: (or lime juice) Use fresh lemon juice (and optionally some lemon zest) or bottled lemon juice to balance the sweet flavor, boost natural pectin content, and act as a natural preservative.
How to make apricot jam without pectin
Prepare the Jars
First, sterilize everything (jars, tools, counter). Wash the jars (I like half-pint jars), lids, and bands in hot soapy water, rinse them well, and leave them to drain and dry. Also, place 2-3 small plates in the freezer (for testing the jam gelling later on).
If you’re planning to can the jam, prepare the canner now, too, by adding the trivet/rack to the bottom of the canner and filling it with enough water to submerge the cans.
Make the Jam
Then, wash, dry, and pit the fresh fruit (slice the apricots in half and pull out the pit), removing any spoiled fruit. Also, juice the lemons.
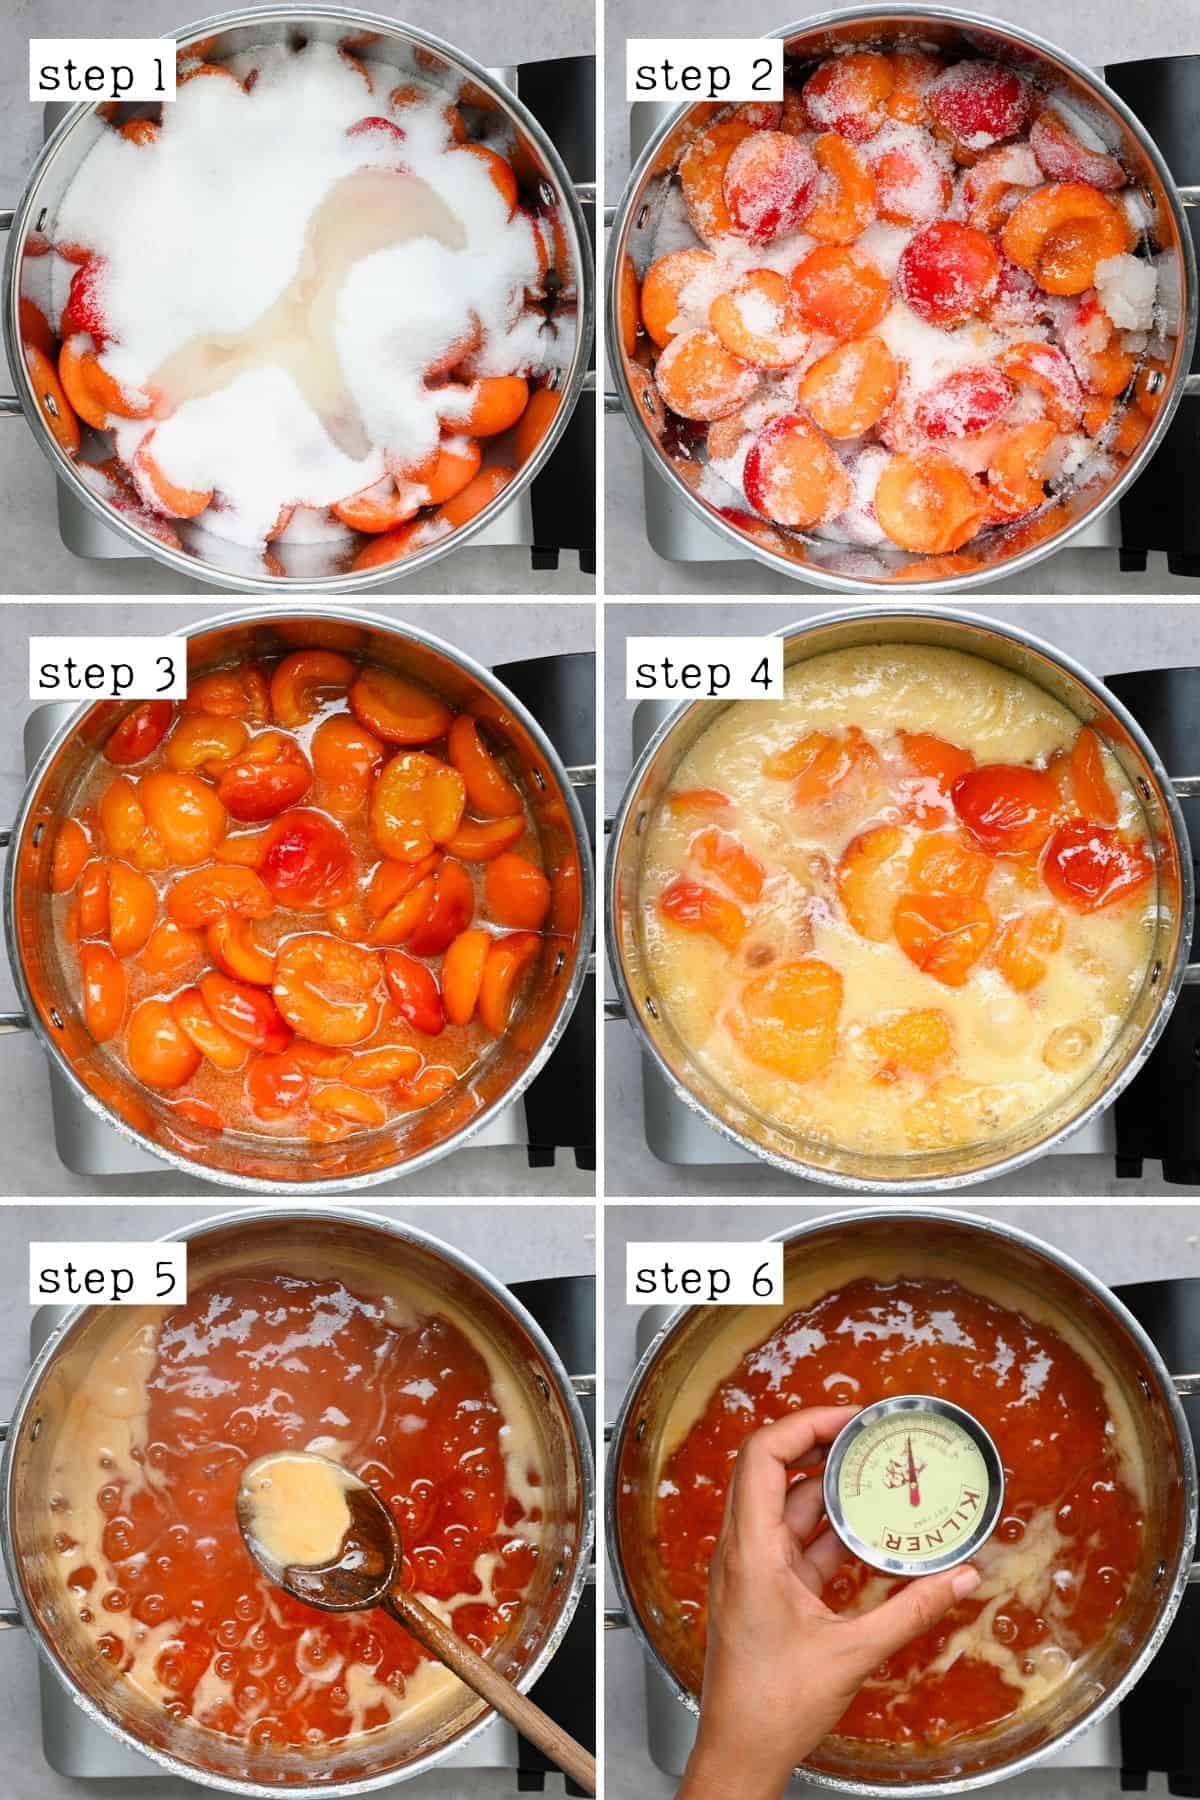
Next, transfer the halved apricots, lemon juice, and sugar to a large, deep, heavy-based stainless steel saucepan (for even heat/to prevent scorching) and bring it to a boil over medium heat. Stir constantly to dissolve the sugar.
Boil the apricot jam mixture until the fruit breaks down and the mixture thickens enough to coat the spoon (about 25-30 minutes). Stir constantly to prevent burn/scorching, only stopping to scoop away the foam from the top of the pan as it forms.
To prevent foaming, add ½-1 teaspoon of butter to the pot with the other ingredients.
How to Know When Apricot Jam Is Done
There are two ways to test if the homemade apricot jam is ready and will gel properly.
Using a candy thermometer: Insert the thermometer vertically into the center of the jam, ensuring it doesn’t come into contact with the saucepan. The temperature should have reached 220ºF/104ºC.
Using the Frozen Plate method: Remove the saucepan from the heat, place about a teaspoon of the jam on the frozen saucer, and place it back in the freezer for 1 minute. To test it, press the edge of the jam with a fingertip – it should be set and wrinkle when pressed.
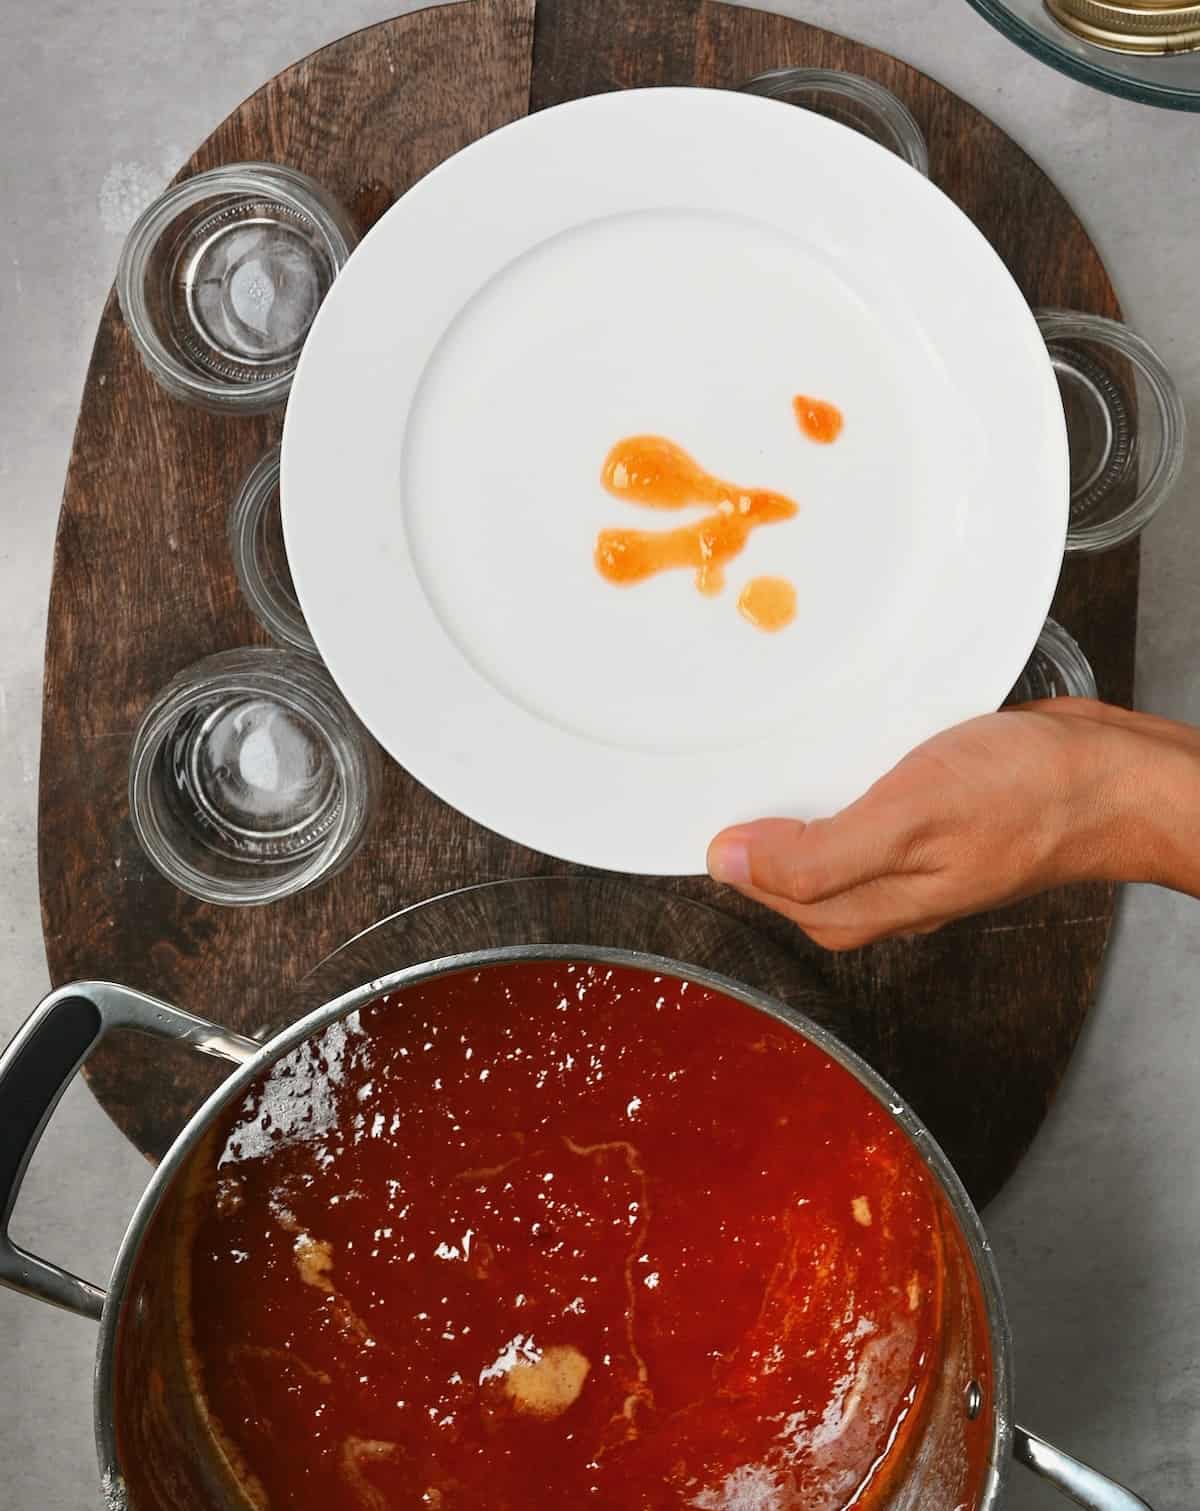
If it’s reached the gel stage, it’s ready to jar. If not, return the pan to heat and cook, stirring constantly, for an additional 5 minutes, then repeat the plate test with another plate (that’s why I always put 3 in the freezer).
Transfer the Jam to Jars
Make sure the jars are hot before filling them with the jam. Heat them in the water bath canner (with the lids on) or in the oven (without the lids). The jars should be hot so that they don’t crack when adding the hot jam.
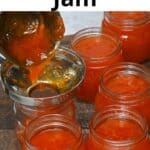
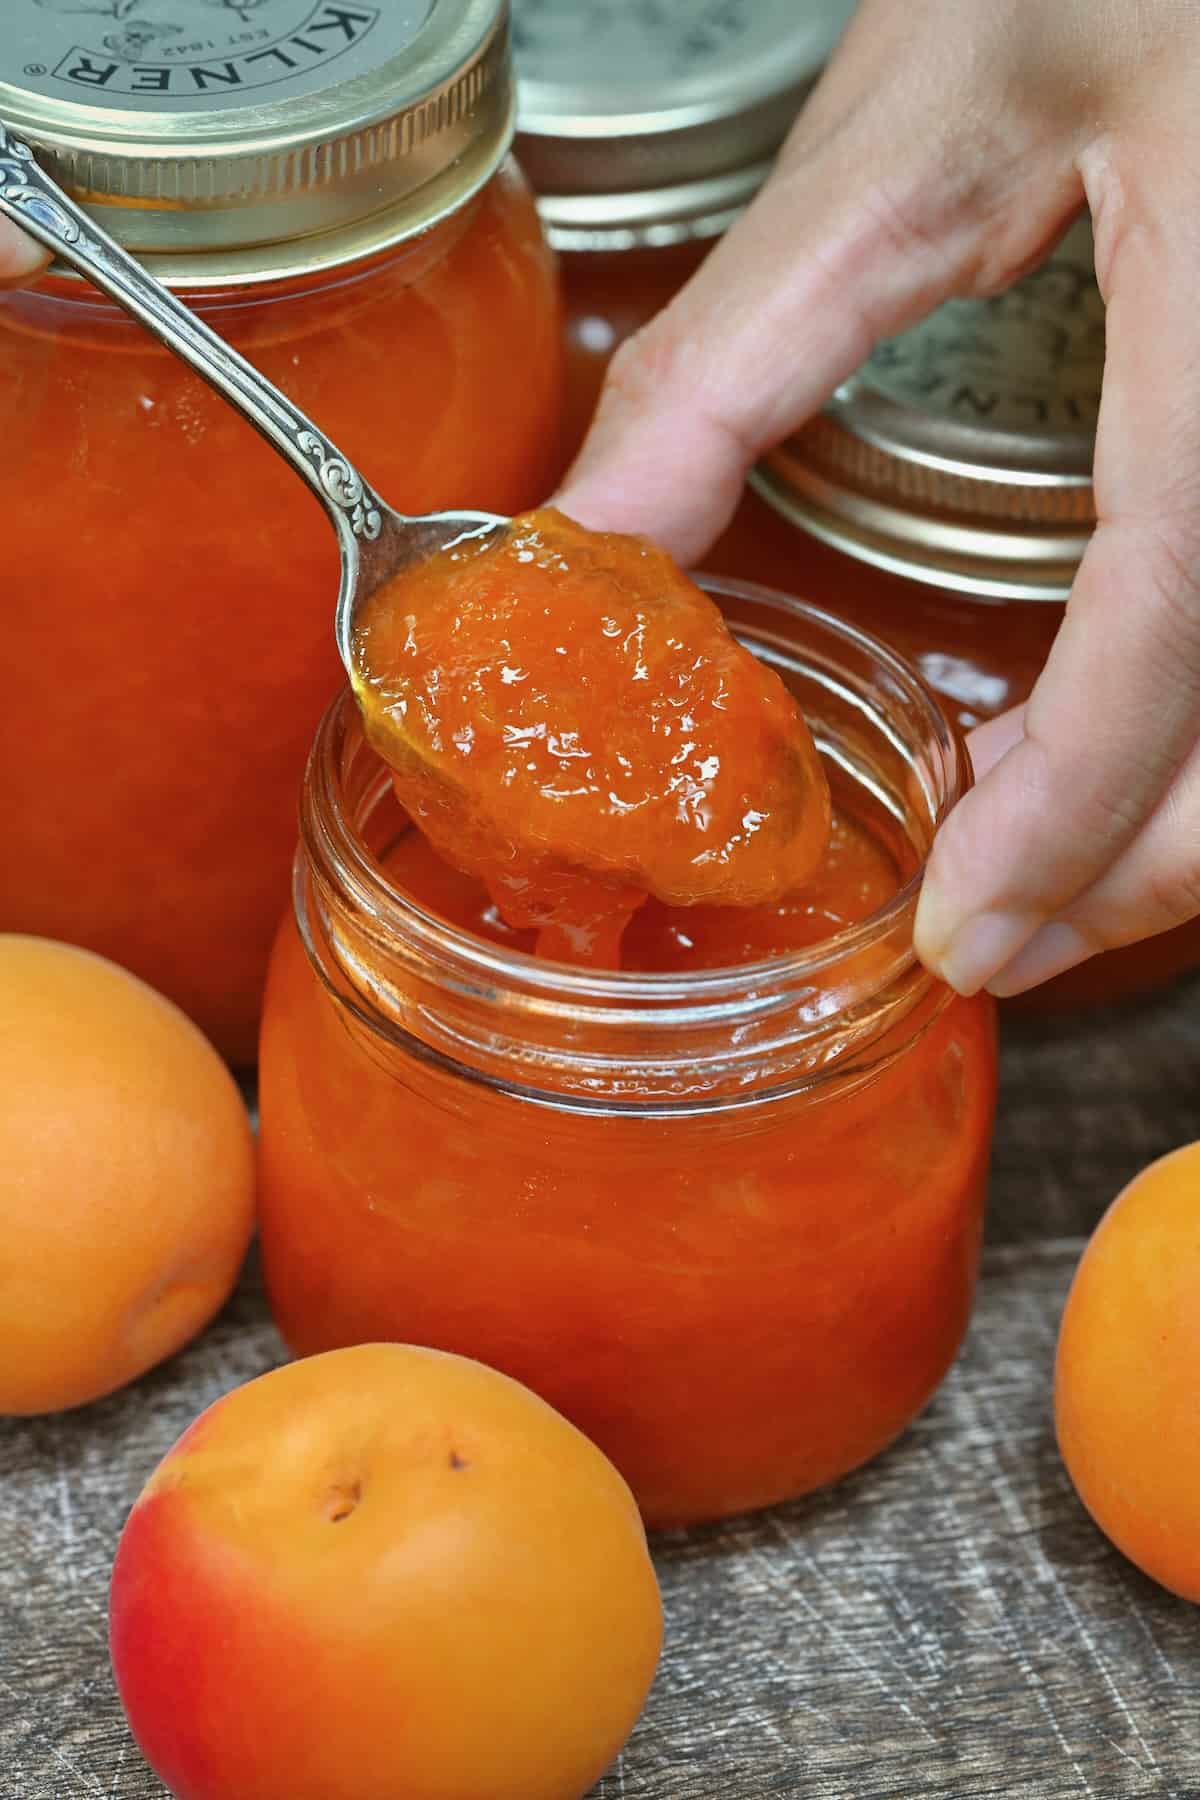
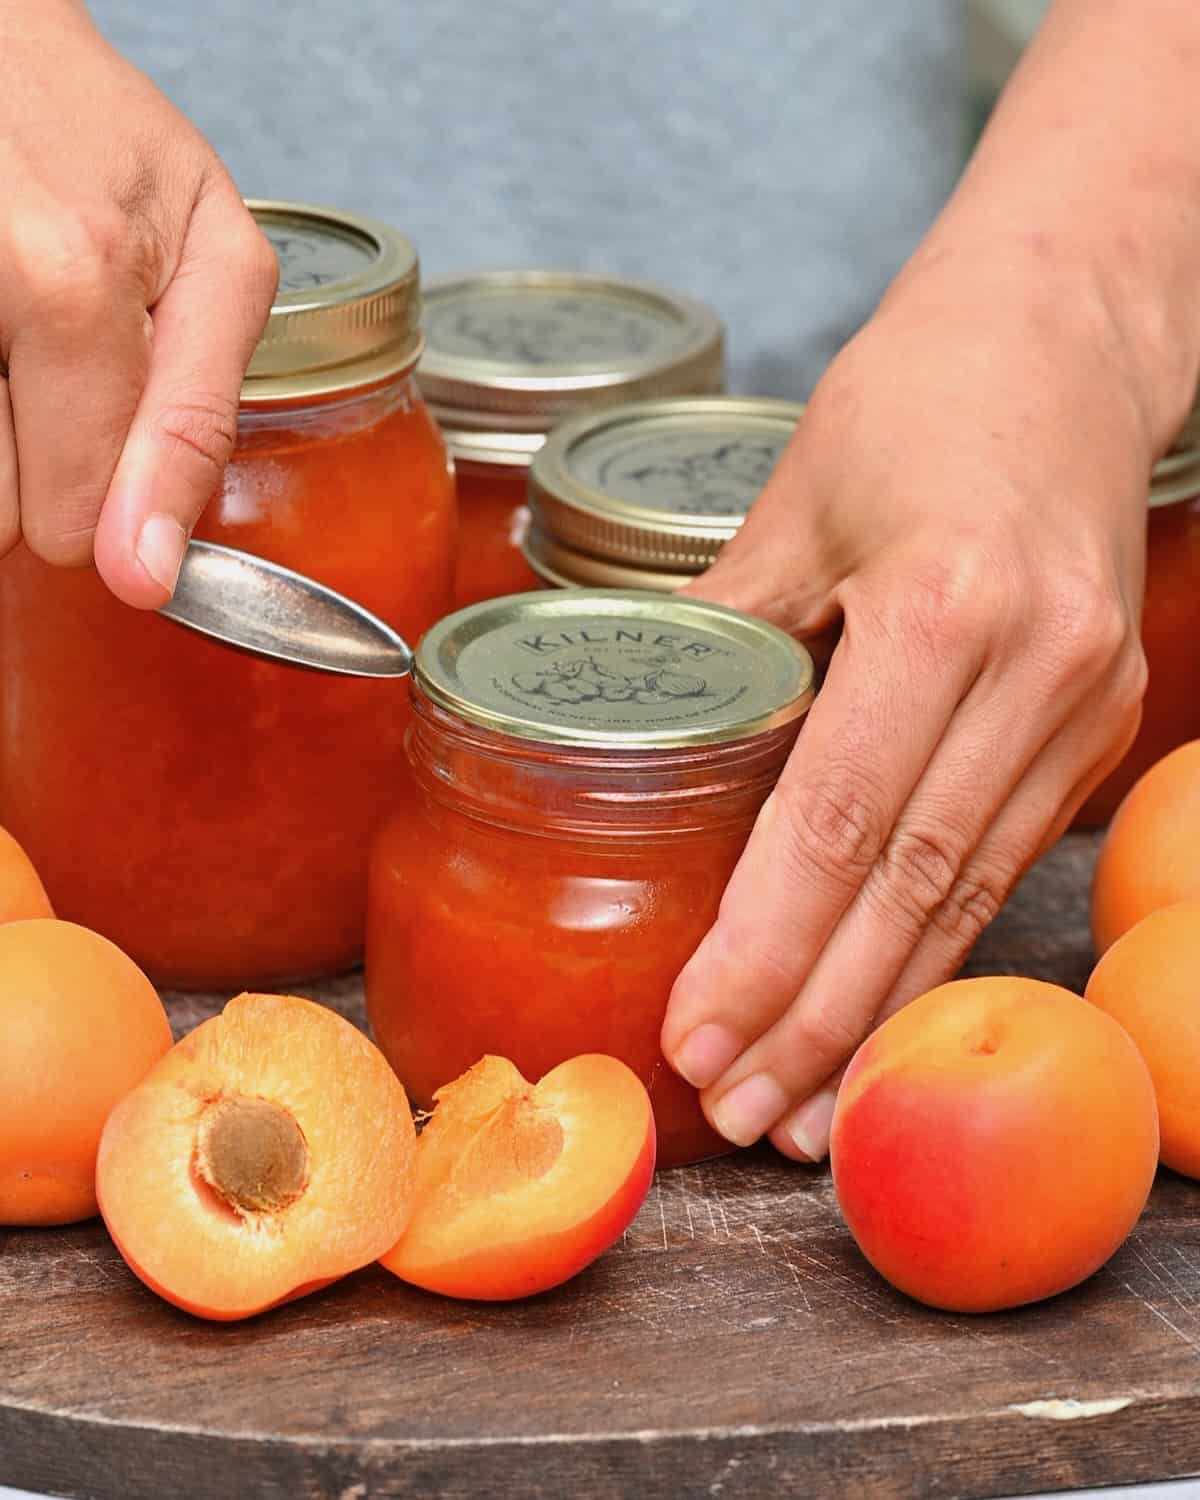
Place the clean hot jars on a wooden board or kitchen towel. Then ladle or pour the hot jam into the jars, leaving about ¼-inch (0.5 cm) of headspace at the top.
Then tap the jar against your kitchen surface and/or use a knife to remove any air bubbles in the jam.
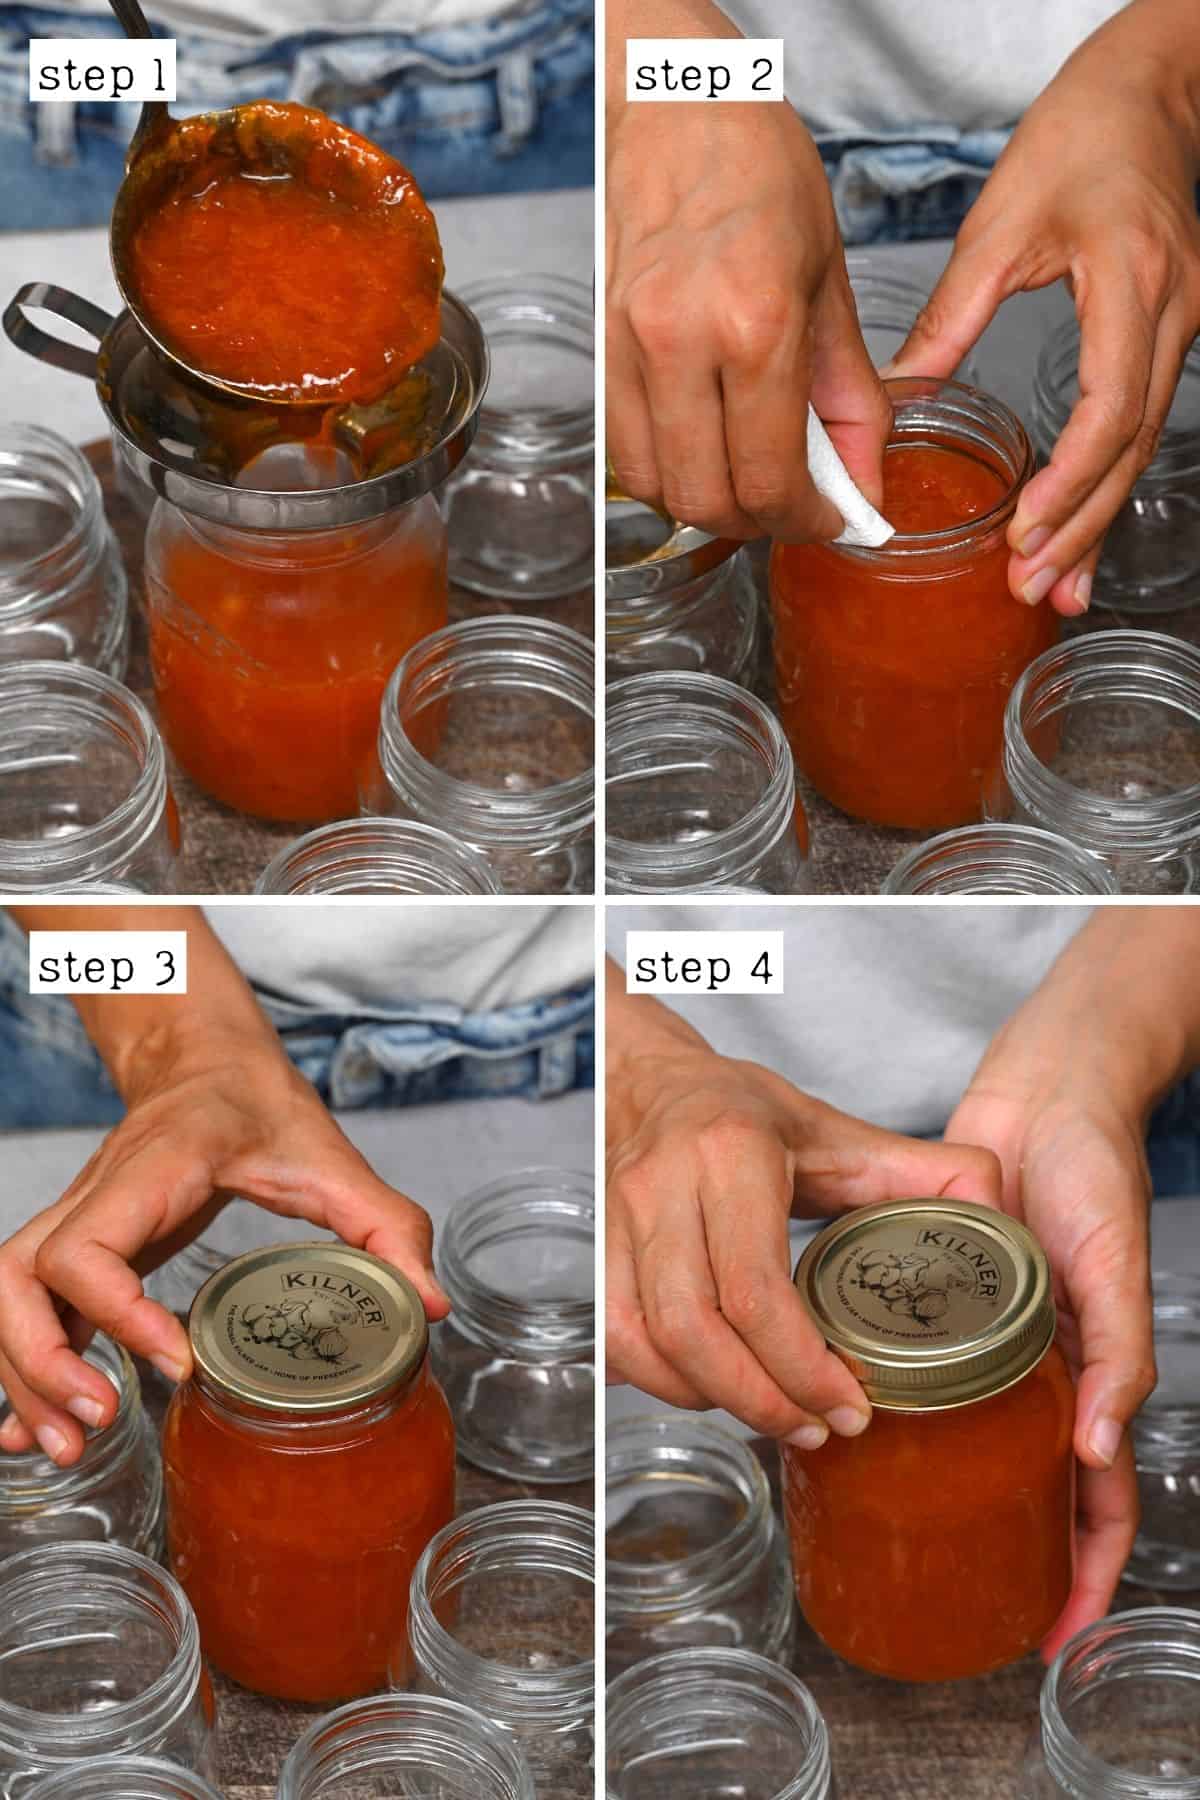
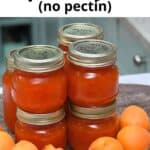
Wipe the rims of the jars with a clean kitchen towel and place the lid on the jar. Screw the bands until they are fingertip-tight (if you plan to water bath can the jam- or fully sealed if not).
Canning apricot jam
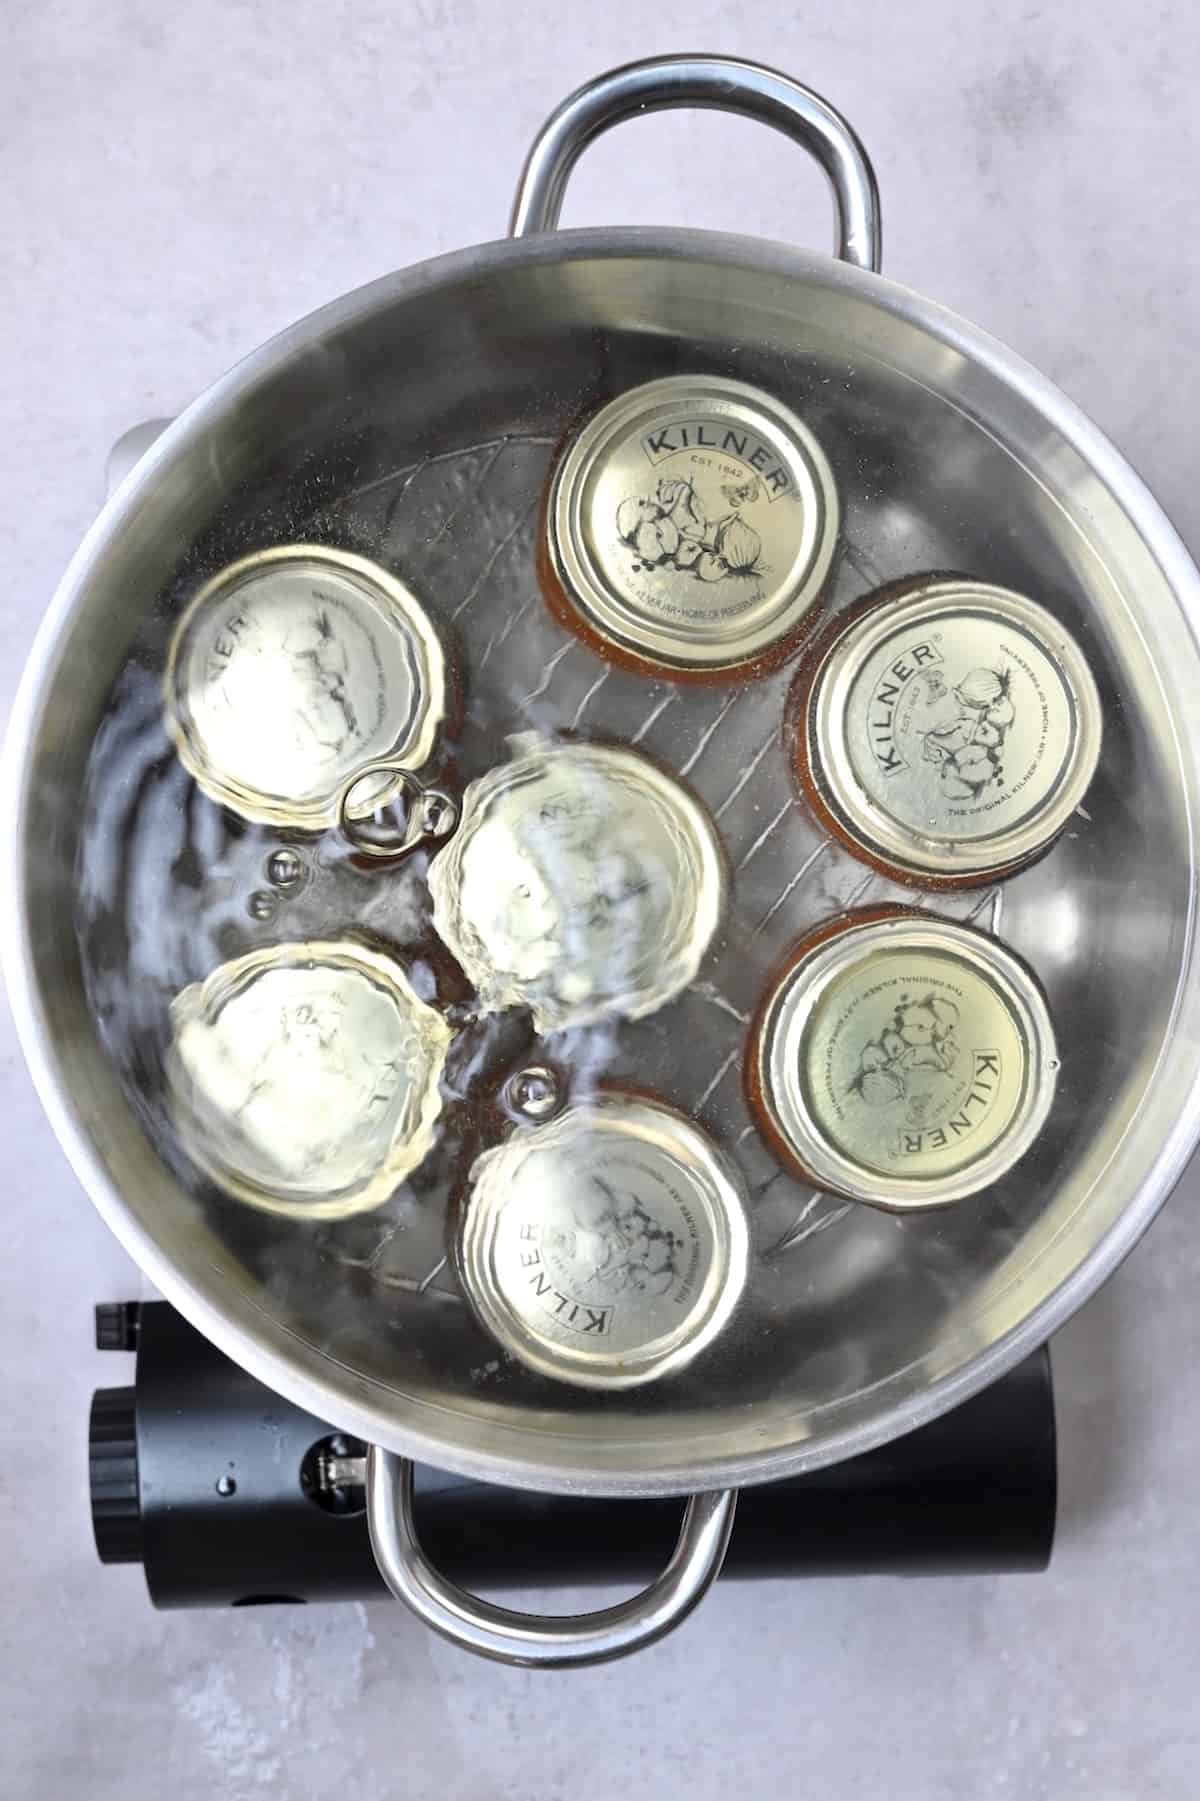
- Place the filled canning jars of apricot jam in the prepared canner, submerging them under at least 1 inch of water.
- Bring the water to a boil over medium-high heat, add a lid, and allow them to process for 10 minutes (adjust the time based on the altitude of where you live).
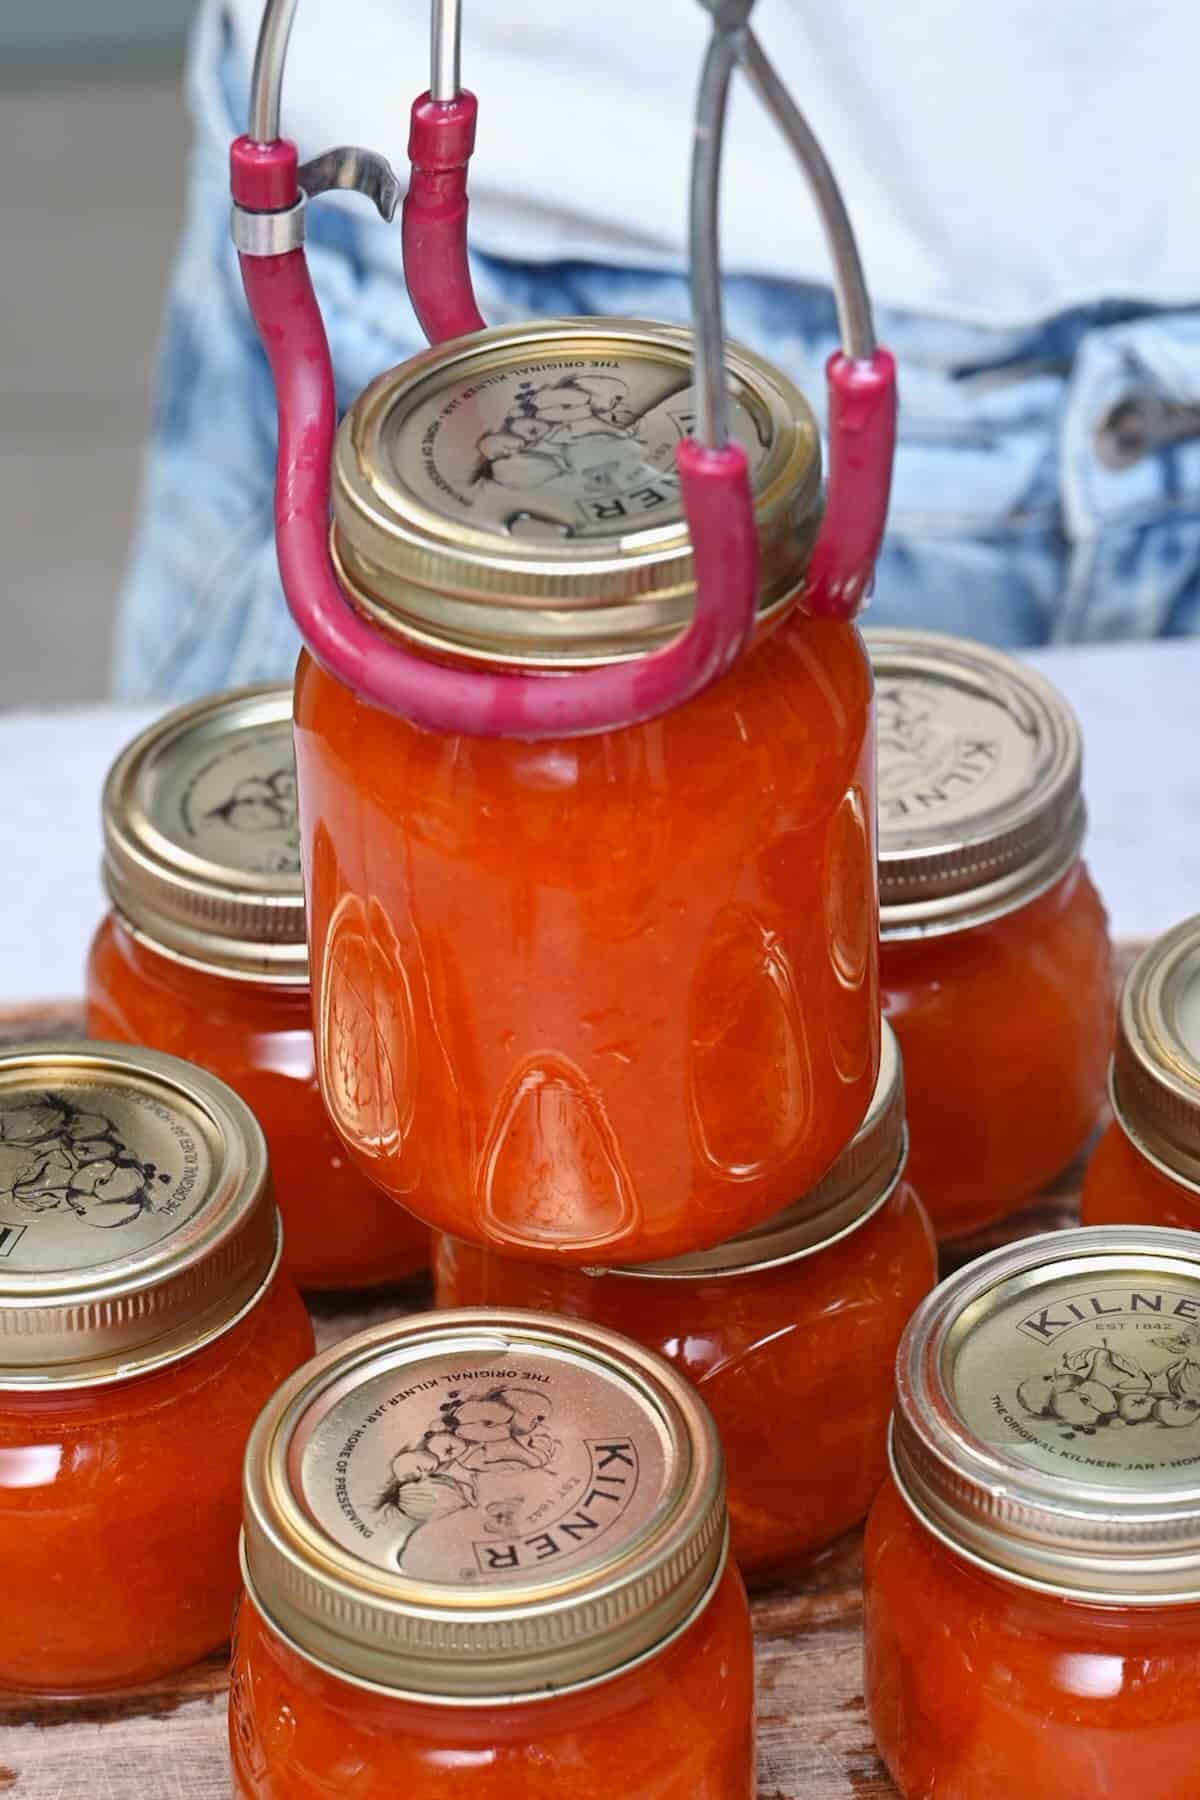
- Remove the canner lid and allow it to sit for 5 minutes before using canning jar tongs to place jars onto a clean kitchen towel to drain and cool undisturbed for 24 hours.
- Once cooled, check the seal (the middle part of the lid shouldn’t pop up/down when pressed). Any unsealed jars can be reprocessed with new lids or transferred to the fridge to use sooner.
Note that if you reduce the amount of sugar or lemon too much, this fresh apricot jam recipe will become unsafe for water bath canning.
How long does homemade apricot jam last?
Fridge: If you haven’t water bath canned the jam, place it in the refrigerator and aim to use it within a month. When reducing the sugar/lemon amount, the shelf life will reduce.
Freezer: Use freezer-safe jars or bags and store the homemade jam for 4-6 months.
Canned: Store the (labeled!) jars in a cool, dark location, like a pantry, for up to a year. Once opened, transfer to the fridge and use within 3-4 weeks.
Can I make apricot jam from dried apricots?
Yes, and it’s so simple to make a recipe for dried apricot jam!
- First, soak the dried apricots in boiling water overnight to rehydrate them (or for a minimum of 6 hours).
- Transfer the fruit and soaking water to a blender/food processor to pulse until well blended but slightly chunky (or finely chop with a knife).
- Transfer the blended mixture along with the sugar (use less as dried apricots are sweeter) and lemon juice to a heavy-based saucepan. Then boil over medium heat, stirring constantly until the sugar dissolves, and the mixture thickens enough to coat a spoon (about 20-25 minutes – test it with a thermometer or frozen plate technique).
- Ladle it into the jars and can or transfer it to the fridge.
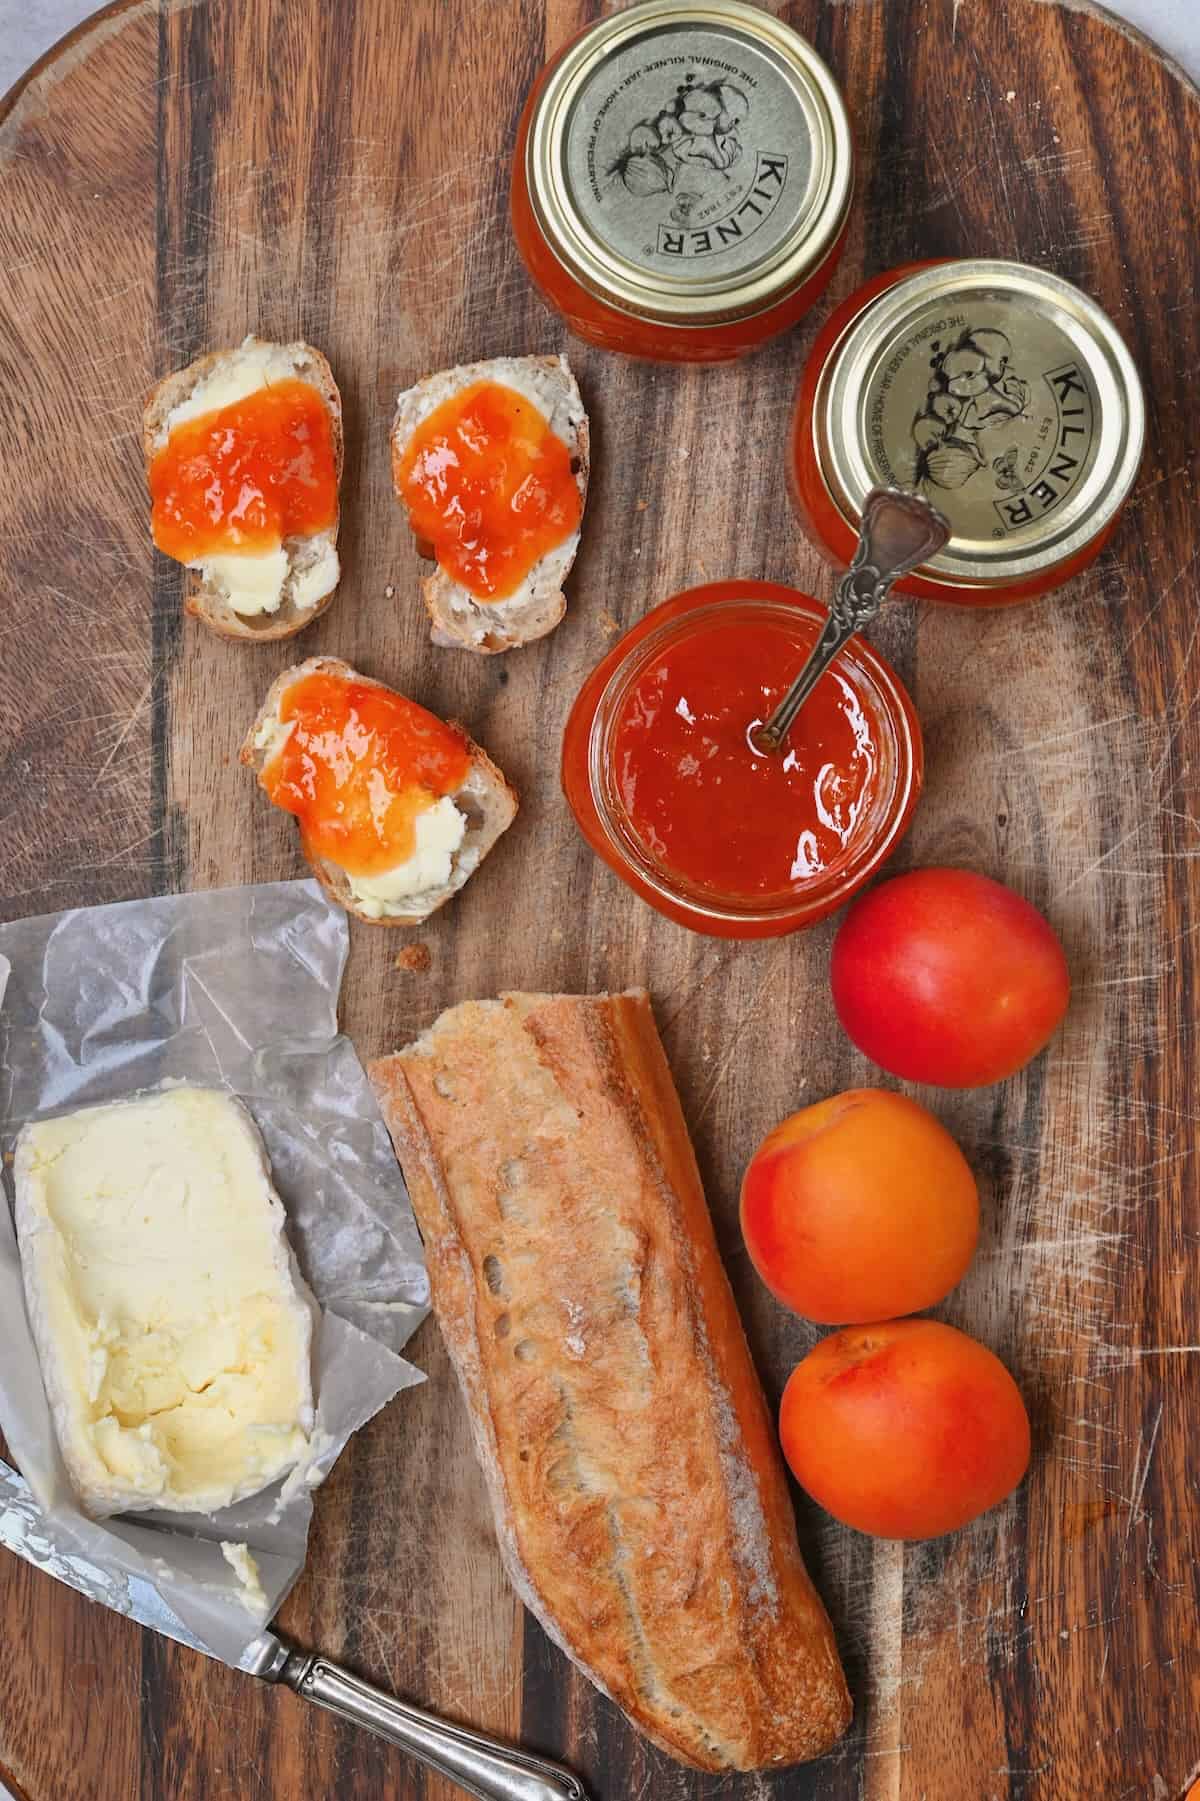
What goes with apricot jam?
- Cheese boards and charcuterie boards,
- Make baked brie with apricot jam topping (or Camembert),
- Use it to spread over toast, bagels, simit, scones, croissants, grilled cheese sandwich, etc.,
- Use it as a glaze (thinned with water) or in sauce for chicken, ham, pork chops, meatballs, etc.
- Enjoy it as a filling for pastries, cakes, muffins, thumbprint cookies, and tarts/tartlets,
- Make apricot jam bars,
- Yogurt, frozen yogurt, or ice cream and fruit (optionally with homemade granola),
- Oatmeal, baked oats, or overnight oats,
- Over easy pancakes, waffles, French toast, etc.
You can also gift this delicious fresh apricot jam during birthdays and holidays.
More easy jam recipes
If you try this easy apricot jam recipe, let me know how it goes in the comments below. I’d appreciate a recipe card rating and would love to see your recipe recreations – tag me on Instagram @Alphafoodie!
Easy Apricot Jam Recipe (No Pectin Required)
Equipment
- 9 Canning jars (8 oz) 8 oz each (250 ml)
- Silicone spatula or wooden spoon
- Canning funnel optional
- Bubble remover optional
- Magnetic lid wand optional
Ingredients
- 4.8 lb apricots 12 cups; use "just ripe" and ripe fruit; a few underripe will add more pectin and acidity, too
- 3.3 lb sugar 7.5 cups
- 1/3 cup lemon juice from 2 small lemons; bottled works fine, too
Instructions
Prepare the jars
- Sterilize everything (jars, tools, counter). Wash the jars (I like half-pint jars), lids, and bands in hot soapy water, rinse them well, and leave them to drain and dry. Also, place 2-3 small plates in the freezer (for testing the jam gelling later on).If you’re planning to can the jam, prepare the canner now, too, by adding the trivet/rack to the bottom of the canner and filling it with enough water to submerge the cans.
Make the jam
- Wash, dry, and pit the apricots (slice them in half and pull out the pit), removing any spoiled fruit. Also, juice the lemons.
- Transfer the halved apricots, lemon juice, and sugar to a large, deep, heavy-based stainless steel saucepan (for even heat/to prevent scorching) and bring it to a boil over medium heat. Stir constantly to dissolve the sugar.
- Boil the jam mixture until the fruit breaks down and the mixture thickens enough to coat the spoon (about 25-30 minutes). Stir constantly to prevent burn/scorching, only stopping to scoop away the foam from the top of the pan as it forms.
Test the jam is ready
- There are two ways to test if the homemade jam is ready and will gel properly.Using a candy thermometer: Insert the thermometer vertically into the center of the jam, ensuring it doesn’t come into contact with the saucepan. The temperature should have reached 220ºF/104ºC.Using the Frozen Plate method: Remove the saucepan from the heat, place about a teaspoon of the jam on the frozen saucer, and place it back in the freezer for 1 minute. To test it, press the edge of the jam with a fingertip – it should be set and wrinkle when pressed. If it's reached the gel stage, it's ready to jar. If not, return the pan to heat and cook, stirring constantly, for an additional 5 minutes, then repeat the plate test again with another plate (that's why I always put 3 in the freezer).
Fill the jars
- Heat the jars up in the water bath canner (with the lids on) or in the oven (without the lids). This is needed so they don't crack when adding the hot jam.
- Ladle or pour the hot jam into the jars, leaving about ¼-inch (0.5 cm) of headspace at the top.
- Tap the jar against your kitchen surface and/or use a knife to remove any air bubbles in the jam.
- Wipe the rims of the jars with a clean kitchen towel and place the lid on the jar. Screw the bands until they are fingertip-tight (if you plan to water bath can the jam- or fully sealed if not).
Can the jam (optional)
- Place the filled jars in the prepared canner, submerging them under at least 1 inch of water.
- Bring the water to a boil over medium-high heat, add a lid, and allow them to process for 10 minutes (adjust the time based on the altitude of where you live).
- Remove the canner lid and allow it to sit for 5 minutes before using canning jar tongs to place jars onto a clean kitchen towel to drain and cool undisturbed for 24 hours.
- Once cooled, check the seal (the middle part of the lid shouldn't pop up/down when pressed). Any unsealed jars can be reprocessed with new lids or transferred to the fridge to use sooner.Note that if you reduce the amount of sugar or lemon too much, the jam recipe will become unsafe for water bath canning.
Storage
- Fridge: If you haven't water bath canned the jam, place it in the refrigerator and aim to use it within a month. Freezer: Use freezer-safe jars or bags and store the jam for 4-6 months.Canned: Store the (labeled!) jars in a cool, dark location, like a pantry, for up to a year. Once opened, transfer to the fridge and use within 3-4 weeks.
Video
Notes
- Vanilla: Stir in about 1 tsp vanilla extract (or paste) at the end, off the heat.
- Almond extract: Stir in a little off the heat at the end for a subtle nutty flavor.
- Lavender: Add about 1 tsp dried edible lavender for a subtle floral taste.
- Rosemary: Add a single 3-4-inch sprig to the saucepan, removing it before jarring the jam.
- Alcohol: A splash of Amaretto, Bourbon, peach schnapps, or orange liqueur creates a more complex, full-bodied flavor.
- Chili: Like apricot jalapeño jam or apricot habanero jam. Finely dice the chili and remove the seeds. Add as much as you’d like for a subtle or big kick.
- Ginger: Use finely grated ginger to taste, starting with about ½ teaspoon.
- Spiced apricot jam: Experiment with cinnamon, nutmeg, cloves, cardamom, black pepper, etc. Add to taste.
Nutrition
Nutrition information is automatically calculated, so should only be used as an approximation.


