This post may contain affiliate links. Please read our disclosure policy.
Healthier chocolate chip cookie cups, made with oatmeal chocolate chip cookies and an unrefined brown sugar and white sugar blend. These are the perfect bite-sized treats to fill and top with all kinds of toppings, perfect for hitting the spot for your sweet cravings!
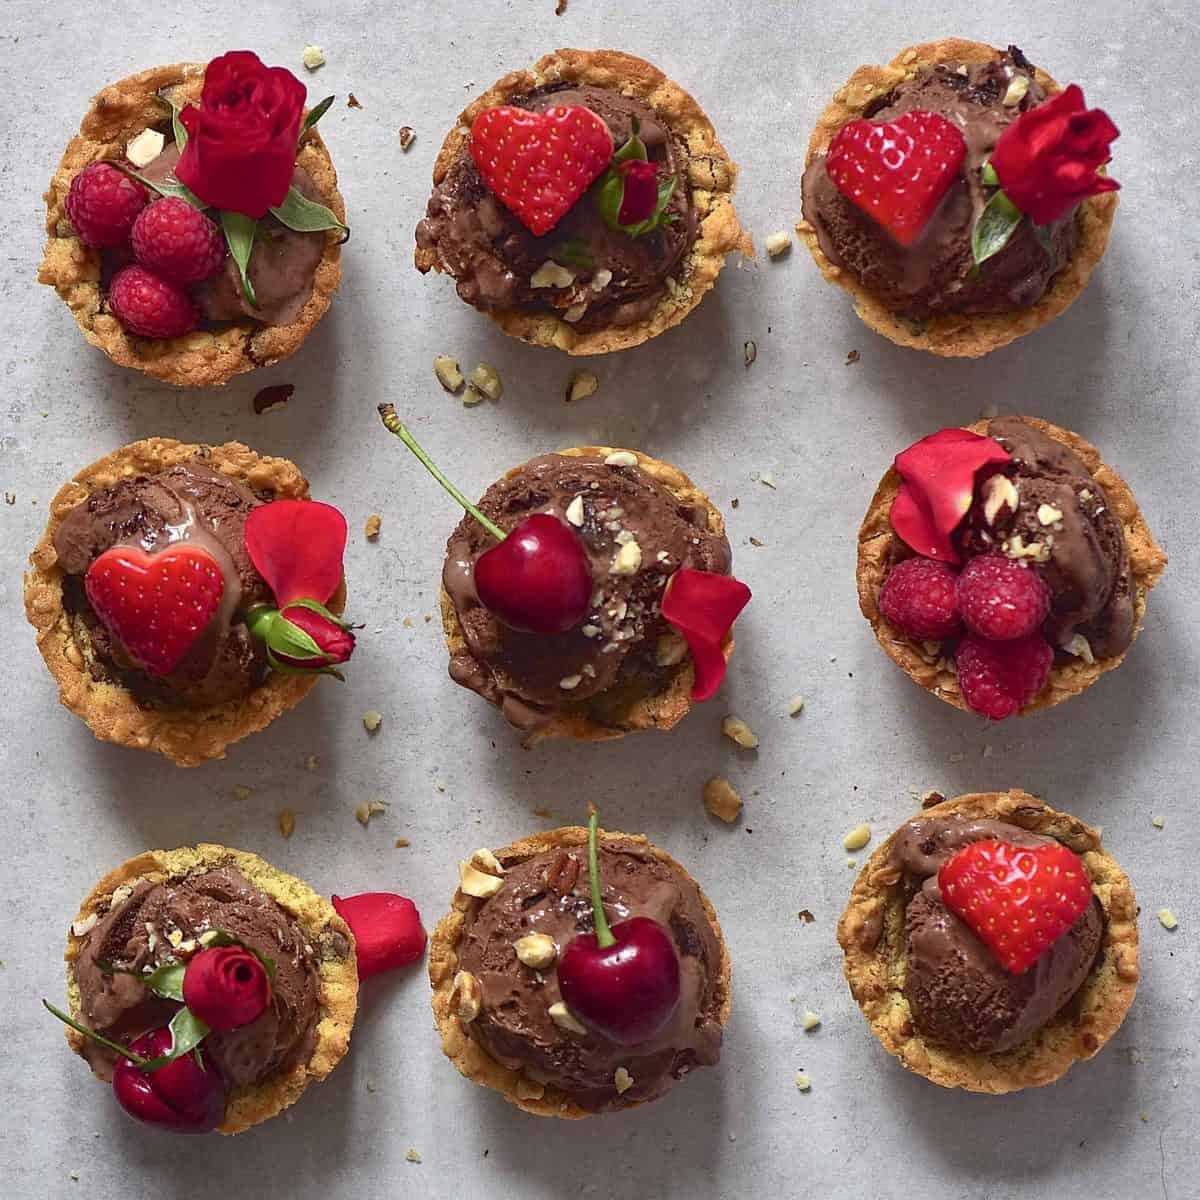
Homemade chocolate chip cookies are the perfect sweet comfort food. Have them with some milk or, in this case, turn the cookies into delicious chocolate chip cookie cups and fill with all kinds of fillings. And, so that you don’t feel guilty going back for more – I’ve tweaked my usual cookie recipe to include rolled oats and replaced the white sugar with unrefined brown sugar.
And, if you’re vegan, don’t worry. You can use this Oeey Gooey Vegan Chocolate Chip Cookies recipe and follow the method for making these below. Check out the serving suggestions, and the section on making stuffed cookies for even more ways to customize these cookies. If you love cookies, then you’ll love being able to top (or fill) them with all sorts of delicious items.
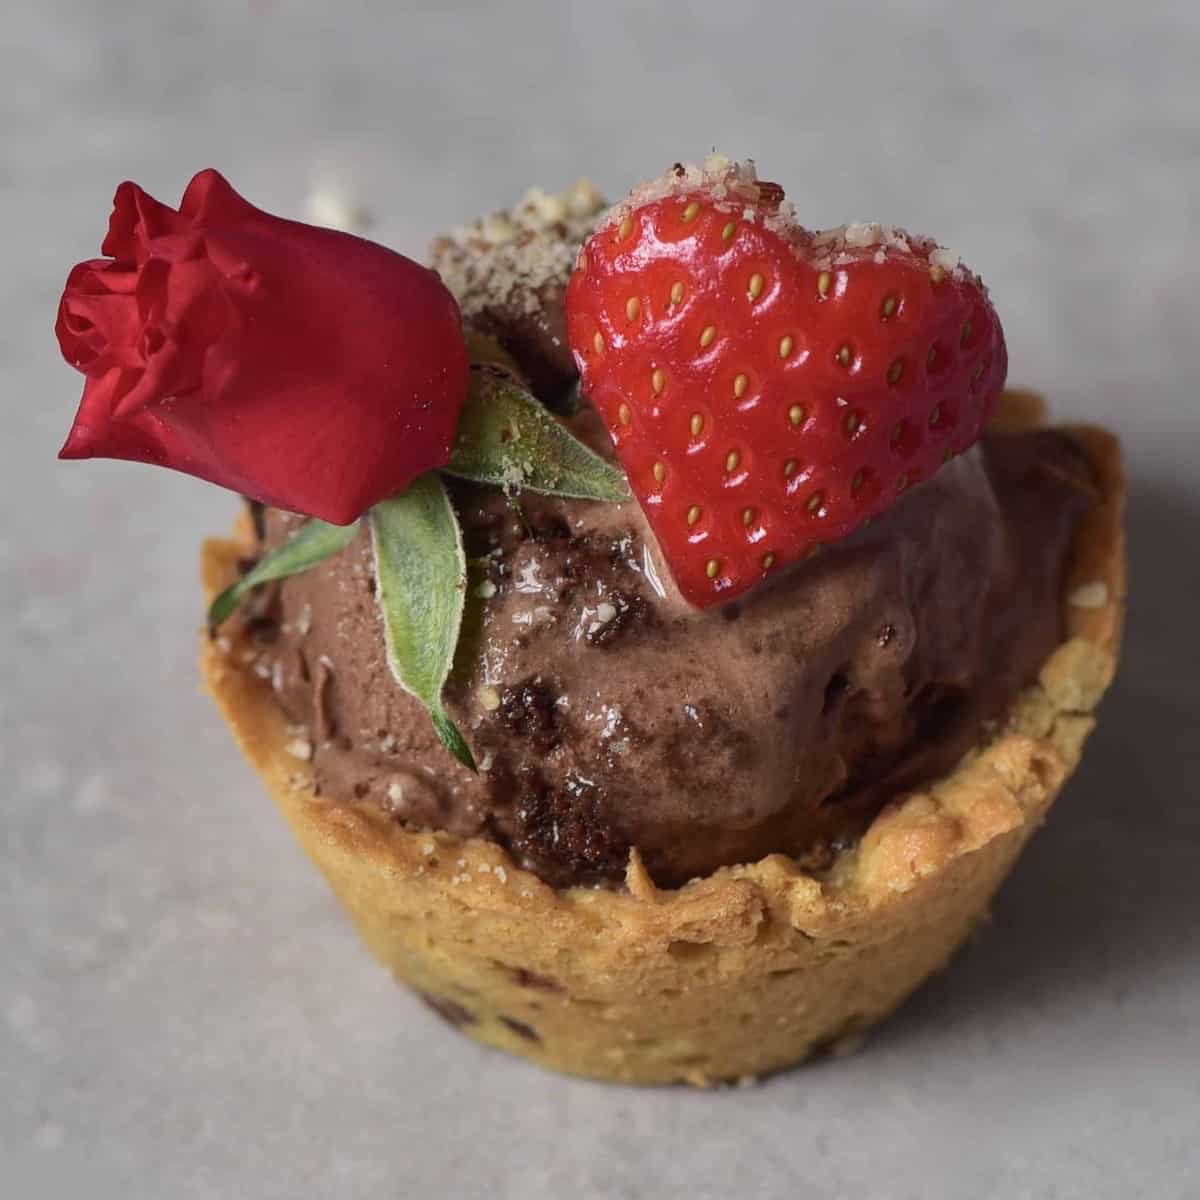
How about ice-cream, chocolate, cheesecake, fudge? Let your mind run free with stuffing options.
These cookies are a great option to serve as part of a party platter too. Just layout a spread with tons of different filling options or a full-on ice-cream sundae bar and let people pick and choose exactly what they want. Just try not to eat them all at once!
Want to save this recipe?
The Method
The Ingredients
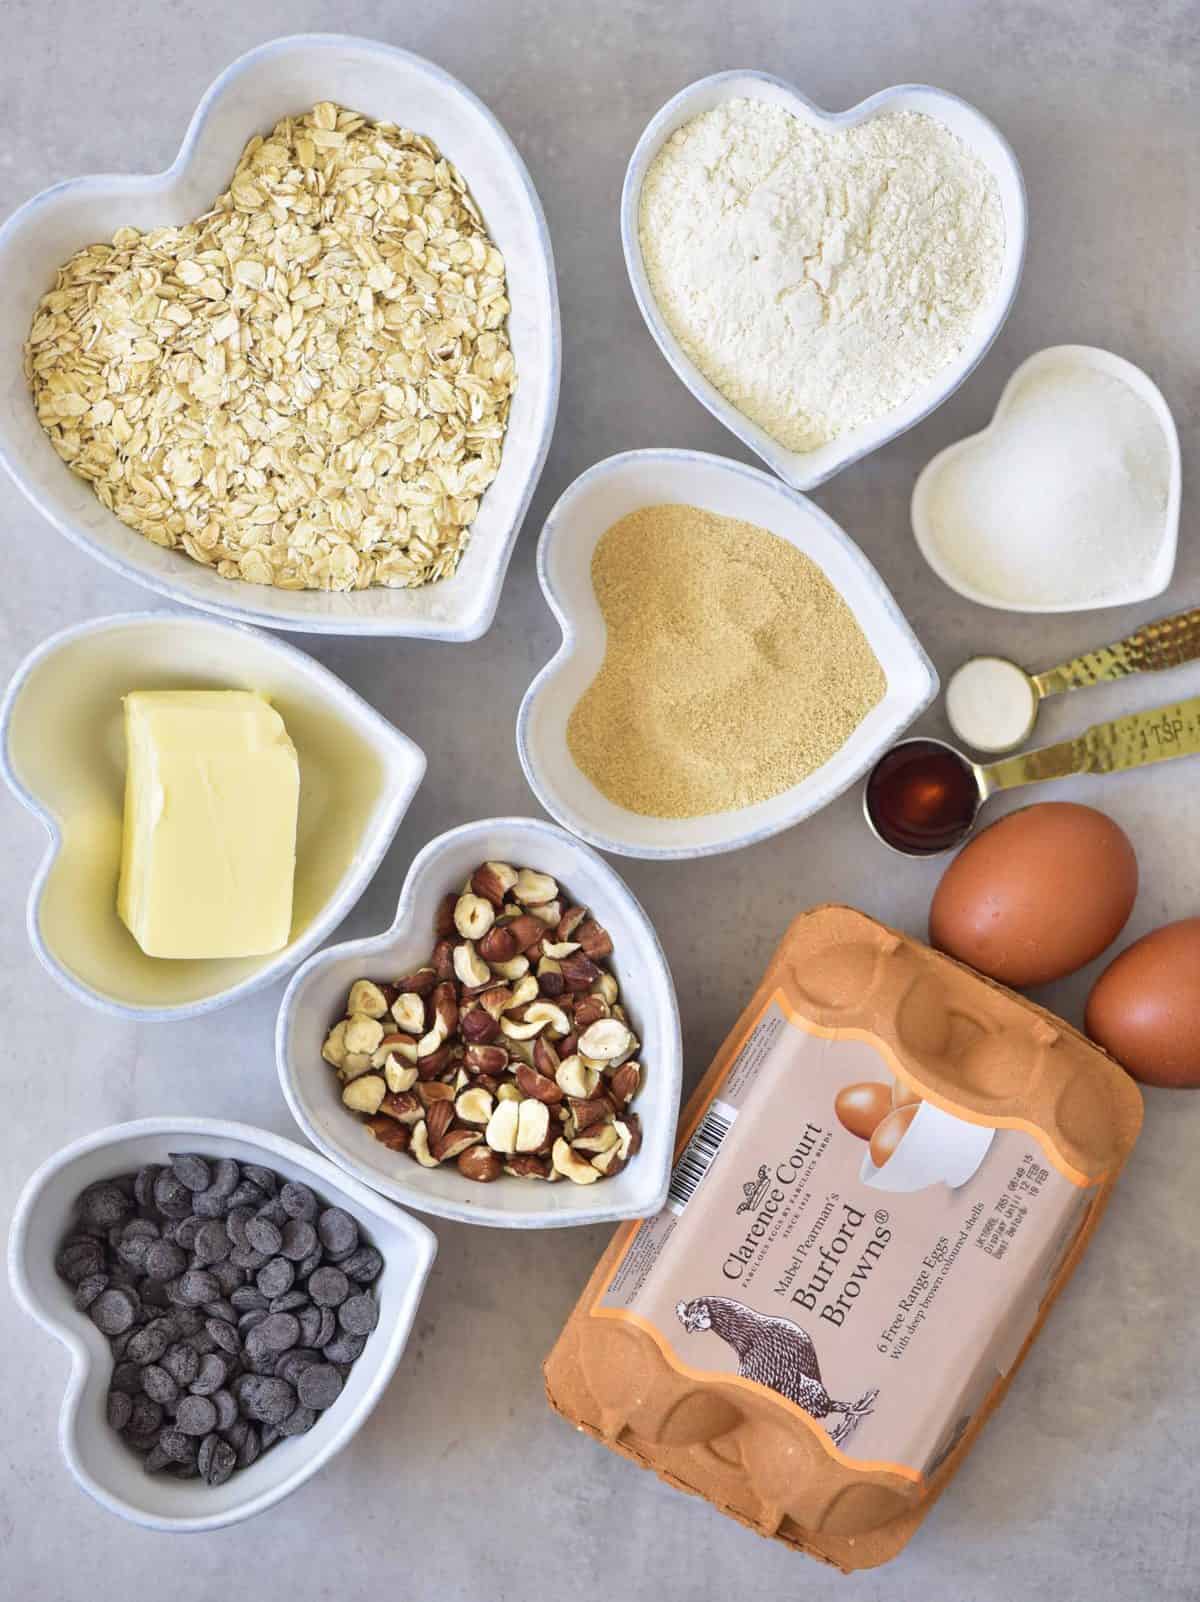
- Rolled oats (using quick oats or oat flour will have a different texture, so I can’t guarantee the results), all-purpose flour, baking soda, unsalted butter
- Eggs – I used Clarence Court Burford Browns eggs
- Unrefined Brown sugar and a bit of white sugar, vanilla extract
- Chocolate chips (I used unsweetened chocolate chips)
- Hazelnuts (optional)
Read the recipe card for the full ingredient quantities and instructions.
The Steps
Mix the oats, flour, and baking soda and set aside. 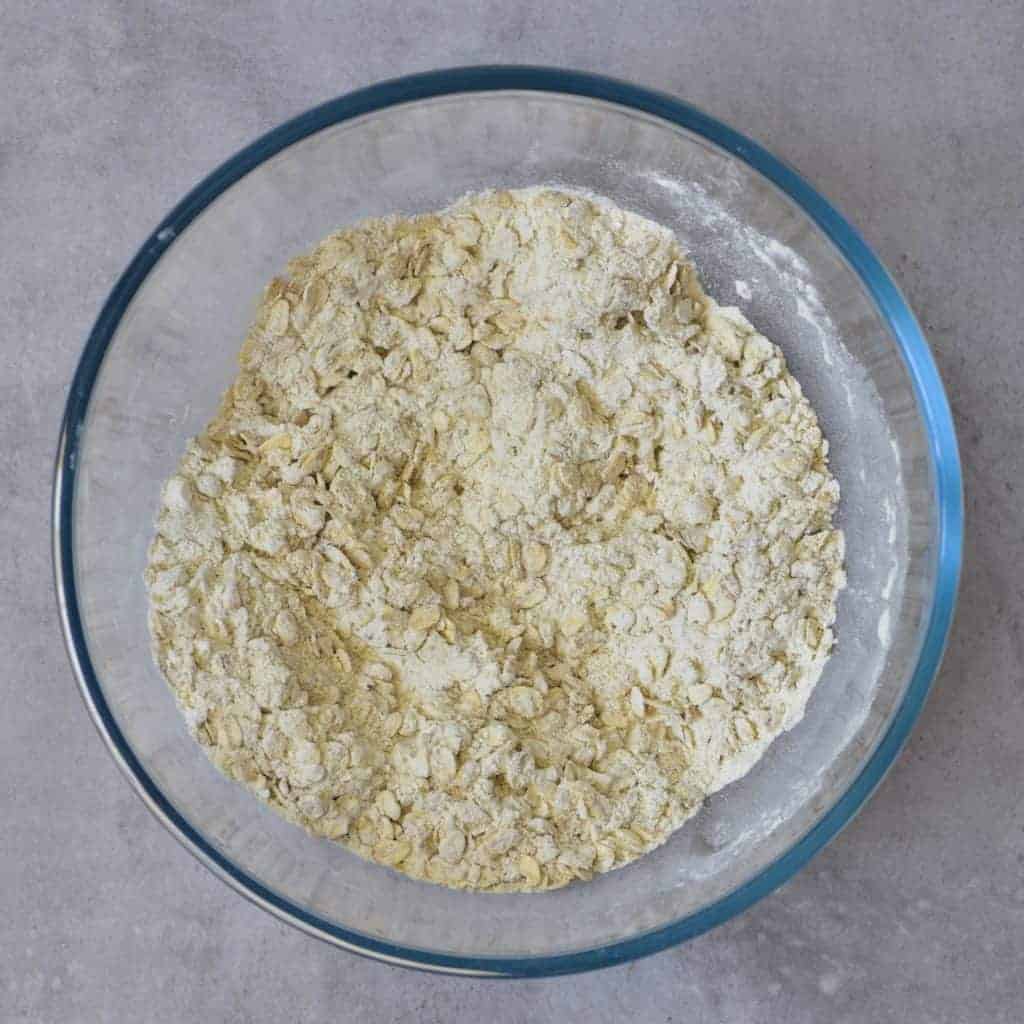
In a large bowl beat the butter and sugar until soft and creamy.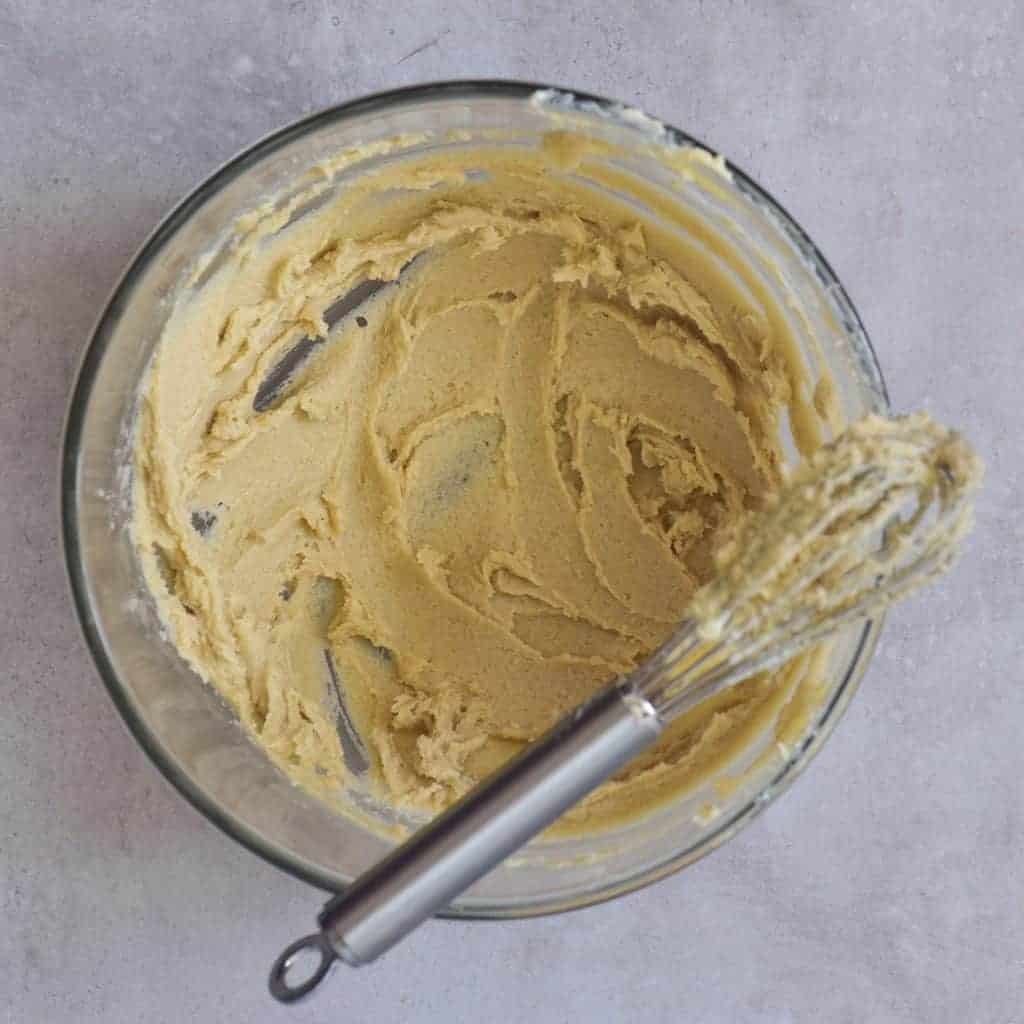
Gradually add the eggs, then the vanilla extract, mixing well. 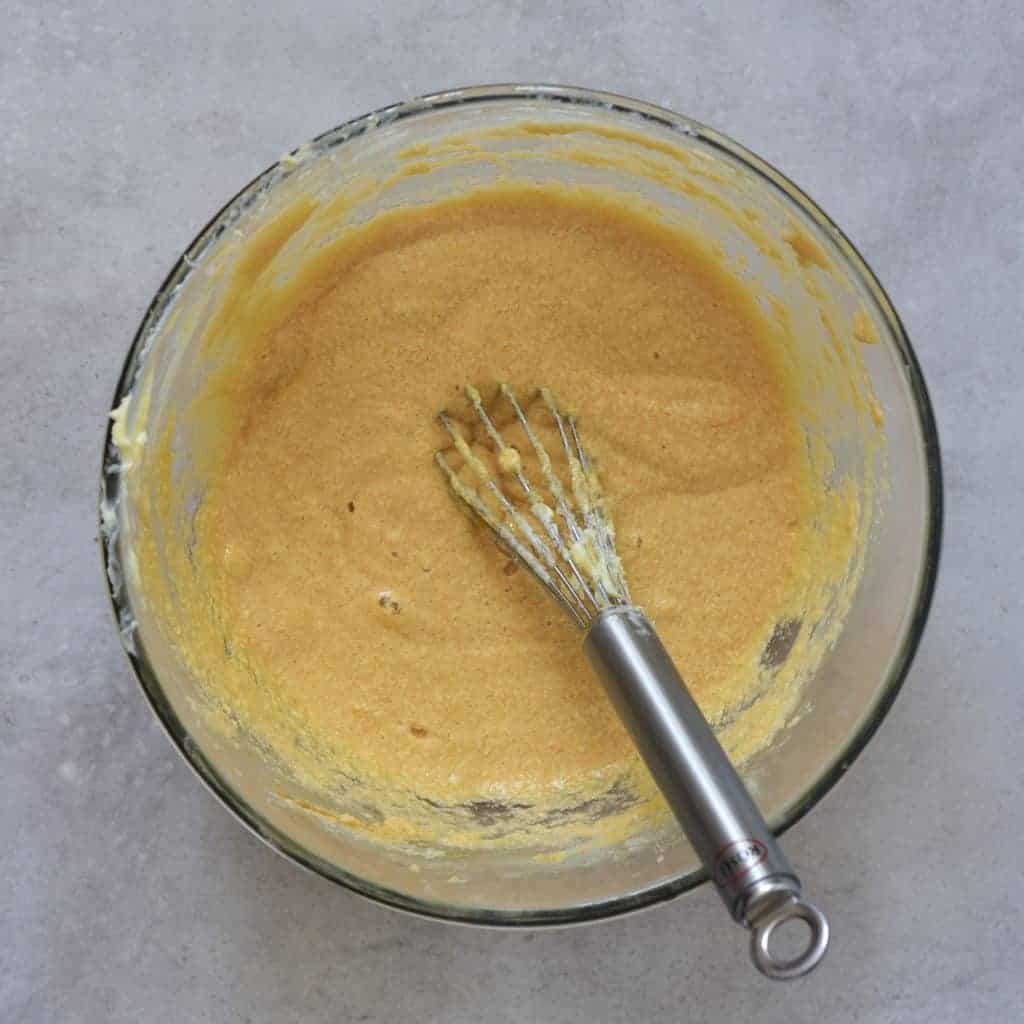
Add the dry ingredients into the buttery mixture and fold well.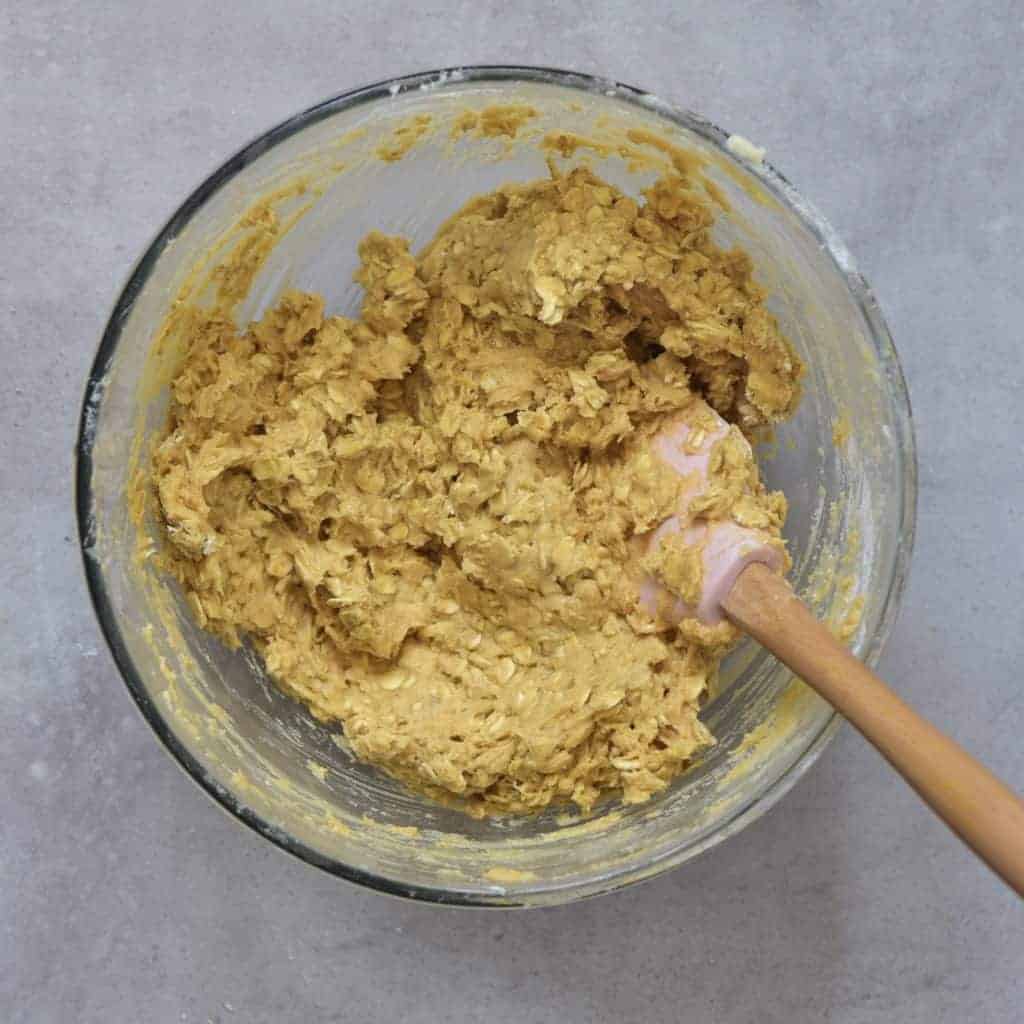
Add the chocolate chips and hazelnuts to your batter and incorporate them well.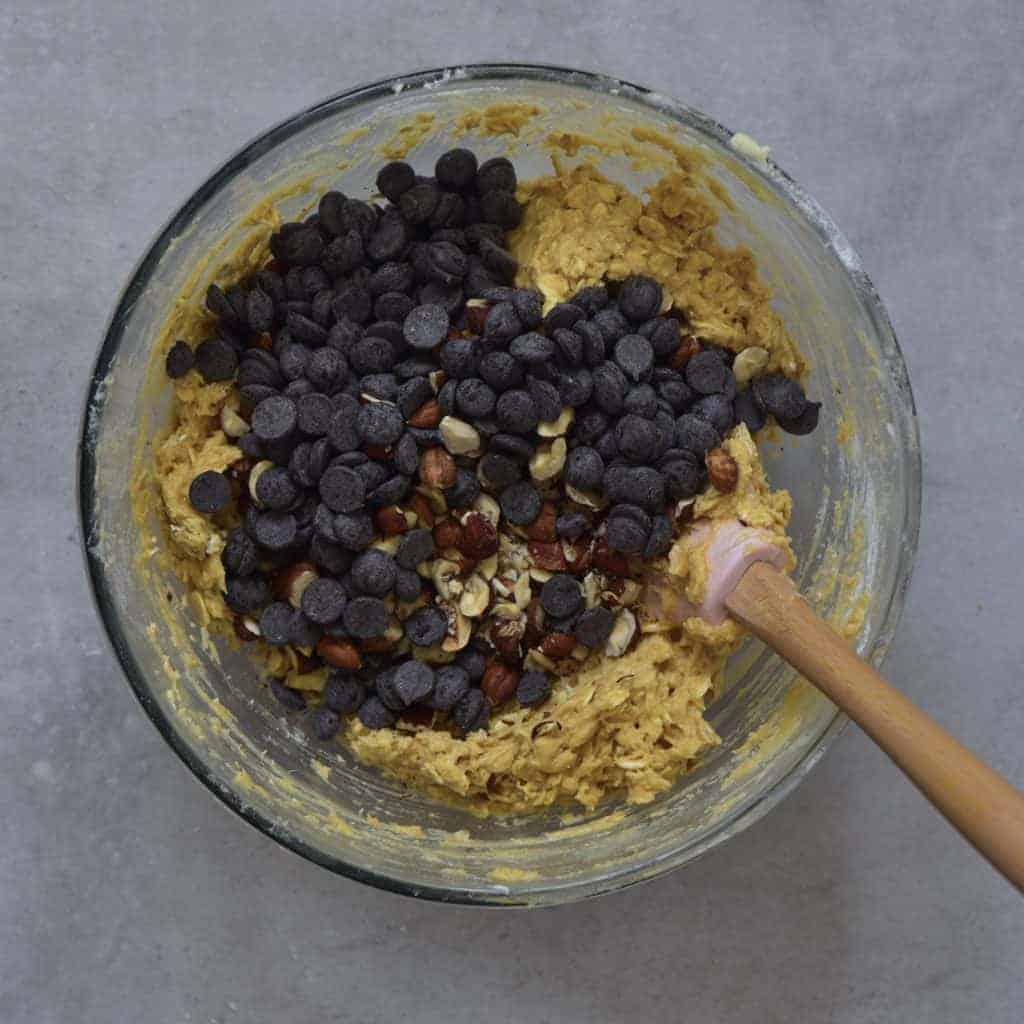
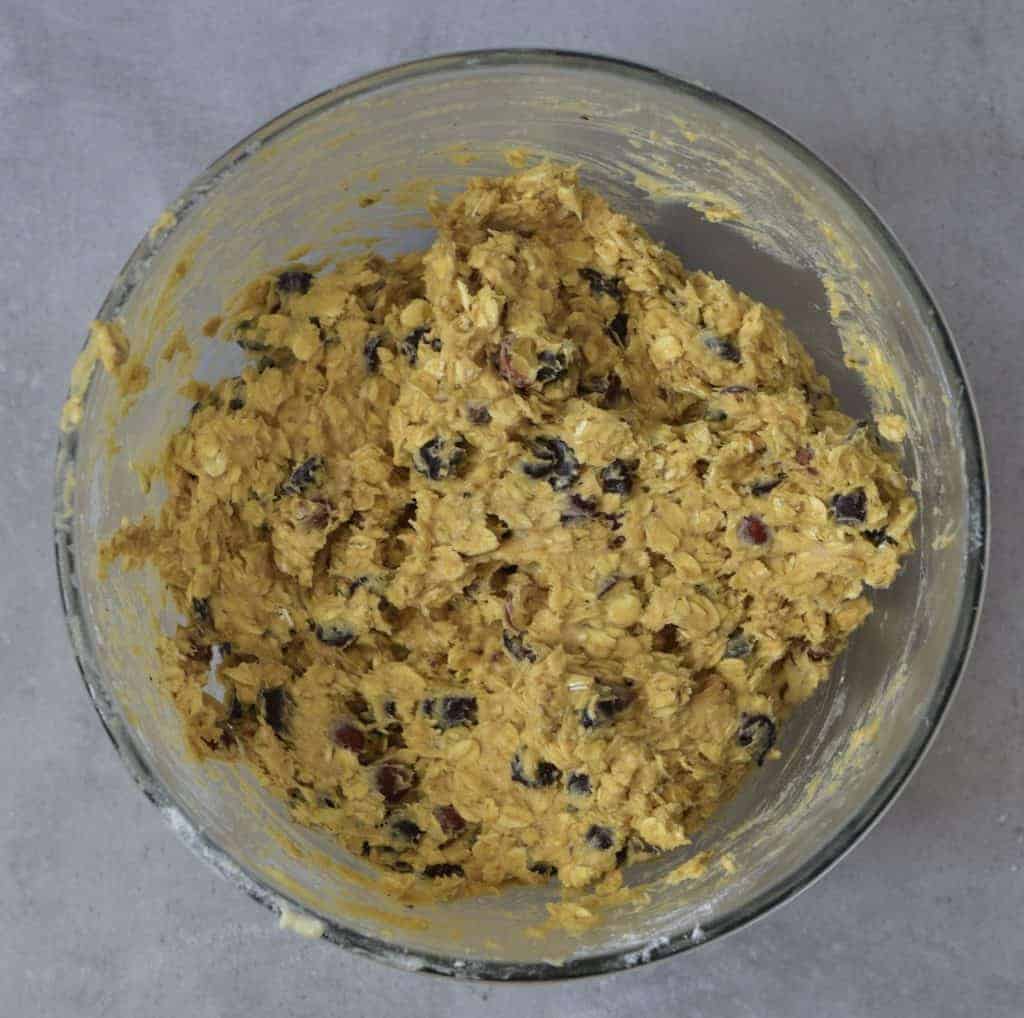
Grease a muffin pan and add some of the batter to each cup until halfway (there’s no need to chill the dough). You can use regular or mini muffin pans.
To form the cookie cups, you can just press them with a scooper or a small shot glass (make sure it fits inside the mold in advance). We’ll be re-pressing them after they are baked, but doing it now will help them fix into that shape even more. 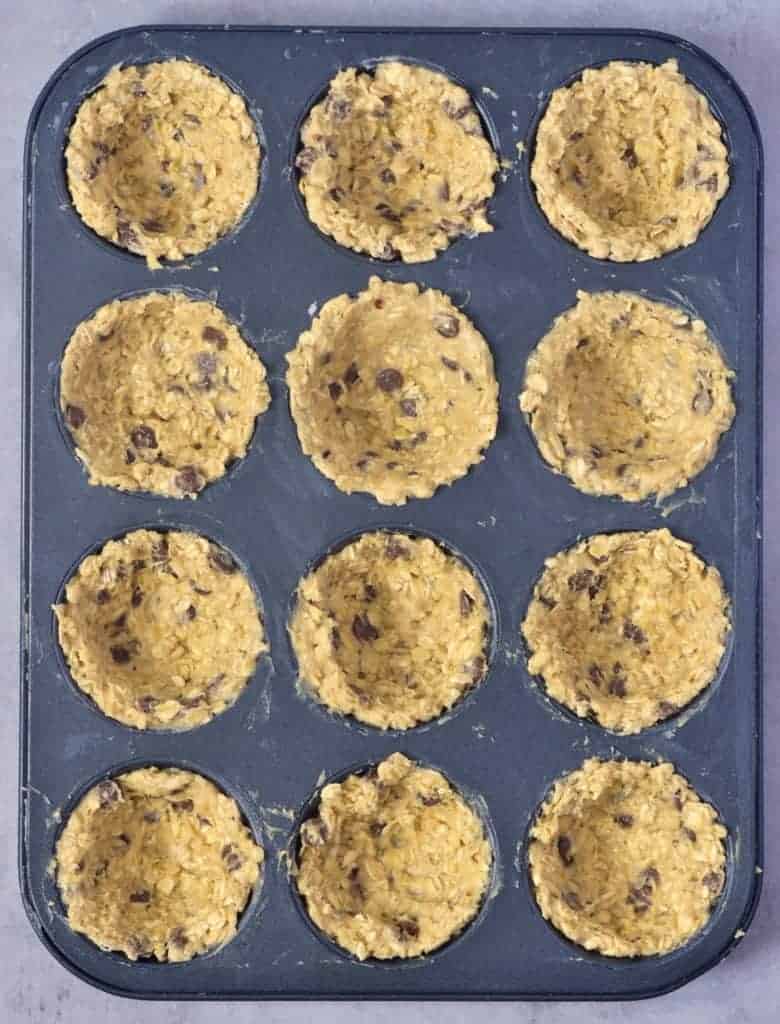
Bake for 12-15 minutes at 180ºC/350ºF, until lightly golden and fully cooked through. 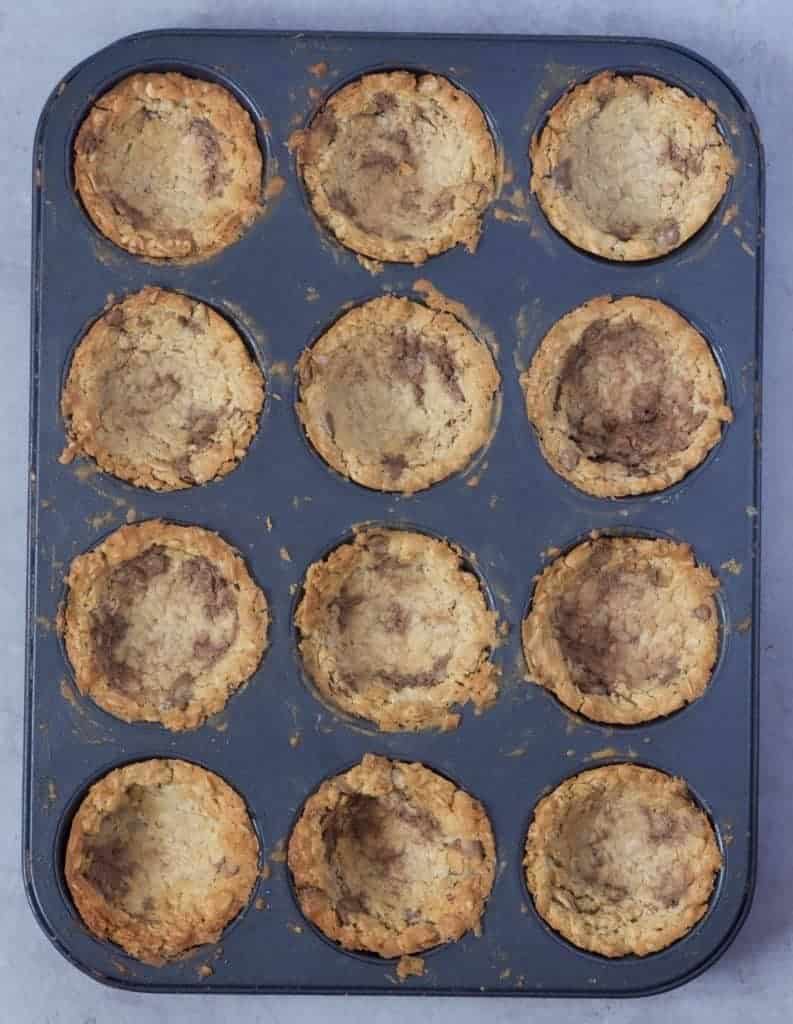
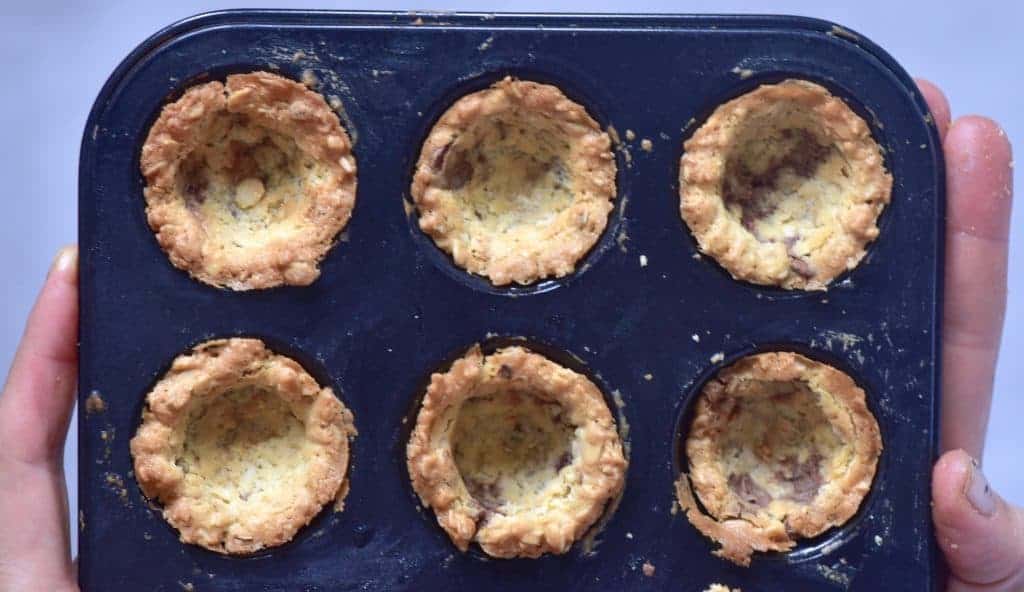
As soon as you take them out of the oven, press with a scooper or a small jar/glass in the center of each cookie to create a well. Then, let them cool completely to room temperature before removing from the pan.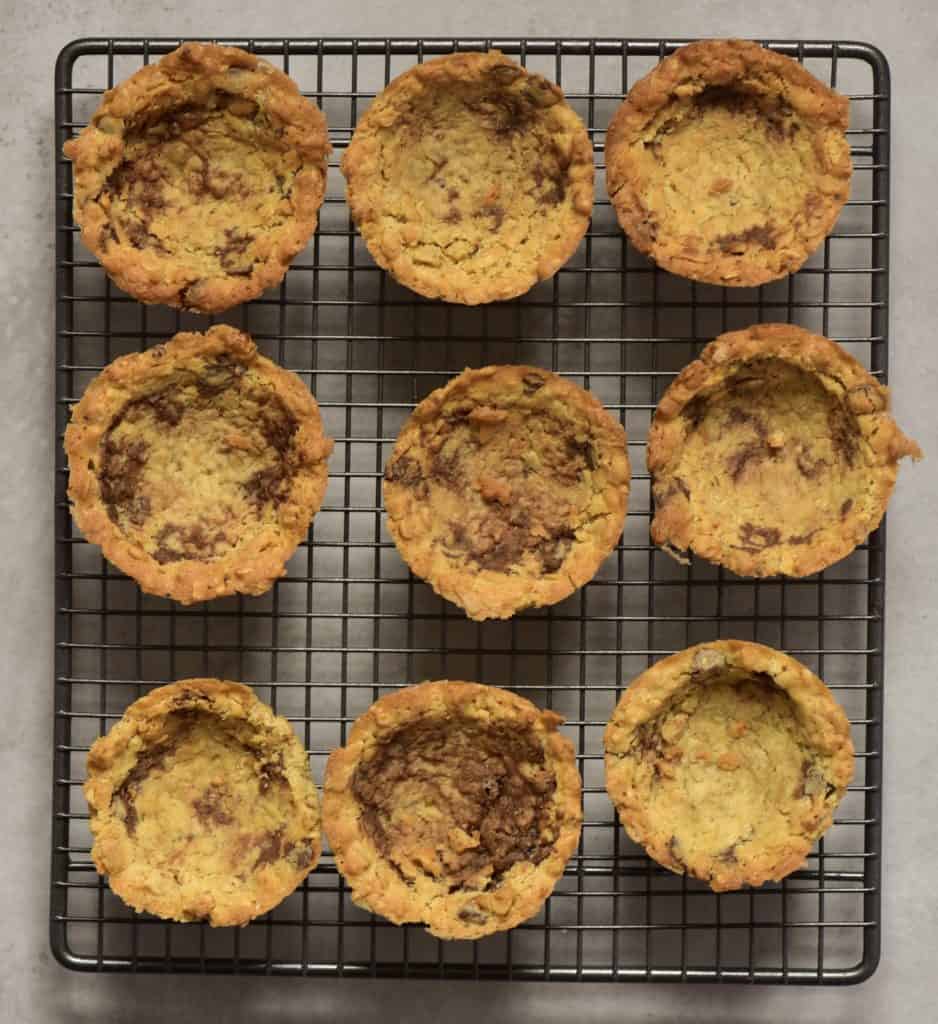
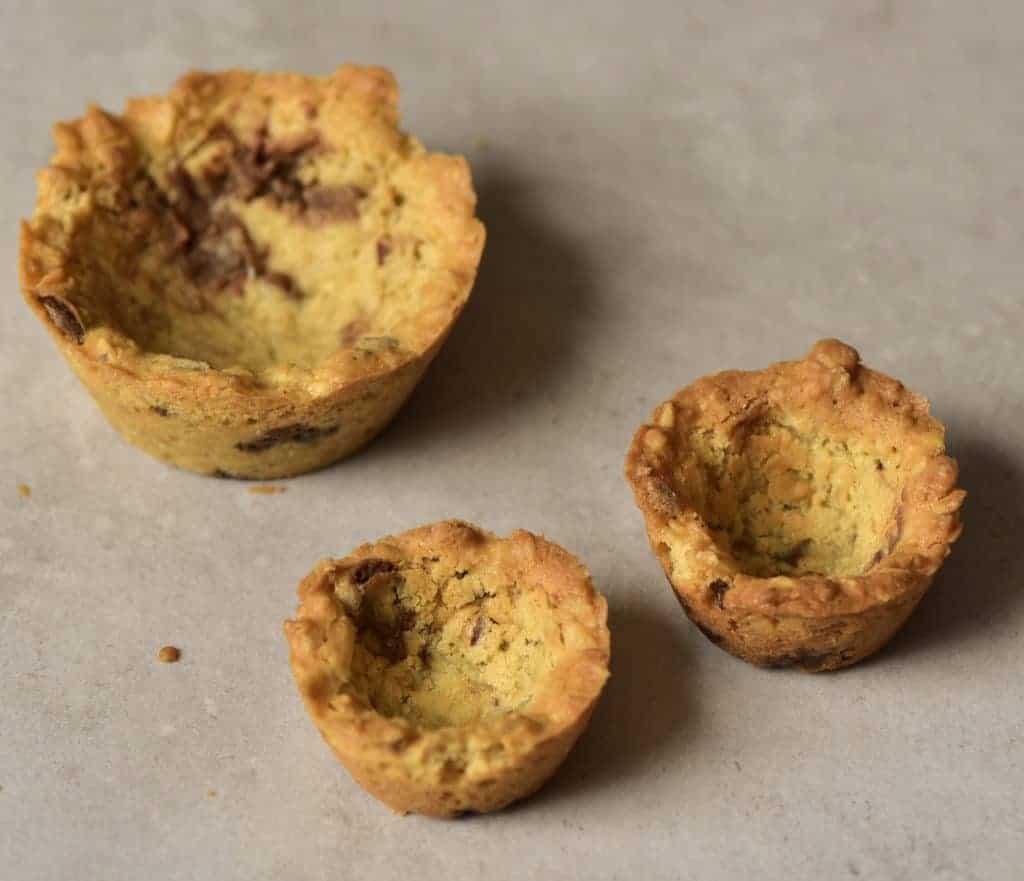
For Stuffed Cookies
The method of making stuffed cookies will vary to that of making the hollow cups for this cookie cup recipe. I often find it easiest to do this with a mini cupcake/ muffin pan, though it’s possible with both sizes.
To create the stuffed cookies: portion your dough as usual and then split each dough section into two pieces and flatten slightly. Pop your ‘filling’ onto one piece and use the second piece to cover it and seal, then roll into a ball and press lightly into the pan base, to fill the bottom. As these are oat-based, they don’t spread as much in the oven, so it’s good to get it into the shape as much as possible.
Filling options for mini stuffed cookies can include sweets like Rolo’s or mini peanut butter cups.
You can also make your own fillings with caramels and chocolate and even homemade Nutella. To do that, you can spoon little portions of your filling onto a non-stick baking paper and place it in the freezer. Though not all options will freeze entirely, it should make them stable enough to put into the cookie.
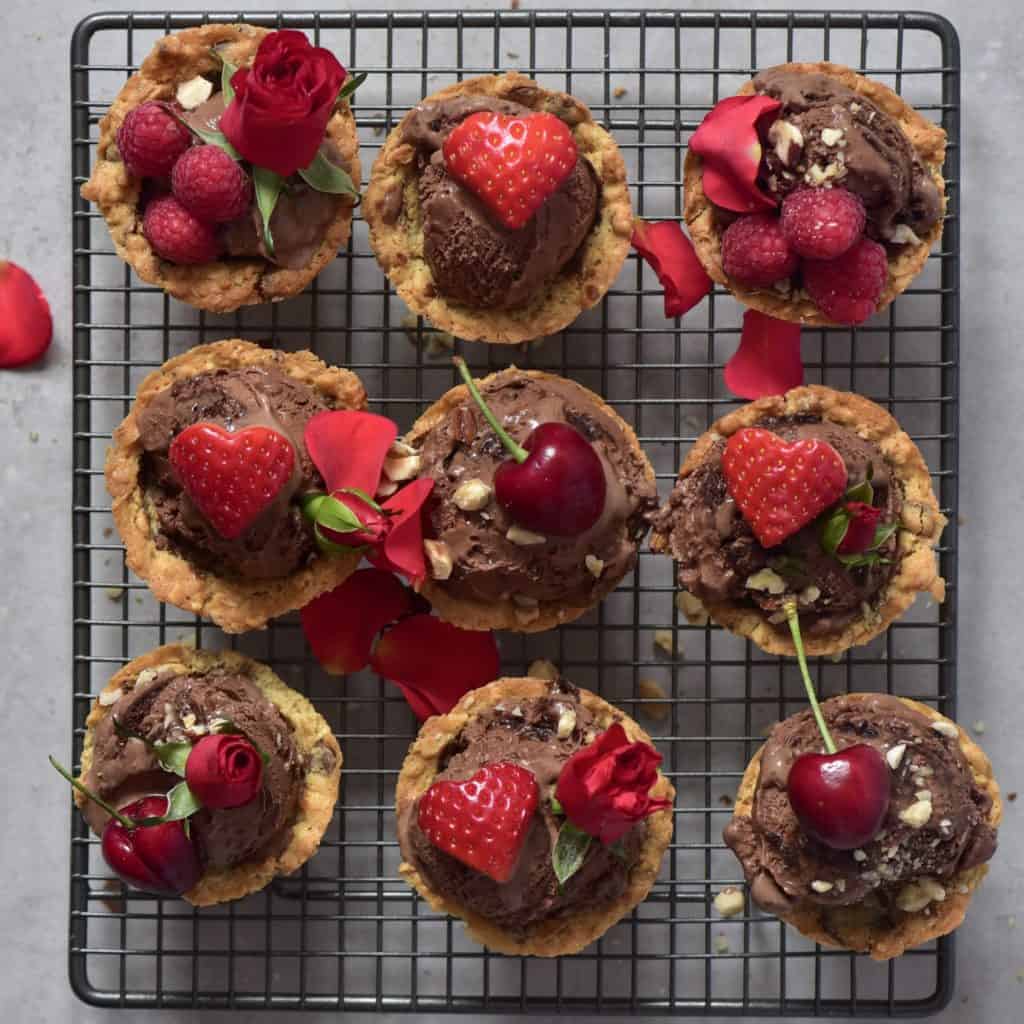
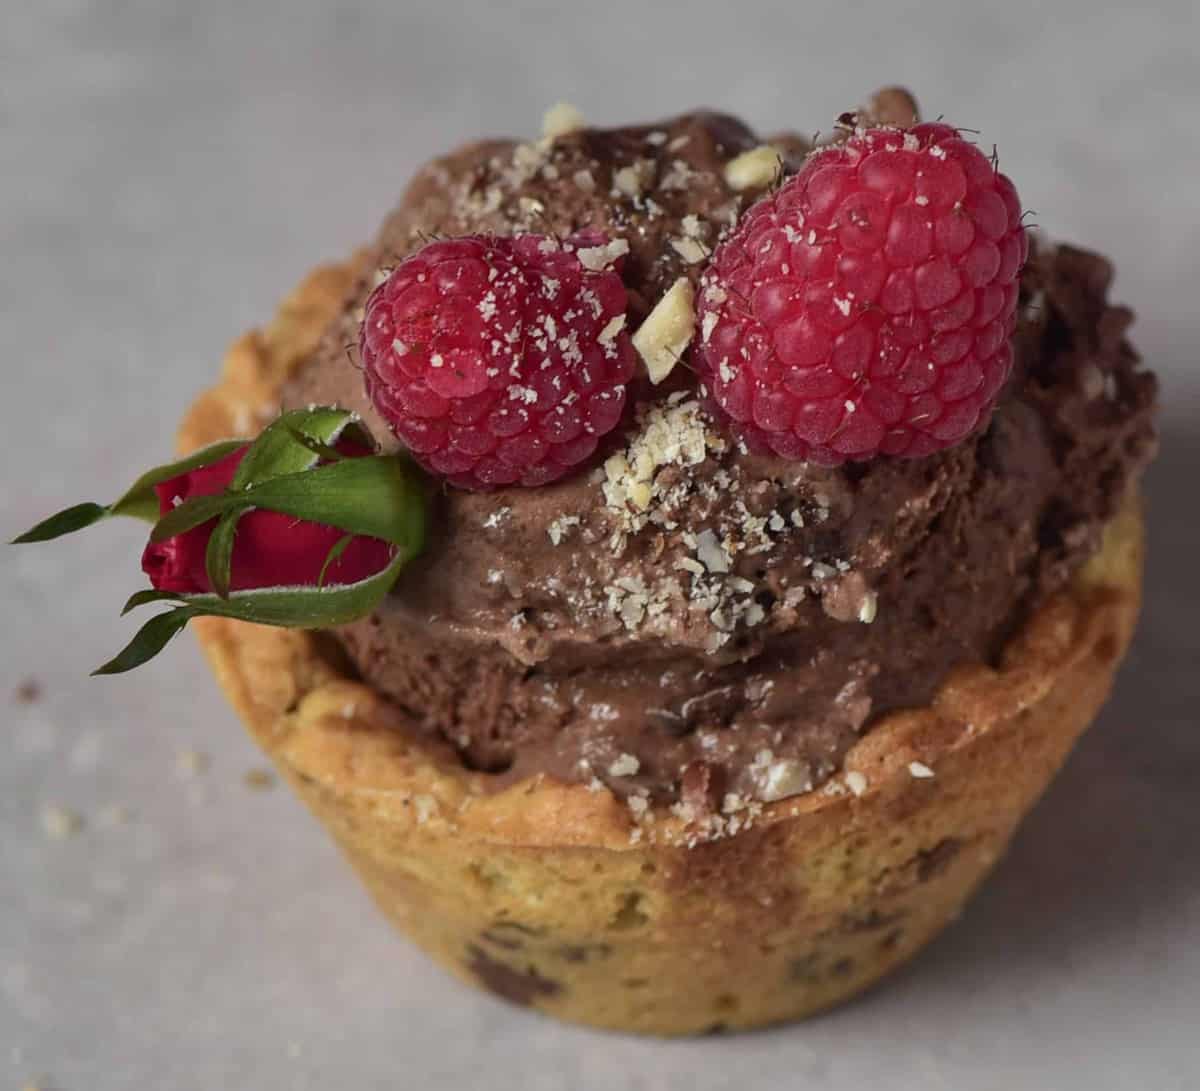
Your cookie cups are ready to fill and decorate.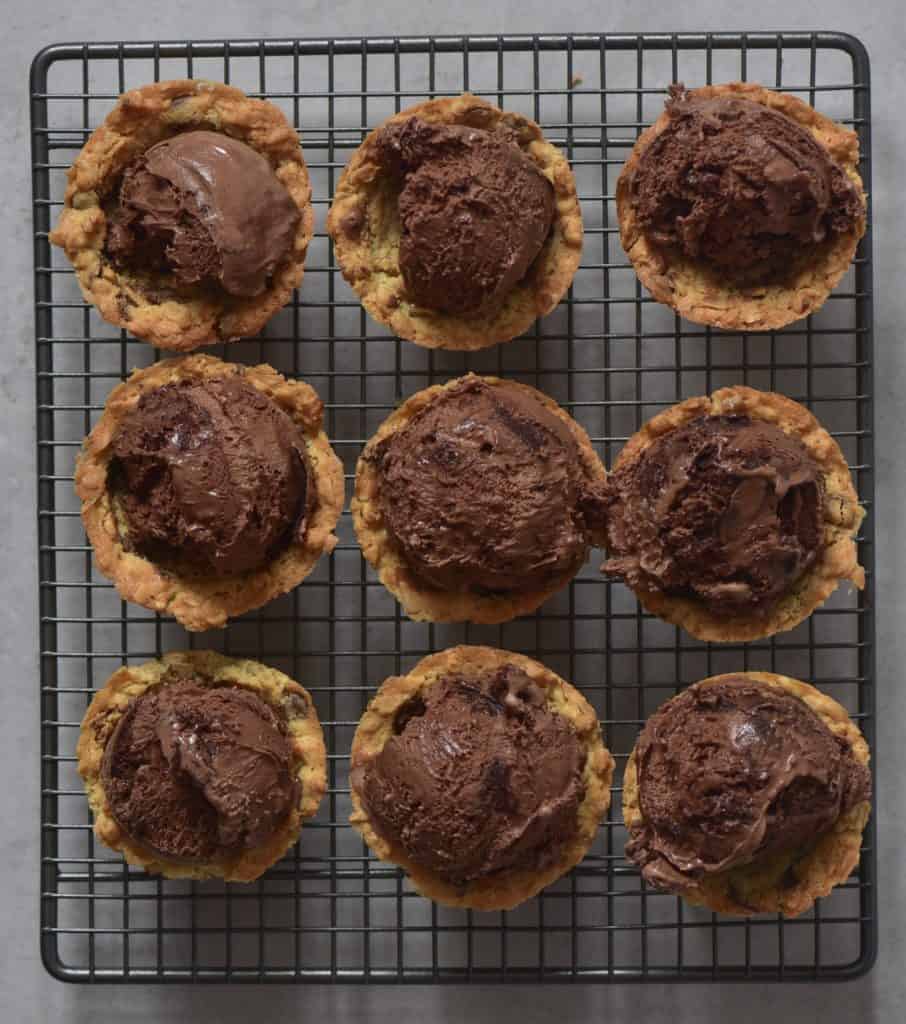
FAQs and Notes
Store these chocolate chip cookie cups in the fridge for 5-7 days.
Once you fill the cookies with any kind of filling, this can affect the shelf life and make the cookie softer over time. For that reason, I like to fill them just before serving (unless making stuffed cookies).
Yes, the empty cups will also freeze well for up to two months.
There are several types of delicious fillings that you can use within these chocolate chip cookie cups. Here are some of my favorite options:
Nut Butter Cups: Similar to a peanut butter cup, you can spoon in some of your favorite nut butter (such as peanut butter or almond butter) and top with some melted dark chocolate.
Smores Cups: Layer with marshmallow fluff and some melted chocolate for that delicious smores flavor
Cheesecake filling: Using homemade cream cheese. You can then swirl in some chocolate, caramel, or fruity swirl.
Fudge Filled: Spoon in some of this Vegan fudge and allow them to set in the fridge- delicious!
Jams & Jellies: I love the combination of fruity jams with chocolate, so spooning a little strawberry jam or raspberry jam into these cookie cups along with some whipped coconut cream is delicious.
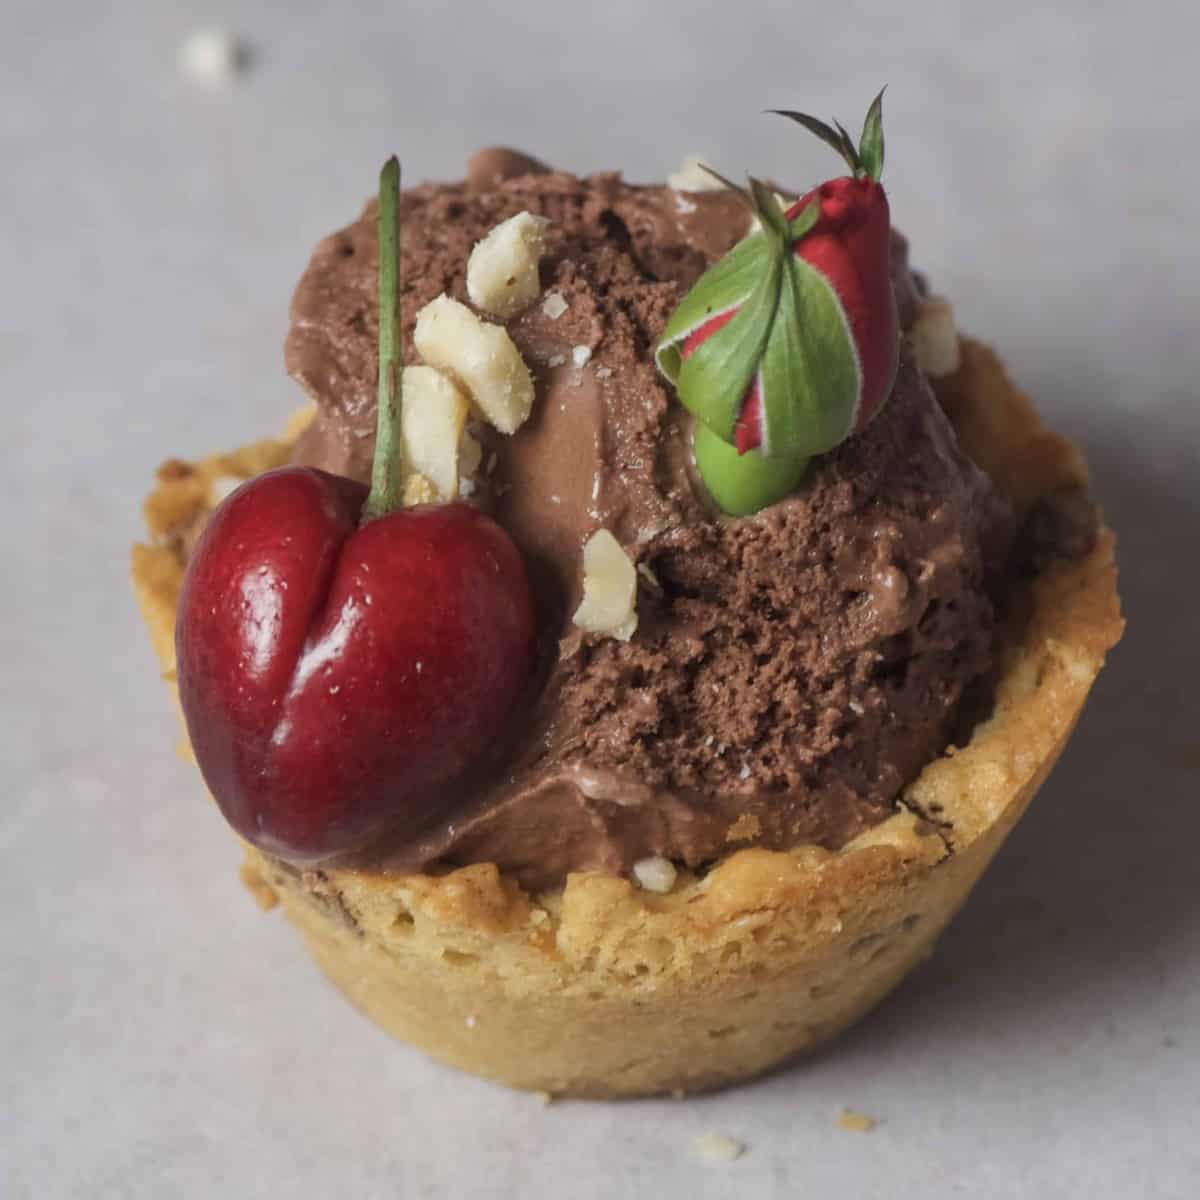
Ice-cream: One of my favorite options is to serve with a little scoop of ice-cream and some sprinkles. Like this Caramel Ice-cream.
There are also several ways you can manipulate this recipe to create stuffed cookies.
When they are still warm, the cookie is still ‘softer’. Allow the cookies to cool completely before removing, for less chance of breakage. Although, I’ve tried both ways with no issues.
If using a ‘wet’ filling, this will soften the cookie over time. You can create a chocolate ‘shell’ though, to minimize this. Use healthy dark chocolate, milk chocolate, or white chocolate to melt and paint inside the cookie.
It also helps to fill them just before serving.
Yes, you could try this recipe with the dough from these Vegan chocolate chip cookies for a vegan option.
Other Dessert Recipes You May Like
- Fudgy Vegan Gluten-Free Chocolate Cake
- Salted Caramel & Raspberry Vegan Magnum Ice Creams
- Healthier Homemade snickers Bars (Vegan)
- Simple 4-Ingredient Avocado Ice Cream
If you give this recipe a go, then let me know your thoughts in the comments. Also, feel free to tag me in your recreations @AlphaFoodie.

Chocolate Chip Cookie Cups
Ingredients
- 1.5 cups rolled oats
- 1 cup all-purpose flour
- 1/2 cup unsalted butter softened
- 2 eggs lightly beaten
- 1/2 cup brown sugar
- 1/4 cup white sugar
- 1 tsp vanilla extract
- 1/2 cup hazelnuts roughly chopped (optional)
- 1/2 cup chocolate chips I used unsweetened chocolate chips
- 1/2 tsp baking soda
Instructions
- Mix the oats, flour, and baking soda and set aside.
- In a large bowl beat the butter and sugar until soft and creamy.
- Gradually add the eggs, then the vanilla extract, mixing well.
- Add the dry ingredients into the buttery mixture and fold well.
- Add the chocolate chips and hazelnuts to your batter and incorporate them well.
- Grease a muffin pan and add some of the batter to each cup until halfway (there's no need to chill the dough). You can use regular or mini muffin pans.
- To form the cookie cups, you can just press them with a scooper or a small shot glass (make sure it fits inside the mold in advance). We’ll be re-pressing them after they are baked, but doing it now will help them fix into that shape even more.
- Bake for 12-15 minutes at 180ºC/350ºF, until lightly golden and fully cooked through.
- As soon as you take them out of the oven, press with a scooper or a small jar/glass in the center of each cookie to create a well. Then, let them cool completely to room temperature before removing from the pan.
- Your cookie cups are ready to fill and decorate.
How To Store
- Store these chocolate chip cookie cups in the fridge for 5-7 days. They will also freeze well for up to two months.
- Once you fill the cookies with any kind of filling, this can affect the shelf life and make the cookie softer over time. For that reason, I like to fill them just before serving (unless making stuffed cookies).
For Stuffed Cookies
- The method of making stuffed cookies will vary to that of making the hollow cups. I often find it easiest to do this with a mini cupcake/ muffin pan, though it's possible with both sizes. To create the stuffed cookies: portion your dough as usual and then split each dough section into two pieces and flatten slightly. Pop your 'filling' onto one piece and use the second piece to cover it and seal, then roll into a ball and press lightly into the pan base, to fill the bottom. As these are oat-based, they don't spread as much in the oven, so it's good to get it into the shape as much as possible. Filling options for mini stuffed cookies can include sweets like Rolo's or mini peanut butter cups. You can also make your own fillings with caramels and chocolate and even homemade Nutella. To do that, you can spoon little portions of your filling onto a non-stick baking paper and place it in the freezer. Though not all options will freeze entirely, it should make them stable enough to put into the cookie.
Notes
Nutrition
Nutrition information is automatically calculated, so should only be used as an approximation.


Delicious recipes, thanks for sharing