This post may contain affiliate links. Please read our disclosure policy.
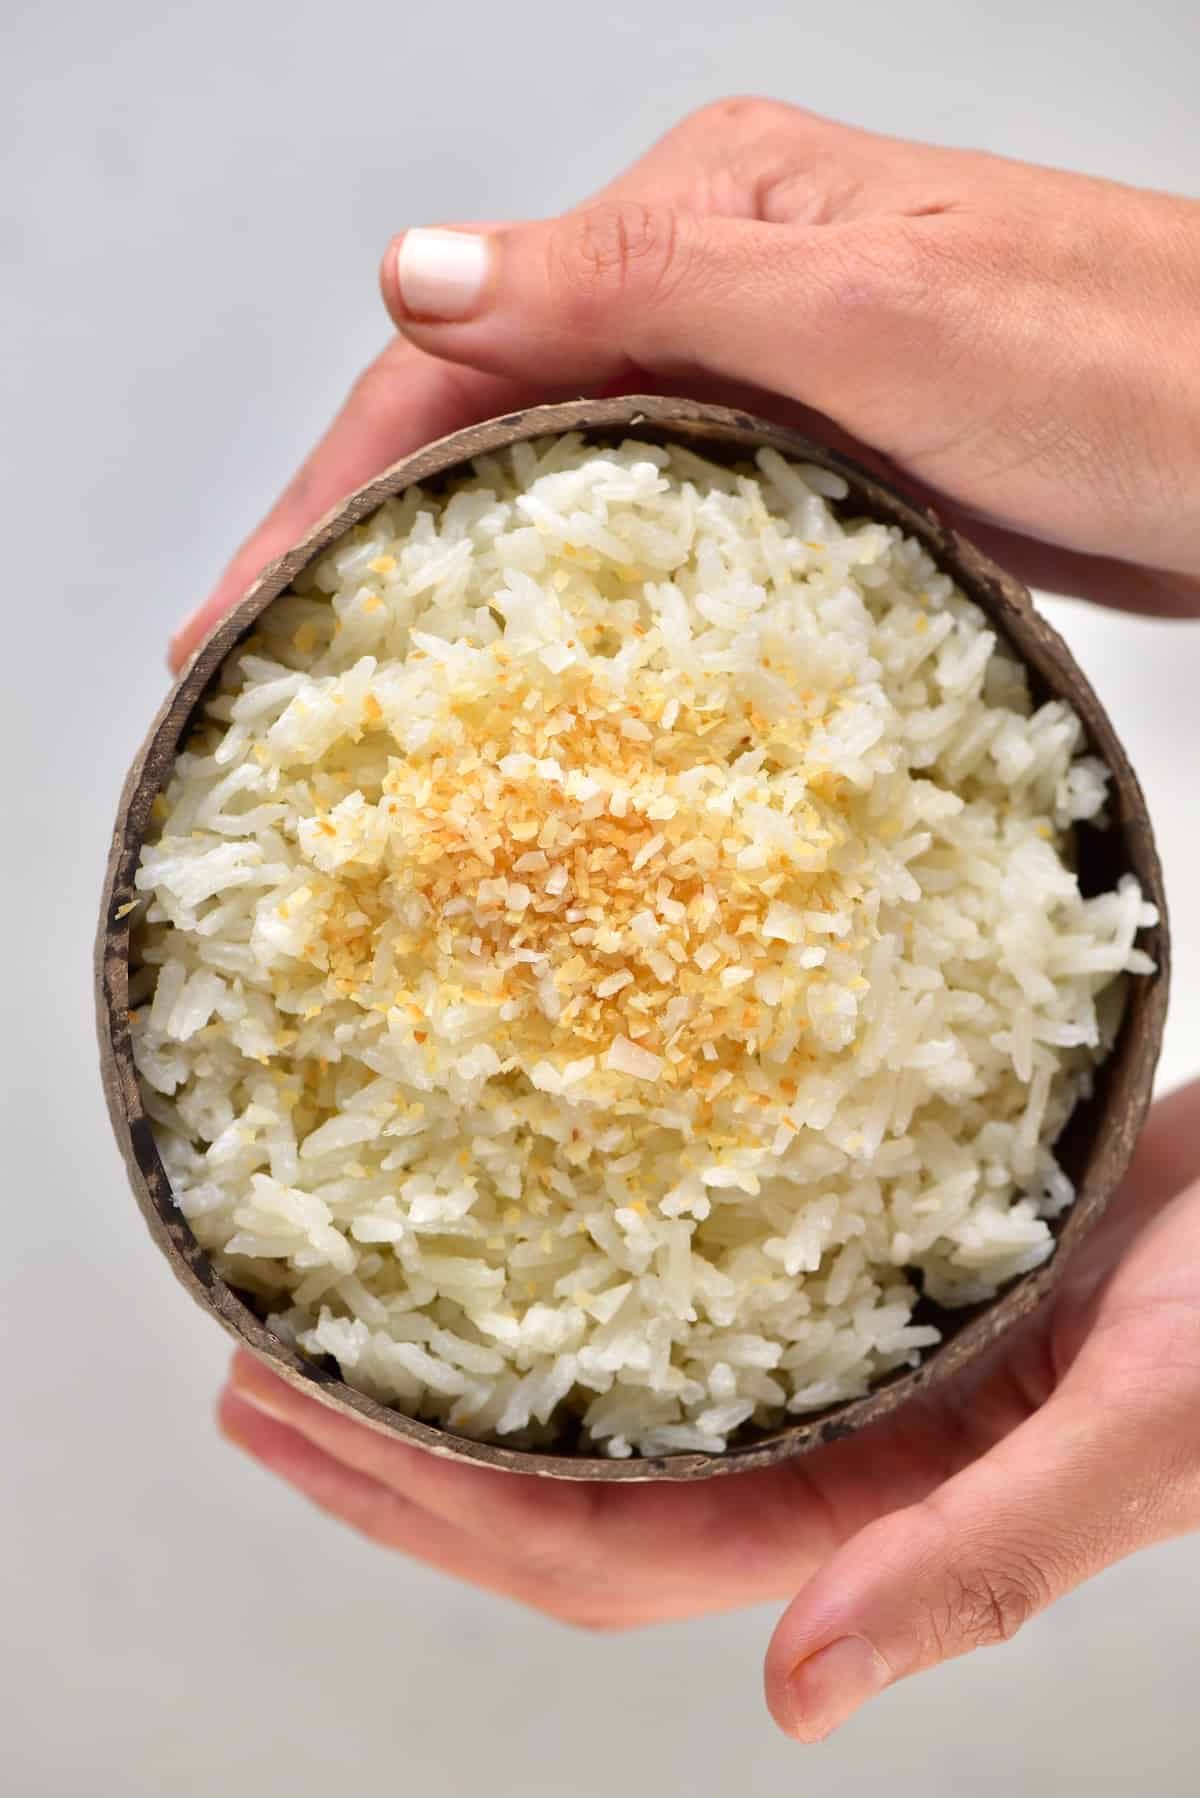
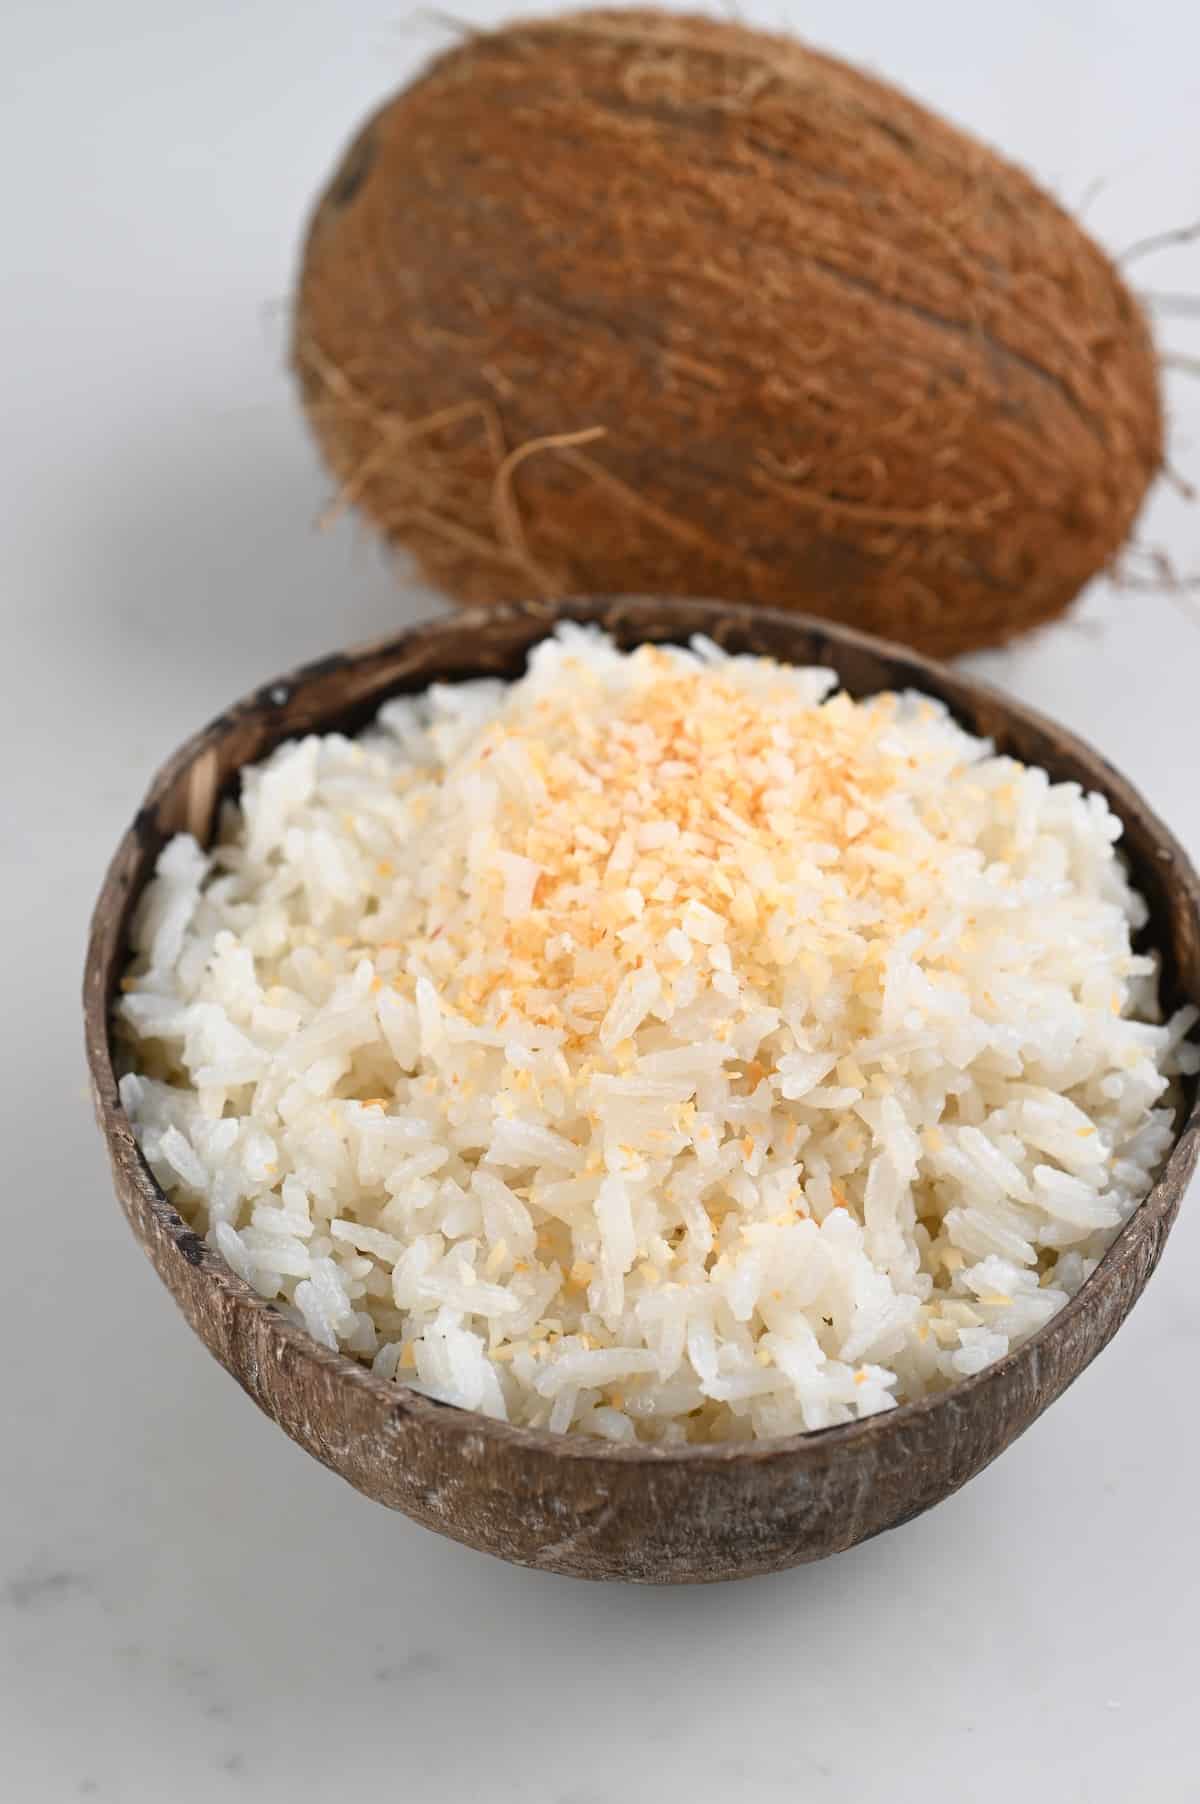
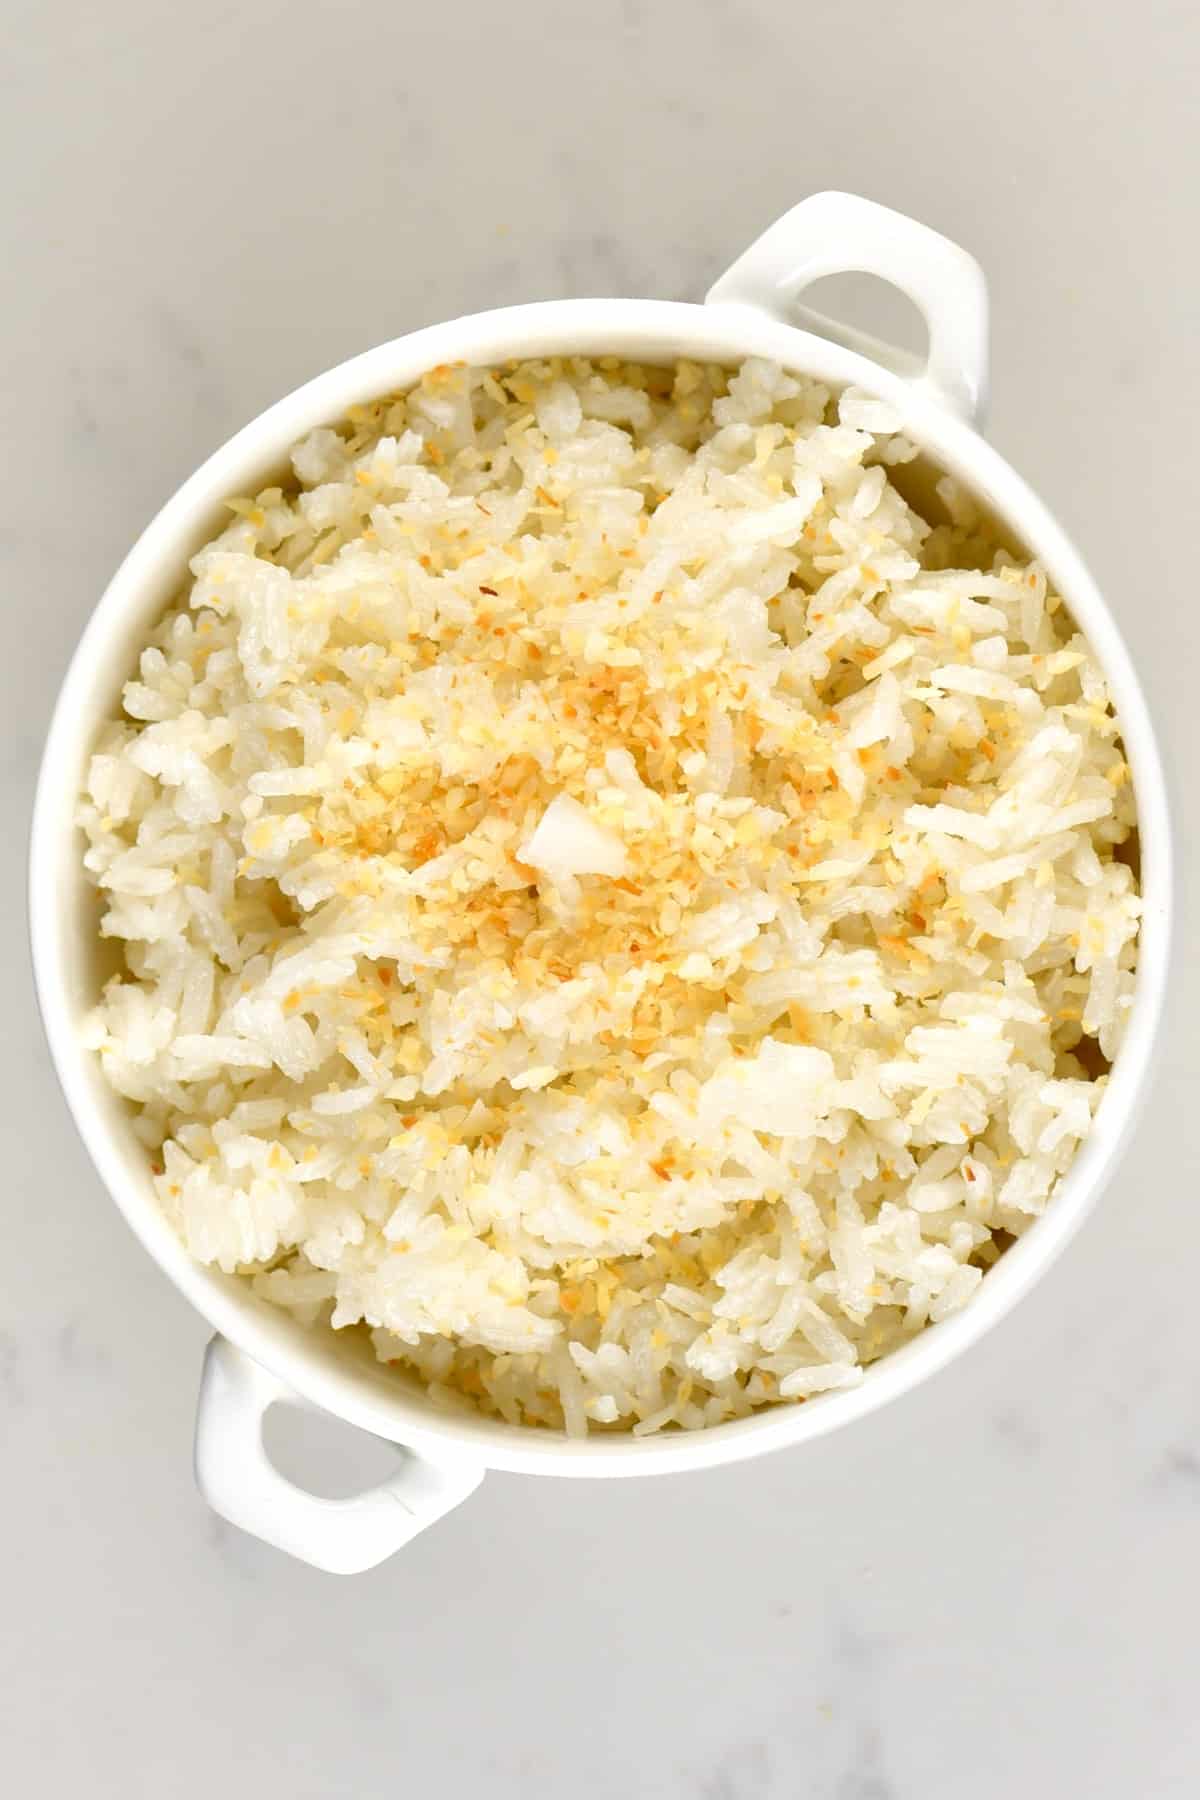
This easy coconut rice recipe will help you to make perfectly fluffy, light, fragrant Thai-inspired coconut rice every single time. It’s made in under 30 minutes and is gluten-free, dairy-free, and vegan!
I have shared blog posts for every single coconut DIY that I could possibly think of, coconut milk included. So now, it’s time to share some of my favorite uses for these ingredients. Enter this Thai-inspired coconut rice!
It is light and fluffy, yet rich, and the perfect accompaniment to a wide array of dishes. Of course, it’s great with a lot of Thai and Asian dishes. But it also works as an alternative to “regular” rice for any meal – especially if you love coconut as much as I do.
Plus, all you need for this coconut milk rice is three base ingredients no special equipment or tools. I do add an “extra” for additional flavor but it’s completely optional. The final cooked rice is slightly sticky, deliciously creamy, and, of course, carries a wonderful coconut flavor.
Want to save this recipe?
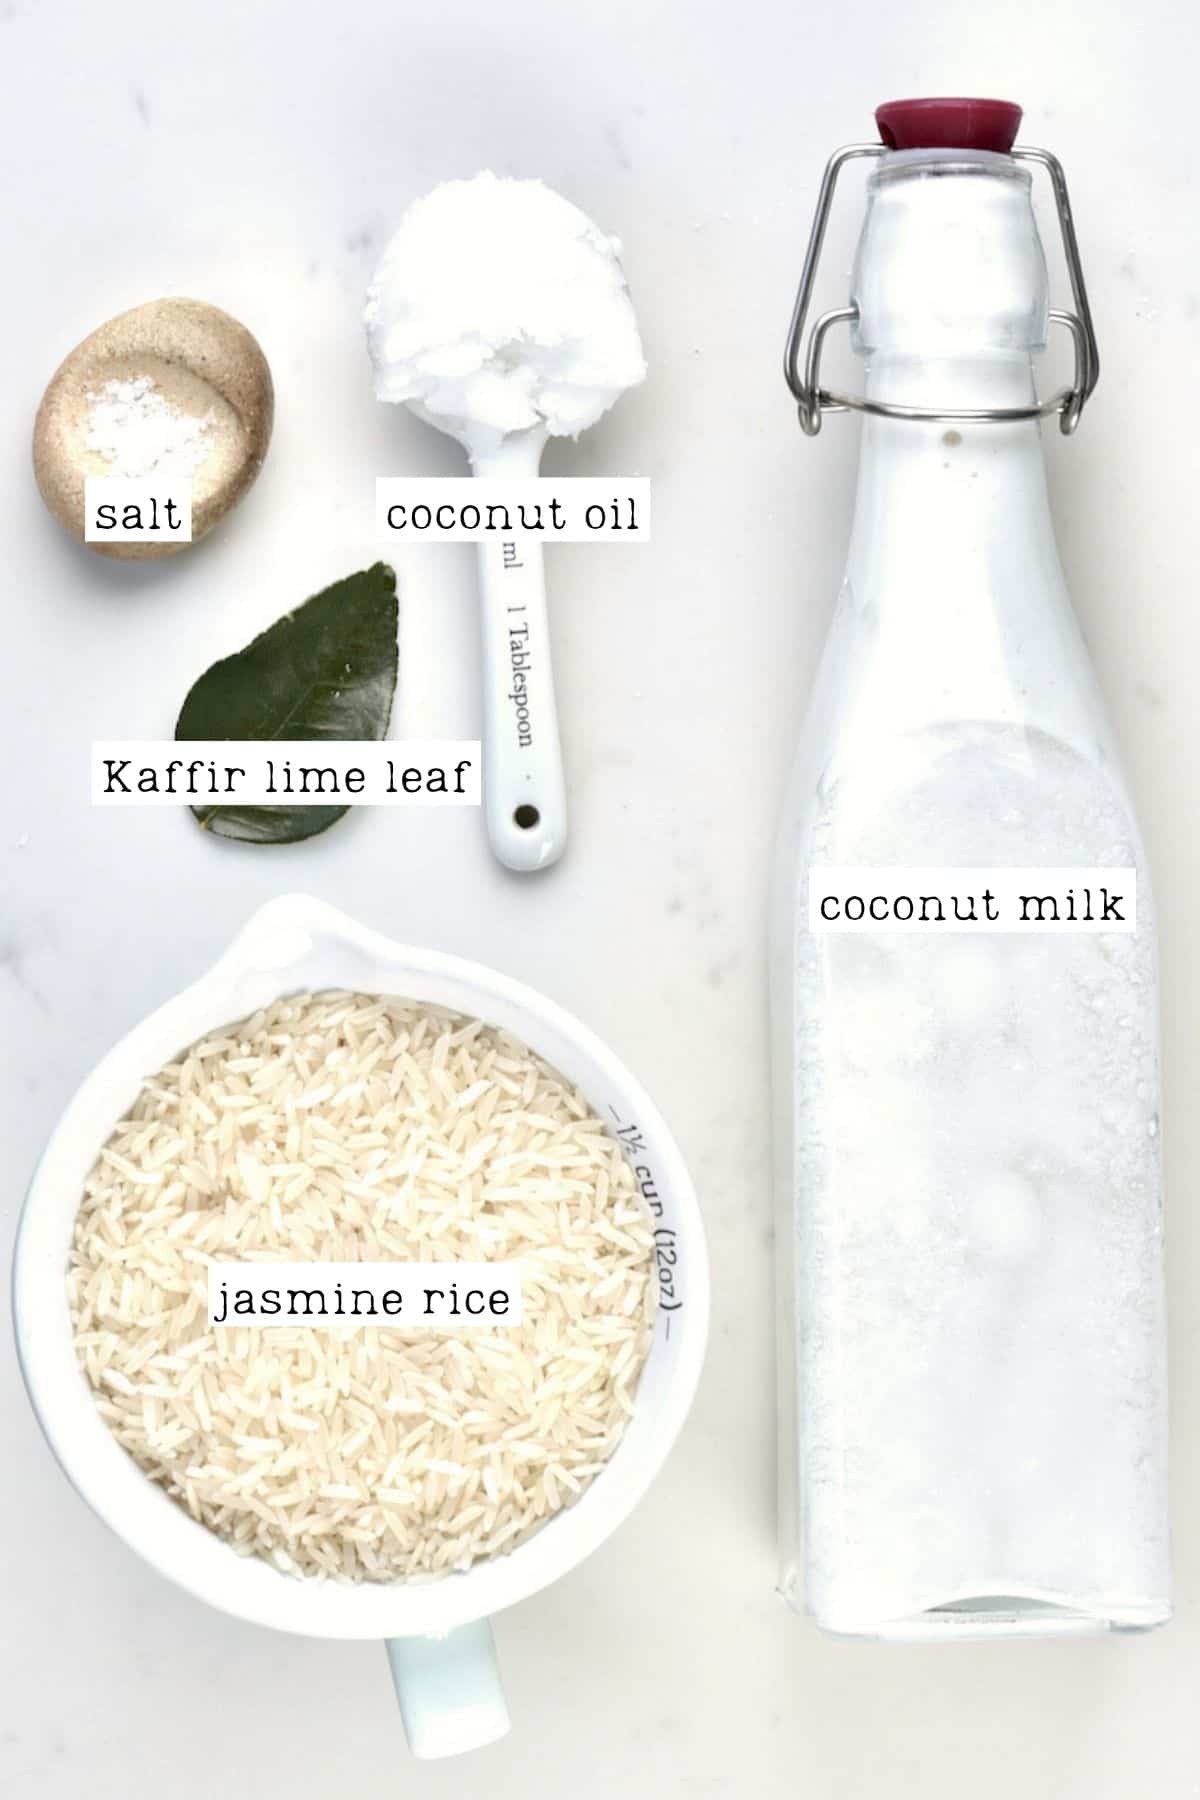
The Ingredients
- Rice: It’s best to use Thai jasmine rice or basmati rice or other long-grain rice. Avoid using short-grain kinds of rice as they take different amounts of time to cook and won’t work perfectly with this method.
- Coconut Milk: I used homemade unsweetened coconut milk. It is made by blending coconut flesh with water and yields lighter results. You can also use canned coconut milk but will need to dilute it with water and it will still be more “decadent”.
- Coconut Oil: By lightly toasting your rice with a bit of coconut oil pre-boiling, you can bring out even more of the natural fragrance within the rice.
- Salt: A pinch of salt to enhance the flavors.
- Kaffir Lime Leaves/Pandan Leaves: This ingredient is completely optional. However, it provides more of that “restaurant quality” feel. Simply tie the leaves in knots, which will help them to release flavor into the rice, and chuck them in the pan while cooking.
Instead of the lime leaves/pandan leaves, you could squeeze some lime juice into the rice or serve it along with some lime slices. Alternatively, serve along with some chopped green onions.
How to Cook the Perfect Coconut Rice
The method for cooking rice with coconut milk is super simple and following it should lead to foolproof results every time.
Rinse the Rice
Rinsing the rice is an absolute must to get fluffy, grainy rice as this will remove the excess starch. If you don’t, then the thick coconut milk can turn your rice into a bit of a gooey mess.
My preferred method for rinsing is to add the rice and some water to a large bowl and rub the rice between my fingers. I then drain the rice and repeat 3-4 times until the water runs “almost clear”. The discarded water can be used to water plants.
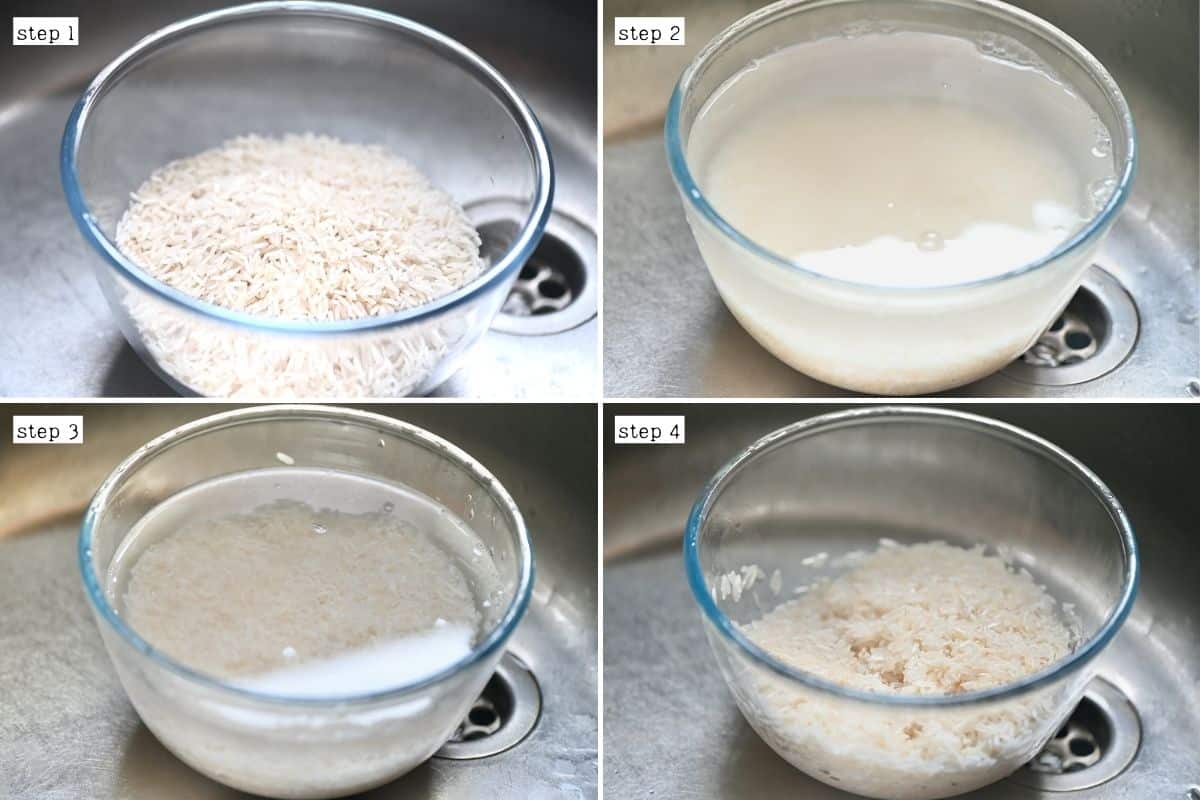
You can also place the rice in a fine mesh sieve and rinse it under running water until it runs clear. However, this method uses a lot of water – so I tend to avoid it.
Toast the Rice
Next, toast (sauté) the rice. Add the coconut oil to a medium saucepan and allow it to melt over medium heat. Add the rice and saute lightly for a minute or two. You’re not trying to “cook” the rice or “brown” it in any way, but the heat will lightly toast it to add extra flavor.
Cook the Rice
It’s time to cook the rice. In the same saucepan, add the coconut milk and salt (and optionally the knotted pandan leaves/kaffir lime leaves). Mix lightly and then place the lid on the pot.
Chef’s Tip: If using canned coconut milk, then add the milk along with water.
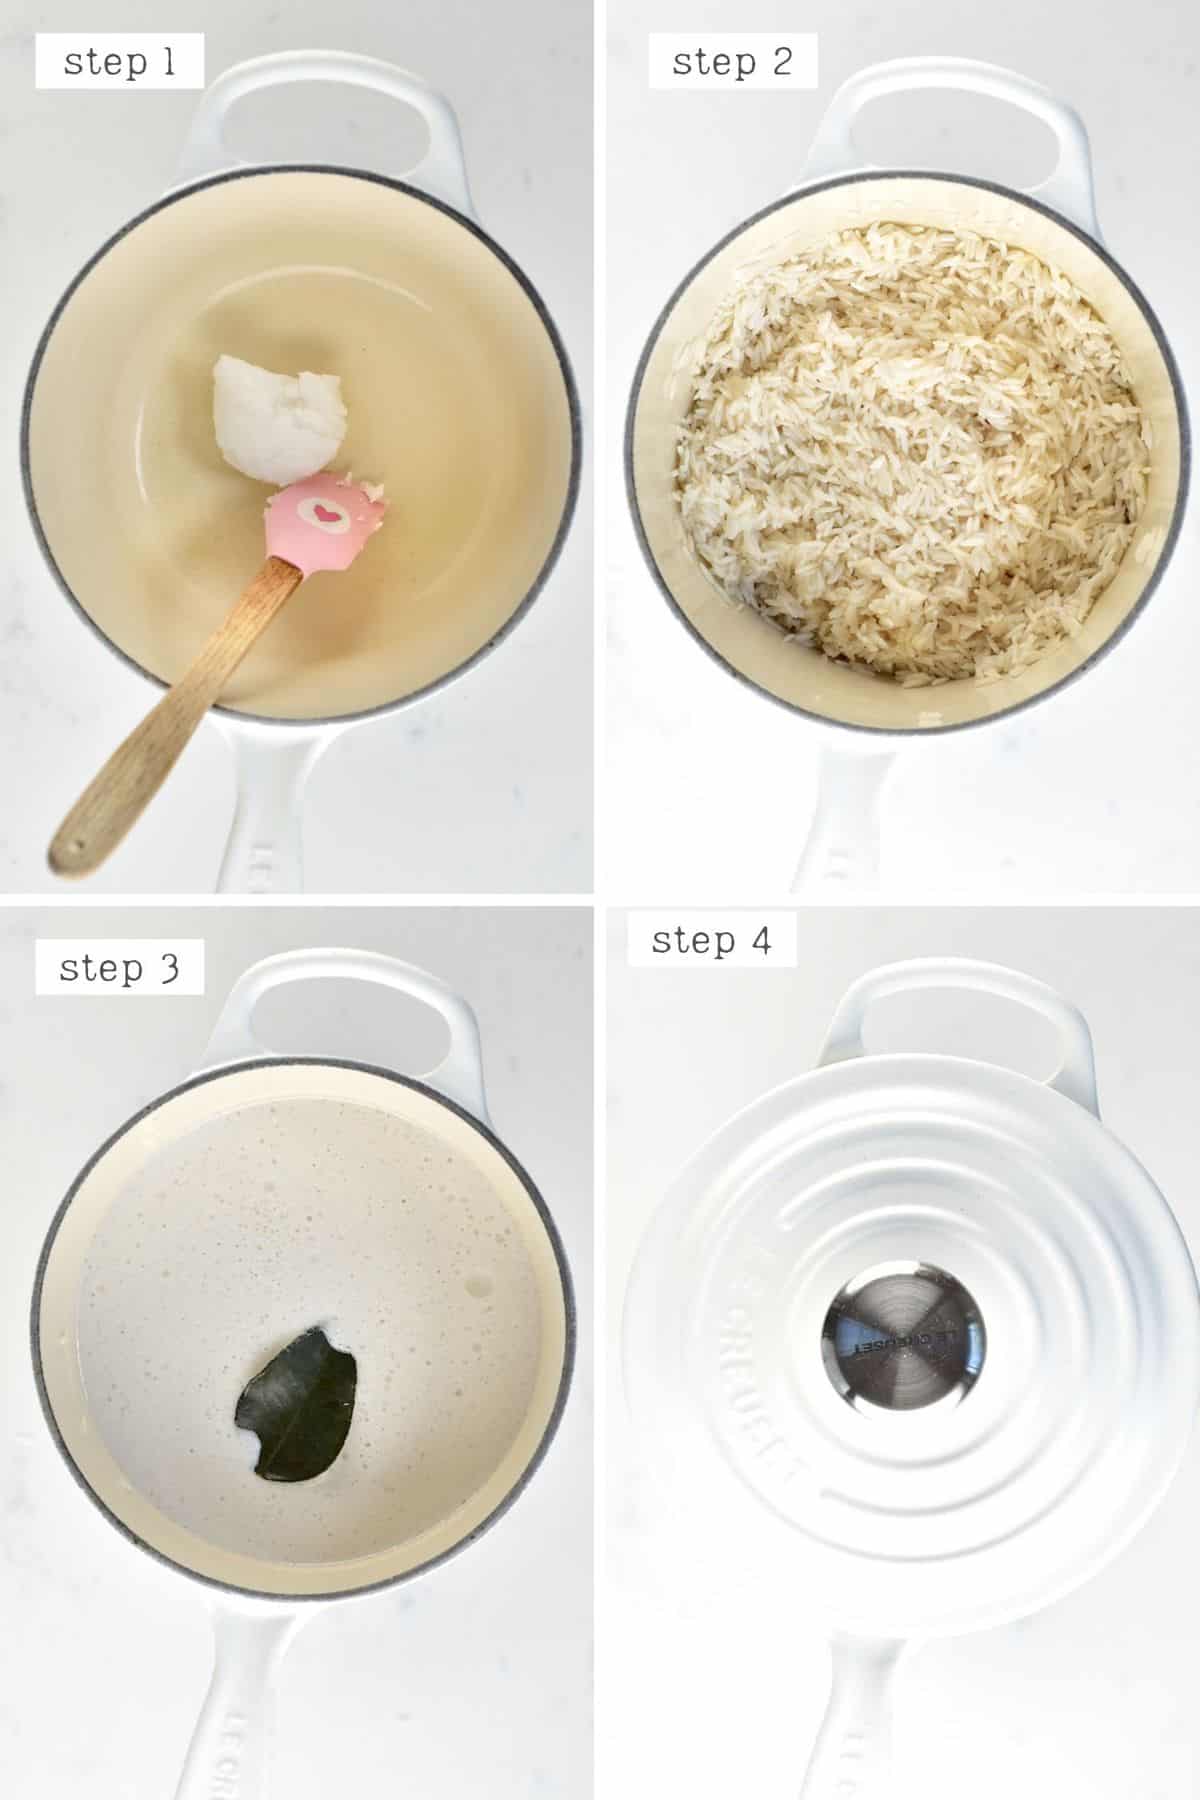
Bring to a boil over high heat, stir once, and then quickly reduce the heat. Allow to simmer with the lid on until the liquid has (almost) fully absorbed. This usually takes around 15 minutes but may vary depending on your pot and heat level.
Leave It Alone
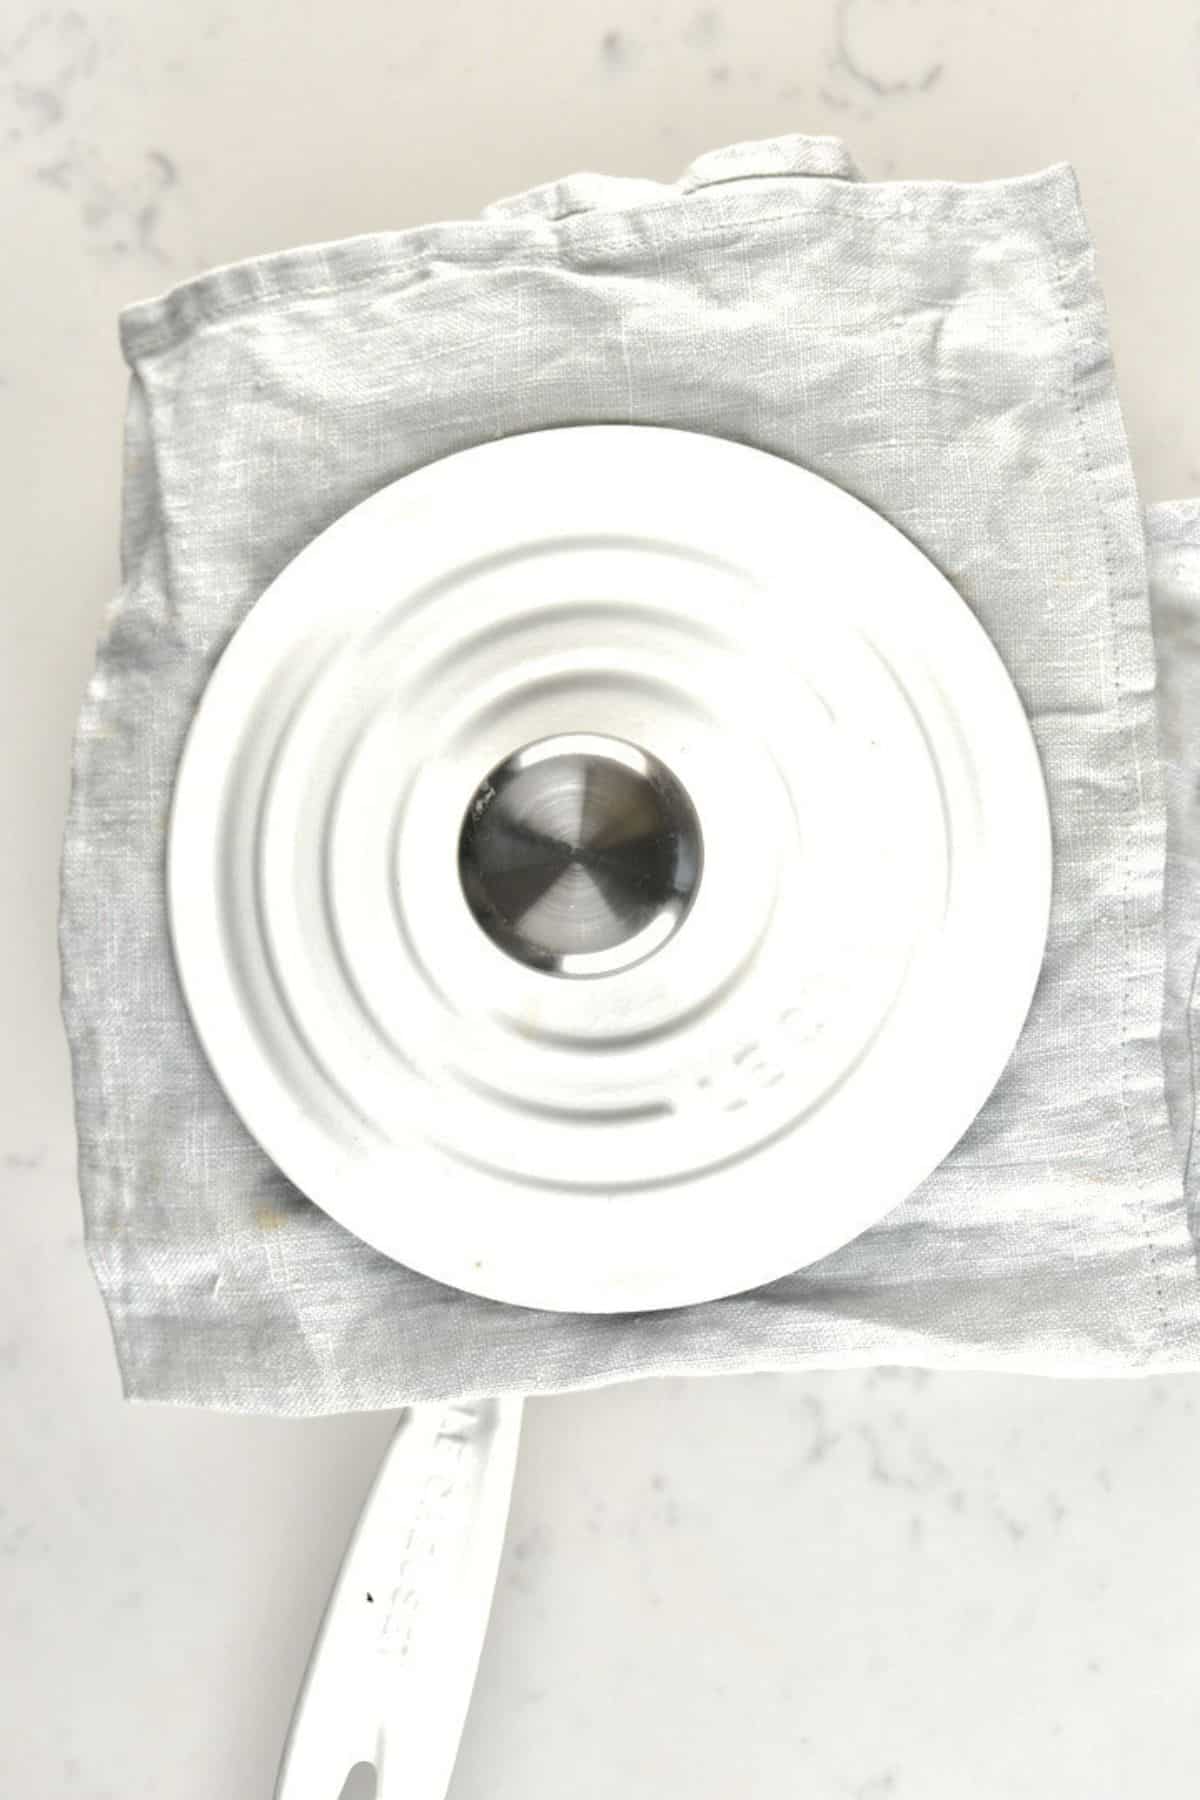
The secret to fluffy coconut rice is steaming it once it’s done cooking. Remove the pan from the heat and leave it covered to steam for a further 10 minutes. This will allow the rice to absorb any excess moisture and become fluffy.
I like to add a towel between the lid and pot during this process. The towel will capture the condensation to stop it from gathering on the lid and then falling back down onto the top of the rice.
Fluff the Rice
Finally, fluff the rice. Use a fork to fluff up the rice and add any further seasonings – salt, pepper, lime juice, or even a little sugar. Top with herbs like green onions or chopped cilantro, if preferred, and serve immediately.
How to Serve Coconut Rice
My favorite way to serve this rice with coconut milk is alongside Thai Green Curry or Thai Red Curry. It can also be your go-to side dish to other Thai and Jamaican dishes.
It also makes for a perfect side dish alternative to your “usual rice” for tons of meals:
- Serve alongside chicken skewers, grilled chicken, fish, curry dishes, or stir-fried vegetables or snow peas recipe. The creamy coconut flavor will pair well with the savory dishes.
- Use it to create a one-bowl meal, like a Buddha bowl with grilled salmon or your favorite protein and veggies.
- Stuff bell peppers or other vegetables (tomatoes, zucchini, eggplant) with it.
- Use it to make spring rolls.
More Simple Rice Recipes
If you try this jasmine coconut rice recipe, let me know how it goes in the comments below. I’d appreciate a recipe card rating and would love to see your recipe recreations – tag me on Instagram @Alphafoodie!
How to Cook the Perfect Coconut Rice
Ingredients
- 1½ cups Jasmine rice a long-grained white rice is best, though basmati will also work
- 2¼ cups coconut milk homemade OR 1 can full-fat coconut milk plus 1/3 cup water
- 1 Tbsp coconut oil
- 1/2 tsp salt or to taste
- kaffir lime leaves or Pandan leaves – optional, for additional flavor, knotted
Instructions
- Rinse the rice by adding it and some water to a large bowl. Rub the rice between your fingers. Dain and repeat 3-4 times until the water runs "almost clear". The discarded water can be used to water plants.Alternatively, rinse the rice in a sieve under running water until it runs clear. However, this method uses a lot of water
- Add the coconut oil to a medium saucepan and allow it to melt over medium heat. Add the rice and saute lightly for a minute or two. You're not trying to "cook" the rice or "brown" it, but the heat will lightly toast it to add extra flavor.
- In the same saucepan, add the coconut milk and salt (and optionally the knotted pandan leaves/kaffir lime leaves). Mix lightly and then place the lid on the pot. If using canned coconut milk, then add the milk along with water.
- Bring to a boil over high heat, stir once, and then quickly reduce the heat. Allow to simmer with the lid on until the coconut milk has (almost) fully absorbed. This usually takes around 15 minutes but may vary depending on your pot and heat level.
- Remove the pan from the heat and leave it covered to steam for a further 10 minutes. I like to add a kitchen towel between the lid and rice while steaming. It will capture the condensation to stop it from gathering on the lid and then falling back down onto the top of the rice.
- Fluff the rice. Use a fork to fluff up the rice and add any further seasonings – salt, pepper, lime juice, or even a little sugar. Top with herbs like green onions or cilantro, if preferred, and serve immediately.
Storage Information
- Any leftovers will keep fresh in an airtight container in the refrigerator for 3-5 days. You can also freeze them for up to three months.When thawing and re-heating you may need to add a little extra water or coconut milk back to the rice.
Video
Notes
- If using canned coconut milk, this ratio works best: 1 can (the whole can not just the cream) + around 1/3 cup of water to 1.5 cups of rice. Also, you may end up with a thin layer of cream “scum” on top of the rice once cooked. This can be stirred into the rice. I haven’t had the same issue with homemade coconut milk.
- Don’t skip the final steaming time, as this really helps to achieve the perfect texture.
- Use a pan with a tight-fitting lid, to properly steam the rice.
Nutrition
Nutrition information is automatically calculated, so should only be used as an approximation.


