
This post may contain affiliate links. Please read our disclosure policy.

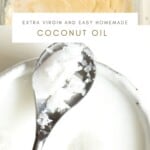

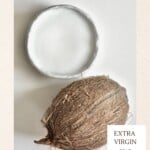
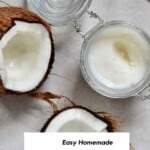

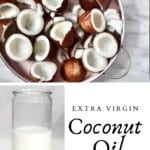
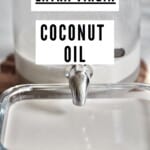
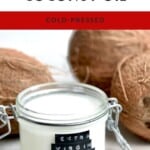
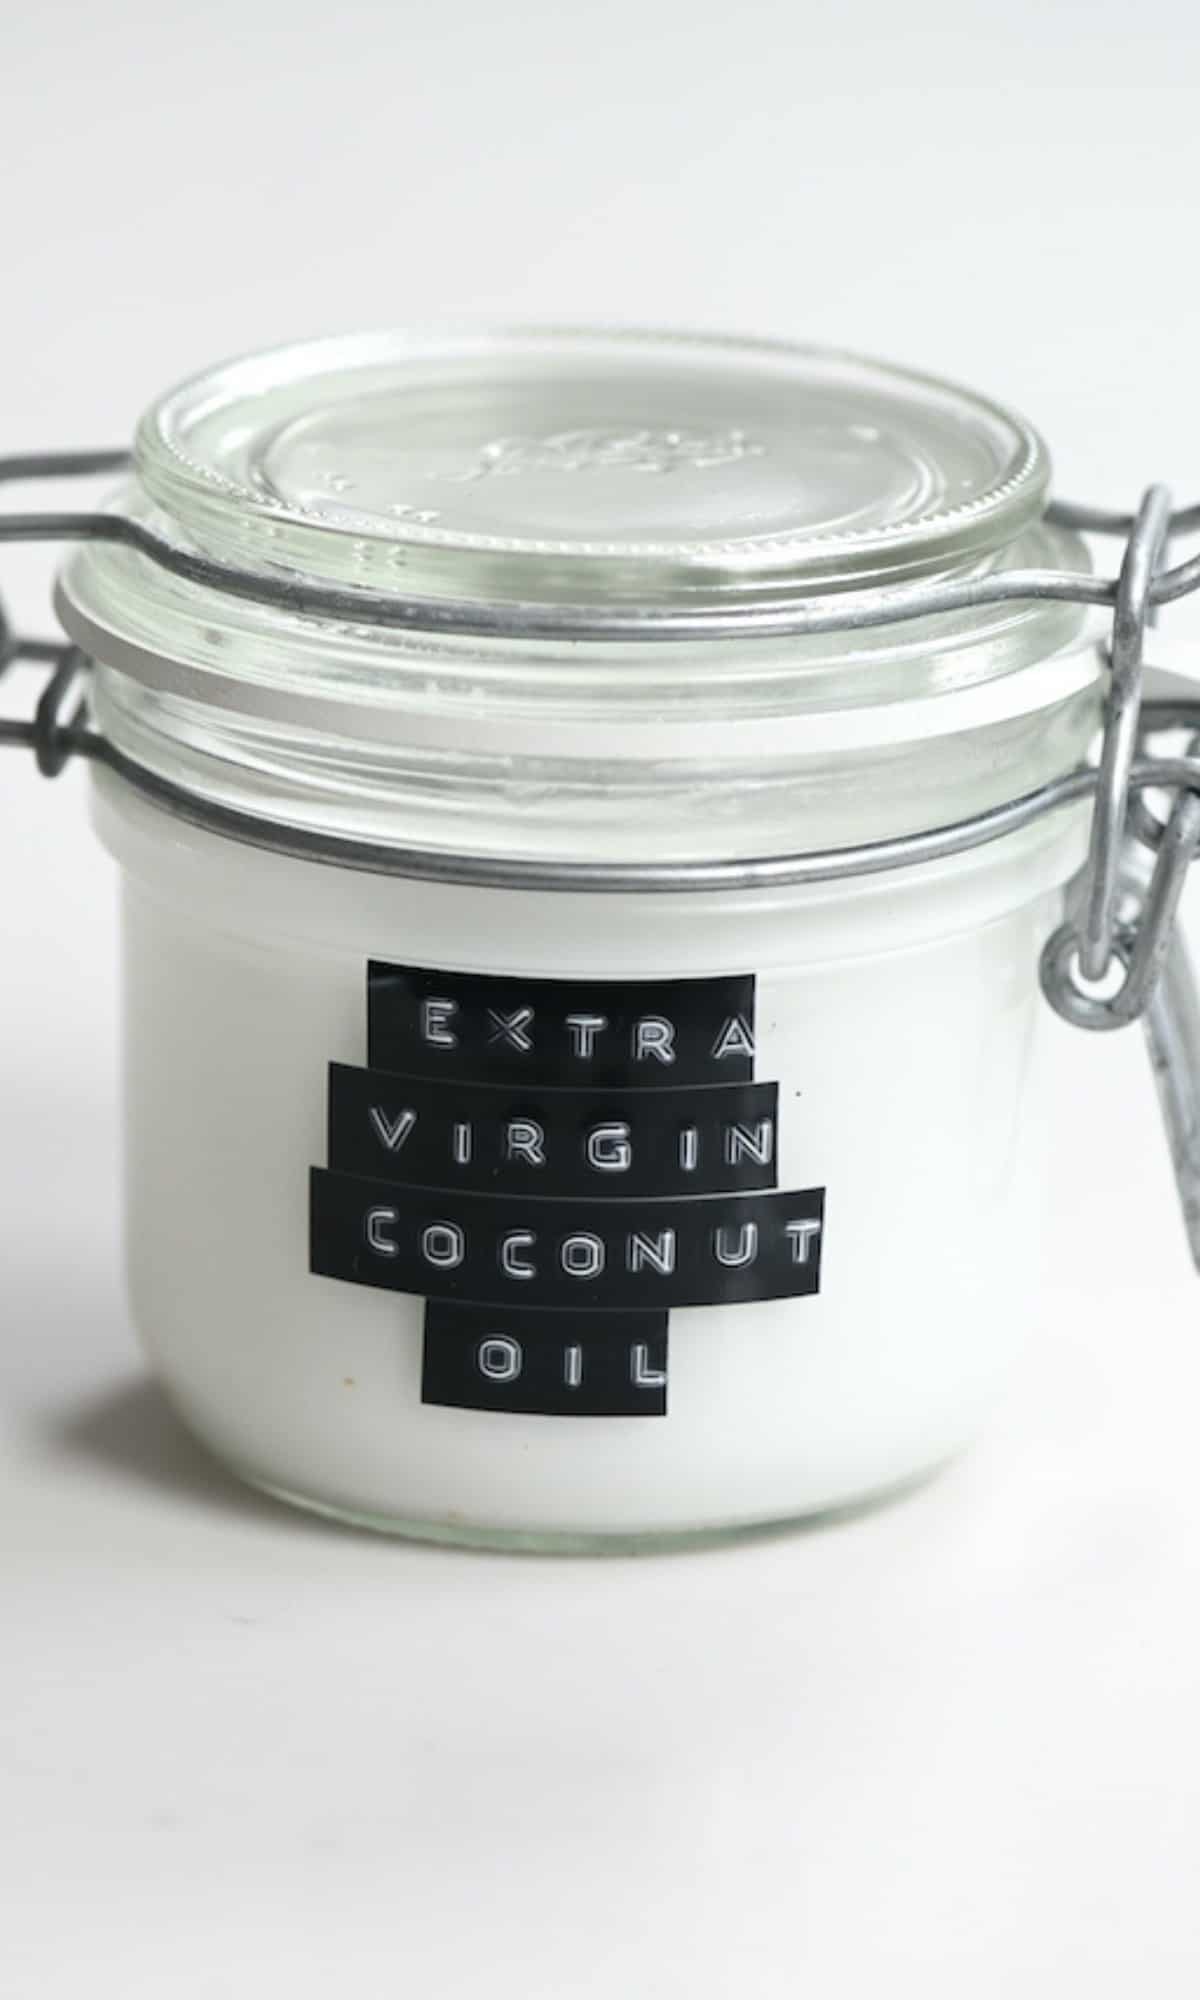
A super simple DIY for homemade extra virgin coconut oil – an unrefined cold-pressed coconut oil made from just one ingredient and far more cost-efficient than store-bought options!
I already have a simple DIY for homemade Virgin coconut oil, but here I am again. This time, with a super simple method for making extra virgin coconut oil – using a heat-free cold-pressed coconut oil simple process. This process uses just one ingredient, is easy to do, is more cost-effective than many store-bought options, and is completely unrefined.
First of all, let’s get into exactly what virgin coconut oil is, why I refer to this as extra virgin coconut oil, what is cold-pressed coconut oil, and the difference between the various types. I’ll follow that up with how to make coconut oil with a heat-free method. I’ll also include a list of uses and recipes for your fresh-made unrefined coconut oil.
Want to save this recipe?
Virgin vs Extra Virgin Coconut oil
Okay, I have a bit of an admission – extra virgin coconut oil isn’t really ‘a thing’. Other than in marketing speak, that is. Unlike with olive oil, where there is a marked difference in the production method of virgin vs extra virgin oil, the same can’t be said for coconut oil.
However, as this method uses less heat than my Virgin method, extra virgin seemed fitting. In fact, coconut oil only starts to break down at about 50ºC/122ºF, anything under can technically be labeled cold-pressed.
The question that’s probably best answered is what is refined vs unrefined coconut oil?
There are several characteristics that separate refined and unrefined coconut oil (i.e. virgin coconut oil). In the case of coconut oil unrefined doesn’t necessarily mean that no heat has been applied.
Unrefined (Virgin and Extra Virgin/Cold-Pressed)
These are the characteristics of unrefined coconut oil:
- Completely unrefined – not bleaches, deodorized, etc.
- No chemicals used
- Made from fresh coconut meat instead of the dried ‘copra’
- Often cold-pressed, although not always
- Antioxidant nutrition is maintained during the extraction process.
In comparison, refined coconut oil may have a very little coconut flavor, has often been run through a ‘centrifuge’ machine to ‘clean up’ the oil, and doesn’t contain some of the same nutritional value of unrefined and cold-processed coconut oil. It is also usually made at higher-heat temperatures.
The bottom line
There isn’t really a difference between virgin and extra virgin coconut oil. However, the less ‘refining’ used in the process of making the oil, means a higher quality end product.
The Step By Step Instructions
Step 1: Prepare coconut cream
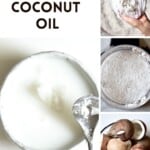
First, start by making coconut cream. This time around, I used the food processor method – see the image below. I know that a food processor is more accessible to most; however, the juicer method will be faster and yield better results.
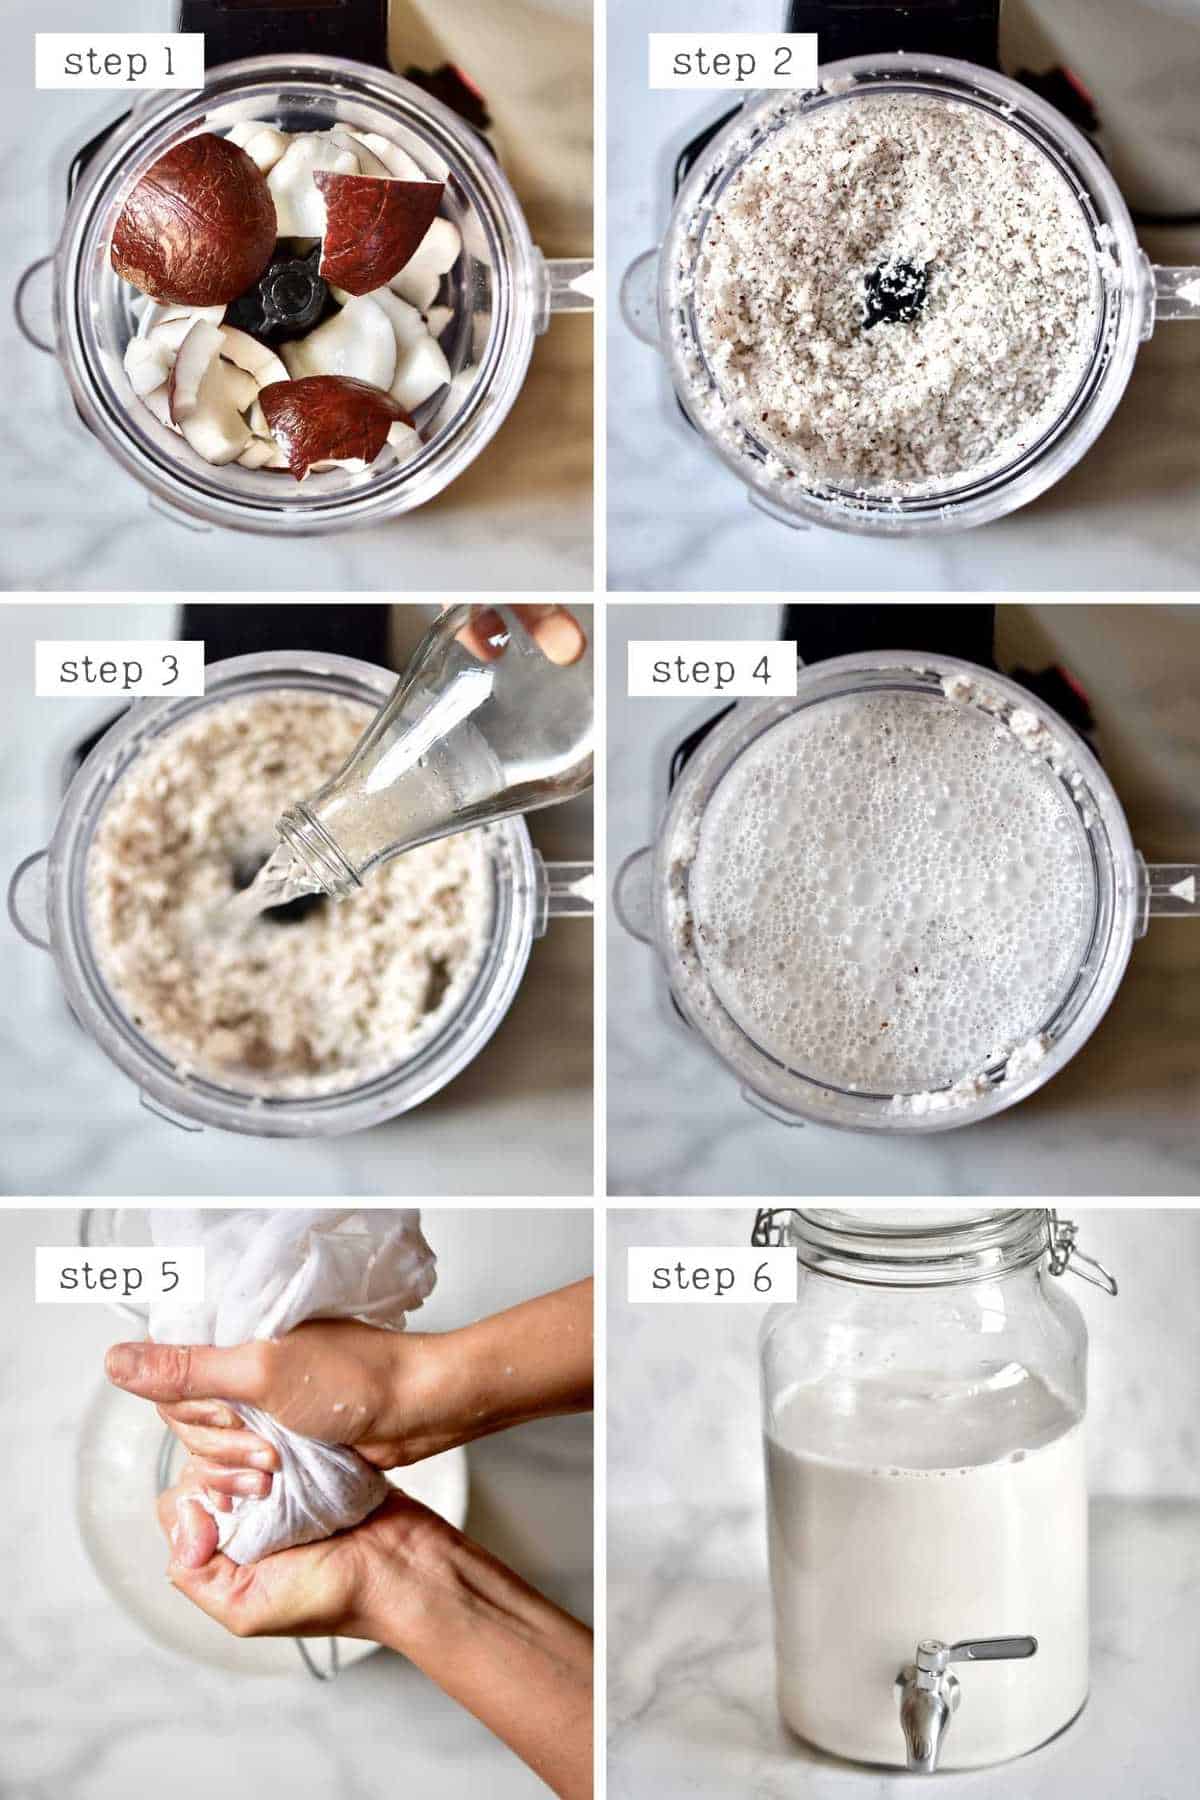
Once the coconut cream is ready, pour it in your designated container.
Step 2: Ferment the coconut cream to produce oil
Next, it’s time to ‘ferment’ the cream in order to get rid of excess water and separate the curds from the oil. You can pour the coconut cream into a bowl or jar, cover it, and keep it in a warm spot for 1-2 days. You can also wrap it with a big towel or a blanket. This is a method similar to when making yogurt – we are looking for a slightly warm environment (35-40ºC/95-105ºF) that will help with fermenting the coconut in order for the oil to separate.
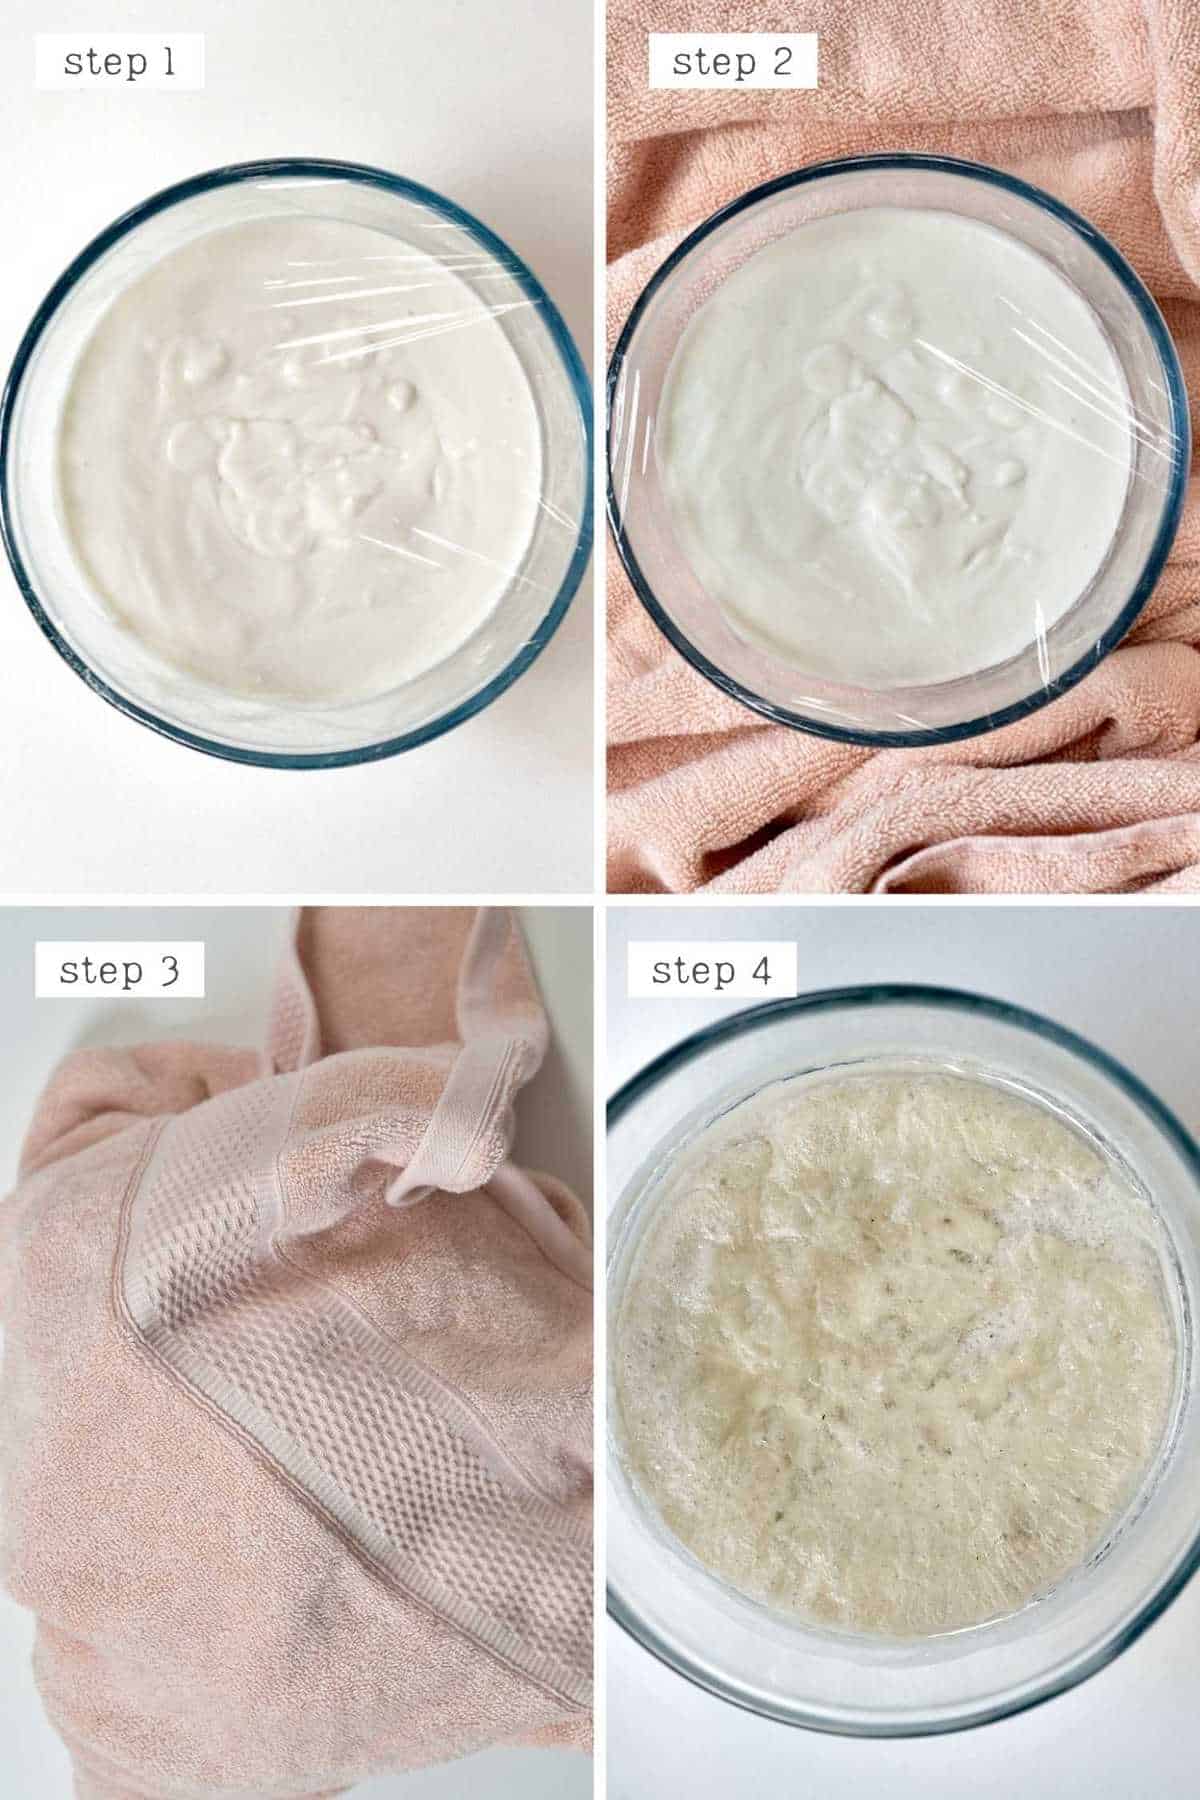
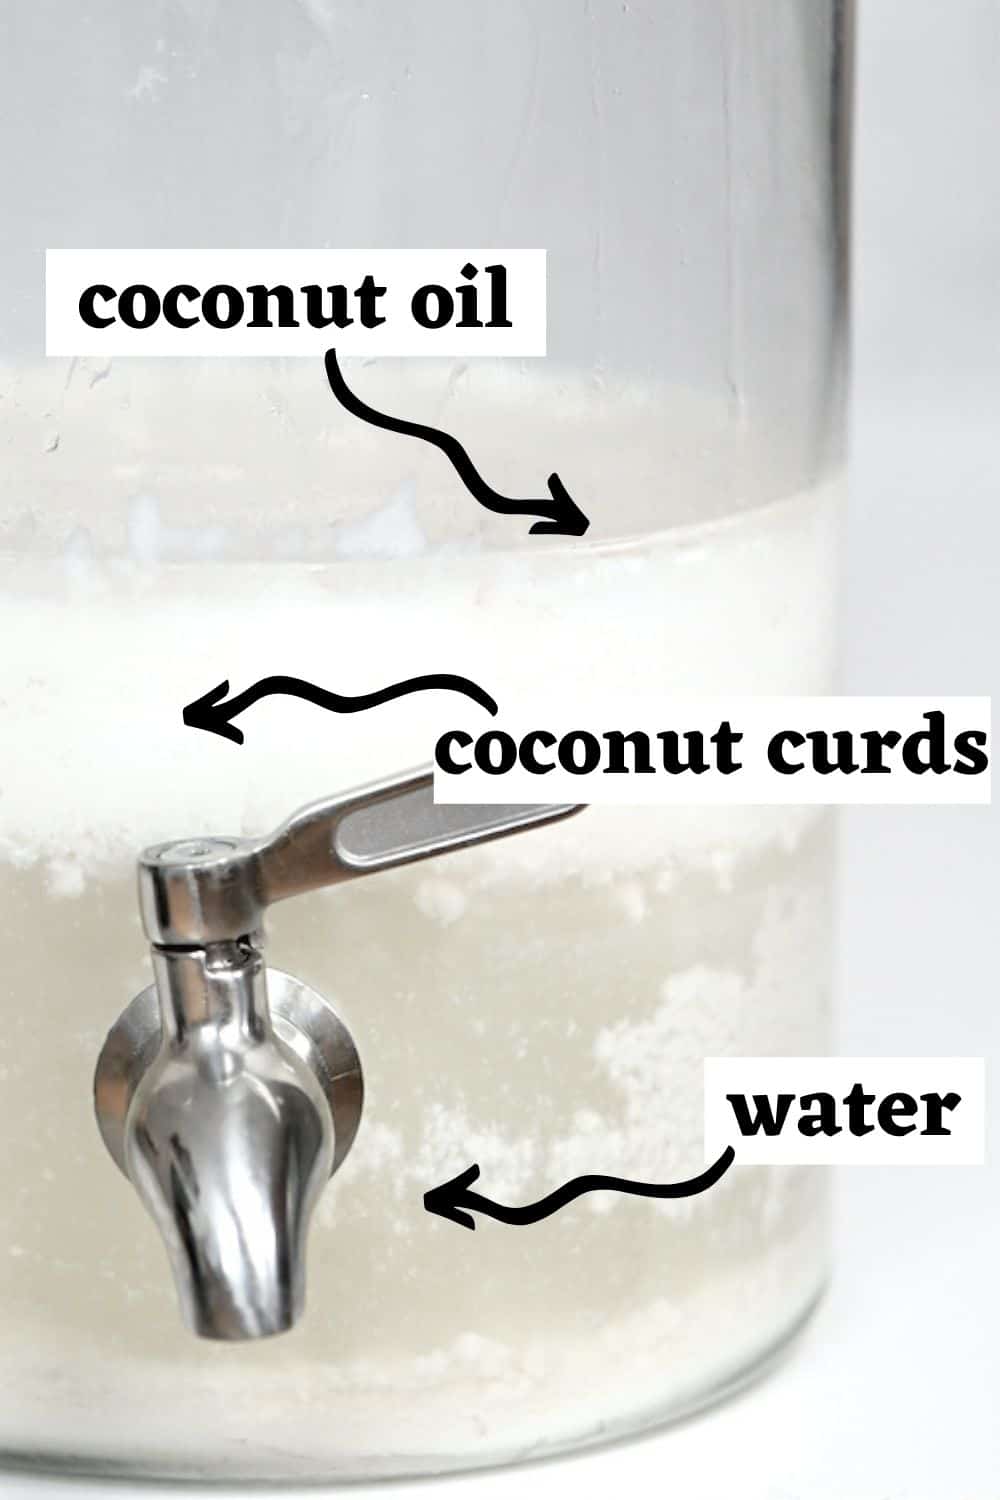
After a while, curds and oil will become separated. The oil will be on top, the coconut curds will be in the middle. At the bottom of your container, you will have some mirky water which you can discard or use in soups. Keep in mind that the water will have a slightly fermented flavor.
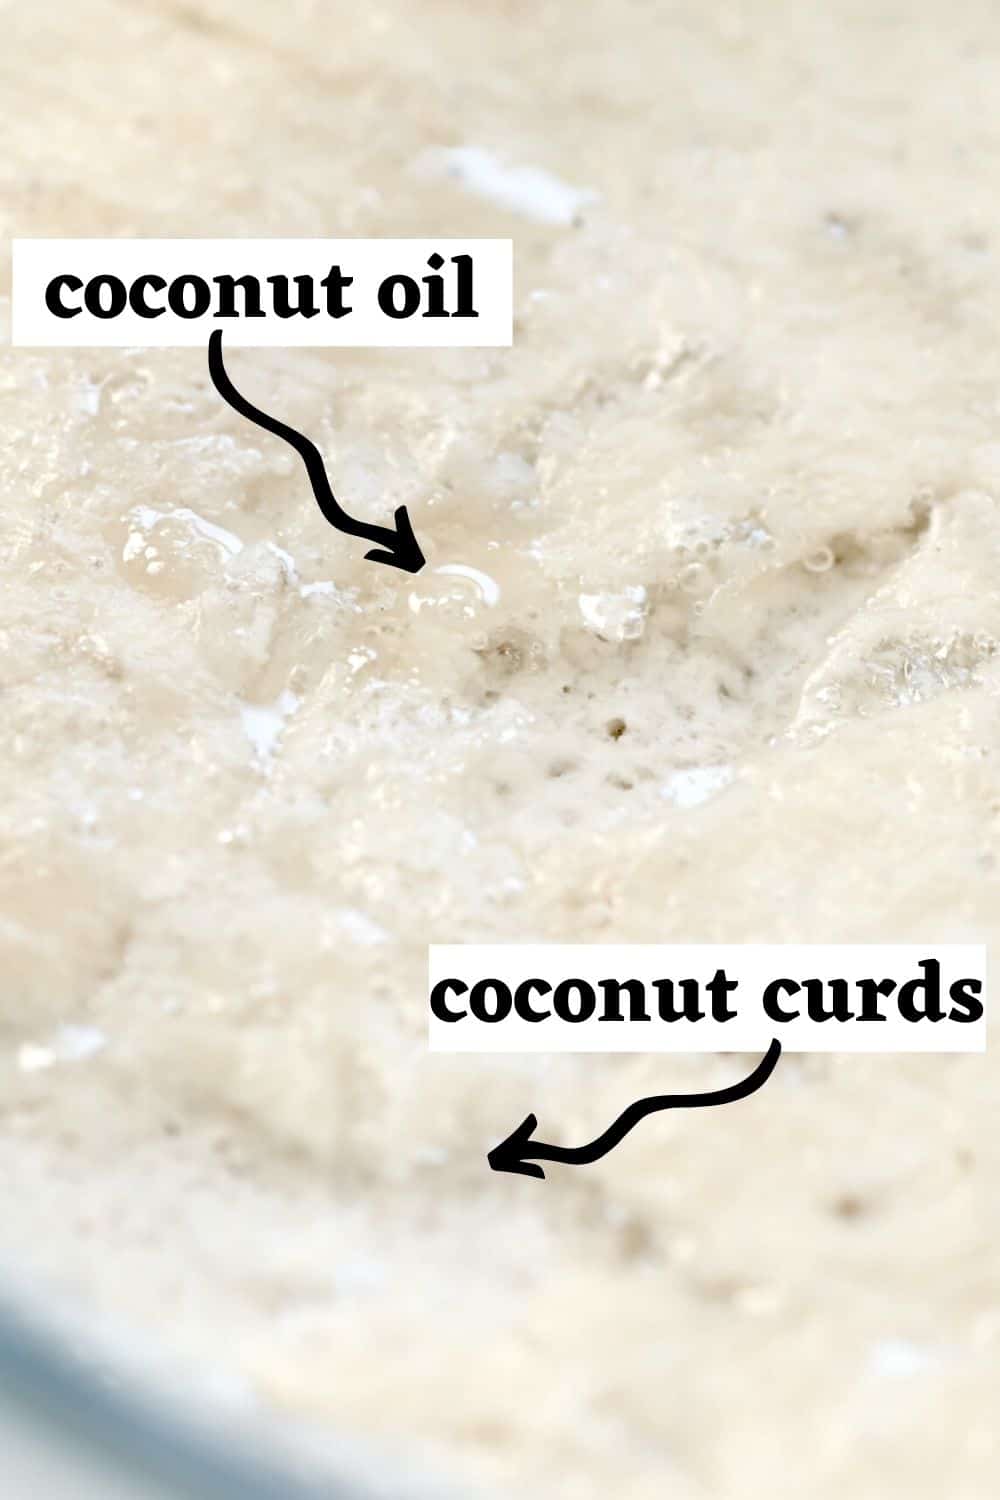
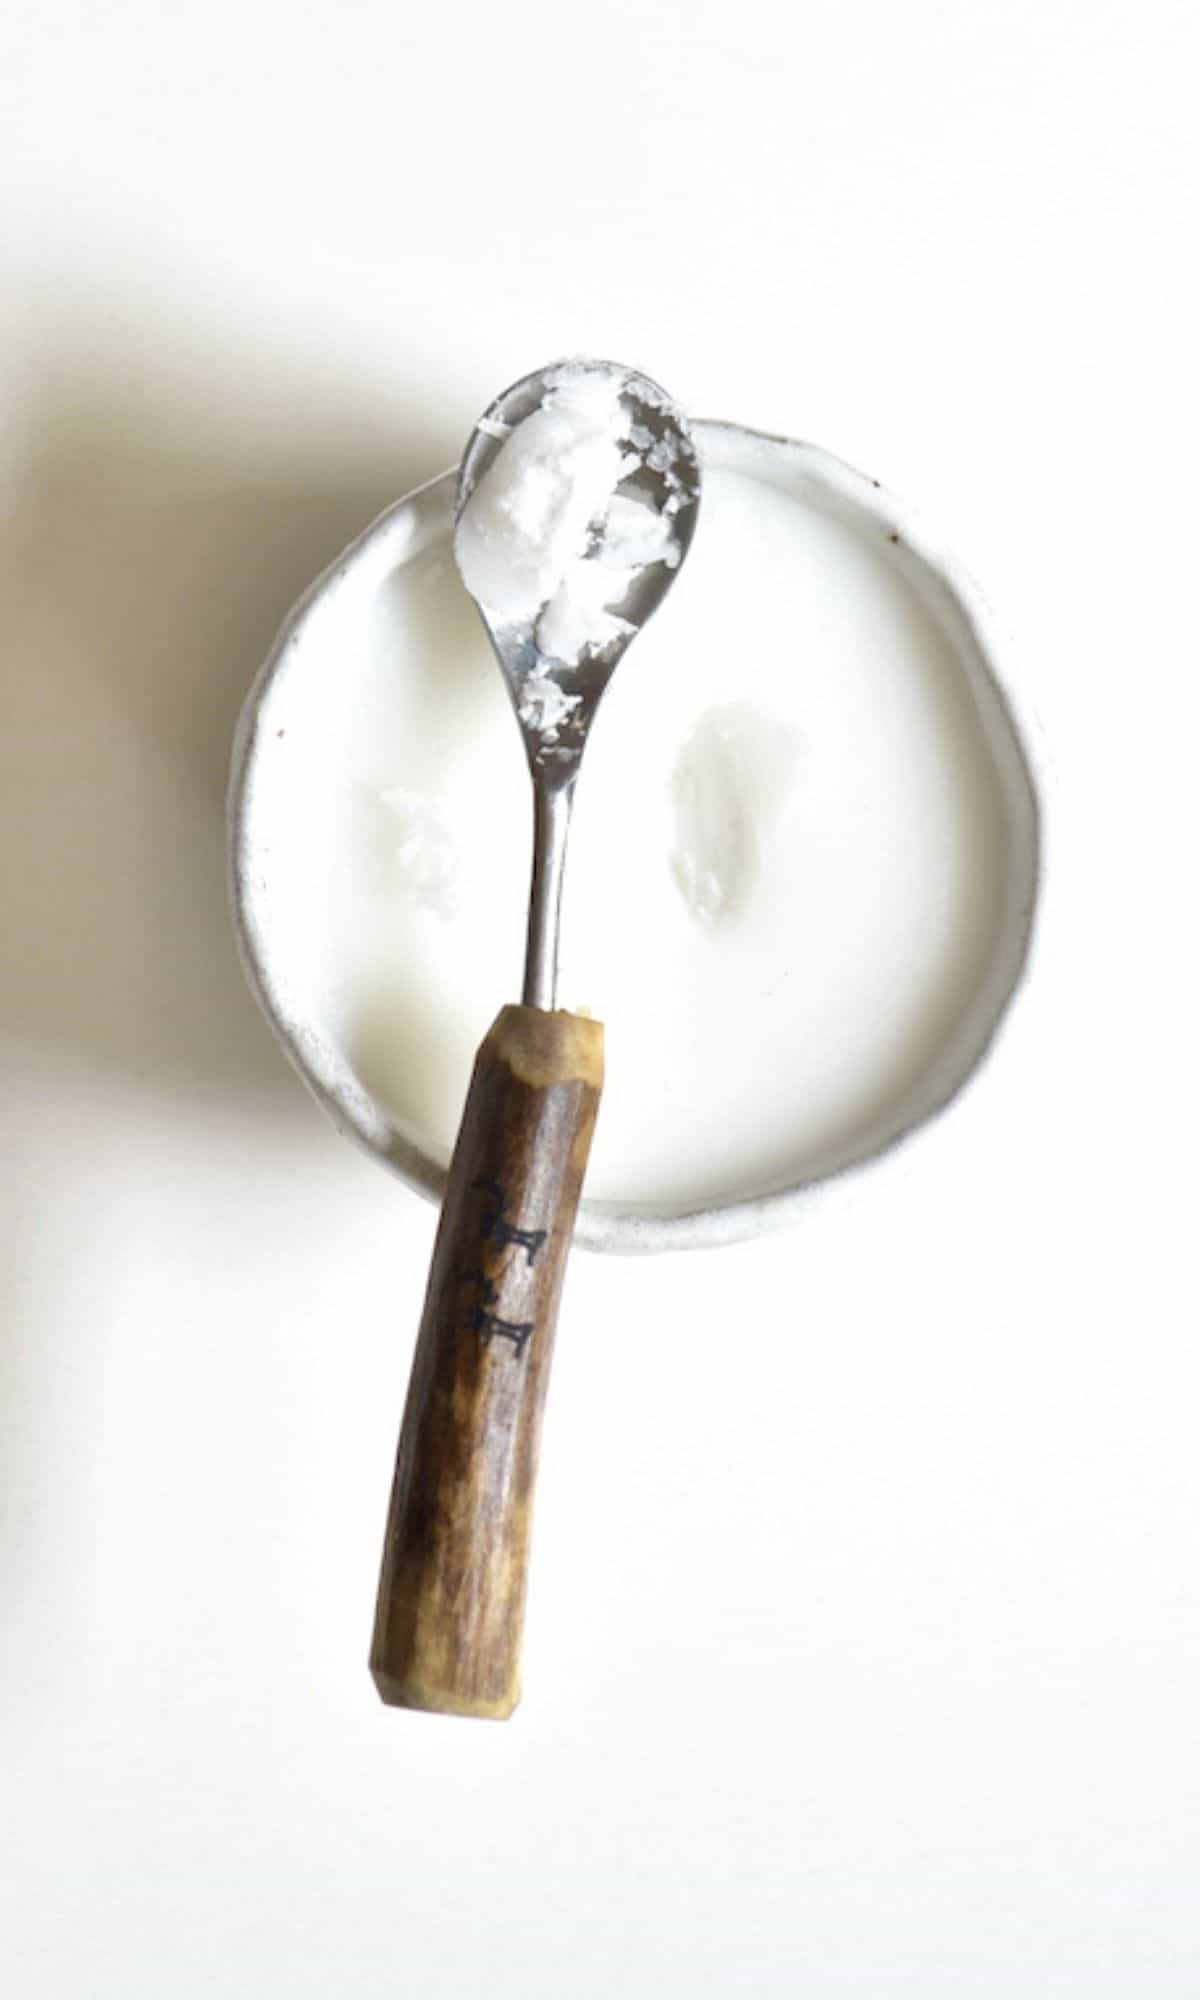
Step 3: Remove/Filter the cold-pressed coconut oil
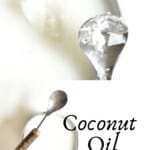
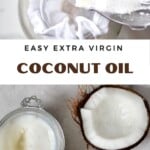
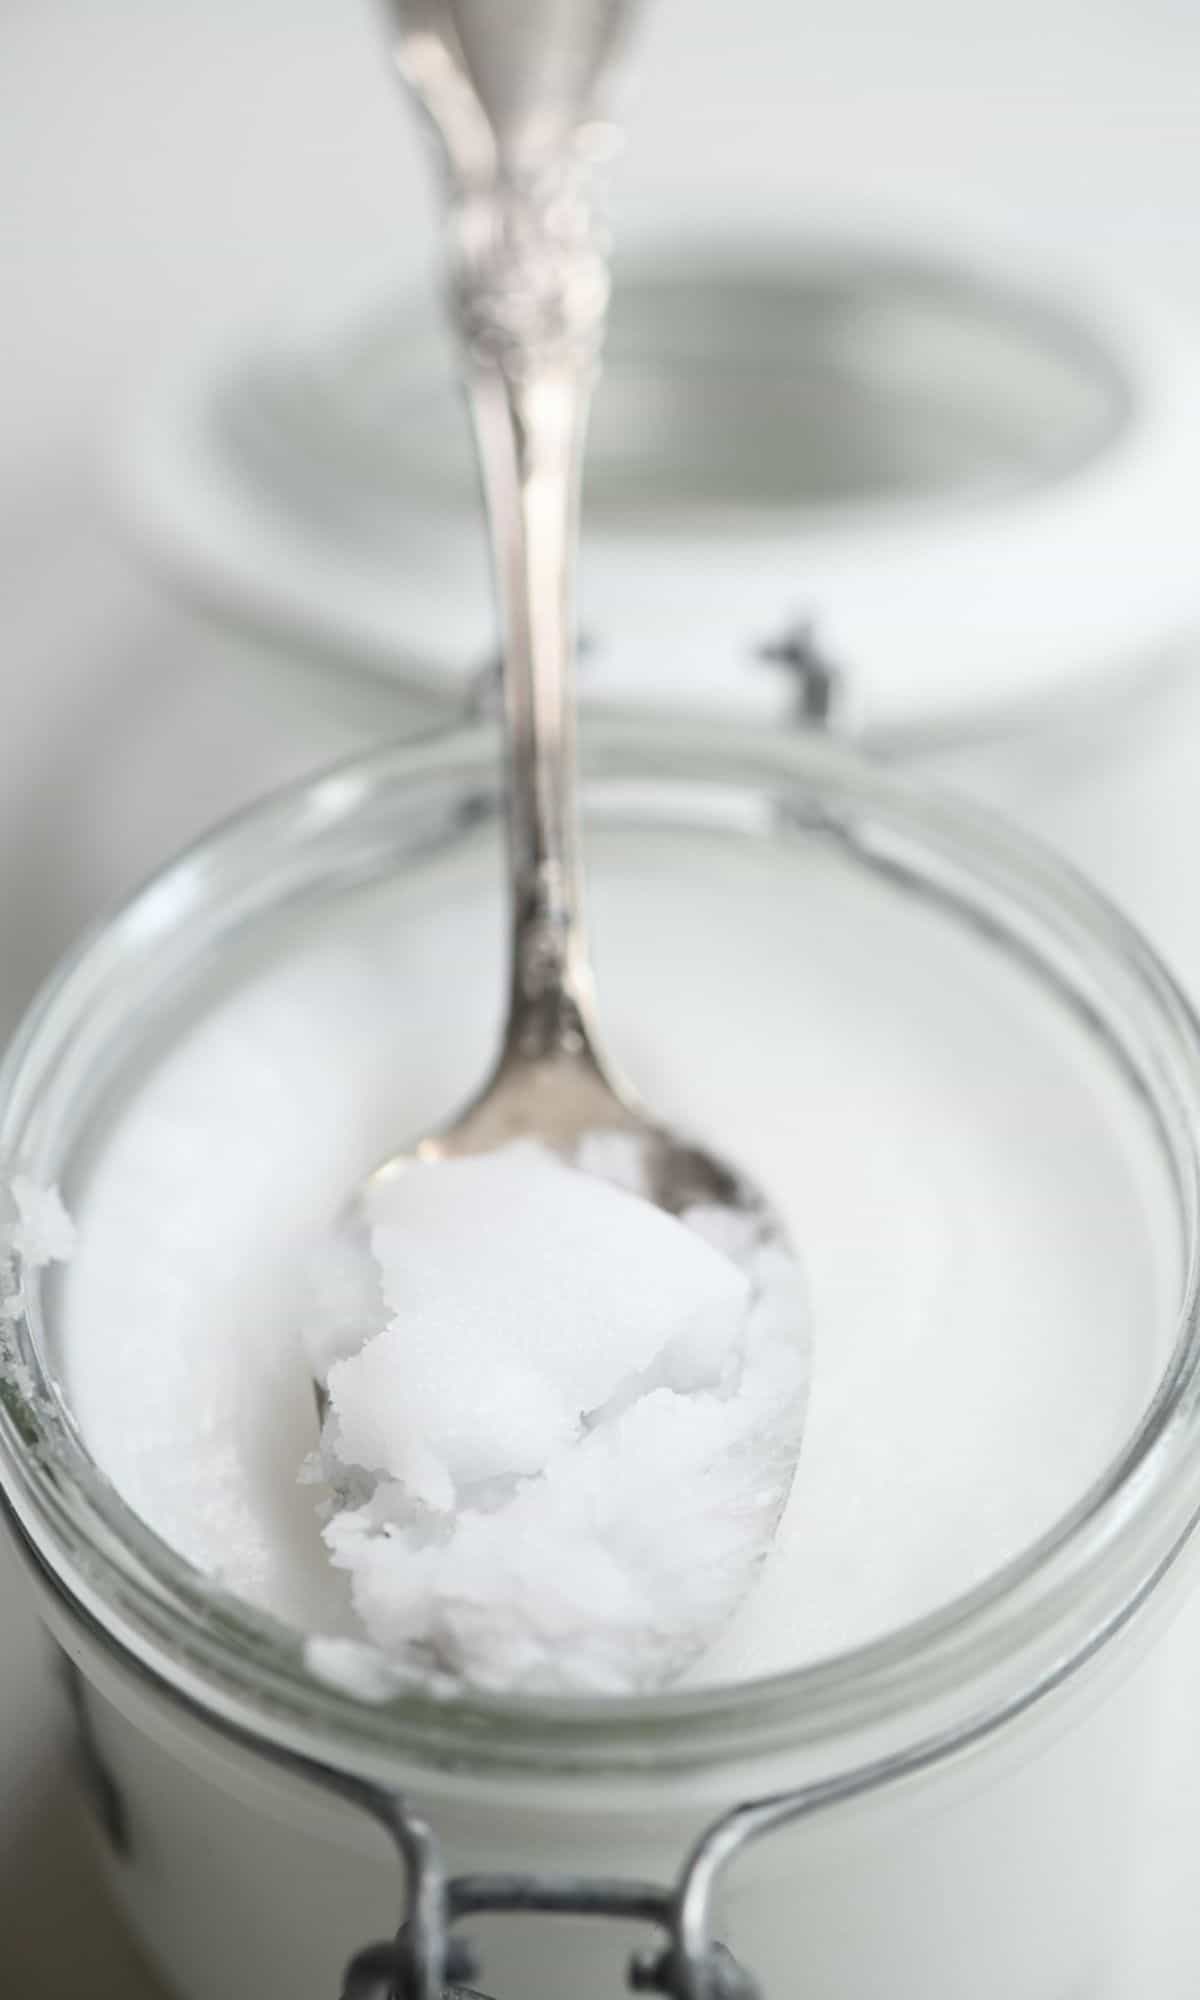
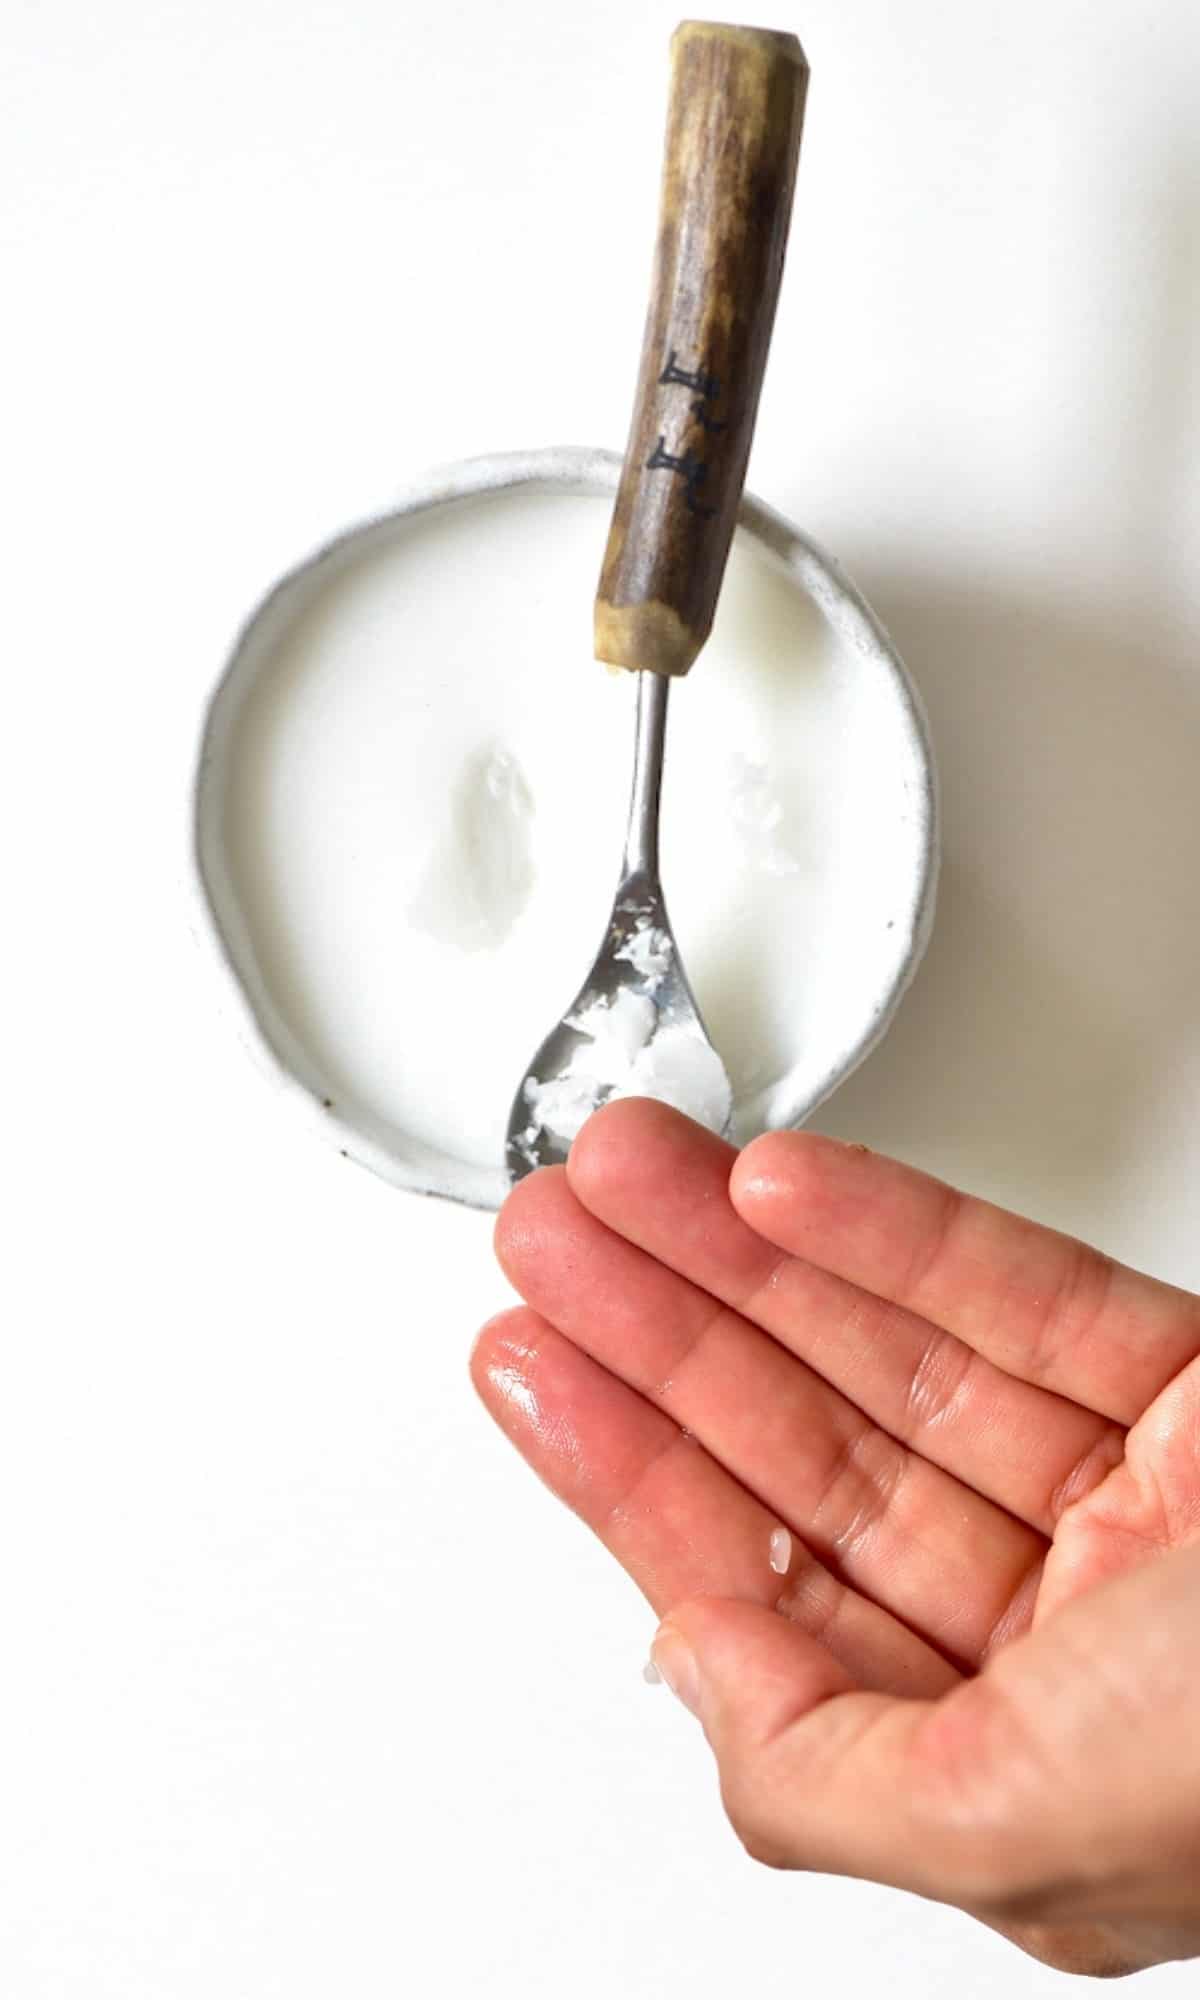
You should be able to easily spoon out the oil – though this requires some patience. Make sure to scoop only the oil and none of the curd. You can pour the oil directly into a clean/sterilized airtight container.
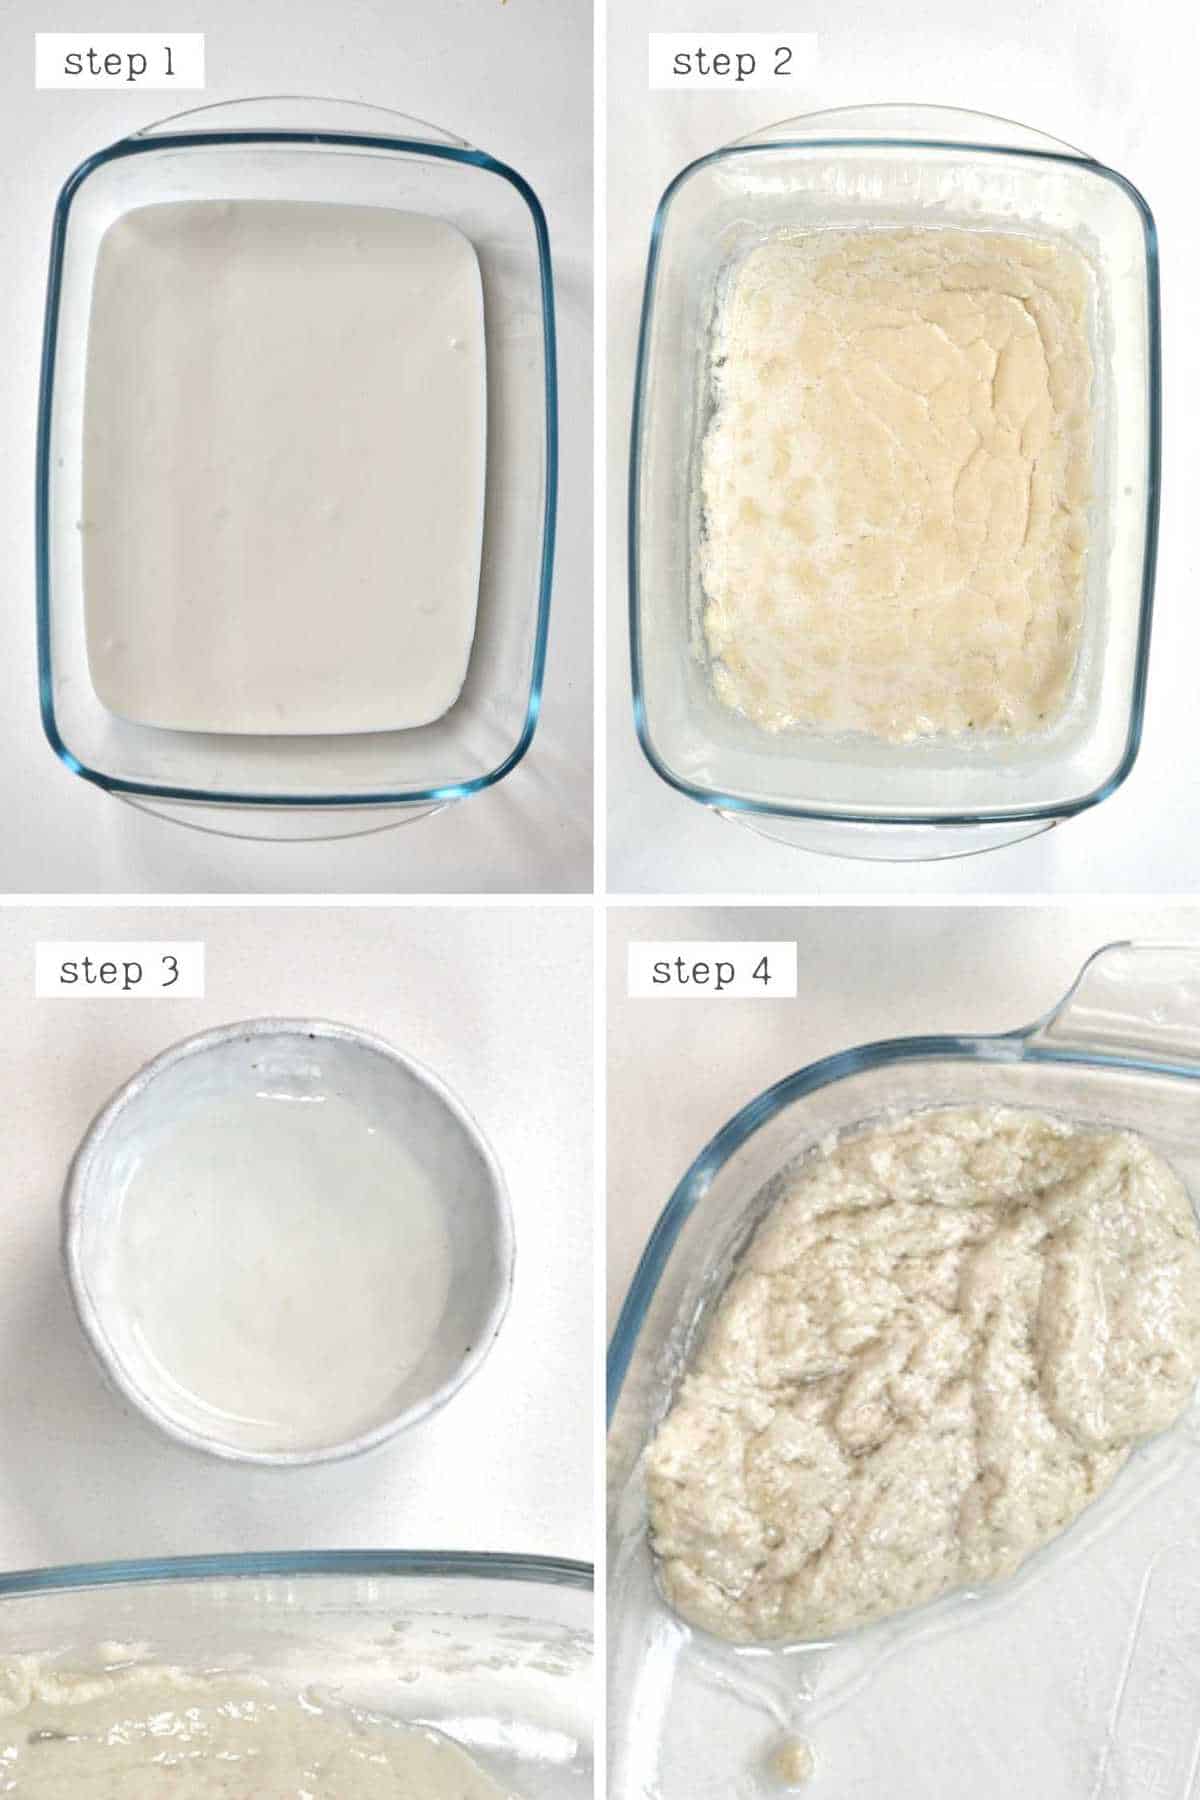
Alternatively, you can also filter the oil through a sieve/nut milk bag. I find that dripping the coconut oil through a coffee filter works well as well. You can place the curds directly into the filter and the oil will drip out into your container. Keep in mind that some oil will remain on the filter.
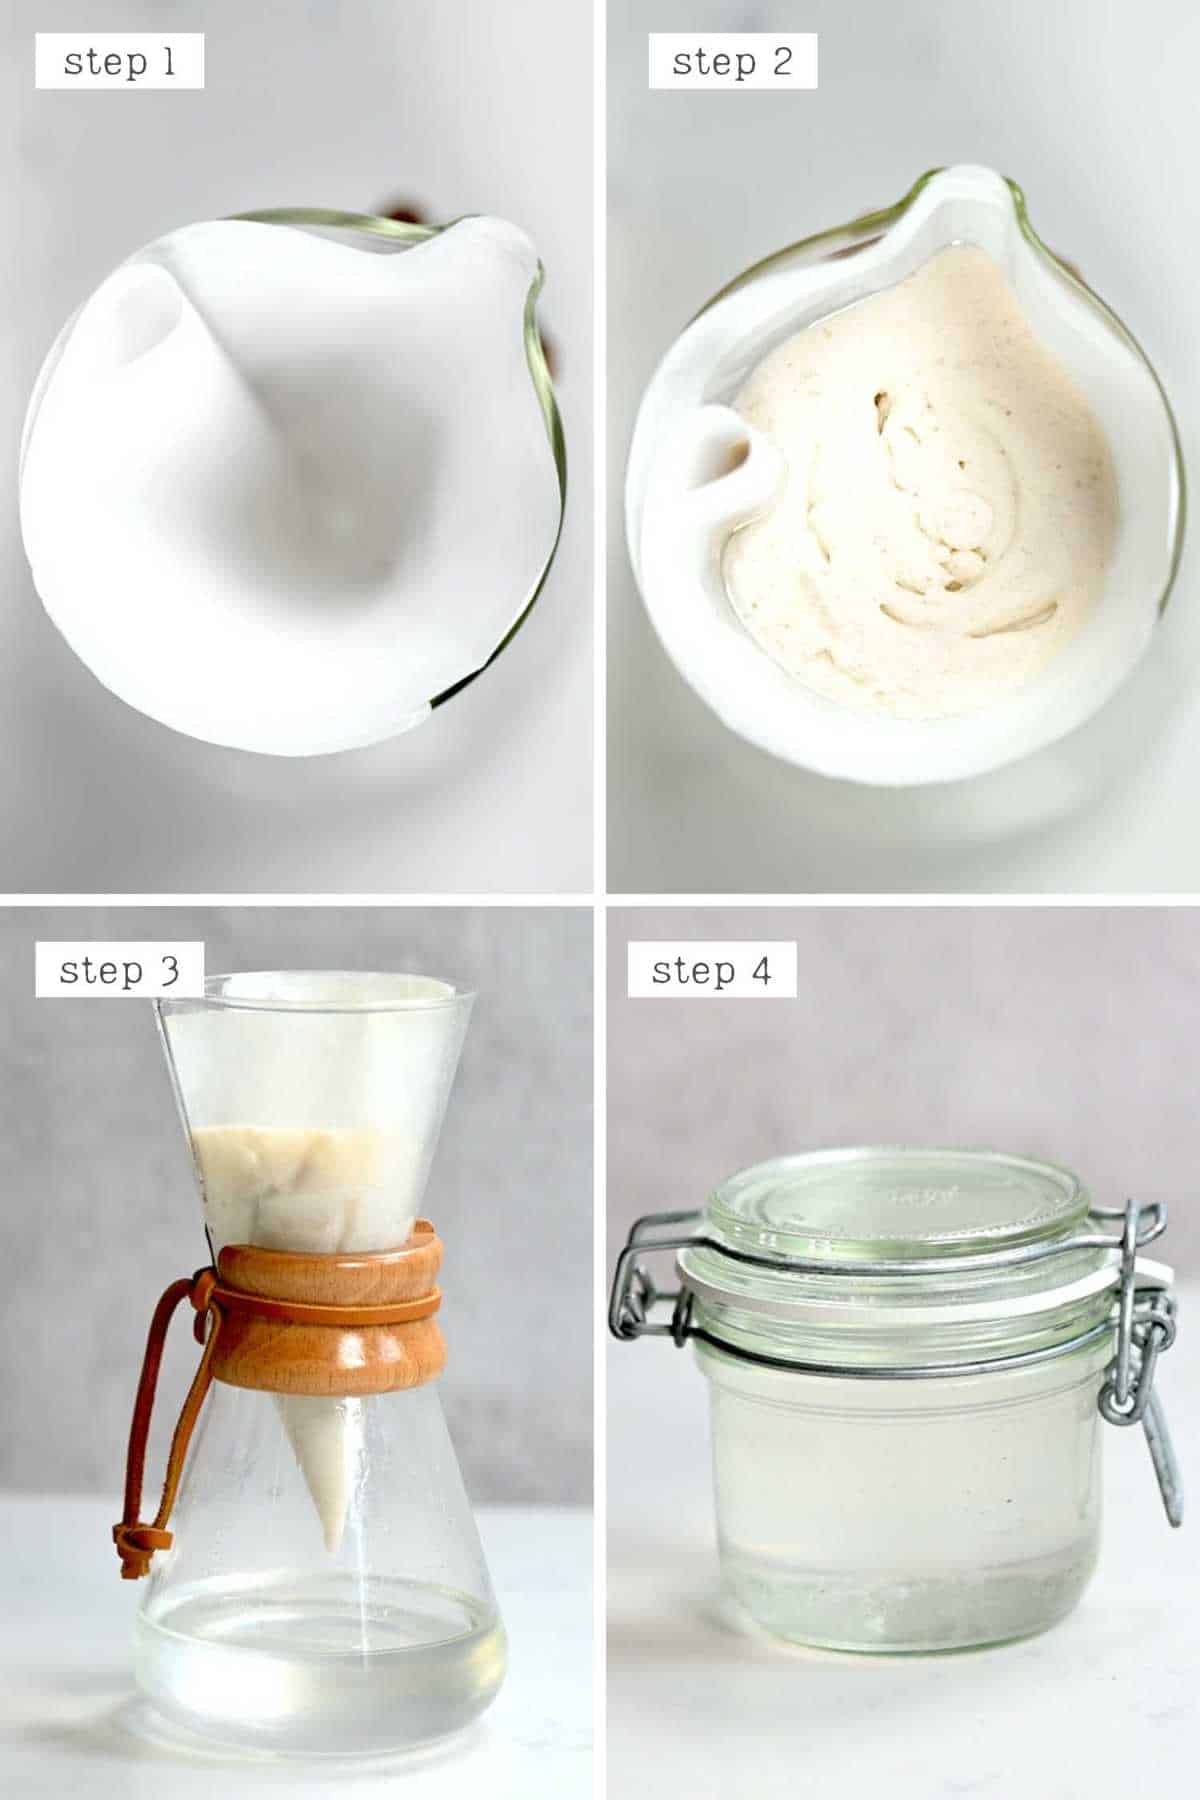
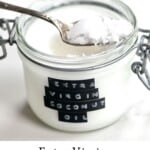
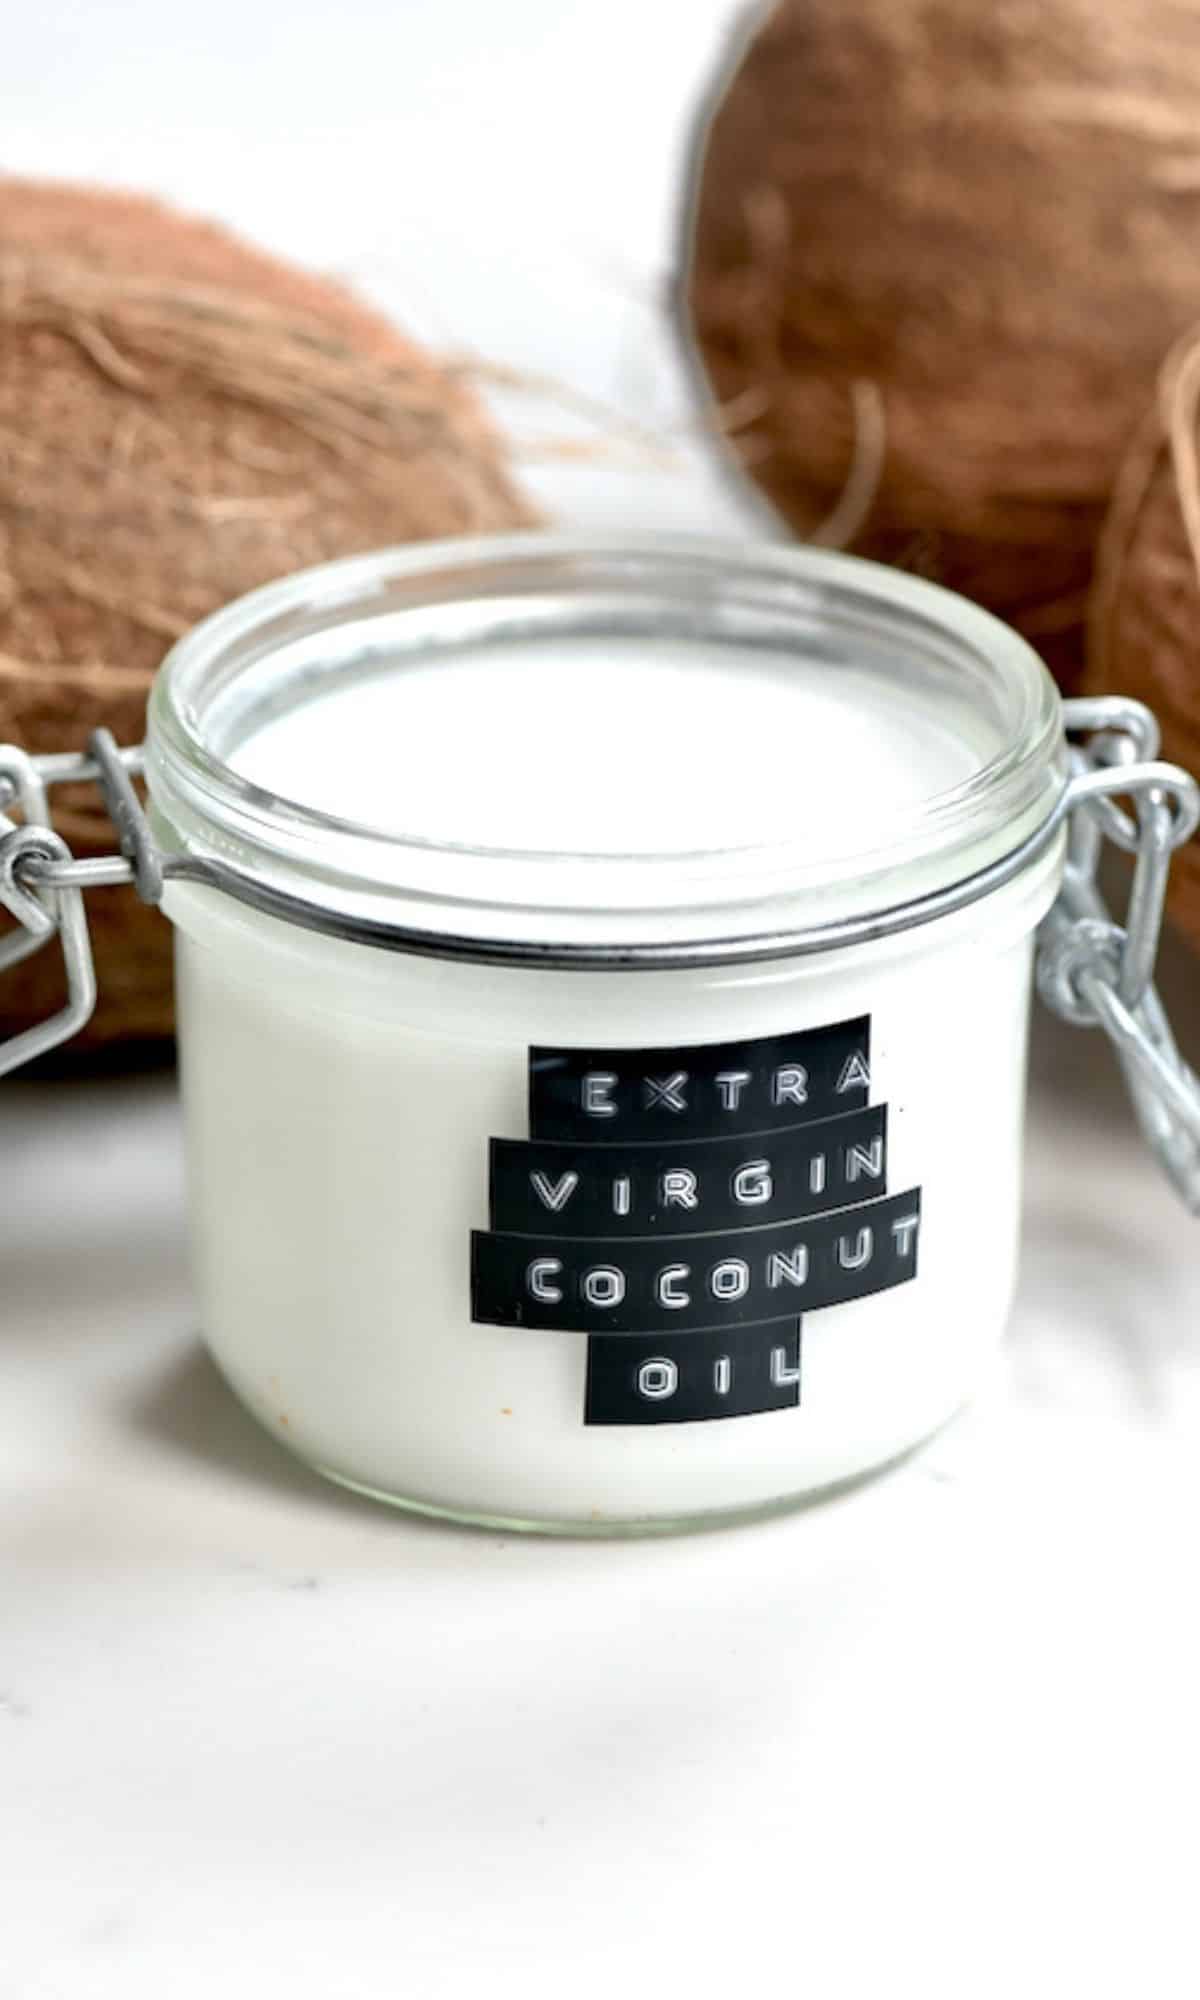
Voila, you have your Extra Virgin Coconut Oil.
The Yield:
This time around, 8 coconuts yielded for me about 1.5 cups of coconut oil.
Previously, 3 coconuts yielded about 1/2 cup (125-140ml) of coconut oil.
Storing & Uses
Homemade coconut oil is shelf-stable and can be stored at room temperature. Most store-bought options have a long shelf life of around two years. While homemade won’t last as long, it should still last a few months when sealed in an airtight jar between uses.
If you notice the coconut oil yellowing or starting to look almost ‘curdled’, often with a bad smell, then your coconut oil has turned rancid. It can also grow mold – which will look like little green or brown dots – so watch out for that. If you find any of these signs then, unfortunately, the whole jar is no longer okay to use.
Along with the long list of suggested uses I’ve already compiled, I’m currently loving adding a spoonful of this oil to my Golden recipes. Such as using this Golden Paste, or Golden Spice Mix. The fat binds to the turmeric, allowing it to be better absorbed by our bodies.
Recipe Notes
- You can also make homemade cold-pressed coconut oil by beginning with homemade coconut milk. You can do this by blending the grated coconut/ coconut meat 1:1 with water and then squeezing out all the milk through a nut milk bag. However, as the aim is to get rid of the water content, I prefer to start with coconut cream.
- You can make organic coconut oil using organic coconuts. However, many studies have shown that coconuts are virtually pesticide-free regardless, so organic may not be necessary.
- Once you have left the coconut cream to ferment for the required time, you can chill it to separate the layers more easily, before filtering the oil.
- If you live in a very warm, humid climate then the coconut may spoil while fermenting and become sour. If it smells sour then the fermentation has been unsuccessful and the coconut shouldn’t be consumed.
- During the fermentation period, you could keep the coconut cream in your microwave or switched-off oven.
Related DIYs
If you try this DIY cold-pressed coconut oil, then let me know your thoughts and any questions in the comments. I’d also really appreciate a recipe rating and would love to see your recreations – just tag me @Alphafoodie.

How to Make Extra Virgin Coconut Oil
Ingredients
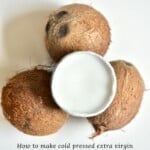
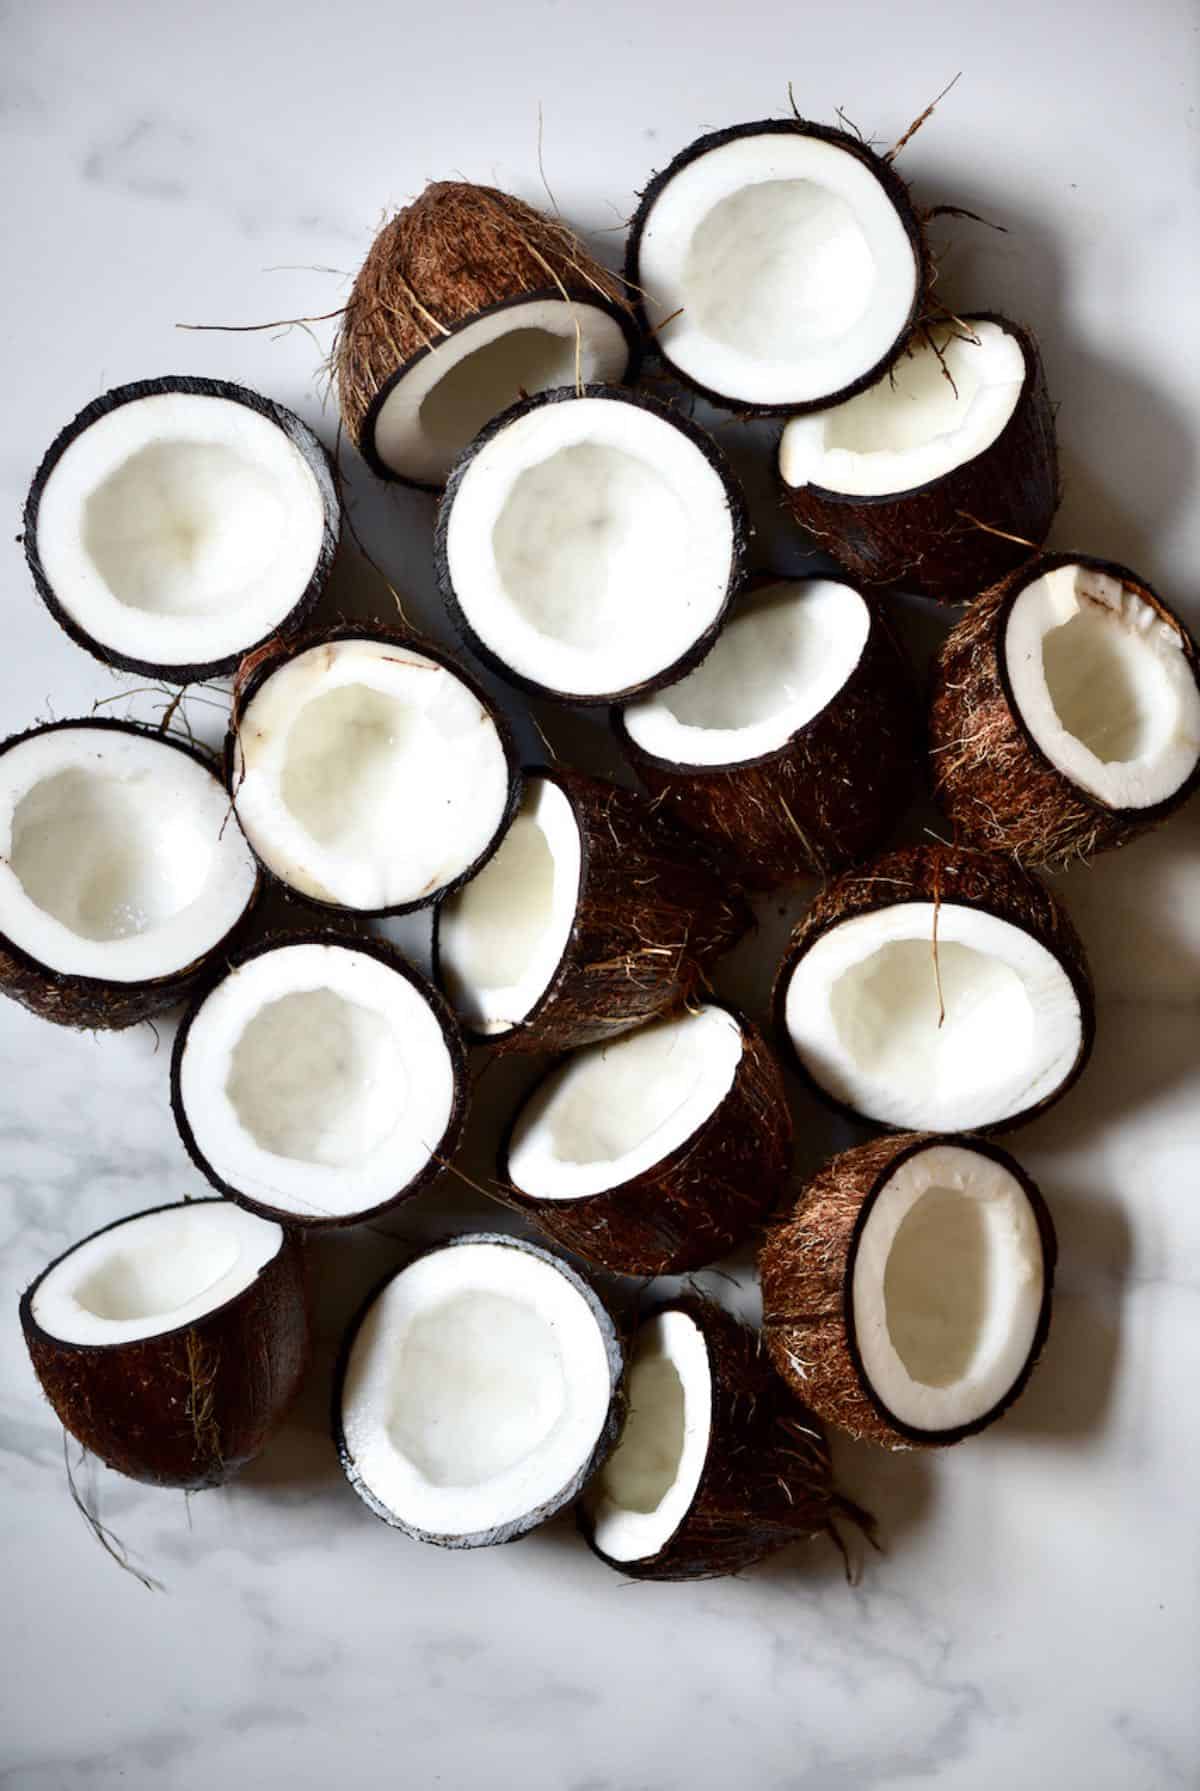
- 8 mature coconuts
This yields about 1.5 cups of oil
Instructions
Prepare coconut cream
- Make coconut cream – you can use a food processor or a juicer.While a food processor method is more accessible to most, the juicer method will be faster and yield better results.
- Once the coconut cream is ready, pour it into your designated container.
Ferment the coconut cream to produce oil
- You need to "ferment" the cream to get rid of excess water and separate the curd from the oil. Pour the coconut cream into a bowl or jar, cover it, and keep it in a warm spot for 1-2 days. You can also wrap it with a big towel or a blanket – we are looking for a slightly warm environment (95-105ºF/35-40ºC) that will help with fermenting the coconut for the oil to separate.You could keep it in your microwave or a switched-off oven to keep it warm.
- After a while, curds and oil will become separated. The oil will be on top, the coconut curds will be in the middle, and at the bottom there will be mirky water (refer to the photos in the blog post).You can also chill it to further separate the layers, before filtering the oil.
Remove/Filter the cold-pressed coconut oil
- Spoon out the oil – though this requires some patience it should be easy. Make sure to scoop only the oil and none of the curd. You can pour the oil directly into a clean/sterilized airtight container.Alternatively, you can also filter the oil through a sieve/nut milk bag/coffee filter. You can place the curds directly into the filter and the oil will drip out into your container.
Notes
Nutrition
Nutrition information is automatically calculated, so should only be used as an approximation.


hi i tried already and it works well however i will try out the cold press method..all good
cheers
Thanks for your comment, Freda. Glad you liked it.
there is a good place to buy organic virgin coconut oil with organic products from hellopure
have a try! Thanks
Thanks, Romesh!
The best tips and tricks I could ever came across since I have my coconut right next to me. Can’t wait to crack it once my tooth extraction is fully healed as I’m looking forward to not just enjoy my coconut but also to do what needs to be done with the oil and bowl. I screen grabbed everything to carefully follow instructions. Many thanks for all advice given. Much appreciated. Kind regards Lorraine
Thank you for your comment Lorraine, so glad to hear! 🙂
Which juicer do you use?
Hi Shruti,
It’s an Omega slow juicer. If you’d like to check the exact model, it’s linked on the Shop page here on the blog.
Thank you for the recipe and tips. We did the steps, but after fermentation of the curd for about 1 day, the curd and oil smelled sour, so we suspect it has gone rancid or spoiled. We indeed live in a humid and very warm climate with an average of 30-35 degrees Celsius. Are there any tips on how to successfully ferment the coconut in this warm climate?
Hi James,
It is really difficult to successfully ferment coconut in a warm climate, perhaps you can try to make a bigger batch if there are a few cooler days.