
This post may contain affiliate links. Please read our disclosure policy.
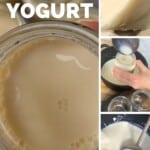


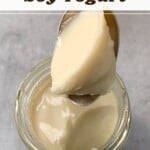
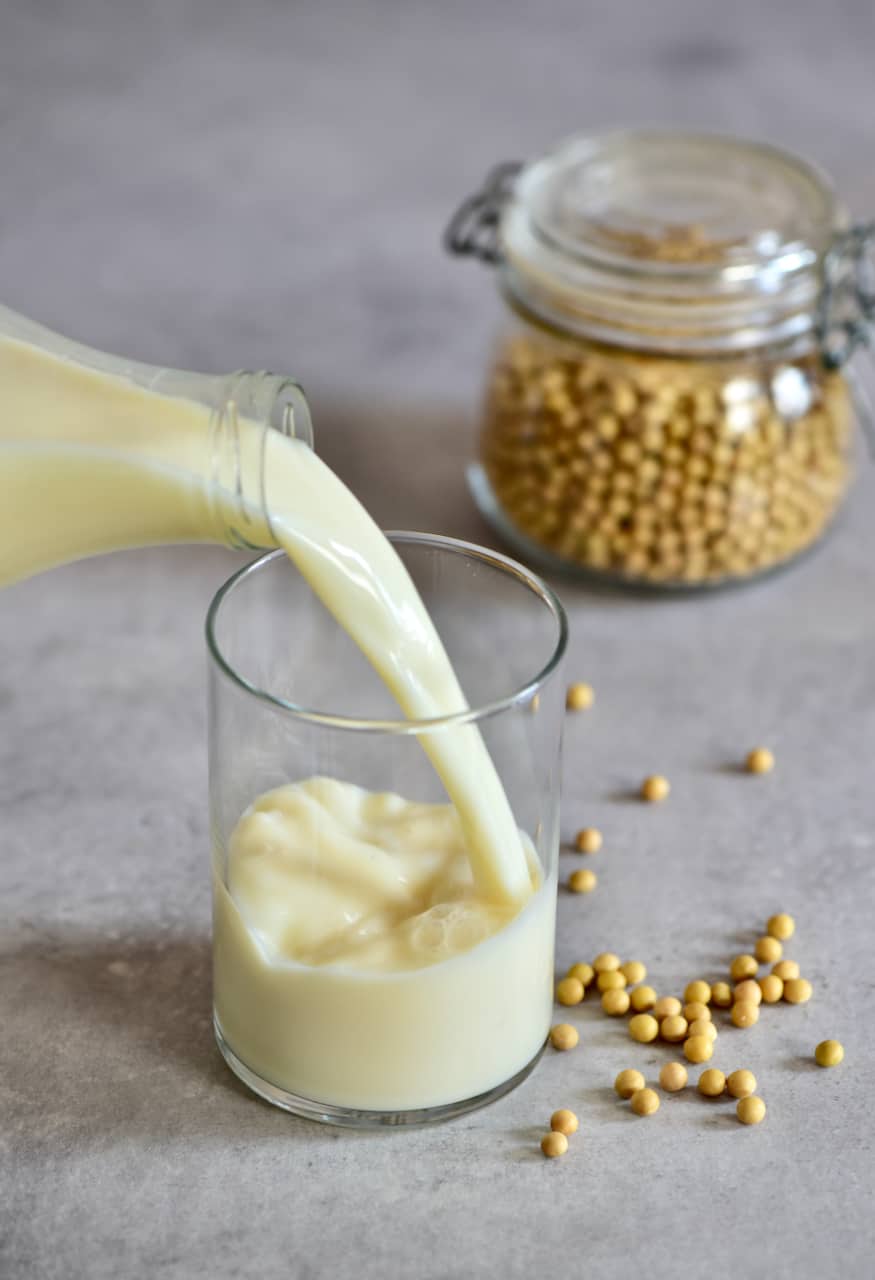
This homemade soy yogurt is made with just 4 ingredients and a simple process, for a delicious and versatile vegan yogurt recipe with no unnecessary additives or added sugars! Lactose-free, nut-free, dairy-free, and yet creamy and delicious!

Whether you’re lactose-free, dairy-free, or want to try something new – then you might enjoy this soy yogurt. I’ve already posted my recipes for homemade coconut yogurt and homemade almond yogurt, but this soy milk yogurt is nut-free, coconut free, and makes for a great dairy-free plain yogurt.
This soy yogurt recipe is not only more cost-efficient than buying store-bought, but it also omits all gums and unnecessary additives; instead, relying on a couple of my favorite natural thickeners – perfect for a creamy yogurt texture.
Even better, making homemade yogurt is like making a gift that keeps on giving. All you need to start it is some soy milk and a ‘starter’ of either a batch of store-bought yogurt or a yogurt starter powder. You can then use your homemade soy yogurt as the ‘starter’ for the next batch and continue to do this for multiple batches to come (2-3 months worth) before it gets too weak and needs to be replaced.
By making this yogurt alternative, you can be 100% in control of every single ingredient, the fermentation method, and length (which will affect the flavor), any additional flavorings, and you can even save on plastic usage by storing in re-usable glass jars (or BPA-free plastic). So let’s jump right into it!
Want to save this recipe?
Top notes for making soy yogurt
1. You need to use a thickener:
Some methods don’t rely on a thickener – but I’ve found more often than not, these are hit and miss and you’re more likely to end up with drinkable yogurt rather than one that’s thick and creamy.
2. It’s best to use homemade soy milk – for the best results
If using store-bought soy milk, choose one that contains just two ingredients: soybeans and water. Any extra ingredients, additives, and preservatives can affect the fermentation process and thickening. Results also tend to vary between brands.
3. It’s best to use a thermometer!
Although you can get by with making yogurt without one, it’s definitely best to use a thermometer when following my method. The more precise you are, the more likely you are to succeed every single time!
4. Just like pancakes – the first batch is nearly always the worst!
When making homemade yogurt, you rely on a starter (and more specifically, the live cultures within the starter) to turn the milk into yogurt. Once your first batch is almost finished, you use what’s left as the starter for the next batch, and so-on.
While the first batch should be ‘nice,’ as you reintroduce that starter to new batches, you’ll find the yogurt becoming thicker and tasting better each time!
When you notice the quality beginning to decline – usually 2-3 months after using the initial starter – then it’s time to start again with a new lot of ‘fresh’ starter.
5. Don’t forget to save your ‘starter’ amount each time!
All you need to do is leave a little bit of your homemade soy yogurt behind to act as the new batch’s starter. So that you don’t forget, I find it best to actually store my ‘starter’ amount in a separate small jar, labeled.
Then, make sure to use the starter again within 10 days to make a fresh batch of soy yogurt (to avoid the starter dying).
See more notes and tips in the recipe card below!
The ingredients
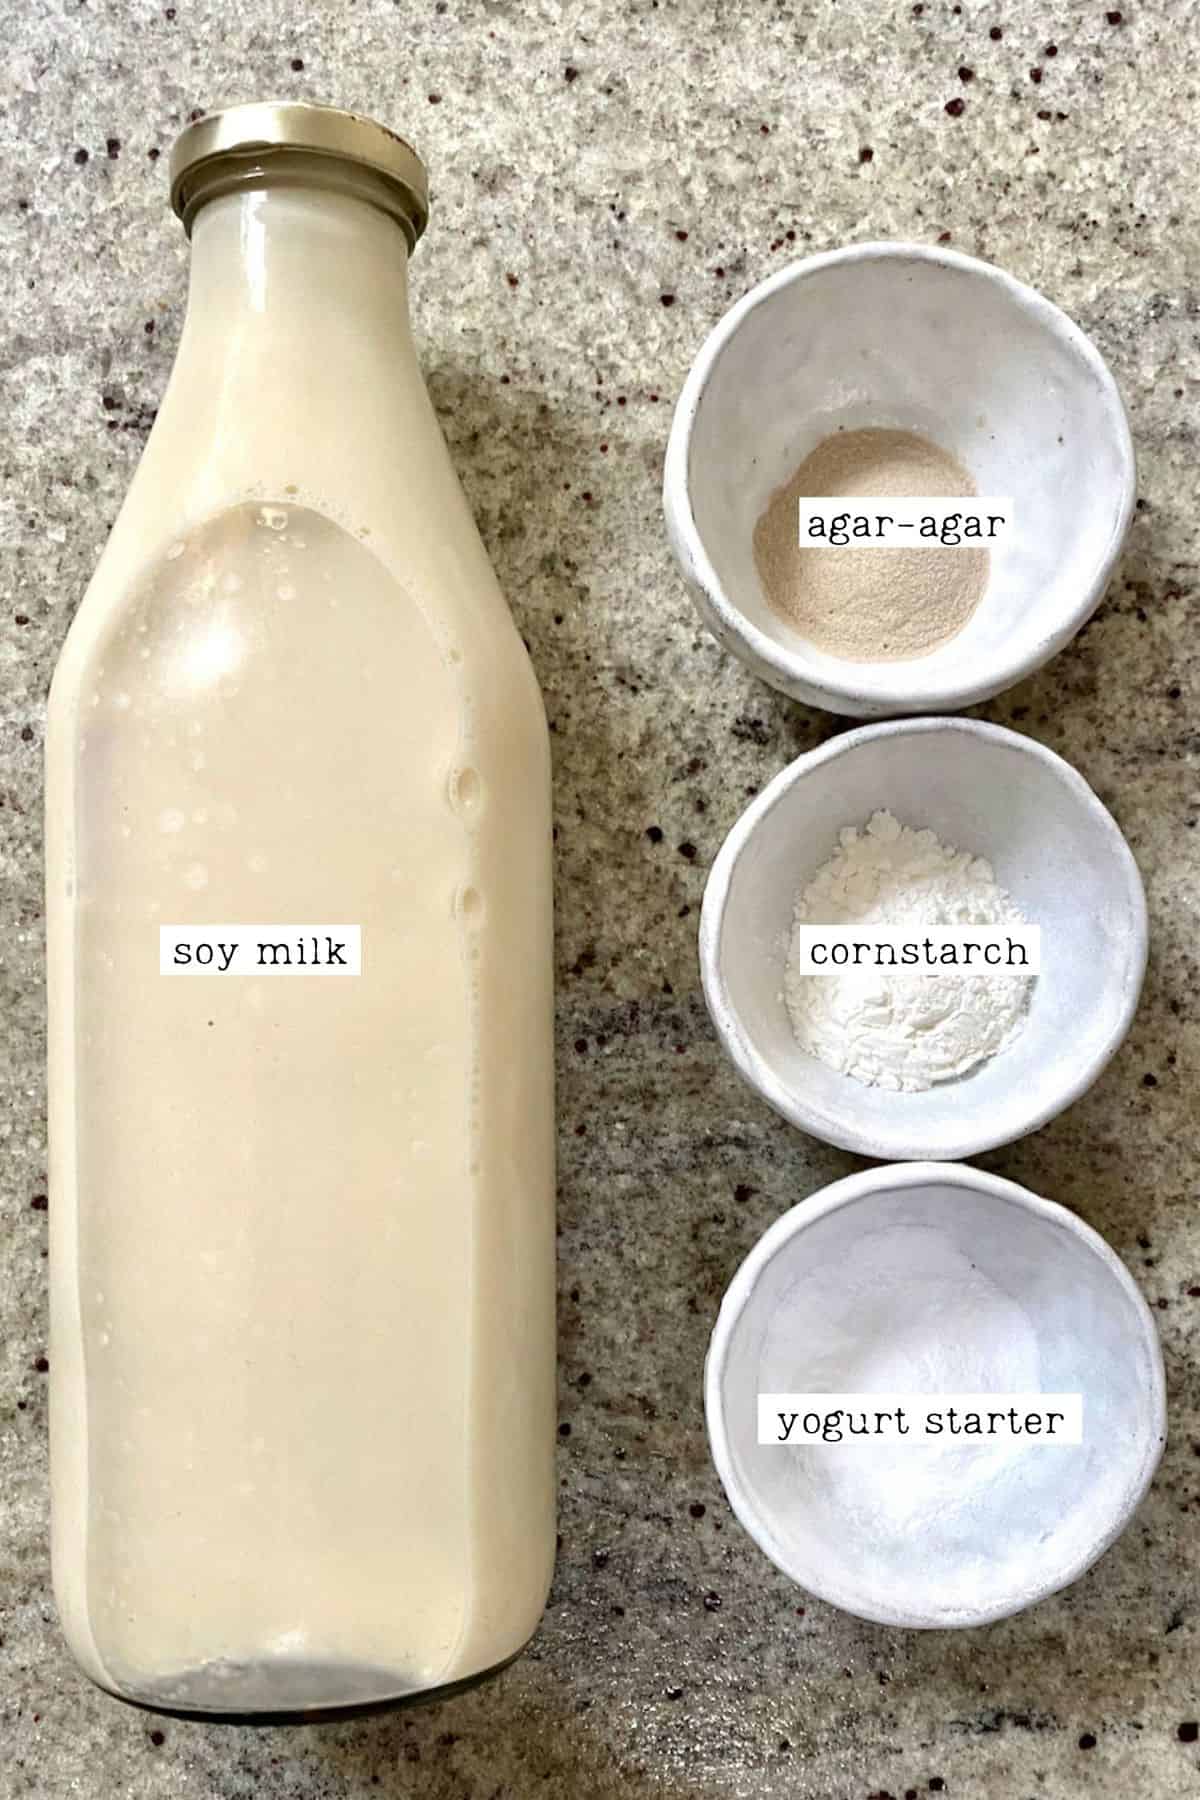
- Soy Milk – I use homemade soy milk for this recipe. It is preservative- and additive-free and is extremely cost-efficient to make. If buying store-bought, avoid additives, and use a brand that contains just soybeans and water!
- Starter – Every yogurt needs a ‘starter,’ which contains the healthy bacteria that thicken and transform the milk into yogurt. You can either use a store-bought yogurt (any plain yogurt with live and active cultures will work – it’s best to avoid any extra additives) or buy a vegan yogurt starter powder.
- Thickener – I use a combination of agar-agar and cornstarch. Though you could use just one, I’ve found that I prefer the texture with a combination of the two.
Several thickener options are available, including corn flour, tapioca flour, carrageenan, xanthan gum, and the two I’ve used. Having experimented with several alone and combined, I’ve found that they aren’t all easily interchangeable, as they will affect the texture in different ways.
How to make soy yogurt
Step 1: Sterilize the tools
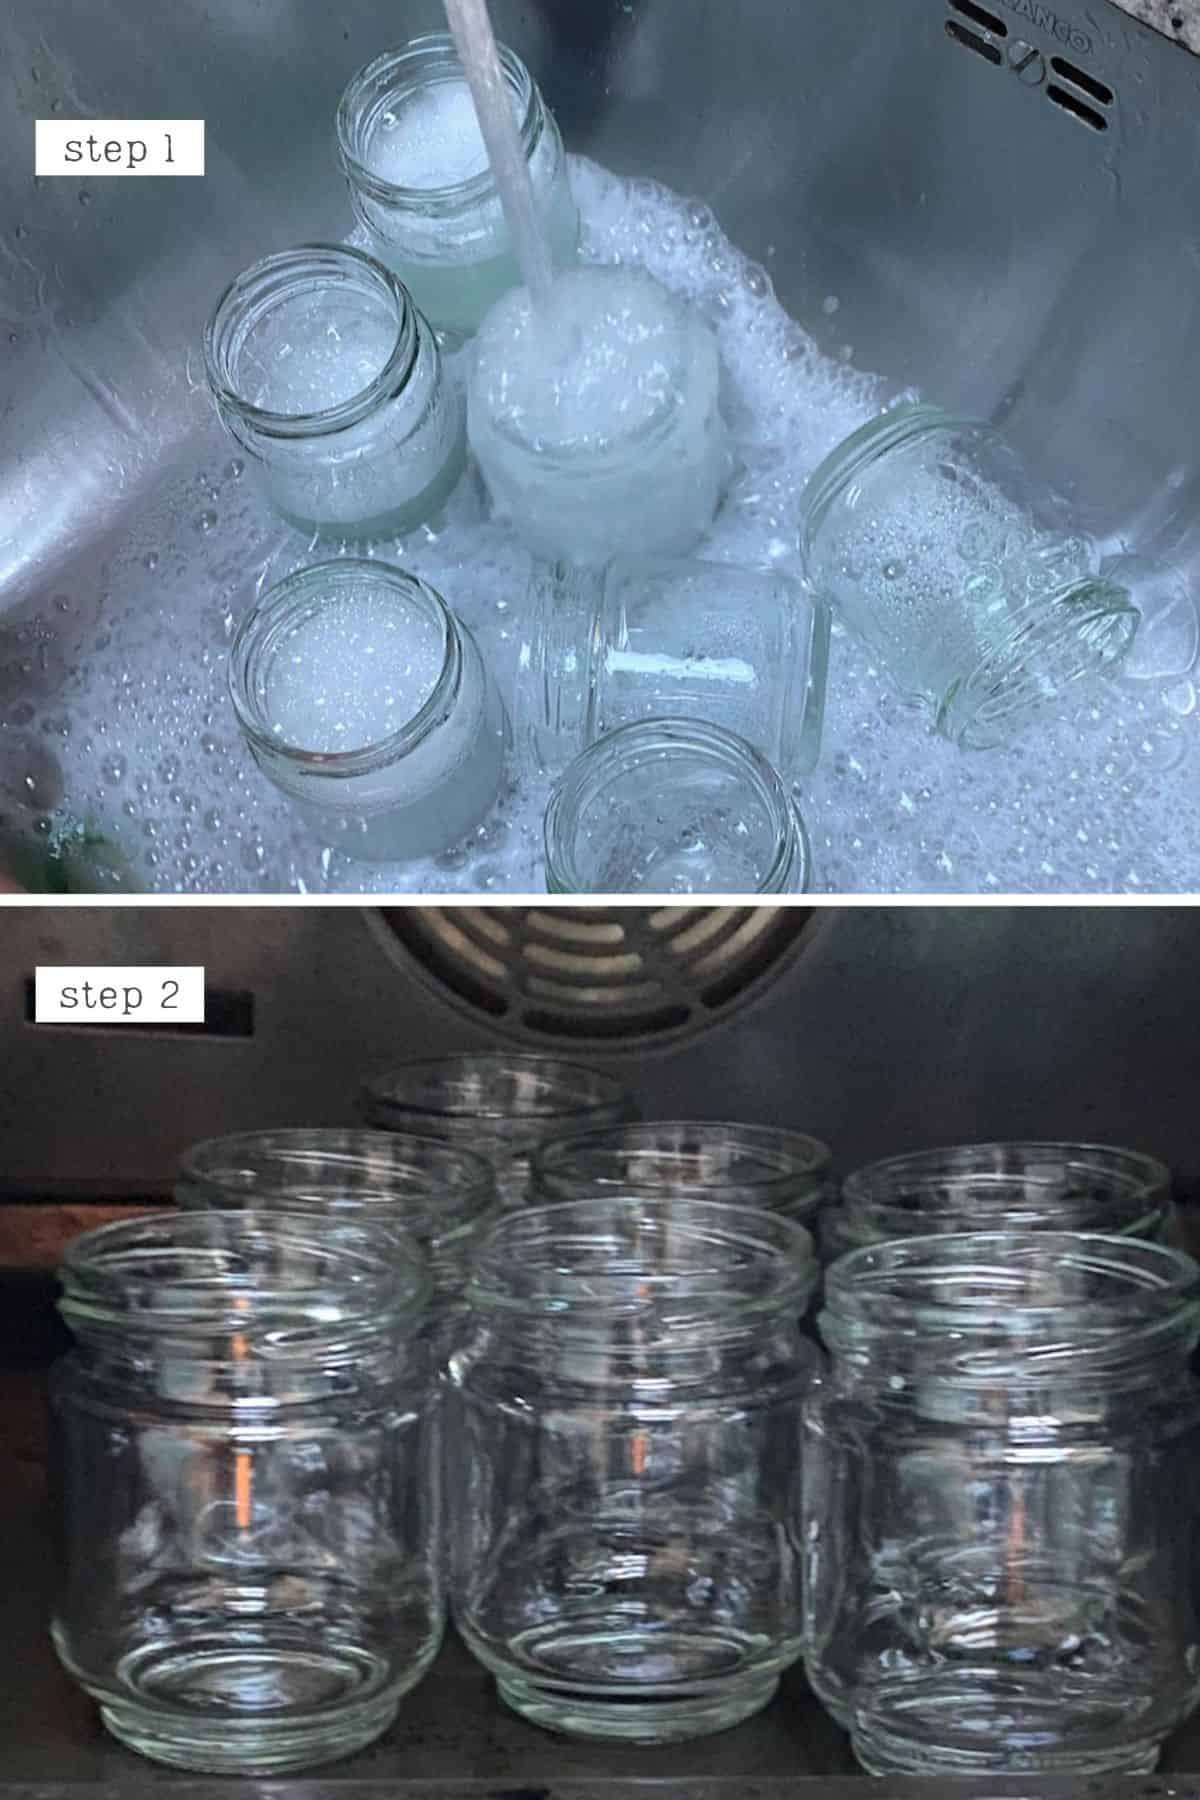
Before you begin making the soy yogurt, sterilize everything you’ll use, as you don’t want the yogurt cultures competing with any bacteria on/in the tools. This includes the pot and bowl for the milk, the glass jar (or small jars) to store the yogurt, and the spatula and/or spoon (wooden or silicone) you will be using.
To sterilize the tools, wash them with hot soapy water and then dry them in the oven (no plastic parts) for 10 minutes at 160ºC.
Step 2: Prepare the soy yogurt
If you’re using homemade soy milk, then you can follow the method outlined in my simple homemade soy milk recipe.
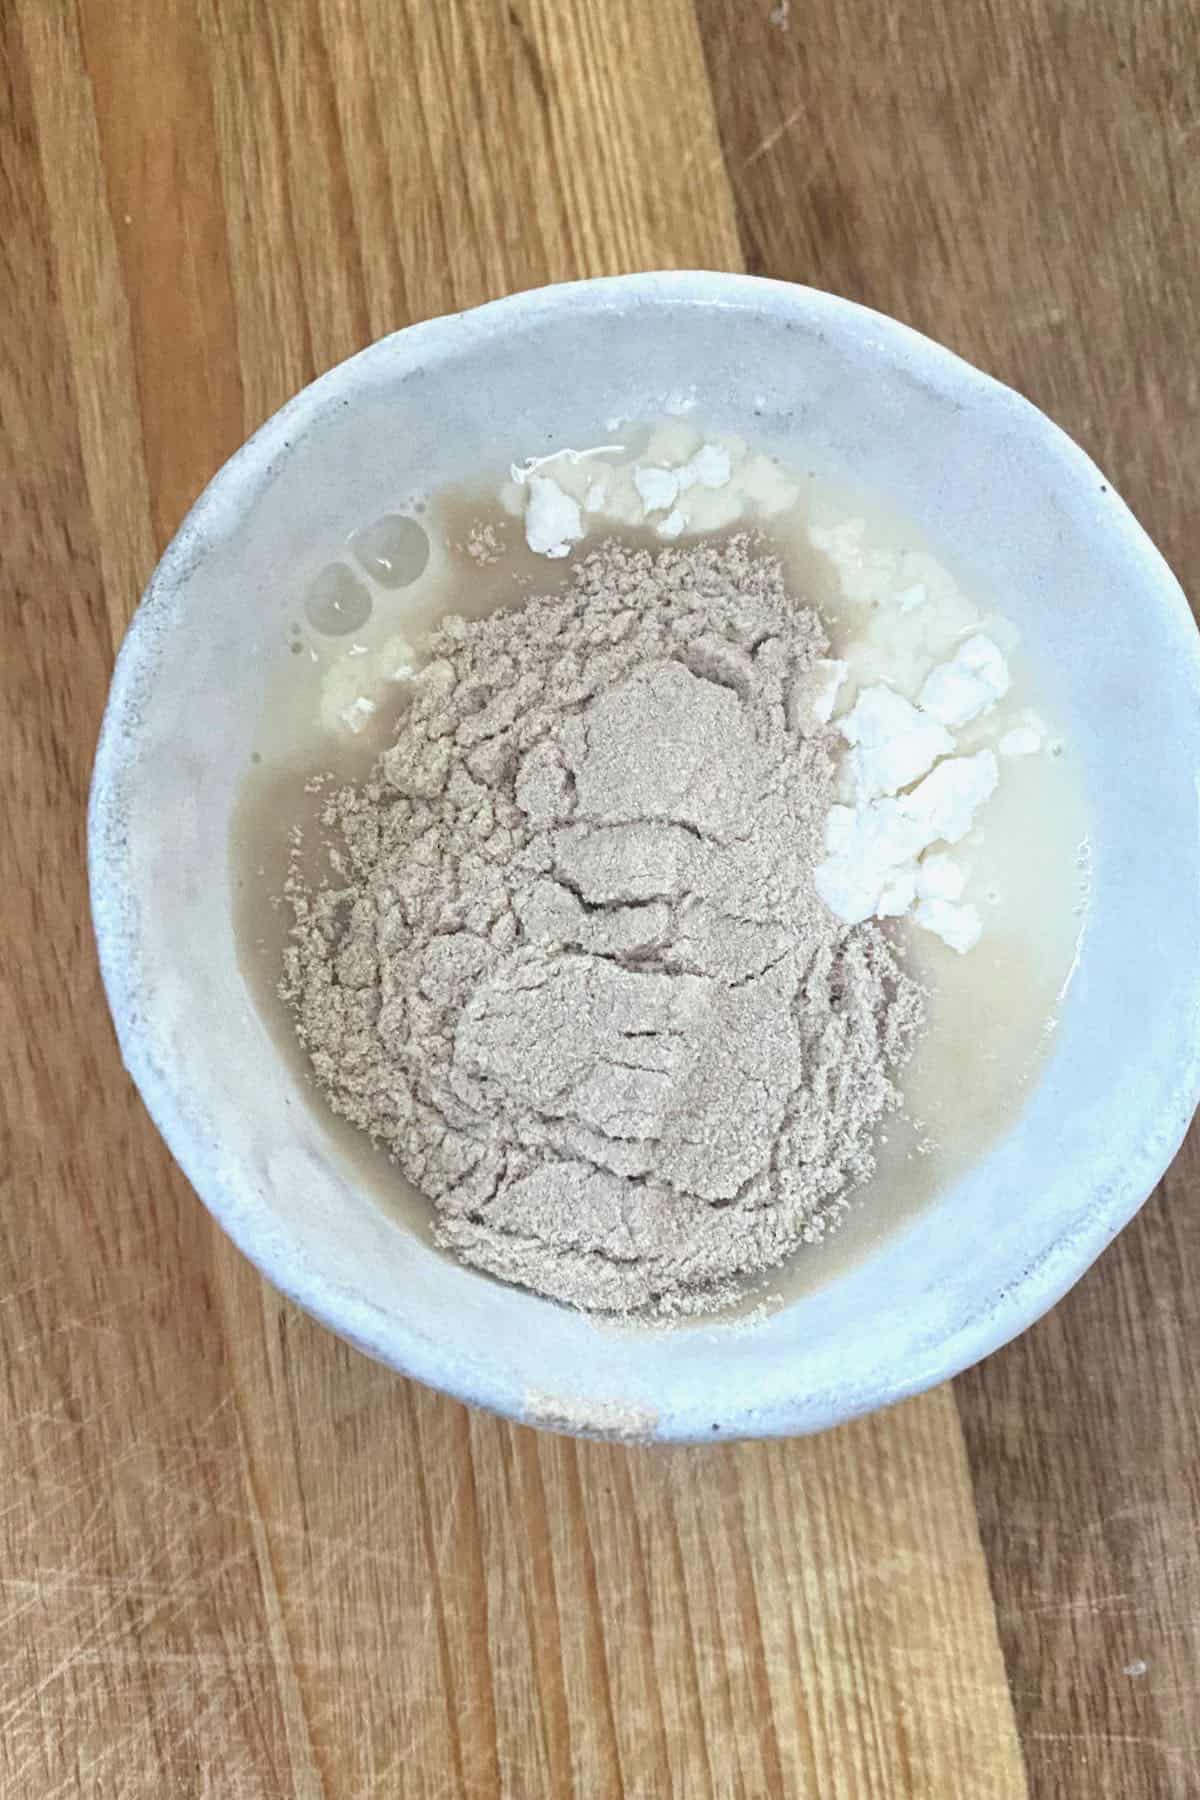
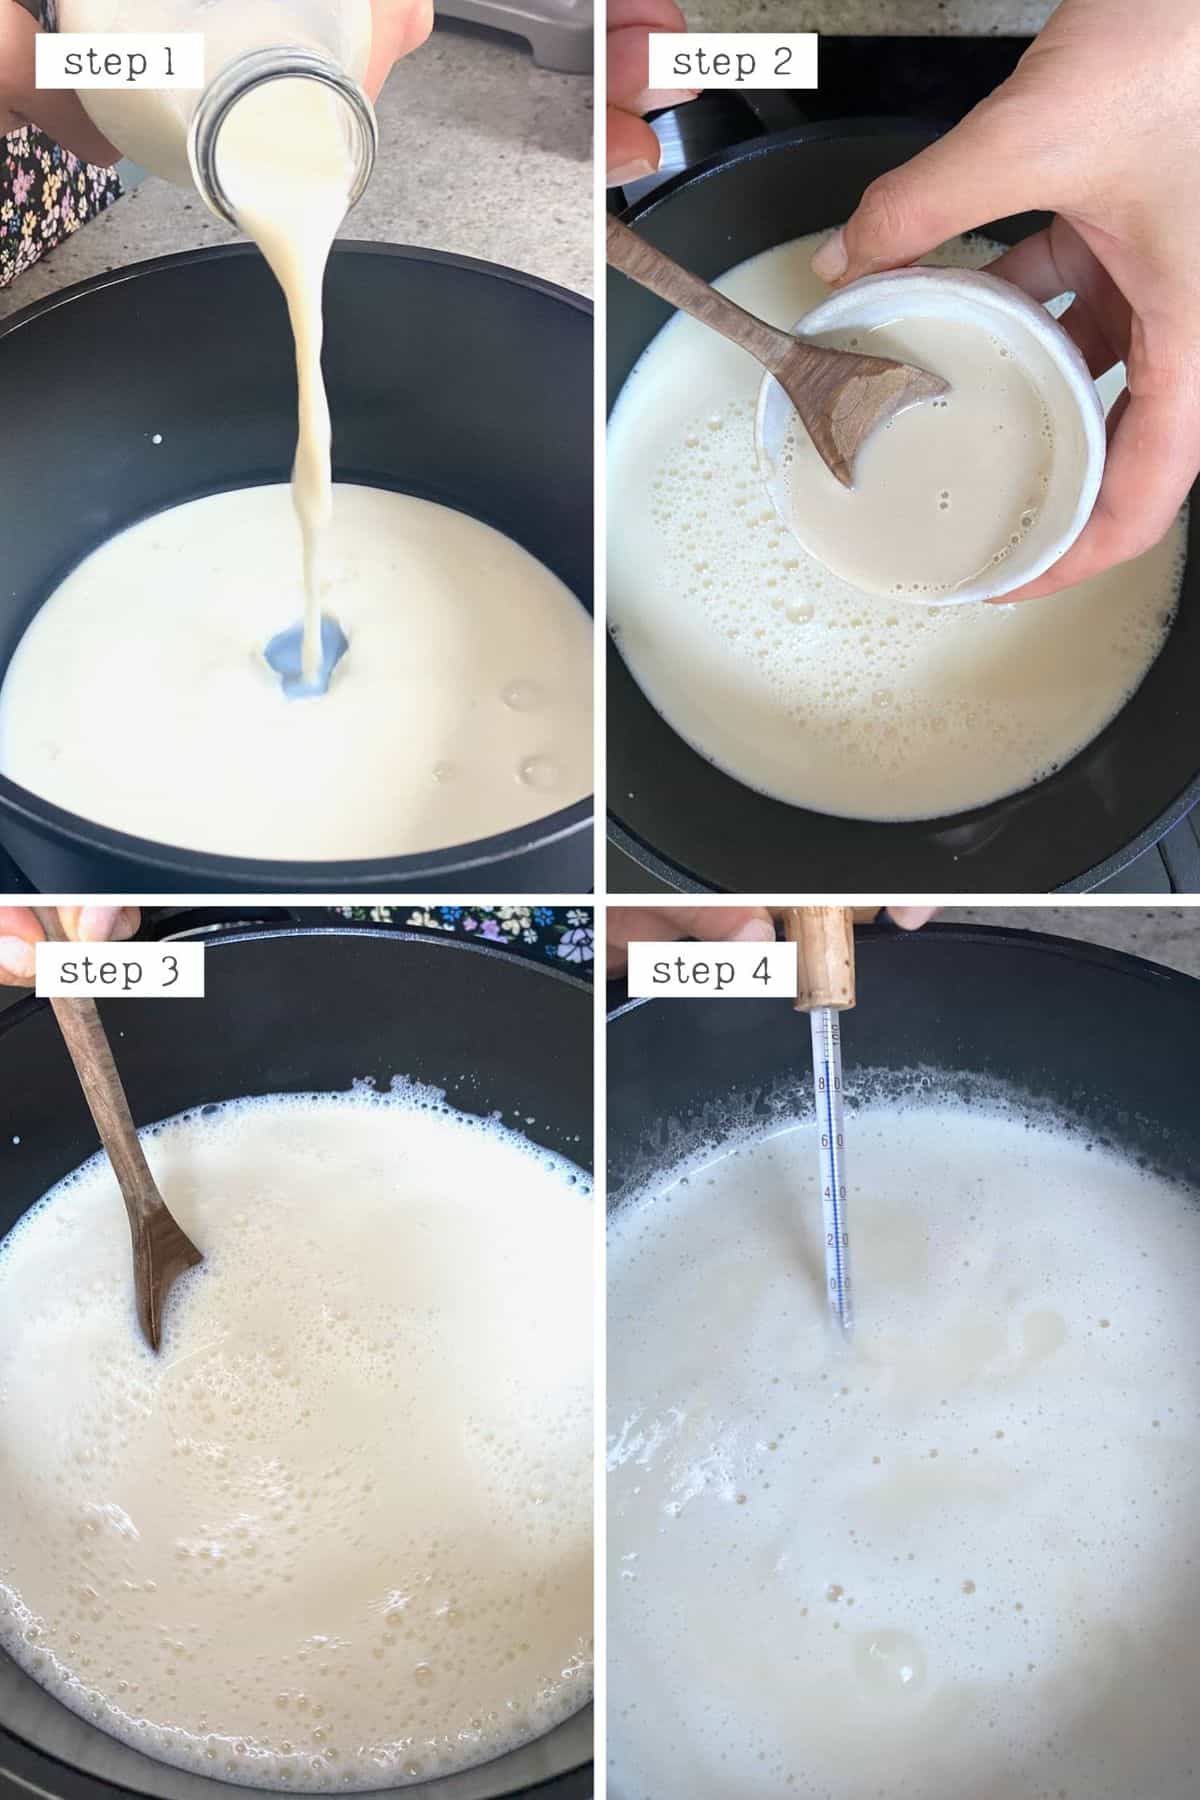
Then for the yogurt, first, mix the agar-agar and cornstarch with a little milk and whisk until it’s a smooth slurry.
Add the soy milk and slurry into a large pan and heat over low-medium heat until it reaches 85ºC/185ºF – don’t rush this step. Stir occasionally, so the milk doesn’t stick to the pot’s bottom.
Chef’s note – If you rush, the yogurt can become grainy or even fail if you heat the milk too quickly or scorch it. This step can take up to 30-40 minutes.
Once the temperature is reached, remove the pot from the stovetop and allow the milk to cool down to 45ºC/113ºF. It’s essential to wait until the temperature drops before continuing with the next step (or else you may kill the yogurt starter immediately). This can take a further 30-40 minutes.
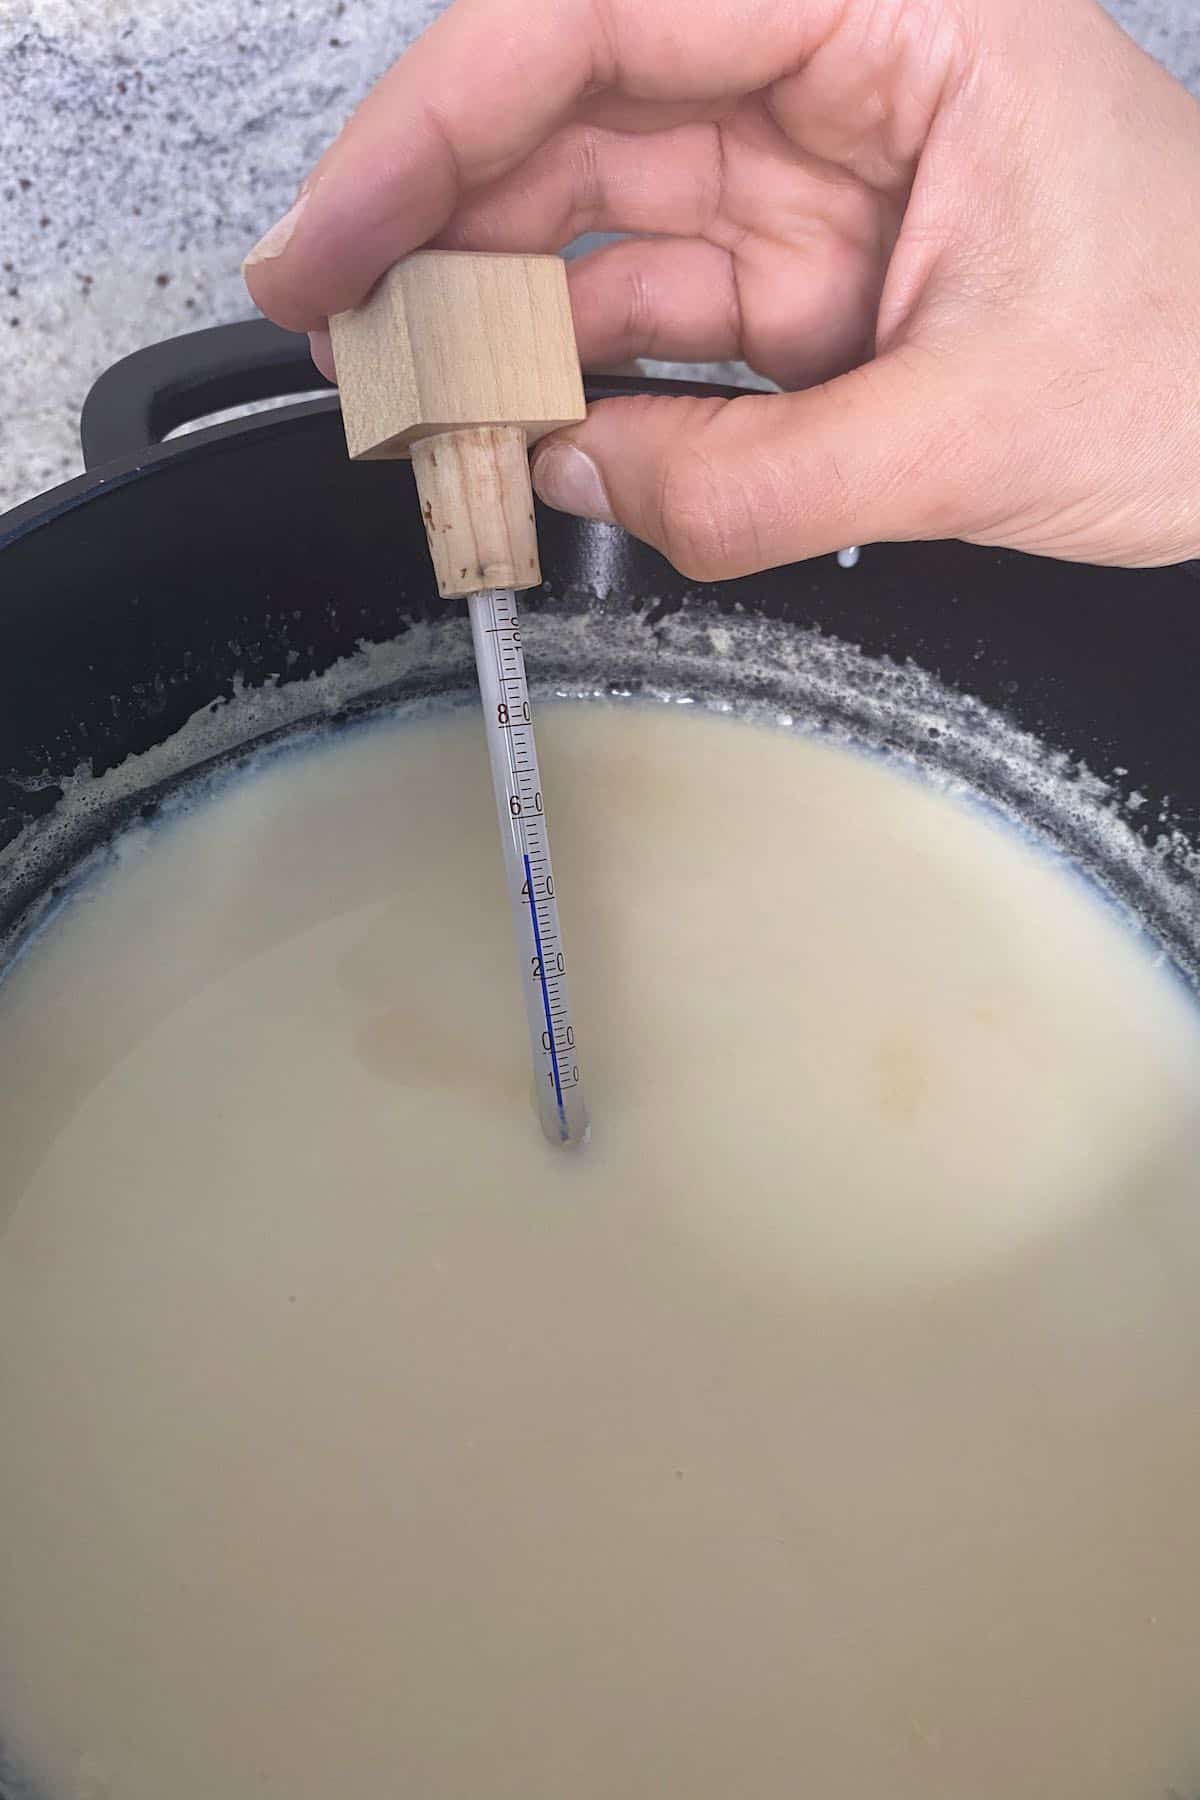
Chef’s note – If you don’t have a thermometer, switch off the heat before the milk starts boiling. This is right about when the simmering small bubbles start changing into bigger ones. Then, after the milk has cooled off, you could dip your pinkie (clean!) in the warm milk. You should be able to withstand the heat for 7-10 seconds before it starts to hurt. Be careful with this and touch the mixture lightly before plunging your finger into it so you don’t get burnt.
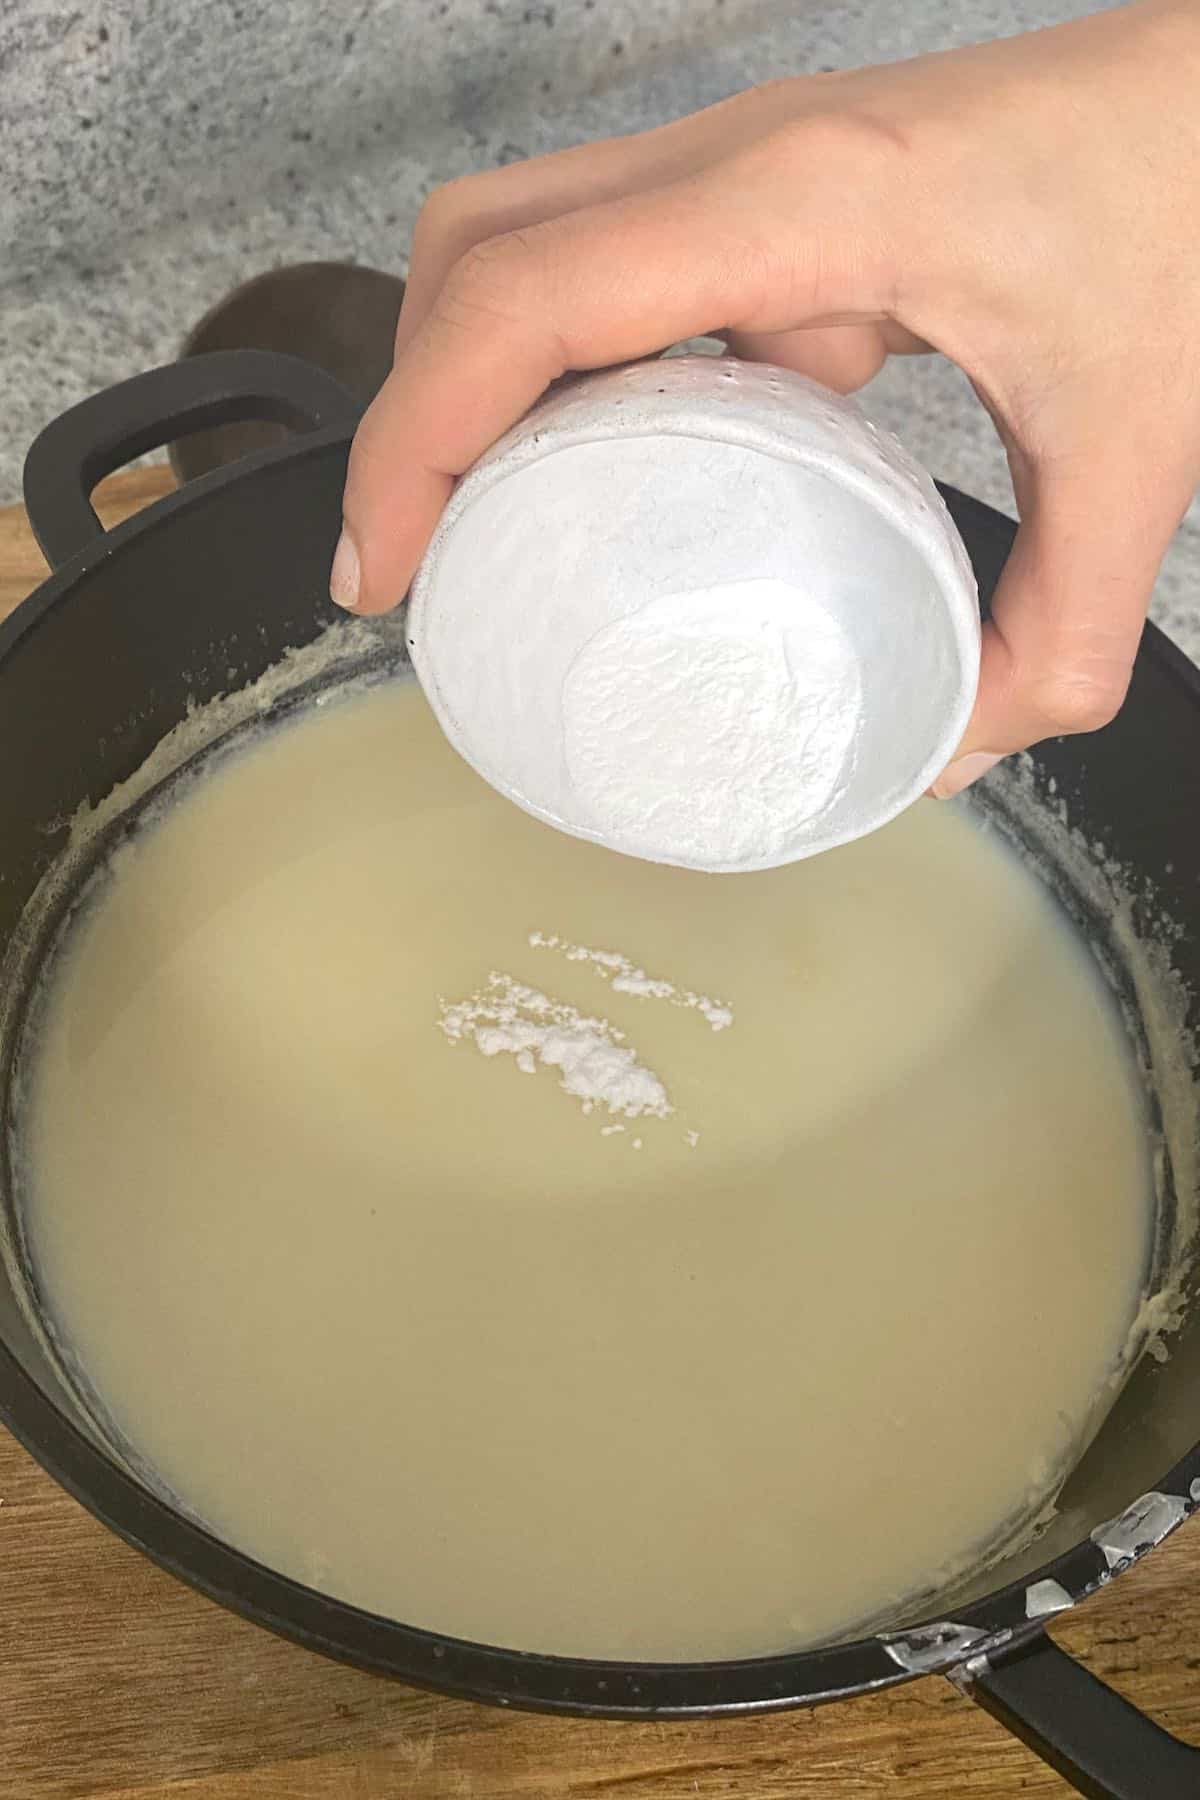
Once the milk has cooled, add your yogurt starter, and stir gently until completely mixed in.
If using a powder starter, dissolve it with a bit of milk to create a ‘slurry,’ then pour in the pot.
Step 3: Incubate the yogurt
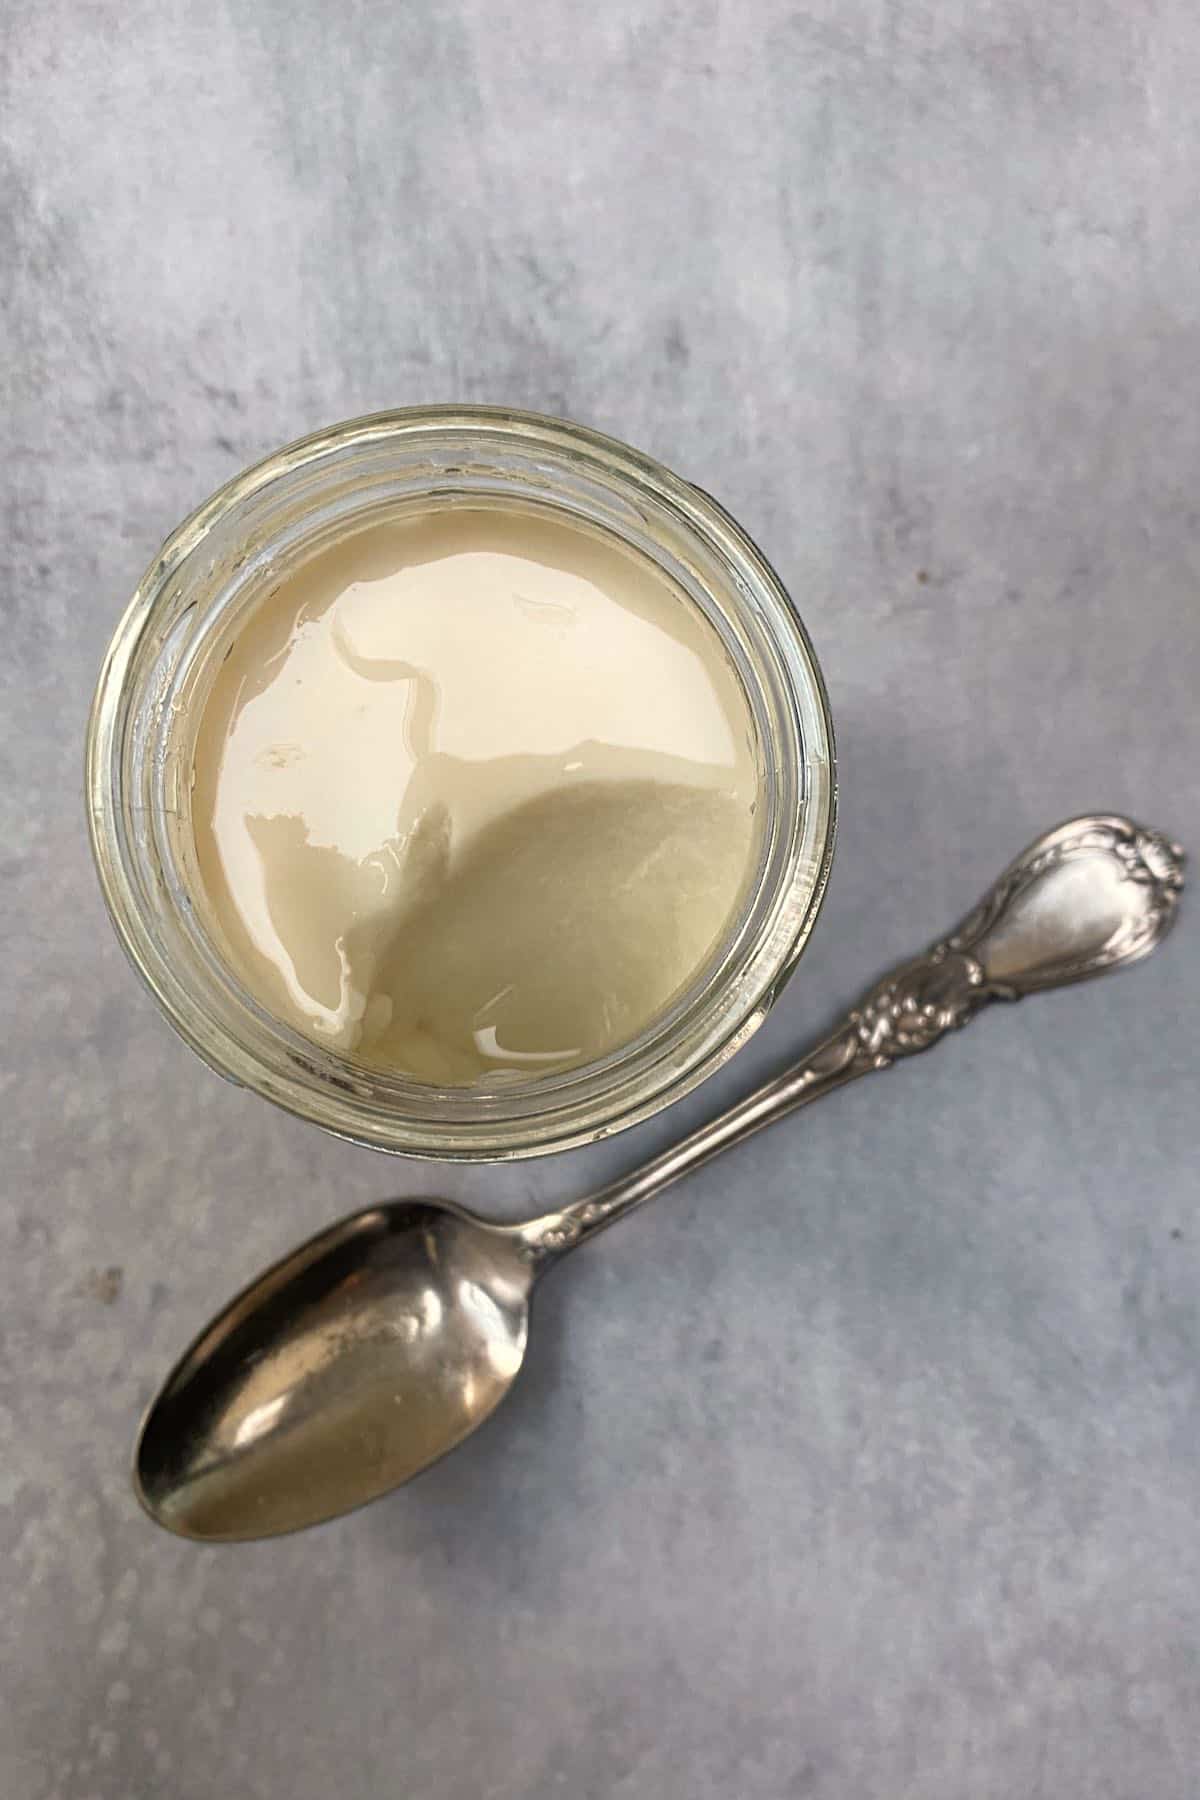
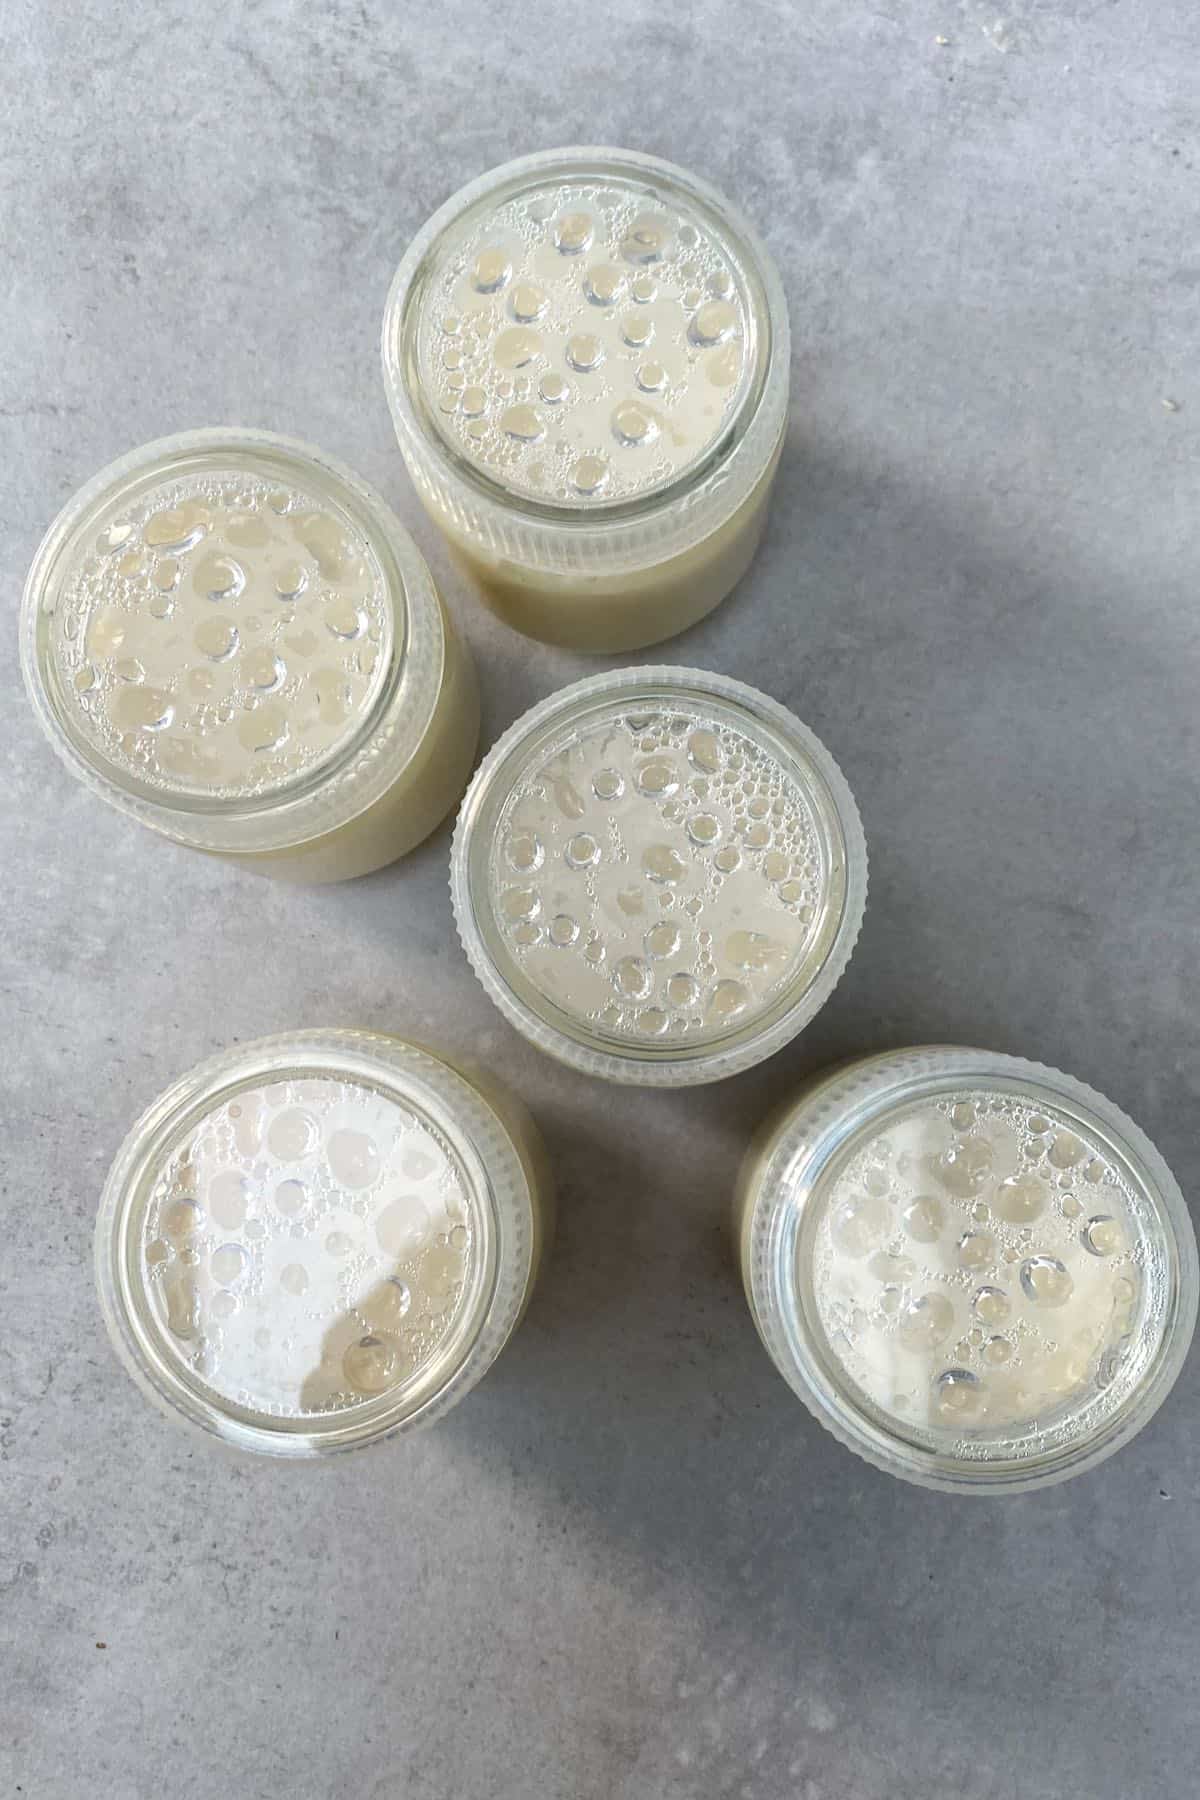
Pour the soy milk yogurt mixture into your containers of choice. I use individual serving small glass yogurt jars.
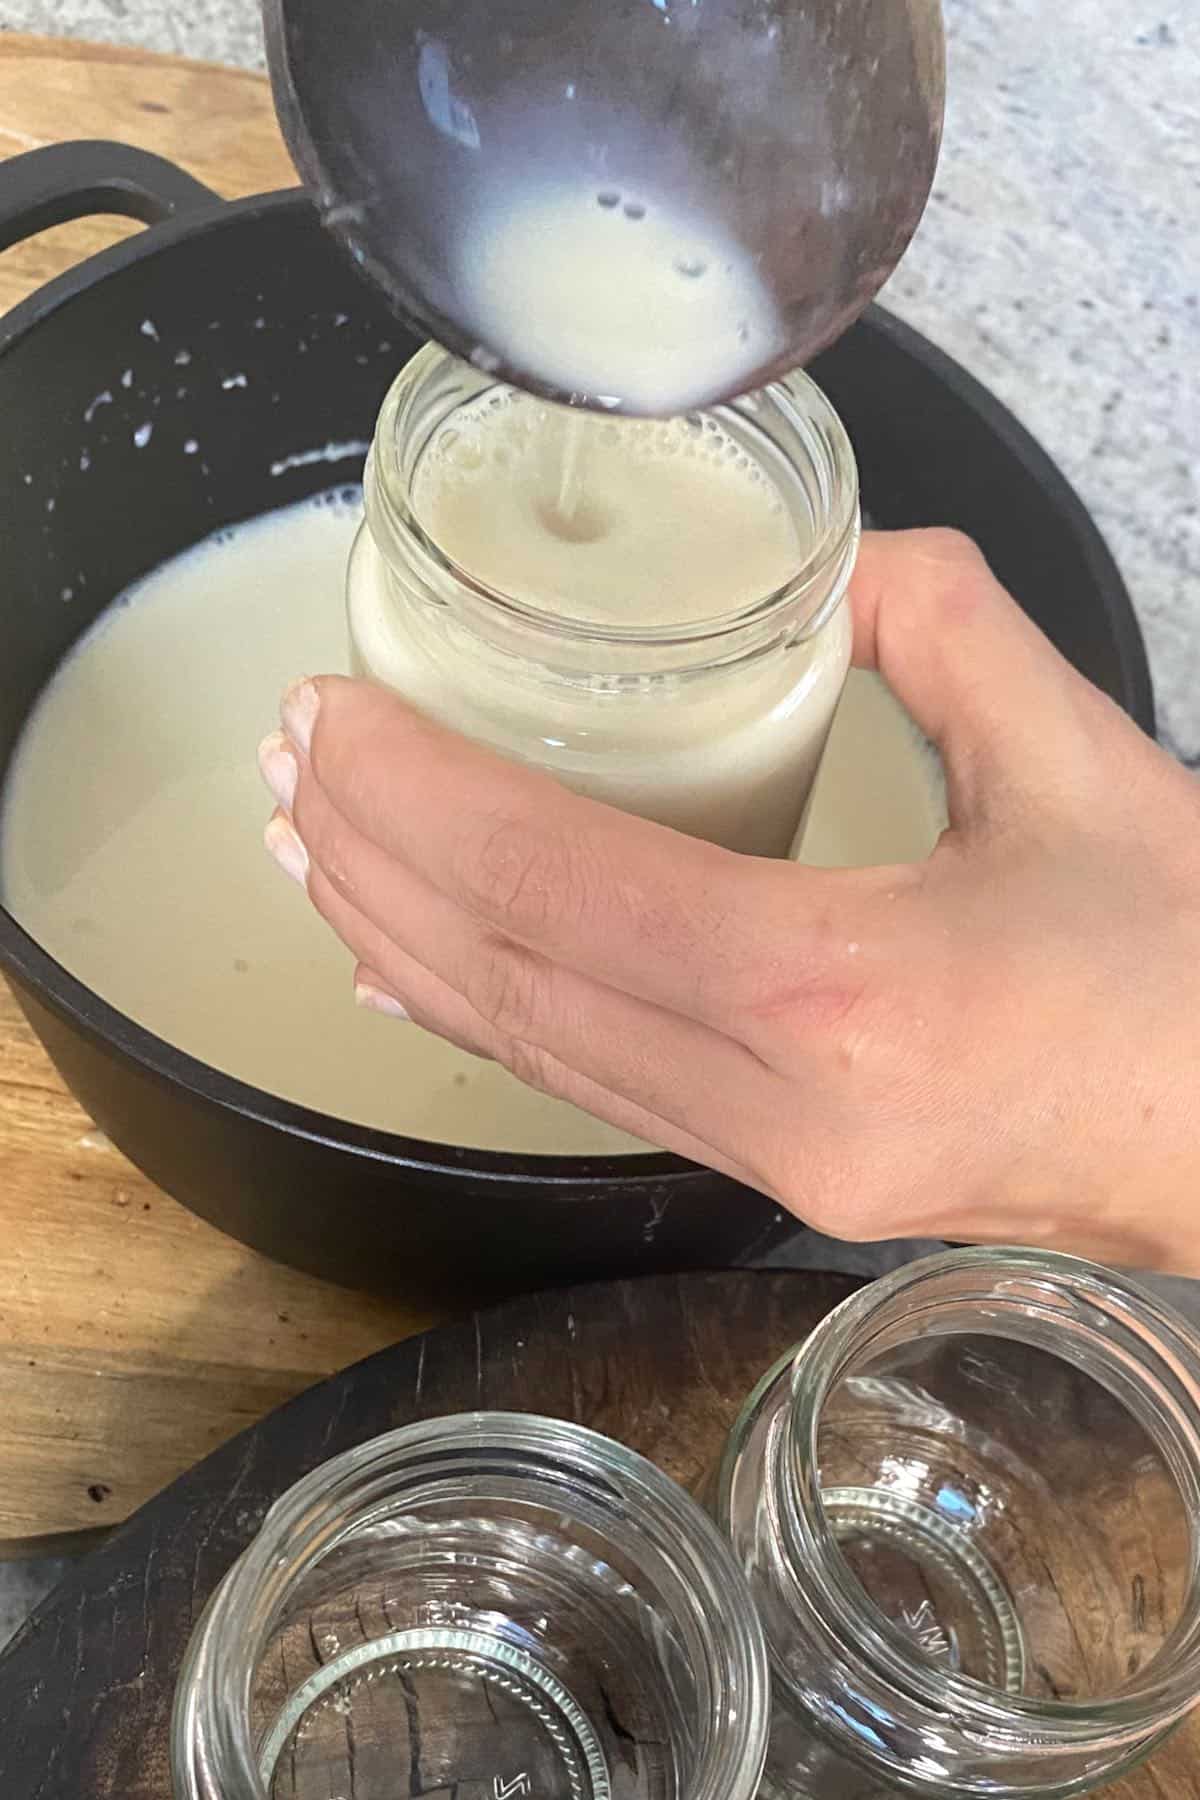
Place the glass jar/s in a warm environment to “incubate” overnight. I wrapped mine in a warm blanket. Then, I left to incubate for 12 hours in the oven (while it’s switched off). The longer it ferments, the tangier the yogurt will taste.
Chef’s note – I’ll often make this yogurt in the evening after my dinner. The oven is often ever so slightly warm still. If you haven’t used the oven for a while, you can pre-heat it at 400ºF/205ºC for just 2-3 minutes. Switch it off before placing the jars in to incubate.
If you want the yogurt very thick and sour, you can incubate it for up to 24 hours. Then move it to the refrigerator.
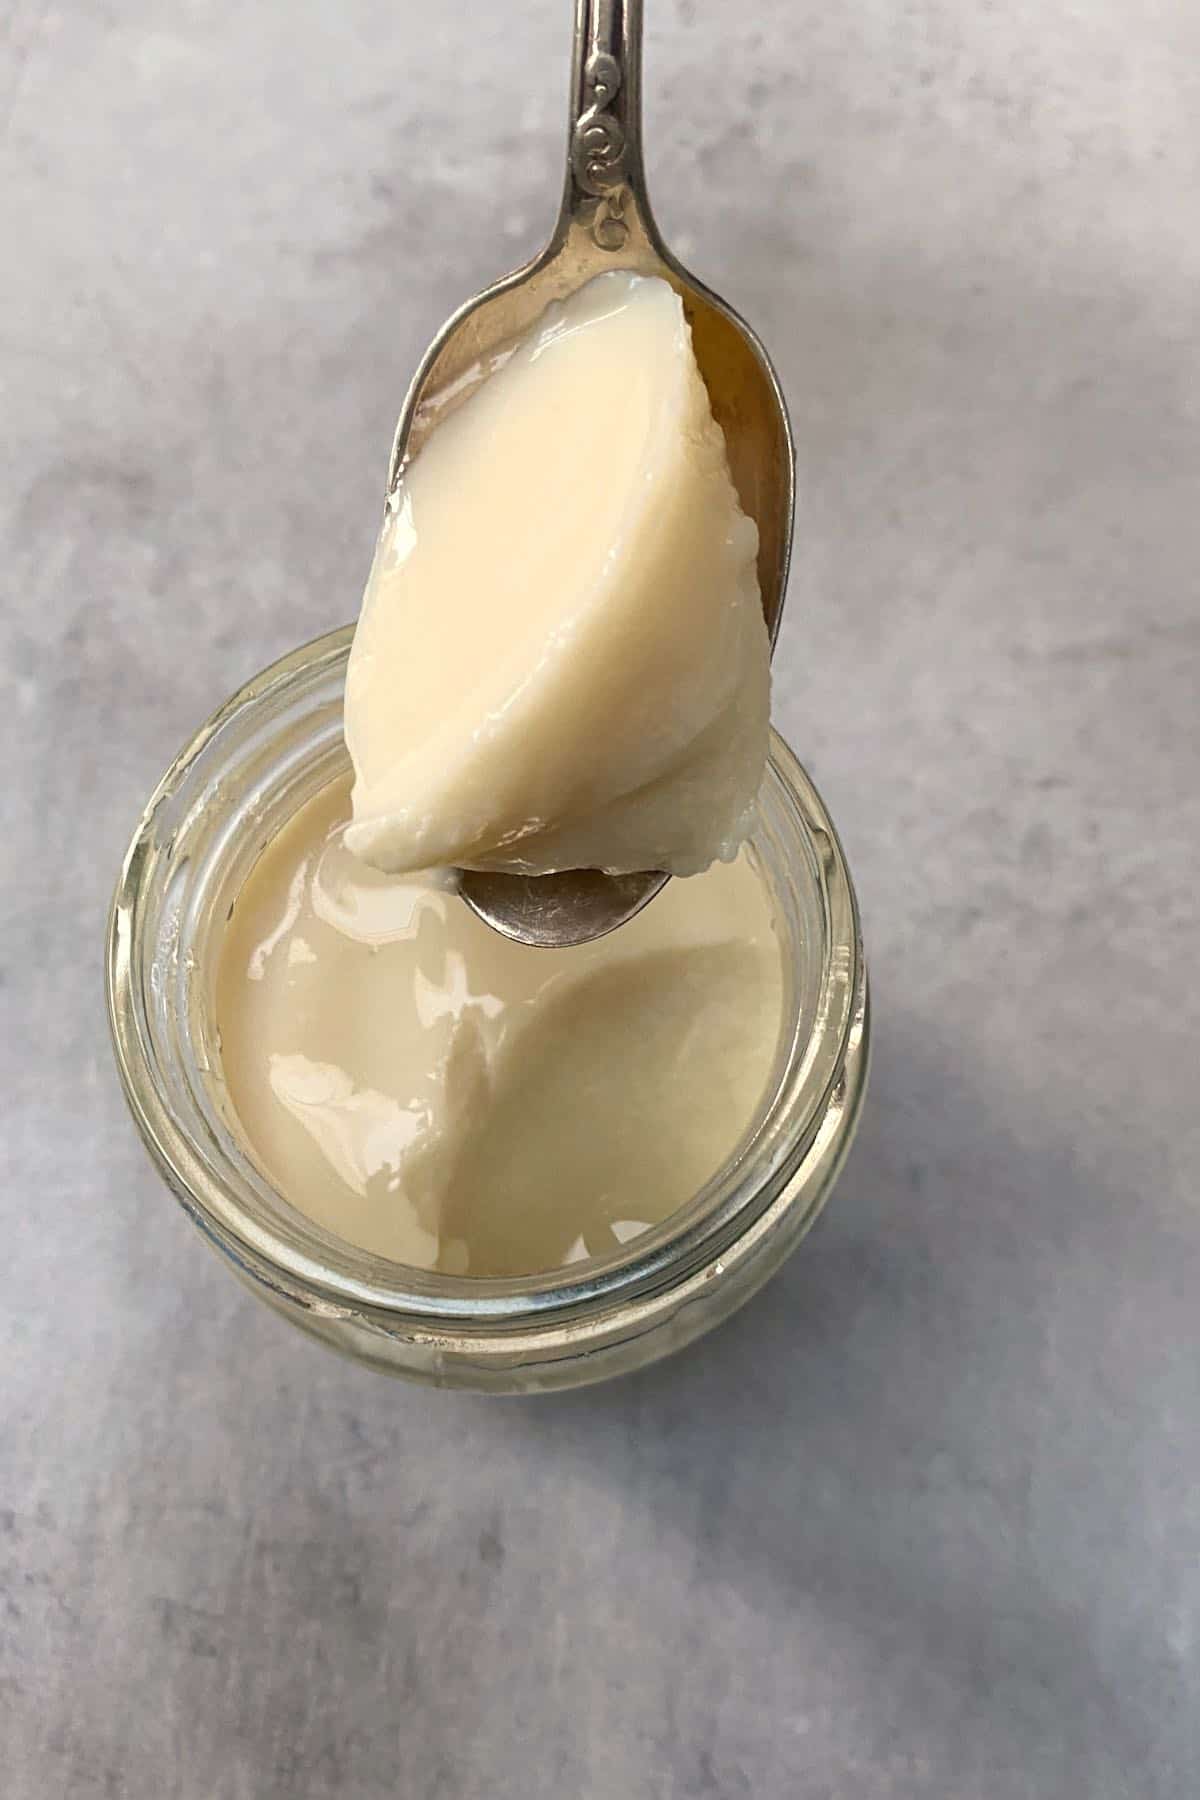
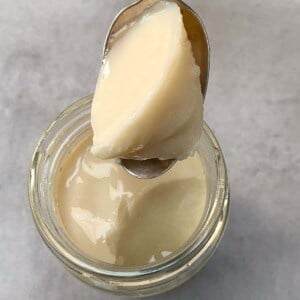
After the incubation period, I like to refrigerate it for another 6 hours before eating any as it further thickens. Then, flavor or sweeten, if preferred, and dig in!
How to store
Store the soy yogurt in the fridge in airtight containers for between 4-5 days.
I wouldn’t recommend freezing the yogurt as the cornstarch doesn’t remain thick when frozen and thawed.
It is possible to sous vide can these for longer-term storage (4-6 weeks), though it isn’t something I’ve tried.
How to serve
I like to flavor only the amount of yogurt I’m using at any one go. Here are some of my favorite options.
- A little sweetener – your favorite sugar (cane sugar, coconut, brown, etc.), natural syrup (maple syrup, agave), date paste, or sugar-free option like erythritol.
- A little pureed fruit or some homemade blackberry jam (or strawberry, raspberry, ginger, rose, etc.)
- A swirl of your favorite nut or seed butter.
- A little homemade Nutella (vegan).
Serve your yogurt any way you would usually with dairy yogurt. Add it to a little granola, within these Healthy Yogurt Granola Cups, for easy overnight oats, in healthy smoothie recipes, and more!
More dairy-free recipes
- Homemade Dairy-Free Almond Yogurt
- Homemade Dairy-free Coconut Yogurt
- A Comprehensive Guide To Vegan, Dairy-Free Milk
- Simple Oat Milk Creamer (Oat Cream)
- Simple Smoky Vegan Cheddar Cheese
- Easy Stretchy Vegan Mozzarella Cheese
- Simple Herby Vegan Feta Cheese
- Simple Homemade Vegan Cashew Cheese
- Vegan Ricotta Cheese (Almond Ricotta)
If you try this vegan soy yogurt recipe, then let me know your thoughts and questions in the comments. I’d also really appreciate a recipe rating and would love to see your recreations – just tag @AlphaFoodie.
How To Make Soy Yogurt
Ingredients
- 4 cups soy milk homemade or store-bought
- 1 packet powder yogurt starter 5 grams (or 2 Tbsp store-bought plain yogurt with live cultures)
- 1/2 tbsp corn starch
- 1/4 tbsp agar-agar
Instructions
Step 1: Sterilize the tools
- Before you begin making the soy yogurt, sterilize everything you'll use, as you don’t want the yogurt cultures competing with any bacteria on/in the tools. This includes the pot and bowl for the milk, the glass jar (or small jars) to store the yogurt, and the spatula and/or spoon (wooden or silicone) you will be using.To sterilize the tools, wash them with hot soapy water and then dry them in the oven (no plastic parts) for 10 minutes at 160ºC.
Step 2: Prepare the soy milk.
- If you're using homemade soy milk, then you can follow the method outlined here.First, mix the agar-agar and cornstarch with a little milk and whisk until it's a smooth slurry.
- Then add the soy milk and slurry into a large pan and heat over low-medium heat* until it reaches 85ºC/185ºF**. Stir occasionally, so the milk doesn’t stick to the pot's bottom. Don't rush this step – it could take 30-40 minutes to warm it up enough.
- Once the temperature is reached, remove it from the stovetop and allow it to cool down to 45ºC/113ºF. It's essential to wait until the temperature drops before continuing with the next step (or else you may kill the yogurt starter immediately). This can take a further 30-40 minutes.
- Once the milk has cooled, add your yogurt starter, and stir gently until completely mixed in.If using a powder starter, dissolve it with a bit of milk to create a ‘slurry,’ then pour in the pot.
Step 3: Incubate the yogurt
- Pour the soy milk yogurt mixture into your containers of choice. I use individual serving small glass yogurt jars.
- Place the glass jar/s in a warm environment to “incubate” overnight. I wrapped mine in a warm blanket and left to incubate for 12 hours in the oven (while it's switched off). The longer it ferments, the tangier the yogurt will taste.Chef's note – I'll often make this yogurt in the evening after my dinner, so the oven is often ever so slightly warm still. If you haven't used the oven for a while, you can pre-heat it at 400F/205C for just 2-3 minutes, then switch it off before placing the jars in to incubate.If you want the yogurt very thick and sour, you can incubate it for up to 24 hours. Then move it to the refrigerator.
- After the incubation period, I like to refrigerate it for another 6 hours before eating any as it further thickens. Then, flavor or sweeten if preferred and dig in!
How To Store
- Store the soy yogurt in the fridge in airtight containers for between 4-5 days.I wouldn’t recommend freezing the yogurt as the cornstarch doesn’t remain thick when frozen and thawed.It is possible to sous vide can these for longer-term storage (4-6 weeks), though it isn't something I've tried.
Notes
- To prepare this soy yogurt in an instant pot, add all of the ingredients to the pot, and heat (allowing it to vent) for between 13-16 hours on the yogurt setting (I can’t be more precise as I haven’t got an Instant pot- so relying on user feedback. It is usually ready by hour 12 and will continue to thicken and become tangier the longer you ferment it.
- You could also use a yogurt maker, following the instructions in the manufacturer’s guide.
- The fermentation period will affect how thick and tangy the yogurt becomes. So, you can leave it to incubate for a few hours longer for even thicker, tangier results.
- If you want even thicker yogurt, you can strain it through a nut-milk bag – the same way I do with this Greek-style yogurt and then whisk, for super smooth, creamy soy milk yogurt.
- If you notice separating, awful smells or any pink spots/mold appearing these are signs that the yogurt fermentation hasn’t gone right and will need to be started over with a new batch.
- Don’t add any sweetener/flavoring to the yogurt until it has incubated, otherwise, it can affect the fermentation process. I prefer to flavor and sweeten a single jar at a time, just before eating it.
Nutrition
Nutrition information is automatically calculated, so should only be used as an approximation.


Can I used gelatin instead of agar? If so, is the ratio the same as agar and would I still use cornstarch? Many thanks!
Hi Sarah,
I haven’t tried with gelatin, but it should work and give you a firmer, spoonable texture. It’s best to follow the instructions on the gelatin as to how much to use based on the amount of liquid you have.