
This post may contain affiliate links. Please read our disclosure policy.
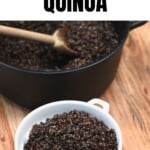


How to cook quinoa perfectly every single time – no mushy, stodgy mess, just fluffy, delicious cooked quinoa to boost the nutrition of a variety of meals. This ingredient is a fantastic option for batch cooking and meal-prep and contains a vast list of health benefits, as you’ll see below.
Whether you’re new to eating quinoa, or have just struggled to get perfect results when following package instructions, then this post is for you. Here you’ll learn what quinoa is, how to soak and/or sprout it, how to cook quinoa, store it (including freezing!), and even a list of ways to use it.
One of the secrets to making delicious quinoa is to ignore the instructions on the package (the same advice I give for cooking brown rice). These almost always call for too much liquid, and the result is often a stodgy, mushy mess. However, as you’ll see below, I have a perfect seed to water ratio for light and fluffy individual ‘grains.’
So, let’s get right to it then.
Want to save this recipe?
FAQs
While the majority of people think (and refer to) quinoa (pronounced keen-wah) as a whole grain, it is a highly nutritious seed.
Studies have shown it to have anti-viral, anti-inflammatory, anti-cancer, and even anti-depressant effects. It is also one of the best plant-based sources of complete protein. This means that it contains all eight essential amino acids that makeup protein.
On top of that, it is a good source of fiber, various minerals (like iron and magnesium), and even Vitam E. Quinoa is also naturally gluten-free, a great high-protein option, has a low GI, and is also cholesterol-free.
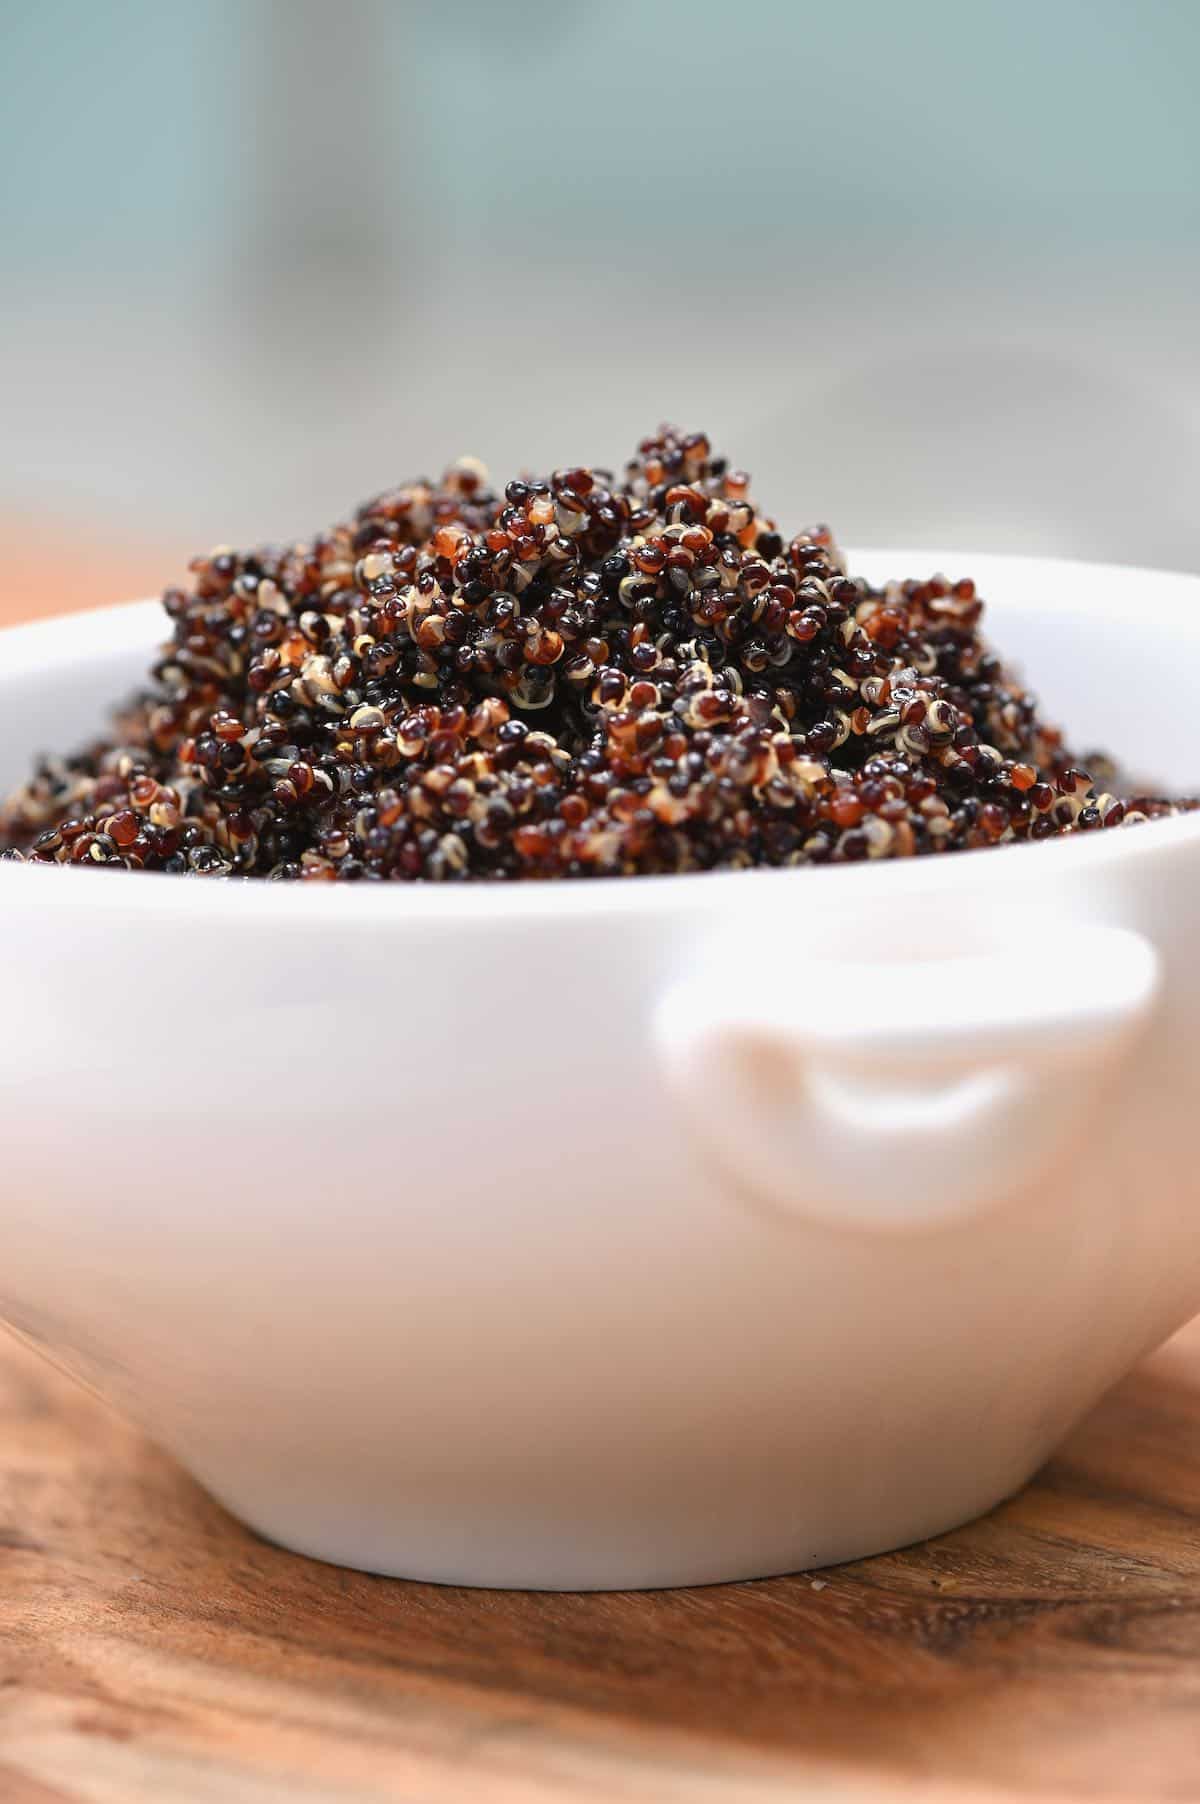
Quinoa looks a bit like a chunky couscous and has a slightly nutty flavor. In comparison to rice and couscous, it has a firmer texture, with more chew.
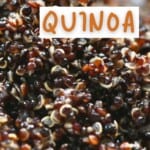
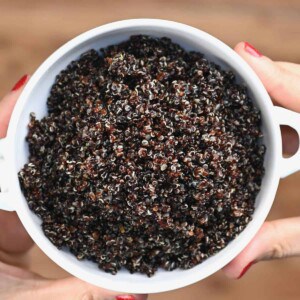
However, it’s worth noting that there are three varieties (white, red, and black), all of which have a slightly different flavor and texture. White quinoa has the subtlest flavor and texture, taking less time to cook. Meanwhile, the darker the color, the stronger the taste and ‘chew’-factor, as well as cook time.
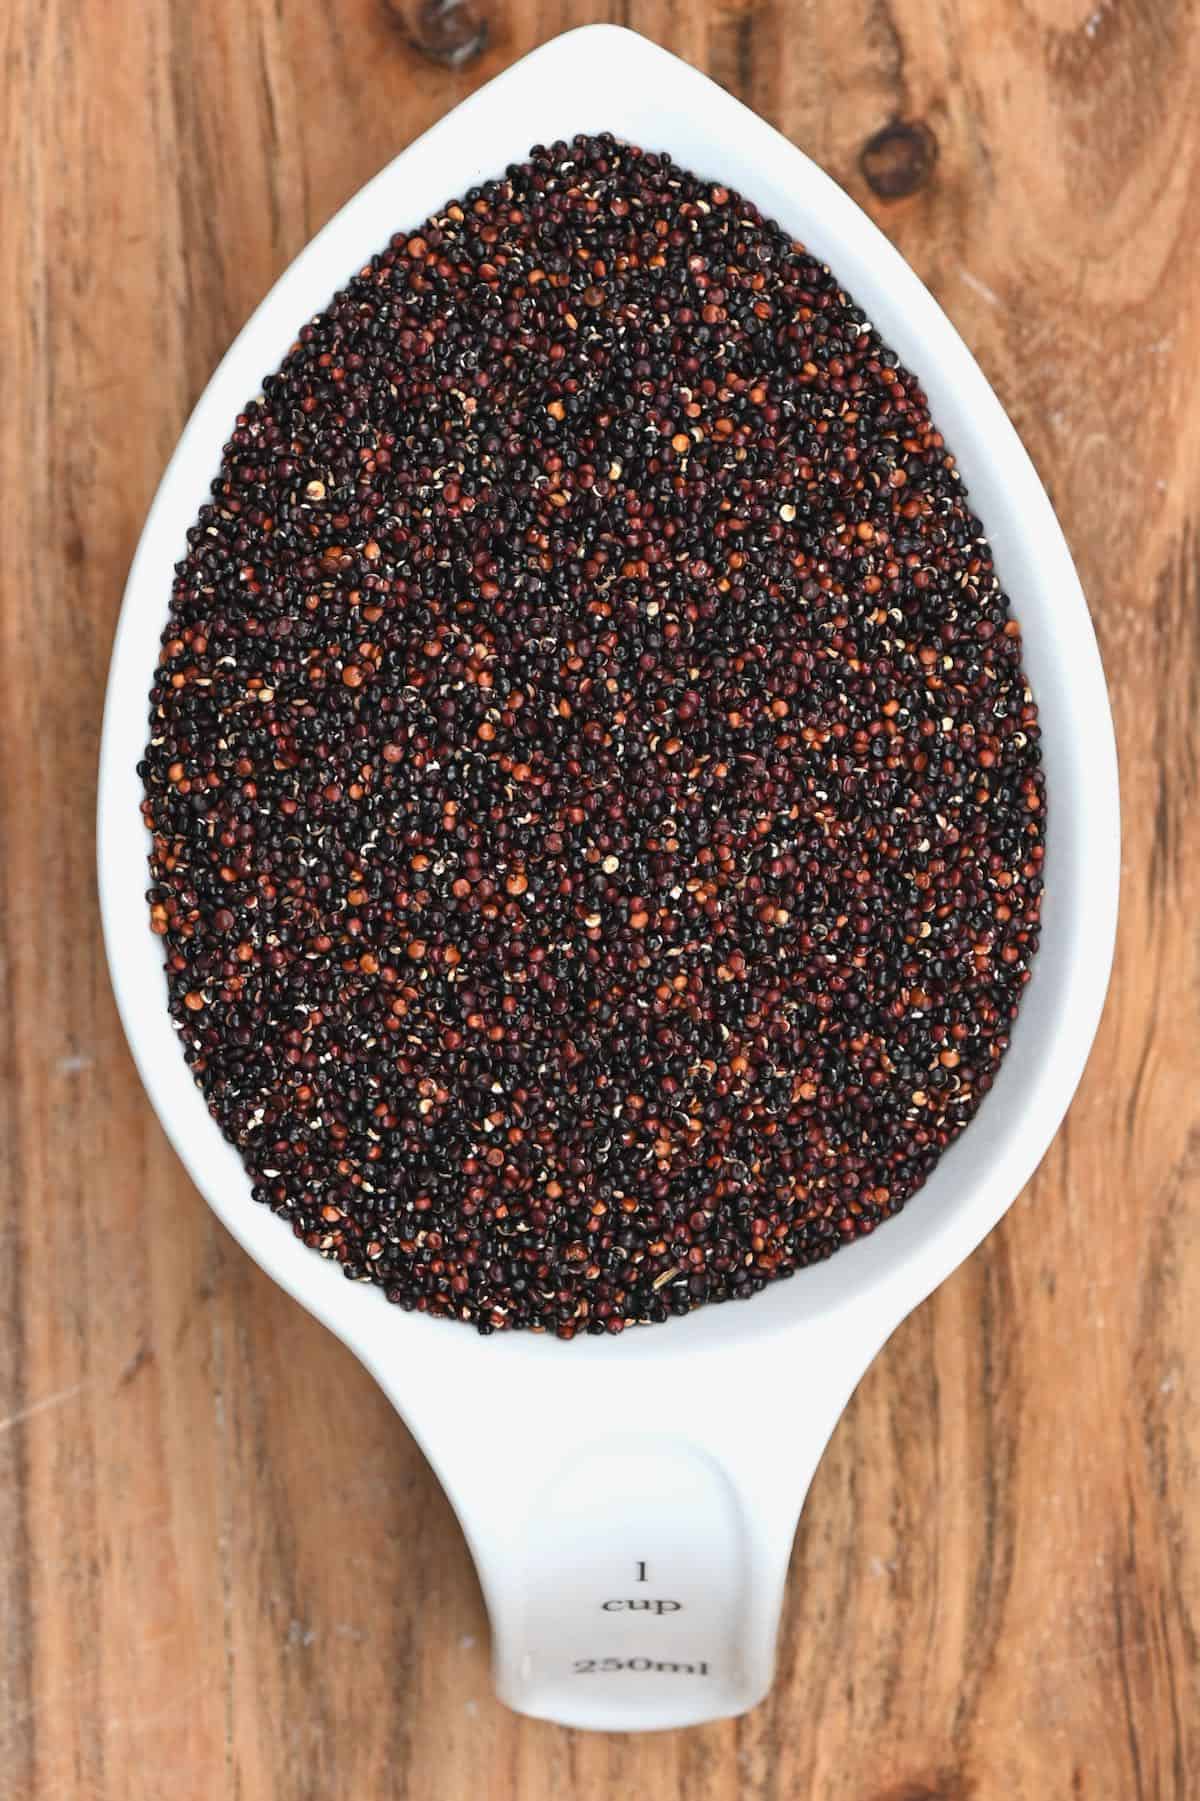
I’ve done a bit of testing, and when following my method for cooking, I’ve found that the perfect ratio is: 1 Cup of Quinoa to 2 Cups Water/ Stock.
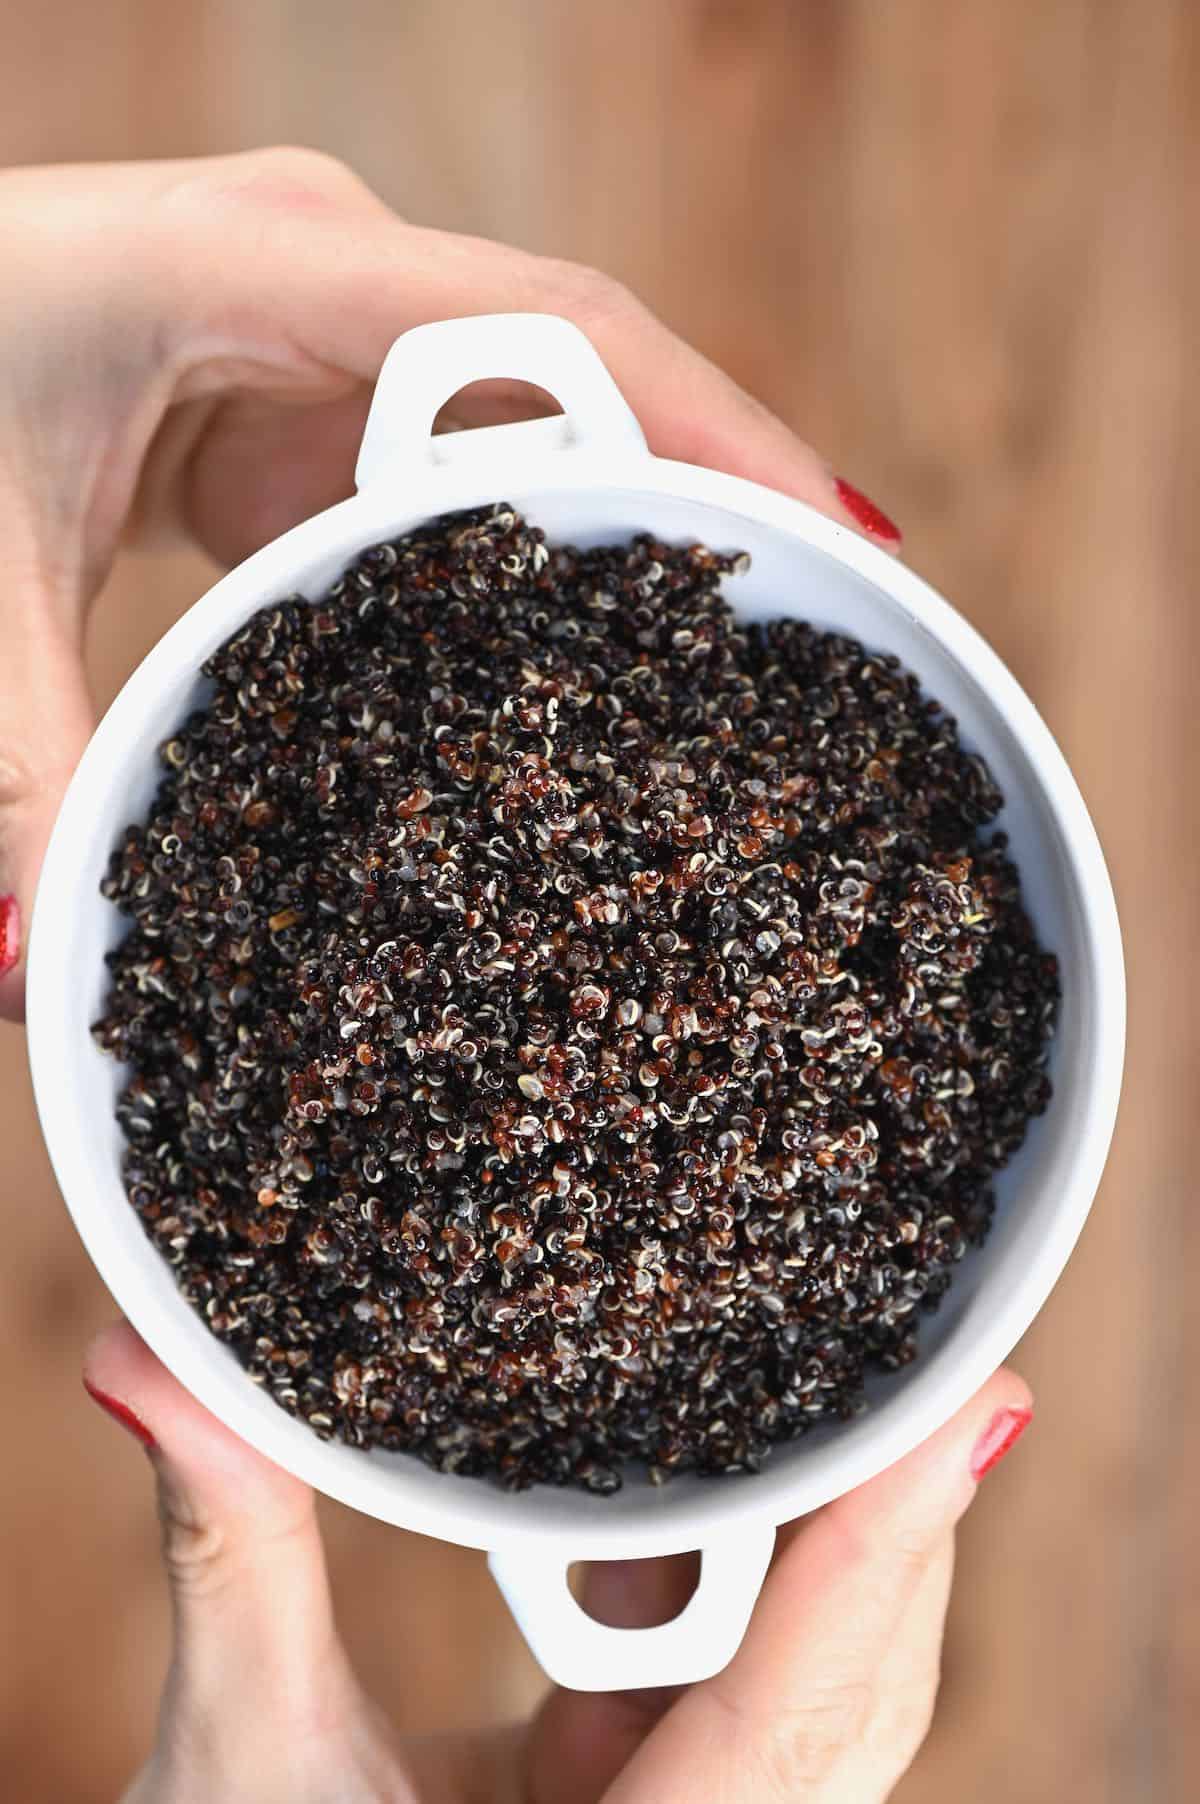
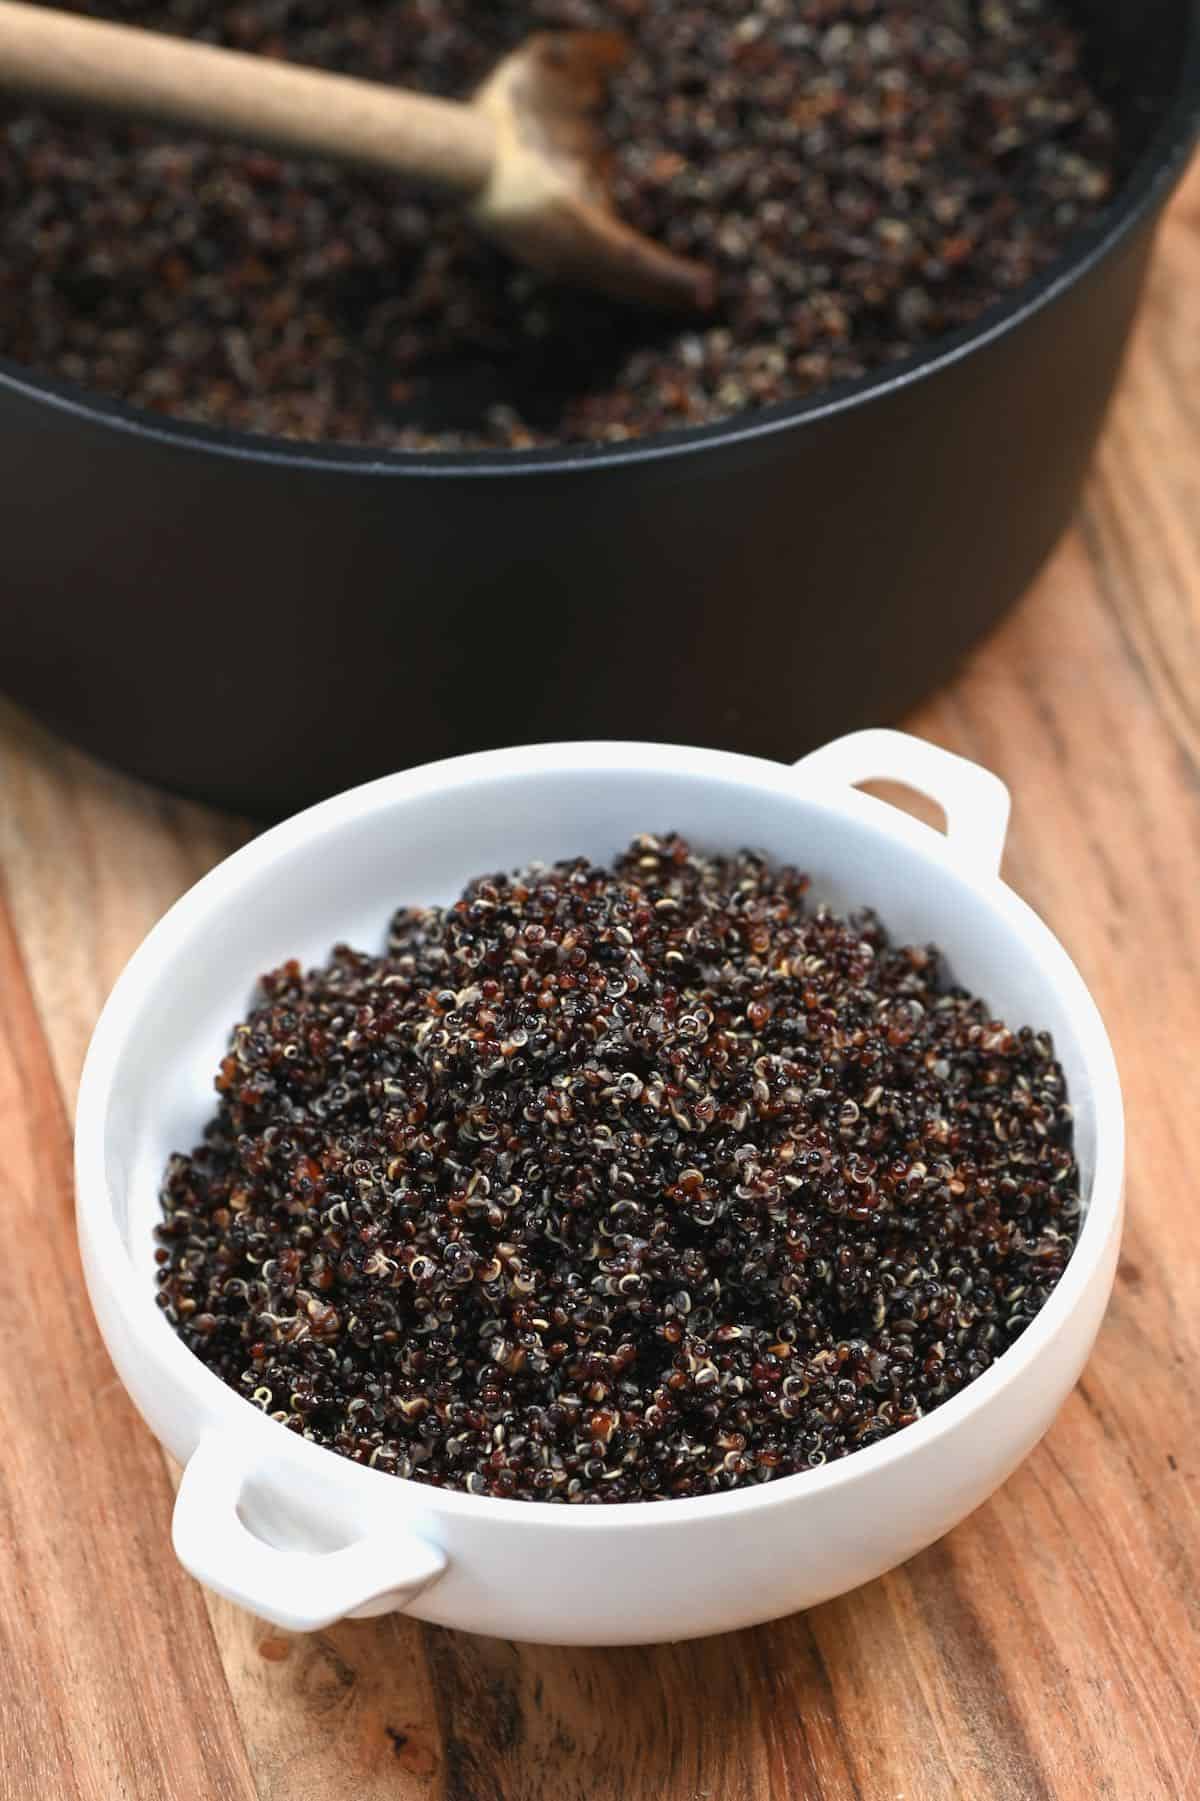
This is just enough to cook the seed, resulting in fluffy, al-dente, ‘individual-grain’ results. This is also the perfect amount to allow the seed to swell the 3-4x its size that it needs to when cooking.
Allow it to cool to room temperature, then store quinoa in the fridge, in airtight containers, for between 4-5 days. You can also freeze it for up to three months. Simply allow the frozen quinoa to thaw in the fridge and then eat cold or reheat as needed.
What is Sprouted Quinoa?
While quinoa’s long list of health benefits is certainly impressive, there is one particular potential ‘negative’ to point out too. Like many pulses/grains, quinoa contains some phytic acid. This is an ‘antinutrient’ that can reduce the absorption of certain minerals. This is where sprouting the quinoa comes in!
If you eat a varied diet and rely heavily on phytic-acid-containing foods in your diet, then this shouldn’t cause much of an issue. However, if you are worried about this and want to reduce the effects of phytic acid, then there are a couple of things you can do.
Soaking The Seeds
Rinsing and pre-soaking the seeds overnight not only reduces the phytic acid content but also reduces the cooking time. Depending on how long you soak it for, your cook time can be reduced to just ten minutes!
Sprouting The Seeds
Taking it one step further than soaking is to sprout the seeds. Sprouting quinoa will help reduce the effects of phytic acid, making the minerals more bioavailable, and increasing the antioxidant levels within too.
To sprout the seeds, you can follow the method I use for Growing Wheatgrass at home. It’s super simple and requires only a jar, a layer of cheesecloth/mesh, and a rubber band.
Step By Step Instructions
Learning how to make quinoa is super simple as it only requires a few straightforward steps, and once you have a recipe that works (this one!), then you’ll never need to refer to another recipe again, and it will continue to work every single time.
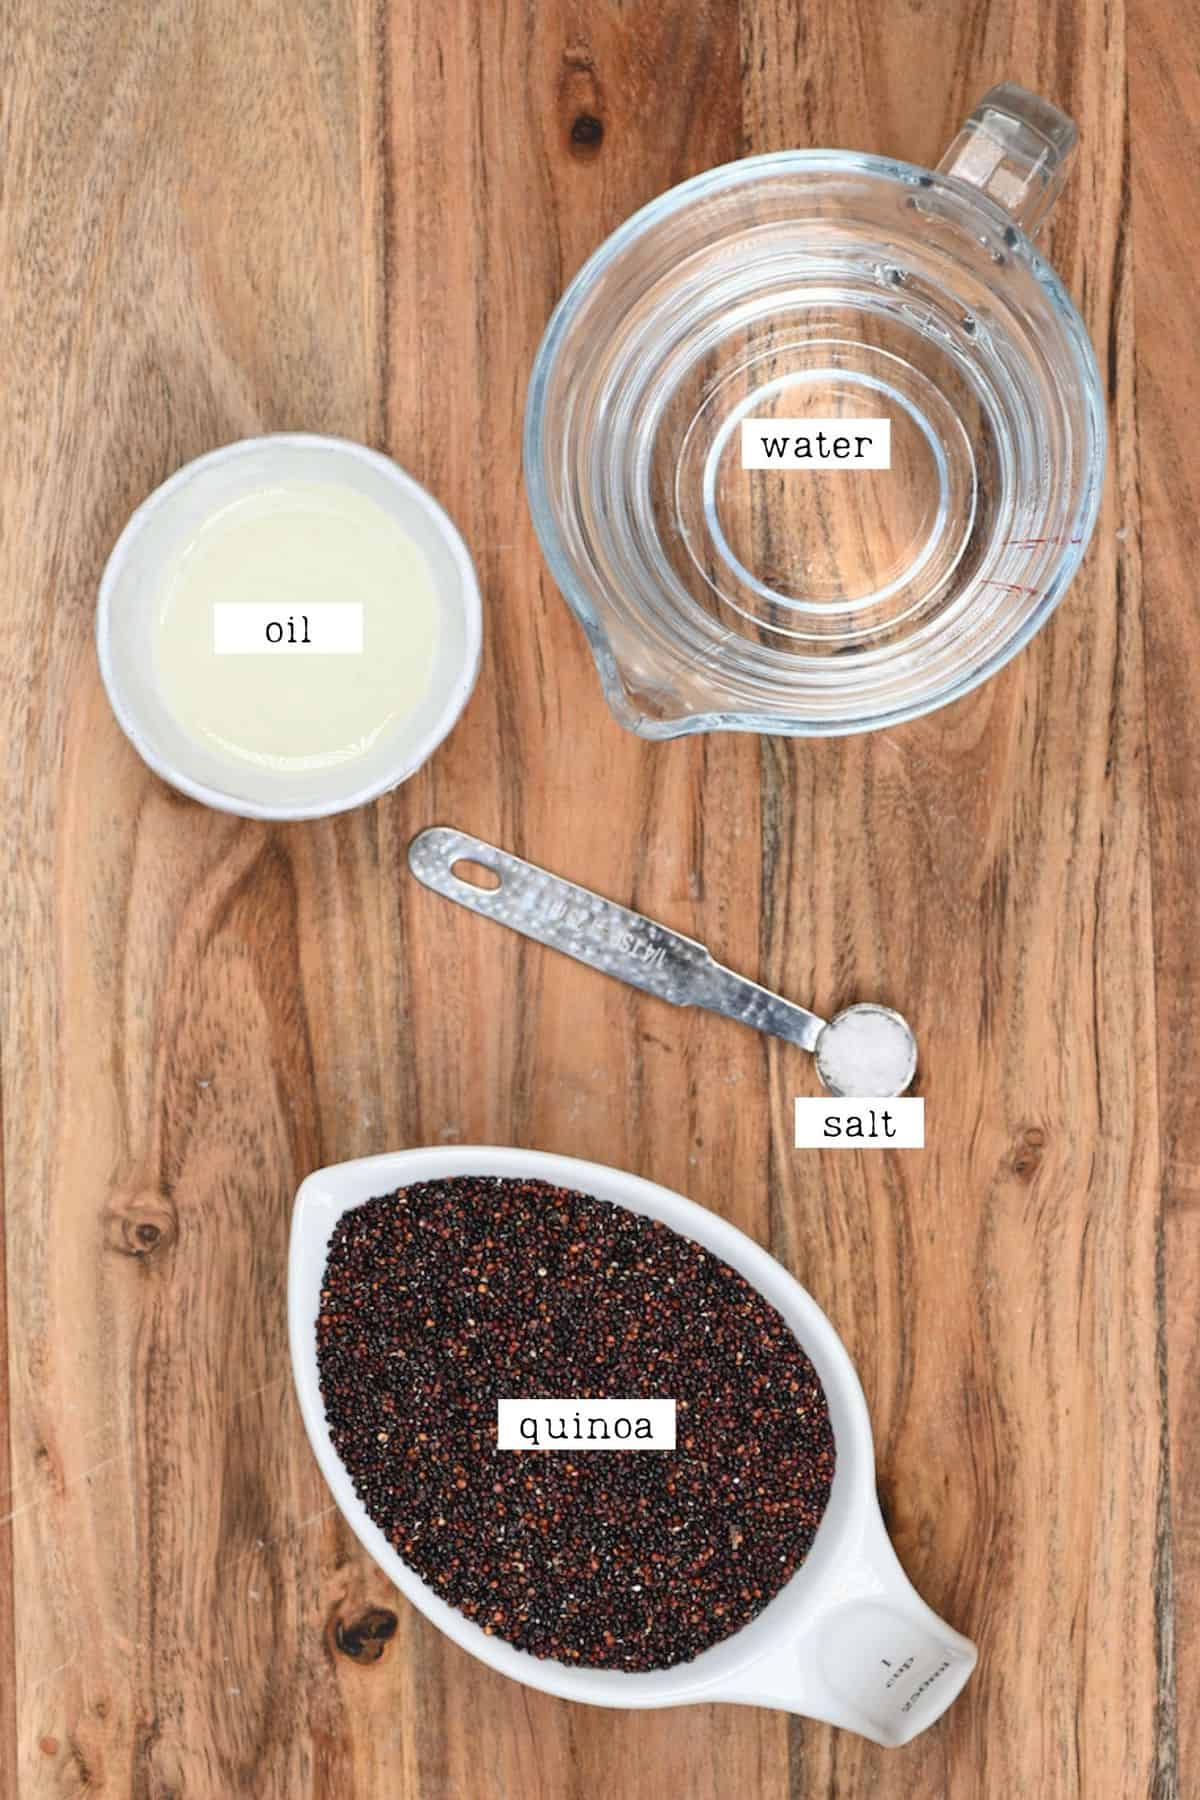
All you need is the quinoa of your choice, water (or vegetable stock), salt, and a little oil (sunflower or coconut oil work well).
First, you need to rinse the dry quinoa
If you want to soak/sprout it beforehand, then you can follow the notes written above in the post. However, regardless of what method you choose, you will need to rinse the seeds, unless the packaging has specifically stated that they have been pre-rinsed.
Even then, I’ll usually rinse them for my peace of mind. This is because the seeds have a bitter outer layer called a ‘saponin’ coating. Rinsing will get rid of this layer, while also making the grains less likely to get ‘clumpy’/stodgy in the pan.
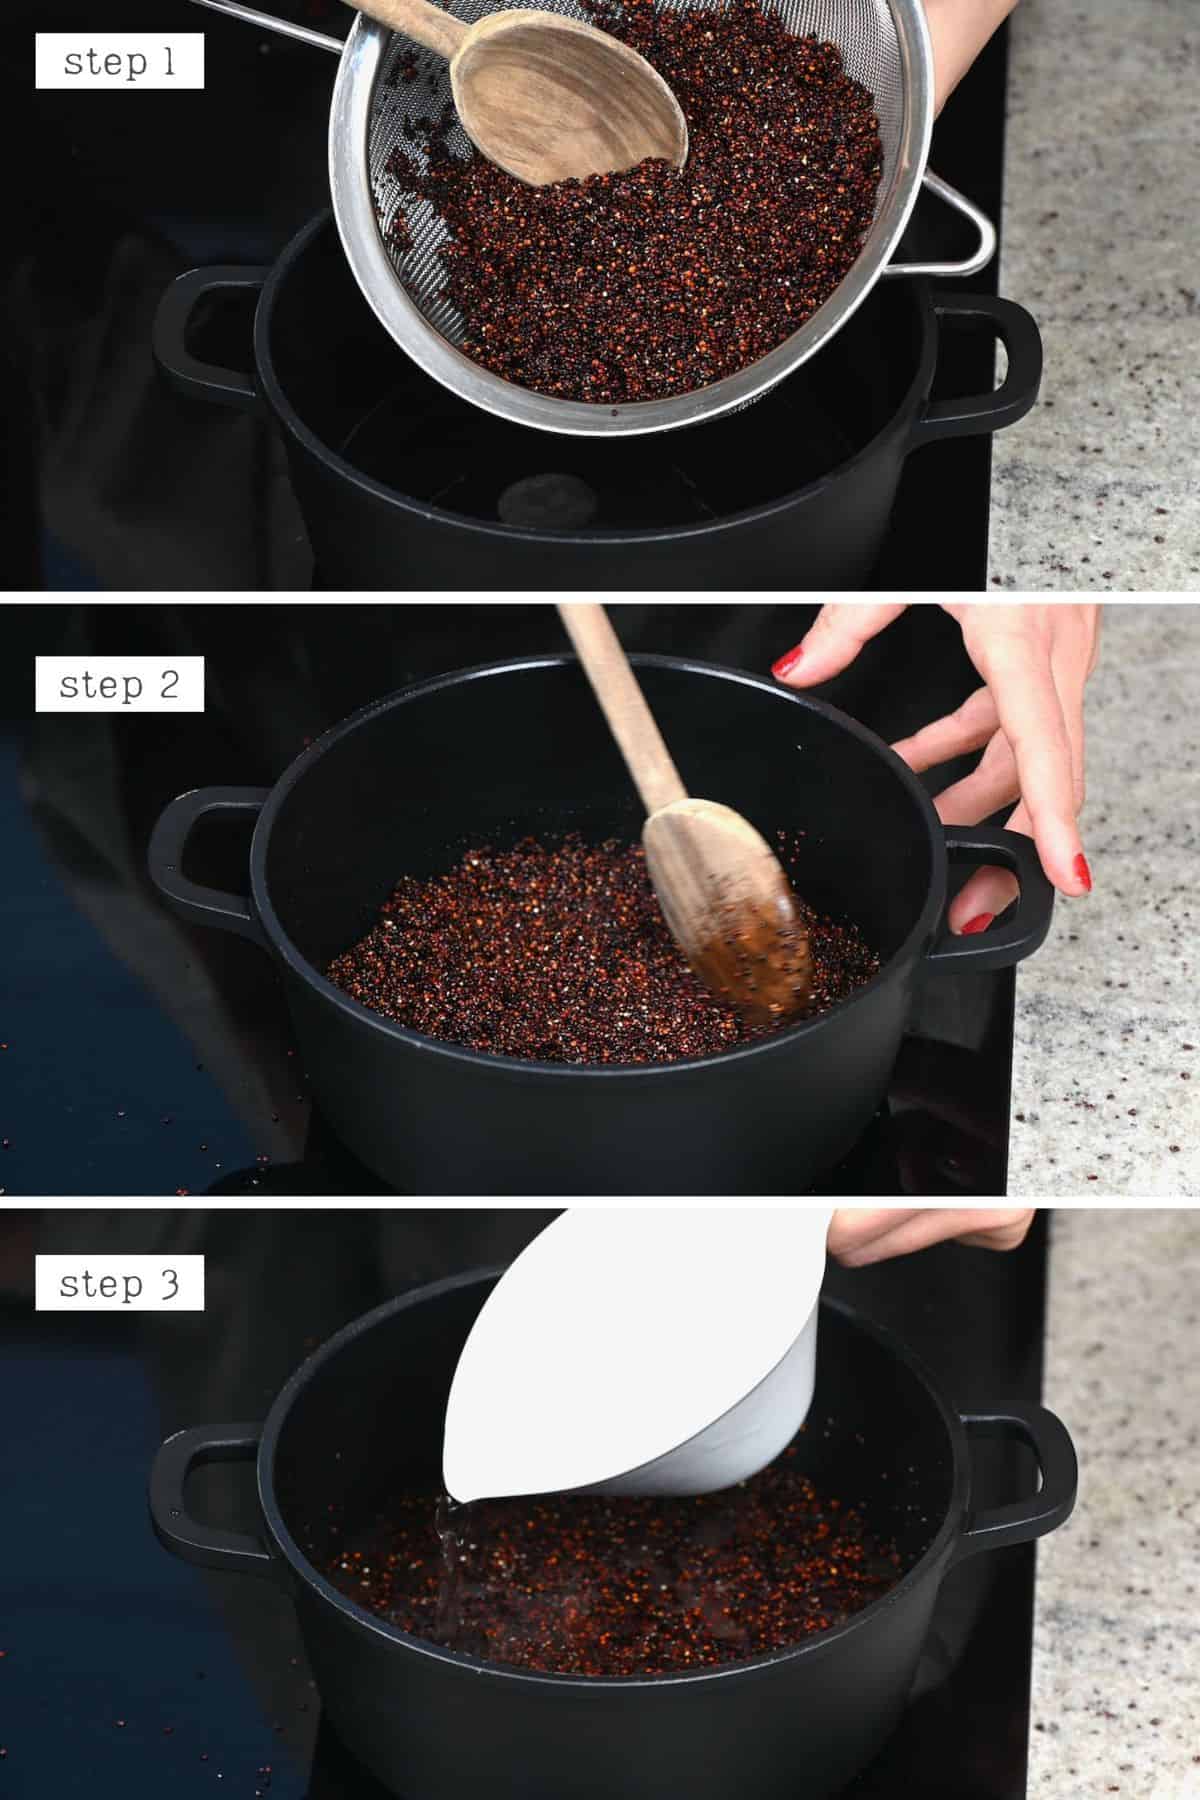
To rinse, transfer the quinoa to a fine-mesh sieve and rinse with cold water until the water runs clear. This is usually between 30-40 seconds.
Second, Time to cook it
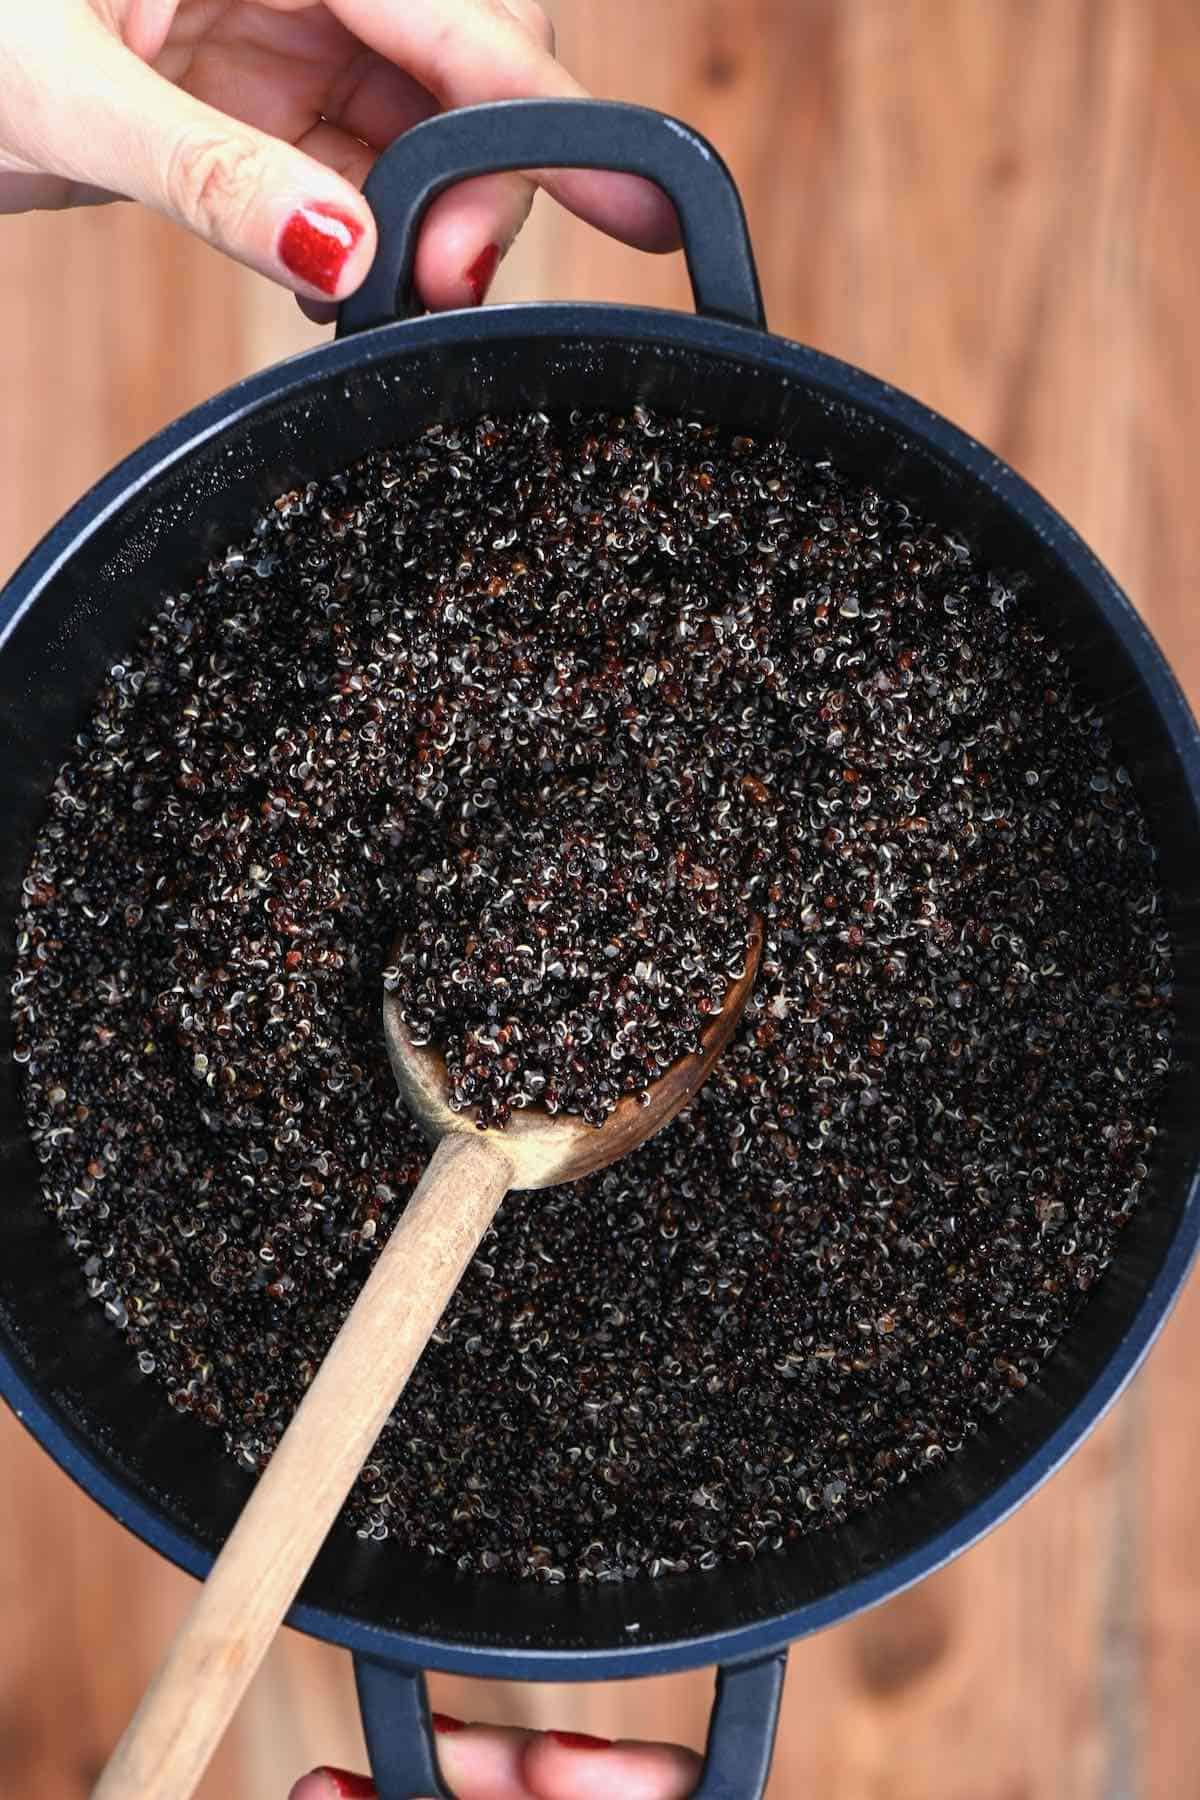
First, add the rinsed quinoa and oil in a pot over medium heat for a few minutes until they begin to make popping noises. This will lead to a more nutty, rich flavor of the cooked quinoa.
Next, add the water (or vegetable stock), and salt or flavorings of your choice into the pot and bring to a boil.
When boiling, reduce to a simmer and cover with a lid. Simmer for around 15 minutes (for white quinoa or 20 minutes for darker quinoa)**, or until the water has almost all been absorbed and the quinoa is near tender.
The time will also vary depending on how much you are making. For smaller amounts and soaked grains, then this may take 10 minutes. For larger quantities, this will be closer to 20.
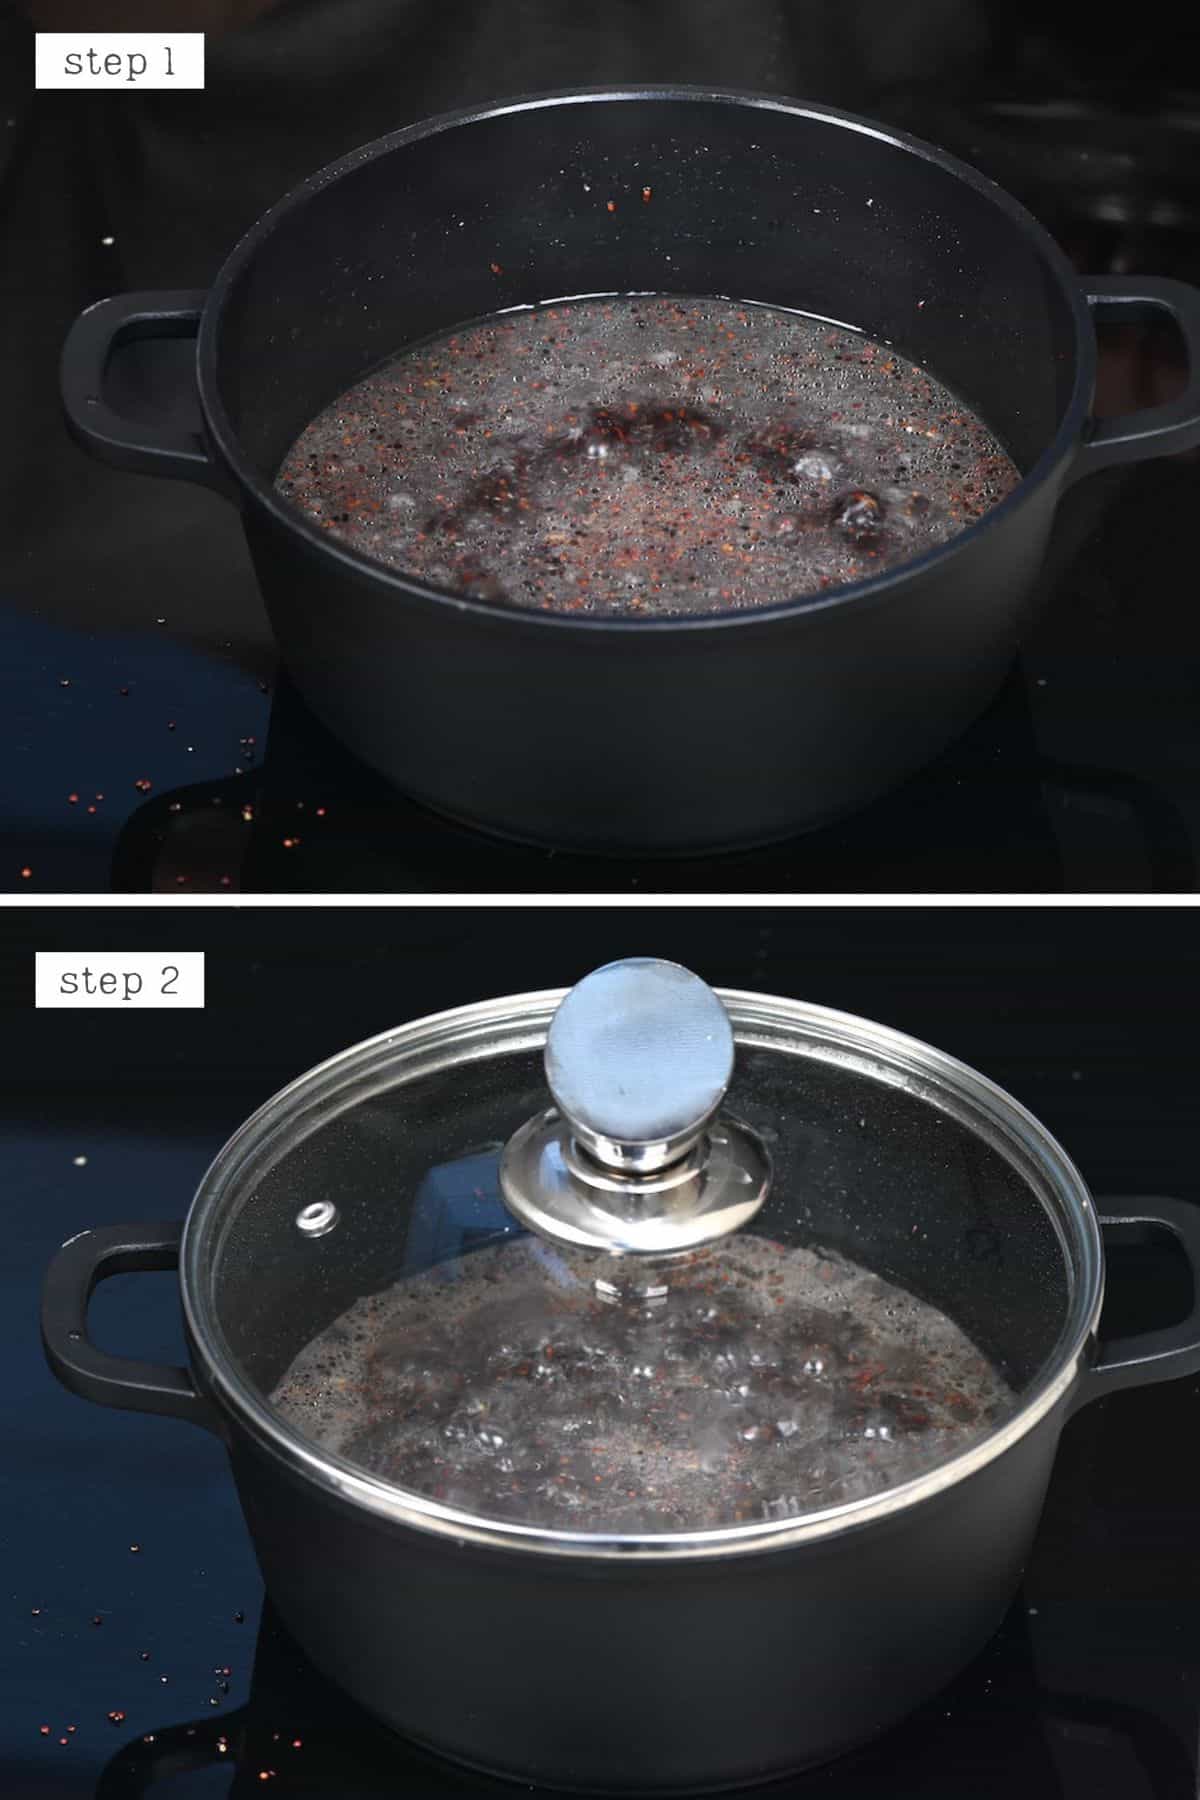
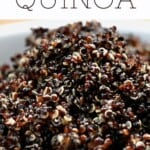
Remove from the heat and keep covered with the lid, allowing it to steam for a further 10 minutes. I usually place a layer of teatowel between the lid and pot at this point. This will catch the steam so that it doesn’t gather on the cover and then drip back down onto the quinoa. The result is perfectly cooked, fluffy quinoa!
Recipe Notes & Variations
- You can add a lot of flavor when you toast the quinoa. All you need is a few minutes (3-4) to saute the seeds in the pot over medium heat. Stir occasionally, until fragrant and toasty, and then add the water and continue to cook.
- When seasoning, you can choose to stick to the classic salt & pepper or go for additional options, such as fresh herbs, using vegetable stock instead of water, garlic, and more.
How To Use
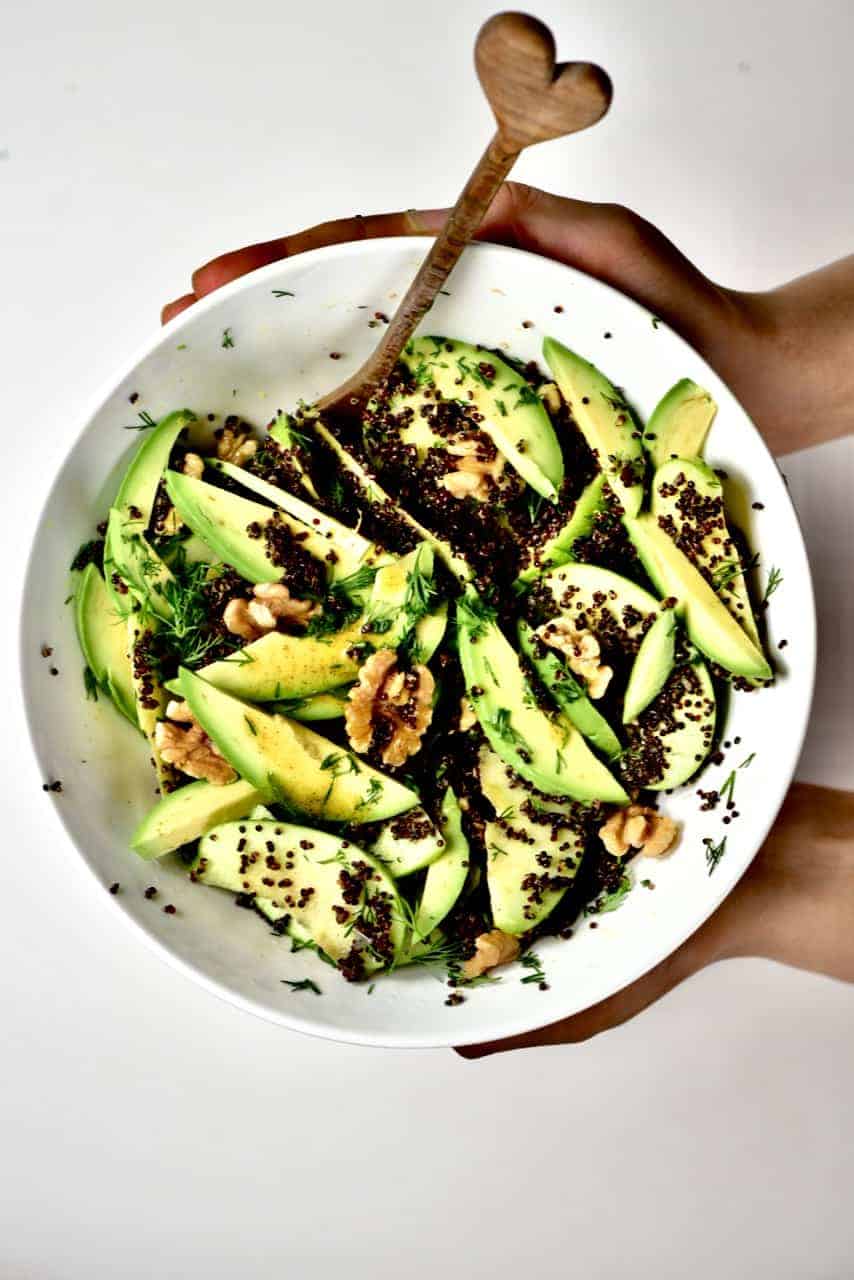
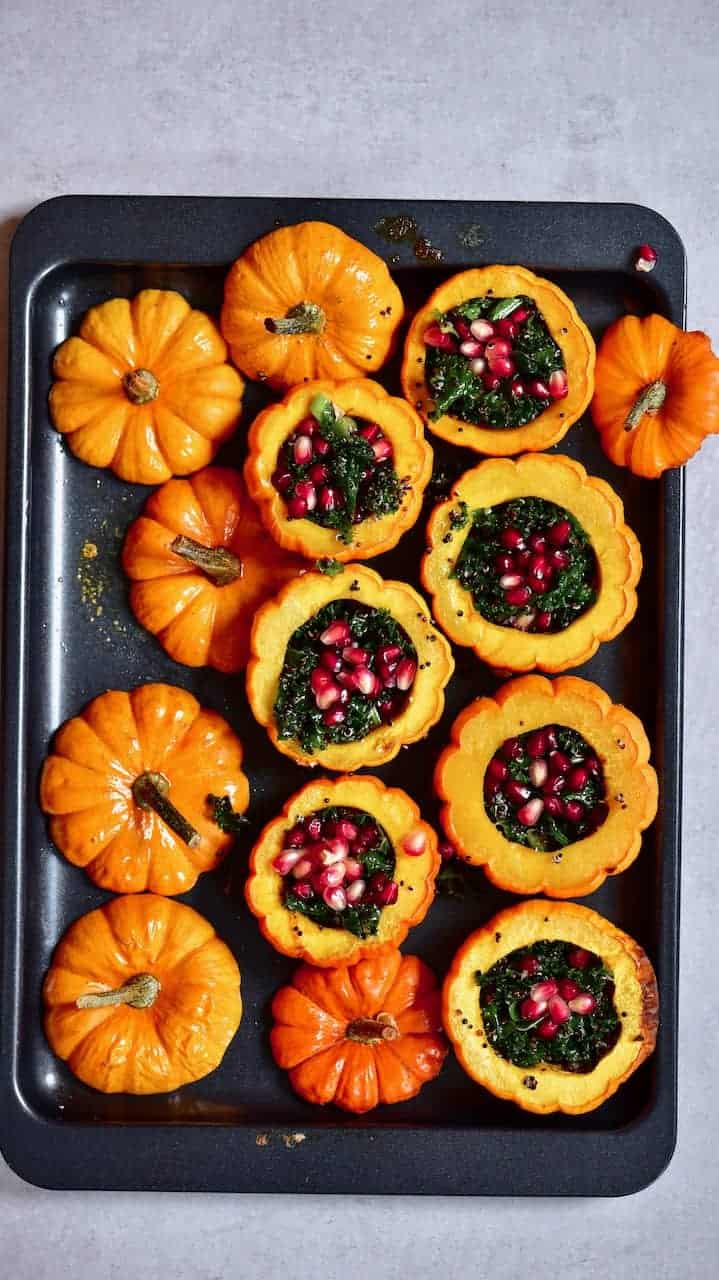
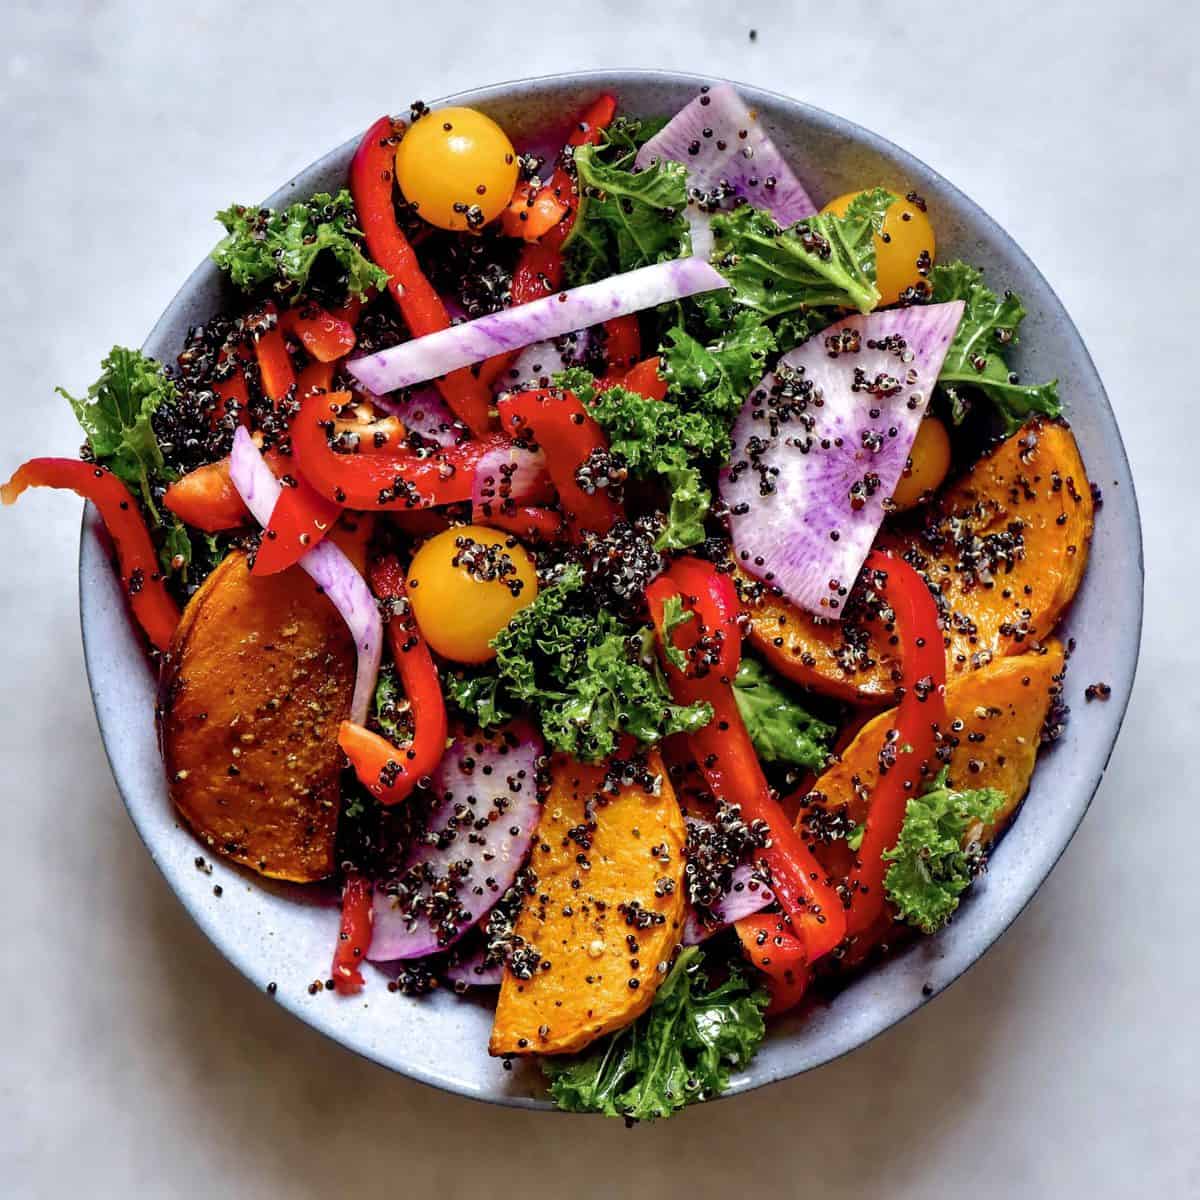
You can also use it in
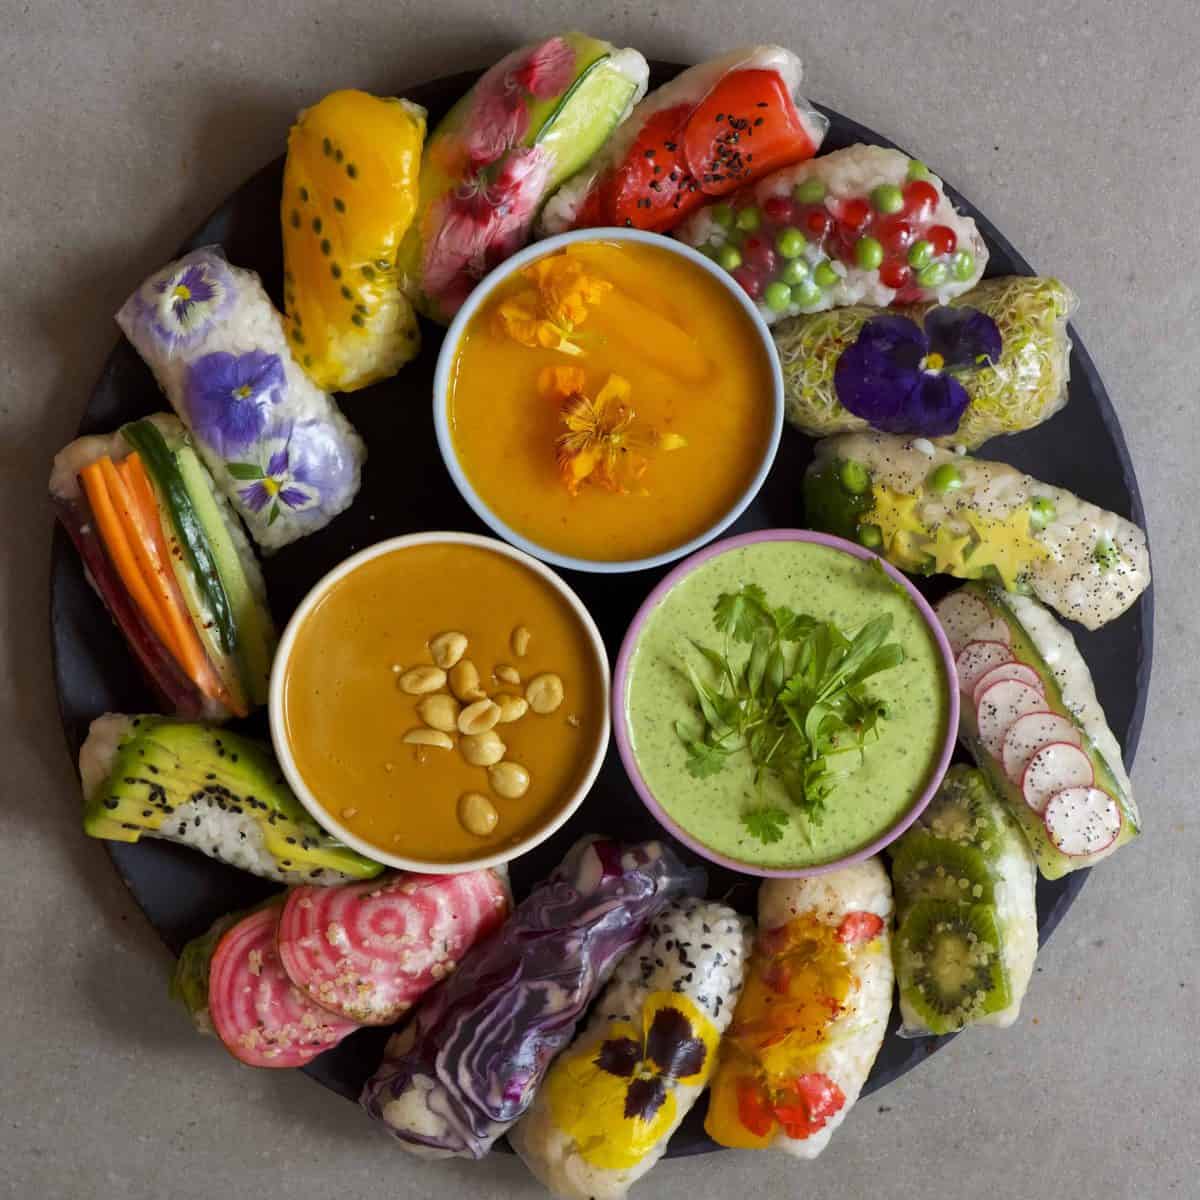
- Mix & Match Rainbow Vegan Rice Paper Rolls
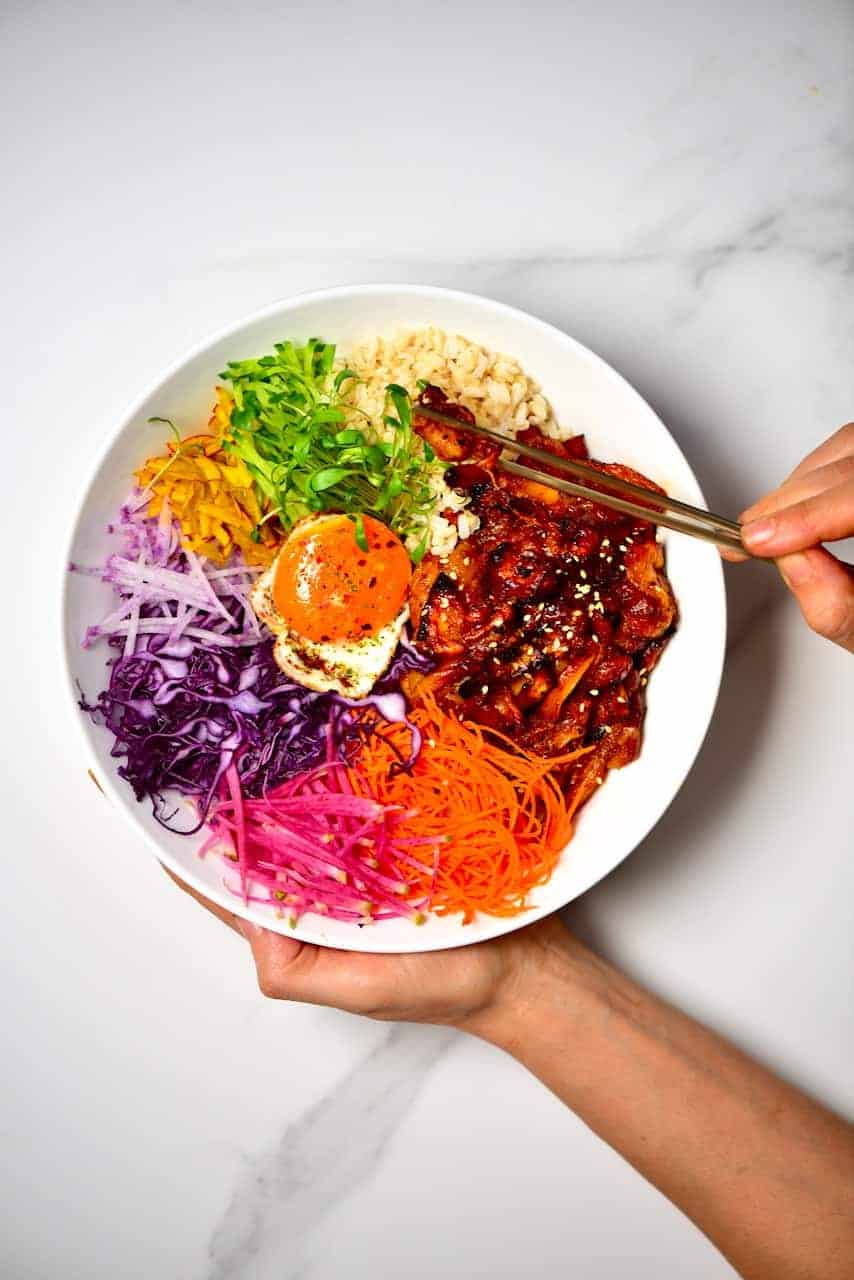
- BBQ pulled jackfruit Japanese Donburi bowl
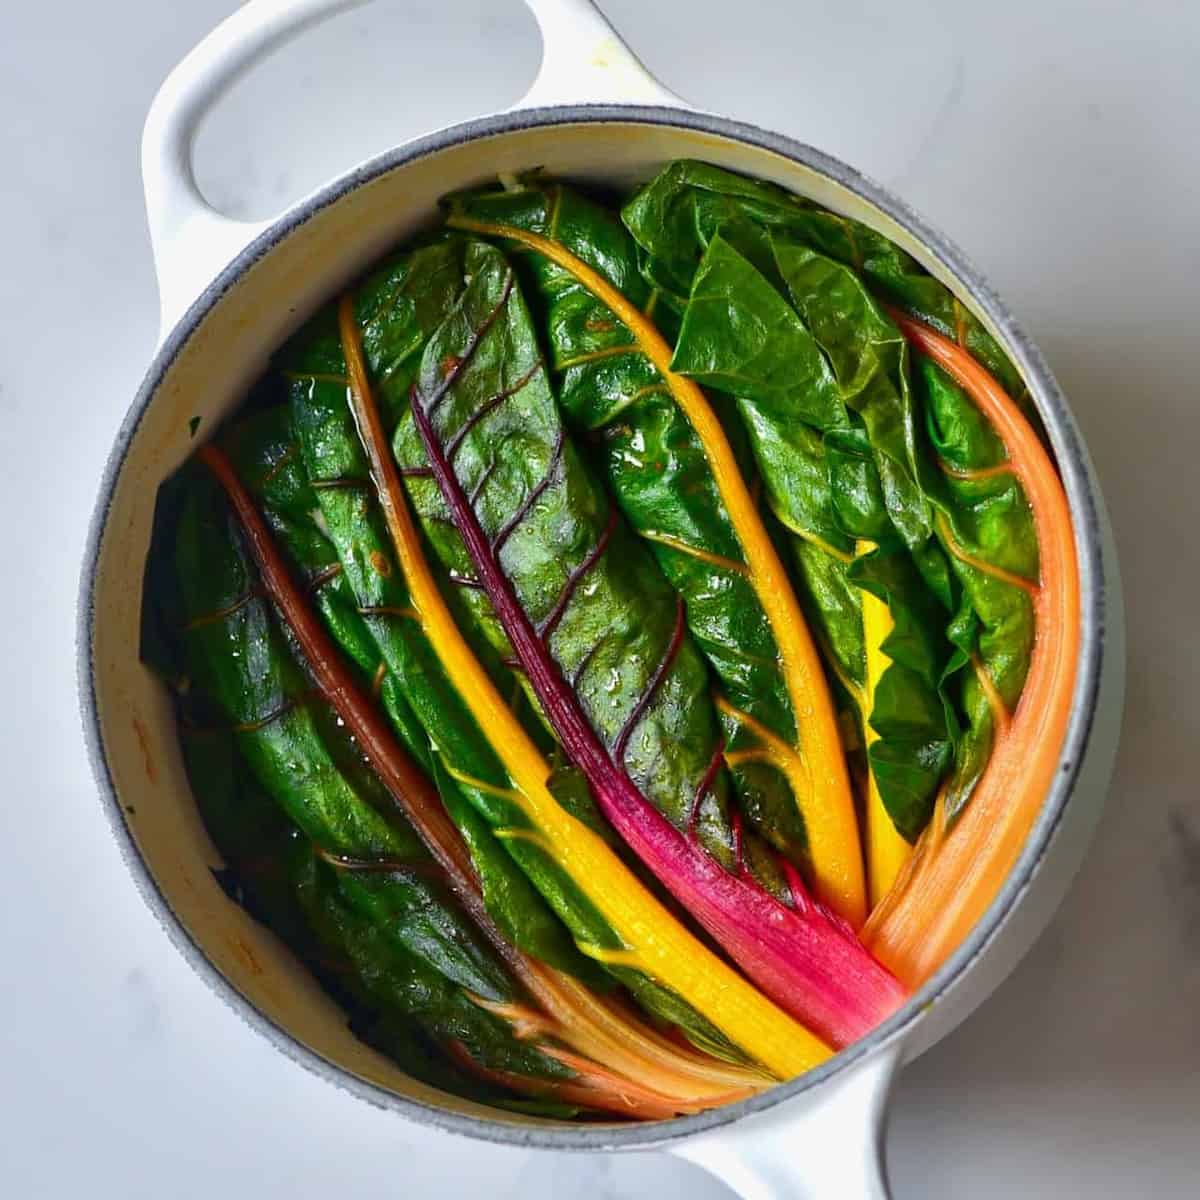
- Vegan Stuffed Swiss Chard Rolls
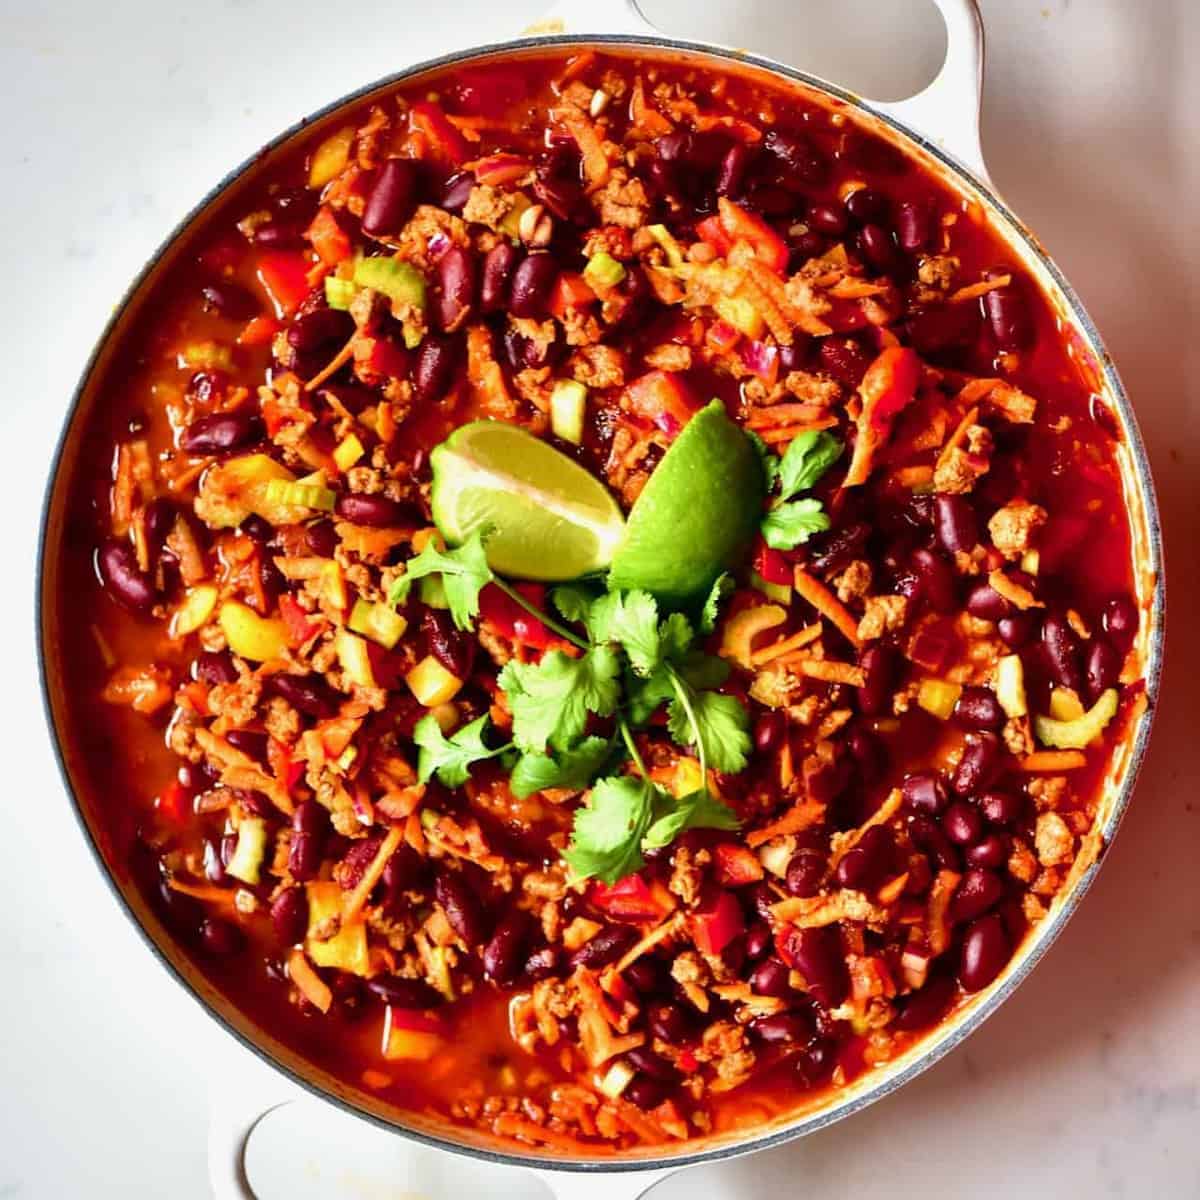
- Simple Vegan Chilli con Carne Recipe
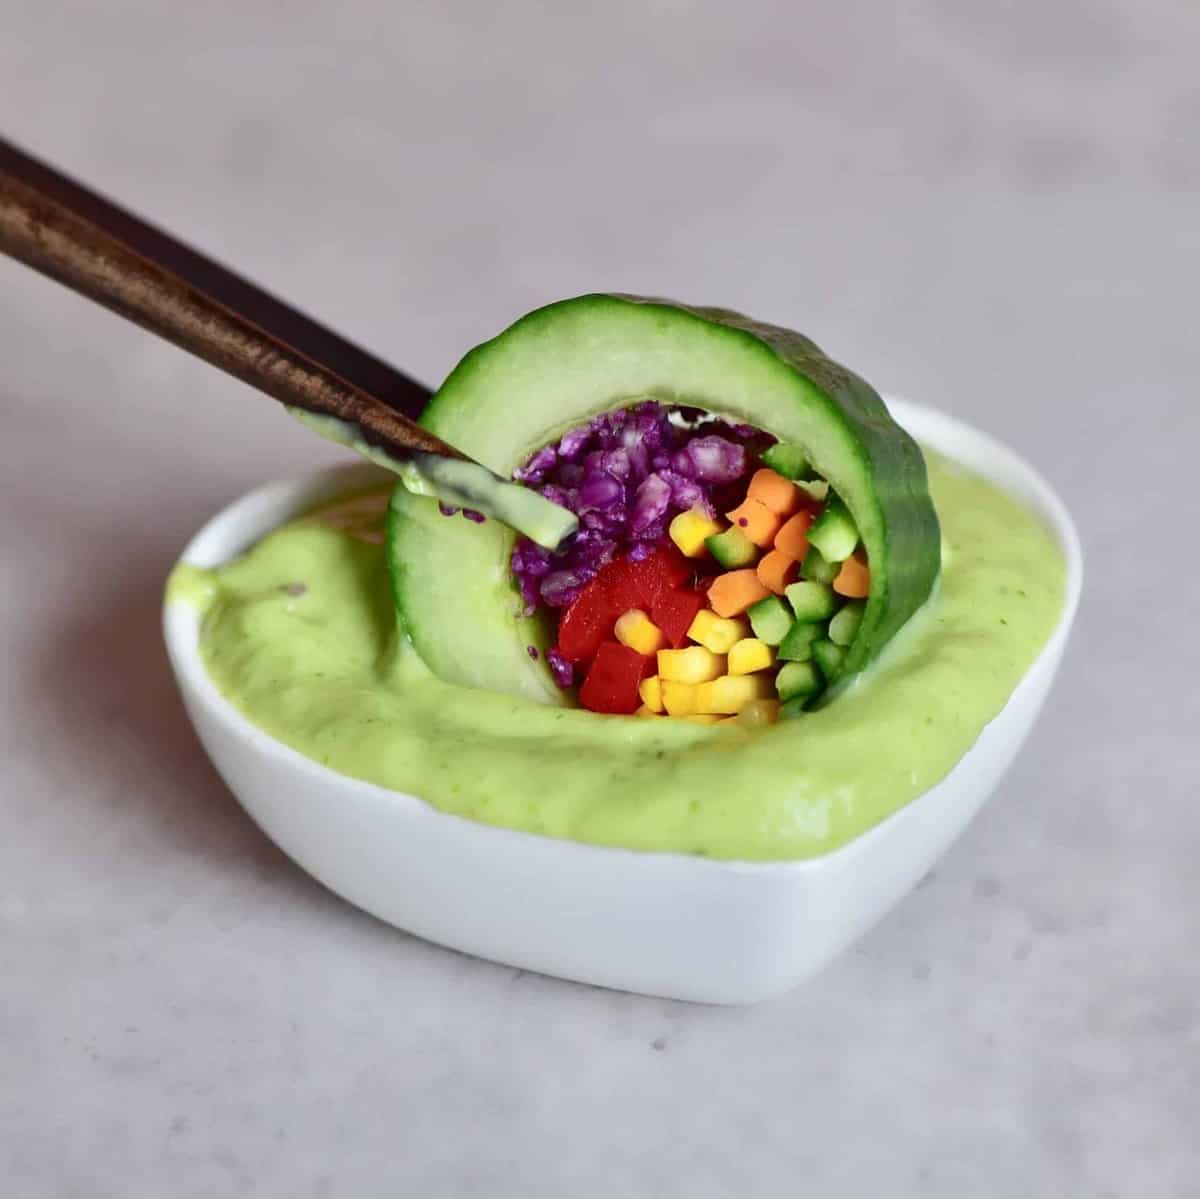
- Rainbow Cucumber Sushi
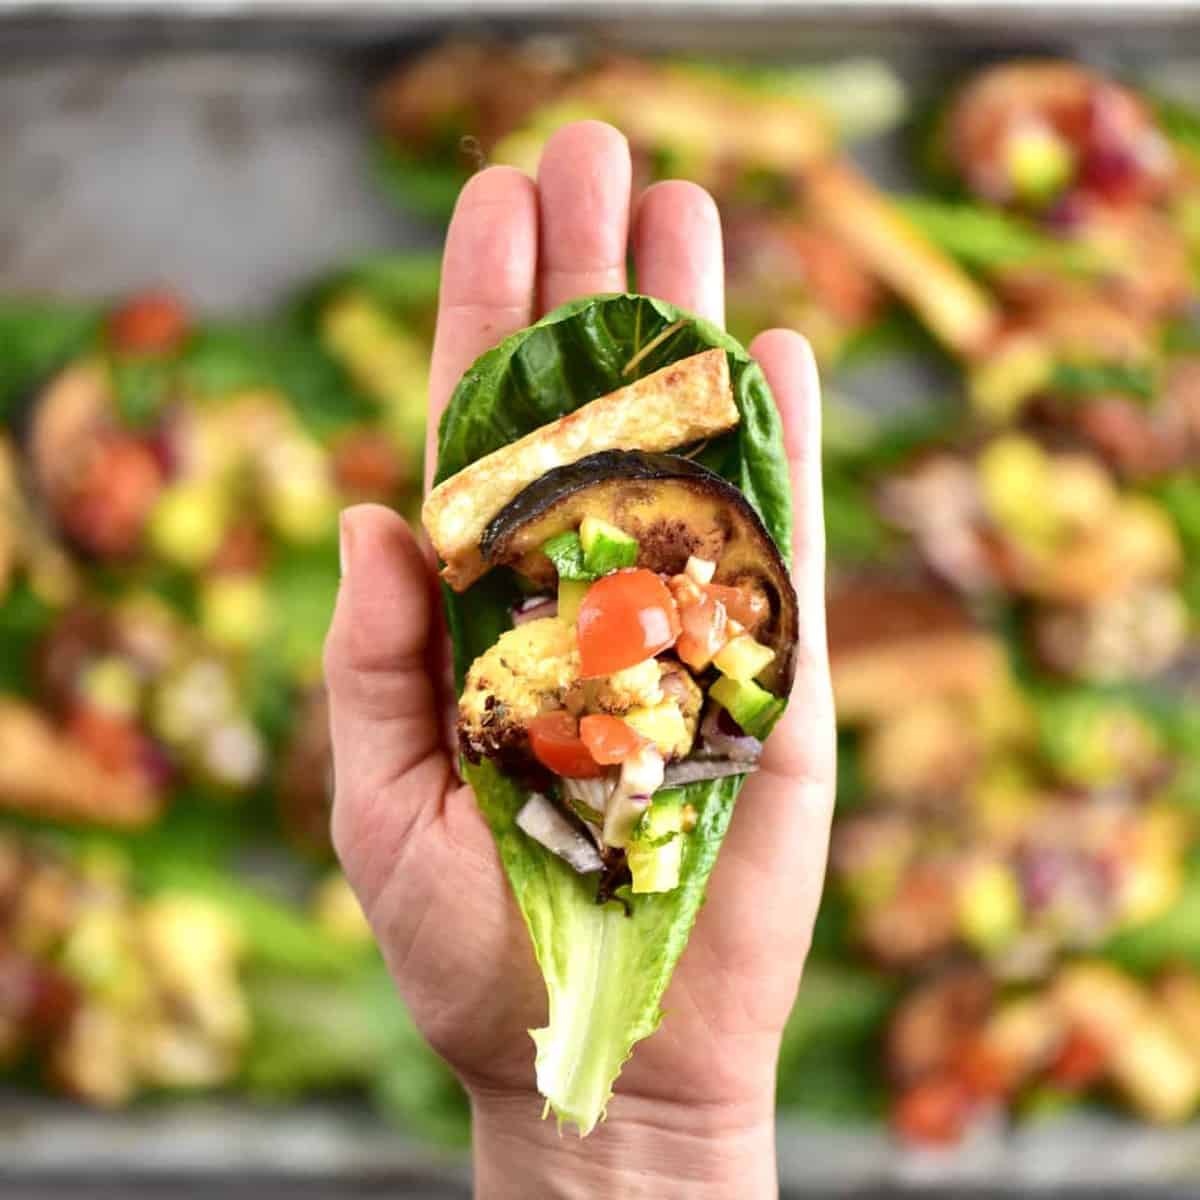
- Mediterranean Vegetable Vegan Lettuce Wraps
If you try this quinoa recipe, then let me know your thoughts and questions in the comments. I’d also really appreciate a recipe rating and would love to see your recreations – just tag @AlphaFoodie.
How to cook quinoa perfectly every single time
Ingredients
- 1 cup quinoa
- 2 cups water
- 1/2 tsp salt
- 1 Tbsp sunflower oil or coconut oil
Instructions
- Rinse the dry quinoa. If you want to soak/sprout it beforehand, then you can follow the notes written above, in the post. However, regardless of what method you choose, you will need to rinse the seeds, unless the packaging has specifically stated that they have been pre-rinsed.*
- To rinse, transfer the quinoa to a fine-mesh sieve and rinse with cold water until the water runs clear. This is usually between 30-40 seconds.
- Add the oil and quinoa to a saucepan and lightly saute for a few minutes, until it smells toasted and begins to make popping noises.
- Add the water (or stock), and salt or flavorings of your choice and bring to a boil.
- When boiling, reduce to a simmer and cover with a lid. Simmer for around 15 minutes (for white quinoa, more like 20 for darker quinoa)**, or until the water has almost all been absorbed and the quinoa is near tender.
- Remove from the heat and keep covered with the lid, allowing it to steam for a further five minutes. I usually place a layer of teatowel between the lid and pot at this point. This will catch the steam so that it doesn't gather on the lid and then drip back down onto the quinoa. The result is perfectly cooked, fluffy quinoa!
- To Store: Allow it to cool to room temperature, then store quinoa in the fridge, in airtight containers, for between 4-5 days. You can also freeze it for up to three months. Simply allow the frozen quinoa to thaw in the fridge and then eat cold or re-heat, as needed.
Video
Notes
- You can add a lot of flavor if you toast the quinoa. All you need is a few minutes (3-4) to saute the seeds in a pan over medium heat. Stir occasionally, until fragrant and toasty, and then add the water and continue to cook.
- When seasoning, you can choose to stick to the classic salt & pepper or go for additional options, such as fresh herbs, using vegetable stock instead of water, garlic, and more.
- Soaking The Seeds: Rinsing and pre-soaking the seeds overnight not only reduces the phytic acid content but also reduces the cooking time too. Depending on how long you soak it for, your cook time can be reduced to just ten minutes!
- Sprouting The Seeds: Taking it one step further than soaking is to sprout the seeds. Sprouting quinoa will help reduce the effects of phytic acid, making the minerals more bioavailable, and increasing the antioxidant levels within too. To sprout the seeds, you can follow the method I use when Growing Wheatgrass at home. It’s super simple and requires only a jar, a layer of cheesecloth/mesh, and a rubber band.
Nutrition
Nutrition information is automatically calculated, so should only be used as an approximation.


Dear Samira,
Is it possible to just fried the Qunia seeds with heat and eat them like fried nuts?
Hi Mojgan,
It’s safer to eat cooked quinoa. If you want to just fry it, it might be better to first soak and sprout the seeds.