
This post may contain affiliate links. Please read our disclosure policy.

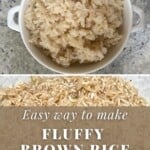
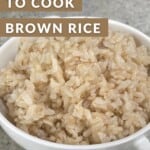

This post will take you through how to cook brown rice perfectly fluffy every single time – no rice cooker required. Plus easy ways to flavor your cooked rice too!
Having already posted a guide on How To Cook Quinoa Perfectly Every Time, now it’s the turn of fluffy brown rice. Brown rice – and rice in general – is a bit of a sly ingredient to work with. While masquerading as a simple ingredient, it’s easy for things to go wrong, and suddenly you have a stodgy, burnt, lumpy, and/or congealed mess on the plate.
Within this post, I’ll be taking you through my favorite method for how to cook brown rice perfectly every time, with the rice to water ratio and even a little section on brown rice vs. white rice.
I’m very aware that there is a handy “rice cooker” appliance available to those of us who want to get rice done perfectly every time. But for those of us who aren’t cooking rice multiple times a week, adding yet another kitchen appliance to the home isn’t the best option. Then there are, of course, the instructions on the rice package that you could follow. But they just don’t always seem to do the rice justice.
Want to save this recipe?
Brown rice vs. white rice
Unlike white rice, brown rice is a whole grain and contains the full elements of the grain – including the nutritious bran and germ covering and the endosperm. These elements give brown rice that slightly nutty, chewy quality – along with a healthy dose of nutrients.
Brown rice is the nutritional winner of the two, containing more fiber, vitamins, minerals, and antioxidants. In comparison, white rice is primarily made up of carbs and minimal nutrients – thus sometimes labeled as ’empty’ calories.
Phytic acid & arsenic levels
Brown rice is known to contain the antinutrient phytic acid (phytate) – like many nuts and legumes. Phytate can reduce the body’s ability to absorb certain nutrients – such as iron and zinc.

However, if you are eating a healthy, varied diet, then this shouldn’t affect you overall especially if you are eating phytic acid-containing foods at moderate levels. There is also a way to reduce this through rice soaking – a method I’ll talk about below.
Secondly, brown rice also tends to contain higher levels of arsenic than white rice, which is a toxic chemical and can lead to several diseases. Once again, if eaten in moderation (a few servings per week), then this shouldn’t affect you.
What you’ll need

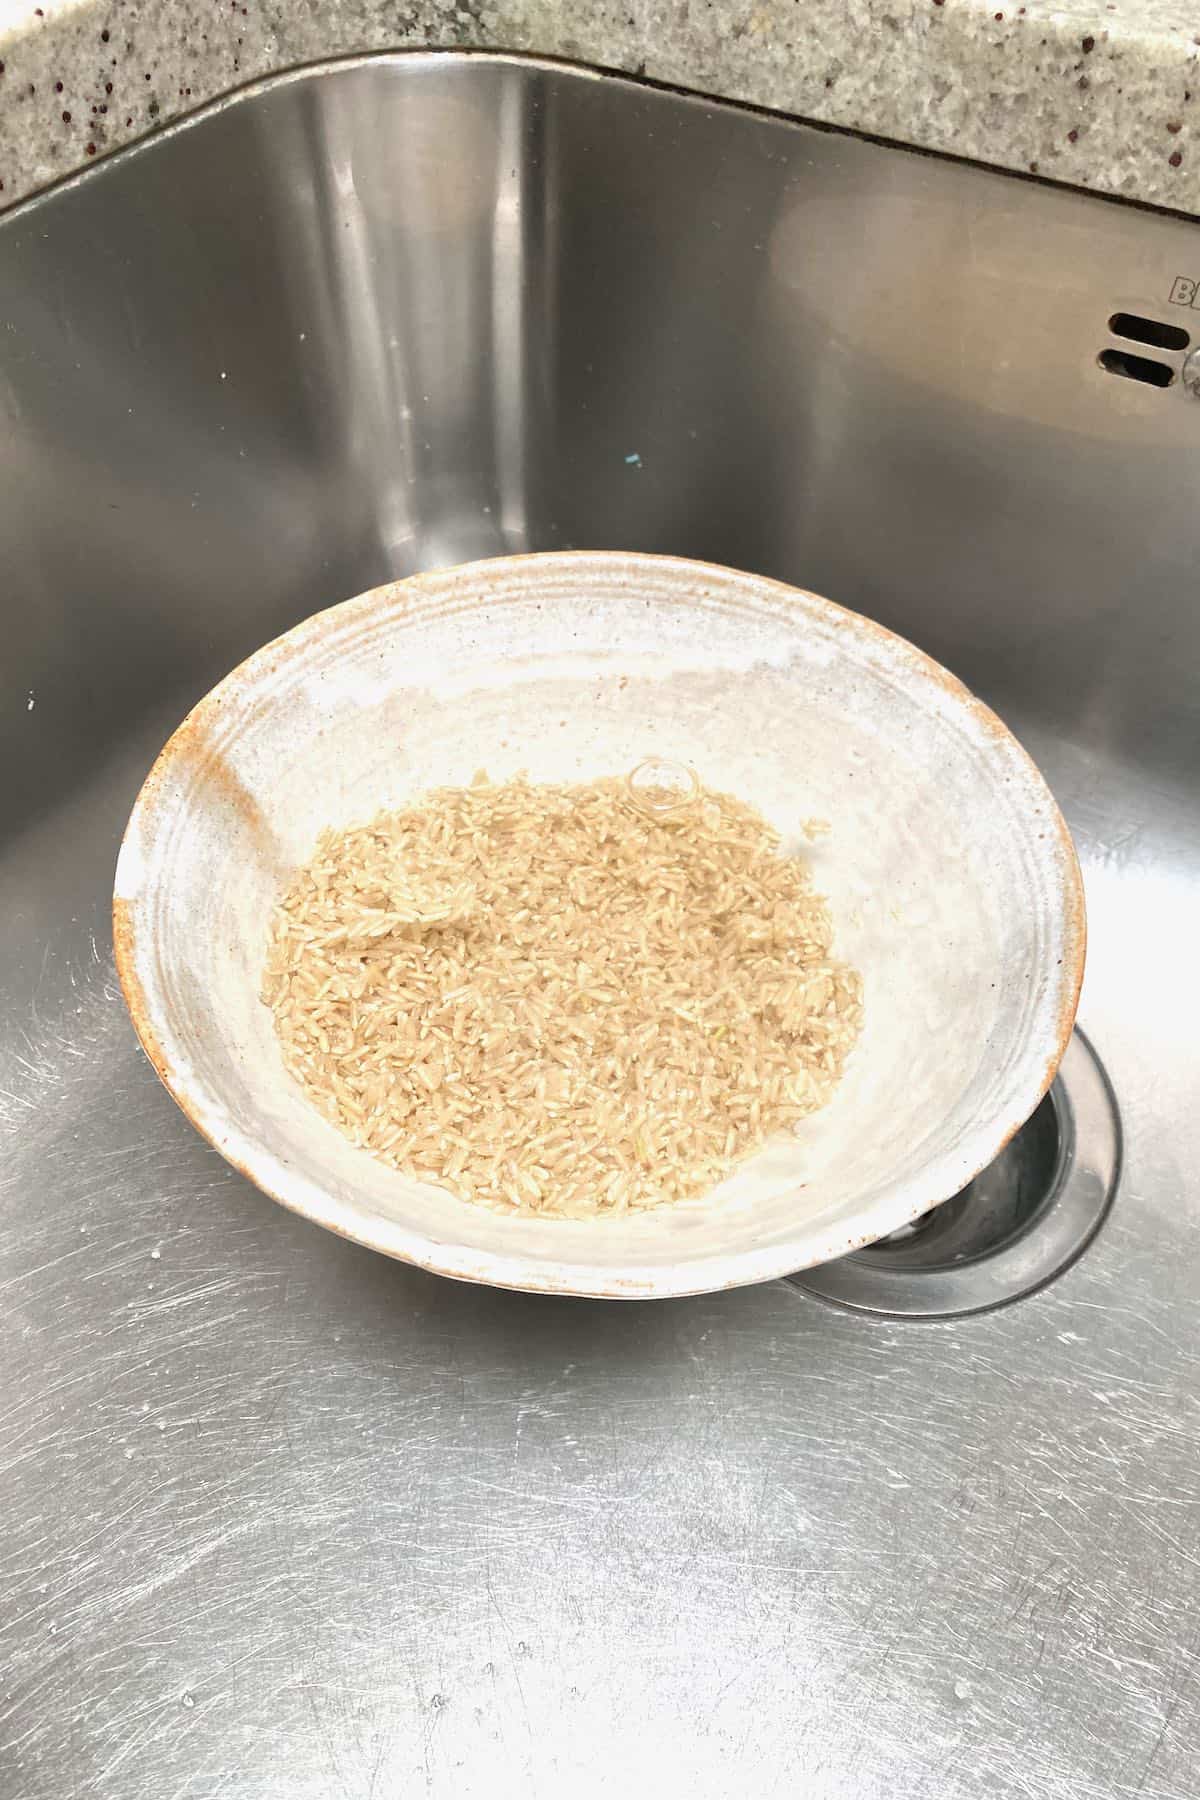
- Rice – I used long-grain brown rice. When using a short-grain variety, it may need 5-10 minutes less cooking time.
- Water – my optimal ratio is 1 cup rice to 1.25 cups water.
- Salt (not pictured) – to taste.
Easy ways to flavour
Plain rice can be a bit, well, boring. However, there are multiple super easy ways to liven up your rice.
- Saute your brown rice is some olive oil for a few minutes before adding the water. This deepens the nutty flavor and can really add a lot of flavor without much effort at all.
- Saute some fresh garlic in the pot before adding the rice and liquid.
- Be liberal when salting the water while cooking the rice.
- Add a stockpot/tablet to the water when cooking the rice. Or use vegetable stock instead of water.
- Drizzle with a little Extra virgin olive oil, or sesame oil after cooking.
- Drizzle with some soy sauce (or gluten-free tamari) after cooking.
- Add a knob of butter into the rice after cooking.
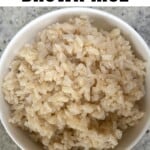
How to cook brown rice
The method on how to make rice perfectly every time also includes reducing the phytate and arsenic content. Note that this method is how to cook rice on a stovetop.
Soaking the rice – Optional
While this is technically optional, it can be a good idea. Not only does washing the rice reduce arsenic content by up to 15%, but soaking reduces the phytate content, allowing the nutrients to become more bioavailable, improving digestibility, and reducing the cooking time of the rice.
I usually don’t soak my rice, but you can do so for a minimum of 30 minutes in cold water. However, for optimal results, you can leave the rice to soak up to 24 hours.
When soaking, it’s best to add double the amount of water per amount of rice.
So, for every 1 cup of rice, use 2 cups of water.
Top Tip* To further reduce the phytic acid content and make rice more digestible, then add something acidic to the container while soaking. For example, you can use lemon juice, leftover whey, or apple cider vinegar. Add 1 teaspoon per cup of water.
Drain and rinse the rice
Rinse the rice 2-3 times, to remove the starch. Rinse until the water is clear.
Cook the rice
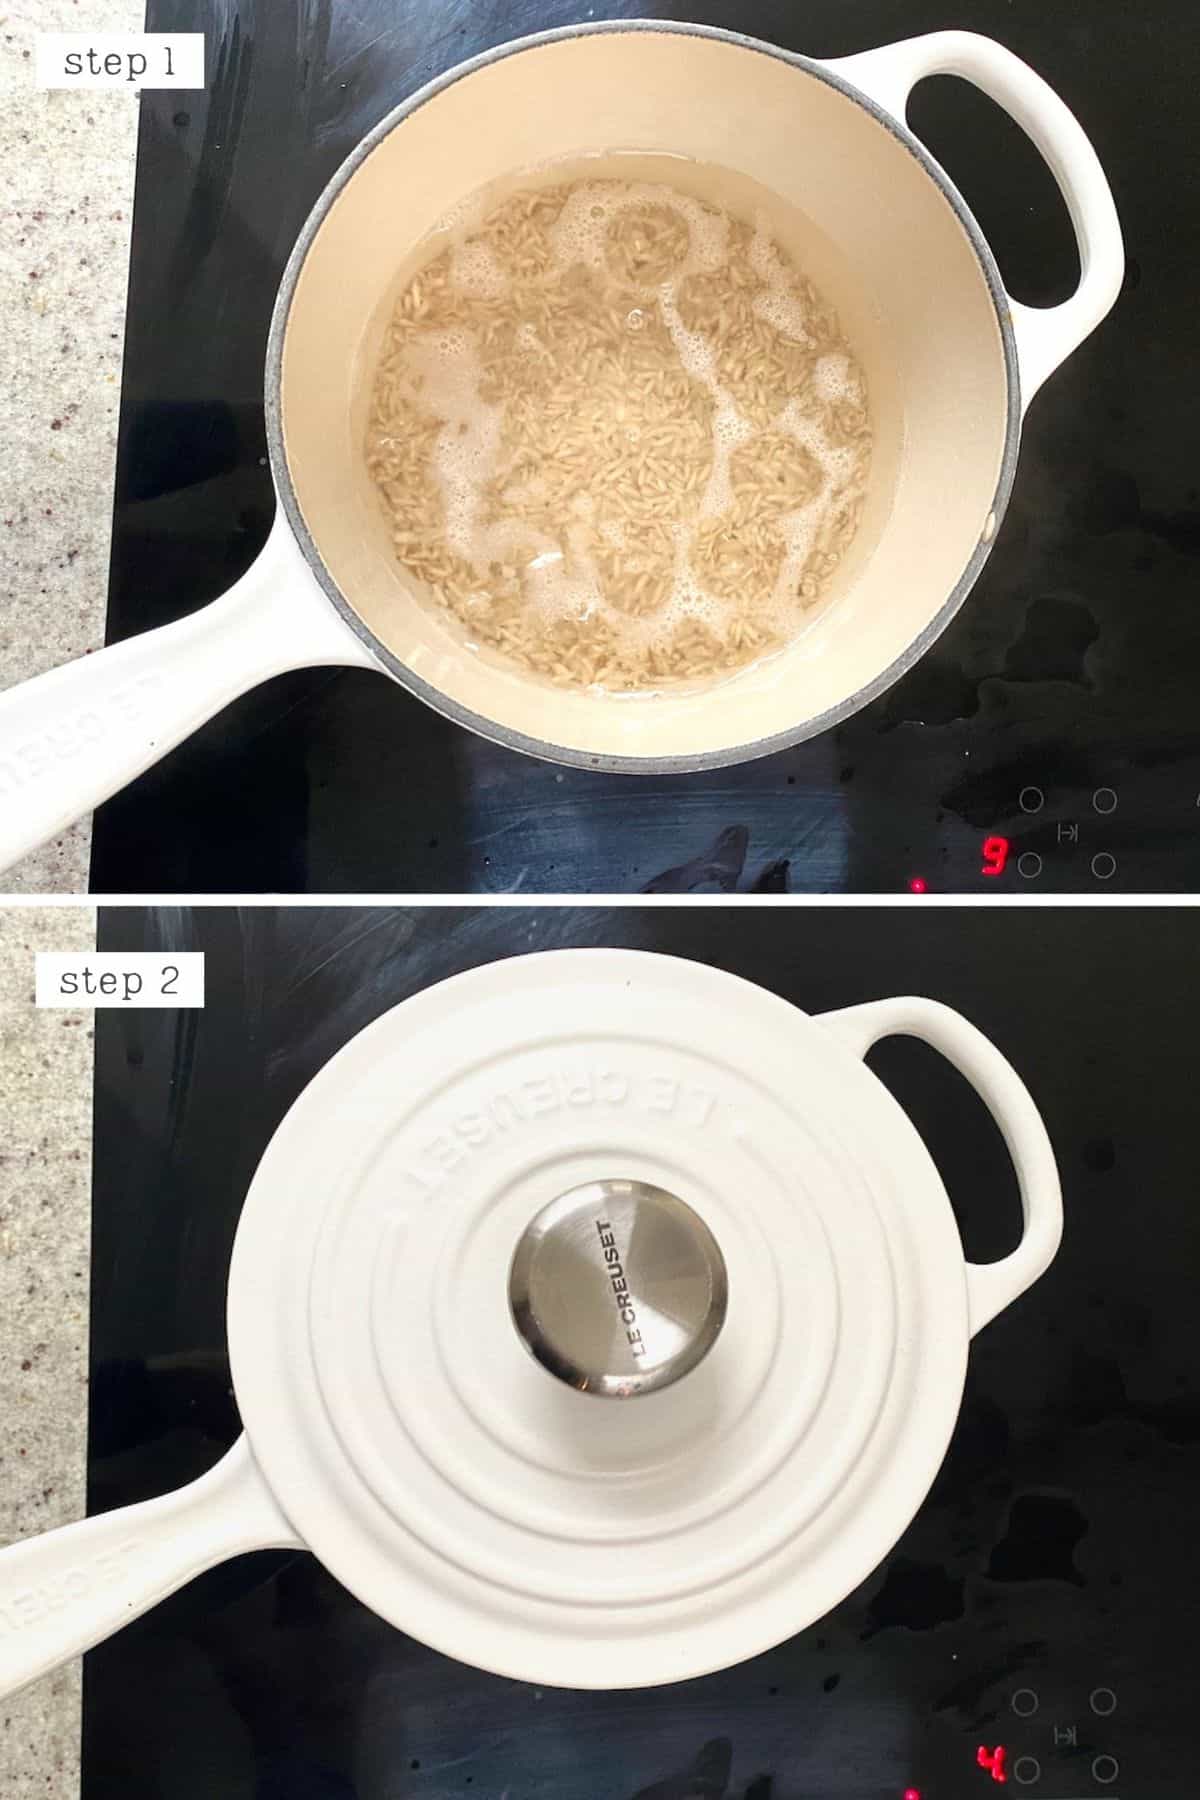
Next, add the rice, salt, and water to a large saucepan (or medium saucepan, depending on how much you’re making).
Chef’s Tip: Refer to my notes for simple ways to add additional flavor to the rice, as you may want to add an extra step here, such as sauteing garlic or even sauteing the rice for a few minutes, etc.
Bring to a boil, then lower the heat and close the lid. My saucepan doesn’t have a transparent cover, but if you think you’ll feel tempted to remove the lid otherwise, then use a pan with a clear lid.
Leave it to simmer untouched for around 20 minutes, until the rice has absorbed all of the liquid. A very, very small amount at the bottom of the pan is fine. However, if there’s still quite a bit, then replace the lid on the pan for a further few minutes.
Steam the rice
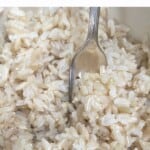
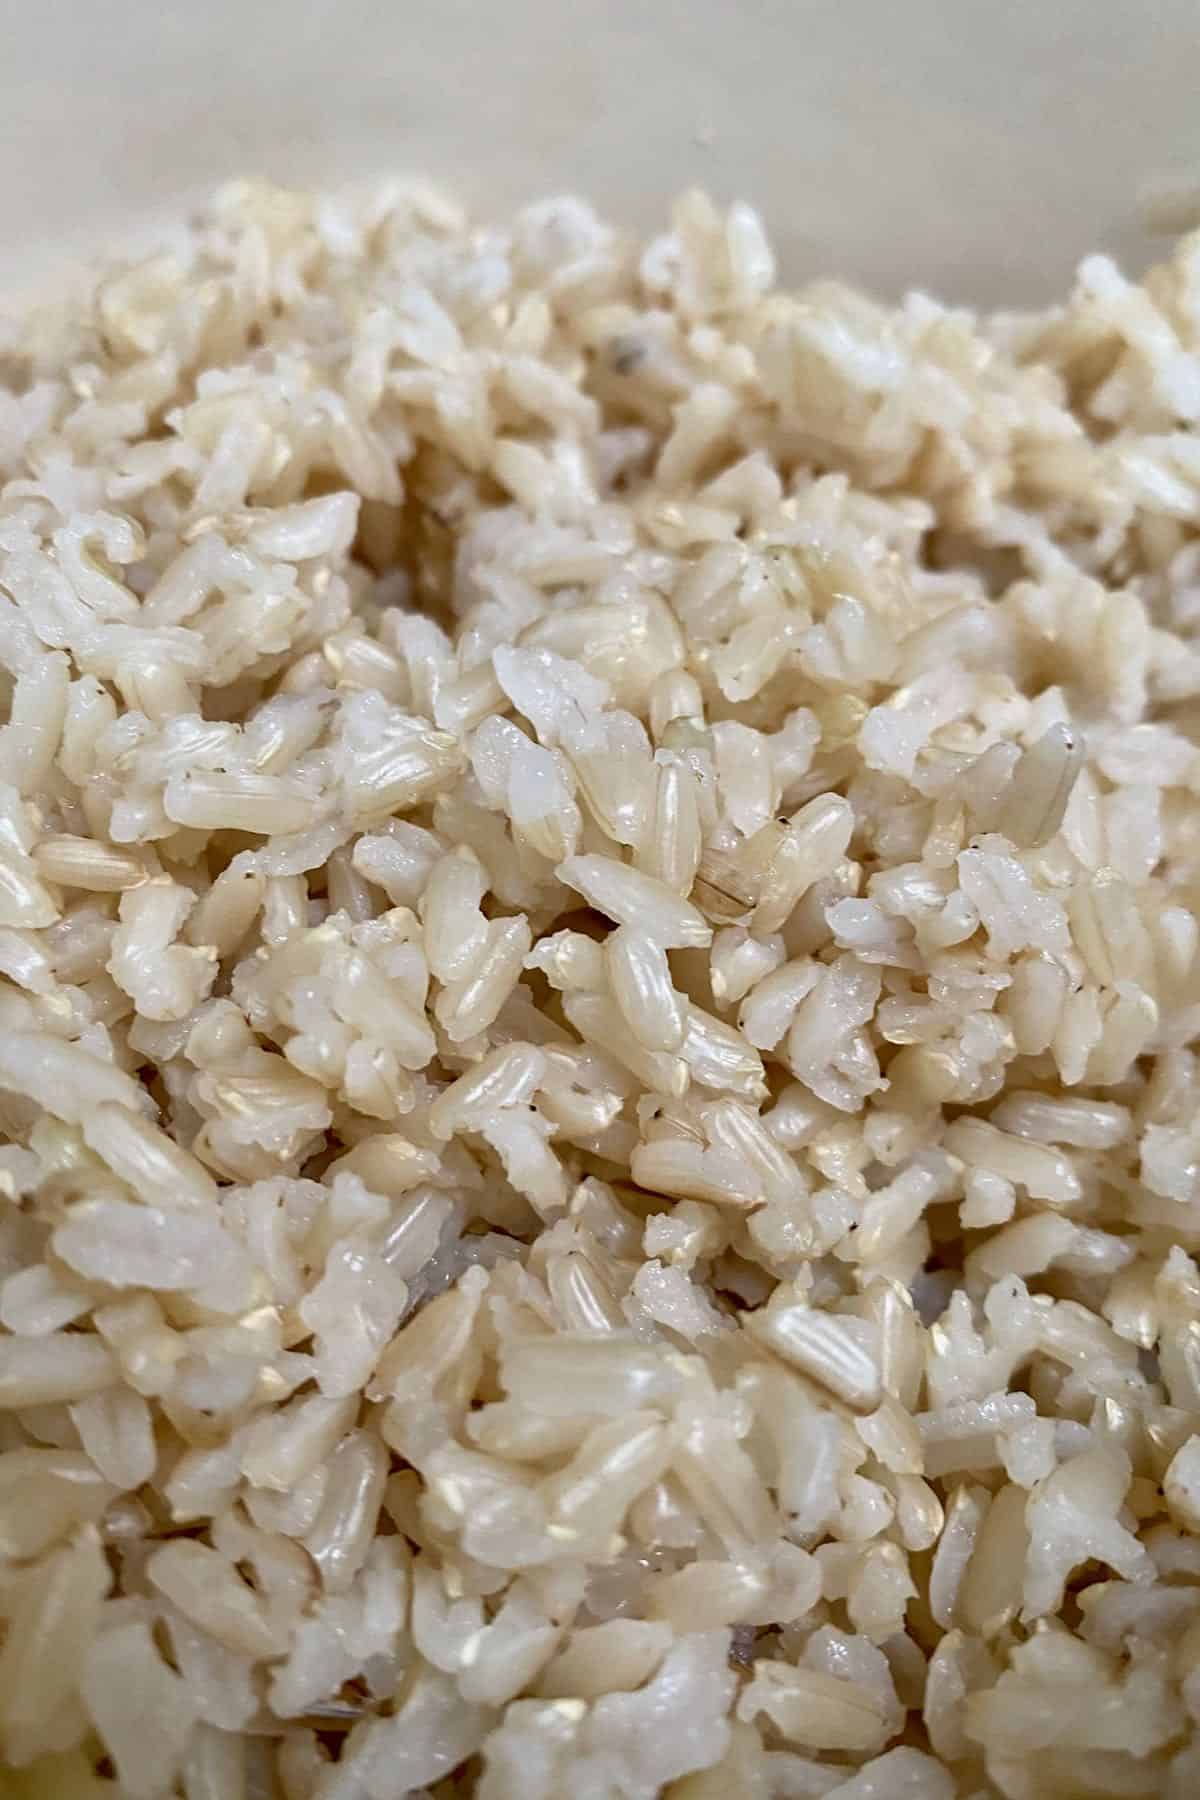
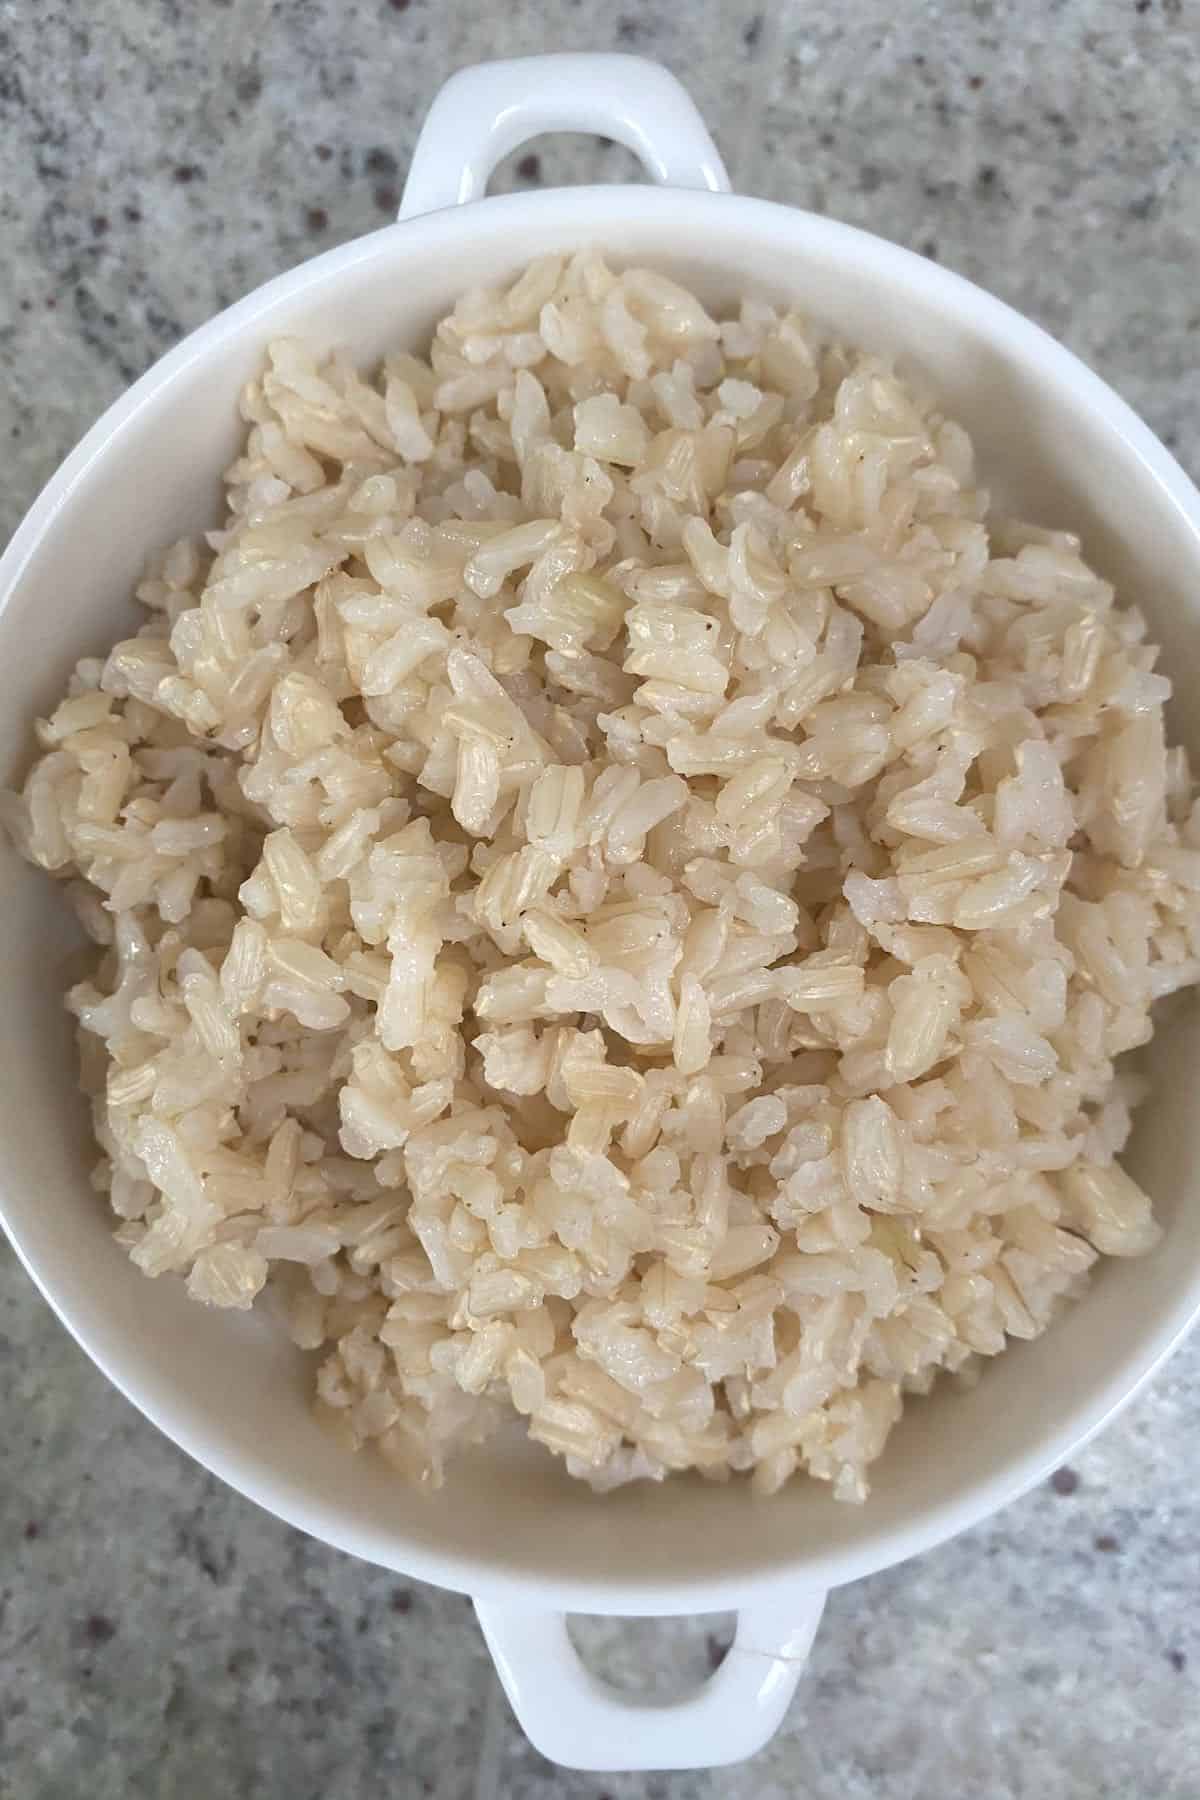
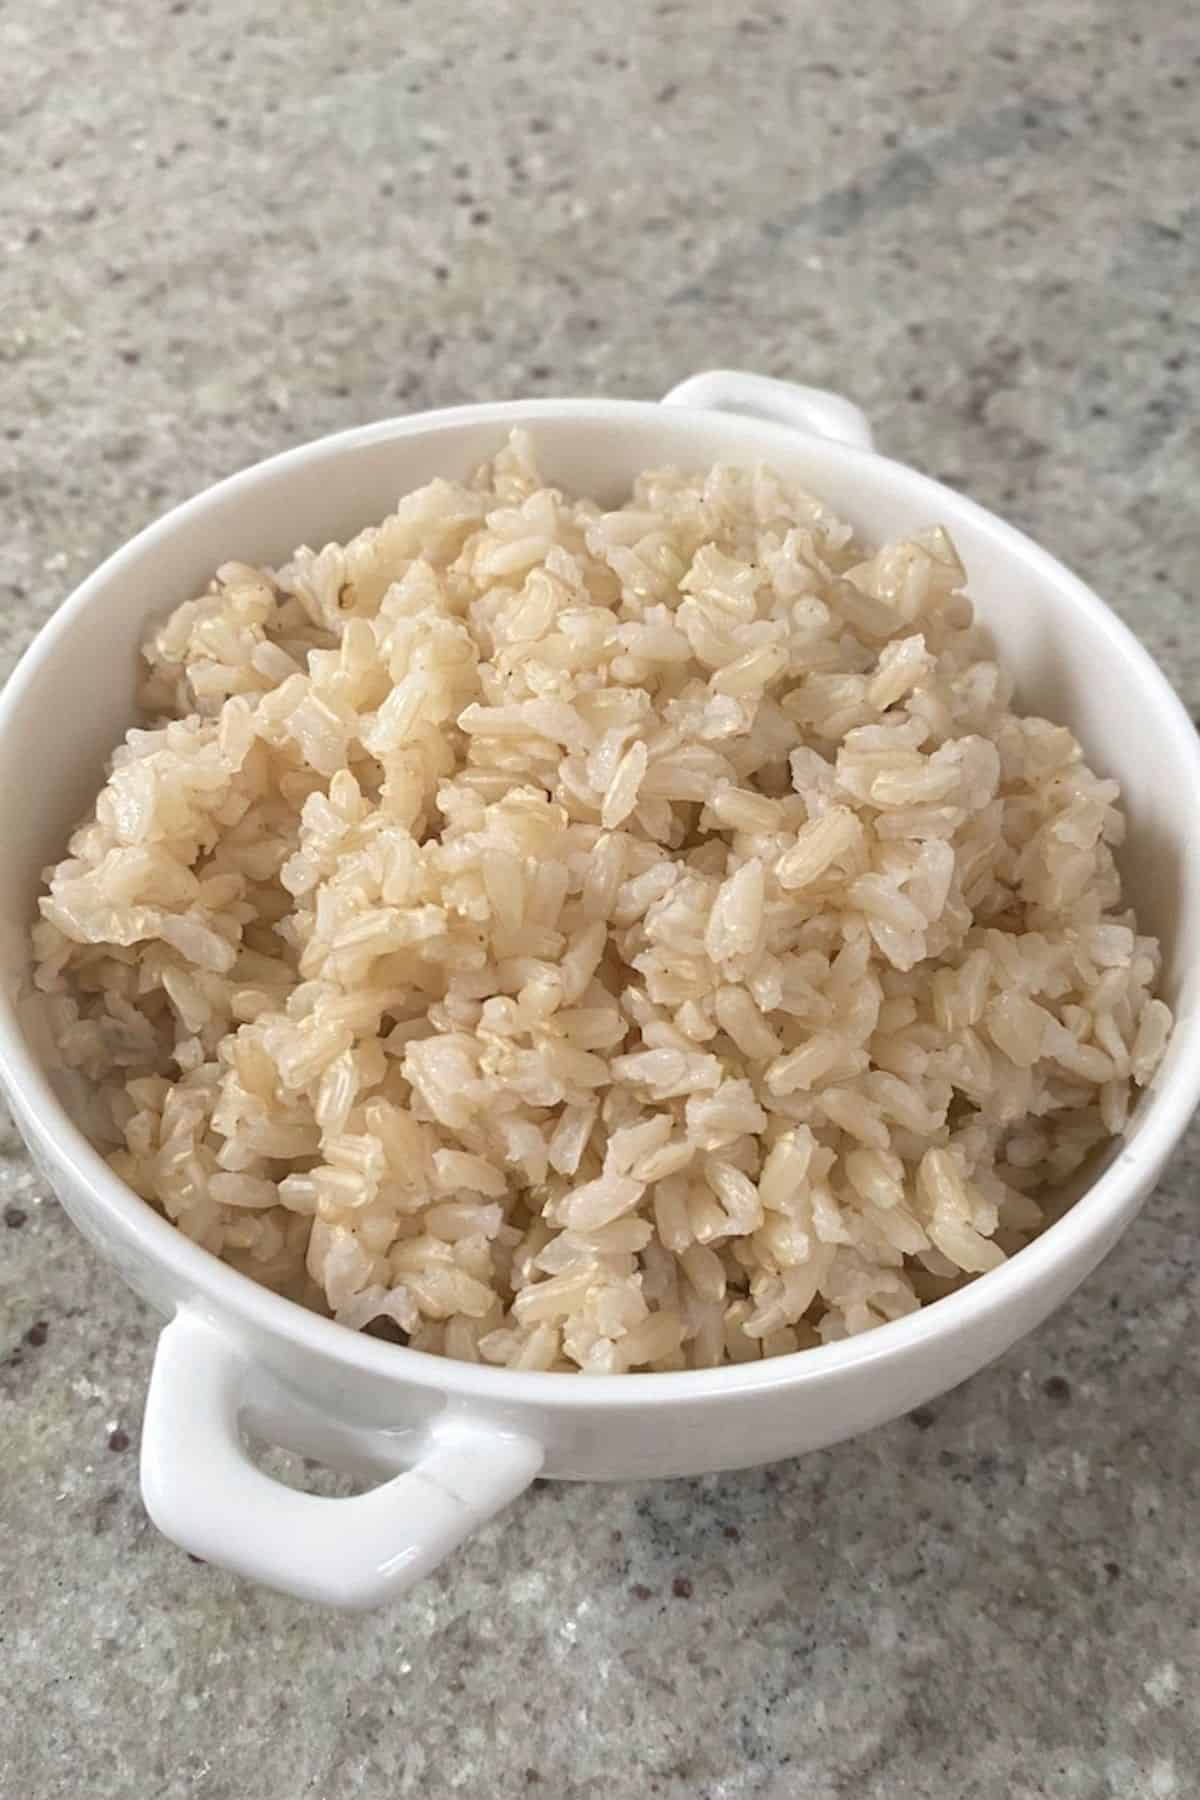
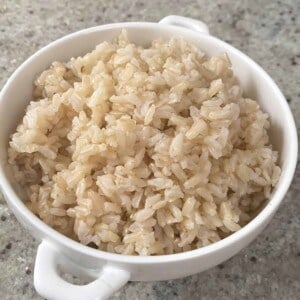
Once ready, turn off the heat and continue to ‘steam’ for further 15 minutes. Then fluff up with a fork and serve.

How to store
Any brown rice leftovers will keep fresh in an airtight container within the fridge for 3-5 days. You can also freeze brown rice for three months in the freezer.
How to use brown rice
- Mix & Match Rainbow Vegan Rice Paper Rolls
- BBQ pulled jackfruit Japanese Donburi bowl
- Vegan Stuffed Swiss Chard Rolls
- The Best Vegan Chilli
- Rainbow Cucumber Sushi
- Rainbow Vegetarian Bibimbap
- Kimchi Fried Rice (Kimchi Bokkeumbap)
- Baked Teriyaki Salmon (+ Broiled | Air Fried | Pan-Fried)
Related recipes you might lik
Here are other grain recipes you might want to try:
- Fluffy Perfect Jasmine Rice (stove-top method)
- Easy Coconut Rice Recipe
- Lebanese Rice with Vermicelli
- How to Make Sushi Rice
- Persian Fluffy Basmati Dill Rice
- How To Cook Quinoa Perfectly Every Time
If you give this recipe a try, please let me know in the comments below! I’d love to hear what you think and, also, feel free to tag me in your recipe recreations @Alphafoodie.
How To Cook Brown Rice Perfectly Every Time
Ingredients
- 1 cup brown rice I used long-grain
- 1.25 cups water
- 1/2 tsp salt or more to taste
Instructions
- Rinse the rice 2-3 times, to remove the starch. Rinse until the water is clear.
- Add the rice, salt, and water to a large saucepan (or medium saucepan, depending on how much you're making). **
- Bring to a boil, then lower the heat and close the lid. My saucepan doesn't have a clear lid, but if you think you'll feel tempted to remove the lid otherwise, then use a pan with a clear lid.
- Leave it to simmer untouched for around 20 minutes, until the rice has absorbed all of the liquid. A very very small amount at the bottom of the pan is fine. However, if there's still quite a bit then replace the lid on the pan for a further few minutes.
- Once ready, turn off the heat and continue to 'steam' for further 15 minutes. Fluff up the rice with a fork, add any additional seasoning and it's ready to eat!
Notes
- Saute your brown rice is some olive oil for a few minutes before adding the water. This deepens the nutty flavor and can really add a lot of flavor without much effort at all.
- Saute some fresh garlic in the pot before adding the rice and liquid.
- Be liberal when salting the water while cooking the rice.
- Add a stockpot/tablet to the water when cooking the rice. Or use vegetable stock instead of water.
- Drizzle with a little Extra virgin olive oil, or sesame oil after cooking.
- Drizzle with some soy sauce (or gluten-free tamari) after cooking.
- Add a knob of butter into the rice after cooking.
Nutrition
Nutrition information is automatically calculated, so should only be used as an approximation.


