

This post may contain affiliate links. Please read our disclosure policy.
I make blackberry syrup every summer when the berries are at their peak, and I keep coming back to two methods depending on how much time I have and what flavor I’m after. The no-cook cheong method produces a syrup with incredible depth, while the quick stovetop version is ready in about ten minutes when I want something right away.
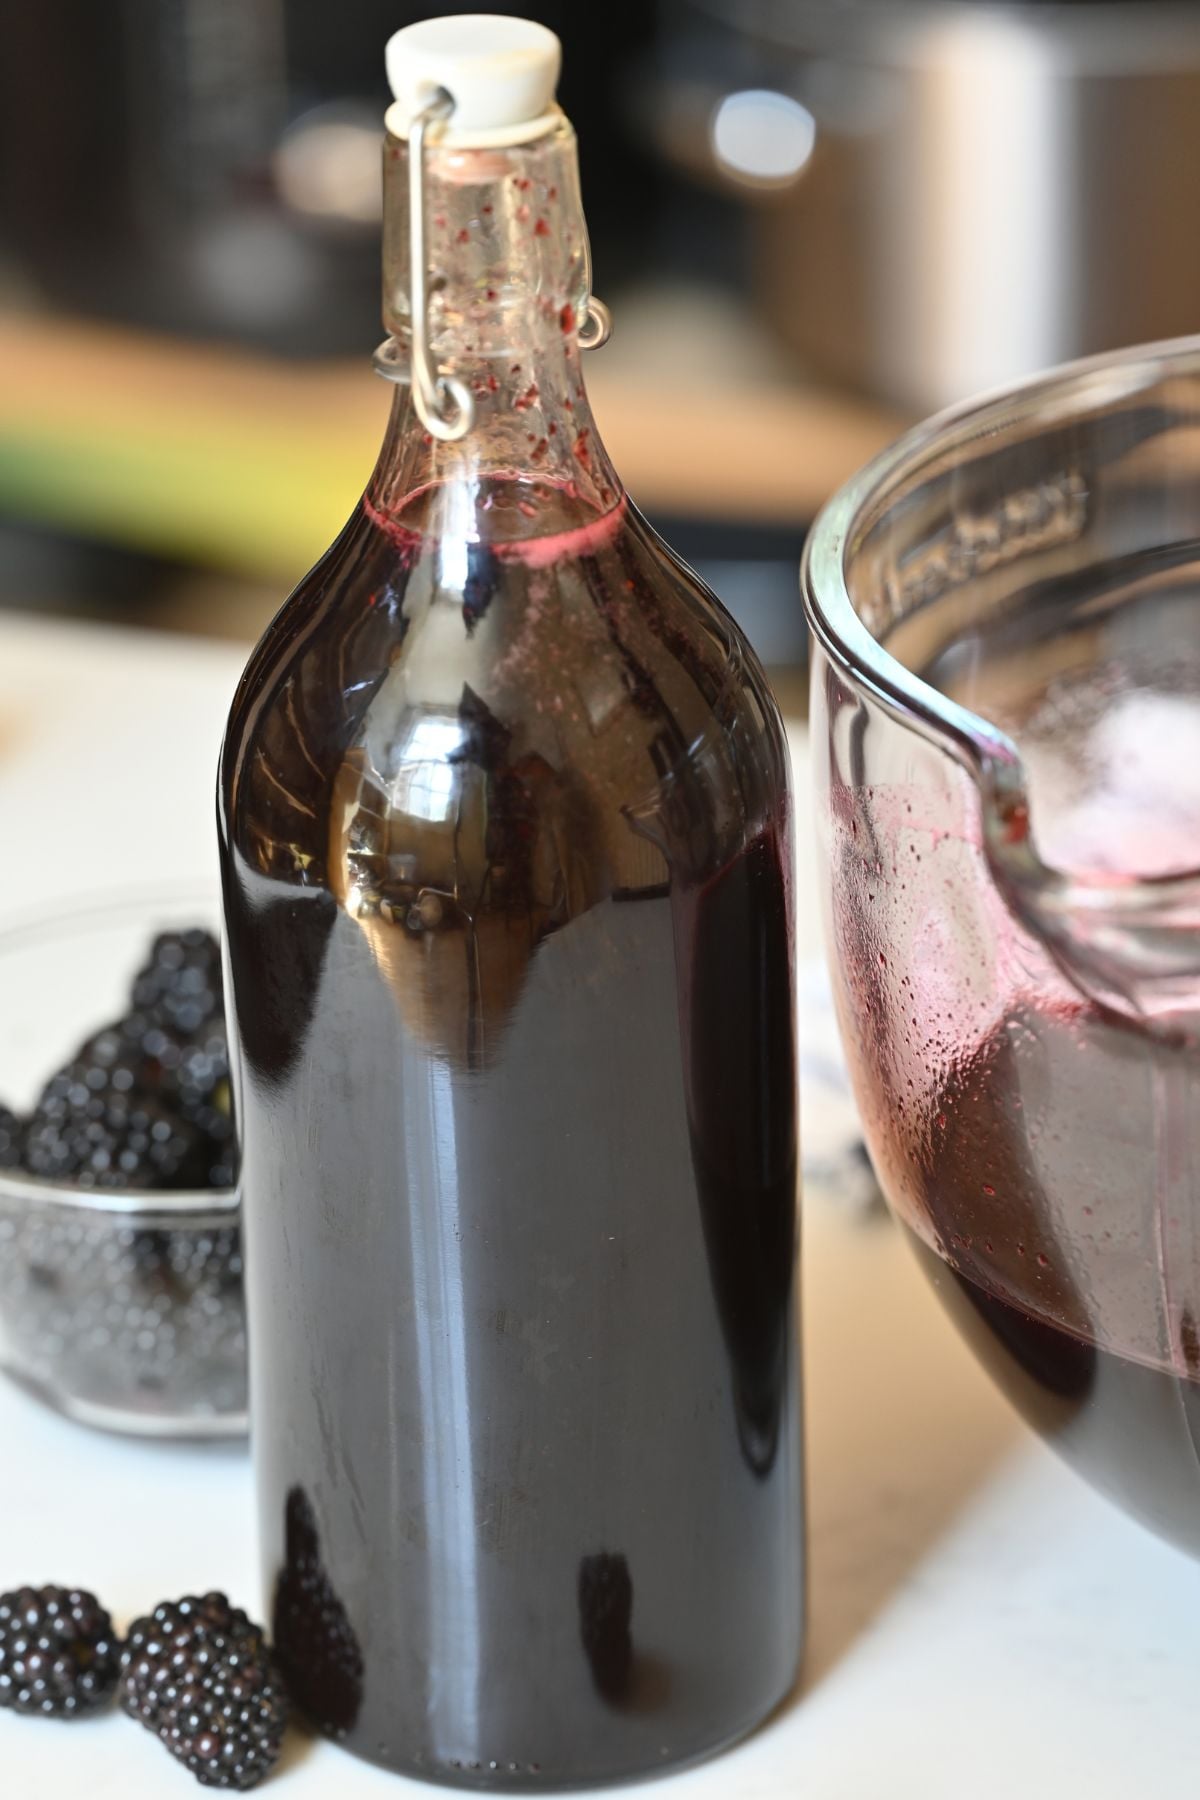
Both methods are simple, use just a few ingredients, and give you a vibrant, fruity syrup you can stir into drinks, drizzle over breakfast, or spoon over desserts.
If you love preserving summer fruit, you might also enjoy my homemade blackberry jam or a warm blackberry cobbler.
Blackberry syrup ingredients
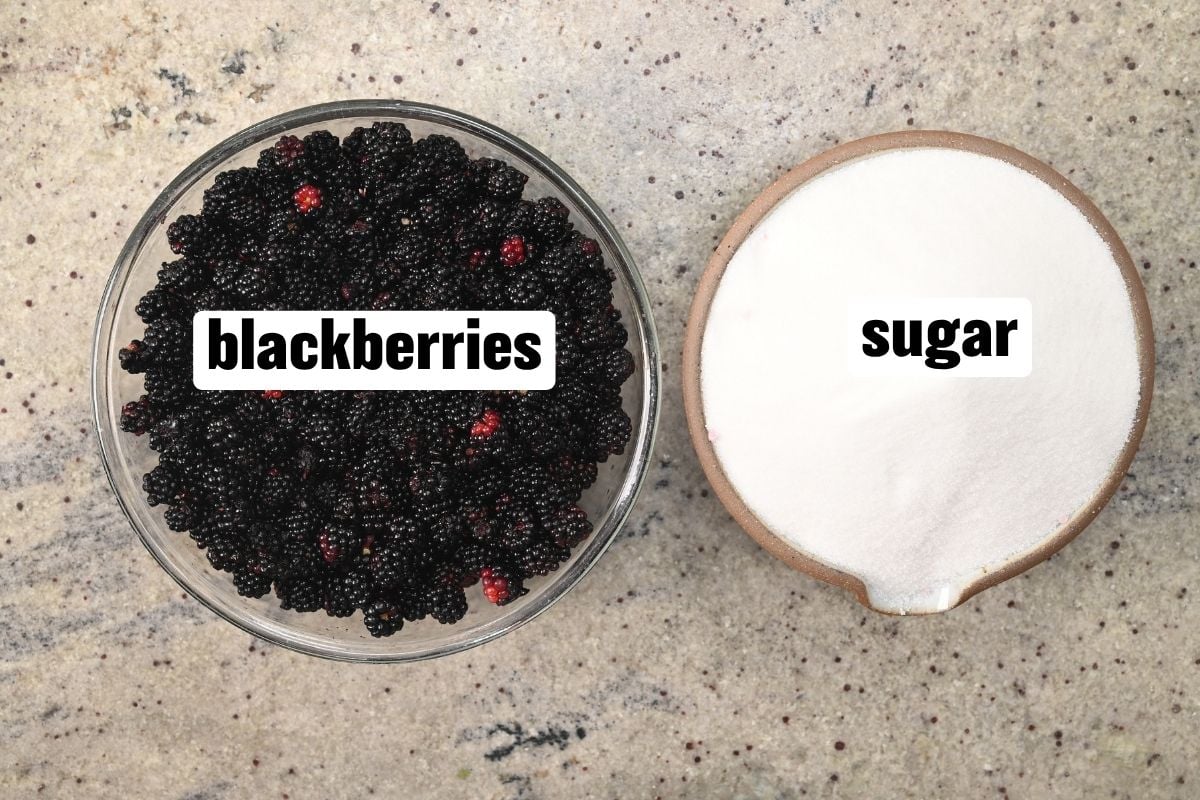
- Fresh blackberries: ripe, in-season berries give the best color and flavor. Sort through them and remove any stems, leaves, or moldy fruit. Frozen blackberries work for the stovetop method but are not ideal for the cheong.
- Granulated sugar: the cheong method uses an equal weight of sugar to fruit, which draws out the juices slowly. The stovetop method uses much less sugar since heat does the work.
- Water (stovetop method only): a small amount of water helps dissolve the sugar and creates the syrup base.
- Lemon juice (stovetop method, optional): a squeeze of lemon brightens the flavor if the syrup tastes flat. It is not needed for the cheong method.
See printable recipe card below for the full ingredients list and quantities.
How to make blackberry syrup
Start by sorting through the blackberries and removing any leaves, stems, or damaged fruit. Rinse them gently and drain well.
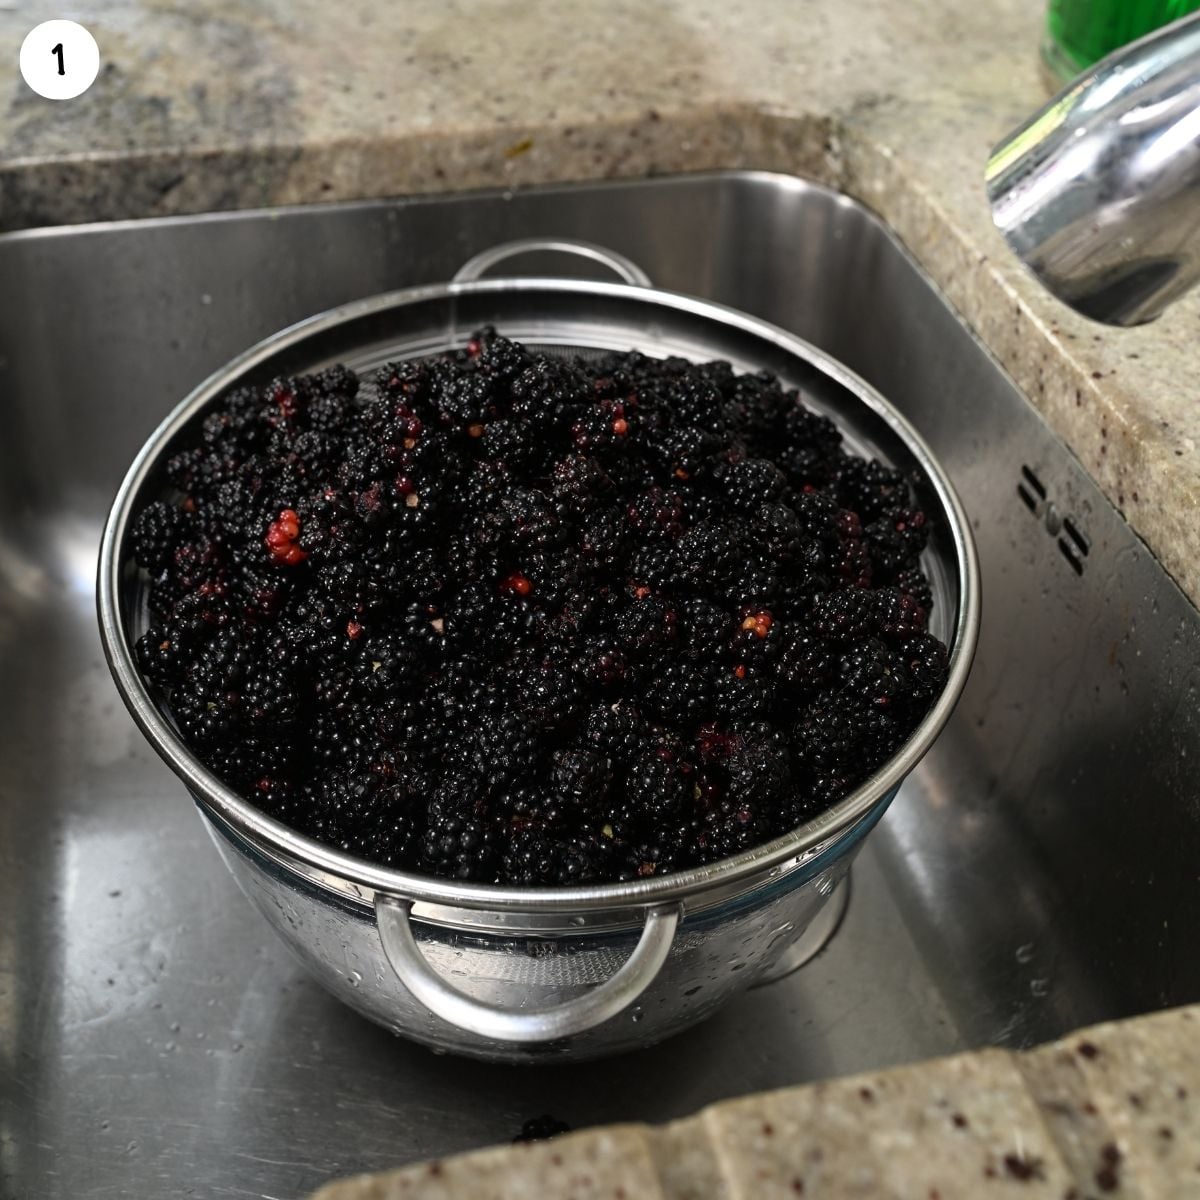
No-Cook Cheong Method
If using the no-cook cheong method, spread the berries on a clean kitchen towel and let them dry thoroughly before jarring.
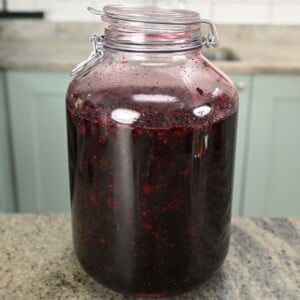
Add a layer of blackberries to a clean, dry jar, followed by a layer of sugar. Continue alternating layers, reserving enough sugar to generously cover the top. Leave some headspace, cover the jar, and place it in the refrigerator.
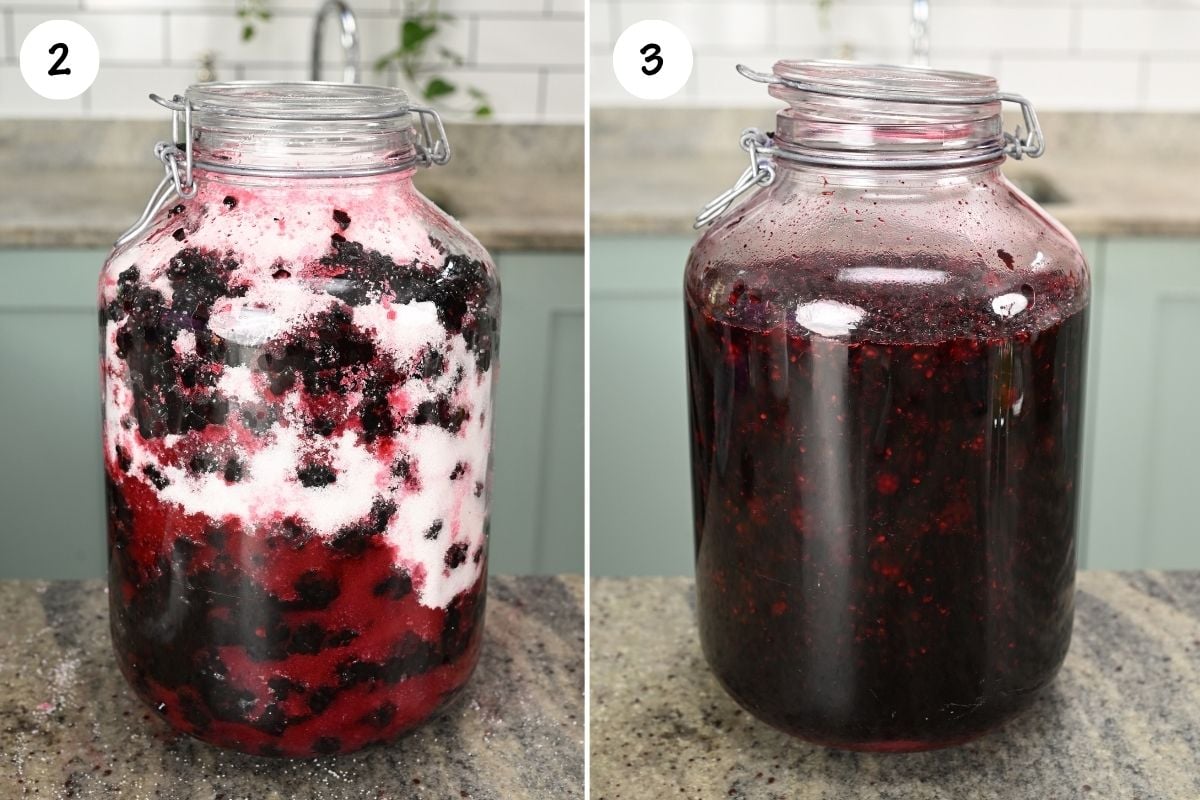
Over the next few days, the berries will naturally release their juices. Gently swirl or stir the mixture occasionally to help the sugar dissolve.
After 3 to 7 days, once the berries have released plenty of juice and most of the sugar has dissolved, strain the syrup through a fine-mesh strainer. For a clearer syrup, let it drain naturally rather than pressing the berries.
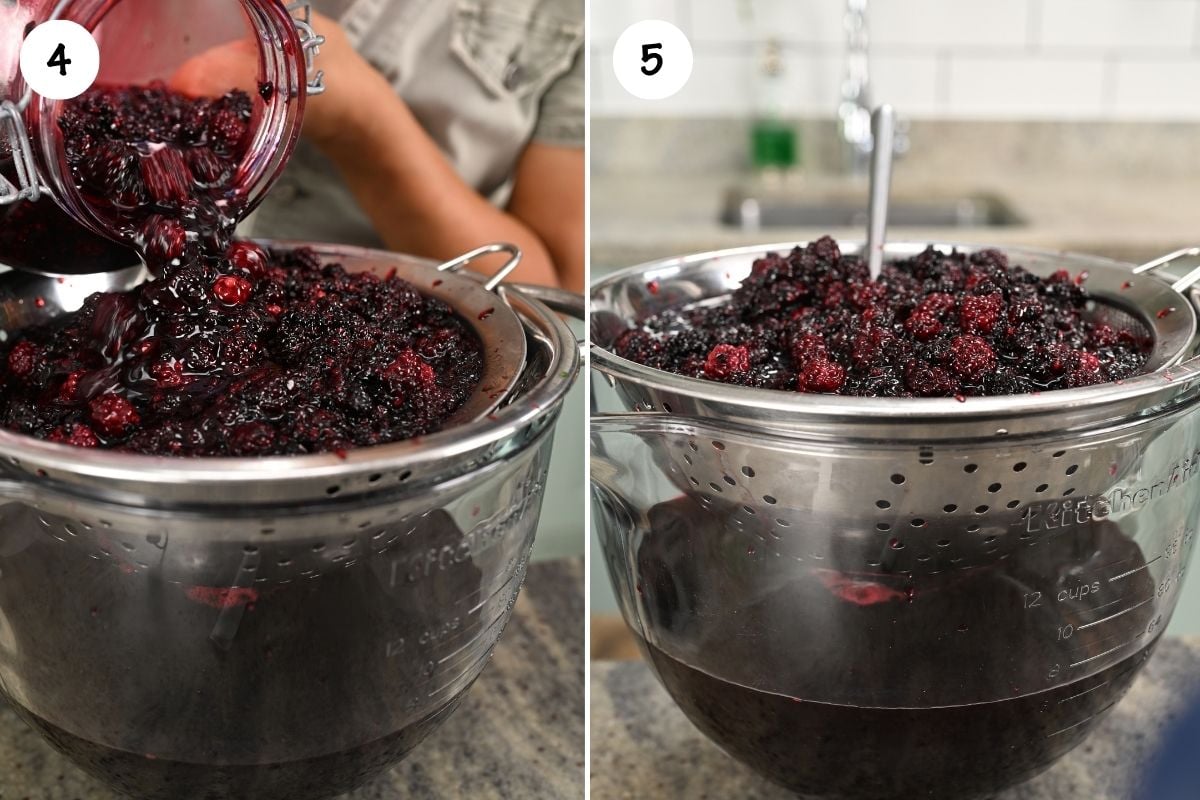
Transfer the syrup to a clean bottle or jar and refrigerate.
This method produces a syrup with a deeper, more complex berry flavor because no heat is involved.
Quick Stovetop Method
Combine the blackberries, sugar, and water in a saucepan over medium heat. Stir occasionally until the sugar dissolves and the berries begin releasing their juices.
Bring to a gentle simmer and cook for 8 to 10 minutes, gently crushing some of the berries with the back of a spoon as they soften. The syrup will turn a deep, vibrant purple.
Remove from the heat and strain through a fine-mesh strainer. Taste and stir in a little lemon juice if you want a brighter, more tart flavor.
Let the syrup cool completely, then transfer it to a clean bottle or jar and refrigerate.
Don’t throw away the strained blackberry pulp. Freeze it and use it later in smoothies, yogurt, oatmeal, fruit leather, popsicles, or baking.
How to use blackberry syrup
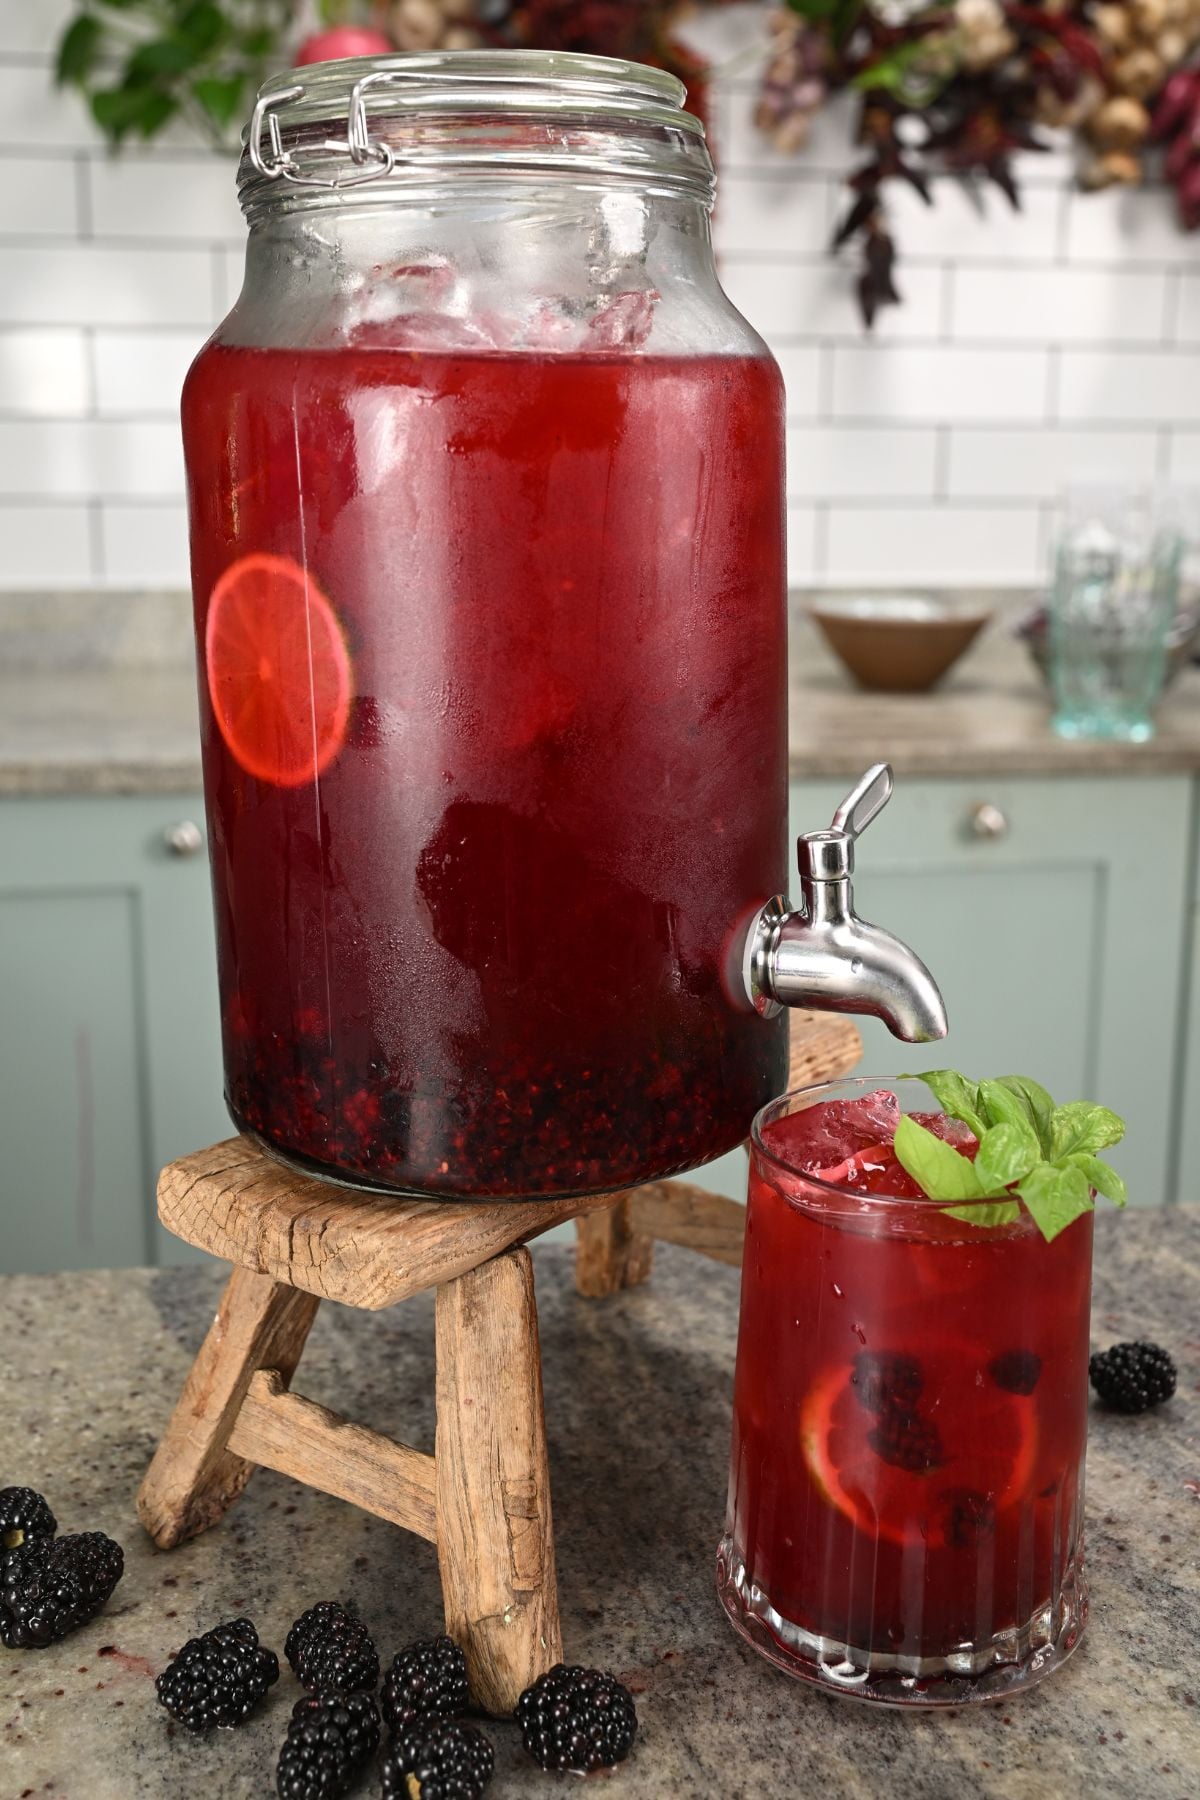
This syrup is incredibly versatile. Stir it into lemonade, iced tea, sparkling water, cocktails, or mocktails for a fruity, colorful boost. It also makes a wonderful addition to smoothies. For breakfast and brunch, drizzle it over pancakes (try it on these green protein pancakes), waffles, yogurt, or oatmeal. It is equally good spooned over desserts like ice cream (especially this caramel ice cream), cheesecake, or warm homemade biscuits.
Storage
Fridge: Store the finished syrup in a clean, airtight jar or bottle in the refrigerator for up to 2 weeks.
Freezer: For longer storage, freeze the syrup for up to 3 months in freezer-safe containers or ice cube trays, leaving some room for expansion.
To Thaw: Thaw frozen portions in the refrigerator overnight or at room temperature.
More homemade fruit syrups
If you enjoy making your own syrups, try one of these easy fruit syrup recipes next.

If you try this blackberry syrup, I would love to hear which method you prefer! Please leave a star rating and a comment below.
Blackberry Syrup (2 Ways)
Ingredients
For Both Methods
- 2 1/4 pounds fresh blackberries (about 7 cups)
For the No-Cook Cheong Method
- 5 cups granulated sugar
For the Quick Stovetop Method
- 1 cup granulated sugar
- 1/2 cup water
- 1 tablespoon lemon juice optional (adjust to taste)
Instructions
- Sort through the blackberries, removing any leaves, stems, moldy berries, or badly damaged fruit. Gently rinse and drain well. If using the no-cook method, spread the berries on a clean kitchen towel and allow them to dry thoroughly before jarring.
[Method 1: No-Cook Cheong]
- Add a layer of blackberries to a clean, dry jar, followed by a layer of sugar. Continue alternating layers, reserving enough sugar to generously cover the final layer of fruit. Leave some headspace at the top of the jar.
- Cover and place in the refrigerator. As the blackberries release their juices over the next several days, gently swirl or stir the mixture occasionally to help the sugar dissolve.
- Refrigerate for approximately 3 to 7 days, until the berries have released plenty of juice and most or all of the sugar has dissolved.
- Strain through a fine-mesh strainer. For a clearer syrup, allow it to drain naturally rather than heavily pressing the berries. Transfer to a clean bottle or jar and refrigerate.
[Method 2: Quick Stovetop]
- Add the blackberries, 1 cup sugar, and 0.5 cup water to a saucepan. Heat over medium heat, stirring occasionally, until the sugar dissolves and the blackberries begin releasing their juices.
- Bring to a gentle simmer and cook for 8 to 10 minutes, gently crushing some of the berries with the back of a spoon as they soften. The syrup will turn a deep, vibrant purple.
- Remove from the heat and strain through a fine-mesh strainer. Taste the syrup and stir in 1 to 2 tablespoons of lemon juice if desired for a brighter, more tart flavor.
- Allow to cool completely before transferring to a clean bottle or jar and refrigerating.
Notes
- Adjust the sugar for the stovetop method. You can reduce or increase the sugar slightly to suit your taste. The cheong method relies on an equal weight of sugar and fruit to draw out the juices, so it’s best to follow the ratio for that version
- The cheong method uses no lemon juice or citric acid. It is simply blackberries and sugar.
- The no-cook cheong method produces a deeper, more complex flavor because no heat is involved.
- For the stovetop method, frozen blackberries can be used without thawing. You may need a few extra minutes of simmering.
- Don’t discard the strained pulp. Freeze it for smoothies, yogurt, oatmeal, fruit leather, popsicles, or baking.
- This is a refrigerator syrup, not a shelf-stable preserve. Use within about 2 weeks. For longer storage, freeze in freezer-safe containers or ice cube trays, leaving room for expansion.
- Yield is approximately 3 to 4 cups depending on the method and how thoroughly the berries are strained.
Nutrition
Nutrition information is automatically calculated, so should only be used as an approximation.