This post may contain affiliate links. Please read our disclosure policy.
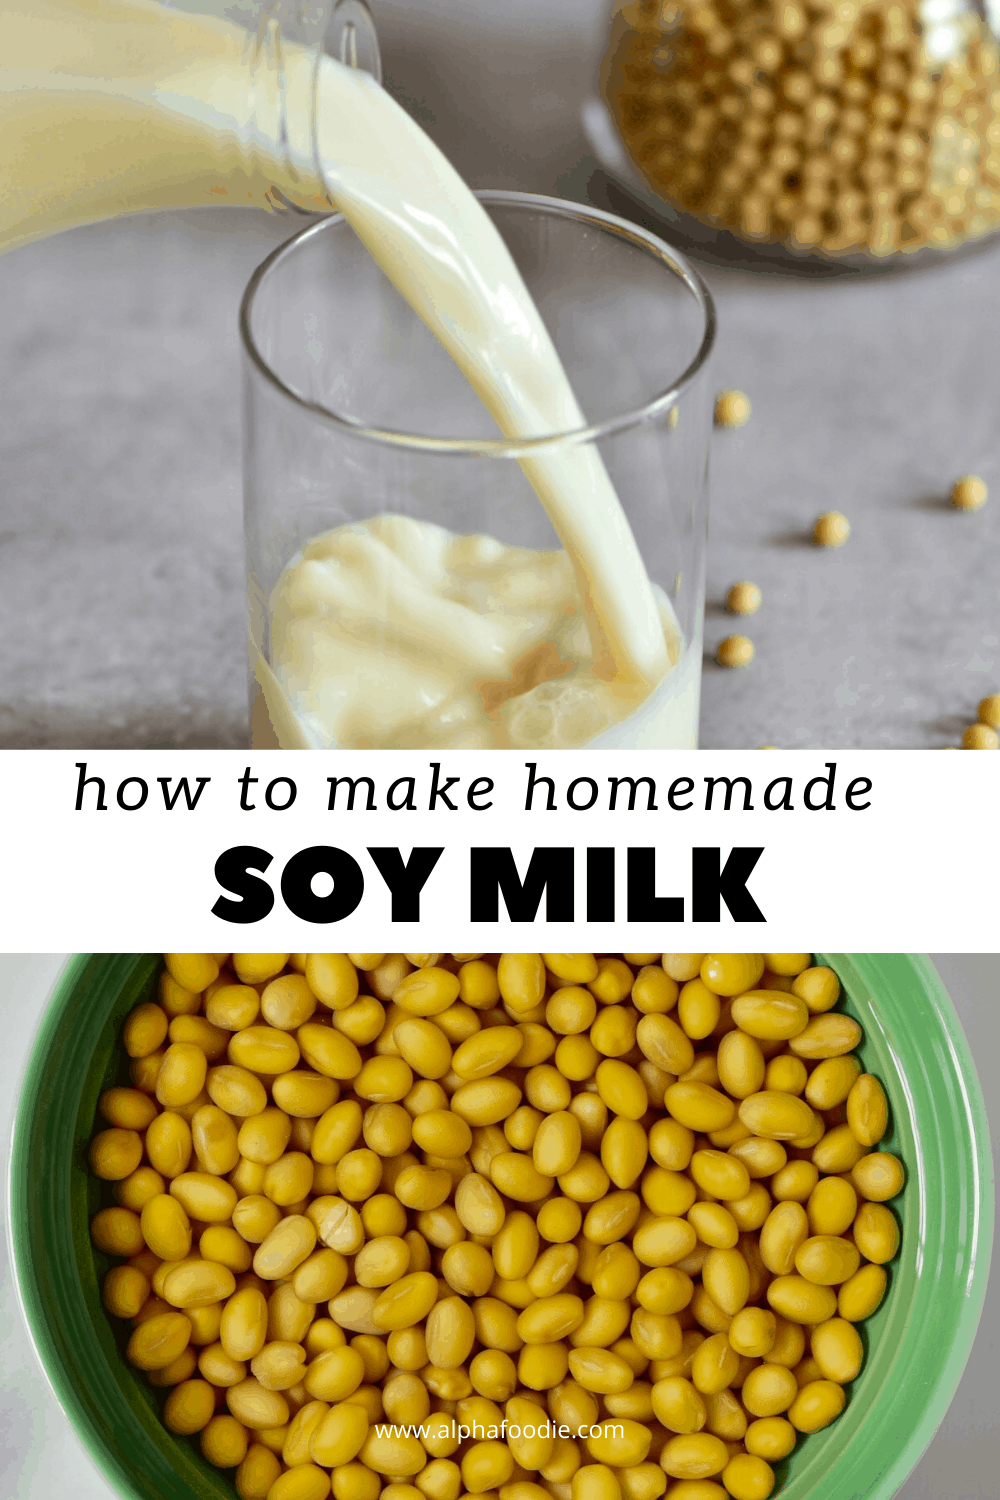
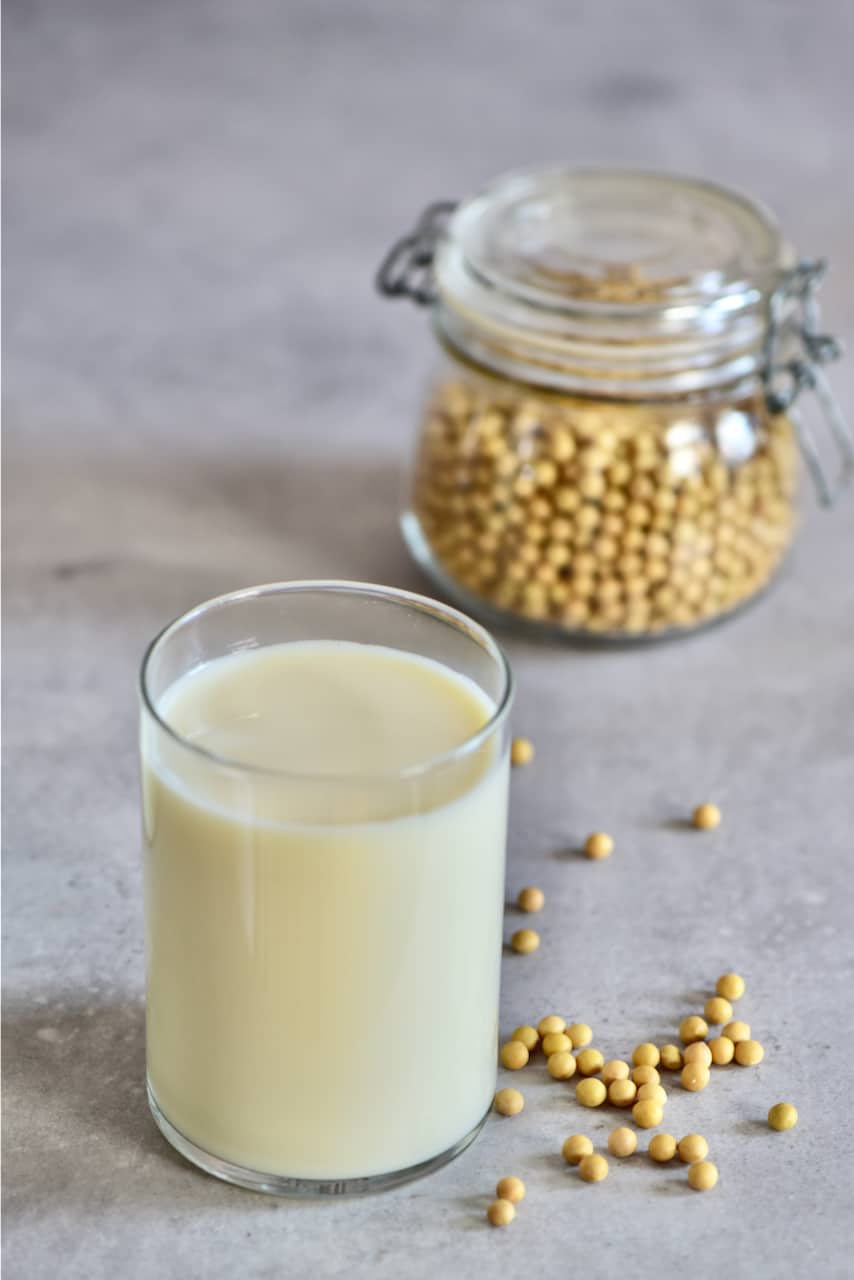
A simple how-to to make a delicious homemade soy milk recipe. A great lactose-free, vegan, high-protein dairy-free milk that is low cost and has a variety of health benefits.
This blog post will be discussing some of the soy milk benefits, what is soy milk, and how to make soy milk quickly and easily at home with a simple homemade soy milk recipe. I’ve also included some ways to flavor and vary your soy milk, for different flavor palettes.
Soy foods and soy products have gotten a lot of flack over the years, and there’s always been this question around it of is it good for you, isn’t it. Especially as a mostly GMO product ( eat organic soy to avoid GMOs). However, I’ve never had an issue with soy products and know many who’d agree, so I won’t go too much into that here.
In fact, if you do want to read more about soybeans and the debate over their pros and cons etc. then here are a few links you might like to articles that can explain things a lot better than I do. Such as this article in GoodHouseKeeping, or on Health Line.
In fact, my takeaway sentence from Health Line is the only thing I’ll share here: Which states that while animal studies have shown that soy can negatively impact thyroid function, male hormones, and even breast cancer. The same cannot be said for the human studies that have been conducted.
So, as far as I’m concerned – Soy (particularly the most un-processed versions using soybeans), is perfectly healthy to eat in moderation.
Over the last decade or so, soy milk has become one of the most popular lactose-free, dairy-free milk options available. This is primarily due to the high protein levels of soybeans, meaning this milk can compare nutritionally to cows milk in ways that certain other dairy-free milk options cannot. In fact, soy-based milk is healthier in many ways, which I’ll go into in more detail below.
So, What Is Soy Milk, and why make it at home?
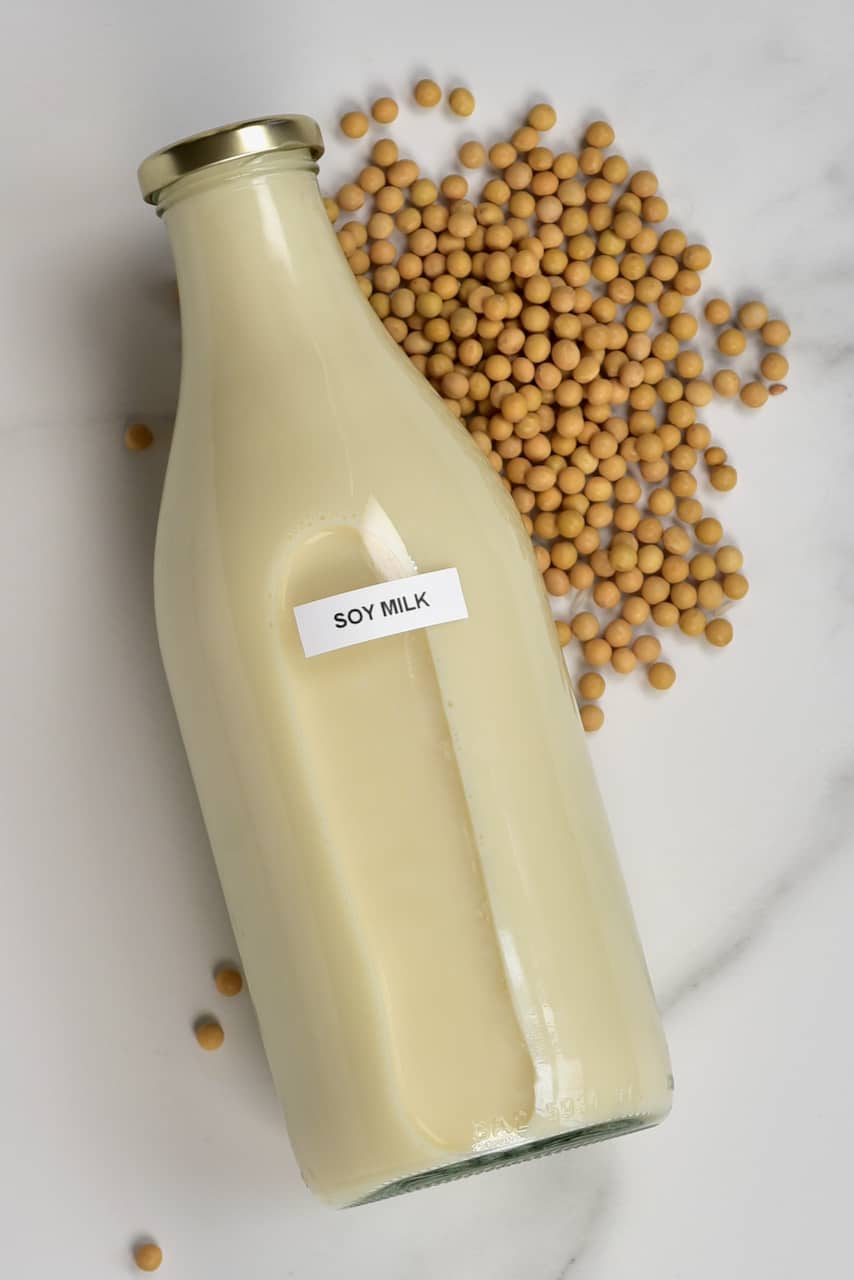
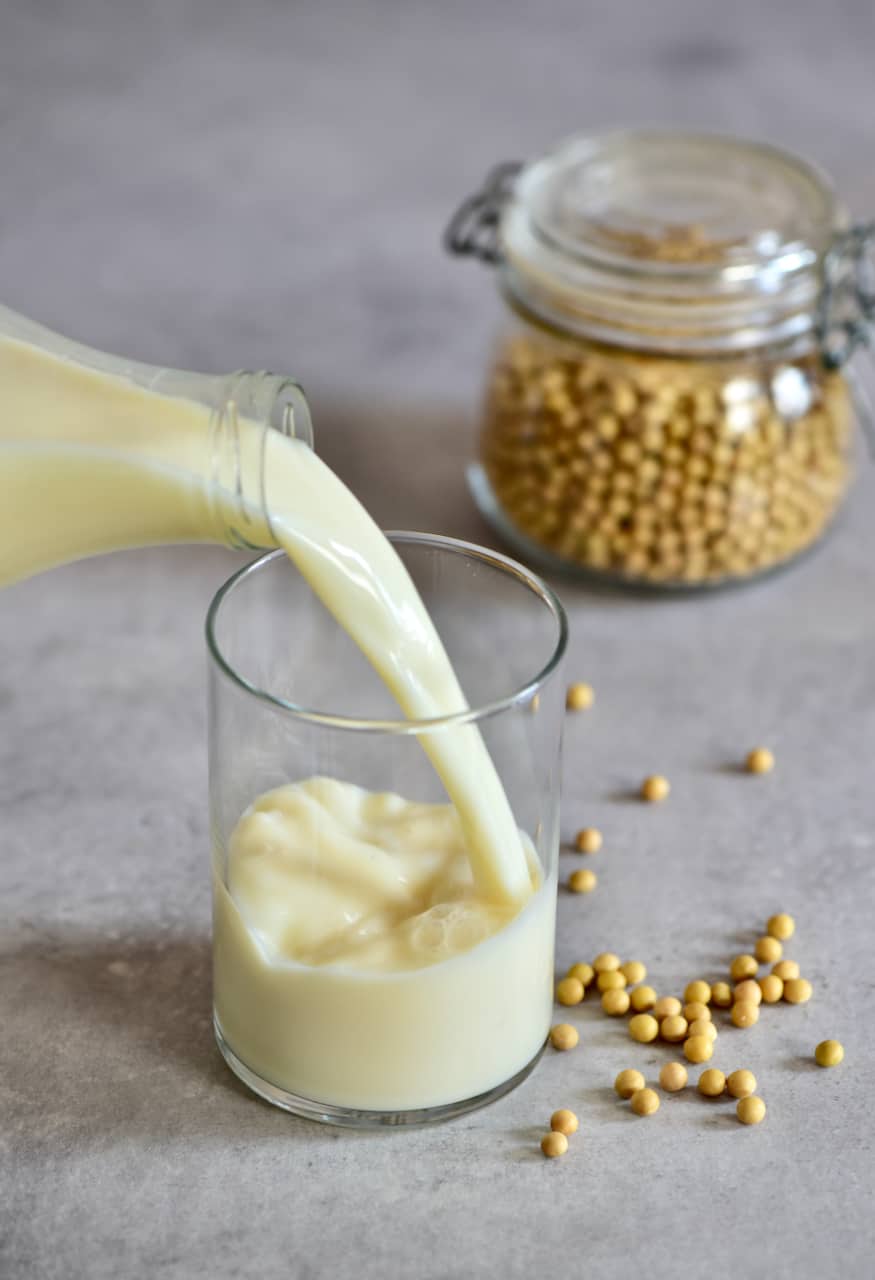
Soy milk is made when you blend the soybeans with water to create a creamy, milk-like liquid. During the process, the insoluble fiber from soybeans separates for the resulting liquid, so you’re left with smooth milk.
When buying store-bought soy milk (like many plant-based milks), you will often find unnecessary additives, preservatives, and thickeners. Unfortunately, many of these ingredients can wreak havoc on your gut – especially if you’re consuming them in large quantities. Luckily, by making homemade soy milk, you’re able to be in control of what goes into your milk.
Homemade soy milk can also work out a lot more cost-effective than store-bought varieties – Especially if buying the beans in bulk. From a quick online check, I found a 5kg (0.79 stone) bag for just £12 (around $15). Doing the maths, this means that a single cup of homemade soy milk can cost you as little as around 10 cents when following this recipe.
It’s also possible to fortify your dairy-free milk further with the use of a vegan collagen powder mixed into the water. And, if you consume animal products, then bone broth can be very beneficial to the gut.
If you are want to check out more dairy-free milk recipes, then I have lots to check out on this blog. This includes Zero Waste Homemade Almond Milk, Homemade Oat Milk ( that isn’t slimy), and How-to: DIY Homemade Coconut Milk. Plus lots more (including flaxseed and a variety of nuts) in the DIY section of my blog.
Soy Milk Benefits
As I’ve already stated above, much of the controversy surrounding soy products seem to be linked with animal studies. Whereas human studies have largely disproved these in many ways and have given us several soy health benefits.
Currently, science doesn’t fully understand soy, so these facts and studies could still change. However, for now, I’m happy to eat low processed soy foods/ products in moderation and have personally never seen any adverse health risks from my soy consumption. The same can be said for all of my soy eating friends.
One of the best pros associated with soy milk is how it compares to dairy milk whereas an 8oz portion of whole cows milk contains 12g respectively of carbs and sugars and 8g of protein and fat. Unsweetened Soy milk contains 4g carbs, 1g sugars, 4g fat, and 7g protein. It also contains fewer calories ( almost halved, in some cases) of whole milk and equal calories to 1% milk.
In fact, soy contains all nine essential amino acids (fatty acids), while being a fantastic source of protein and balanced with carbohydrates and fats.
As plant-based milk, soy milk is also naturally low in saturated fat and cholesterol-free, which means that it is a great milk option for weight management, weight loss, and heart health.
Soy milk is also naturally lactose-free, so a great option for those with lactose intolerance.
Homemade soy milk is also a good source of a variety of vitamins and minerals including Vitamin A and potassium.
Soy milk also contains ‘isoflavones’, with research suggesting that these are antioxidants. Thus, they reduce inflammation and even have anti-cancerous properties to reduce the risk of certain diseases and cancers.
Some studies even show that consuming soy protein daily may help reduce harmful LDL cholesterol levels in the body.
How To Make Soy Milk
Making soy milk is a fairly simple process, using just two ingredients – soybeans and water.
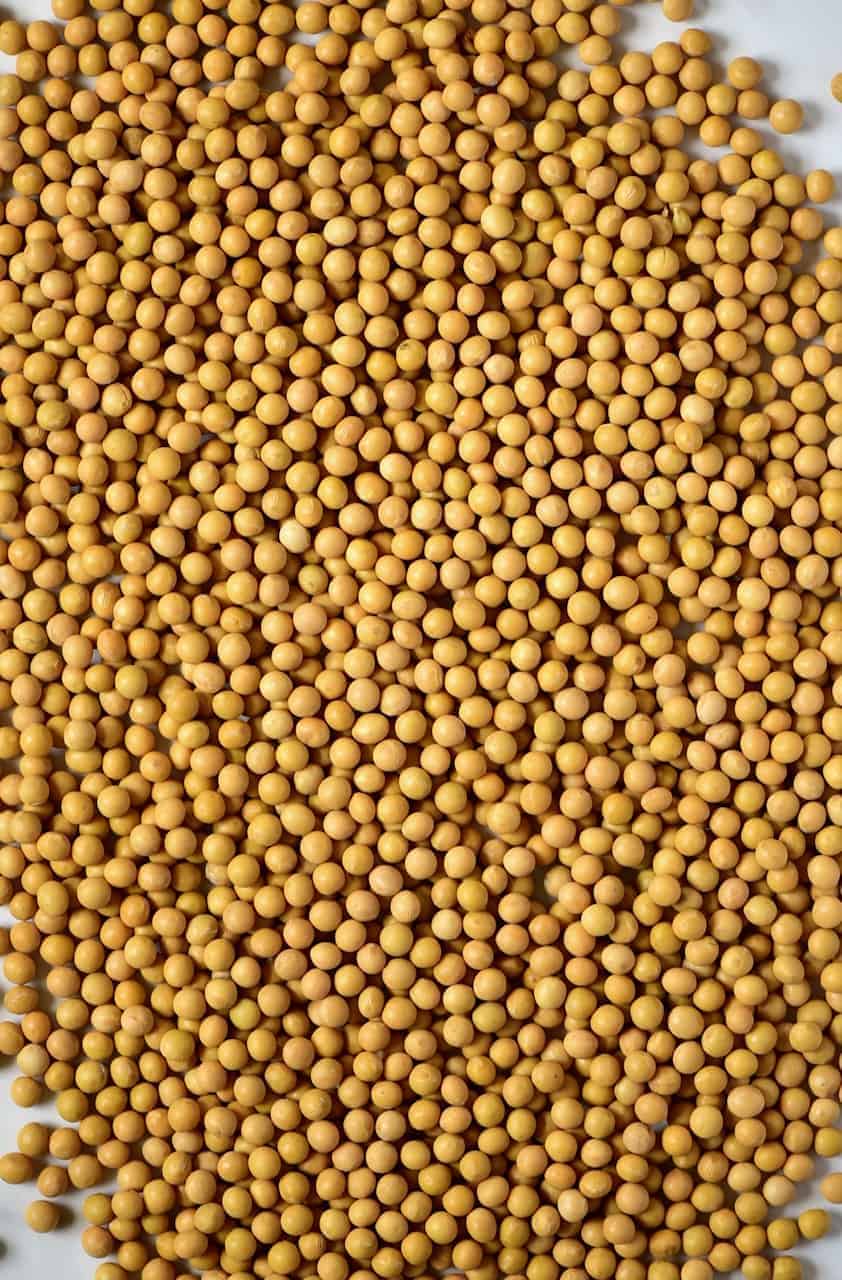
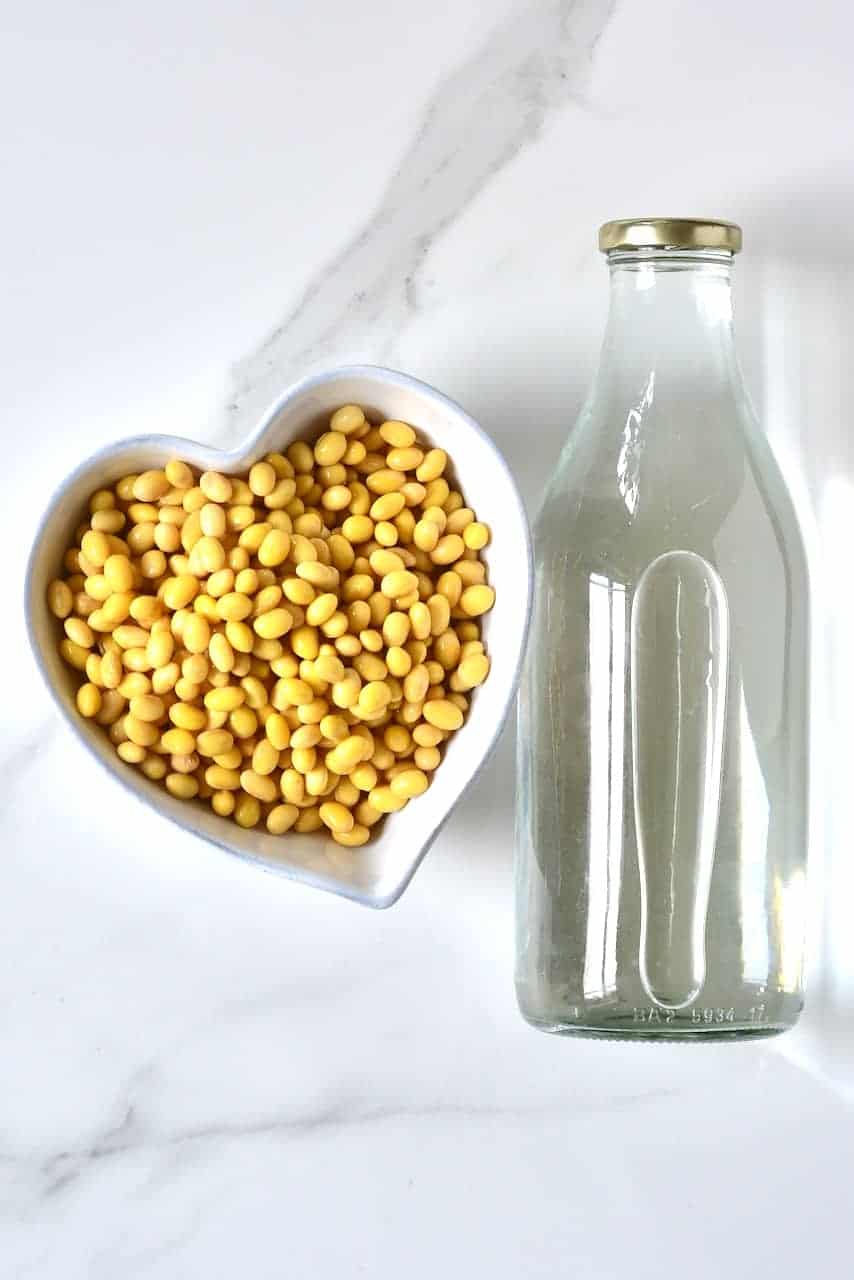
The first thing you need to do is soak your soybeans. Soak the beans in water for at least 6 hours, or overnight.
Note* I’ve read that if you have issues digesting beans then adding a splash of apple cider vinegar to your beans while they are soaking will help leech out phytic acid content, without affecting the flavor.
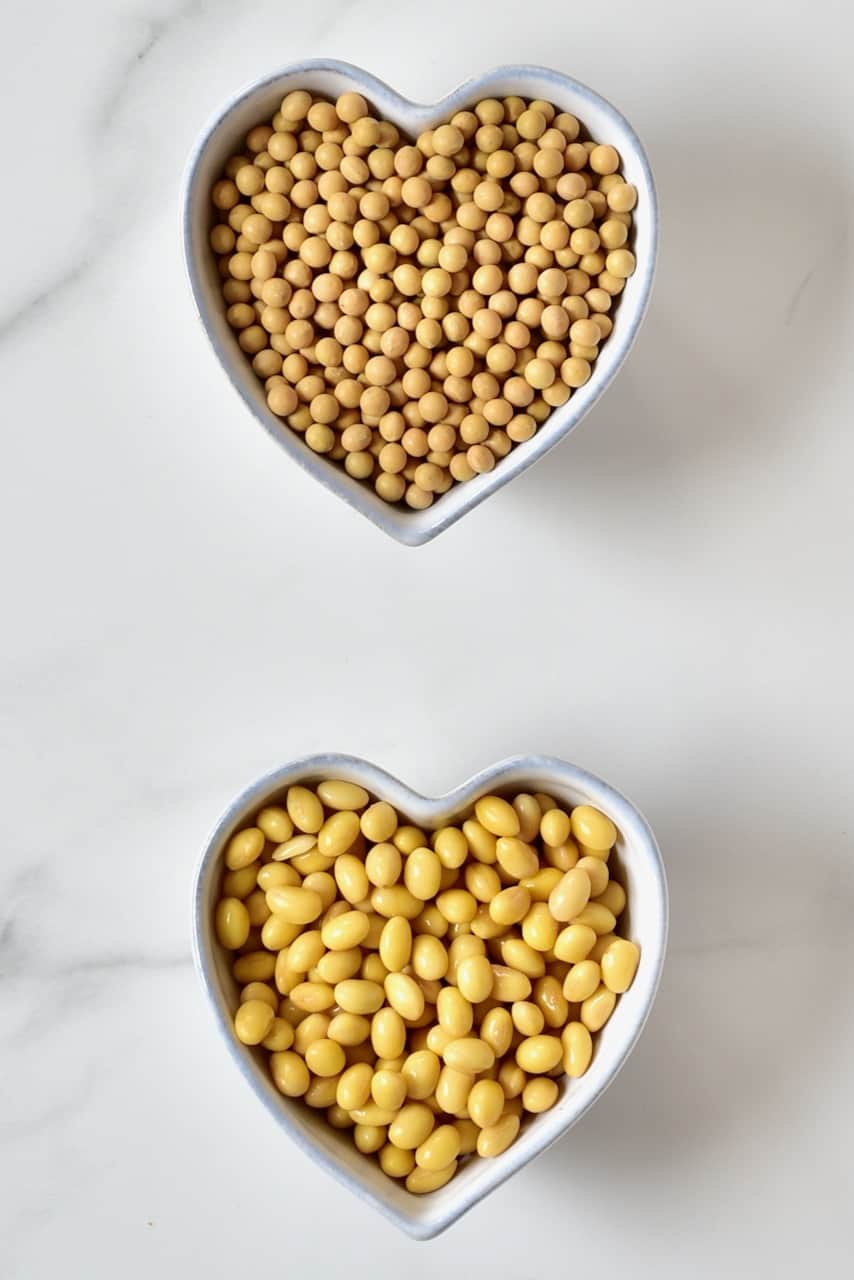
You’ll notice that soaked soybeans will expand between 2-3 times in size.
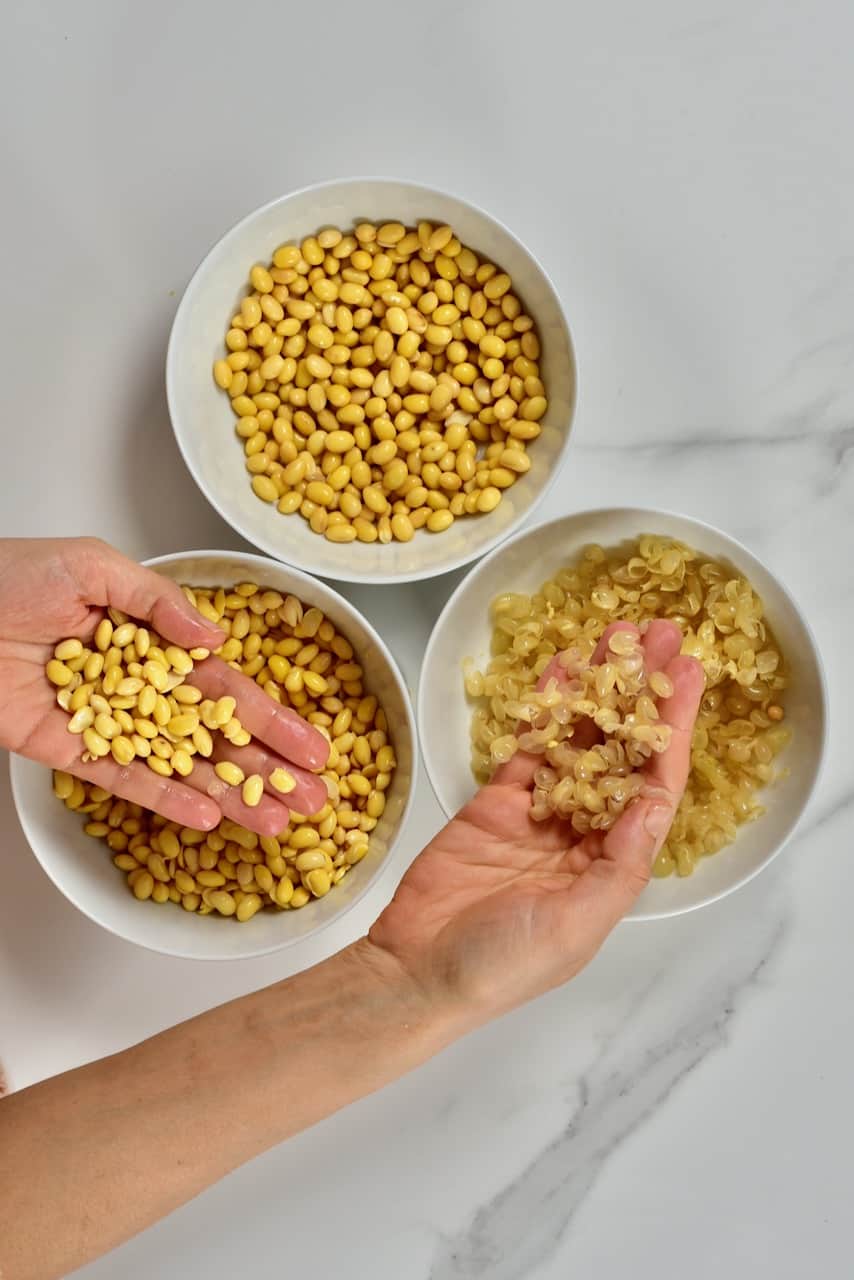
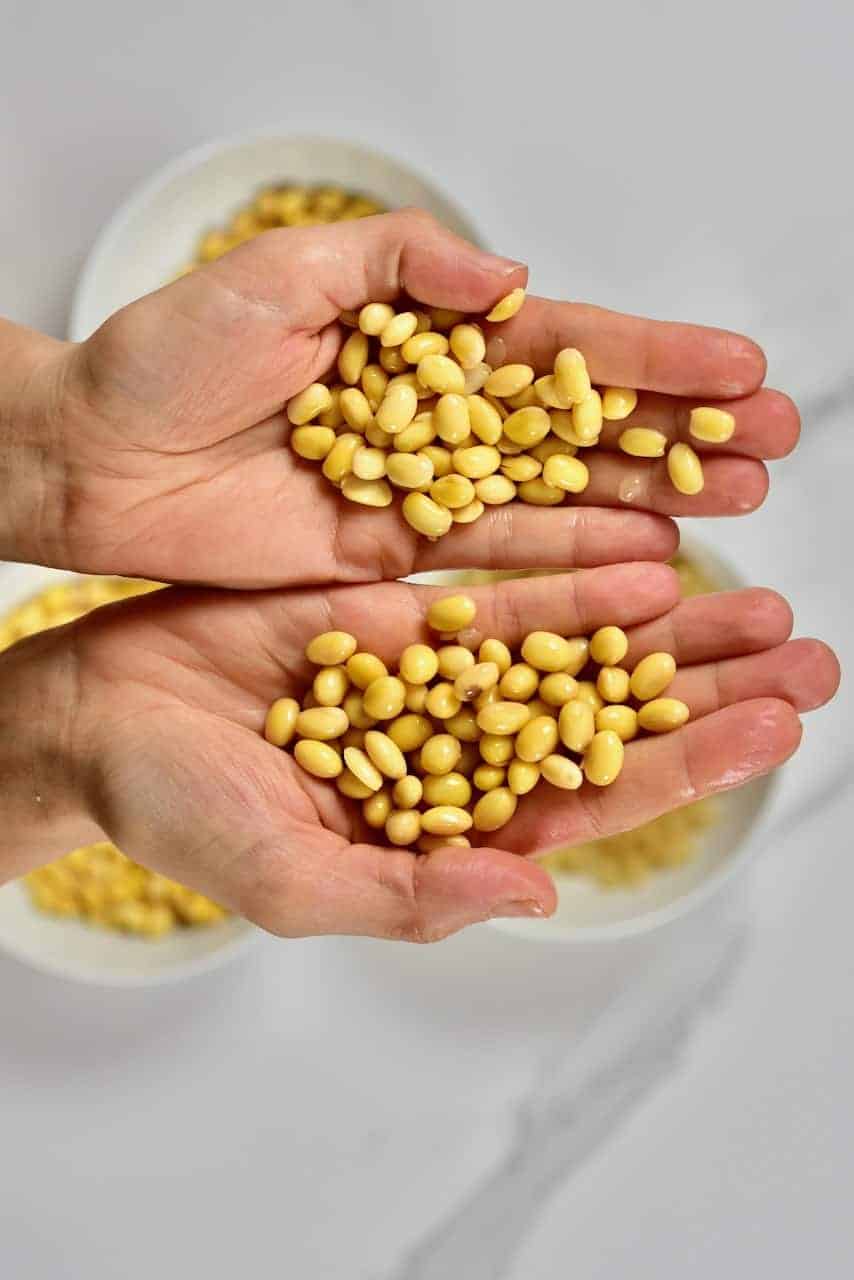
Once they are soaked, you can then optionally peel the beans. This isn’t 100% necessary, although it will help to blend smoother homemade soy milk and only adds a couple of extra minutes of prep time to the recipe. After soaking the beans, the skins will come off very easily.
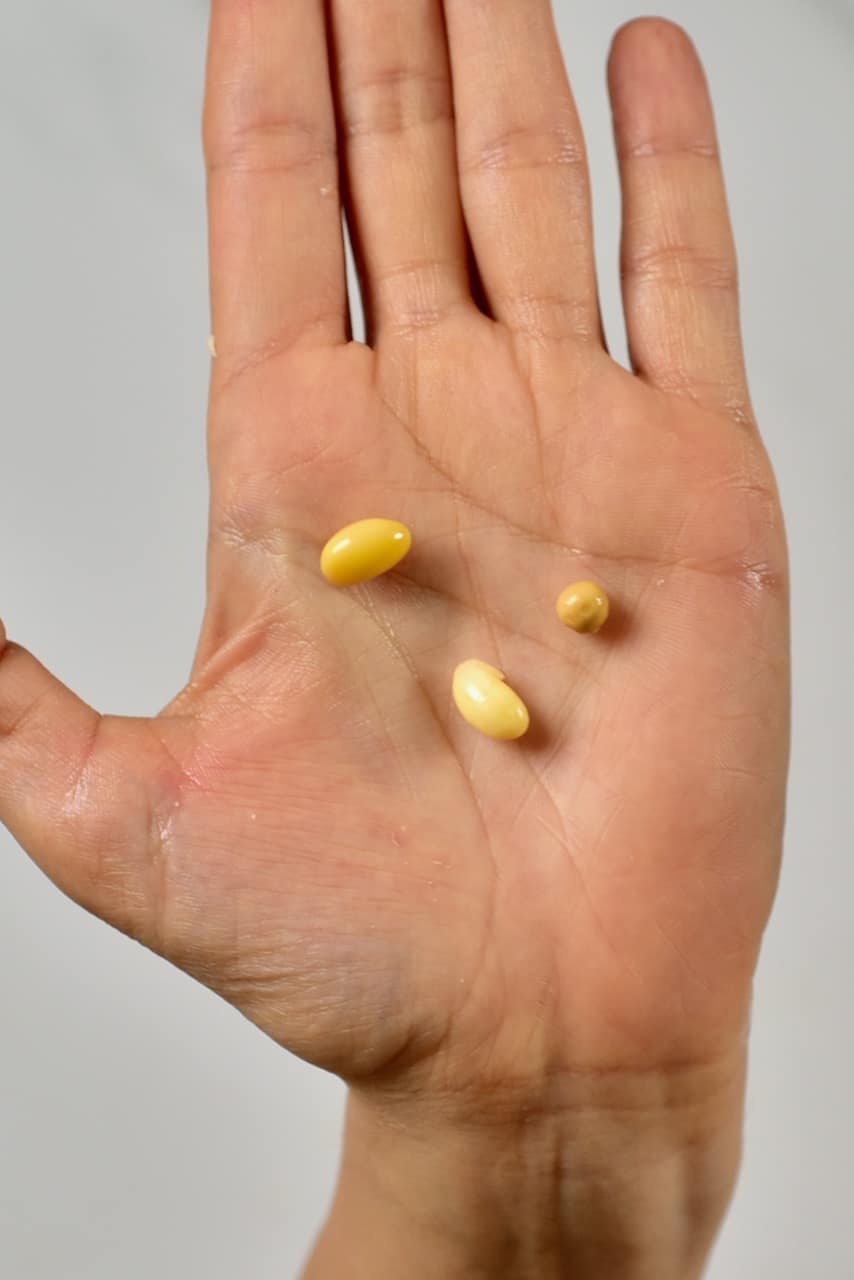
Close up of the three beans – dry, soaked unpeeled, soaked peeled.
Next, add the soaked beans into a high-speed processor/blender for just 10-15 seconds to break down the seeds slightly.
Add the cups of water and blend again until smooth and creamy.
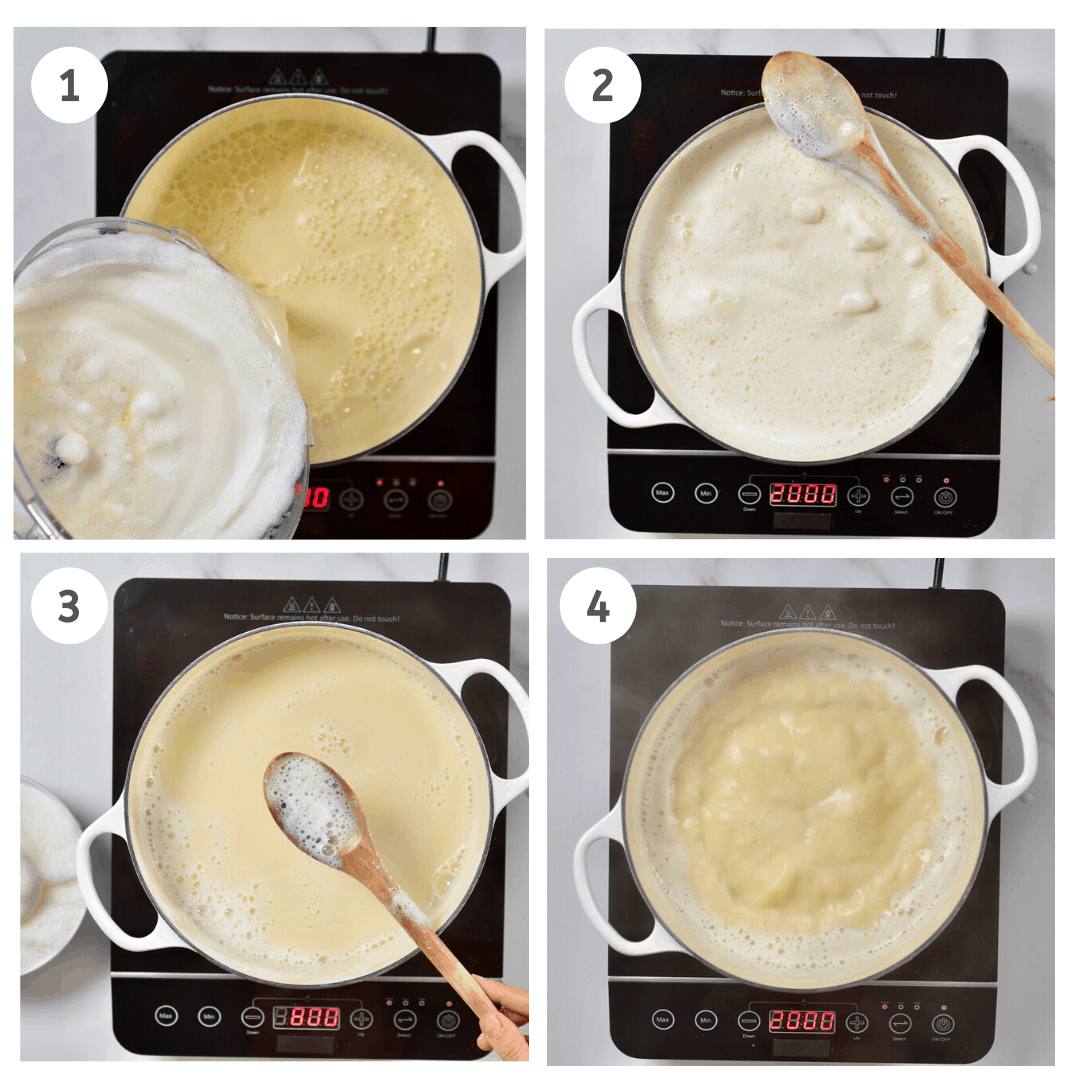
You then do an initial strain into a large pot. This will reduce the risk of any of the beans burning to the bottom of the pot. However, I transfer the entire mixture into the saucepan and bring to a boil over medium heat as I stand over the pot during this process and stir often.
When the mixture starts boiling, continue to cook for 3-4 minutes.
While boiling, remove the foam that starts floating on top. You want to try and skim as much of this foam as you can.
Reduce the heat and simmer for 15-20 minutes, occasionally stirring to make sure nothing is sticking to the bottom of the pan.
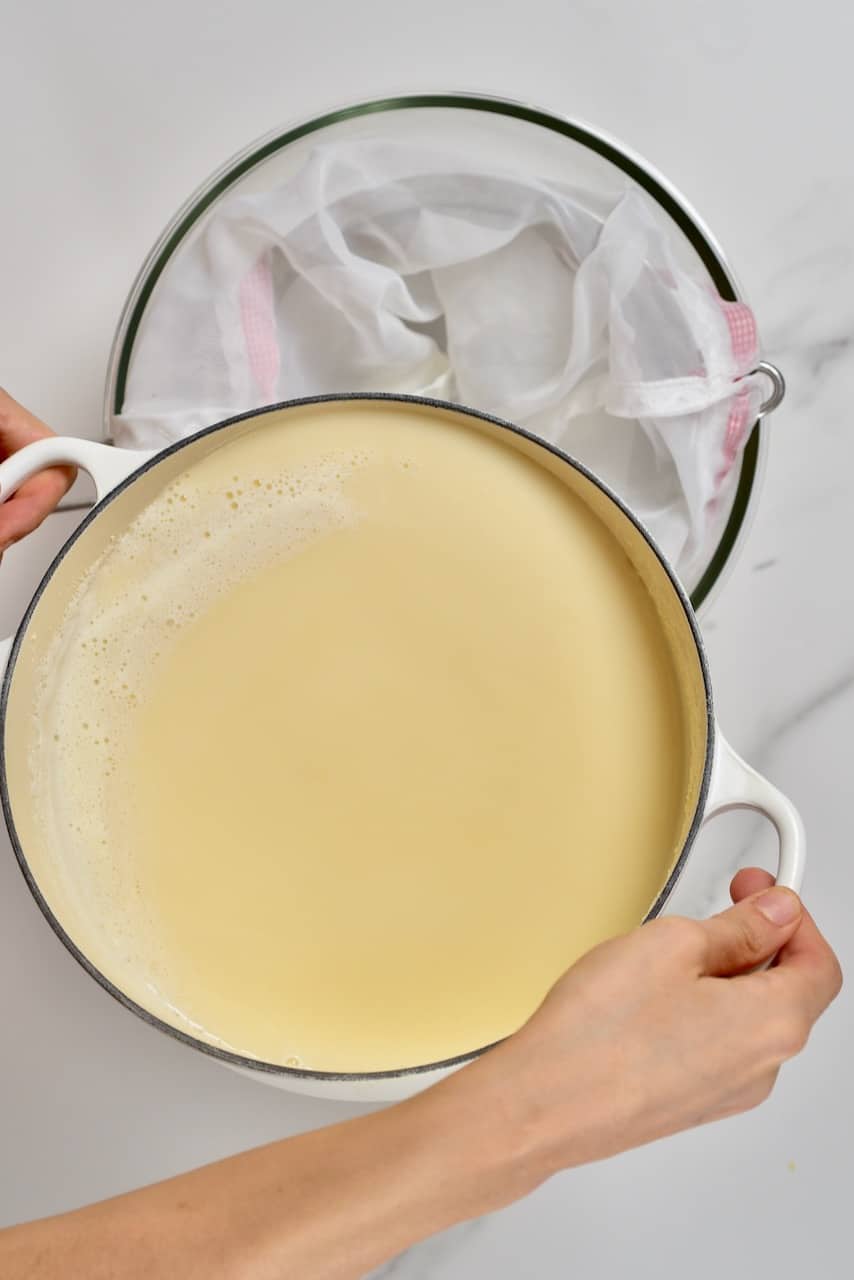
Turn the heat off and leave to cool down for a few minutes. Then pour the milky liquid in a bowl through a nut milk bag.
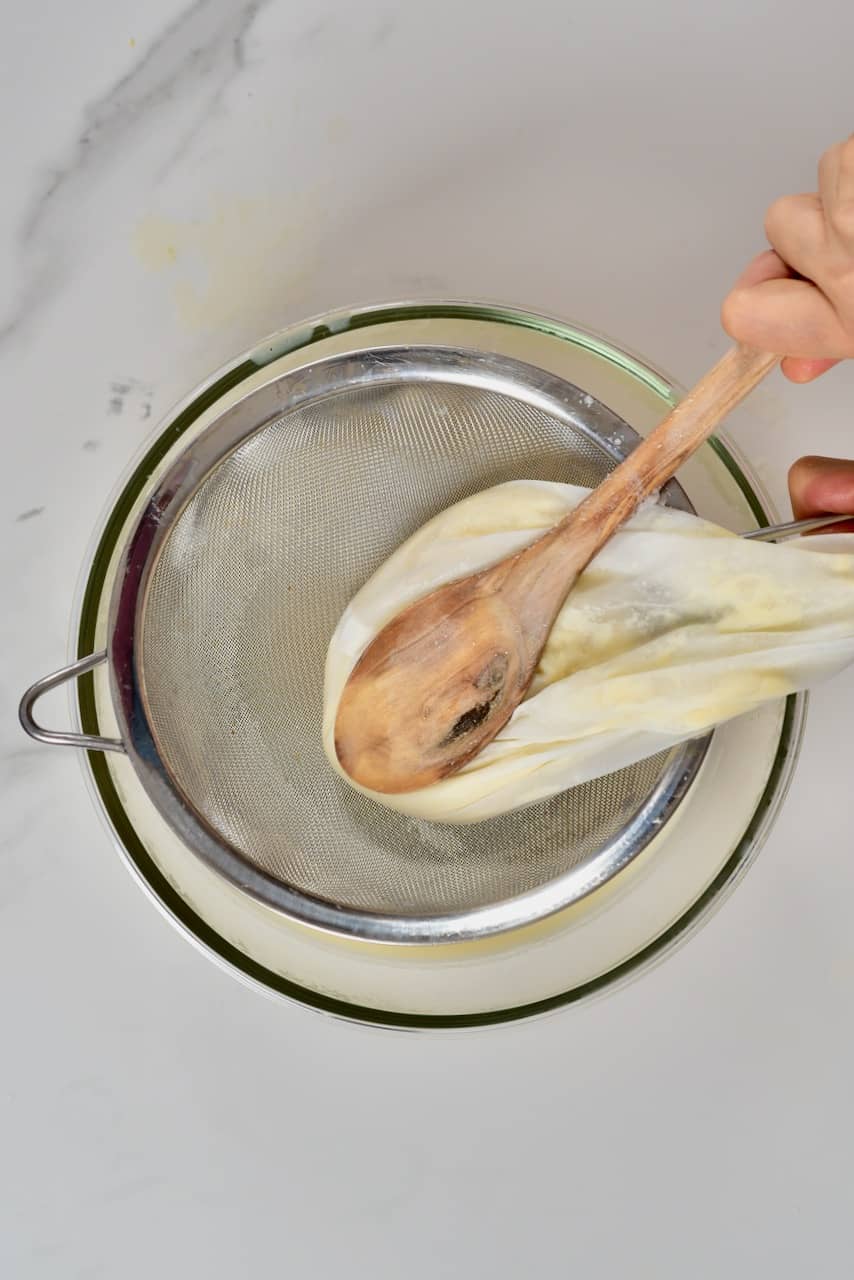
Squeeze or press down the nut milk bag, so all the liquid drains into the bowl.
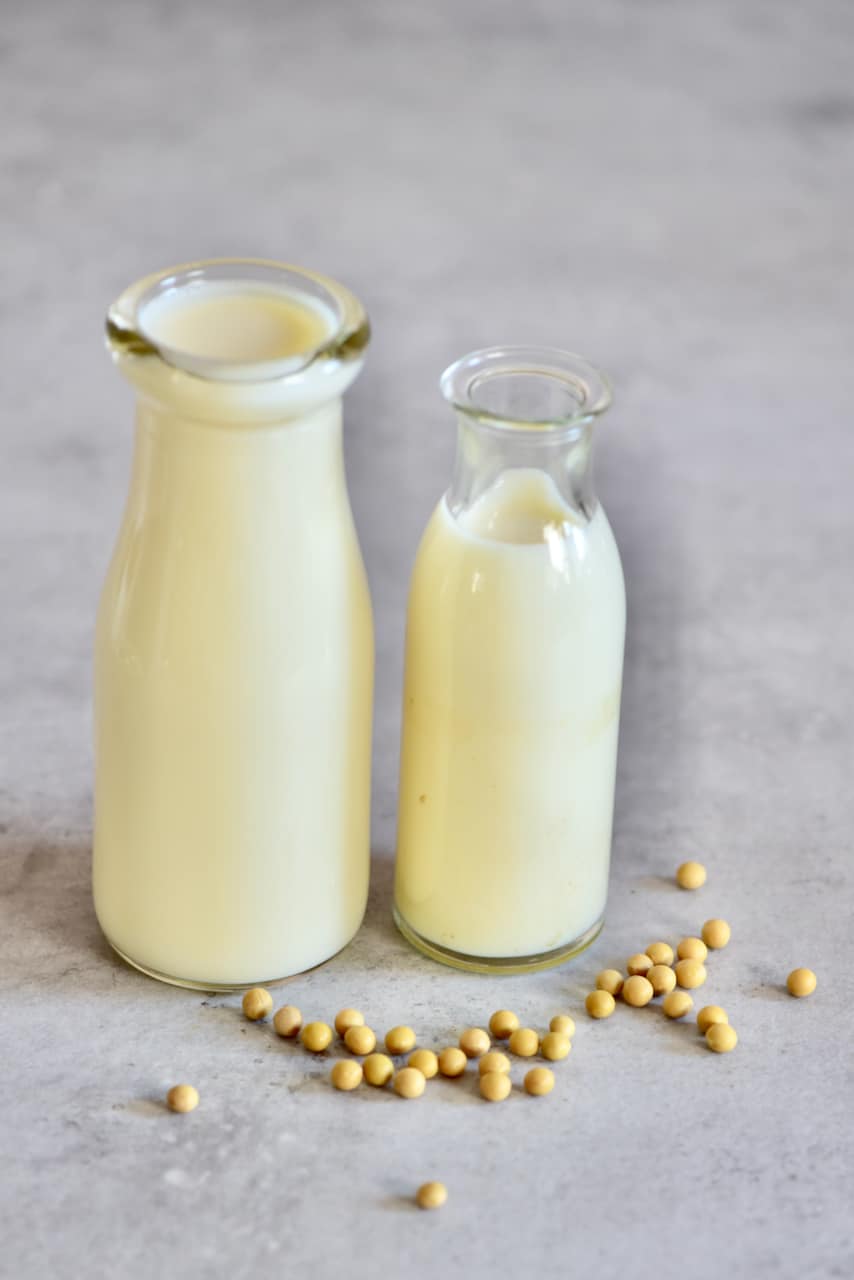
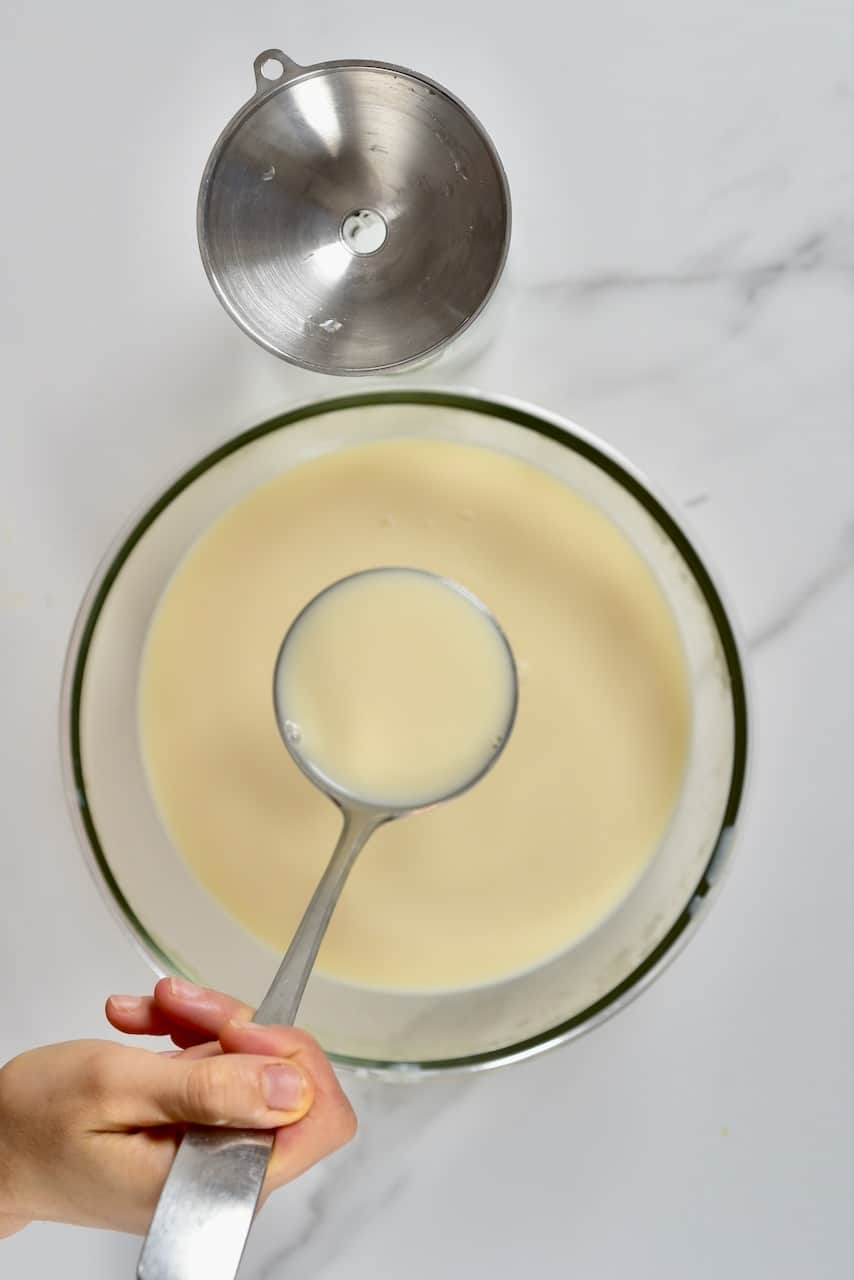
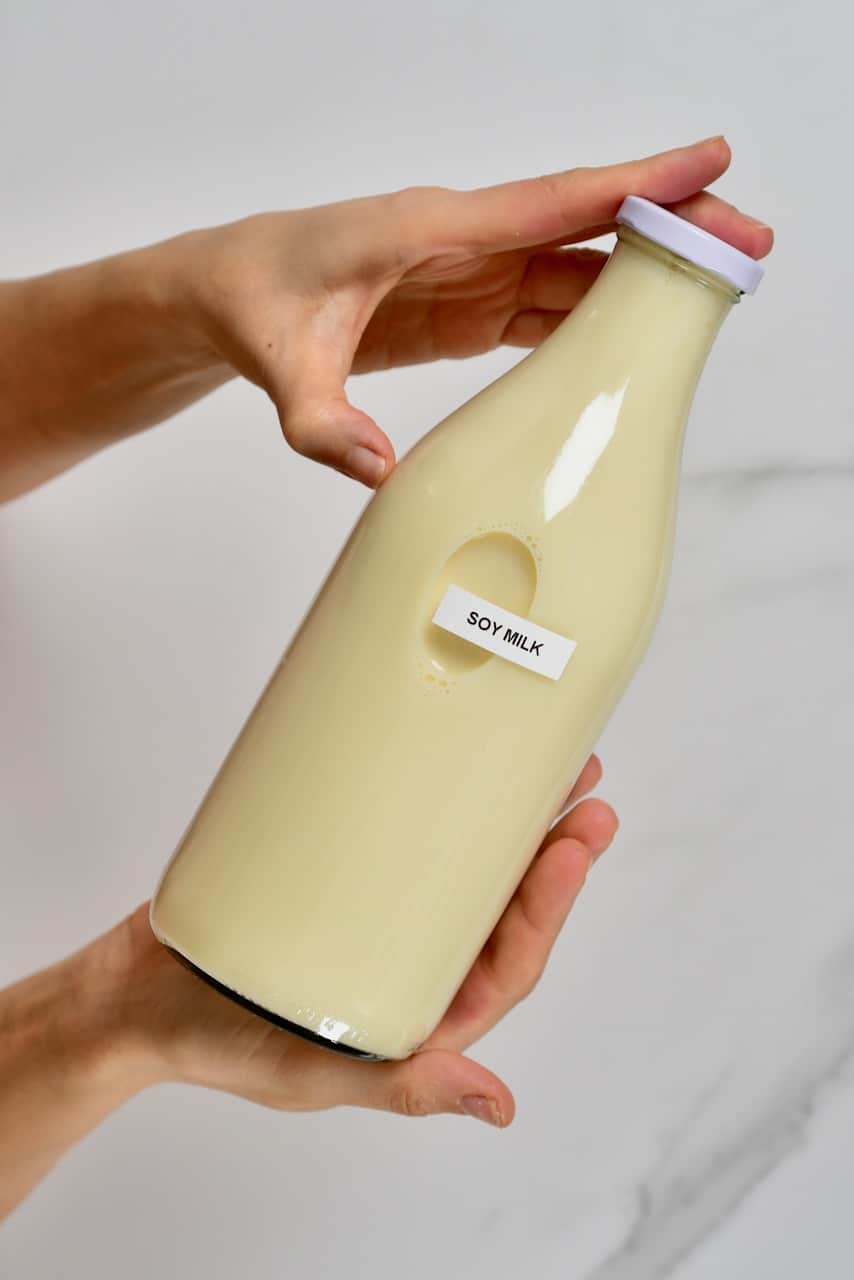
This can then be transferred to a bottle.
Store your homemade soy milk in the fridge for 3-5 days. If it begins to smell/taste sour, then it is past its best.
You can also freeze soy milk for 3-6 months. However, this can slightly affect the texture of the milk (although not the nutrition).
Homemade Soy Milk Recipe Variations
I always keep my homemade dairy-free milk recipes down to the bare minimum. However, plain soy milk isn’t really to everyone’s taste buds as it’s quite a strong flavor. To combat this, and in general just jazz up this soy milk recipe, you have a few flavor options.
The first thing to address is sweetness. I like to keep these recipes refined sugar-free and suggest using Medjool dates or maple syrup to sweeten your homemade soy milk naturally.
You can also add a variety of spices/ add-ins including homemade vanilla extract, cinnamon, cacao powder, etc.
For the full plethora of dairy-free homemade milk, feel free to browse through the DIY section of my blog or search ‘milk‘ in the search bar for options including rice, flaxseed, almonds, oats, pistachio, etc.
If you have any questions about this soy milk recipe, then feel free to leave them in the comments below. Also, I love to see any recreations so you can tag me on Instagram @AlphaFoodie.
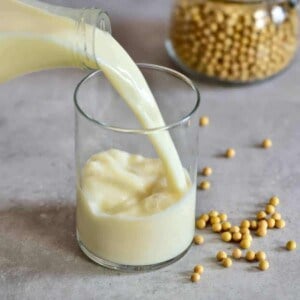
Soy milk
Equipment
Ingredients
- 1 cup soybeans
- 8 cups filtered water
Instructions
- Start by soaking the soybeans for six hours or overnight. * During this time the soybeans will expand to 2-3x their size.
- Once they are soaked you can then optionally peel the beans. This isn't 100% necessary, although it will help to blend smoother homemade soy milk and only adds a couple of extra minutes of prep time to the recipe. After soaking the beans, the skins will come off very easily.
- Add the soaked beans into a high-speed processor/blender for just 10-15 seconds to break down the seeds slightly.
- Add the water and blend again until smooth and creamy.
- You then do an initial strain into a large pot. This will reduce the risk of any of the beans burning to the bottom of the pot while you heat it. However, I simply transfer the entire mixture into the pot and bring to a boil over medium heat, stirring often.
- When the mixture starts boiling, continue to cook for 3-4 minutes. While boiling, remove the foam that starts floating on top. You want to try and skim as much of this foam as you can.
- Reduce the heat and simmer for 15-20 minutes, stirring occasionally to make sure nothing is sticking to the bottom of the pan.
- Turn the heat off and leave to cool down for a few minutes. Then pour the milky liquid in a bowl through a nut milk bag.
- Squeeze or press down the nut milk bag so all the liquid drains into the bowl. This can then be transferred to a bottle. Store your homemade soy milk in the fridge for 3-5 days. If it begins to smell/taste sour then it is past its best.
- You can also freeze soy milk for 3-6 months. However, this can slightly affect the texture of the milk (although not the nutrition).
Video
Notes
Nutrition
Nutrition information is automatically calculated, so should only be used as an approximation.




I haven’t tried this yet but will do. Reading though the instructions, I was wondering whether the pulp that’s left could be used for cooking – perhaps adding it to a vege burger recipe? If so, would it make sense to cook the beans first, then blend and strain? Have you tried it that way around? Does it work?
Hi Toby,
Yes, you can keep the pulp. You can add it when making soups, stews and other dishes and that’s how it will cook.
Have you ever added any vitamins or similar? I am making for a toddler and not sure if I need to look into adding those?
Calcium, Vitamin D, ect.
Hi Olivia,
I would not recommend adding vitamins yourself (fortifying the soymilk) if you want to give it to your toddler. It would be safer to buy fortified milk.
Thank you for your recipe 🙂
My concern is that when we strain out leaving the pulp behind, some protein is lost.
Can you please let me know if the protein is retained in the liquid or it could be left behind in the pulp?
Alternatively, Can I skip the straining and let the pulp be in the liquid?
Hi Akshaya,
It’s normal that some of the nutrients, along with the fiber are left behind when staring. You can however keep the pulp and use it when cooking soups, stews and other dishes. But you need to strain it from the liquid unless you like pulpy milk. 🙂
Hi Samira,
I just followed your directions to make my first soy milk, and it turned out great! They were so easy to follow, and the pictures helped a lot. Thank you!
Thank you so much for your comment, Reiko! Glad you liked the recipe.
Hi, I tried this recipe. I boiled the milk in batches, tried the first one and it came out well, had to run some errands, left the blended soy bean and returned to it after about 2 hours, noticed the milk was separating. It had water on top and milk before. Is this a problem?
Hi Patra,
It’s completely normal for the milk to separate, not to worry. You can just shake or stir the milk before using it.
Thanks for your information on the soy milk preparation. But I will want to know if it’s good to produce powdered type. How can that be made?
Hi Cajetan,
A recipe for plant-based milk powder is coming soon – please stay tuned
Many recipes are written using traditional or common soy milk making method. Have you tried making soy milk from cooked soybean? I wonder what is the difference in taste between traditional soymilk making vs extracting soymilk from cooked soybean?
Hi Jasmine,
I haven’t yet tried making soy milk using cooked soybeans. I always boil the milk.
Wow we are happy for this side
Thank you for your comment!
Thank you for your tutorial but can also baby of 10months take this milk?
Hi Roseline,
I don’t see why not but it’s best to check with your medical professional.
So much better than store bought, a solid four stars!
Thanks
Good soy milk.I made a few mods to get the right thickness for me.
Thank you for your comment, Alex.
Thanks for the recipe. One error I noted what that you said homemade soy milk has vitamin B12. That is untrue. B12 is not found in plants, which is why to avoid a B12 deficiency, all vegans need to supplement with B12, drink/eat B12 fortified foods, or eat nutritional yeast that has been grown on a media that contains B12.
Hi Vanessa,
Thanks for spotting this. You are completely right. I’ve updated it accordingly.