
This post may contain affiliate links. Please read our disclosure policy.
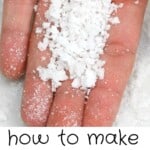

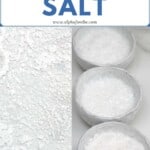

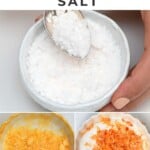


How to make flaky salt (like Maldon or Jacobsen’s flakes!) at home with just cheap kosher salt, a saucepan, and 4 methods of dehydration! Use this method to transform your salt into fancy salt flakes; plain and infused (chili salt, saffron salt, etc.)
When I said I wanted to make every single kitchen DIY possible, I wasn’t kidding. Along with mango boba, balsamic pearls, homemade butter, powdered sugar, and extra virgin coconut oil – now I am sharing how to make flaky salt at home!
These salt flakes are a great way to artificially reproduce the naturally occurring process that creates “fleur de sel” type salt flakes. Fleur de sel is a salt that forms a very thin and delicate crust over the surface layer of seawater as it evaporates. Likewise, this flaky salt DIY takes advantage of the process of evaporation for both plain and infused salt you can make at home.
All you need to do for this process is dissolve the salt in water, then slowly dehydrate the water to recrystallize the salt with one of four methods: air drying, dehydrator, oven, or stove-top!
Want to save this recipe?
The flaky salt ingredients
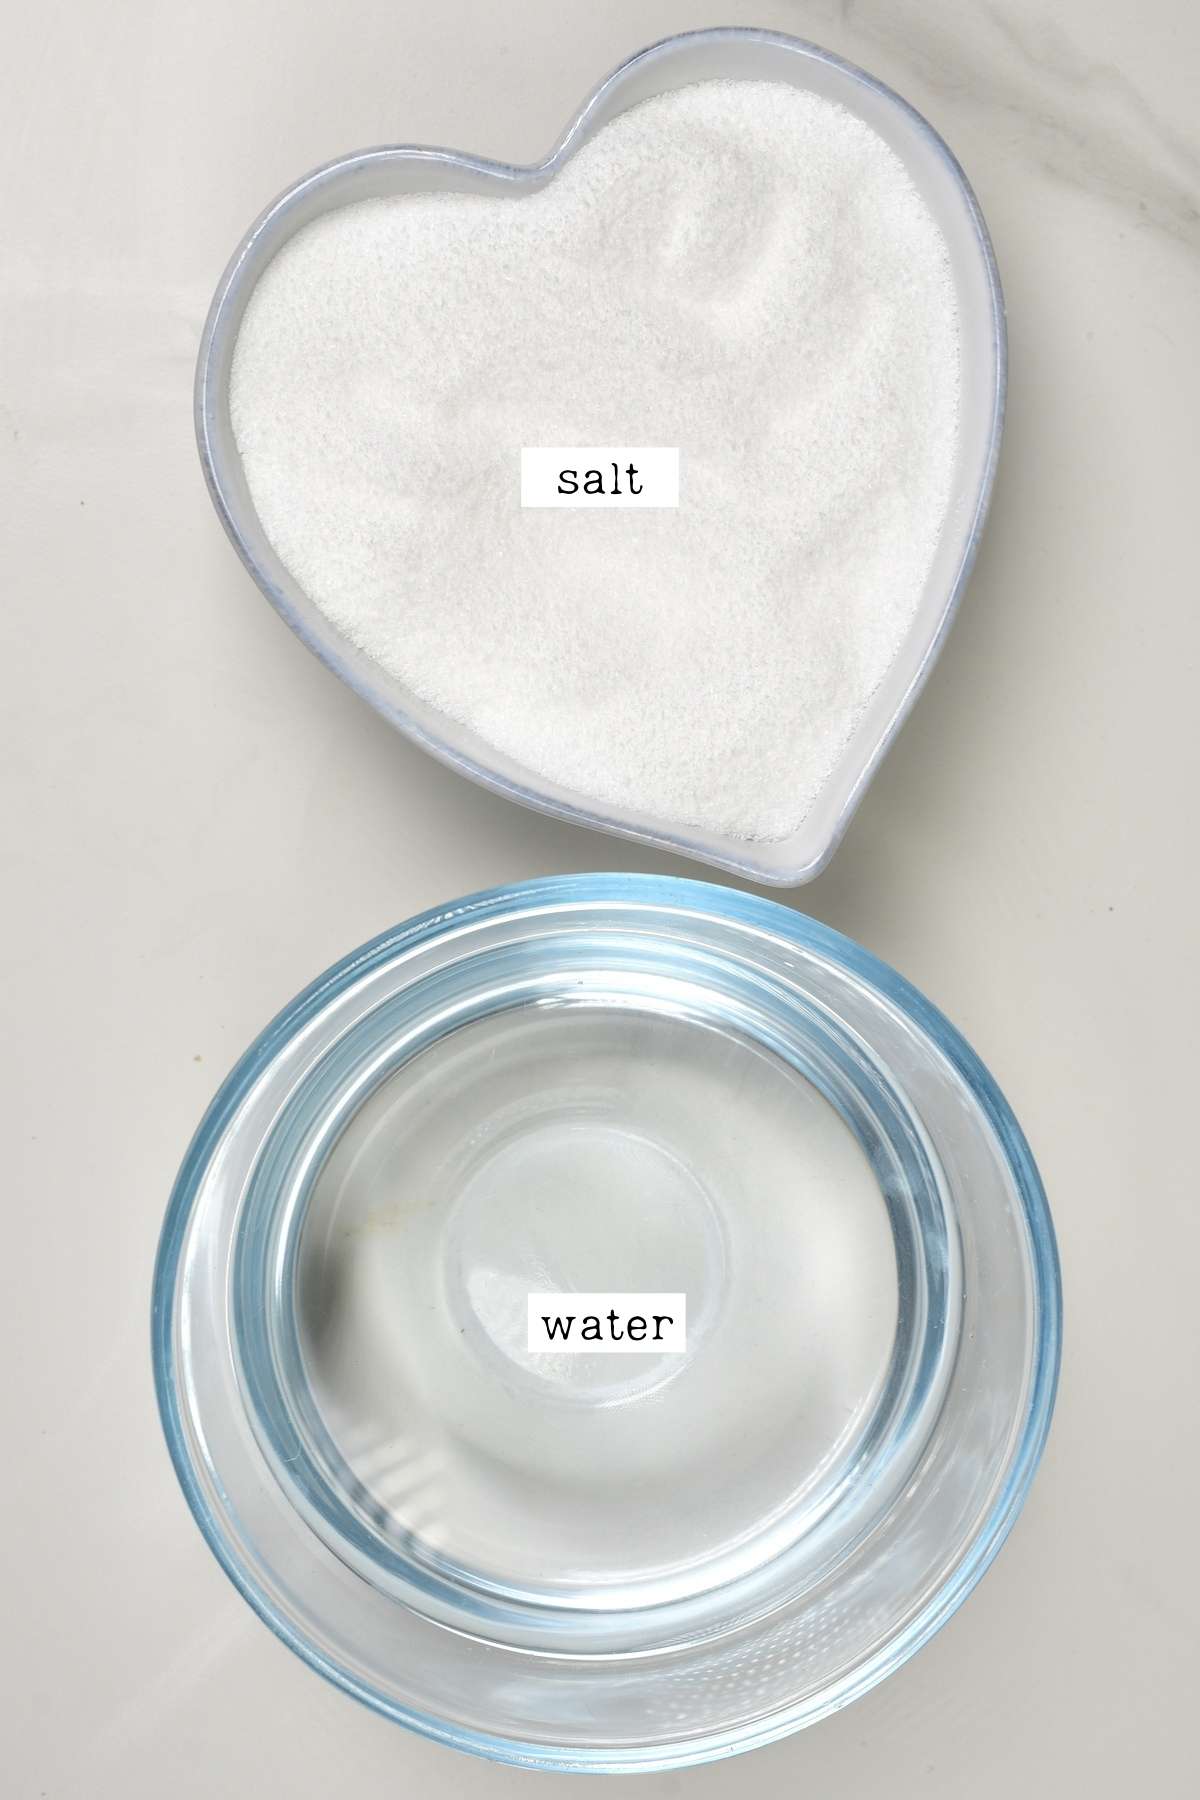
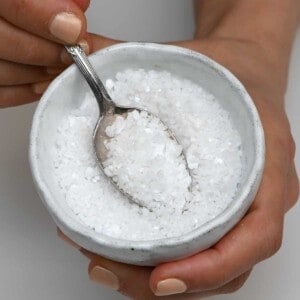
- Salt: I like to use kosher salt for this process, though I’ve also tested it with sea salt and pink rock salt with equally great results. However, the pink salt became almost white by the end of the process, so it may not be worth it if you’re after the color. It will also take a LOT longer to dissolve.
- Water: it’s best to use distilled (or at least filtered) water. If you use tap water, then you can get a powdery calcium build-up over the salt flakes. Check the FAQs for notes on how to distill water.
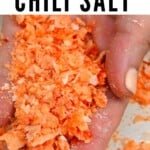
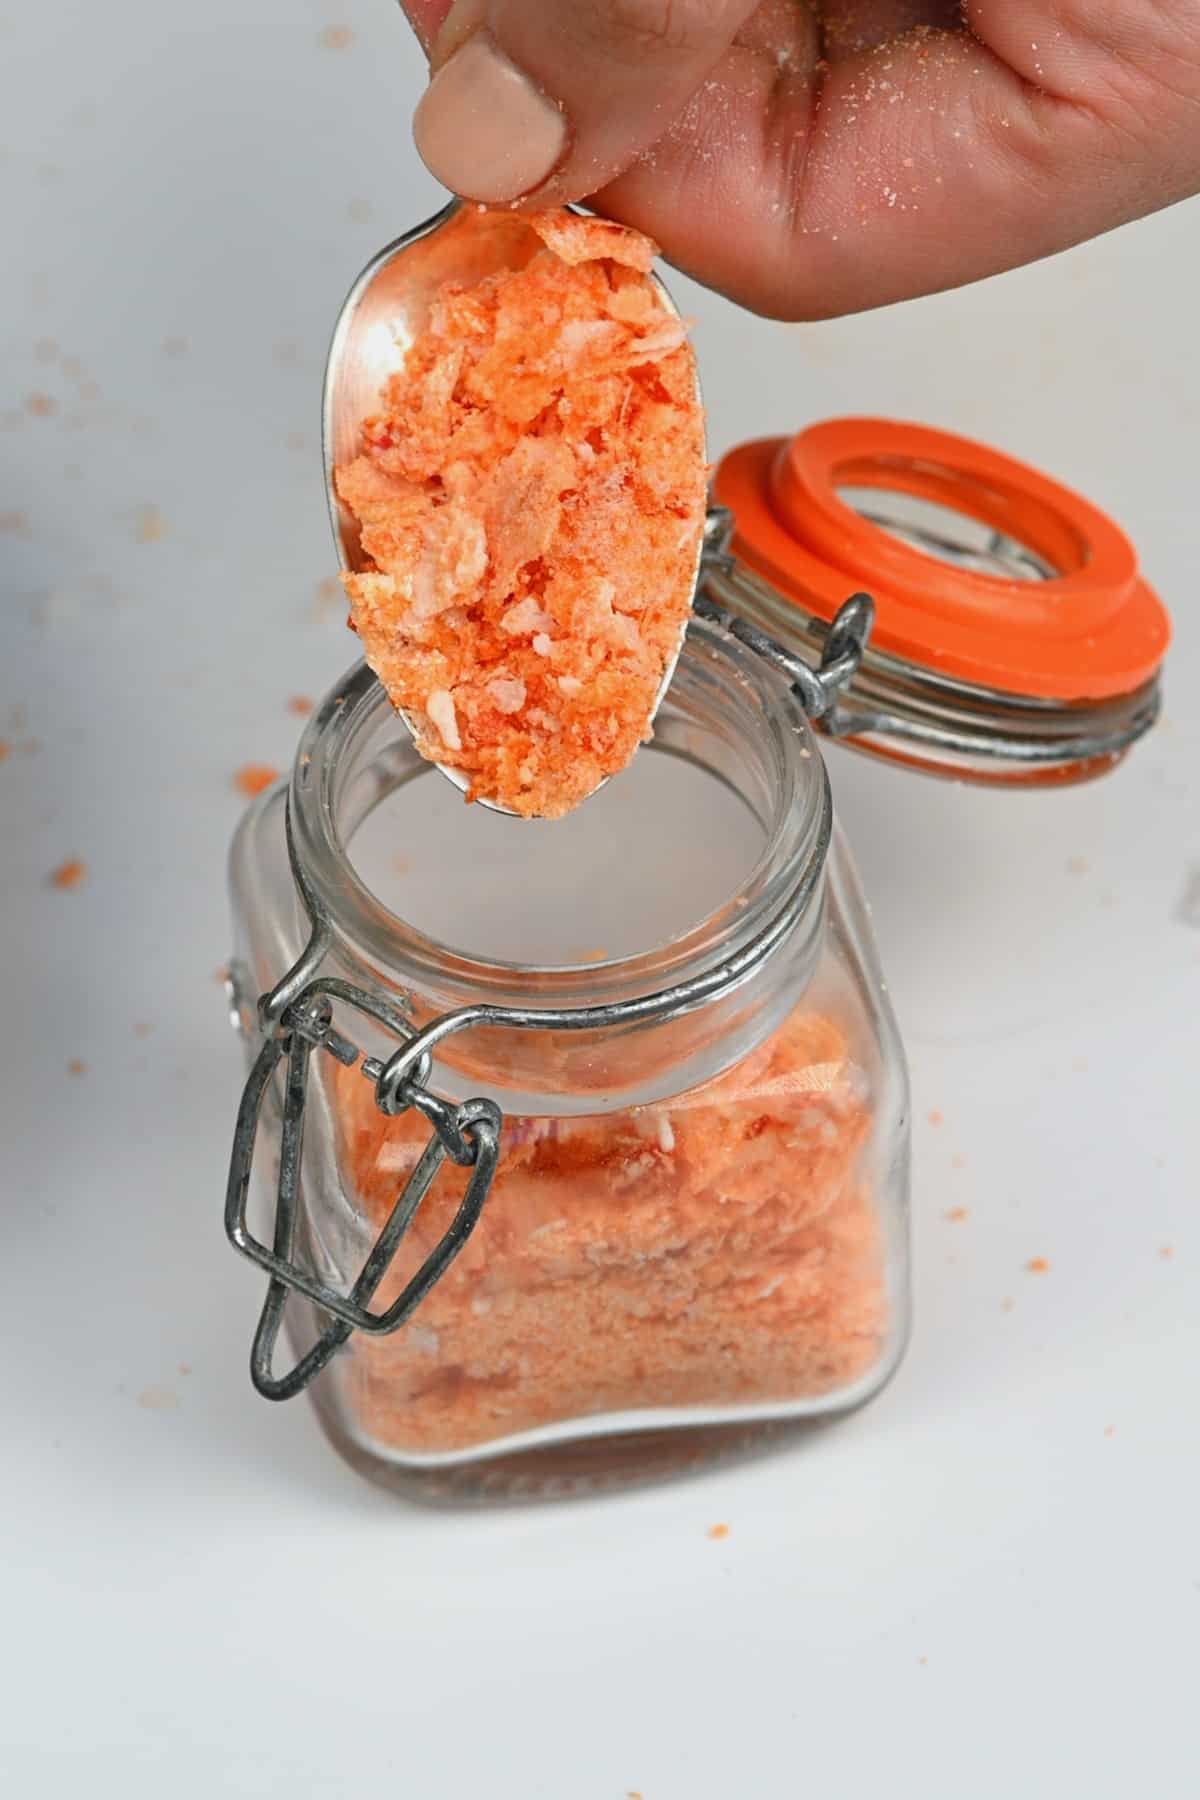
- Optional flavorings/colorants: To make the homemade flavored salt, I used saffron and chili flakes. You could also use espresso (swap out some water for an espresso shot instead) and food-grade essential oils (for flavor).
What else do you need?
- Large saucepan: to dissolve the salt in water.
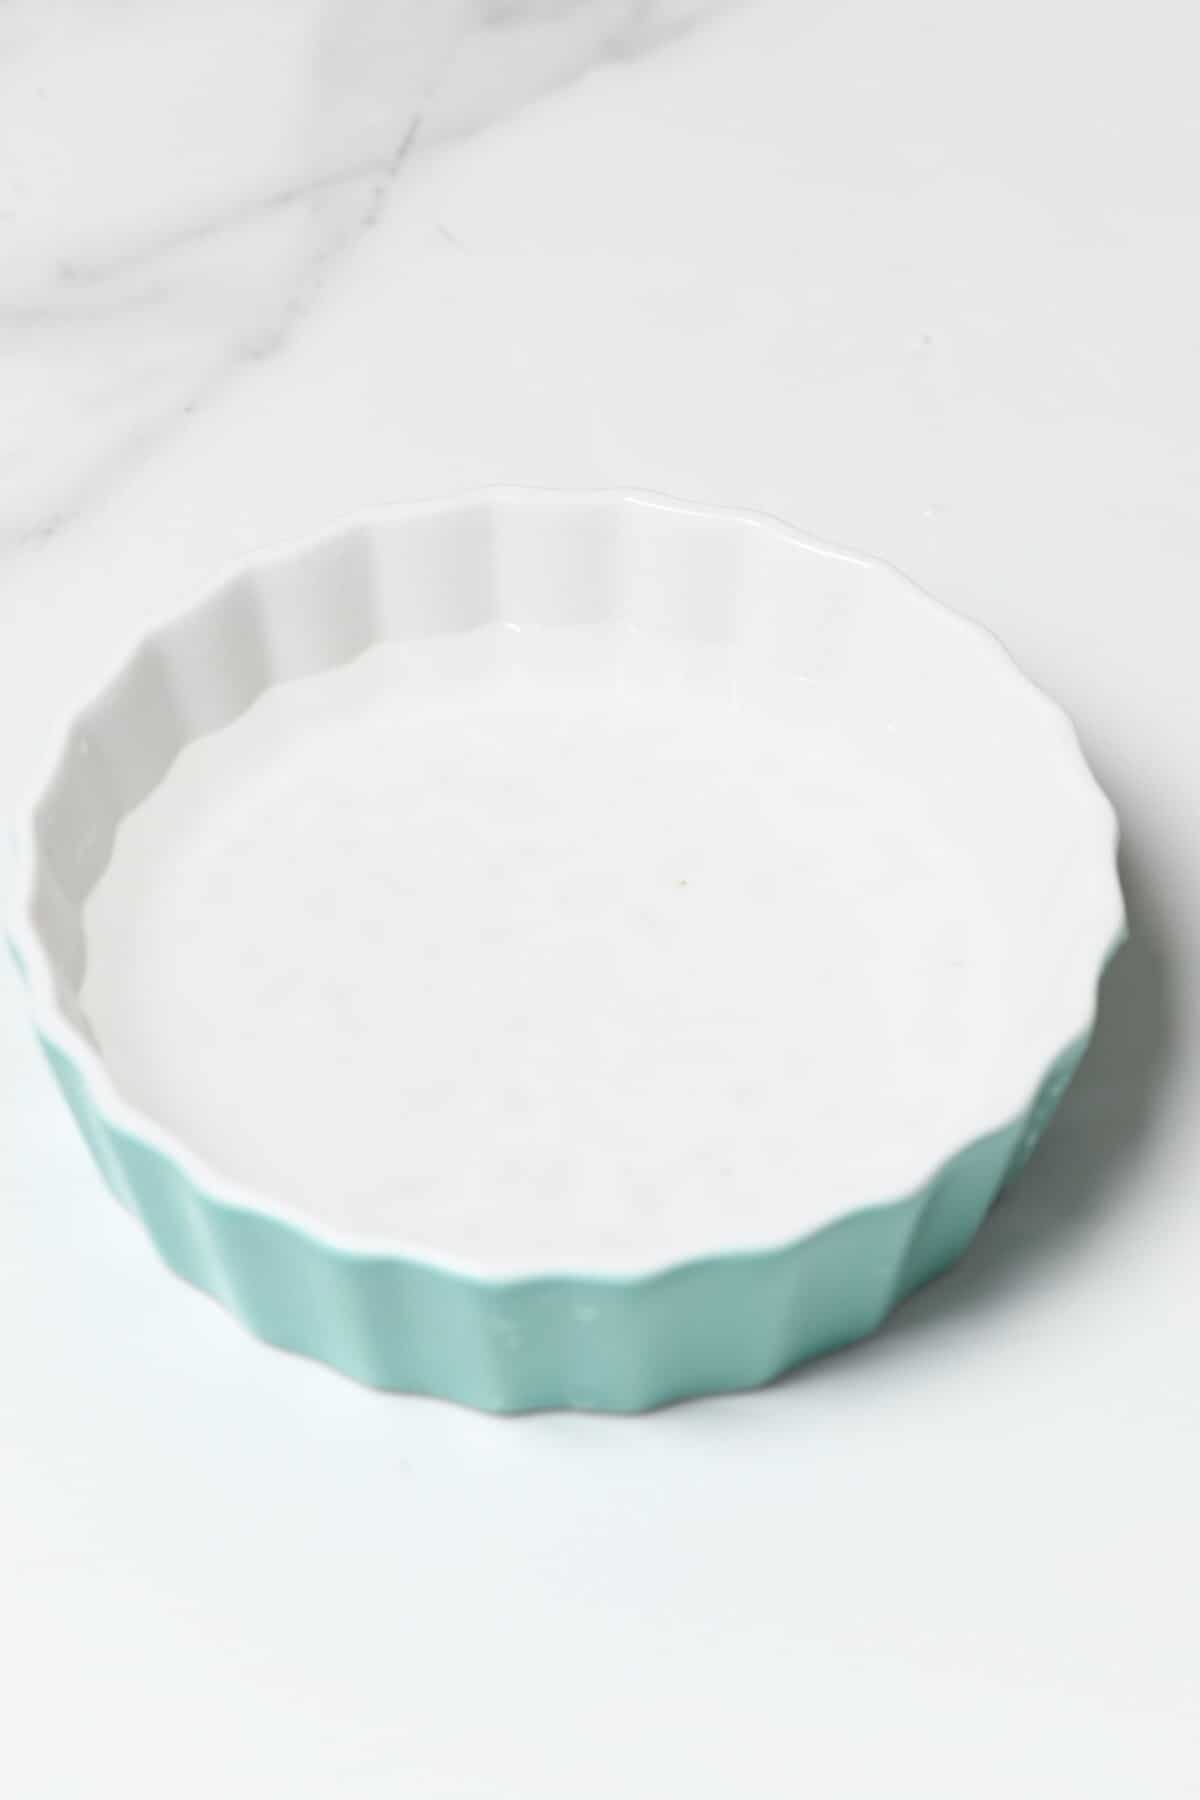
- Shallow wide dish: for the evaporation/drying process. A very wide dish will help the water to evaporate faster. Glass or ceramic is recommended (not metal).
How to make flaky salt
The process of making salt flakes is a lot simpler than you’d think and relies on a simple formula:
1:4 salt to water ratio (i.e., 1 cup salt to 4 cups water)
Step 1: Dissolve the salt
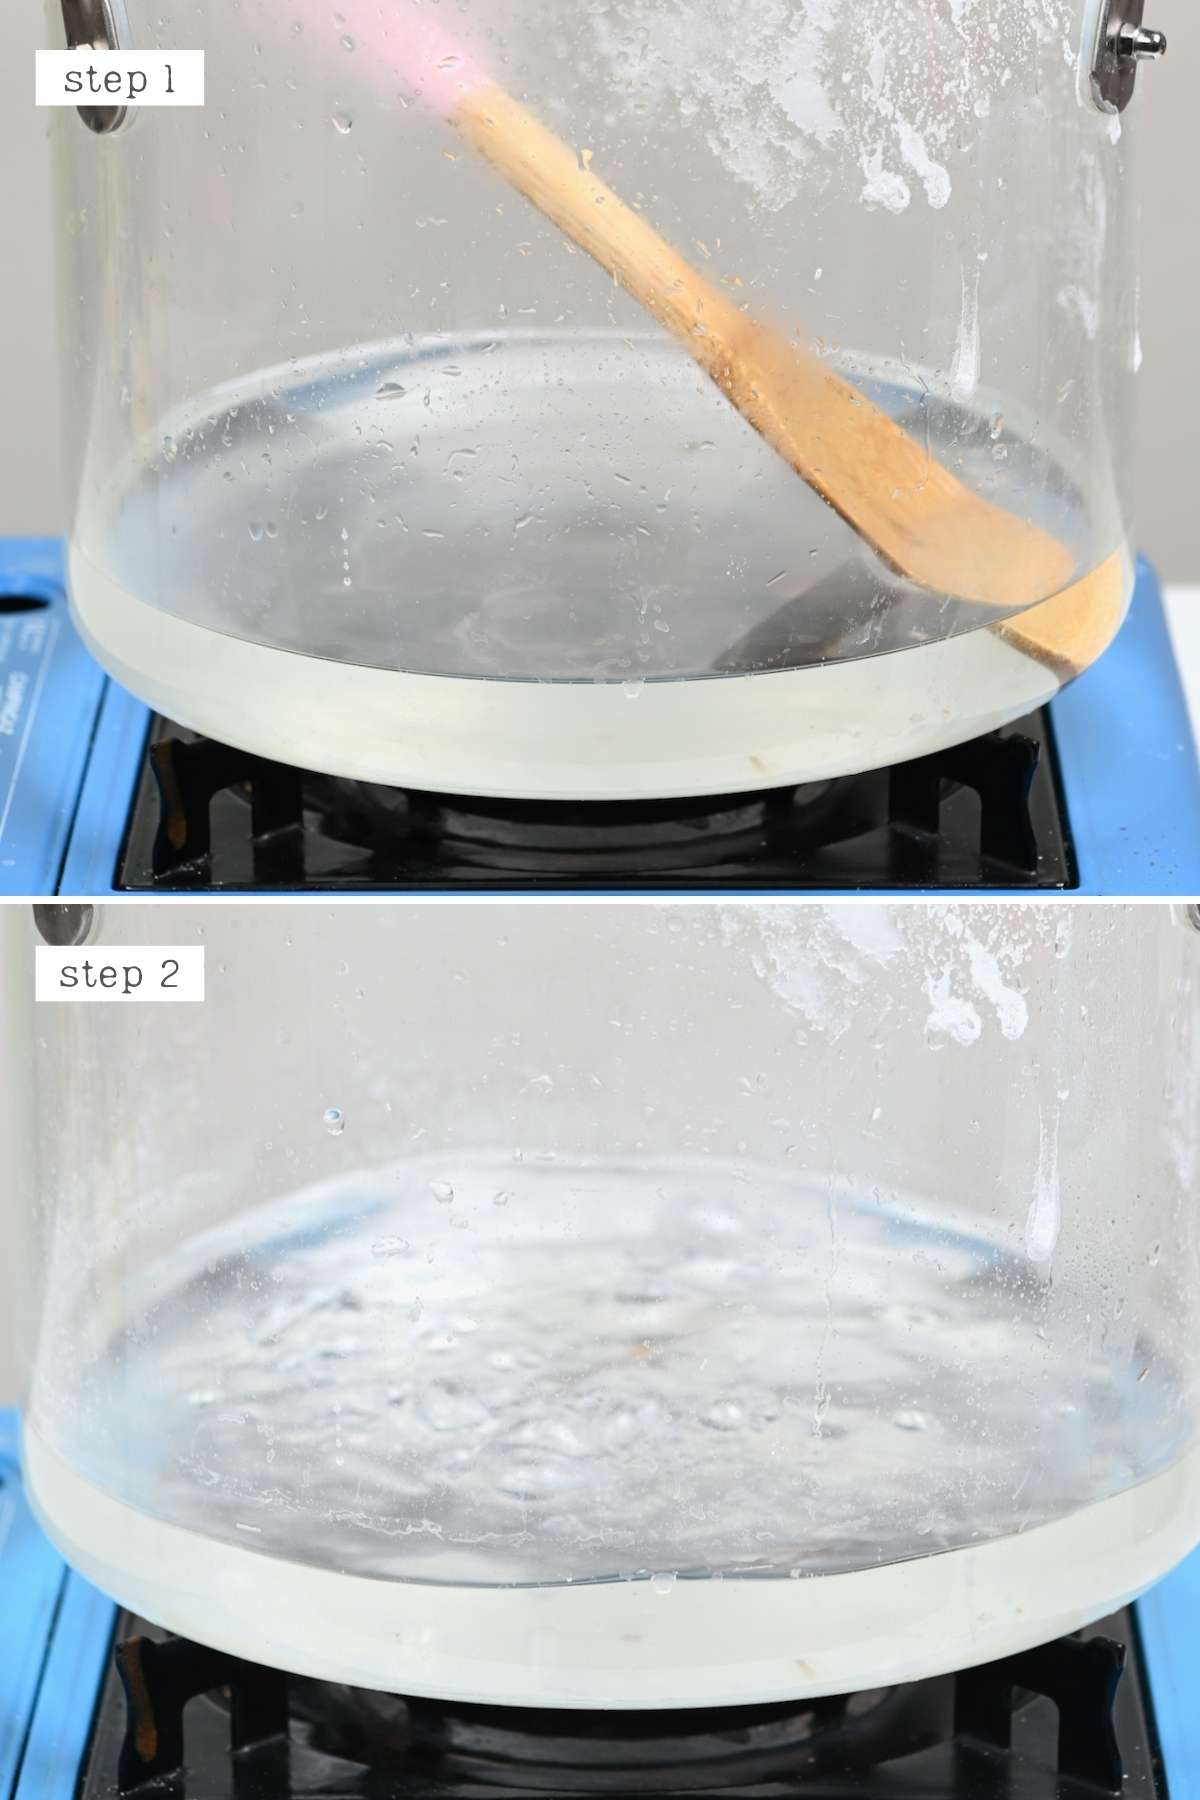
First, combine the salt and water in a large pot and heat over medium-low heat.
Bring the mixture to a soft boil, often stirring until all the salt dissolves and the water is clear again.
You may need to add a little extra water to the pot if the salt doesn’t dissolve fully – but be aware that you need to fill a container/tray with this water, so don’t add too much.
Be aware that if you use pink rock salt, then it will take much longer to evaporate. Don’t add any extra water, to begin with – just allow them to simmer for longer. Then, if the last of the rocks won’t completely dissolve, a little extra water can help.
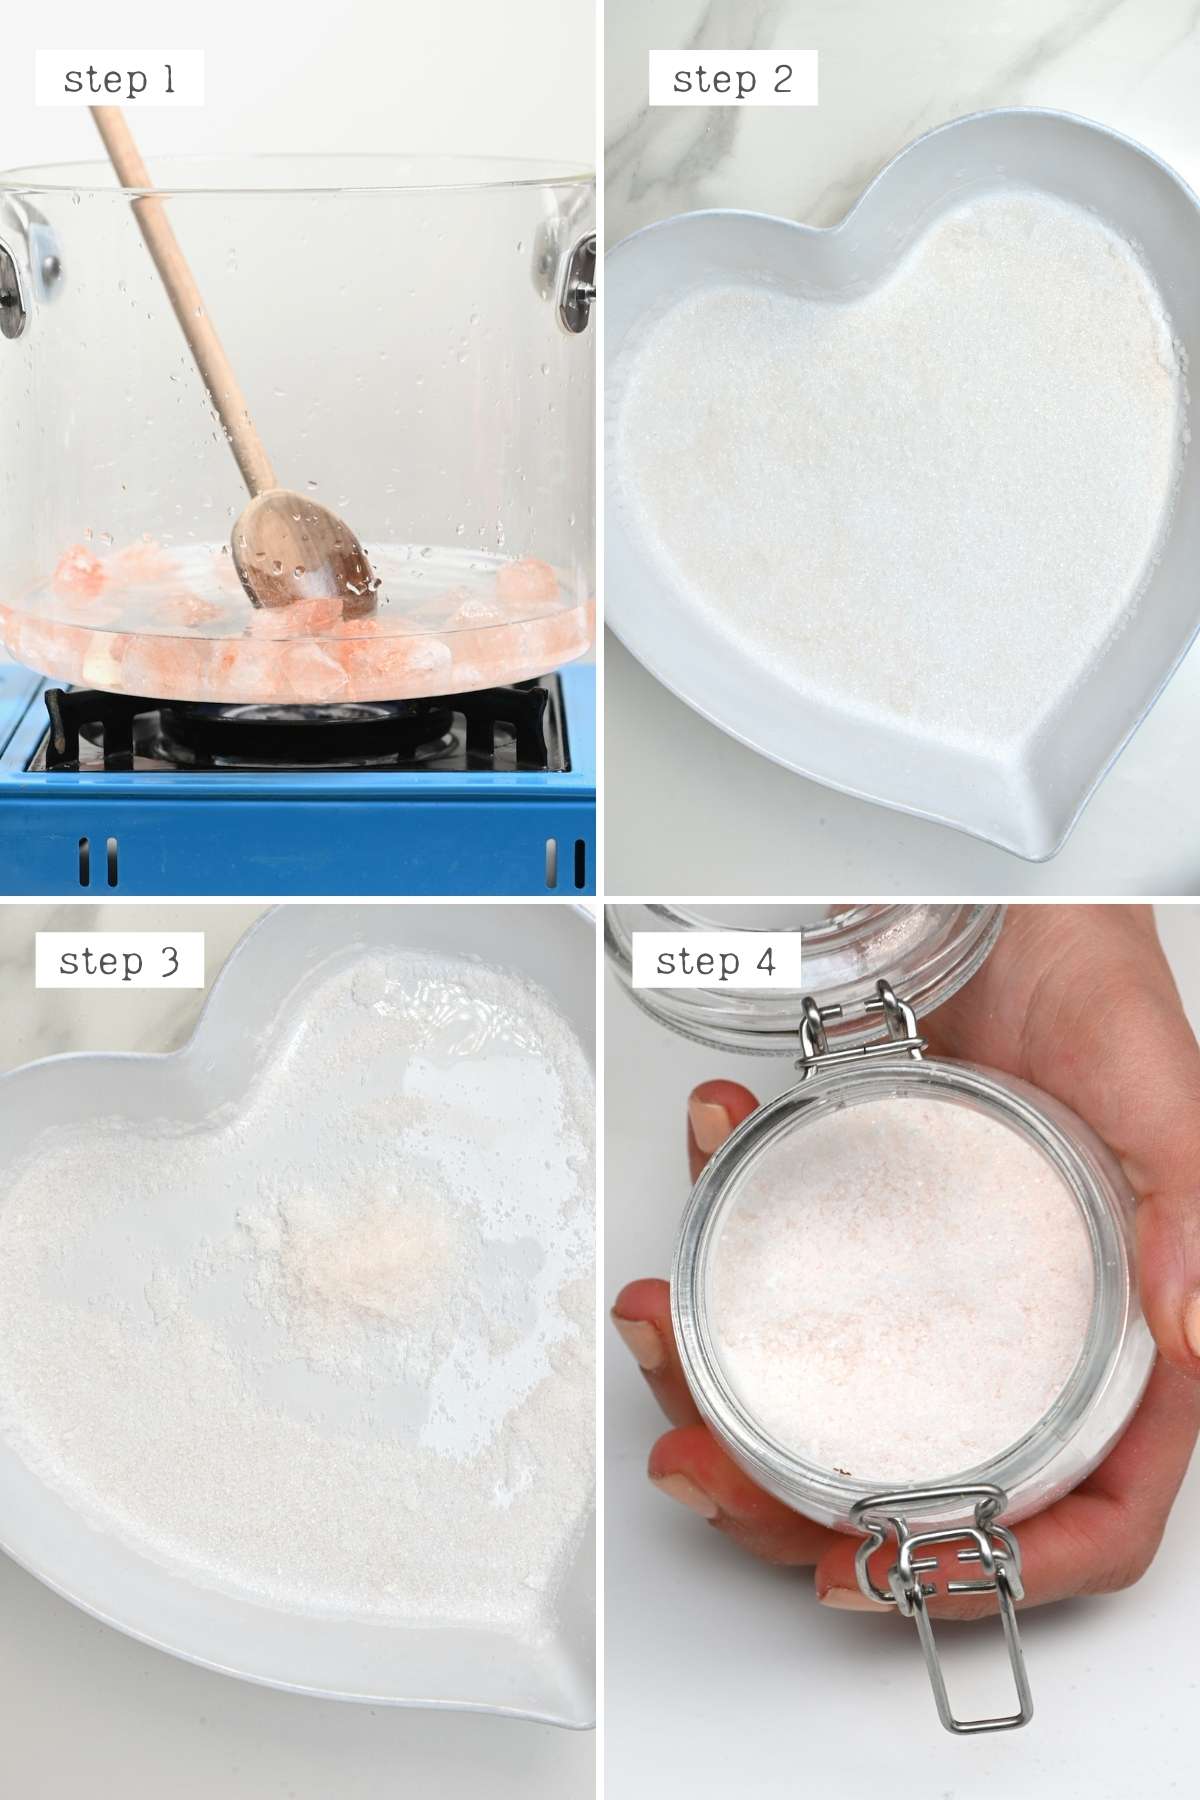
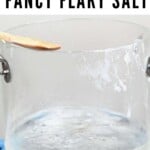
Step 2: Transfer the saltwater to a wide dish
Once the salt is fully dissolved, and the water is clear again, it’s time to transfer it to another dish. Use a large, wide, shallow dish for the best results, like a large baking dish. Alternatively, you can use multiple dishes.
Avoid using metal containers that can corrode with long exposures to water. I recommend using either glass or ceramic.
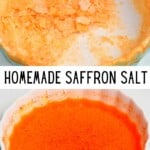
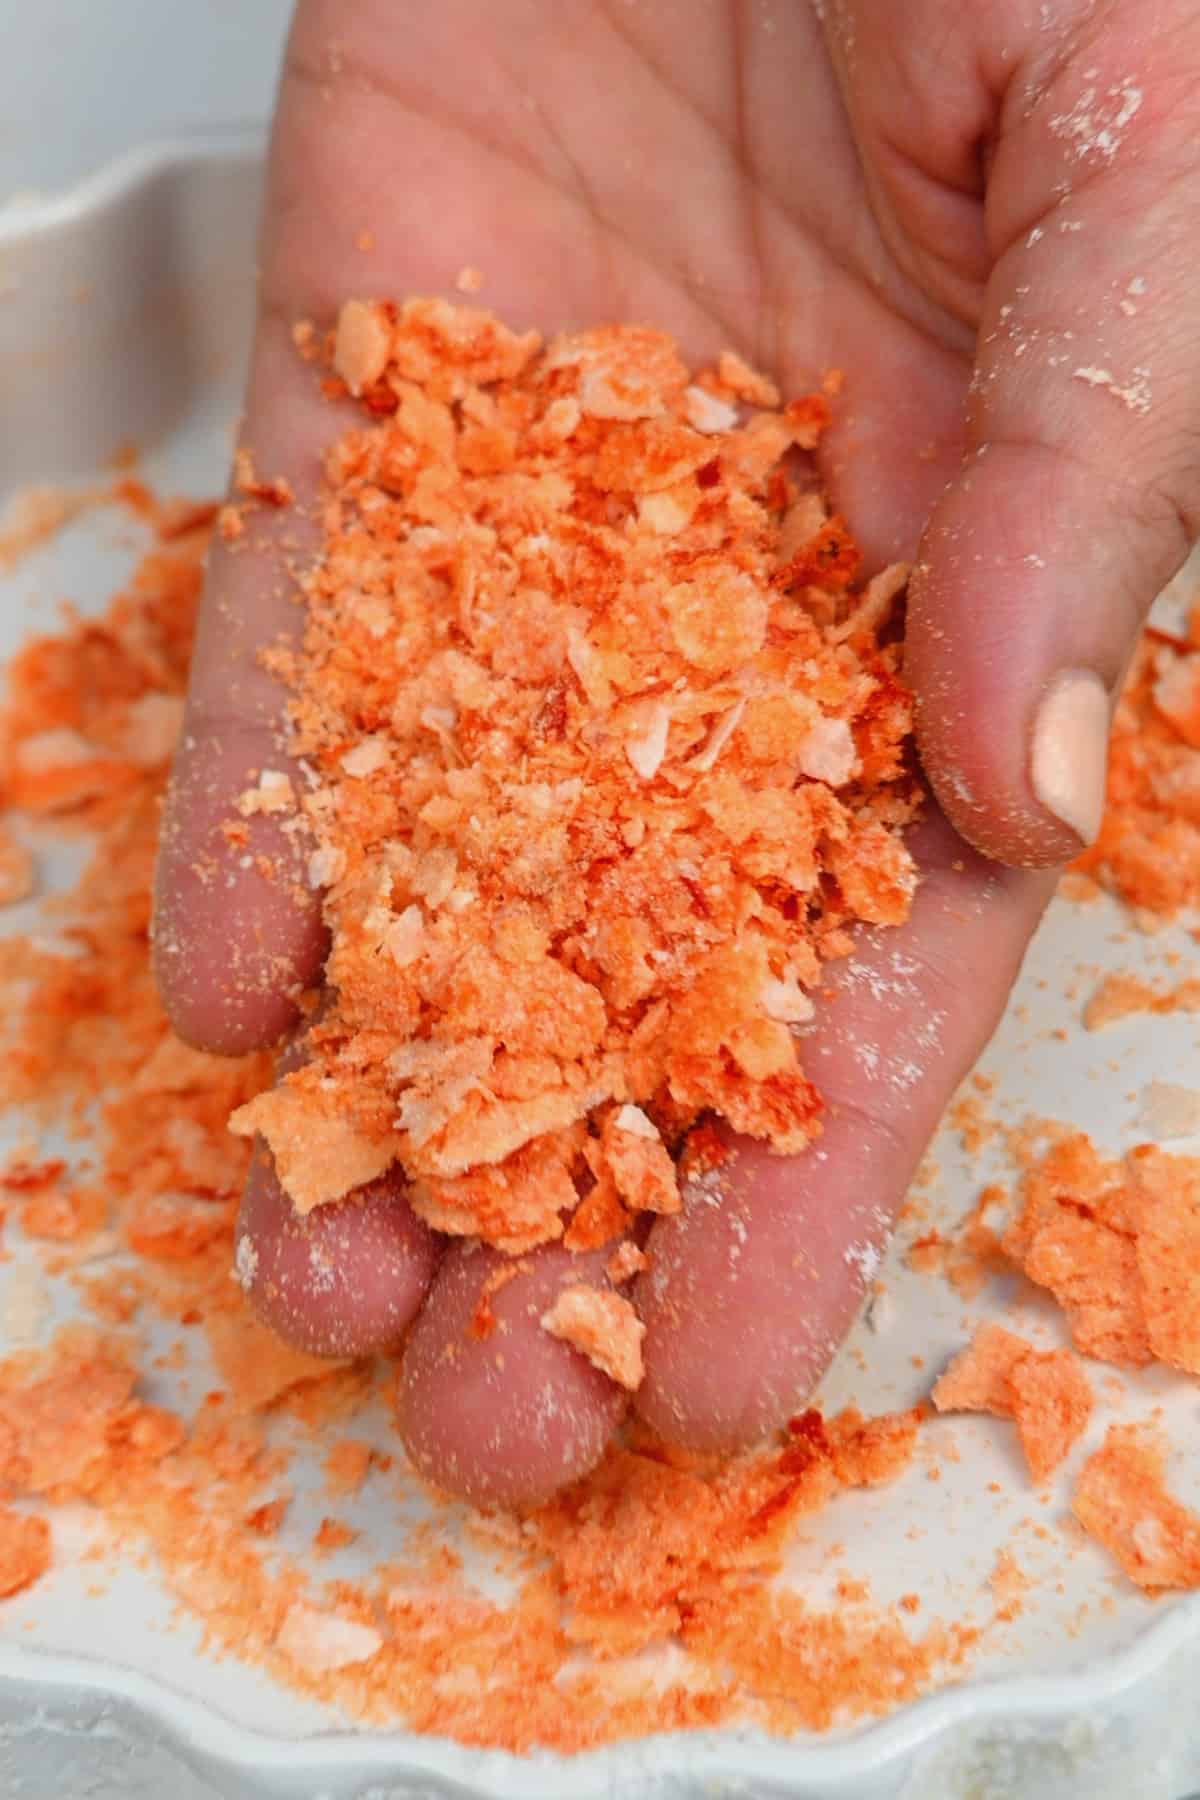
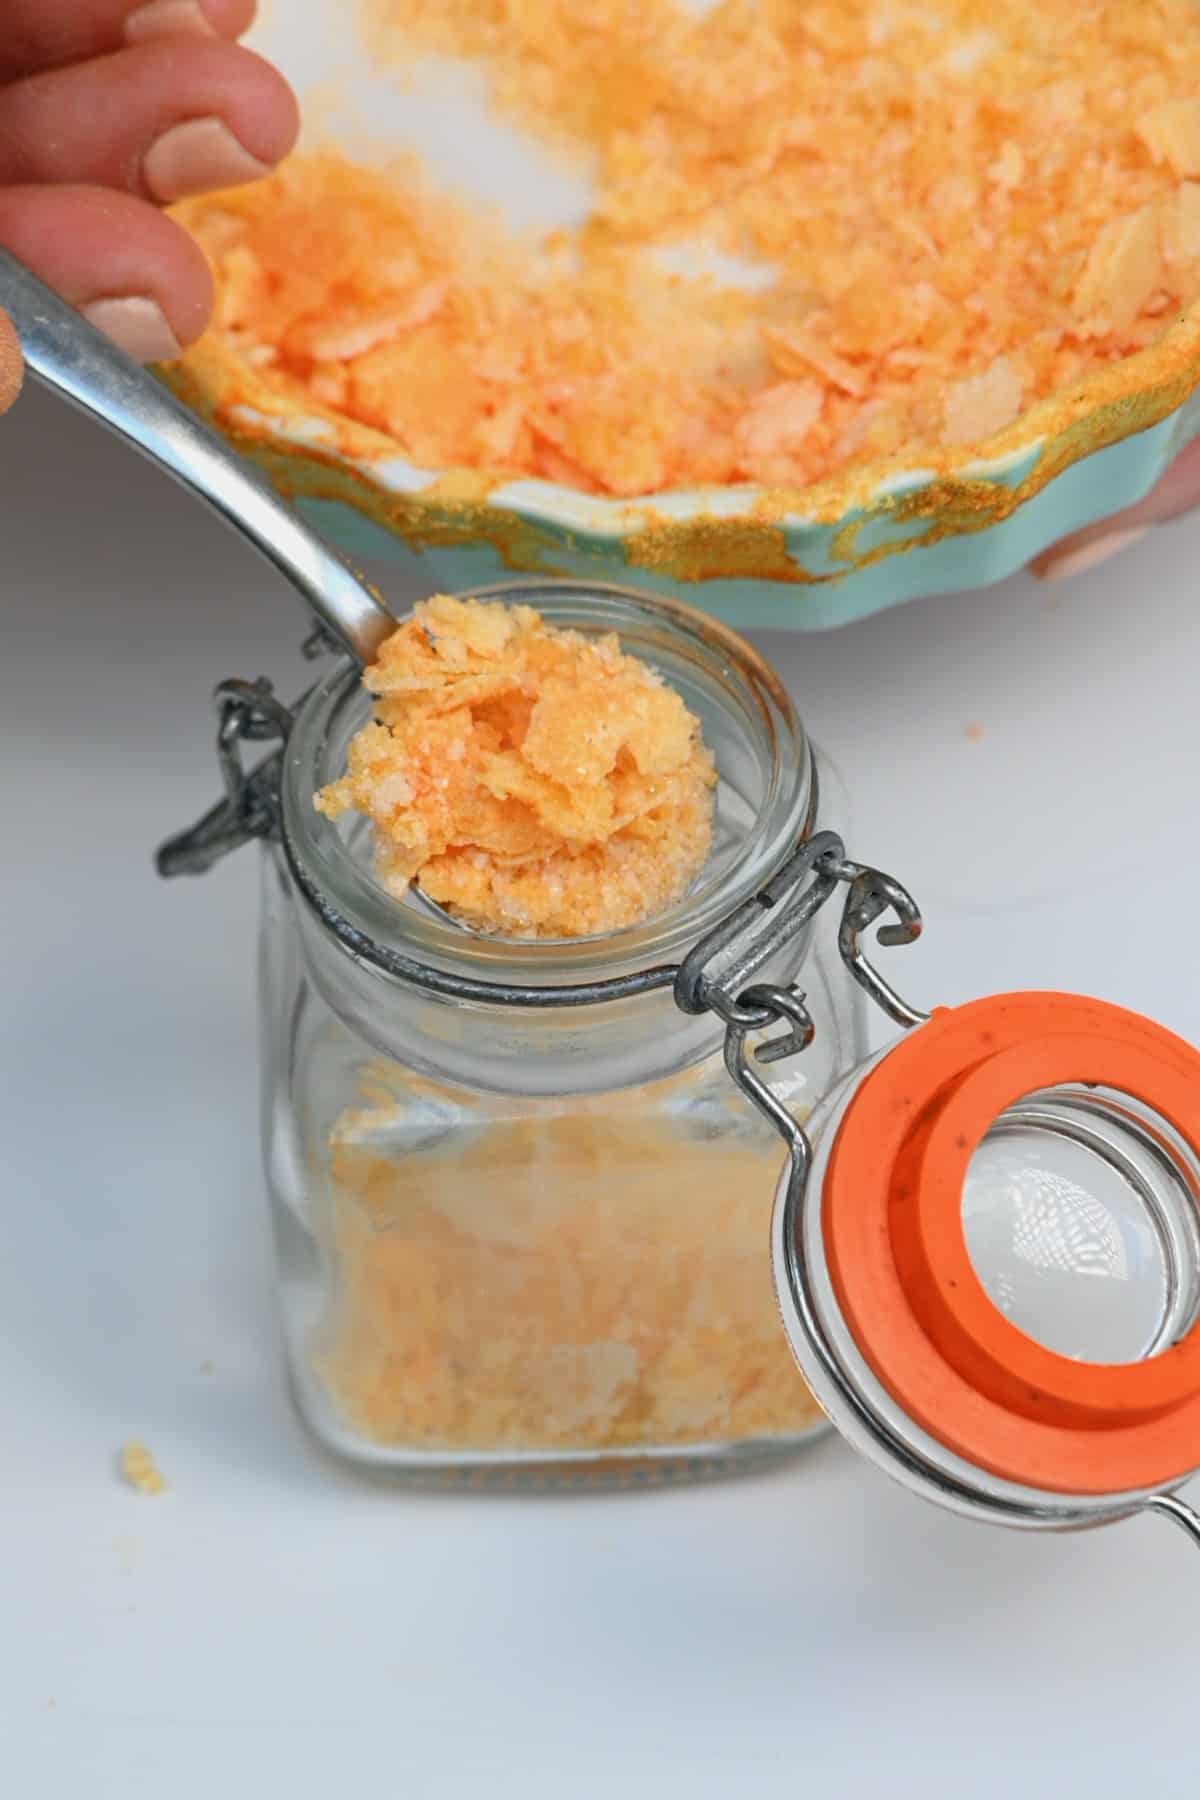
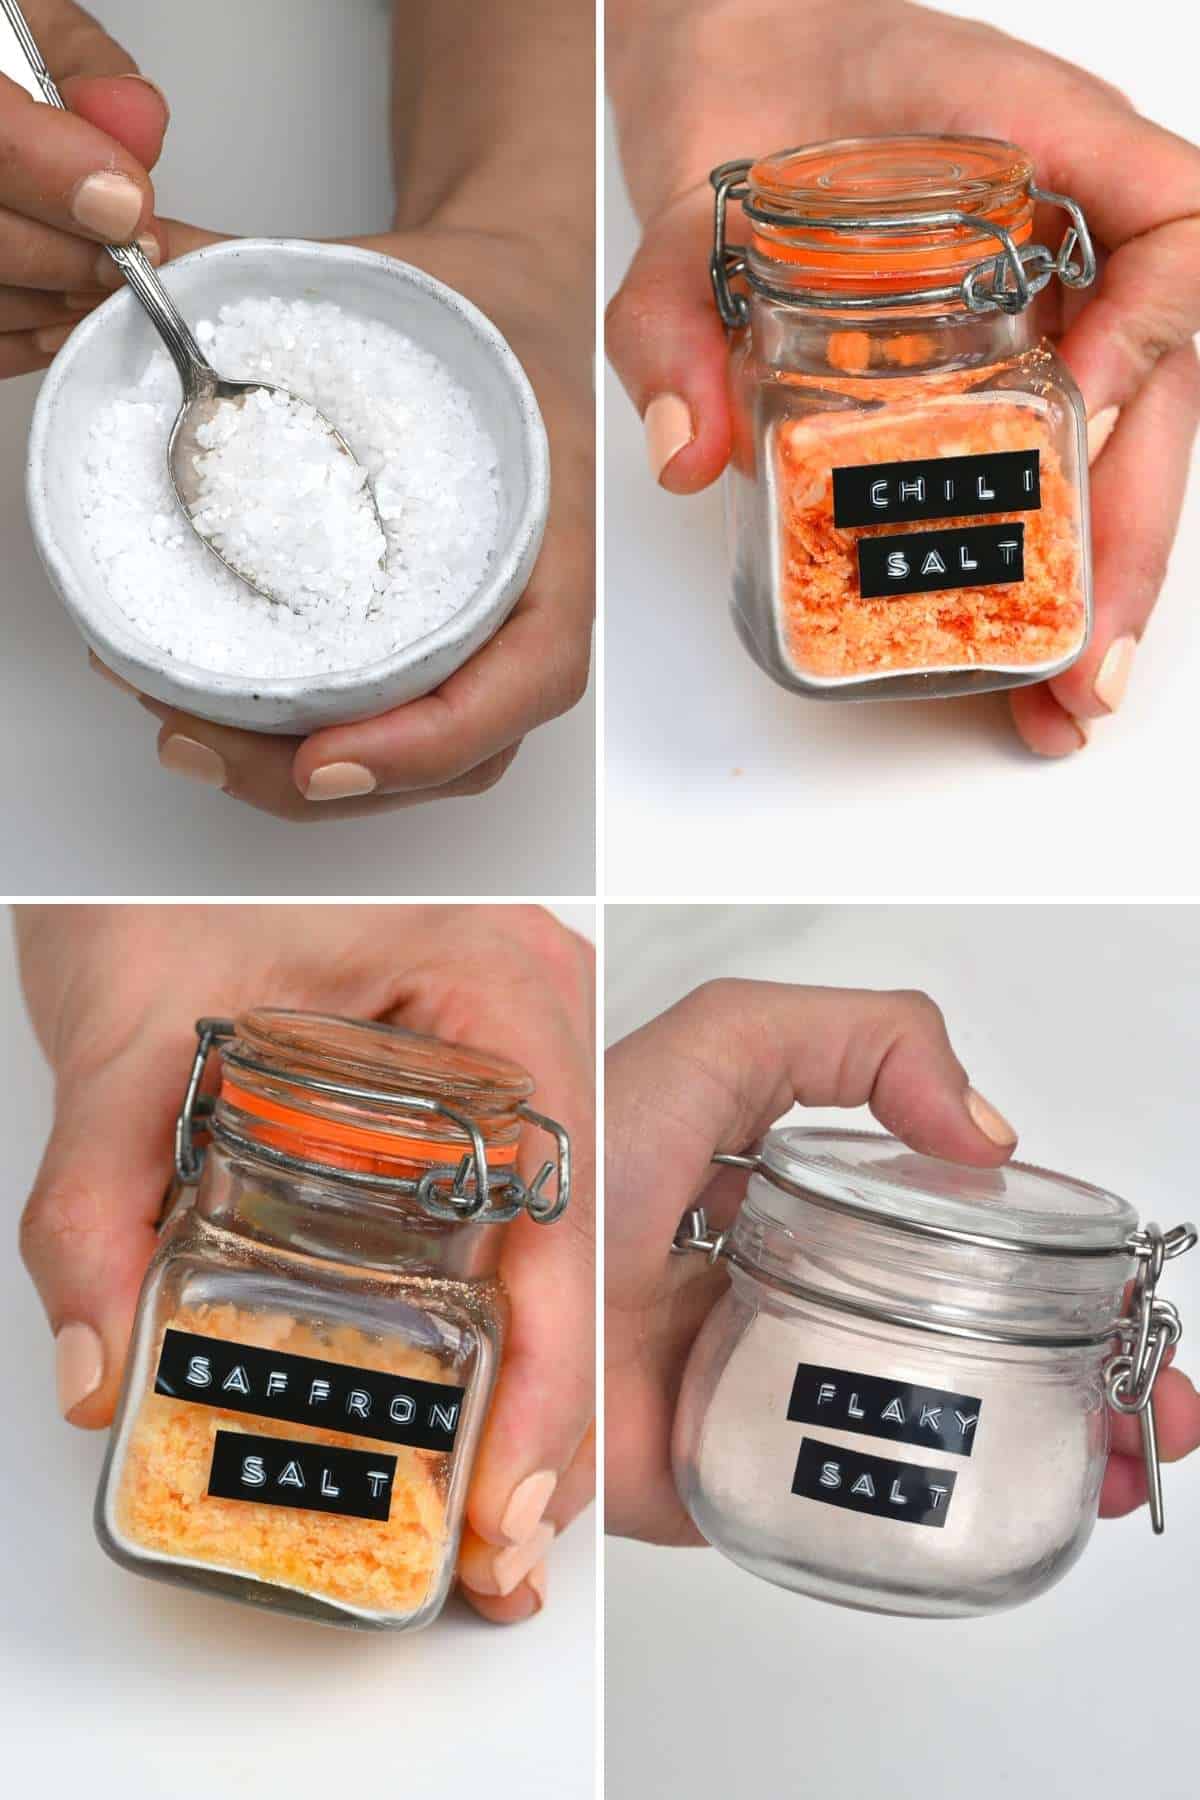
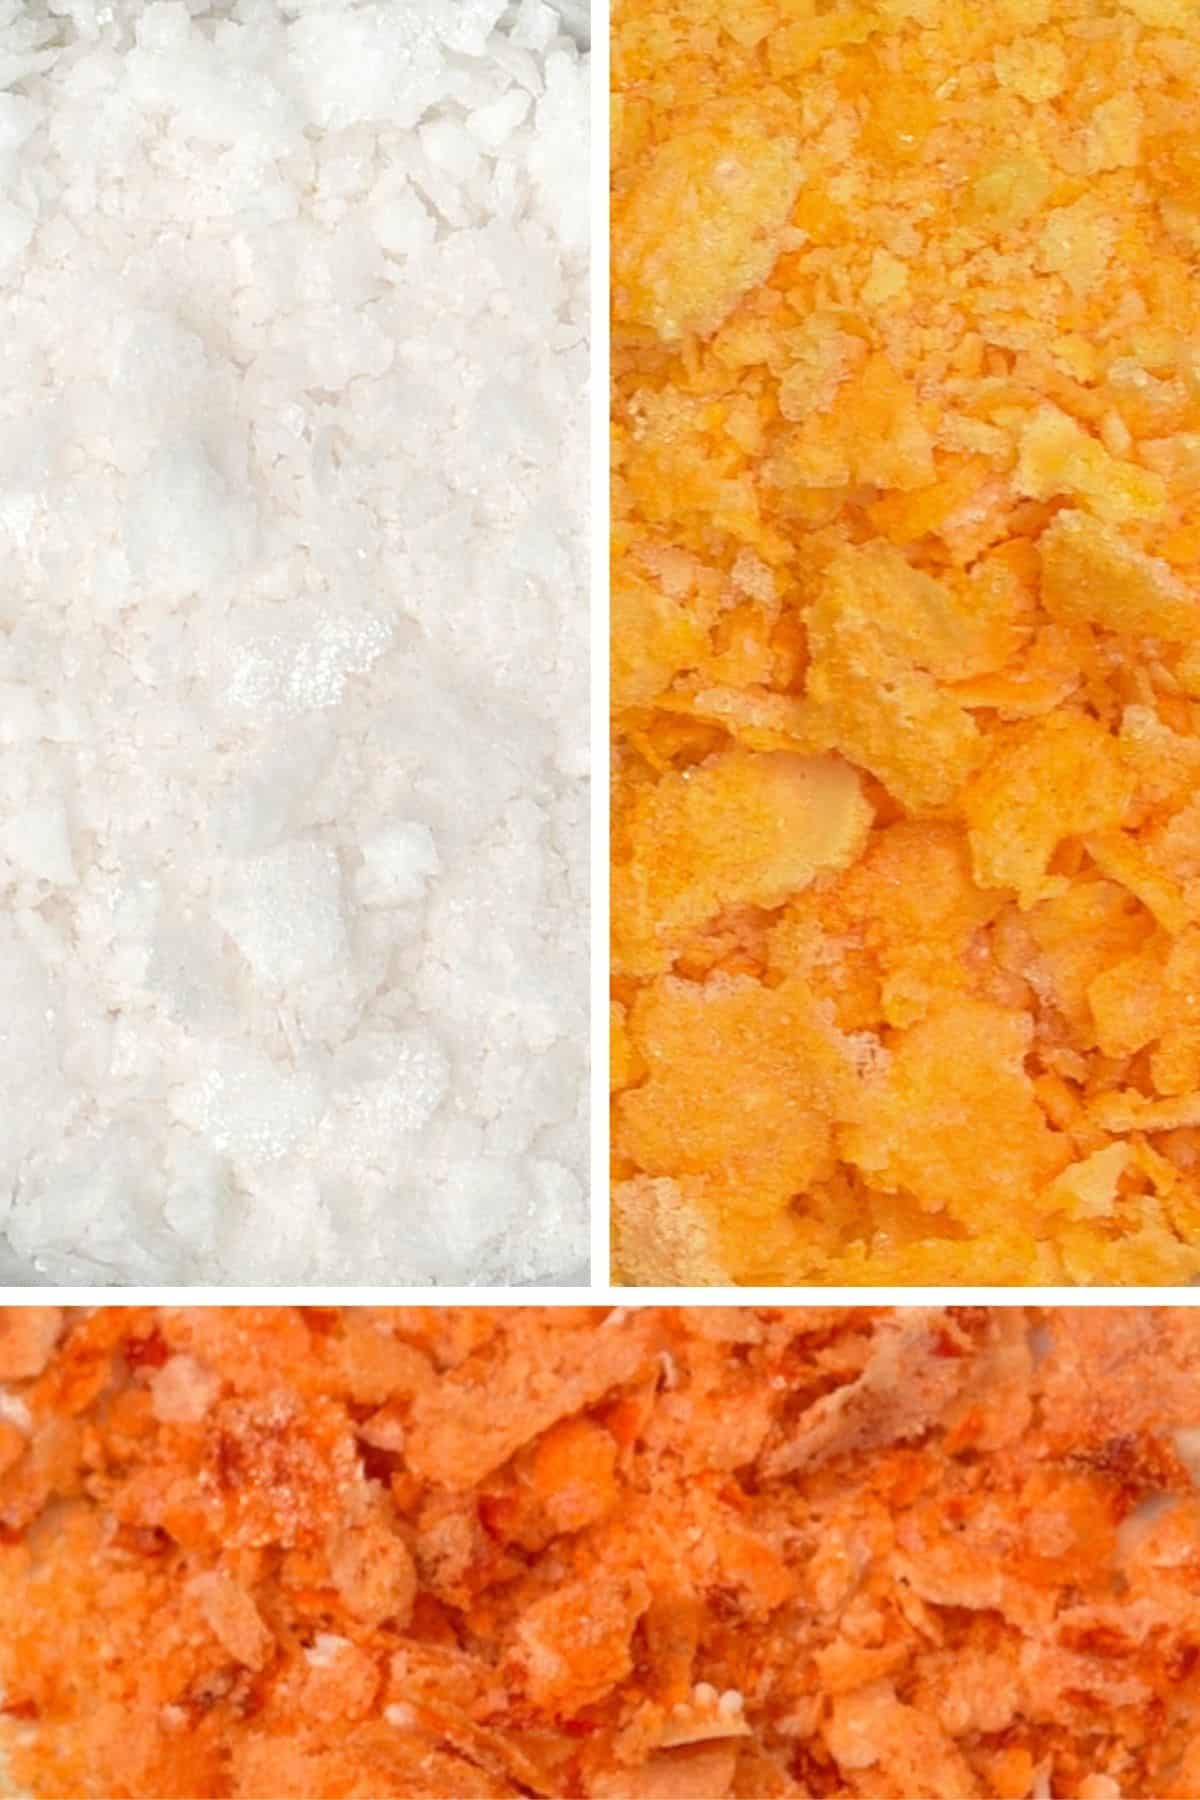
If you want to make colored/flavored salts, then now is the time to do so. I made three options using turmeric powder (very light-yellow results), saffron (light orange/yellow results), and chili flakes (dark orange).
For the saffron version, I first crushed the saffron into smaller pieces before adding it to the water.
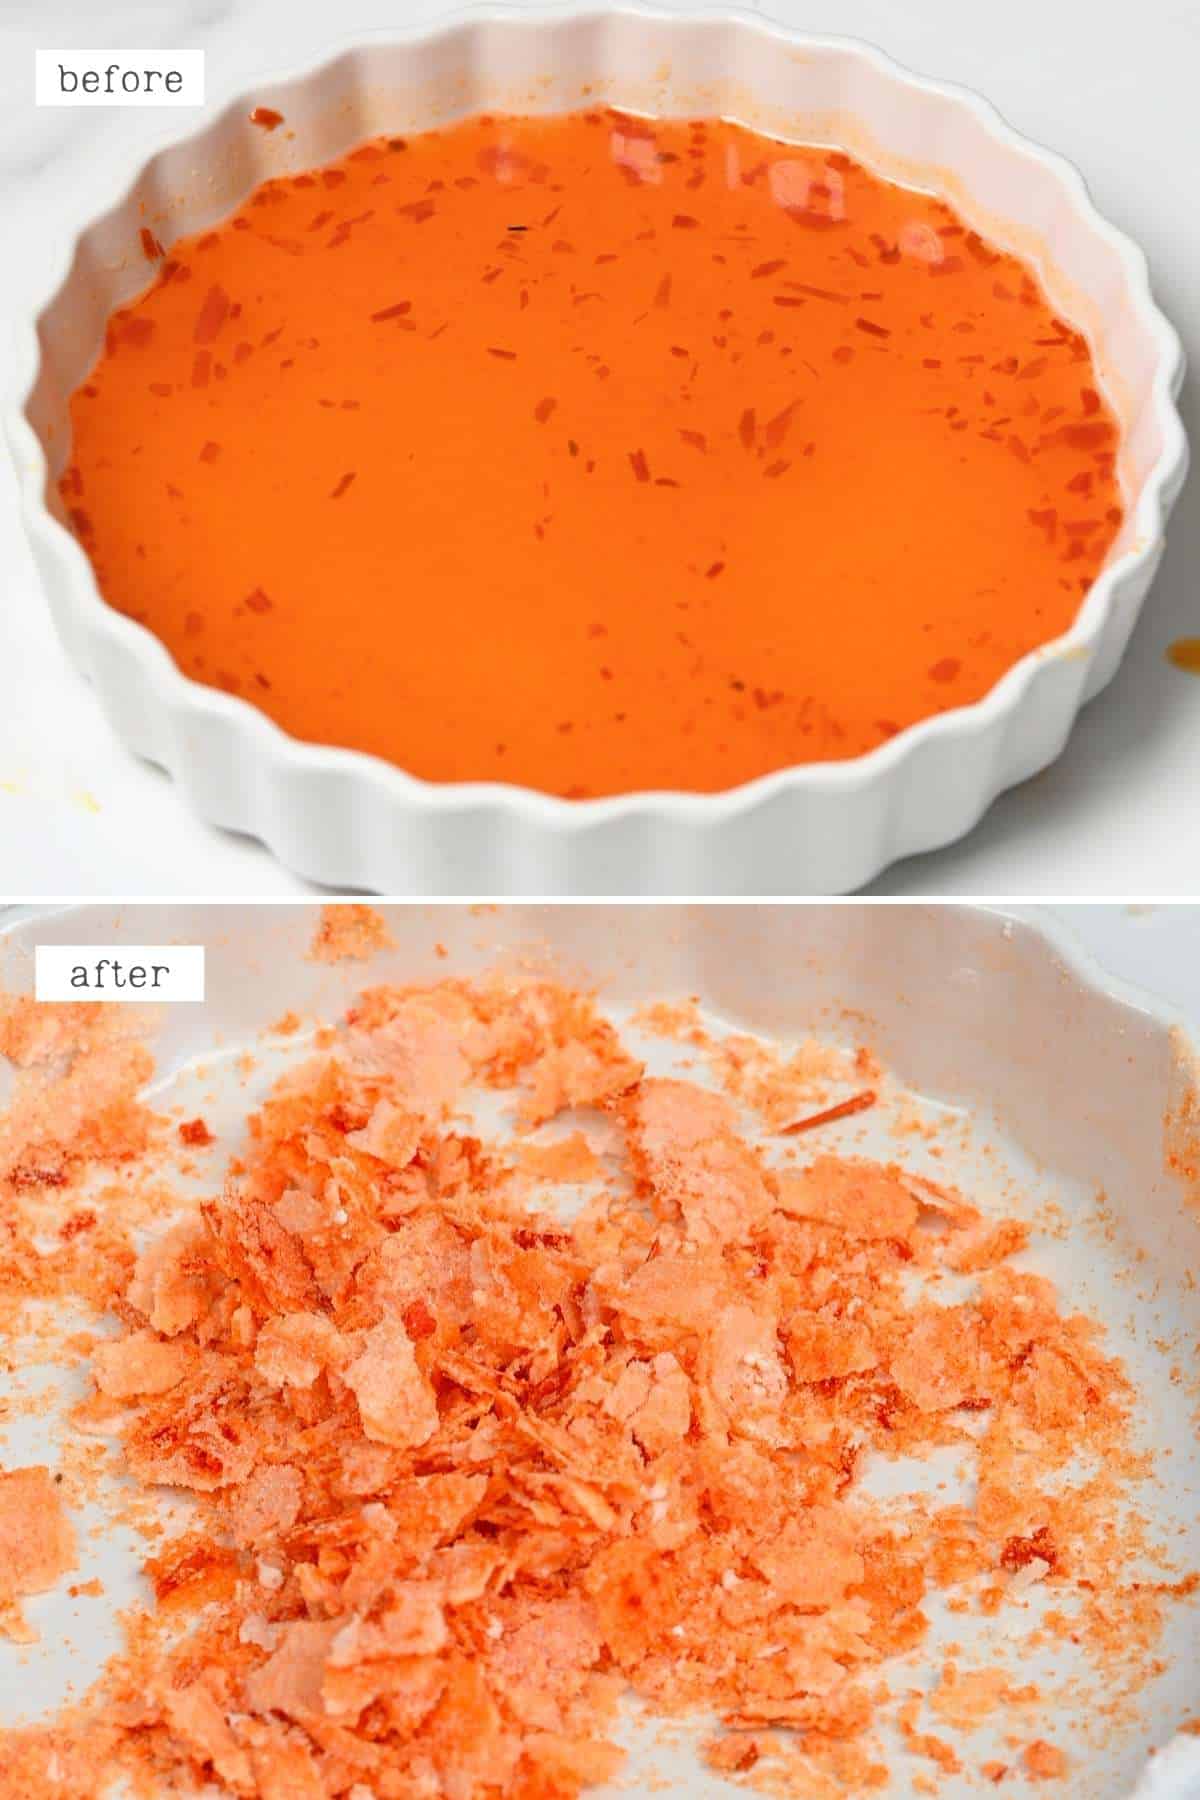
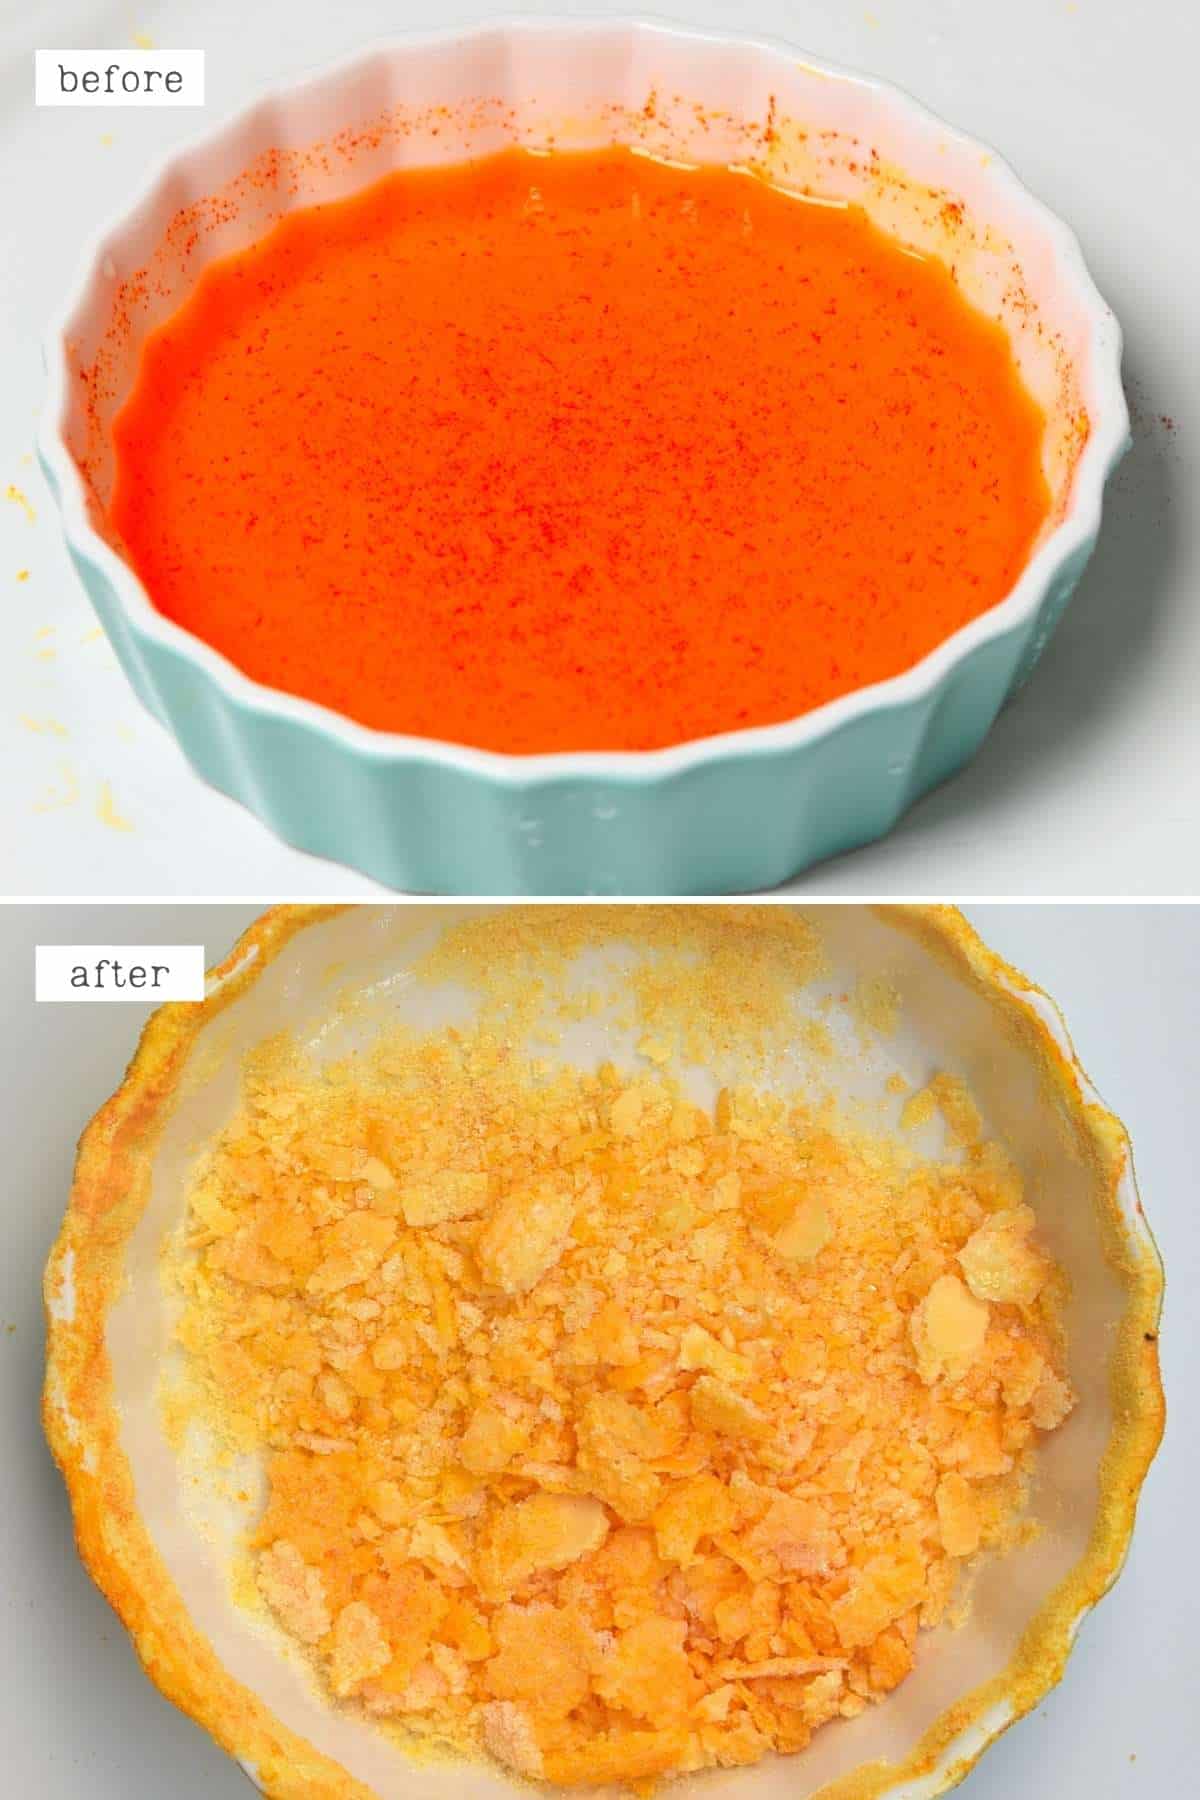
Step 3: Leave the mixture to evaporate
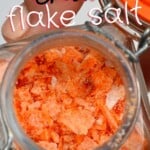
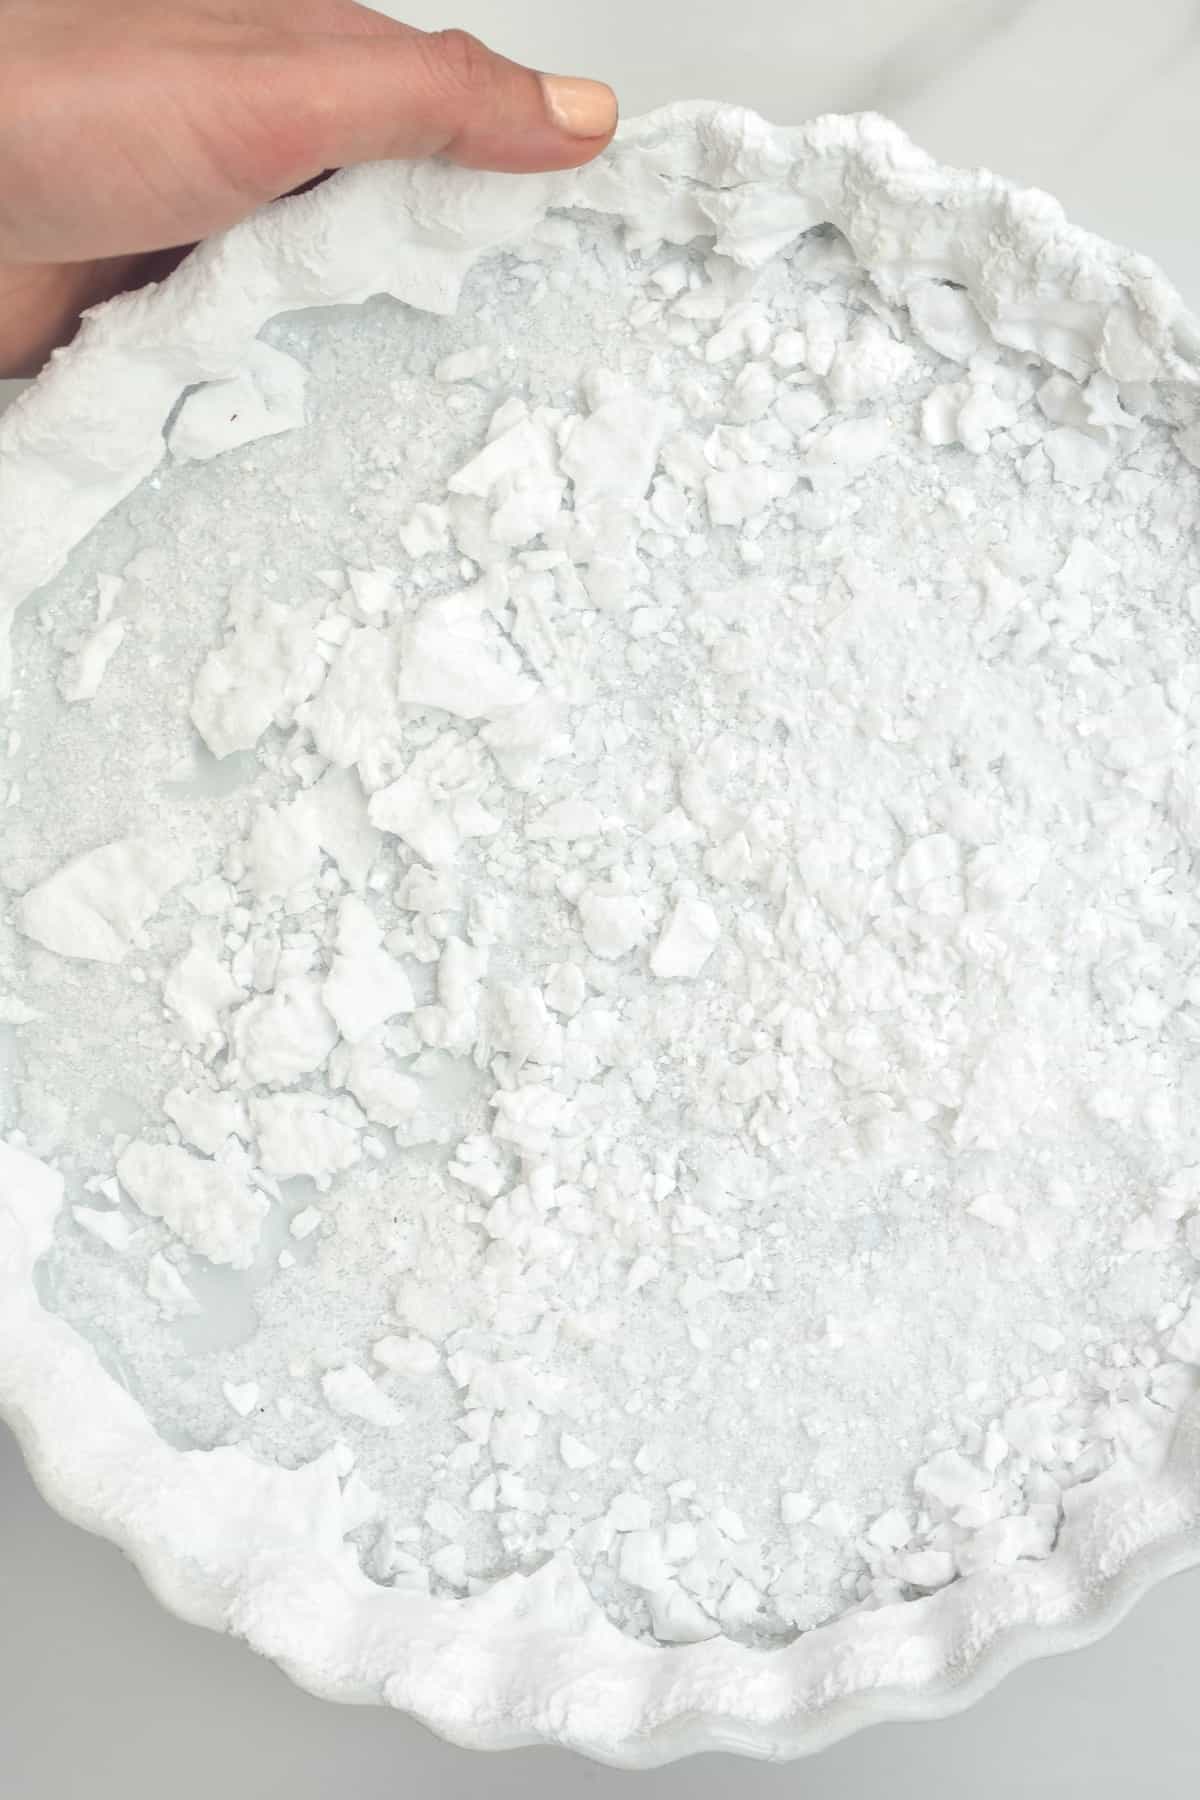
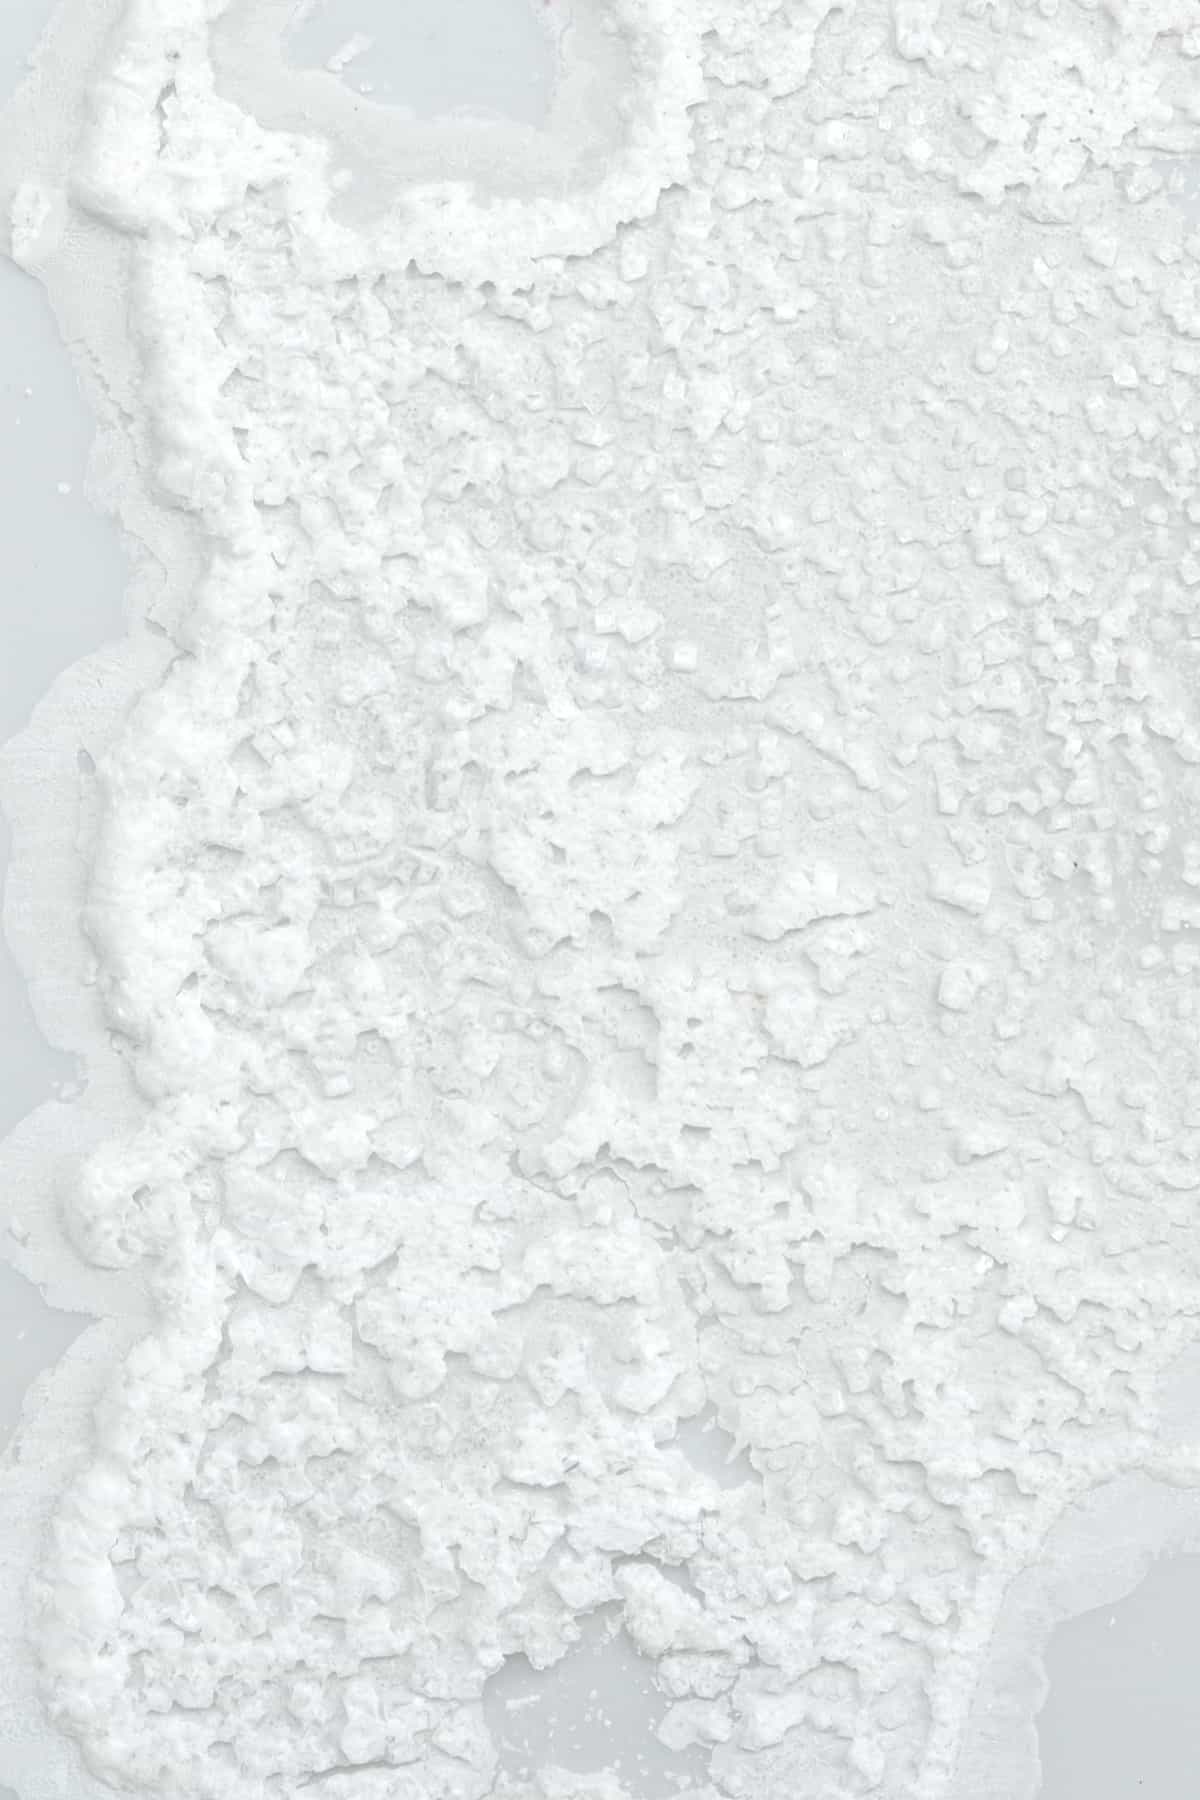
Now it’s just a waiting game – the water will naturally evaporate over time and, as it evaporates, it will leave behind a thin, crusty layer of salt that can be flaked up into smaller flakes. However, there are different methods you can use for this.
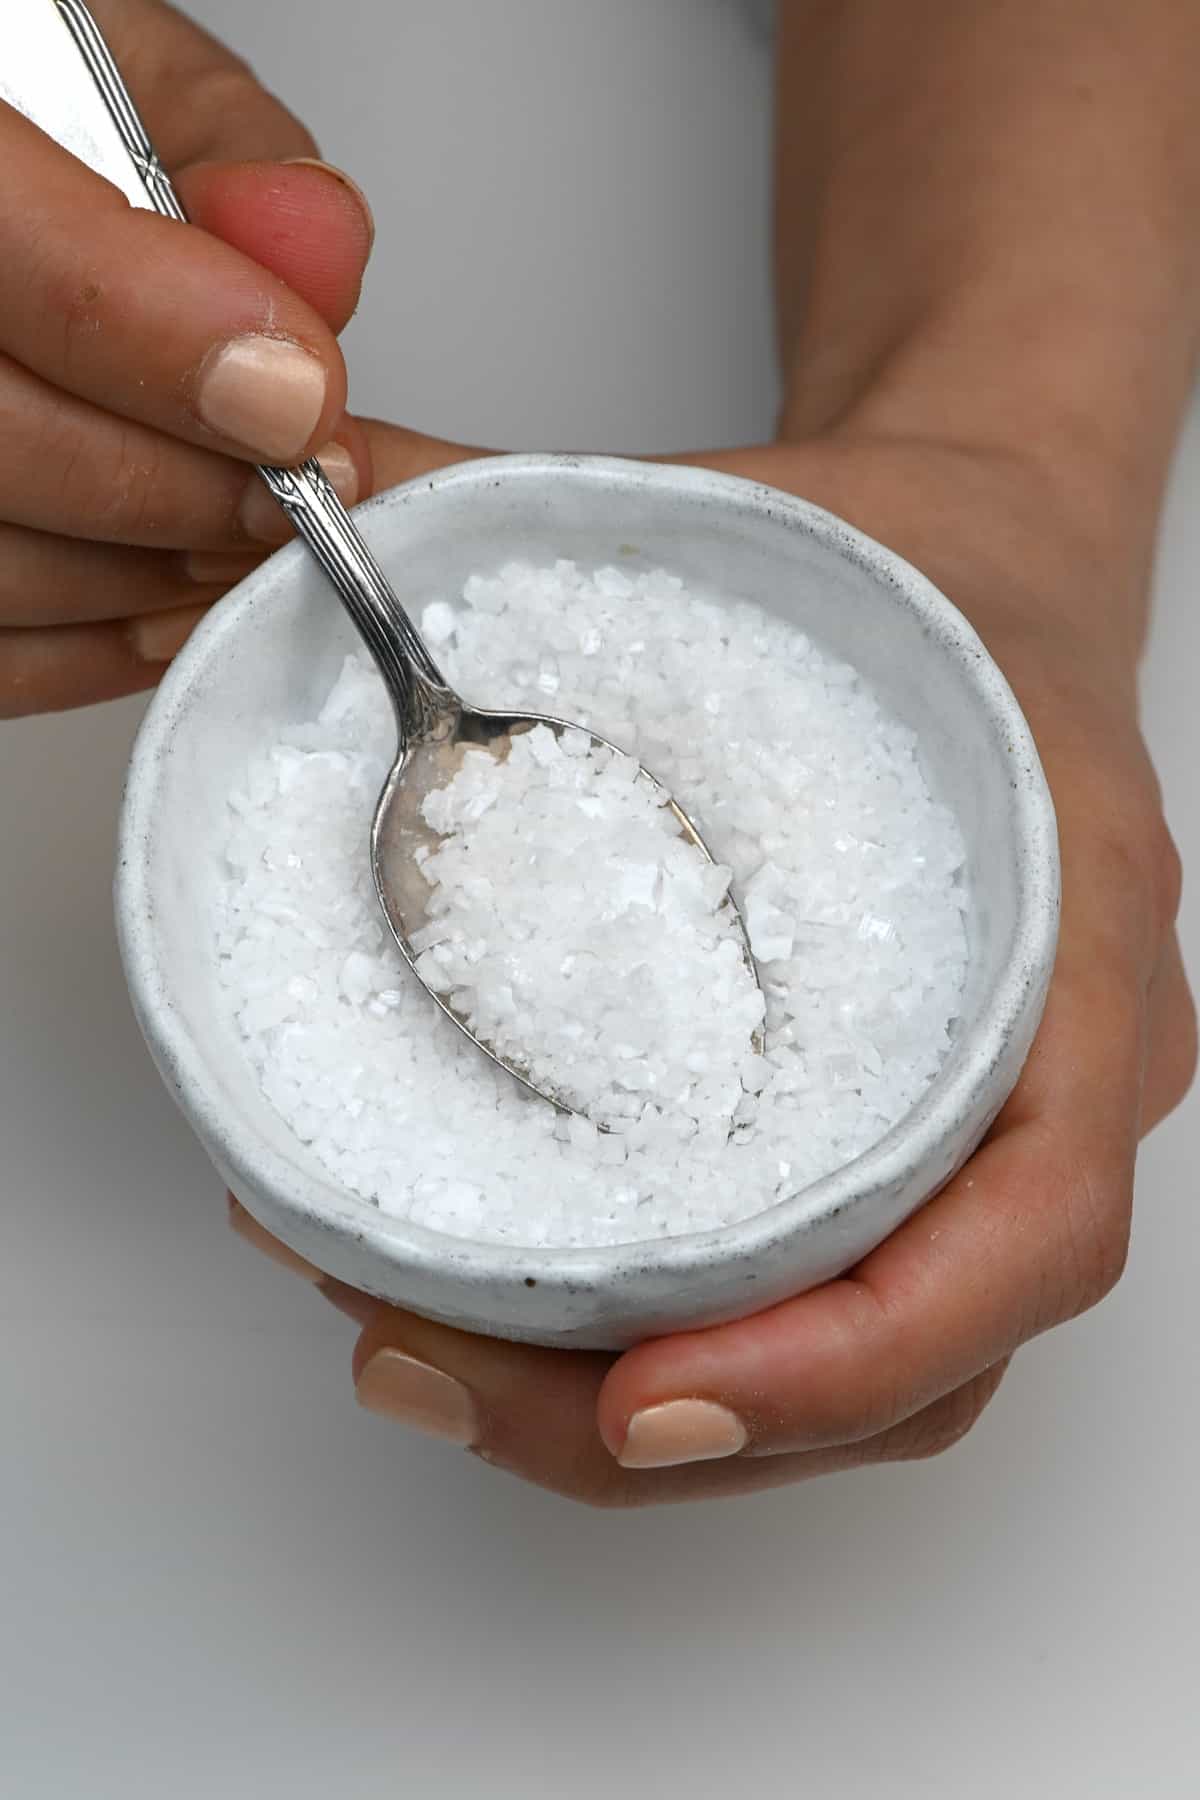
Letting it air dry: This process can take several days, depending on how much you are making. I placed my container by a window, and it took 4-5 days for all the water to evaporate. The lower, slower evaporation rate is ideal for forming larger salt crystals and is my favorite method.
Using a dehydrator: Use a dish that fits inside your dehydrator and dehydrate for between 8-12 hours at 113ºF/45ºC. This will yield flakes – though not quite as ‘flake-y’ as the above method.
In the oven: Use the oven’s lowest heat. Somewhere between the range of 104°F/40°C to 140°F/60°C would be ideal. This will take a similar amount of time to dehydrate, so it is my least favorite option for power usage.
On the stove-top: The last of the methods requires you to start the evaporation process on the stove-top. Once all the salt has dissolved in the mixture, turn the heat to low, and allow it to simmer and naturally evaporate until almost all the water is gone (don’t stir during this time!). This took me around one hour for the amount I was making.
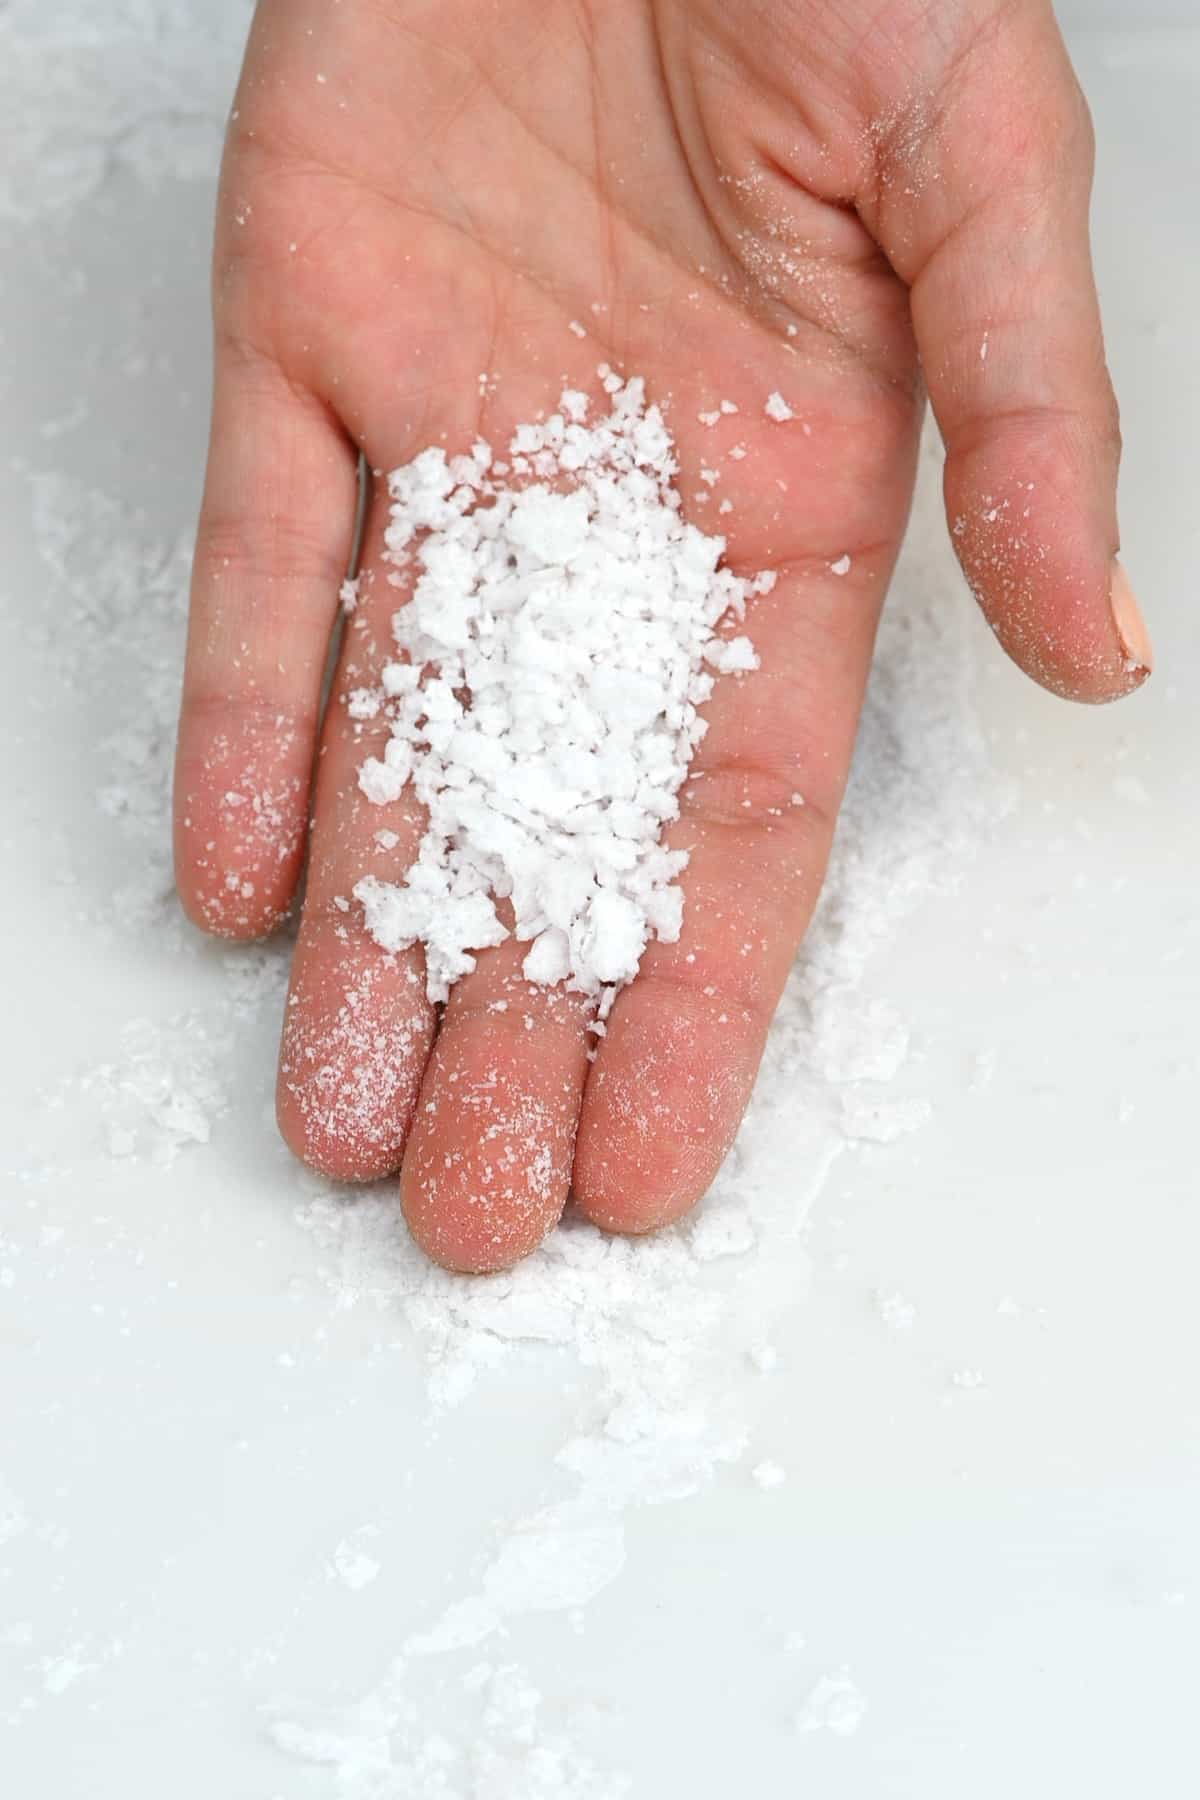
Once you begin to clearly see a layer of salt crystals, you can scoop them out and transfer them to the wide, shallow baking dish and wait for the remaining water to evaporate entirely. This process tends to make larger granules more than ‘flakes.’
You could also transfer the salt flakes to a layer of paper towels. However, you’d need to replace them every few hours as they’ll absorb the liquid.
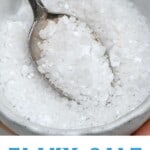
How to use salt flakes
I like to use these homemade salt flakes in the same way that I would use Maldon salt – as a finishing salt, to sprinkle over dishes for flavor and texture, including:
- Roasted vegetables – like roasted potatoes, asparagus, carrots, sprouts, etc.
- Grilled meat
- Avocado toast
- Butter
- Caramel
- Over cookies – like chocolate chip cookies
- Dark chocolate treats
- Pretzels
- Bagels
- Turkish simit
- Over tomato dishes – like this Caprese salad
- Over ice-cream
How to store
Transfer the dry salt flakes to clean airtight jars and store them in a cool, dark place (like a kitchen cupboard). The unflavored flaky salt could technically last indefinitely. I aim to use all my infused/flavored salts within 1 year.
FAQs
Distilled water is purified water where the water is boiled into a vapor then condensed back into a liquid, leaving behind impurities in the water.
You sure can. In fact, the process is almost identical to how I made this organic rose water (minus the rose petals). All you need is water, a large saucepan with a lid, and a smaller pot to sit in the center of the larger one.
The gist of the process is you boil the water in a large pot (with a smaller pot in the center), to encourage evaporation. Place an inverted lid covering the top of the pan and top it with ice. This will encourage the evaporated water to turn into condensation gathering on the lid, which will then slowly run down the middle of the lid and drip into the small pot below.
Similar to how tempering chocolate requires us to melt and heat cacao butter to specific temperatures to affect the crystal structure, this process adjusts the salt crystals. By dissolving the salt grains, you undo their current crystal structure, so you can re-from them in the form you want (salt flakes!).
Technically I imagine that you could (it has enough salt in it) though you’d need to make sure to boil the water and potentially put it through a filtering process (better safe than sorry).
Recipe notes
- Avoid metal dishes: during the dehydration process, it’s best to use glass or ceramic dishes, which won’t corrode due to prolonged water exposure.
- Don’t use too much water: the aim is to dissolve all the salt with the least amount of water. For that reason, the 1:4 ratio is preferred. However, if you have issues melting the last of the salt, adding a little extra water should help. Just add a little at a time.
- For infused salt: you could also add herbs or food-grade essential oils to the dissolved salt water before dehydrating it. Alternatively, grind dried herbs into smaller pieces and add them to the flaky salt in the jars – this will slowly infuse the salt over time.
- Using a slow cooker: there are several other methods/setups you can use during the dehydration process, including an Instant Pot, sous vide, or slow cooker. However, the only one I’ve experimented with is a slow cooker on the lowest setting (no lid). This process works similarly to the stove-top one. After several hours, you’ll see all the salt flakes in the pan, which you can remove and leave to further dry in a dish or over a layer of paper towels.
Related DIYs
If you try this DIY on how to make flaky salt, I’d love to hear your thoughts/questions below. Also, I’d really appreciate a recipe card rating below, and feel free to tag me in your recipe recreations on Instagram @Alphafoodie!
How to Make Flaky Salt (Plain and Infused)
Equipment
Ingredients
- 9 oz salt I used kosher. Sea salt and pink rock salt also work well.
- 4 cups water distilled
Instructions
- The process of making salt flakes is a lot simpler than you'd think and relies on a simple formula:1:4 salt to water ratio (i.e., 1 cup salt to 4 cups water)
Step 1: Dissolve the salt
- Combine the salt and water in a large pot and heat over medium-low heat.
- Bring the mixture to a soft boil, often stirring until all the salt dissolves and the water is clear again.You may need to add a little extra water to the pot if the salt doesn't dissolve immediately – but be aware that you need to fill a container/tray with this water, so don't add too much.Be aware that if you use pink rock salt, then it will take much longer to evaporate. Don't add any extra water, to begin with – just allow them to simmer for longer. Then, if the last of the rocks won't completely dissolve, a little extra water can help.
Step 2: Transfer the saltwater to a wide dish
- Once the salt is fully dissolved, and the water is clear again, it's time to transfer it to another dish. Use a large, wide, shallow dish for the best results, like a large baking dish.Avoid using metal containers that can corrode with long exposures to water. I recommend using either Glass or ceramic.
- If you want to make colored/flavored salts, then now is the time to do so. I made two options using turmeric powder (very light-yellow results), saffron (light orange/yellow results), and chili flakes (dark orange).For the saffron version, I first crushed the saffron into smaller pieces before adding it to the water.
Step 3: Leave the mixture to evaporate
- Now it's just a waiting game – the water will naturally evaporate over time and, as it evaporates, it will leave behind a thin, crusty layer of salt that can be flaked up into smaller flakes. However, there are four different methods you can use for this.
Letting it air dry:
- This process can take several days, depending on how much you are making. I placed my container by a window, and it took 4-5 days for all the water to evaporate. The lower, slower evaporation rate is ideal for forming larger salt crystals and is my favorite method.
Using a dehydrator:
- Use a dish that fits inside your dehydrator and dehydrate for between 8-12 hours at 113ºF/45ºC. This will yield flakes – though not quite as 'flake-y' as the above method.
In the oven:
- Use the oven's lowest heat. Somewhere between the range of 104°F/40°C to 140°F/60°C would be ideal. This will take a similar amount of time to dehydrate, so it is my least favorite option for power usage.
On the stove-top:
- The last of the methods requires you to start the evaporation process on the stove-top. Once all the salt has dissolved in the mixture, turn the heat to low, and allow it to simmer and naturally evaporate until almost all the water is gone (don't stir during this time!). This took me around one hour for the amount I was making.
- Once you begin to clearly see a layer of salt crystals, you can scoop them out and transfer them to the wide, shallow baking dish and wait for the remaining water to evaporate entirely. This process tends to make larger granules more than 'flakes.'You could also transfer the salt flakes to a layer of paper towels. However, you'd need to replace them every few hours as they'll absorb the liquid.Once dried, you can then transfer the flakes to clean airtight jars for storage.
How to Store
- Transfer the dry salt flakes to clean airtight jars and store them in a cool, dark place (like a kitchen cupboard). The unflavored flaky salt could technically last indefinitely. I aim to use all my infused/flavored salts within 1 year.
Notes
- Avoid metal dishes: during the dehydration process, it’s best to use Glass or ceramic dishes, which won’t corrode due to prolonged water exposure.
- Don’t use too much water: the aim is to dissolve all the salt with the least amount of water. For that reason, the 1:4 ratio is preferred. However, if you have issues melting the last of the salt, adding a little extra water should help. Just add a little at a time.
- For infused salt: you could also add herbs or food-grade essential oils to the dissolved salt water before dehydrating it. Alternatively, grind dried herbs into smaller pieces and add them to the flaky salt in the jars – this will slowly infuse the salt over time.
- Using a slow cooker: there are several other methods/setups you can use during the dehydration process, including an Instant Pot, sous vide, or slow cooker. However, the only one I’ve experimented with is a slow cooker on the lowest setting (no lid). This process works similarly to the stove-top one. After several hours, you’ll see all the salt flakes in the pan, which you can remove and leave to further dry in a dish or over a layer of paper towels.


Hey, this recipe is great, thank you!! I was curious about how many grams/cups of chilli flakes you used in the dissolved water before you let the water evaporate. Also, if you add in another liquid (like food-grade oil or a syrup like product) – would it affect the evaporation process?
Thanks so much, Russell!
For chilly flakes, you just need a pinch or two. If you want it really intense, you can use about 1/2-1 teaspoon.
Adding oils or syrup-based liquids will affect evaporation because the water can’t evaporate cleanly through fat, so I don’t recommend adding them to the water.
Could a person use smoker for the whole process?
Hi Tyson,
Yes, you can use a smoker for the whole process. This will also add a delicious smoky flavor to your salt. Make sure to set the smoker to the lowest temperature. Let me know how it goes if you give it a try.
I’ve had mine out sitting for over a week and the water still hasn’t evaporated. It’s 80 degrees out also.
Hi Jason,
Thanks for your comment. Indeed, in these warmer temperatures, it should have evaporated by now. Is the climate possibly too humid?
To help speed up the process, you can try placing the salt mixture in a sunny spot. Alternatively, you can place it in the oven (at about 104°F/40°C to 140°F/60°C) to help evaporate the water. I hope this helps.