
This post may contain affiliate links. Please read our disclosure policy.


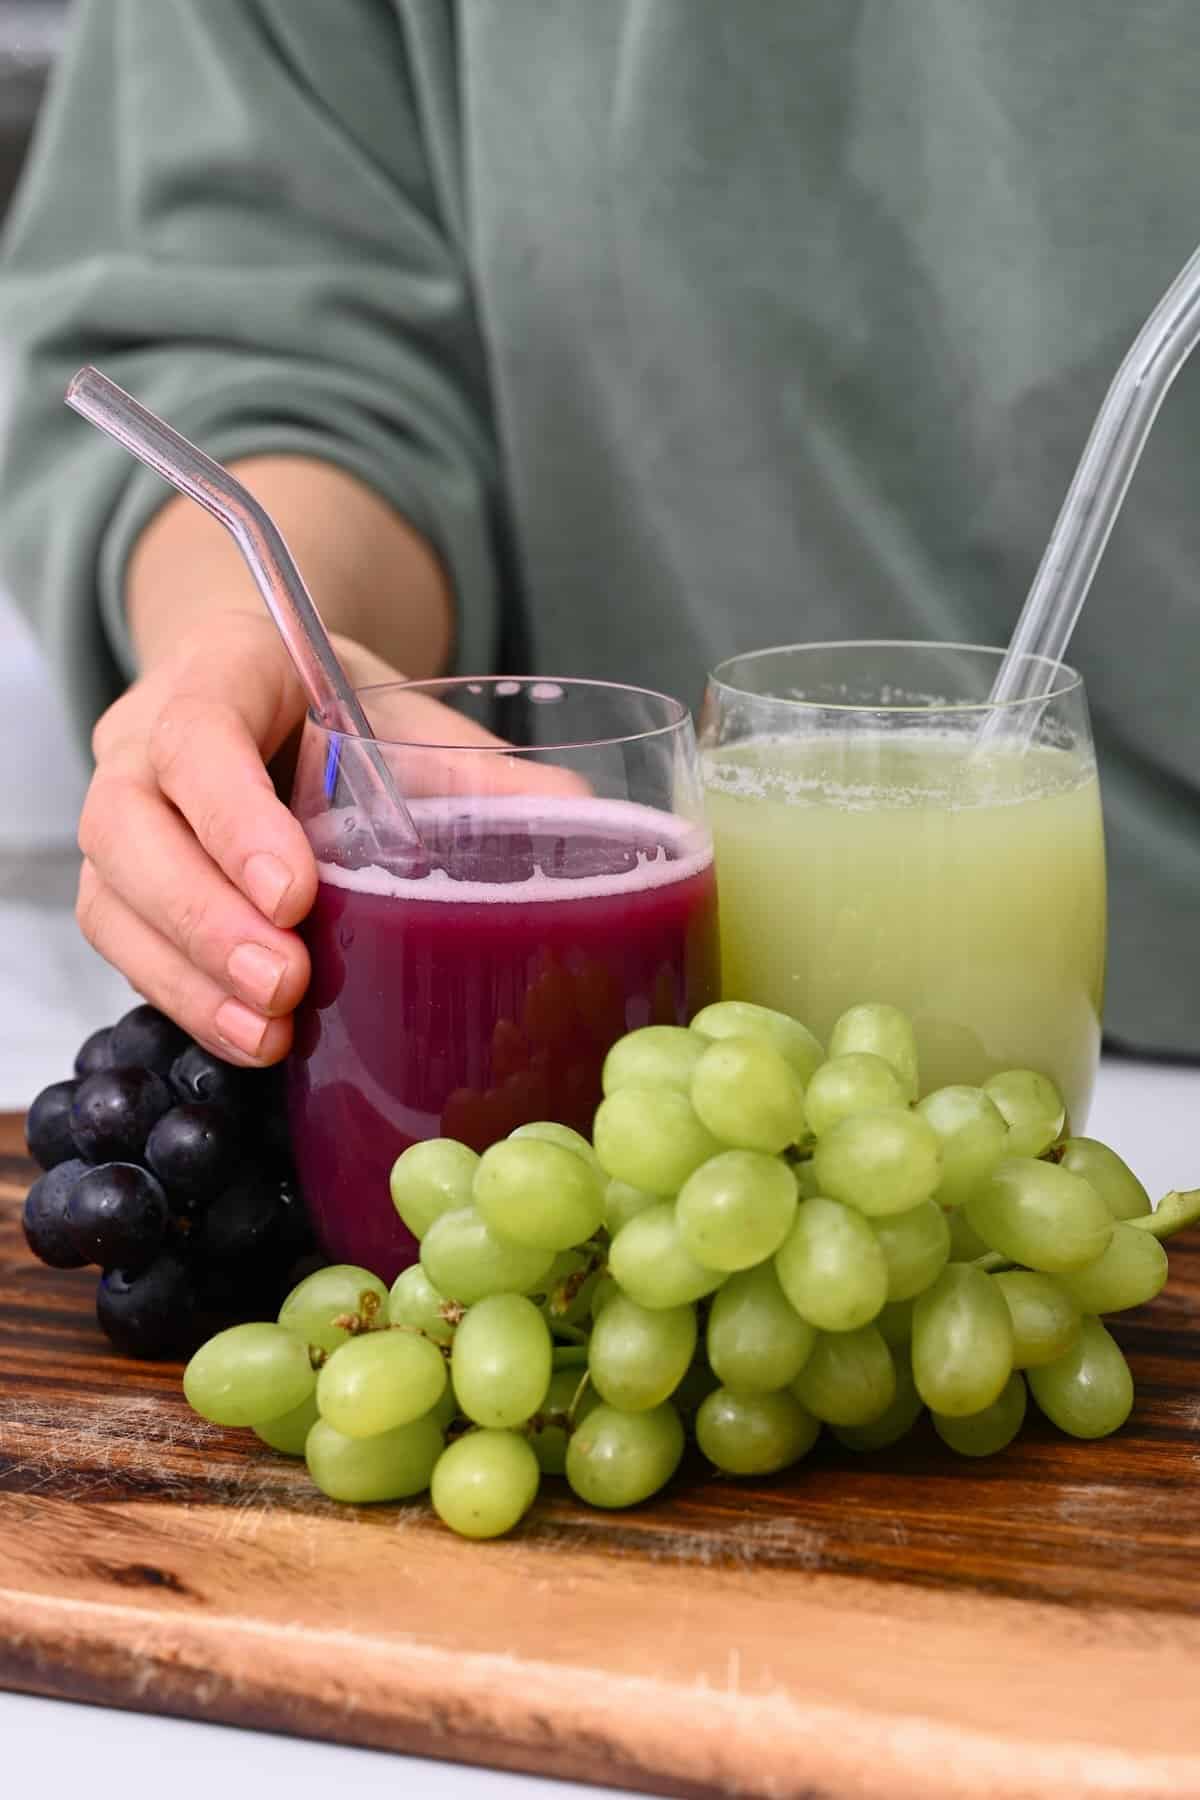
How to make grape juice with a juicer, blender, potato masher, or by hand (with a bonus stovetop method). This homemade grape juice is fruity, refreshing, and tastes even better than store-bought, with no added sugars or preservatives!
Making grape juice at home is just the latest of MANY homemade juice recipes I am sharing. My most recent ones include homemade mango juice, pineapple juice, and how to juice lemons. This grape juice recipe not only requires just one ingredient (grapes) but there are five methods to choose from to extract the sweet, refreshing juice!
If you have grapevines, then learning how to make grape juice is a fantastic way to make the most of your bounty. Alternatively, if, like me, you just buy grapes by the cartful when they’re in season, grape juicing is another way to appreciate this fruit. Plus, with methods including how to make grape juice with a blender, juicer, masher, by hand, or stovetop, there’s a way for everyone to enjoy it!
Want to save this recipe?
What you’ll need
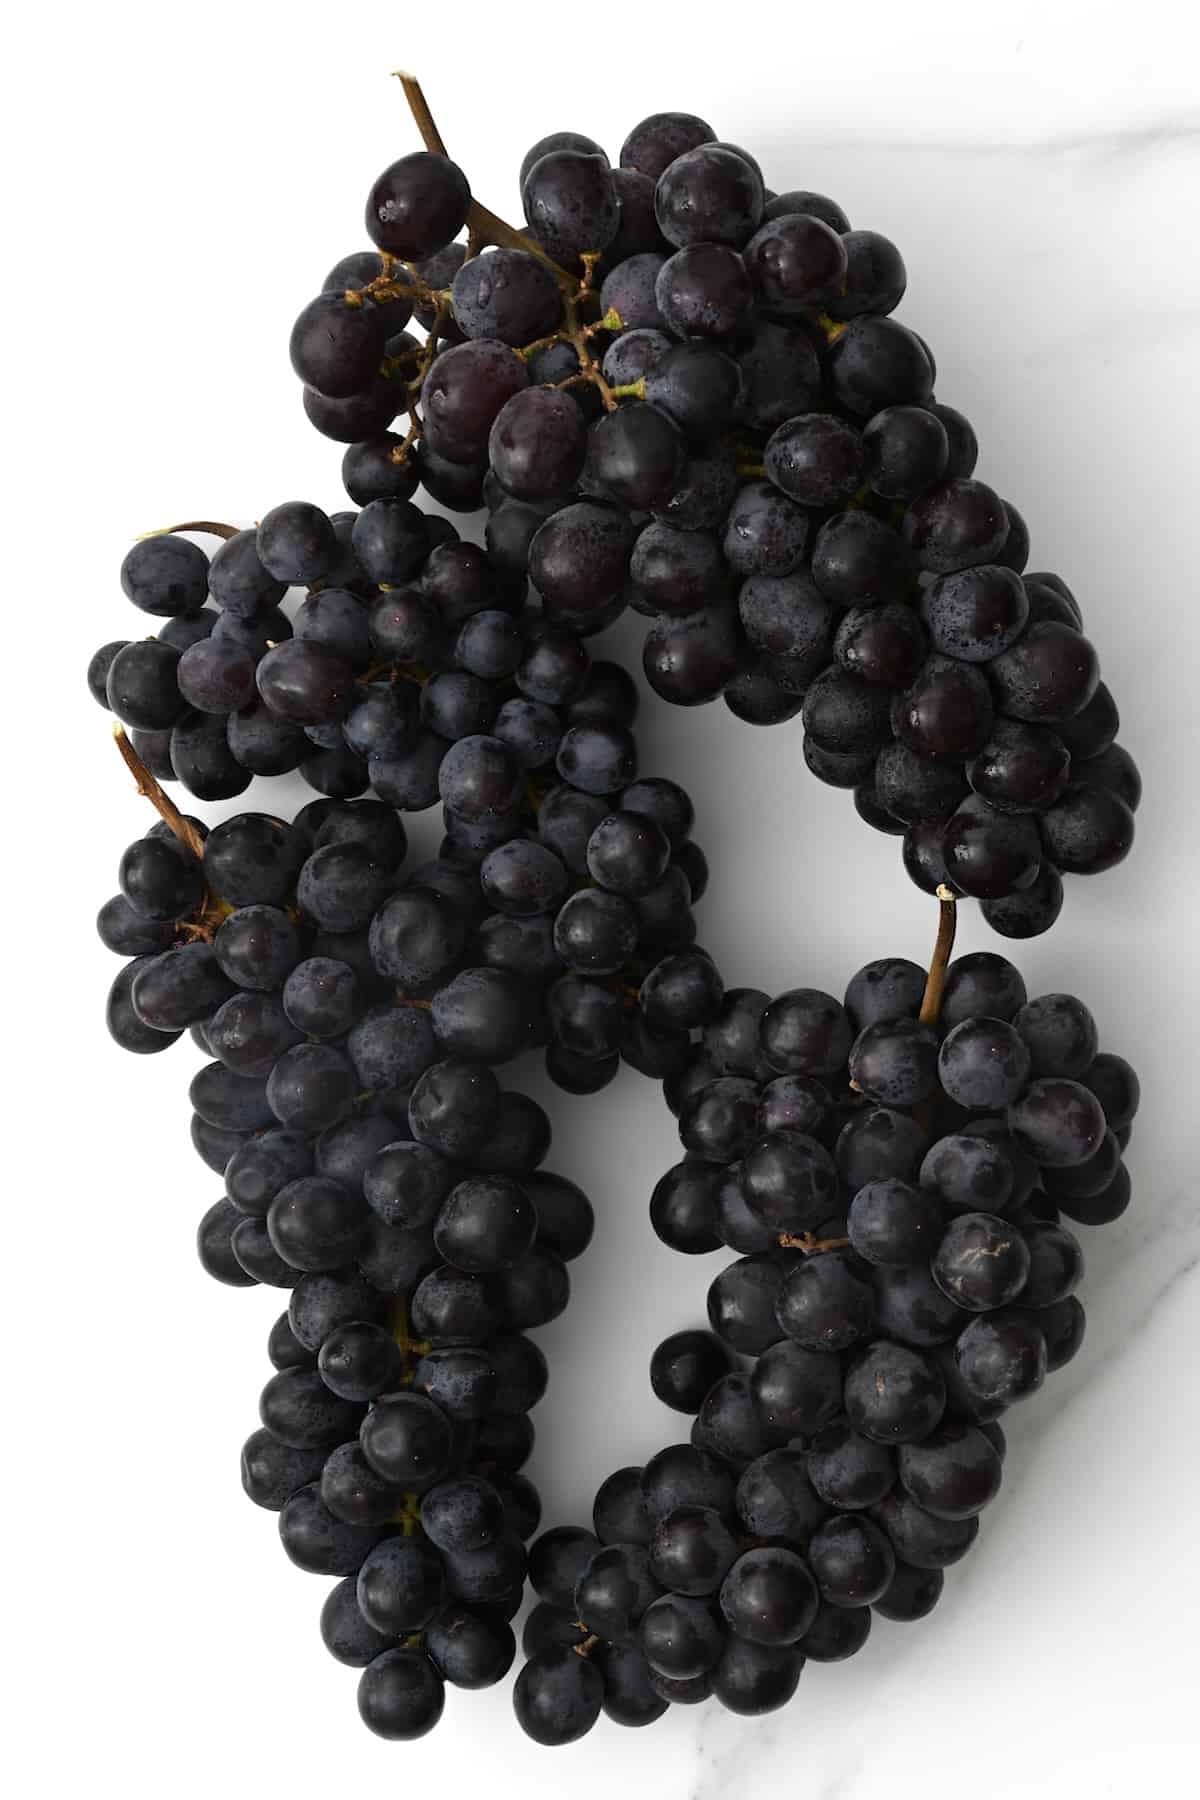
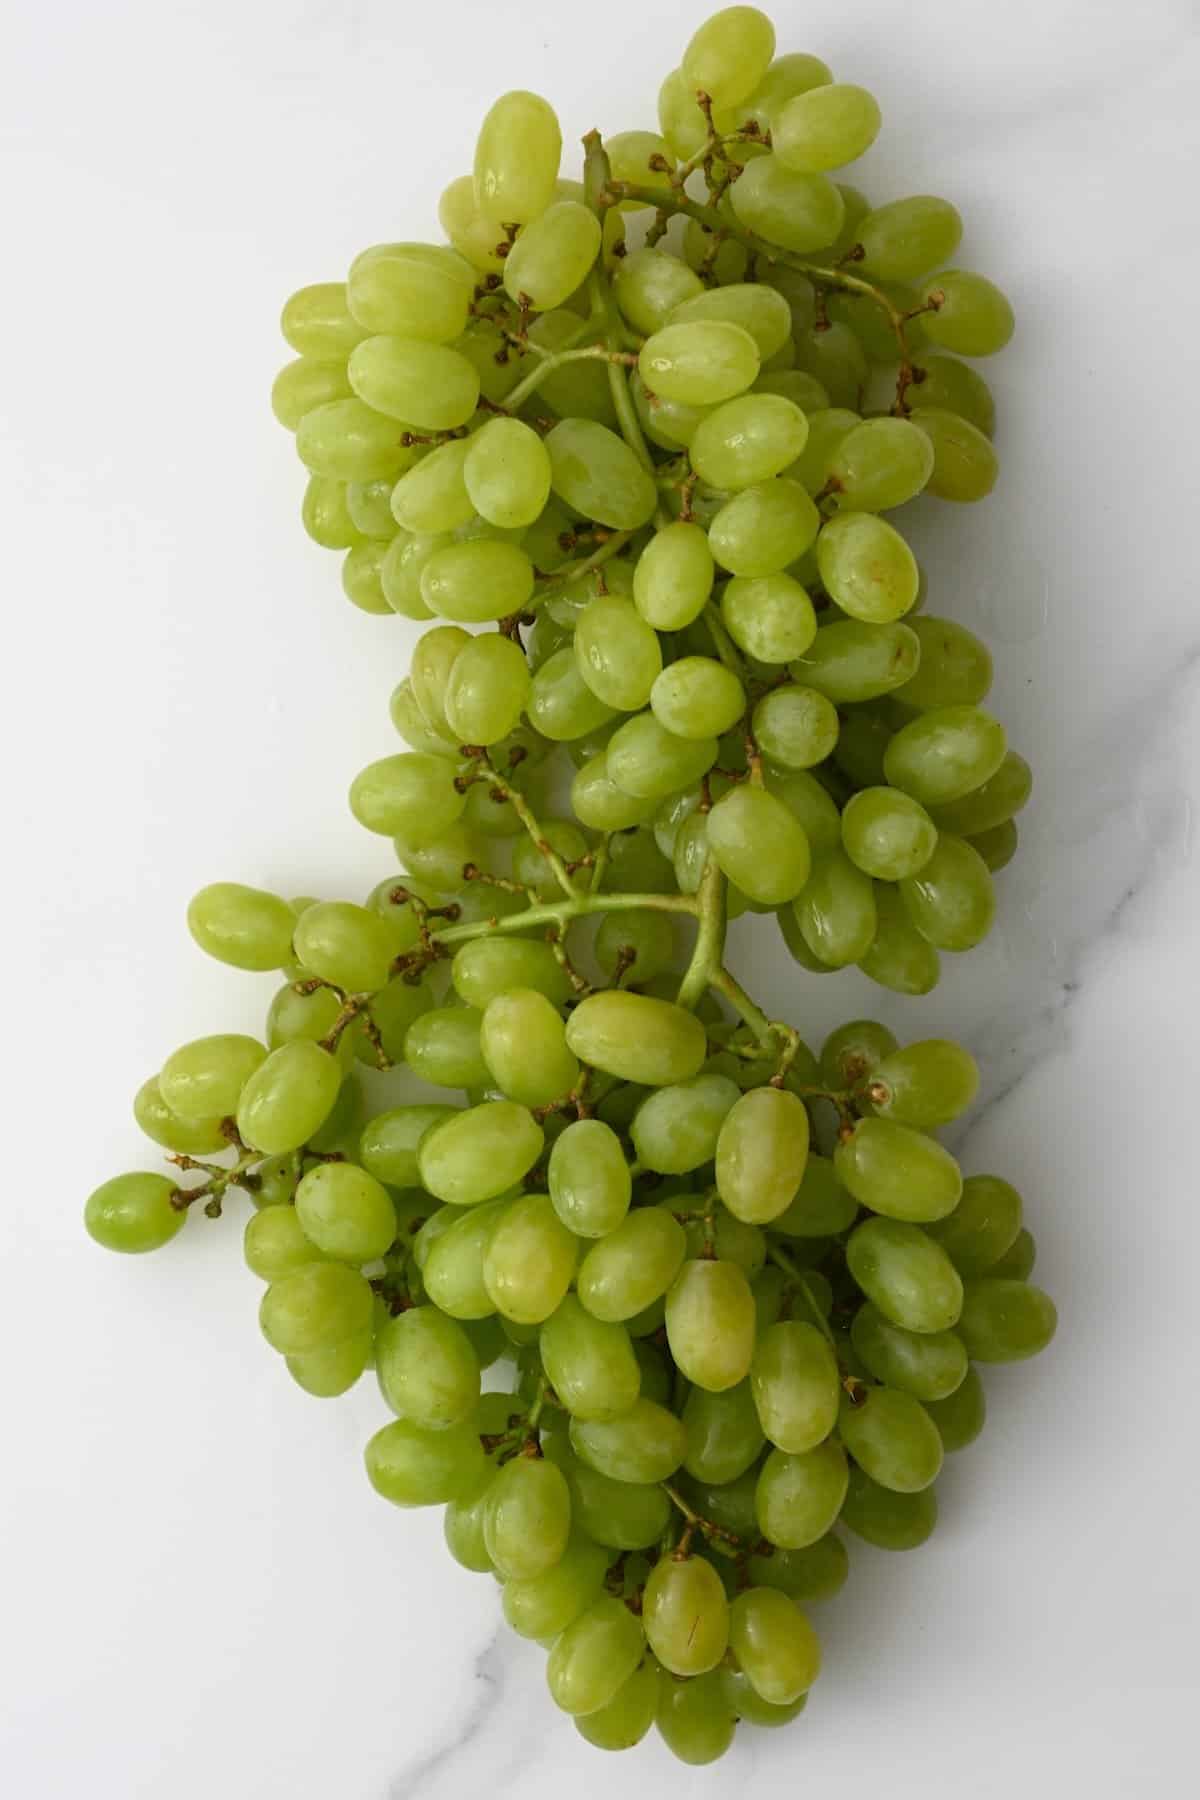
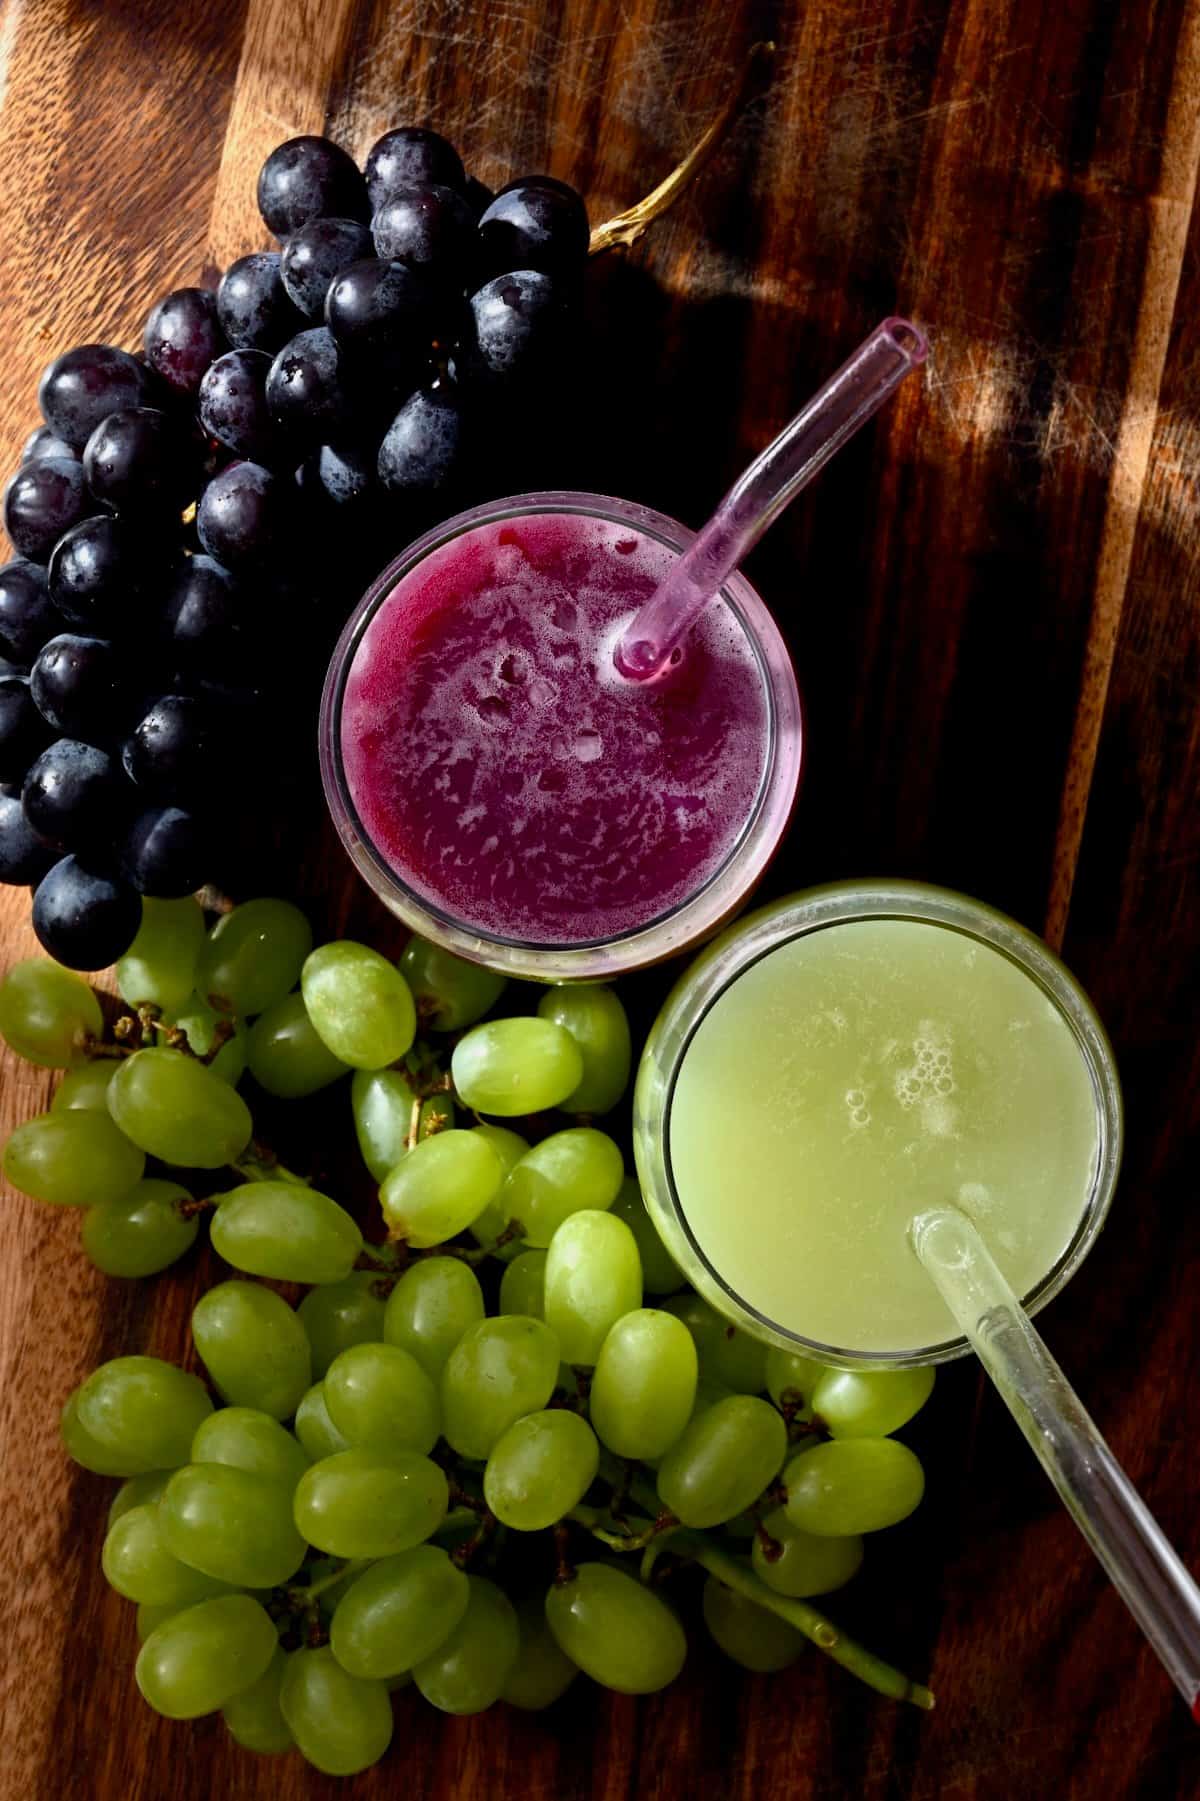
- Grapes: I recommend using organic where possible. Any grape (green, red, black) will work for these methods, though I prefer to use seedless grapes when possible. I’ve tried red, black, and green grape juice with excellent results.
Add extra flavor to the juice with freshly squeezed lemon juice, easy homemade ginger juice, or fresh herbs like mint leaves or basil. You
You’ll also need
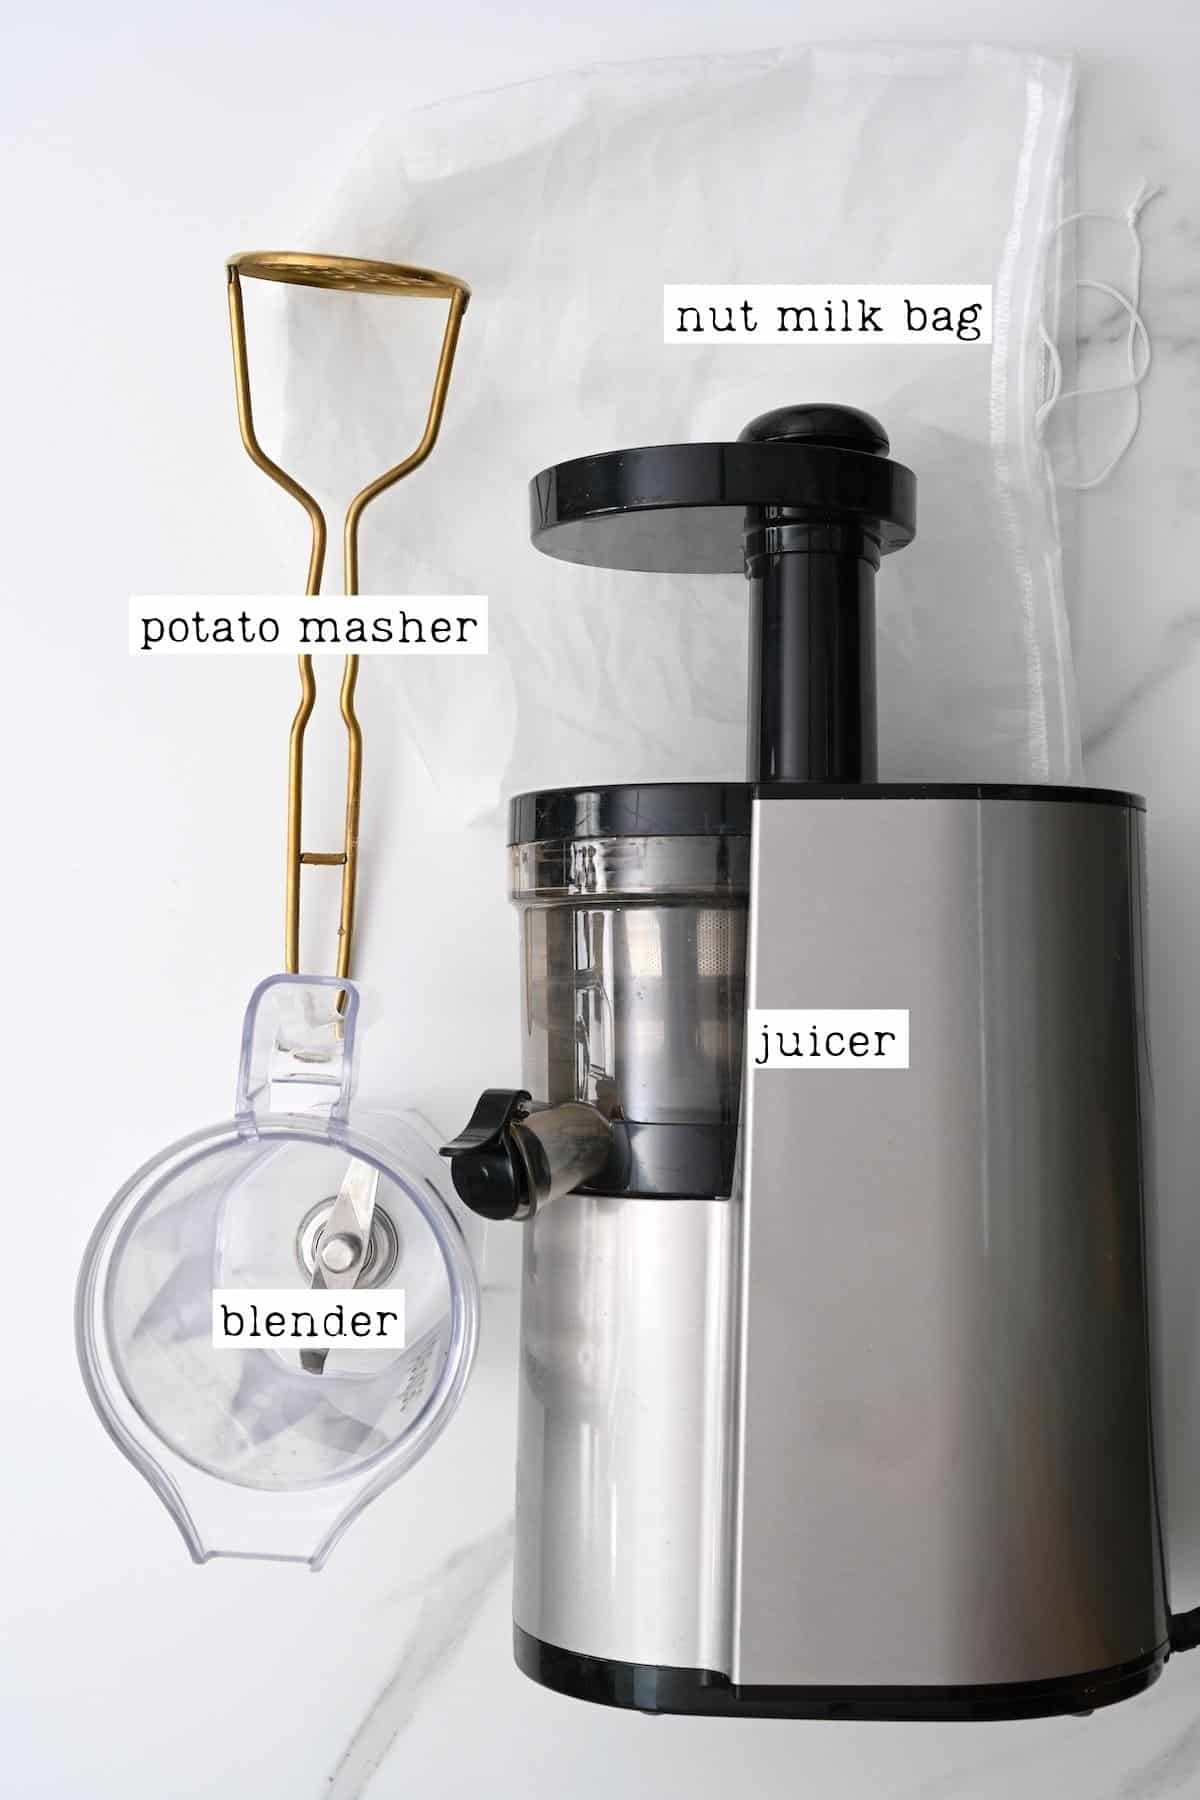
Depending on which method for how to make grape juice you use, you’ll need one or more of the tools below:
- Juicer,
- Food Processor OR Blender,
- Potato Masher,
- Sieve or Nut Milk Bag (several layers of cheesecloth may also work).
Top tips for the best results
- Grapes may stain: so be careful with what you wear and use during the process.
- Avoid reactive cookware: it can impart a metallic taste in the homemade grape juice.
- When straining naturally: it’s best to do so in the refrigerator. The pulpy grape flesh/juice mixture will ferment quickly when left too long at room temperature.
- The double strain: depending on which method you use, you may want to strain the juice twice to rid it of as much sediment as possible. ALTERNATIVELY, allow the juice to rest in a container for 24 hours and the sediment will settle at the bottom. You can then transfer the juice on top to another container.
- Adjust sweetness if preferred: depending on the variety of grape you use, you may or may not find you’d like to add some sweetener. I.e., concord grapes make a wonderfully sweet grape juice. However, green grape juice may need to add sugar or other sweeterner (just a small amount).
How to make grape juice?
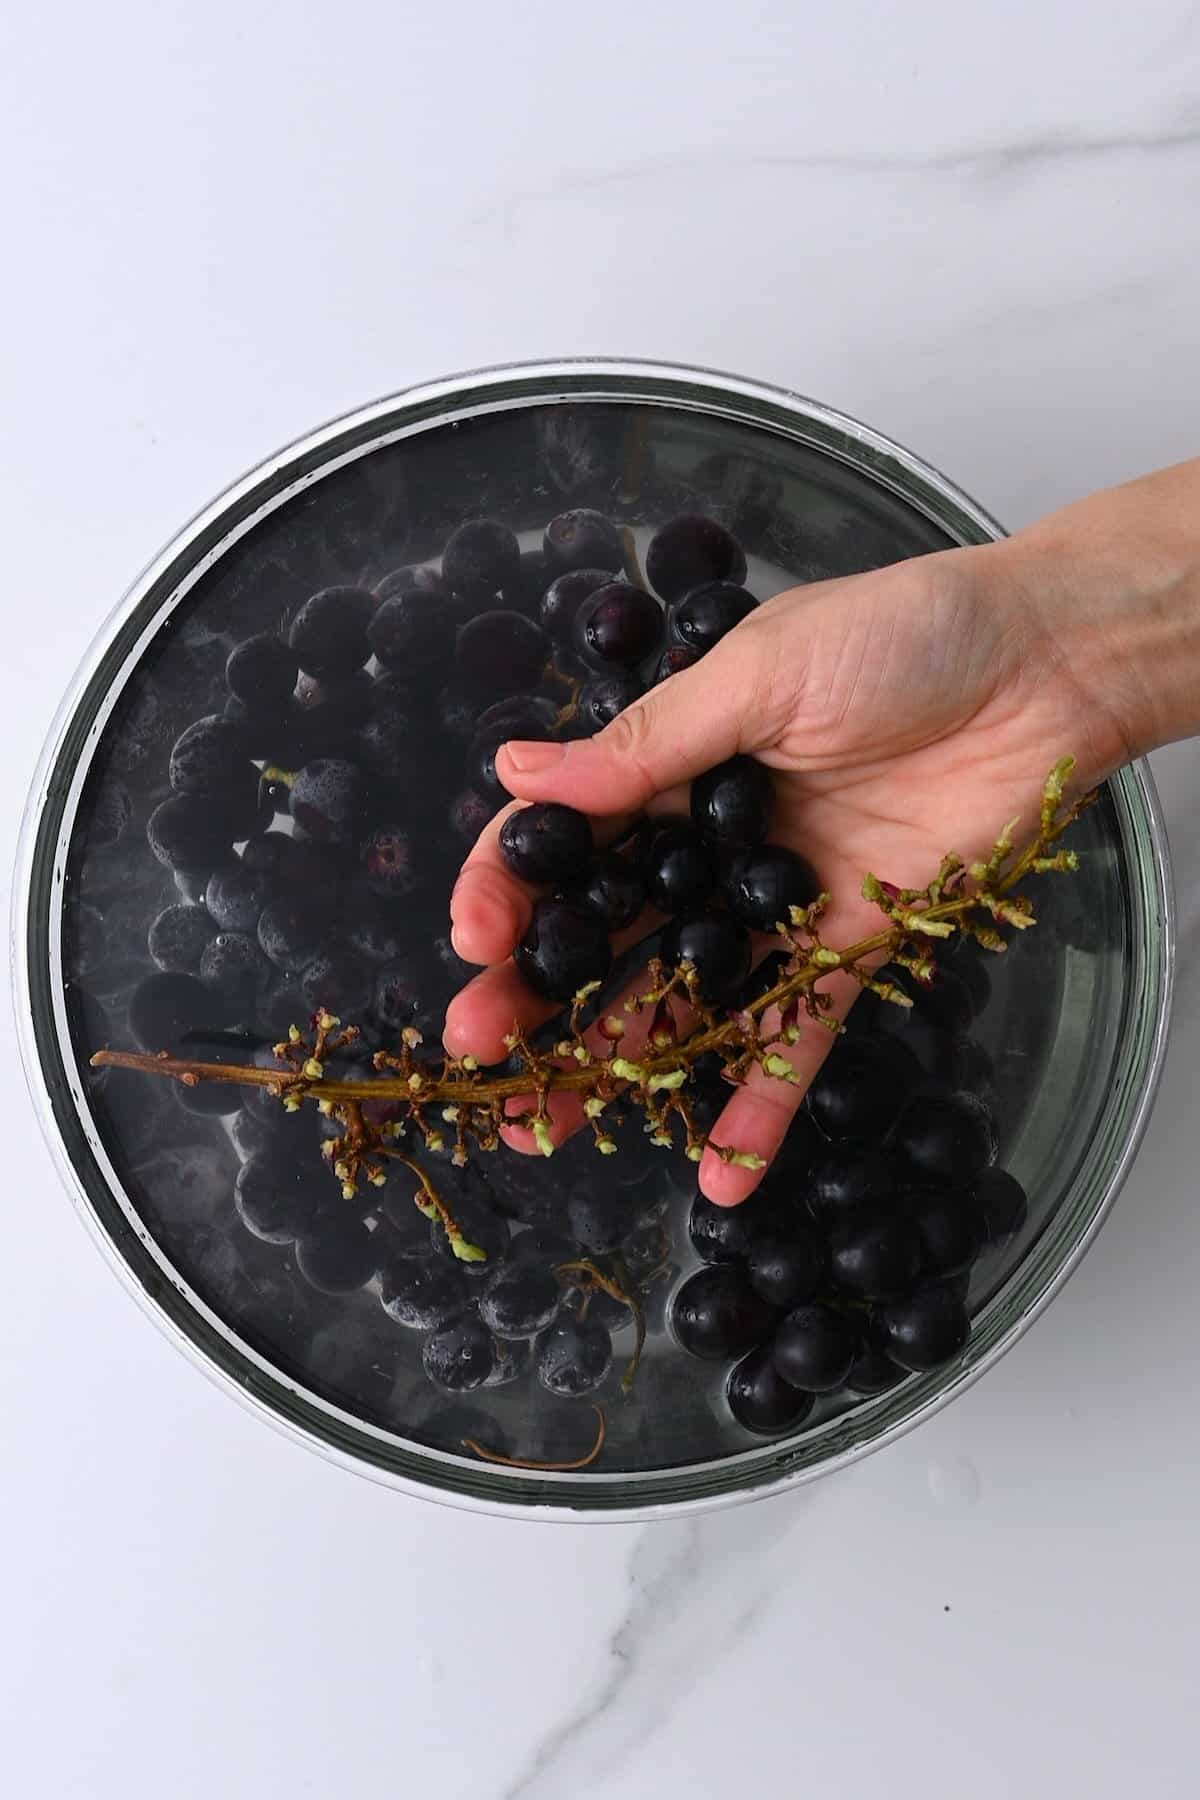
Step 1: Prepare the grapes: First, rinse and de-stem the grapes, removing any broken/shriveled ones (or ones that appear under or overripe) as you go.
You could also soak them in a bowl with water and salt or use one of these three methods to clean the grapes properly.
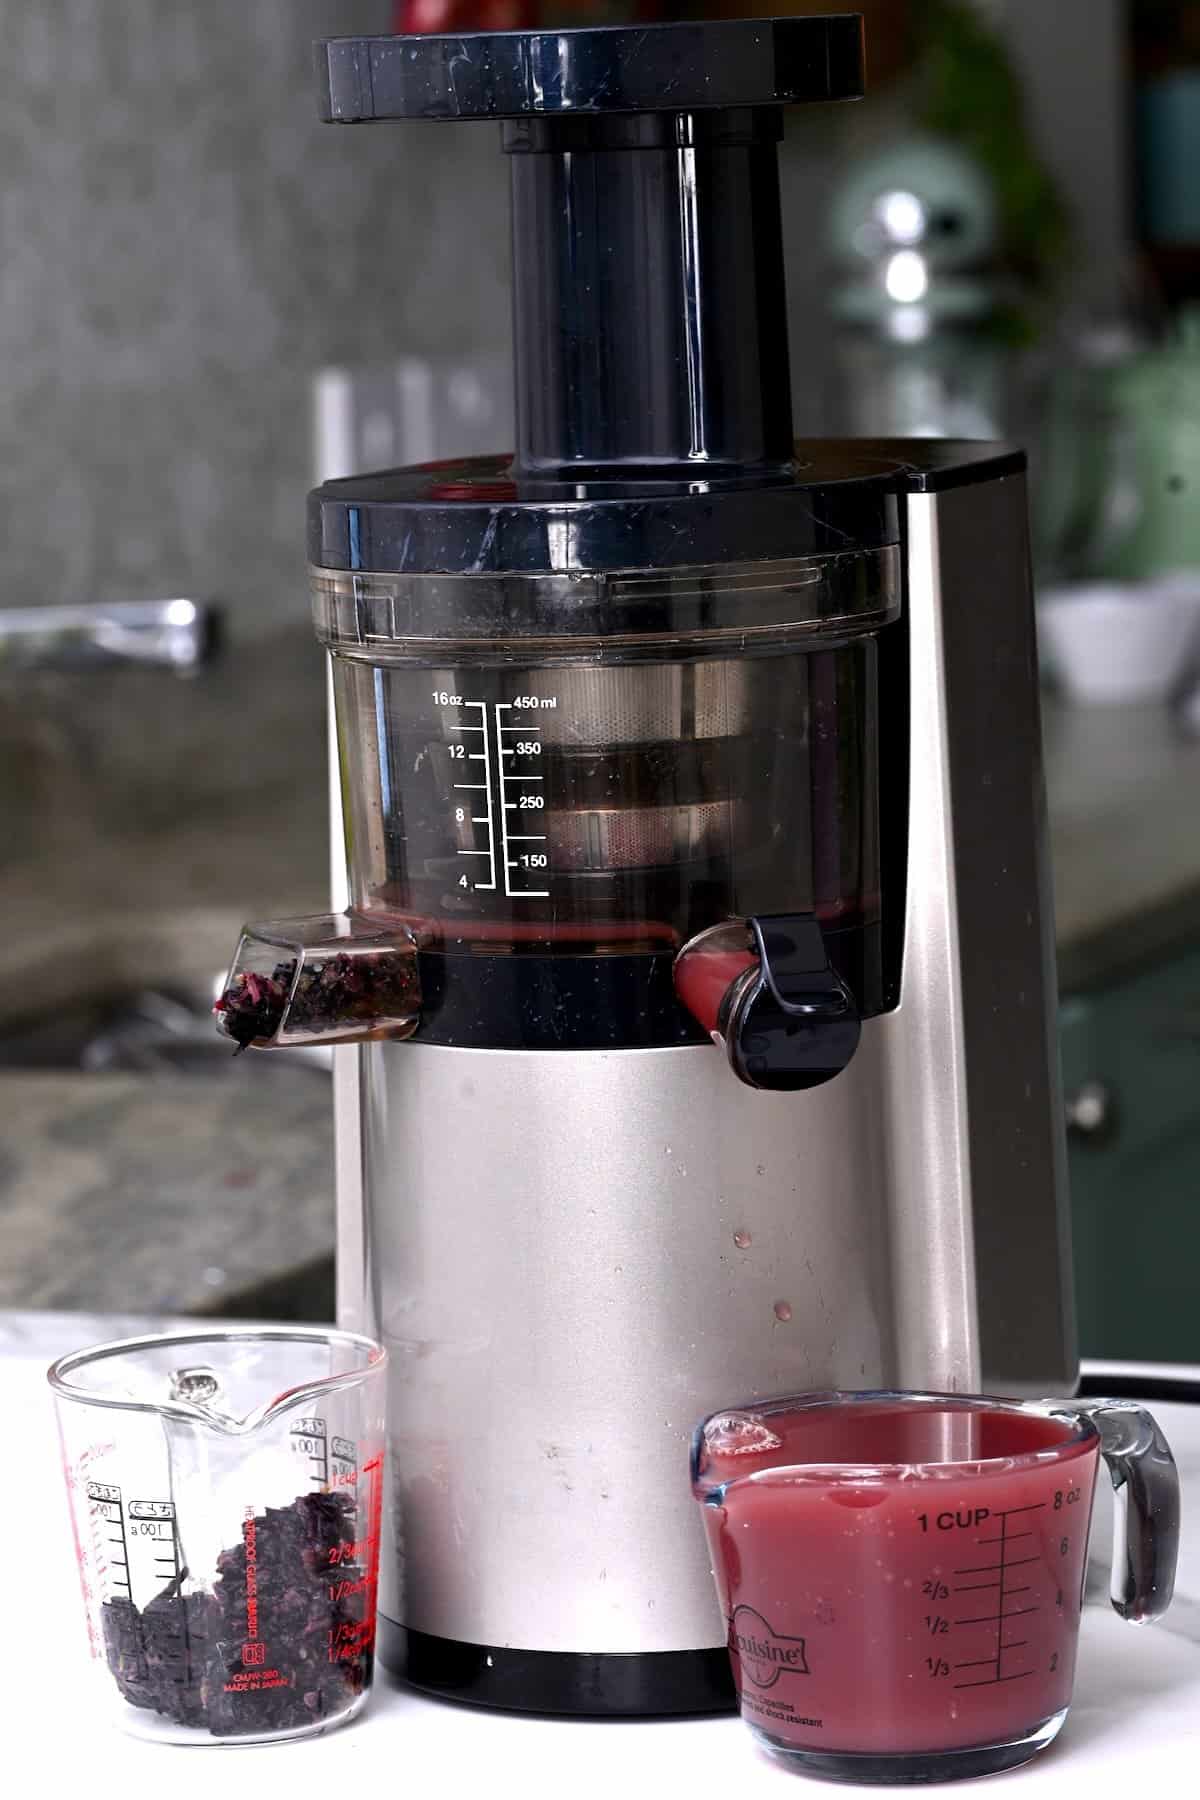
Use a Juicer: Learning how to make grape juice with a juicer couldn’t be simpler, especially as it does all the work for you. For this method, I used a regular juicer, though it’s also popular to use a steam juicer.
- Simply transfer the washed grapes to the chute of your juicer and allow it to do all the work for you.
The machine will naturally strain the pulp and seeds so the juice is immediately ready to use (or freeze).
Use a Blender/Food Processor: How to make grape juice with a blender in just a couple of minutes. This is my preferred method when I don’t want to get my juicer out. Plus, it’s a tool many people have at home.
- Transfer the grapes (in batches if necessary) to your food processor or blender and blend until smooth (this may take up to 2 minutes).
- If you don’t mind a pulpy juice, enjoy it immediately as is. Otherwise, strain the juice through a sieve/nut milk bag first.
Adding a small amount of water to the jug (start with ½ cups of water) may help with the blending.

Using a Potato Masher: Have you ever seen clips from old movies showing people mashing grapes in a large barrel with their bare feet? Well, this method is kind of like that except there’s no barrel and (to the relief of everyone), you’ll be using a potato masher… so it’s nothing alike, but enjoy!
- First, transfer the washed grapes to a large bowl or container.
I recommend using a flat bottom container (like a saucepan shape) to make the mashing easiest and get into all the corners.
- Then, using the potato masher, mash the grapes as much as possible into a fine pulp to release the grape juice.
- Then, pour the juice through a strainer or nut milk bag to strain it from the pulp.
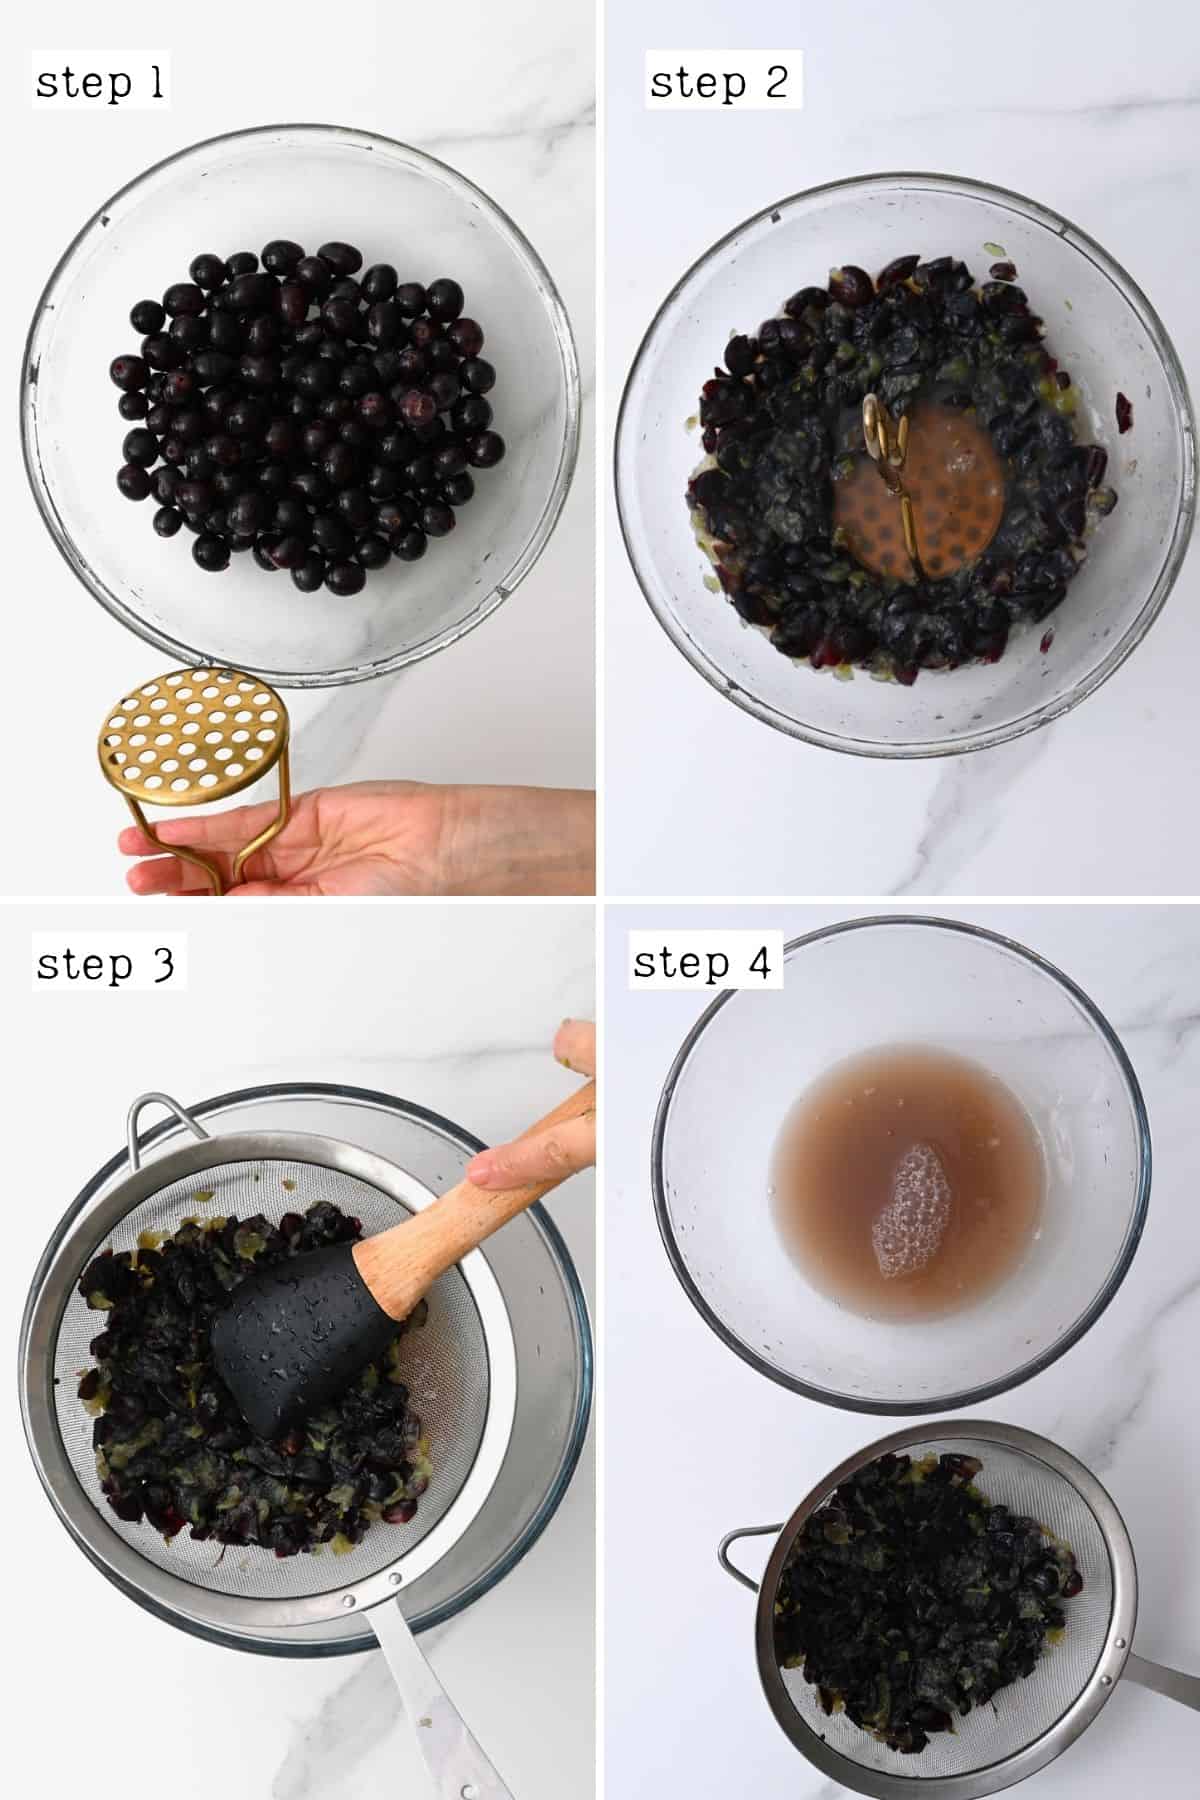
For a higher juice yield: mash the grapes in a large, heavy-based saucepan. Then, after step 2, gently simmer the mixture of medium to medium-low heat for 8-10 minutes, stirring and mashing occasionally (this step softens the grapes to make them more easily mashable). Then strain the mixture through a sieve or nut milk bag.
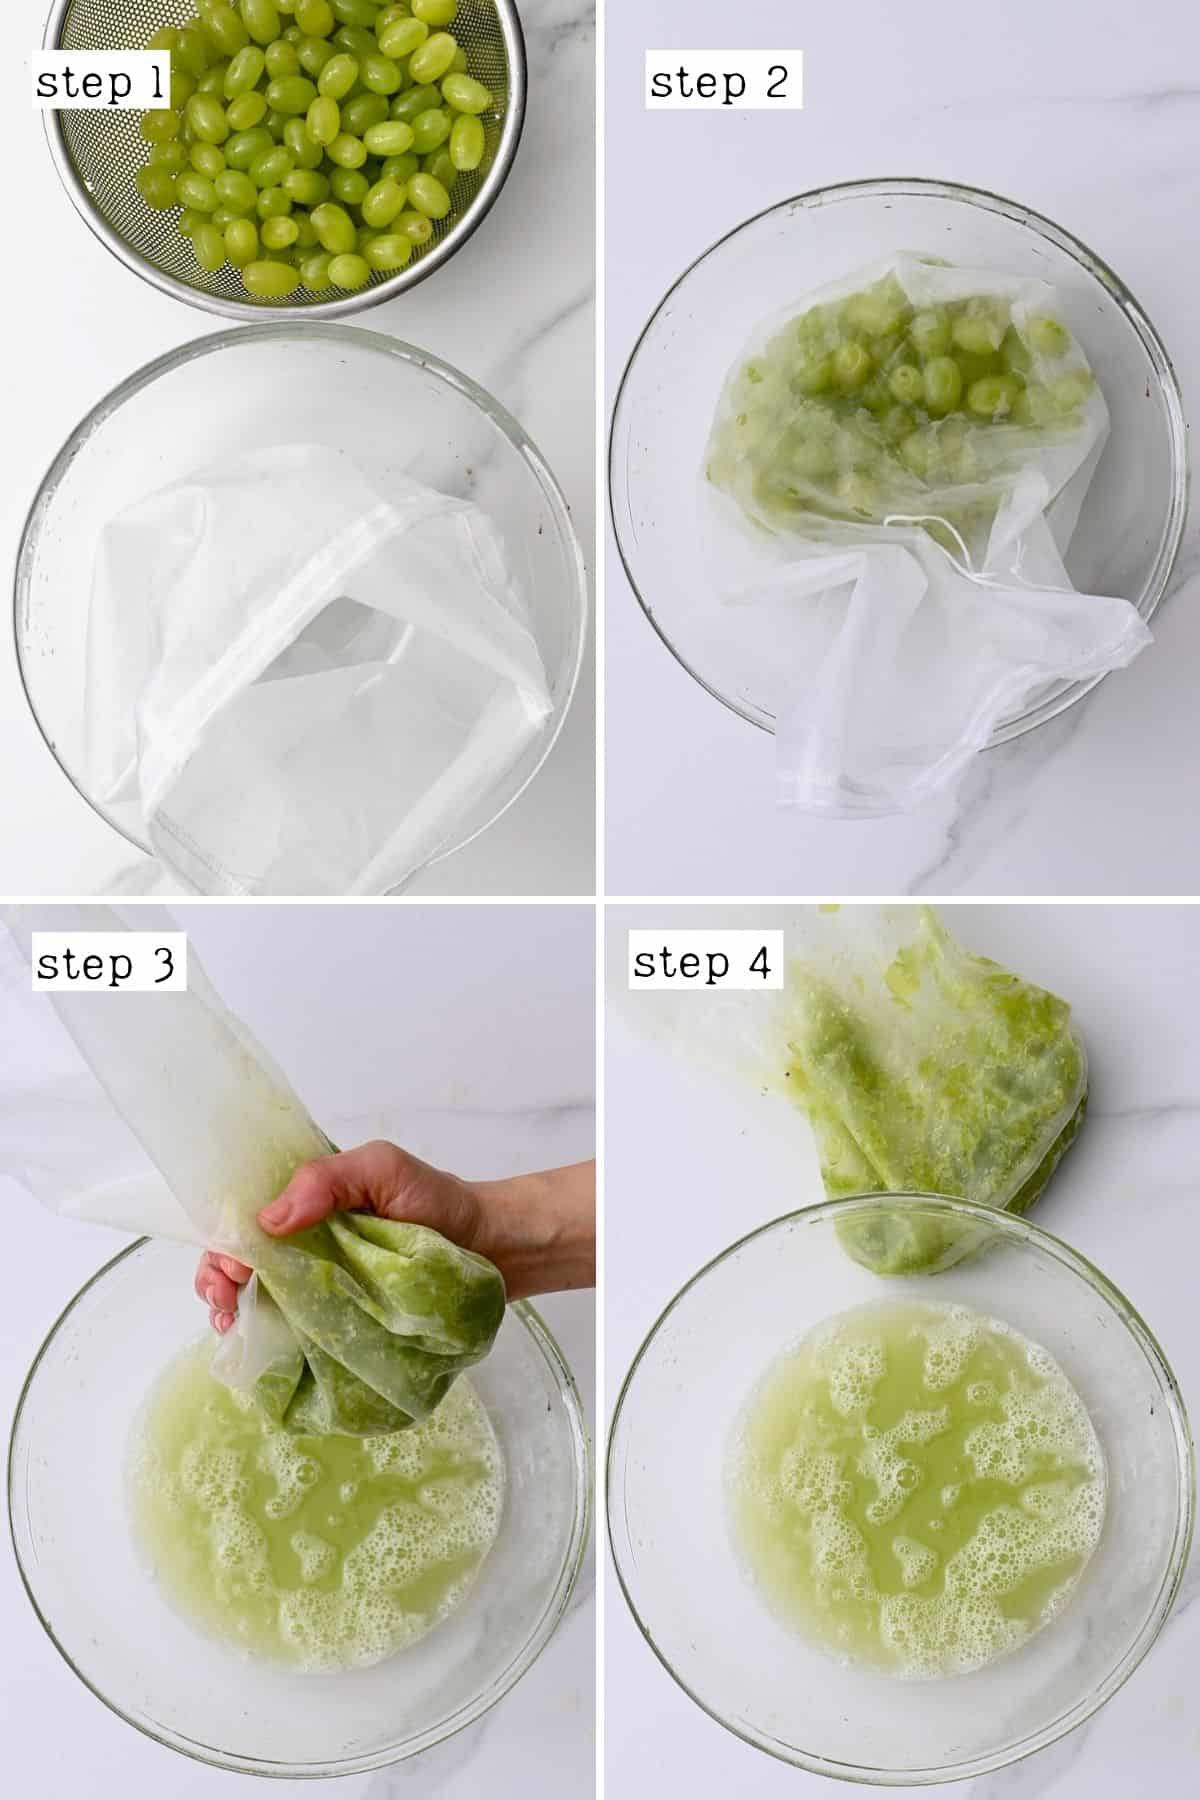
The Nut Milk Bag Method: If you have no other tools and want to enjoy the juice raw, going at it with just your hands may be your only option. This method has you put in the arm power to get the results, so it is definitely my last option (and has the lowest homemade grape juice yield).
- Working in batches, add your grapes to the nut milk bag and squeeze with your hands, using your fingers to help crush and work the grapes to extract the juice.
To help extract more juice, you could first place the grapes in a large Ziplock bag and bash them with a rolling pin or similar heavy tool. Then transfer them to the nut milk bag to finish the squeezing process.
BONUS: Stove Top Method: While this method isn’t great for those wanting to consume the juice raw, it will help to try and extract as much juice as possible from the fruits (without using a juicer).
- Add all the washed grapes and water (enough to cover the grapes) to a large, heavy-bottomed saucepan.
- Heat over medium-high heat and bring the water to a boil, then immediately reduce it to a gentle simmer for around 10 minutes, or until the skins start to burst and the liquid is a deep purple (if using red/purple grapes). Make sure to stir the grape mixture occasionally and gently mash the grapes with your spoon.
- Allow the mixture to cool slightly before straining through a sieve or nut milk bag, pushing/squeezing the grape to extract as much juice as possible.
You could also leave it overnight to naturally drain in the refrigerator. Then do a second quick strain in the morning.
How to store fresh grape juice?
To store in the refrigerator: to consume the maximum nutrients from the juice, it’s best to enjoy it immediately. However, homemade grape juice will last 5-7 in airtight jars/jugs in the refrigerator.
After that, it will begin to ferment (it is still edible, but it will turn sourer and have some carbonation). When left too long, the juice will become vinegar.
Can you freeze grape juice? While technically possible, the thawed juice tends to lose quite a bit of flavor, so I don’t recommend it.

FAQs
Generally, one pound of grapes (1lb) will yield around one cup of juice (250ml). However, the exact yield varies depending on the method.
There are several ways to use the leftover grape pulp. These include:
• Adding it to smoothies.
• Enjoy as a snack.
• Composting it.
• Use it to make a sourdough bread starter.
• Drying it, then grinding it into a “grape flour”.
Let me know in the comments if there are other ways you use the leftovers.
Along with enjoying the homemade grape juice as a refreshing drink (either as is or diluted with water, coconut water, or sparkling water), you could also use it to make fruit popsicles, turn it into grape jelly (jam), add to grape cocktails, and more!
While it’s definitely possible, I did not design this grape juice recipe with that in mind. If it’s something you’d like to do, I recommend referring to the official USDA guidelines.
More juice recipes
- Watermelon juice (4 methods)
- Carrot juice
- Pineapple juice (Multiple methods)
- Peach Juice (Peach Nectar | 2 Methods)
- Cherry Juice (Multiple Methods)
- Passion Fruit Juice (2 Methods)
If you try one of these methods for how to make grape juice (red, green, or black), I’d love to hear your thoughts/questions below. Also, I’d appreciate a recipe card rating below, and feel free to tag me in your recipe recreations on Instagram @Alphafoodie!

How to Make Grape Juice (5 Methods)
Equipment
Ingredients
- 1.3 lb grapes
This will yield about 1.5 cups of juice
Instructions
Step 1: Prepare the Grapes
- Rinse and de-stem the grapes, removing any broken/shriveled ones (or ones that appear under or overripe) as you go.
Step 2: Juice the Grapes
With a Juicer
- Simply transfer the washed grapes to the chute of your juicer and allow it to do all the work for you.The machine will naturally strain the pulp and seeds, so the juice is immediately ready to use (or freeze).
With a Food Processor/ Blender
- Transfer the grapes (in batches if necessary) to your food processor or blender and puree until as smooth as you can get (this may take up to 2 minutes).
- If you don’t mind a pulpy juice, enjoy it immediately as is. Otherwise, strain the juice through a sieve/nut milk bag first.It may help with the blending to add a small amount of water to the jug (start with ½ cup of water).
Using a Potato Masher
- Transfer the washed grapes to a large bowl or container.I recommend using a flat bottom container (like a saucepan shape) to make the mashing easiest and get into all the corners.
- Using the potato masher, mash the grapes as much as possible into a fine pulp to release the grape juice.
- Pour the juice through a strainer or nut milk bag to strain it from the pulp.For a higher juice yield: mash the grapes in a large, heavy-based saucepan. Then, after step 2, gently simmer the mixture of medium to medium-low heat for 8-10 minutes, stirring and mashing occasionally (this step softens the grapes to make them more easily mashable). Then strain the mixture through a sieve or nut milk bag.
The Nut Milk Bag Method
- Working in batches, add your grapes to the nut milk bag and squeeze with your hands, using your fingers to help crush and work the grapes to extract the juice.To help extract more juice, you could first place the grapes in a large Ziplock bag and bash them with a rolling pin or similar heavy tool. Then transfer them to the nut milk bag to finish the squeezing process.
The Stove Top Method
- Add all the washed grapes to a large, heavy-bottomed saucepan and add just enough water to cover the grapes.
- Heat over medium-high heat until the water boils, then immediately reduce it to a gentle simmer for around 10 minutes, or until the skins start to burst and the liquid is a deep purple (if using red/purple grapes). Make sure to stir the grape mixture occasionally and gently mash the grapes with your spoon.
- Allow the mixture to cool slightly before straining through a sieve or nut milk bag, pushing/squeezing the grape to extract as much juice as possible.You could also leave it overnight to naturally drain (in the refrigerator) and then do a second quick strain in the morning.
How to Store and Freeze?
- To store in the refrigerator: to consume the maximum nutrients from the juice, it’s best to enjoy it immediately. However, homemade grape juice will last 5-7 in airtight jars/jugs in the refrigerator.After that, it will begin to ferment (still edible, but will turn sourer and have some carbonation). When left too long, the juice will become vinegar.Can you freeze grape juice? While it's technically possible, the thawed juice tends to lose quite a bit of flavor, so it isn't something I recommend.
Video
Notes
- Grapes may stain: so be careful with what you wear and use during the process.
- Avoid reactive cookware: it can impart a metallic taste in the homemade grape juice.
- When straining naturally: it’s best to do so in the refrigerator as this pulpy grape flesh/juice mixture will ferment quickly when left too long at room temperature.
- The double strain: depending on which method you use, you may want to strain the juice twice to rid it of as much sediment as possible. ALTERNATIVELY, if you allow the juice to rest in a container for 24 hours, the sediment will settle at the bottom. You can then transfer the juice on top to another container.
- Adjust sweetness if preferred: depending on the variety of grape you use, you may or may not find you’d like to add some sweetener. I.e., concord grape juice is wonderfully sweet. However, green grape juice may need a small amount of sugar.
Nutrition
Nutrition information is automatically calculated, so should only be used as an approximation.


I squeeze/wring the grapes in a sackcloth bag (e.g., from basmati rice) before boiling and blend the skins in a blender; then spread them ~3/16ths in. deep on parchment paper in a cookie sheet and dehydrate them ~3h at 140° F. for fruit roll-ups. Grandkids love them.
Thanks for the tip, Alvin. Turning the grape skins into fruit roll-ups sounds delicious!
I can barely believe that I made what I am drinking! It tastes so good. Thank you!!
So happy you gave it a try, Aura.
What kind of juicer do you have?
Hi!
I use an Omega juicer – it’s linked on this blog post (in the Recipe card).
Just made my own grape juice and it tastes amazing. Thanks a lot.
Glad you enjoyed it! 🙂
If I make the juice in a juicer, can I store it in jars in the refrigerator and for how long?
Hi Angela,
Yes, you can store the juice in jars in the fridge. It’s best to consume it within 5-7 days. I hope this helps.
Thank you! This worked wonderfully!
Glad you liked it, Ann!