
This post may contain affiliate links. Please read our disclosure policy.


A few simple methods on how to open a coconut and remove the water and meat – including options that help preserve the shell to make coconut bowls!
Quoting from a song you’ll have heard lots on my Instagram if you follow me there, ‘the coconut nut is a big-big nut, but its delicious nut is not a nut. It’s the coco fruit of the coco trees, from the coco palm family!‘. And what a delicious fruit it is that has had me coming back to it time and time again for DIYs and recipes. In any case though, first, you need to know how to open a coconut at home.
This post contains a few methods on how to open a coconut with no ‘coconut opener’ required. Over the years, I’ve tried a few techniques and compiled a list of my favorites. Now, I’ve come to the point where I always open a coconut the same two ways (the hammer and/or saw method). However, for those without these tools, I have some options for you too.
If this is something you’ve never done before, then this might seem daunting. Choosing the right method for you usually depends on whether or not you want to make bowls with the shell – as many methods aren’t precise as to where the shell cracks for the coconut halves. However, using a small (and cheap) handsaw is the perfect fix for that.
Within this post, I’ll be outlining four methods on how to crack open a coconut, including the Hammer method, Bang method, Oven method, Saw method, and even an extra Tool-Free method!
It’s worth noting that there are coconut opener tools, too. While these packs generally contain a hammer, draining tool, and fresh coconut meat scraper – each of these can be substituted for tools you may have lying around (a hammer, screwdriver, butter knife).
There are two steps to opening a coconut – first, removing the coconut water; then, opening the shell.
Want to save this recipe?
To Drain The Coconut Water
Before anything else, you’ll need to remove the coconut water from the fruit. To do this, there are two main methods – one that keeps the shell intact (for when you want to make coconut bowls with no holes) and one that doesn’t.
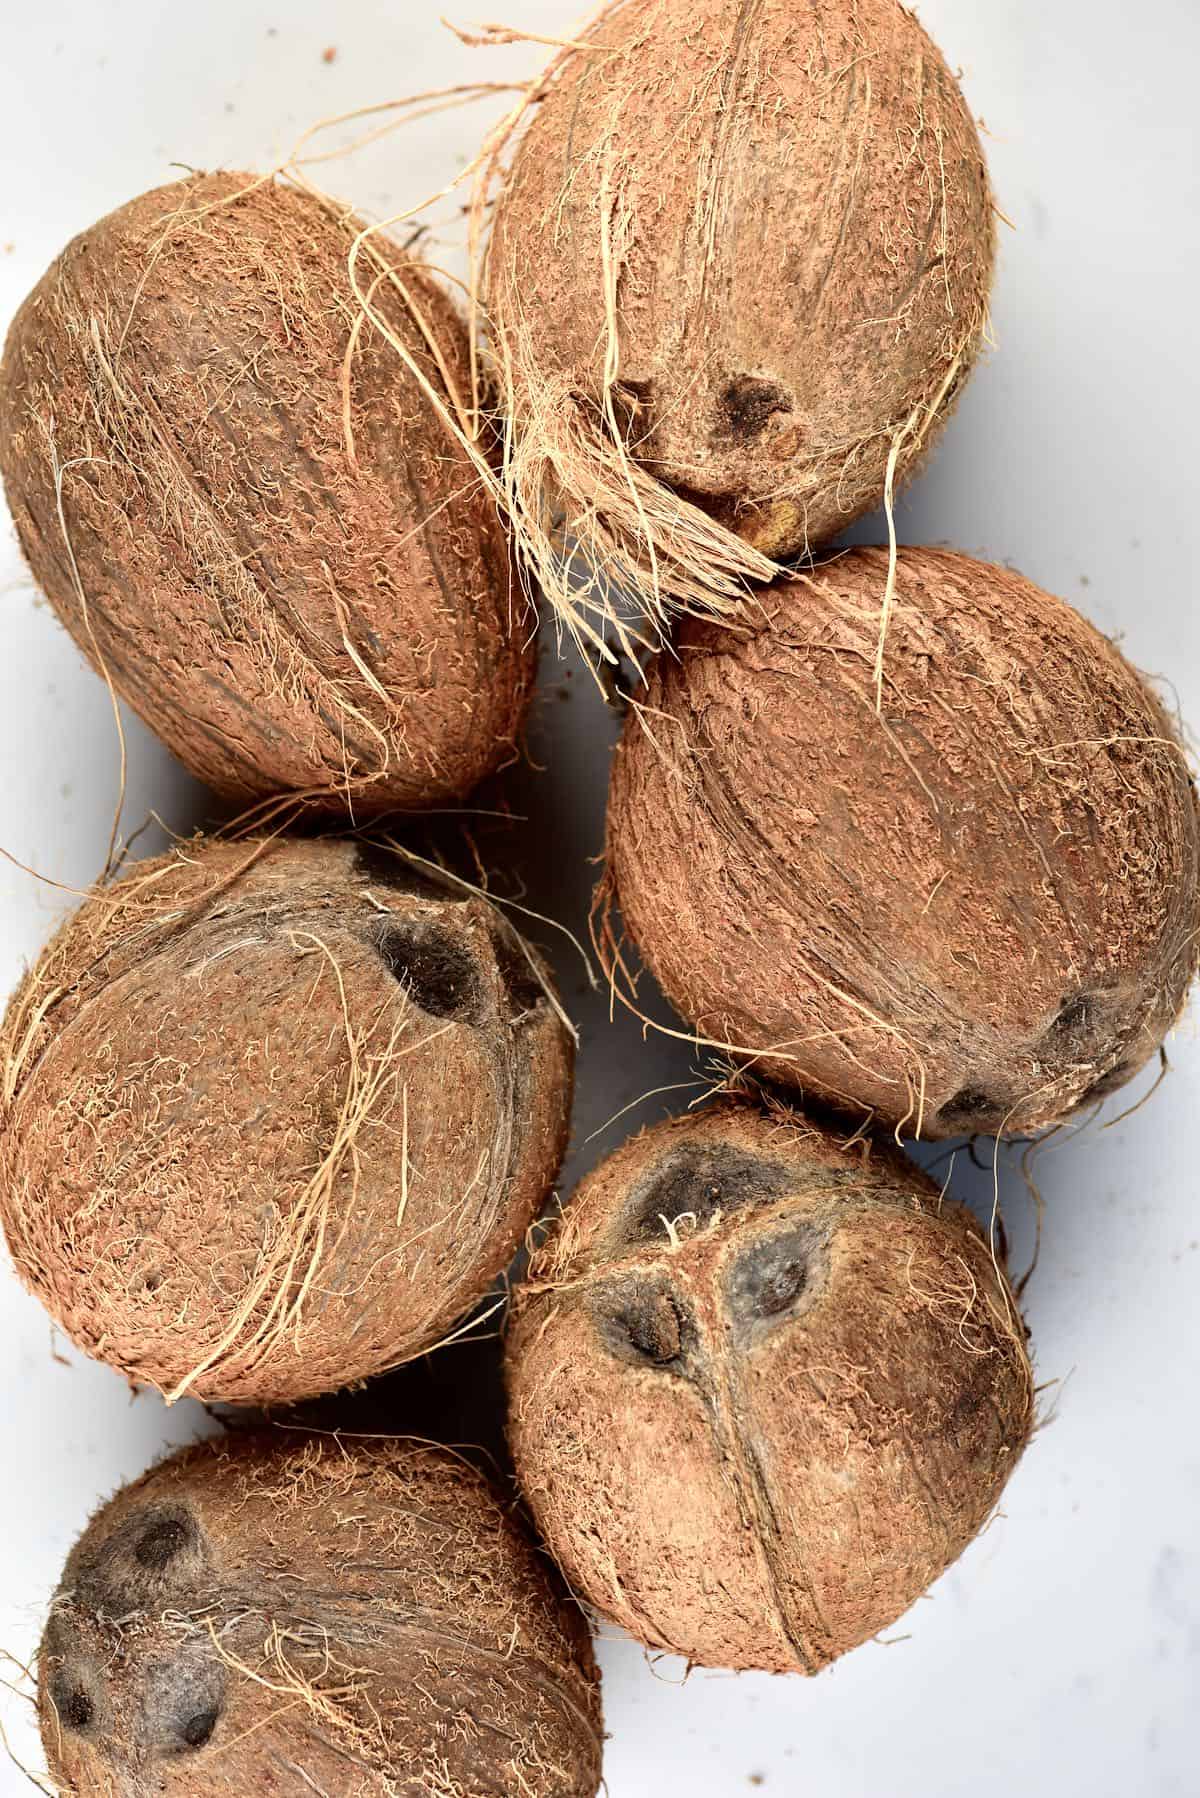
I’ll start with the one that doesn’t – as it’s the most common option. Simply hold the coconut in place (you can also place a kitchen towel beneath it to help keep it steady) to begin. At the top of the coconut, there are usually ‘eyes,’ where the shell is thinnest.
The aim is to poke a hole in the eyes and drain the liquid from it. To do this, you can use a screwdriver or large, clean nail and a hammer to drive it into the shell. Once you have holes, then simply drain the coconut water into a glass.
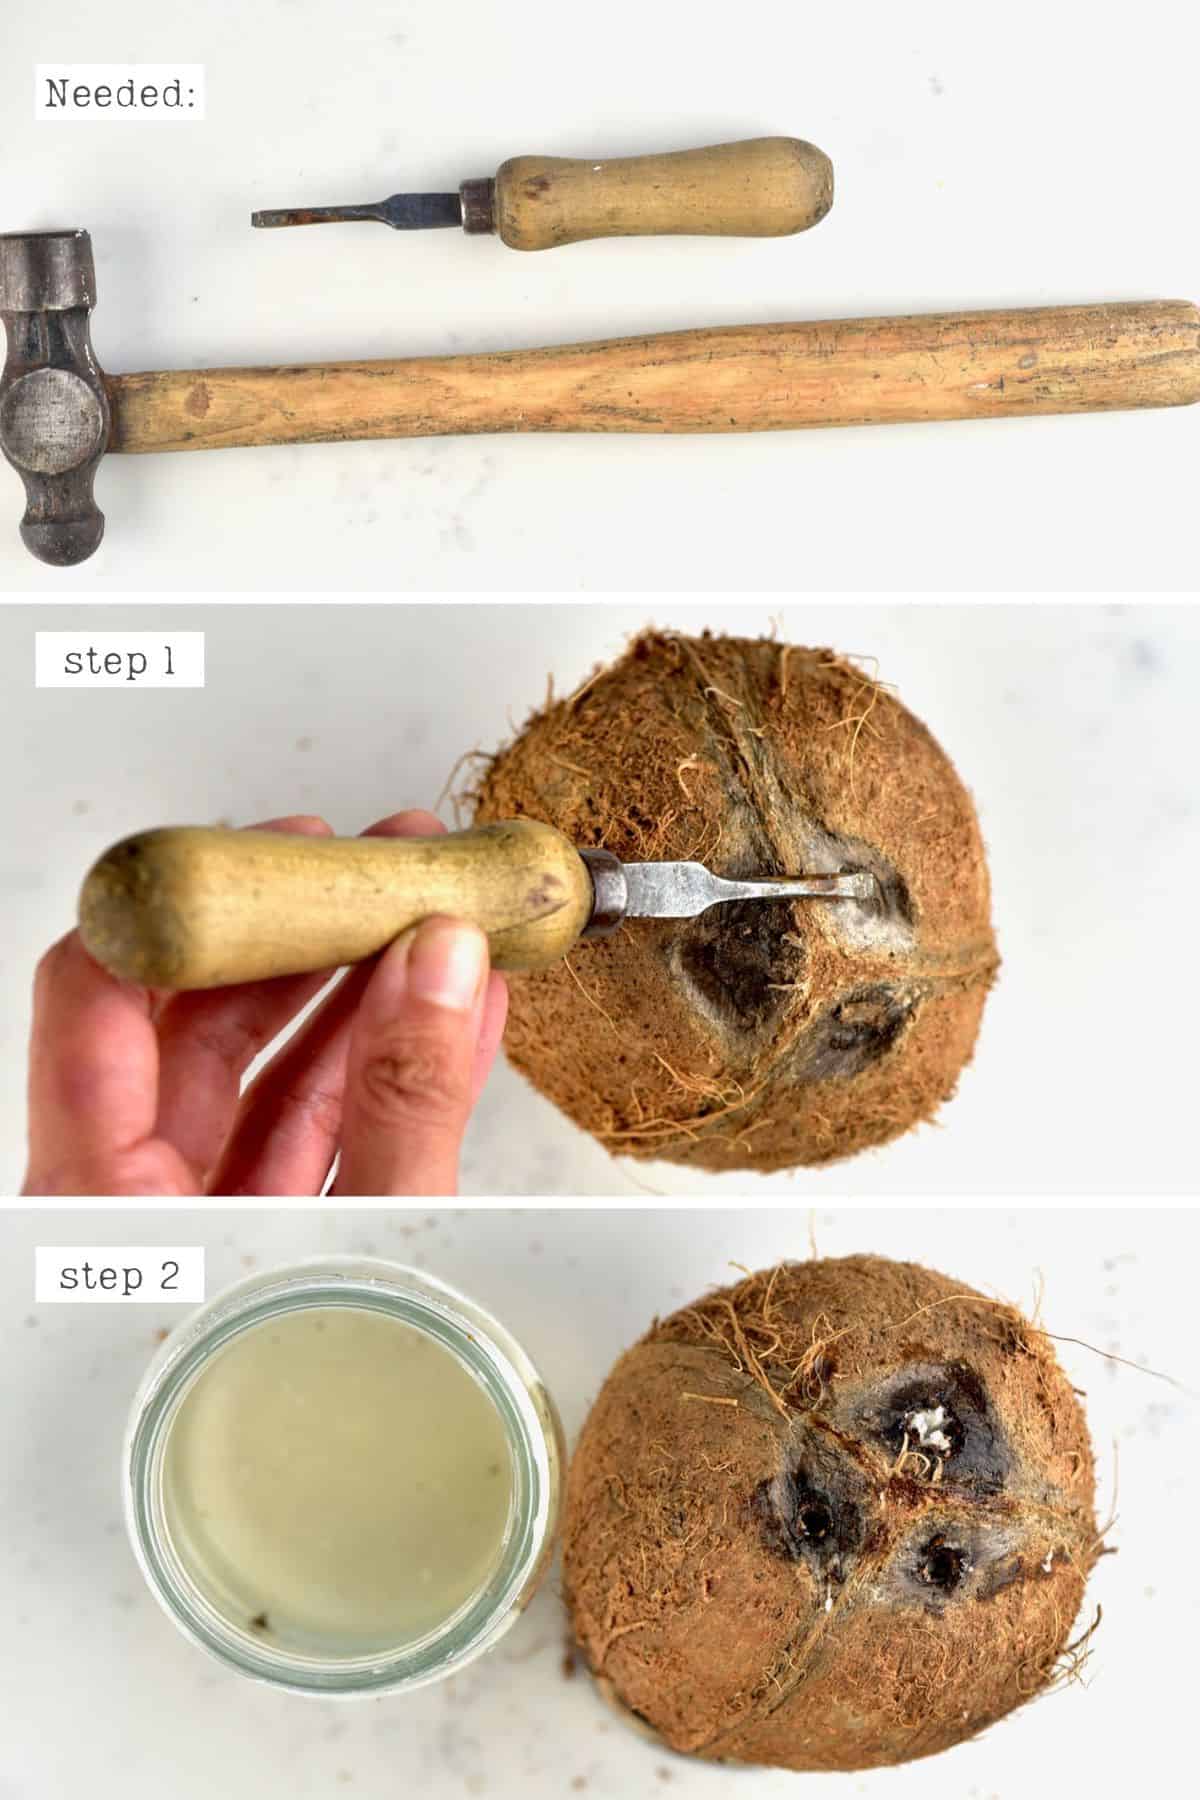
It’s good to do this through a sieve, cheesecloth, or nut milk bag, so there are no bits in the water. You can then drink this as is or add it to smoothies and other drinks/recipes.
Once drained, it’s time to open the coconut using one of the methods outlined below.
Check the Saw Method below to see how to remove the water without making holes in the shells – I use this method mostly when I want to make coconut bowls.
To Open The Coconut
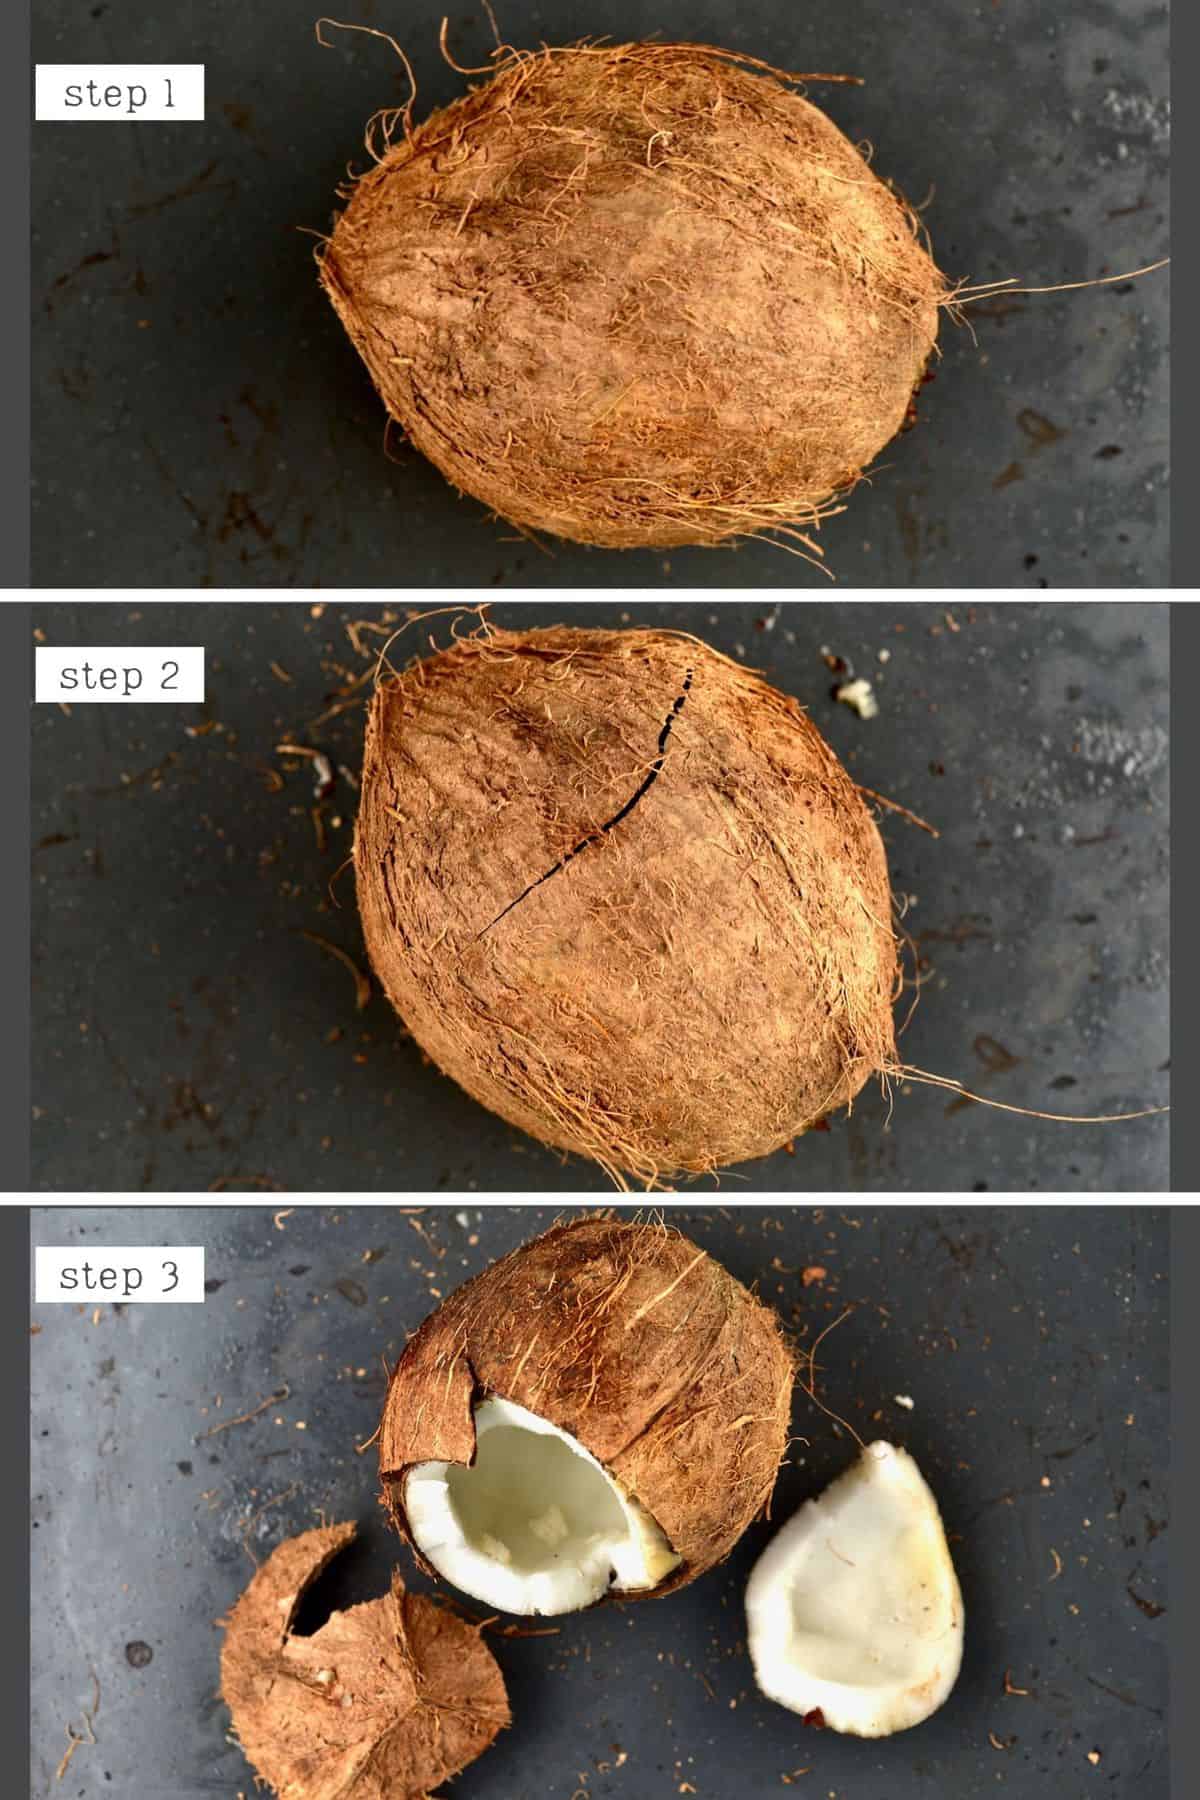
The Bang Method
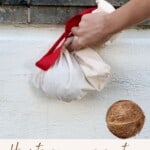
When I first started to eat coconut, I would remove the water, put my drained coconut in a bag, walk outside my apartment to the stone steps leading up to the door and bash it against the wall a few times until the shell cracked enough to pull open.
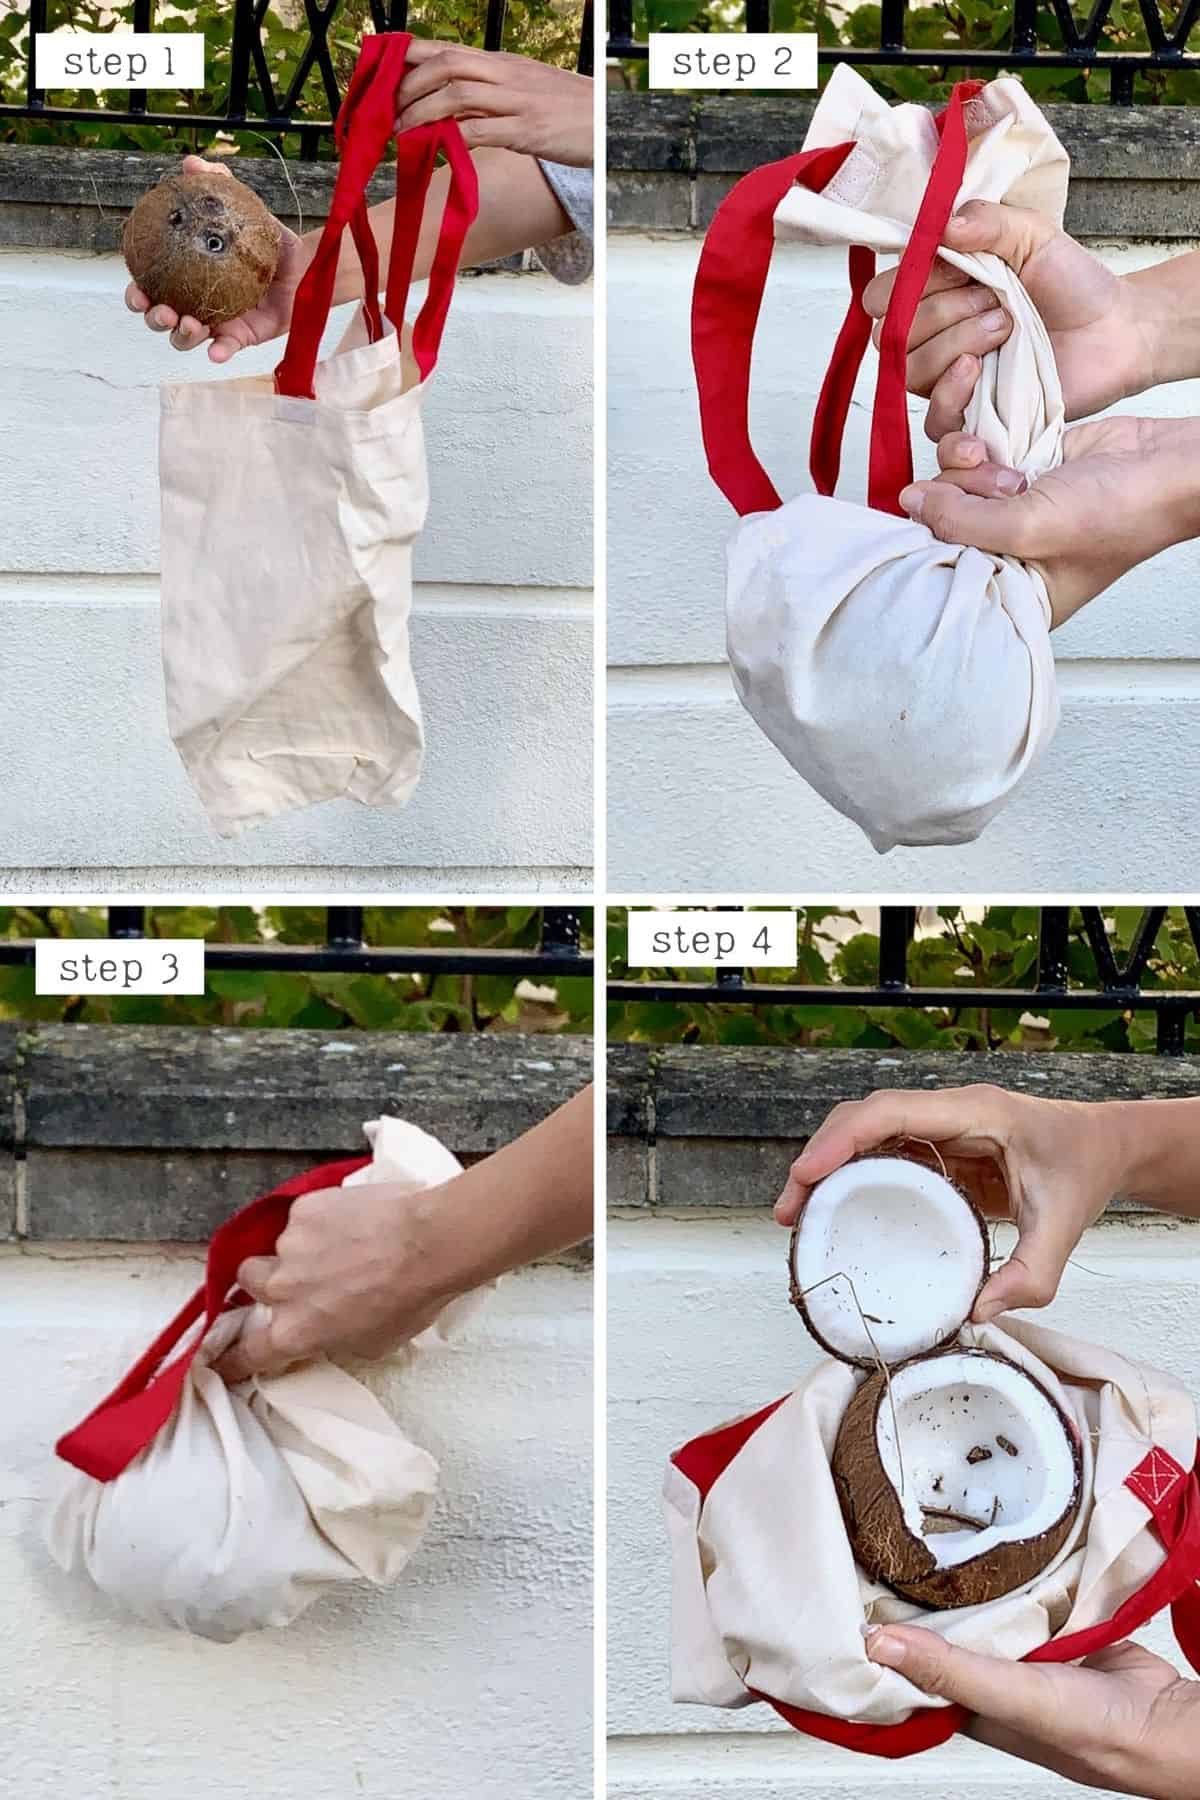
Now, it may not be the most elegant method, but it gets the job done. So, if you have any hard rocky surfaces near where you live, then have at it. Just find a fairly hard object (it helps if there’s a pointy edge!) to ram your coconut into a few times, twisting as you do – and the shell will crack open.
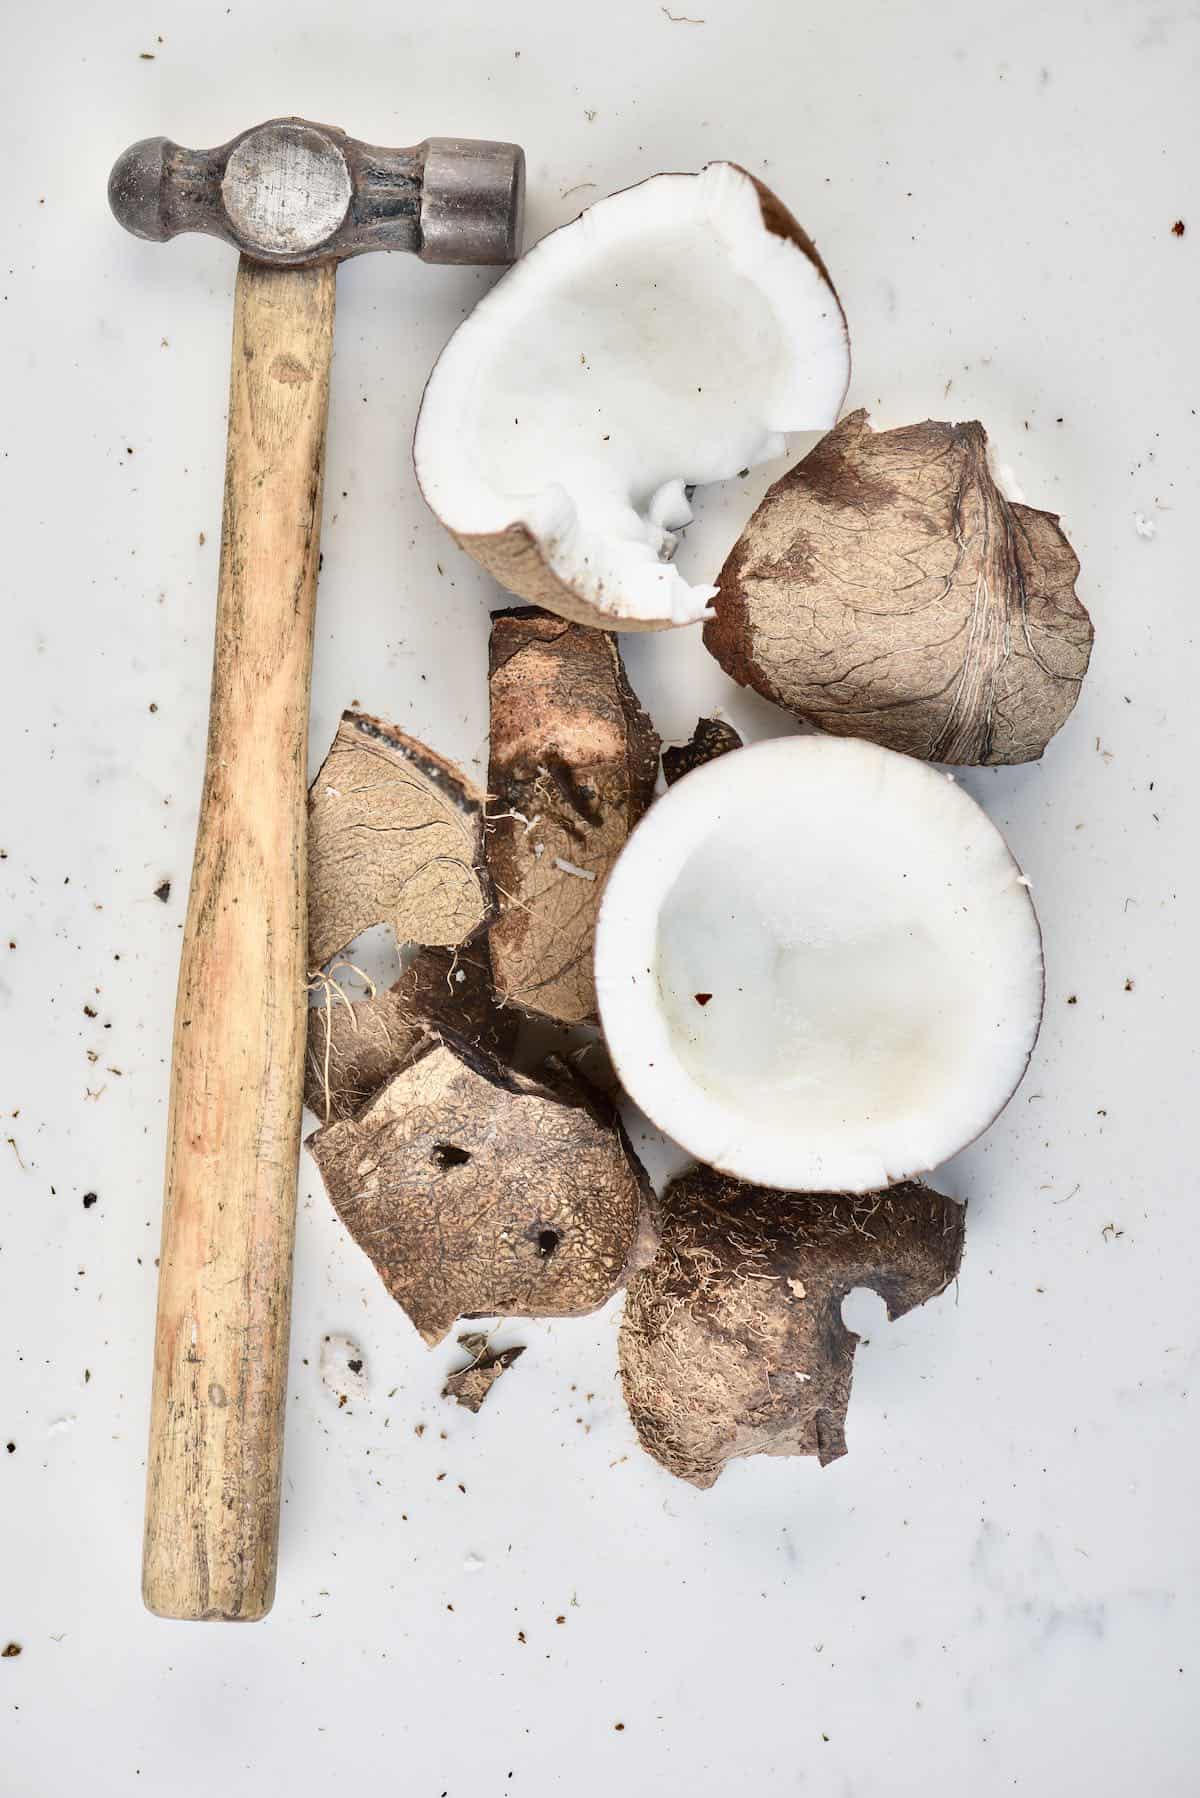
The Hammer Method
Once again, this method is done after draining the water from the fruit first. Place the drained coconut onto a cloth to stop it from rolling around and then lightly hammer the center of the shell, rotating the fruit as you go. It will crack in half fairly easily this way, although not always evenly.
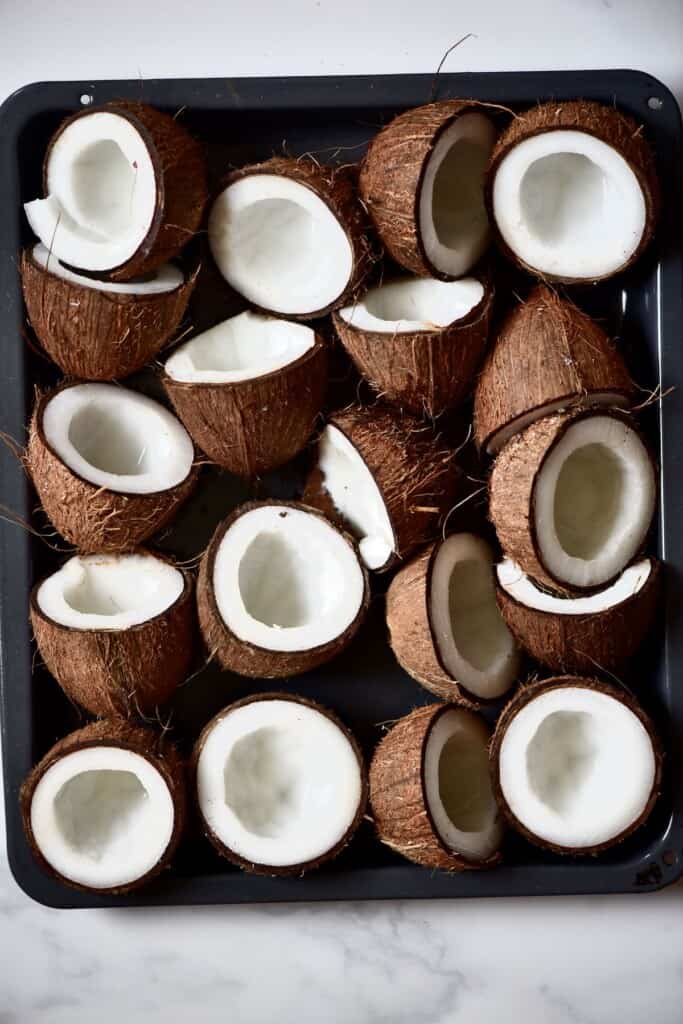
The Oven Method
After draining the water, you can use the oven method to crack the shell. Place it on a baking tray in the oven for 15 minutes at 190ºC/375ºF. Removing it from the oven, you’ll notice that the shell should have a large crack that’s big enough to pry open.
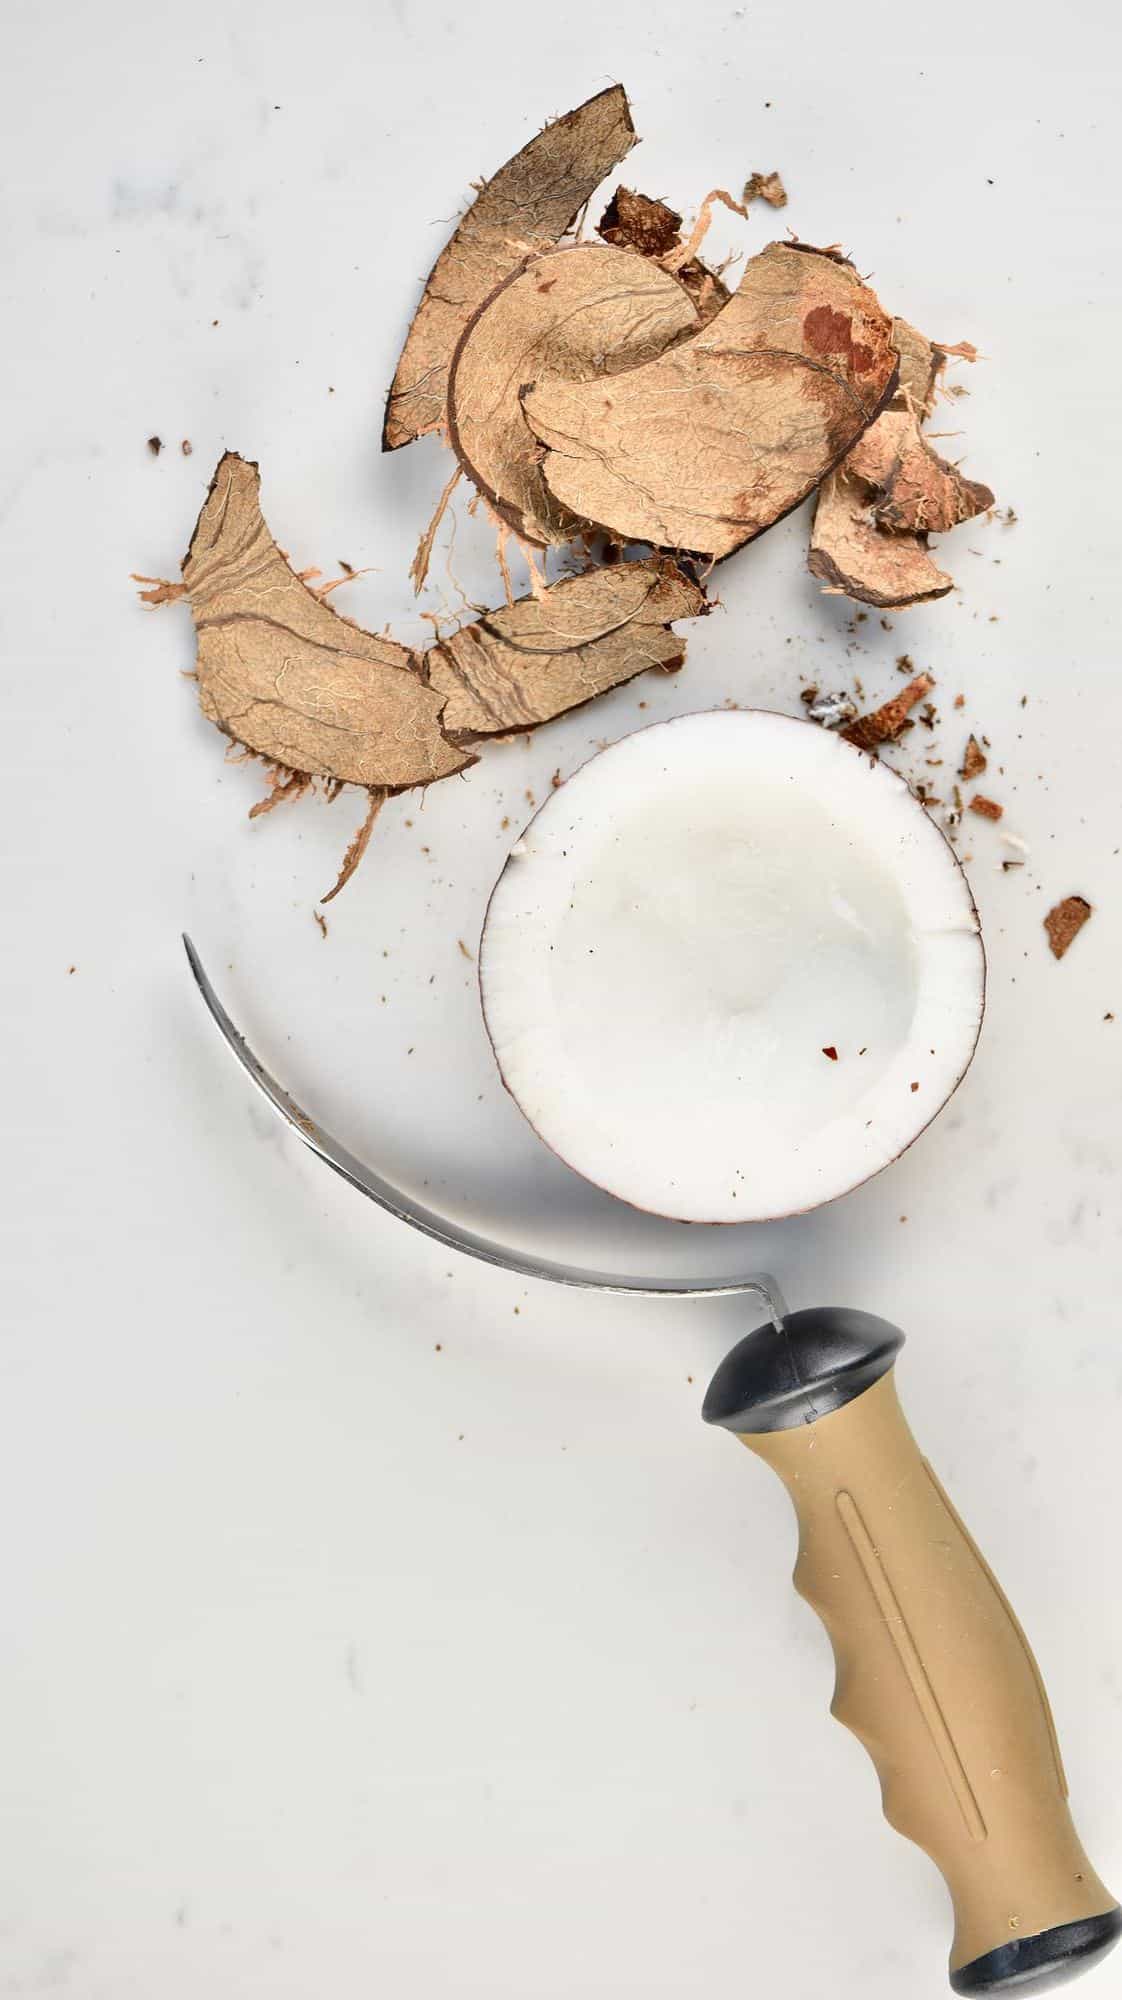
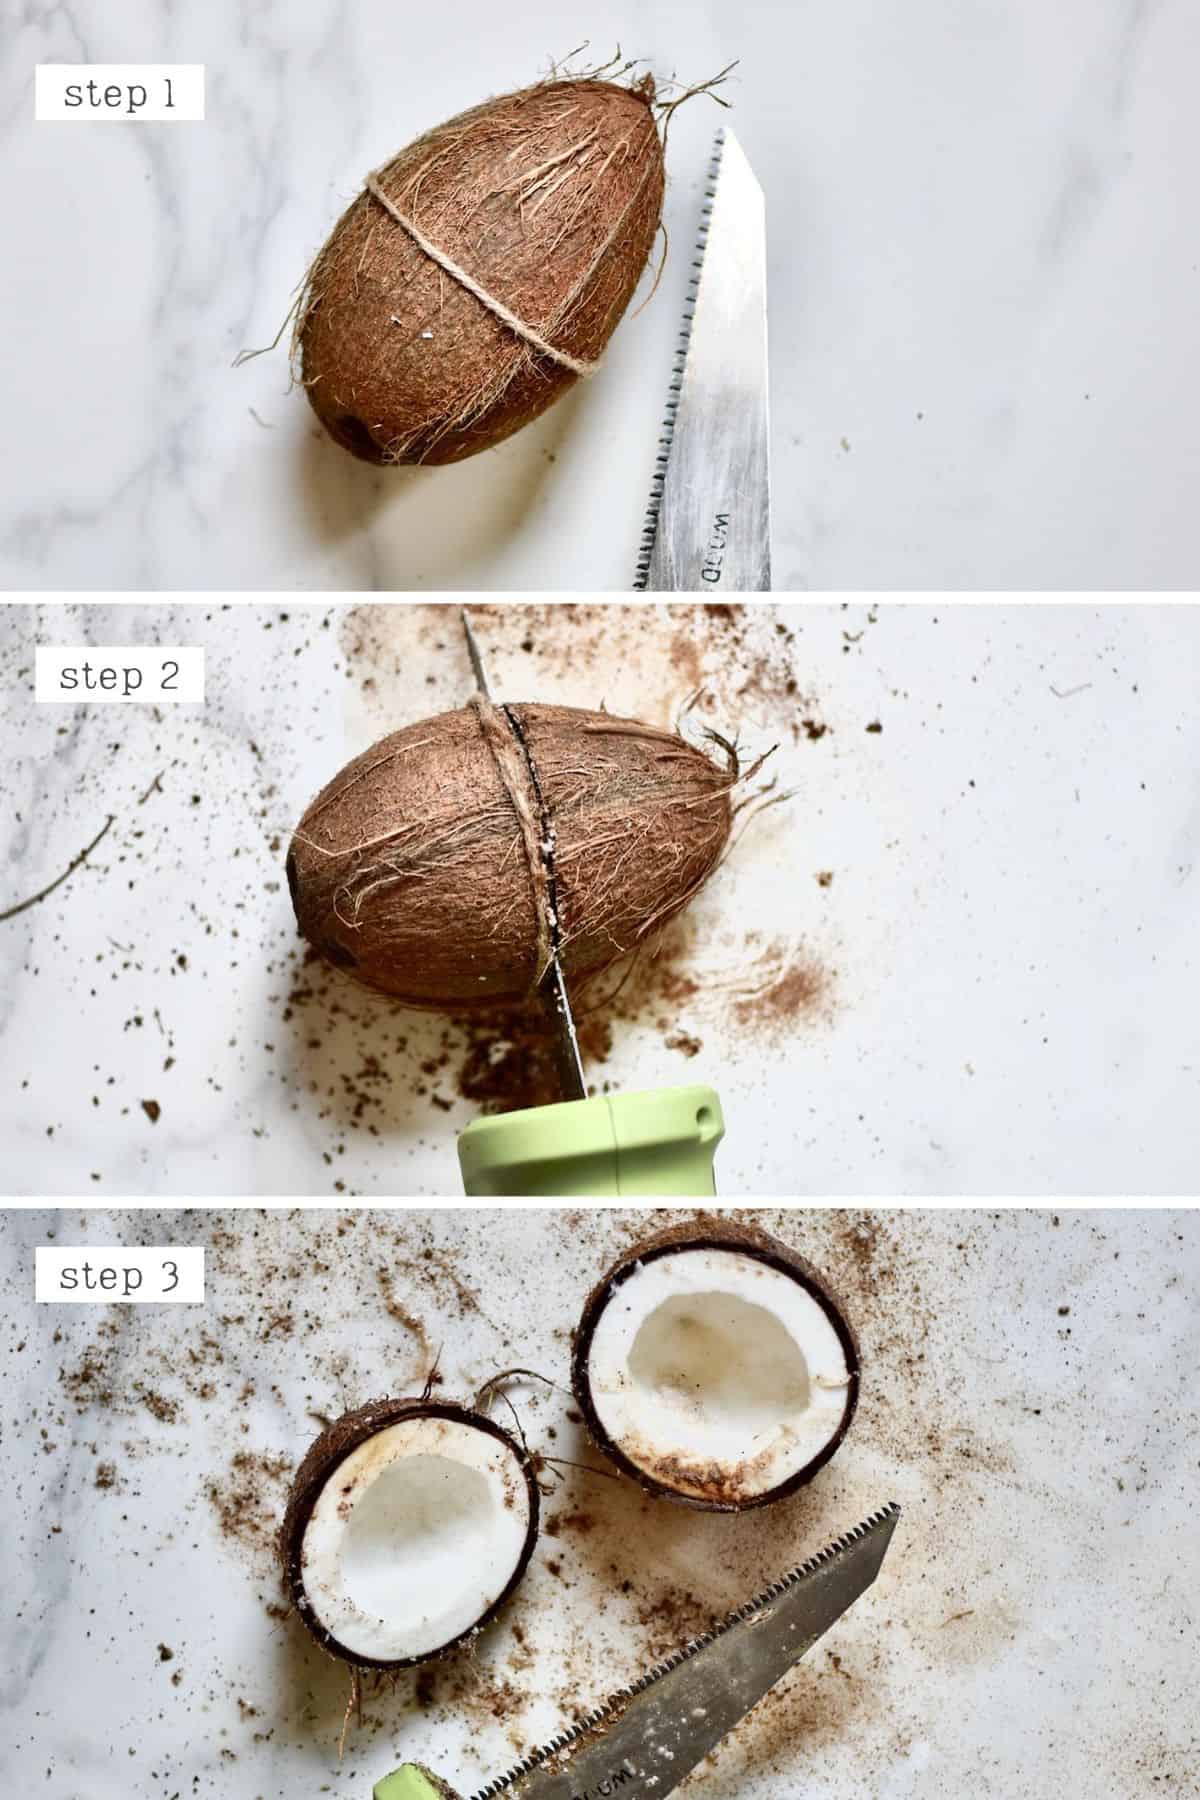
The Saw Method
This is the one I reserve for when I’m trying to make perfectly even shell bowls. Uneven shells can still be used in a variety of ways; to house candles, hold jewelry, etc. However, if you’re wanting coconut bowls you could place food in, then this is the way to go. *
For this method, you just need a small handheld saw. If, for whatever reason, you have some sort of clamp – then go ahead and use it. I just tend to place my coconut on a dish towel to stop it from rolling around and then carefully saw it in half.
Bonus – The Freezer Method
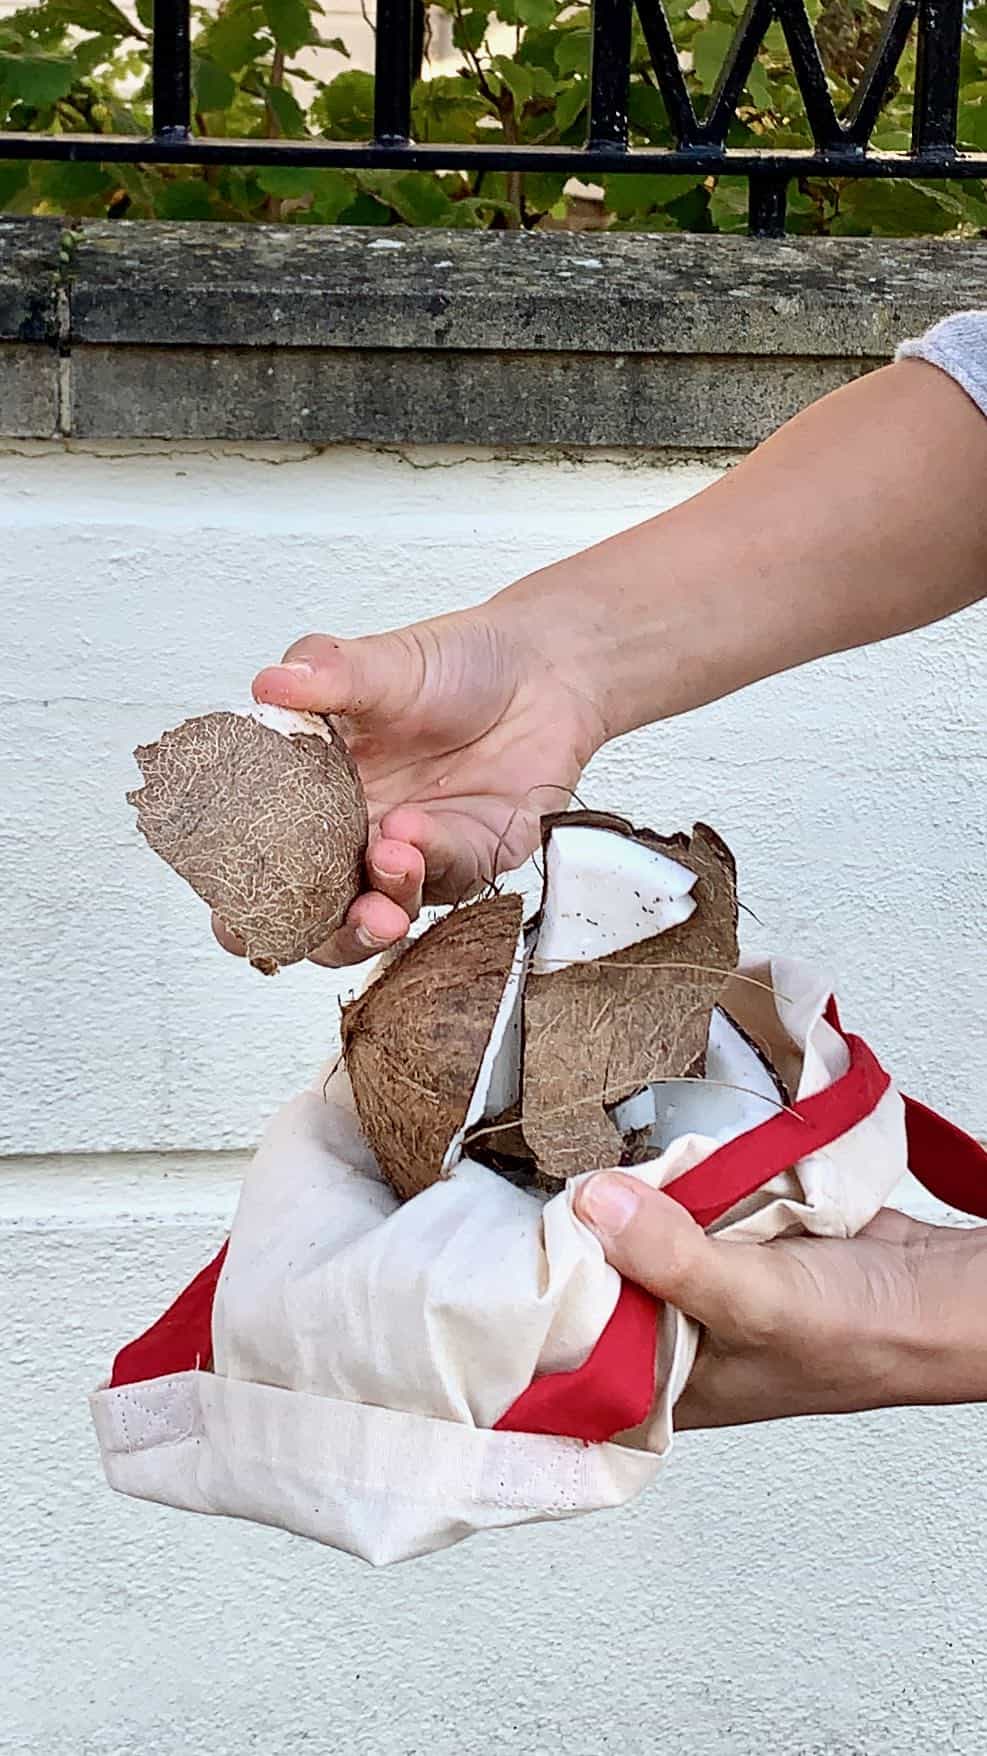
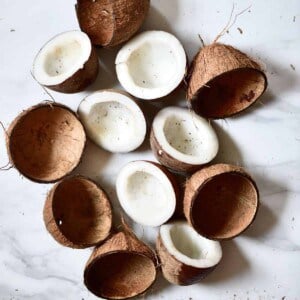
This method isn’t so much about actually cracking the shell open, but more to do with making the meat easily removable. Simply place your coconut in the freezer overnight and then use the hammer method above, and the coconut meat should easily detach from the coconut shell, sometimes as a single whole piece!
How To Use Coconut
Once opened and you remove the coconut water and meat, there are tons of incredible DIYs and recipes that you can make, including:
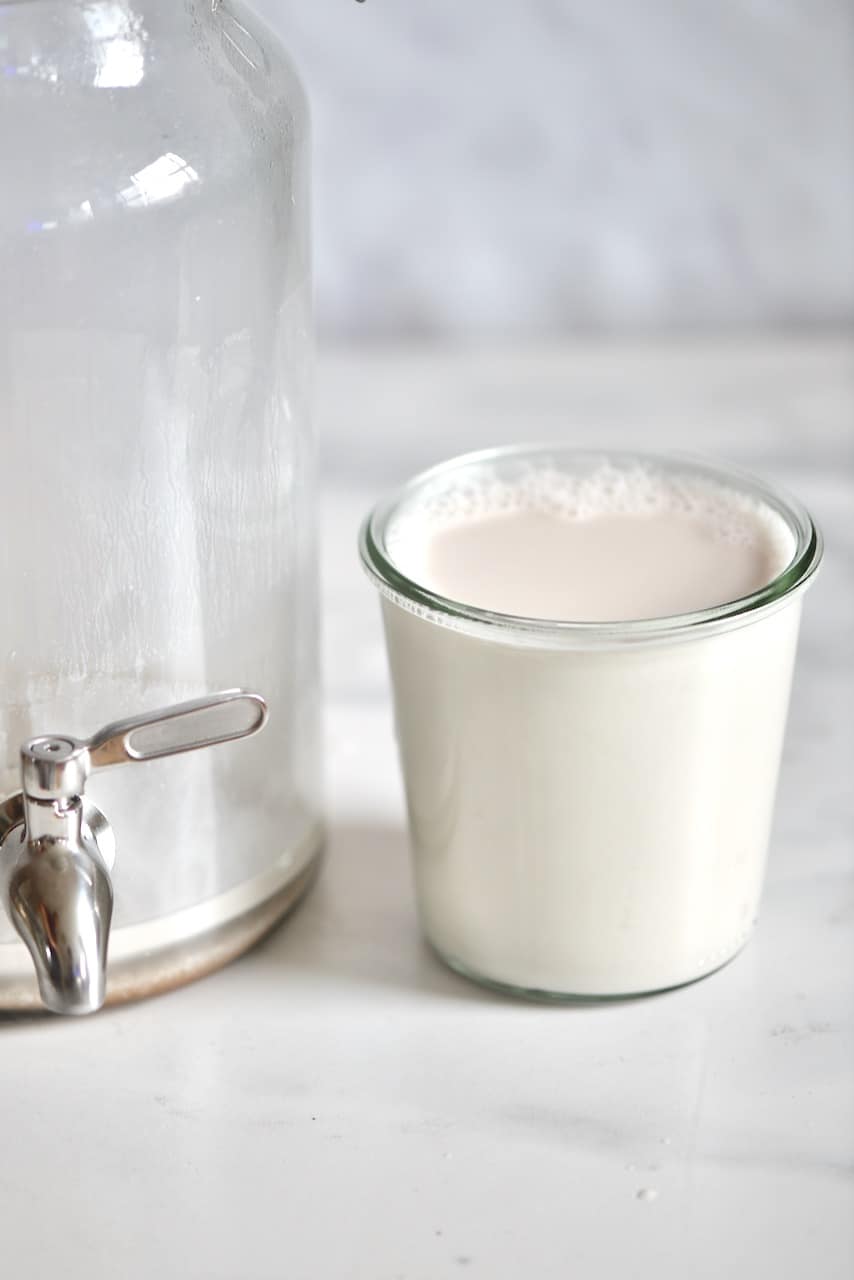
- Milk & Cream
- Virgin Coconut Oil
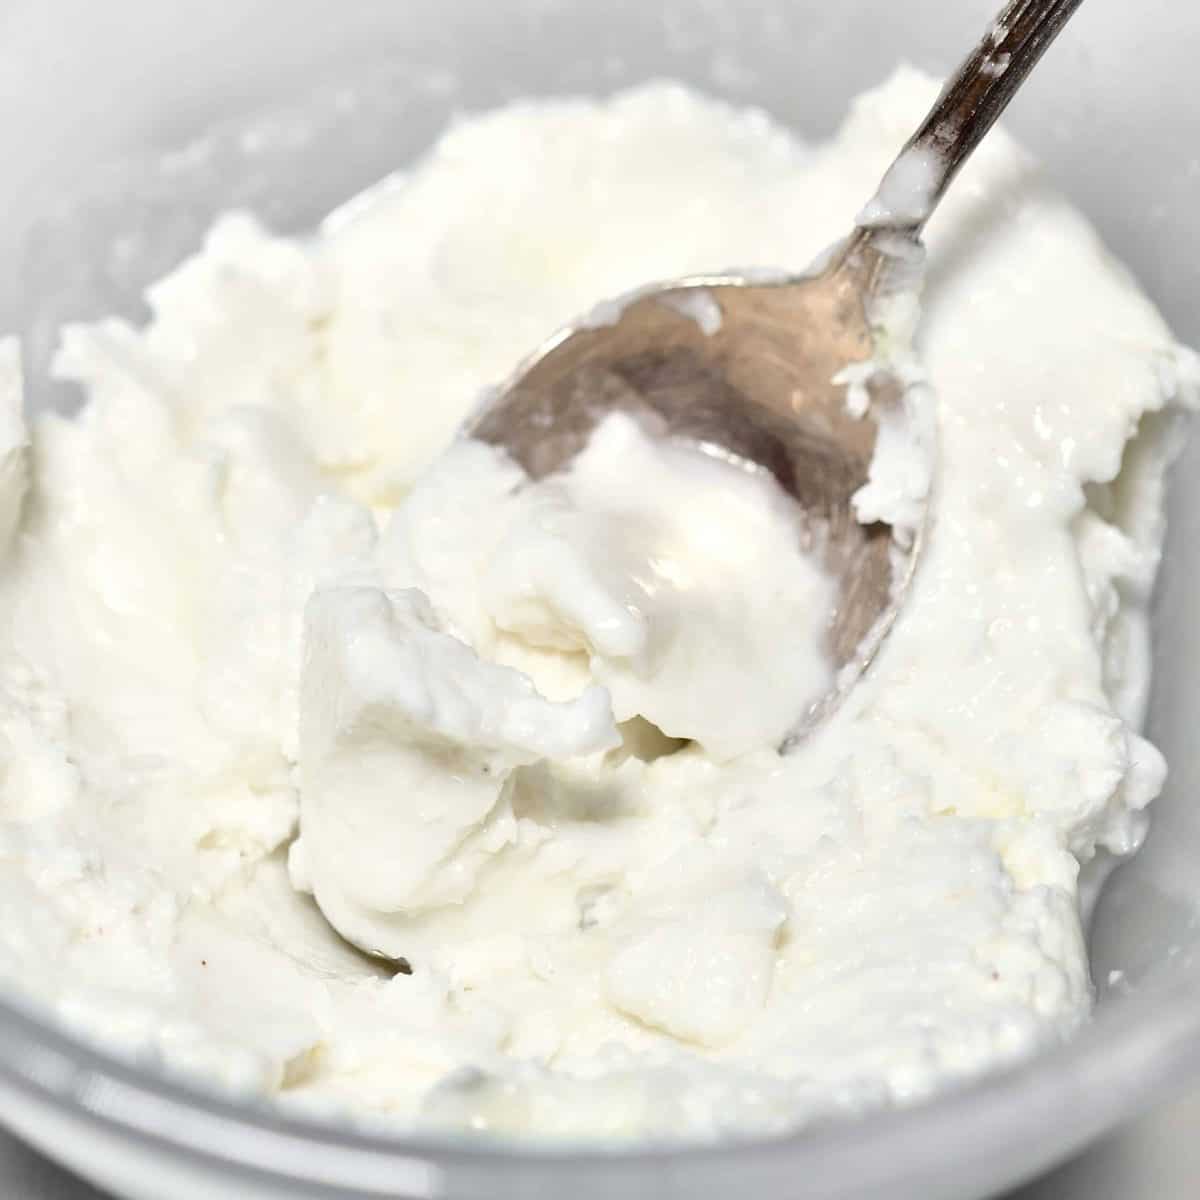
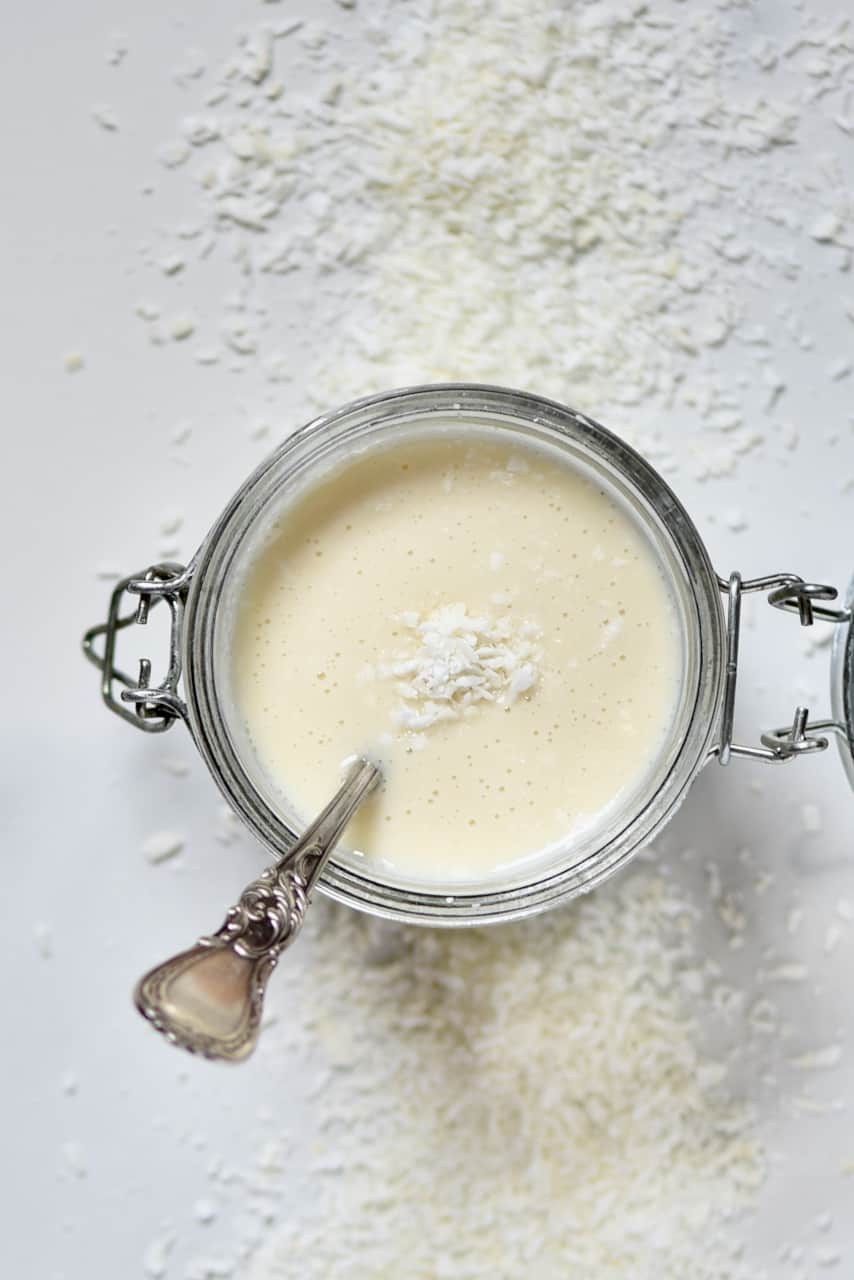
- Coconut Butter
- Flour
- Shredded and Chips/Flakes
- Powdered milk
- Bowls
- Condensed milk
Recipes Using Coconut
Savory dishes, including soups, stews, and curries, are made deliciously creamy with the addition of coconut milk or coconut cream.
And, of course, there are tons of sweet uses for this fruit!
These include using shredded coconut to top smoothie bowls and various desserts, as well as, coconut being used within multiple desserts:
However, those are just a few of the options I have here on my blog. Feel free to browse through them all by searching ‘Coconut’ in the search bar. And don’t forget to tag me in any of your recreations on Instagram @AlphaFoodie.
How To Open A Coconut
Equipment
- Screwdriver or sharp, clean nail
Ingredients
- Coconuts
Instructions
To Drain The Coconut Water:
- Before anything else, you'll need to remove the coconut water from the fruit. To do this there are two main methods – one that keeps the shell intact (for when you're wanting to make coconut bowls with no holes) and one that doesn't.
- If you don't need the shell intact, simply hold the coconut in place (you can also place a kitchen towel beneath it, to help keep it steady) to begin with. At the top of the coconut, there are usually 'eyes', where the shell is thinnest. The aim is to poke a hole in the eyes and drain the liquid from it. You can use a screwdriver or large, clean nail and a hammer, to drive it into the shell.
- Once you have holes then simply drain the coconut water into a glass. It's good to do this through a sieve, cheesecloth, or nut milk bag, so there are no bits in the water. You can then drink this as is or add it to smoothies and other drinks/recipes.
- Once drained it's time to open the coconut using one of the methods outlined below.
The Bang Method:
- Put the drained coconut in a bag and bash it against a hard wall (outside of your building preferably) a few times until the shell cracks enough to pull open.
- If you want to go completely tool-free then you can simply bang the shell against a hard edge enough to get your first cracks and quickly drain the water into a bowl before continuing to crack it open.
The Hammer Method:
- Once again, this method is done after draining the water from the fruit first. Place the drained coconut onto a cloth to stop it from rolling around and then lightly hammer the center of the shell, rotating the fruit as you go. It will crack in half fairly easily this way, although not always evenly.
The Oven Method:
- After draining the water, you can use the oven method to crack the shell. Place it on a baking tray in the oven for 15 minutes at 190ºC/375ºF. Removing it from the oven, you'll notice that the shell should have a large crack that's big enough to pry open.
The Saw Method:
- This is the one I reserve for when I'm trying to make perfectly even shell bowls. Uneven shells can still be used in a variety of ways: to house candles, hold jewelry, etc. However, if you're wanting coconut bowls you could place food in, then this is the way to go. *
- For this method, you just need a small handheld saw. If, for whatever reason, you have some sort of clamp – then go ahead and use it. I just tend to place my coconut on a dish towel to stop it from rolling around and then carefully saw it in half.
BONUS! Freezer Method:
- This method isn't so much about actually cracking the shell open, but more to do with making the meat easily removable. Simply place your coconut in the freezer overnight and then use the hammer method above, and the coconut meat should easily detach from the coconut shell, sometimes as a single whole piece!


Hey, I’m looking to make some coconut bowls, but struggled to find a good saw. Which one do you recommend/use here? Thanks!
Hi there.
I find a fine-tooth hacksaw or a small hand saw with a thin blade works best. Make sure to be extra careful and to wear safety gear when making the coconut bowls.
Very good breakdown on how to open a coconut. Plan on trying some of the suggested recipies very soon. The coconut bliss balls sound like a winner 2 me! Thanks for sharing!
Thanks, Matt! Hope you give them a try soon. 🙂
Thank you. Will try the saw method.
Once halved, how do you remove the meat from the shell in once piece as shown in your photo?
Hi Rosie,
Please be careful with the saw! 🙂
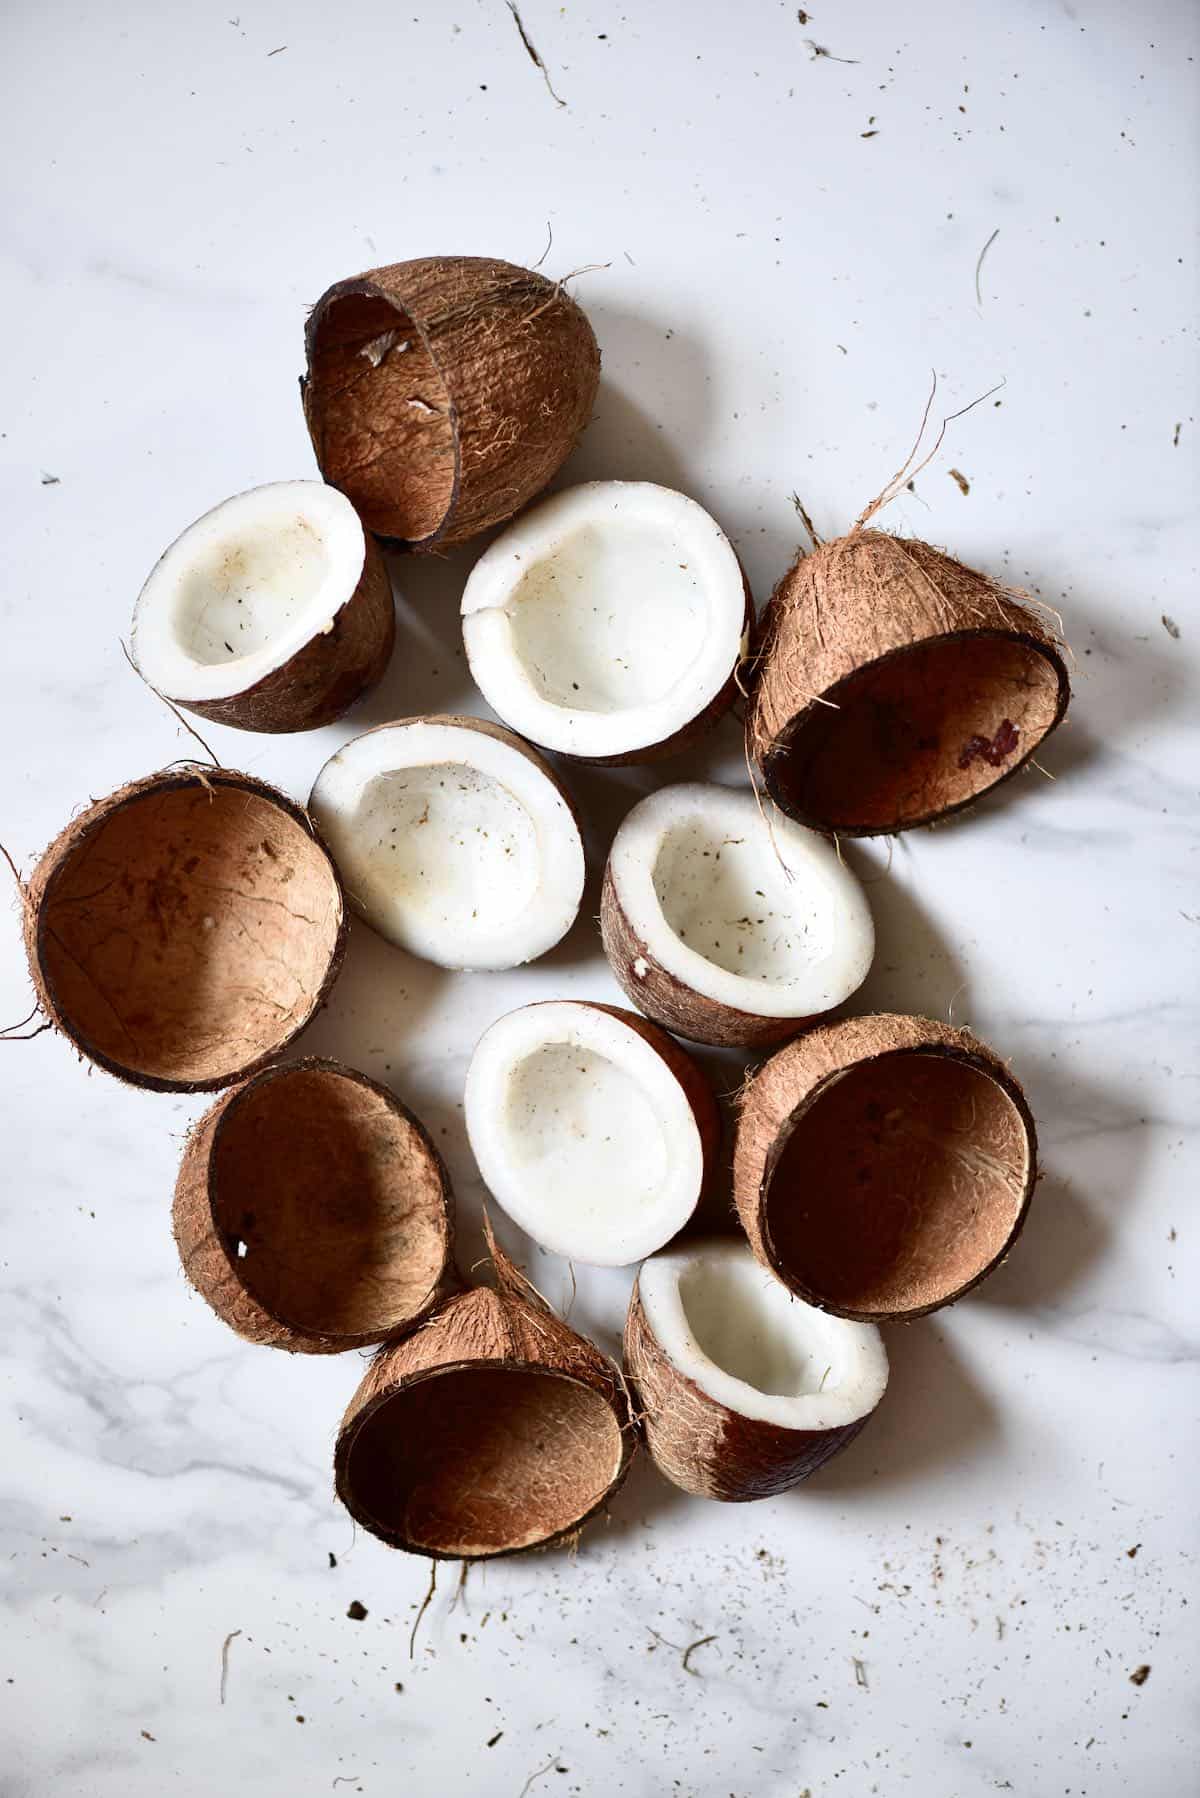
To remove the meat – you can use a butter knife or other “blunt” knife to slot between the coconut meat and shell. Work your way around the coconut, prying the meat away from the shell, and eventually, it will come loose – possibly in one piece or broken down.
Alternatively, you can get specific “coconut tools” to remove the coconut meat but I find it expensive if used just very occasionally.
I also find that placing the coconut halves in the oven at 350°F/175°C for 10-15 minutes helps to shrink the meat and then it comes out more easily.
Thanks for this! I used the screwdriver and hammer method to get the water out. Then, I used the method of putting the coconut in a bag and whacking it on a rock to crack it open. Felt awesome! Saving this article so I know what to do with the meat next. <3
So happy you tried these methods, Laura! I suggest browsing the blog as well for coconut recipes – there’s coconut bake, homemade bounty bar, coconut chips, coconut bliss balls, and others that you might like <3