
This post may contain affiliate links. Please read our disclosure policy.


Avoid wasting fresh or stale bread by learning how to make homemade breadcrumbs (fresh or dry) and Italian breadcrumbs in just minutes!
Store-bought breadcrumbs may be cheap, but they’re often lackluster, only come in certain sizes, and definitely aren’t ‘fresh’ (not to mention that most contain gluten and/or dairy). In comparison, when making homemade breadcrumbs, it’s easy to use the bread of your choice (i.e., gluten-free if needed, whole wheat bread, etc.) and process them to the size of your choice. The result is flavorful homemade breadcrumbs whenever needed.
I’ll often buy a fresh loaf from my supermarket or local bakery – unfortunately, as there’s just one of me in the house that’s a lot of bread, so after I’ve used some for Creamy Mushroom Toast and mopped up dips like this Creamy Homemade Hummus – I always have leftovers. Not only is this learning how to make homemade bread crumbs great for reducing wasting stale bread, but there’s no need to wait until it’s stale. In fact, you can easily use the methods listed below for homemade fresh breadcrumbs and dried breadcrumbs.
If you use dried breadcrumbs often for several dishes, you can even pre-season them. For example, within this post, I’ll take you through how to make plain breadcrumbs as well as how to season breadcrumbs including making Italian breadcrumbs.
Once ready, you can use your homemade bread crumbs in meatballs, sprinkled over oven bakes, within stews, and more!
Want to save this recipe?
What is the best bread for breadcrumbs?
The truth is that most bread that comes as a loaf/baguette will work (i.e., not flatbread, I wouldn’t think). I’ve used sourdough, whole wheat bread, white, cob, even burger buns/buns. You can easily use gluten-free loaves too.
As expected, softer enriched doughs like buns and white bread tend to yield softer, less dense crumbs.
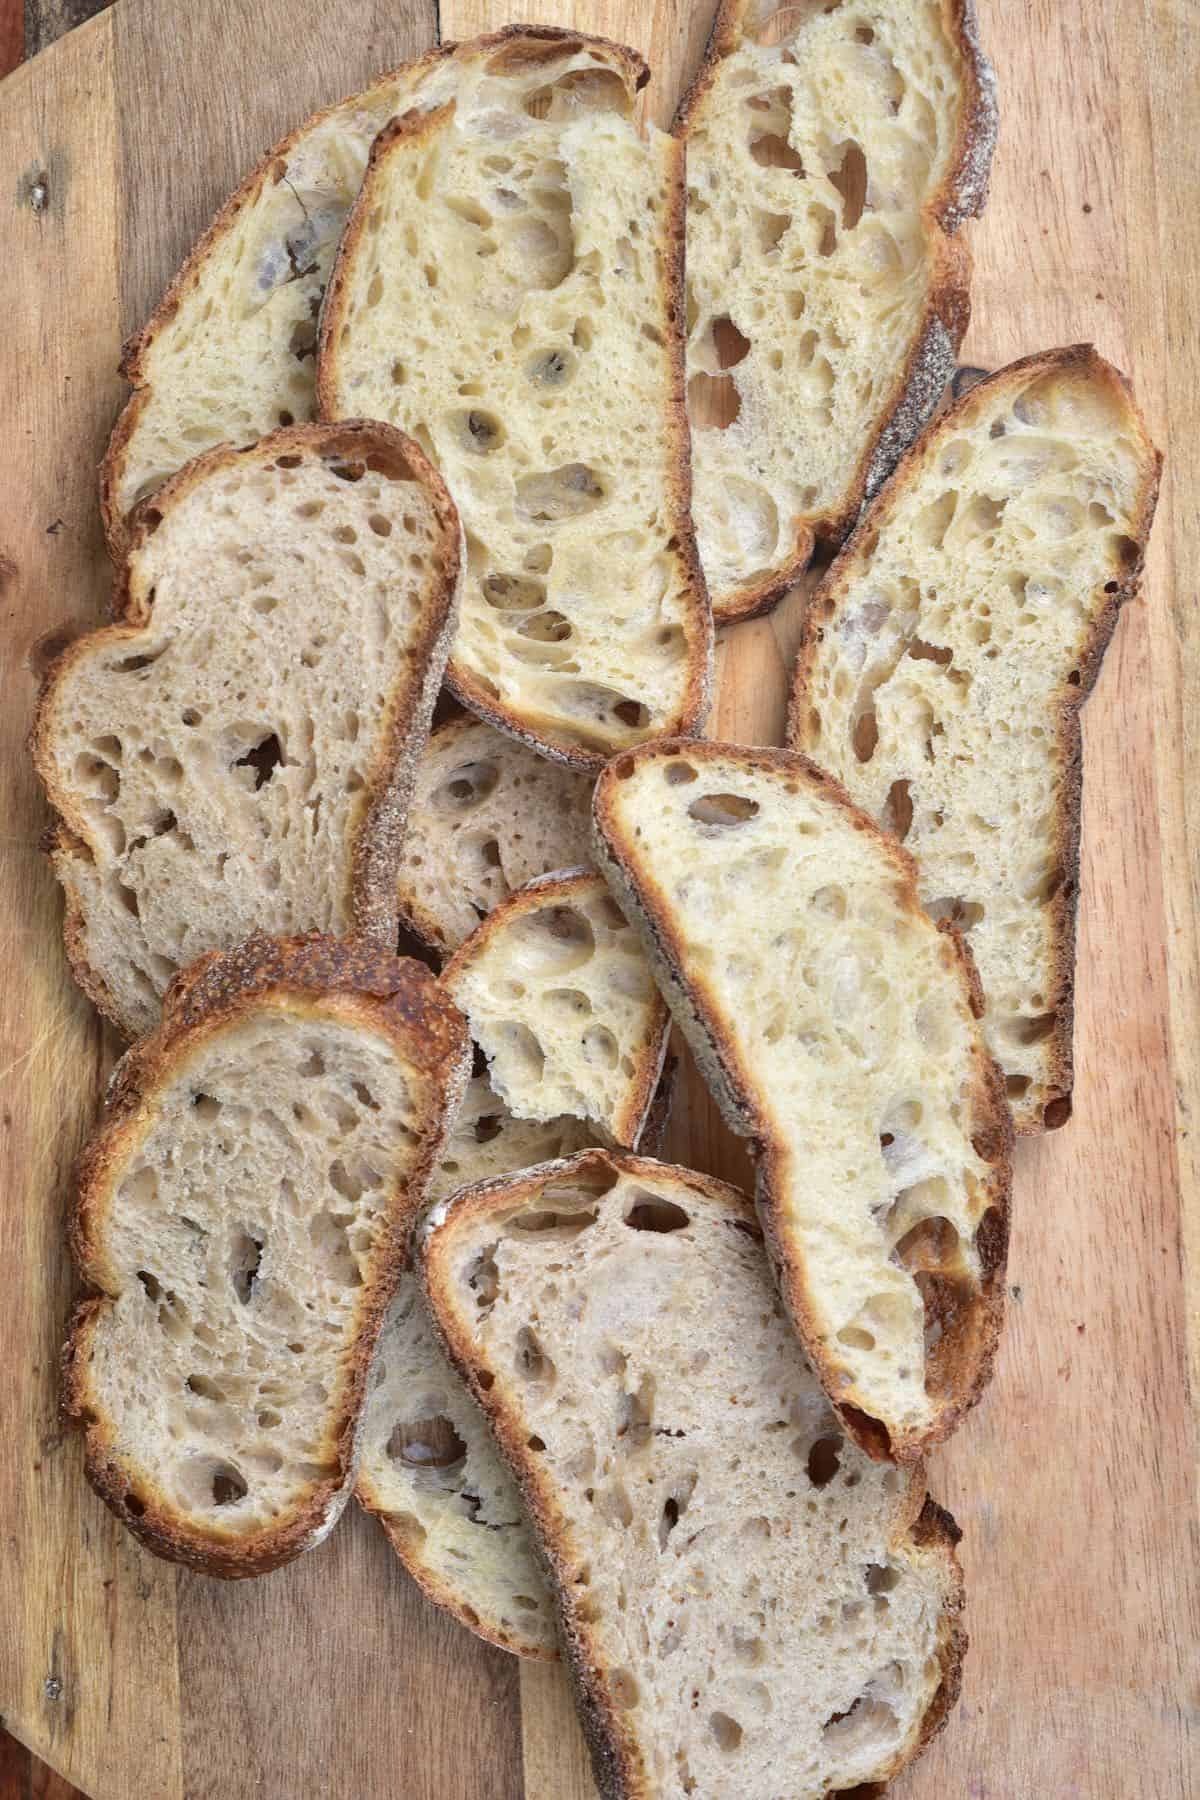
Likewise, there is also the issue with using fresh vs. stale bread. I find it easiest to use stale bread that’s already dried/hardened. That way, it’s easy to chuck in the food processor and process into crumbs immediately. However, If you’re using fresh bread, it’ll likely be more flavorful.
What you use should really depend on the flavor, texture, and nutrition you’re looking for.
How to make homemade breadcrumbs
With Fresh Bread (for fresh breadcrumbs or dried breadcrumbs)
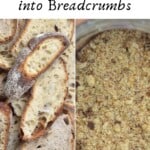
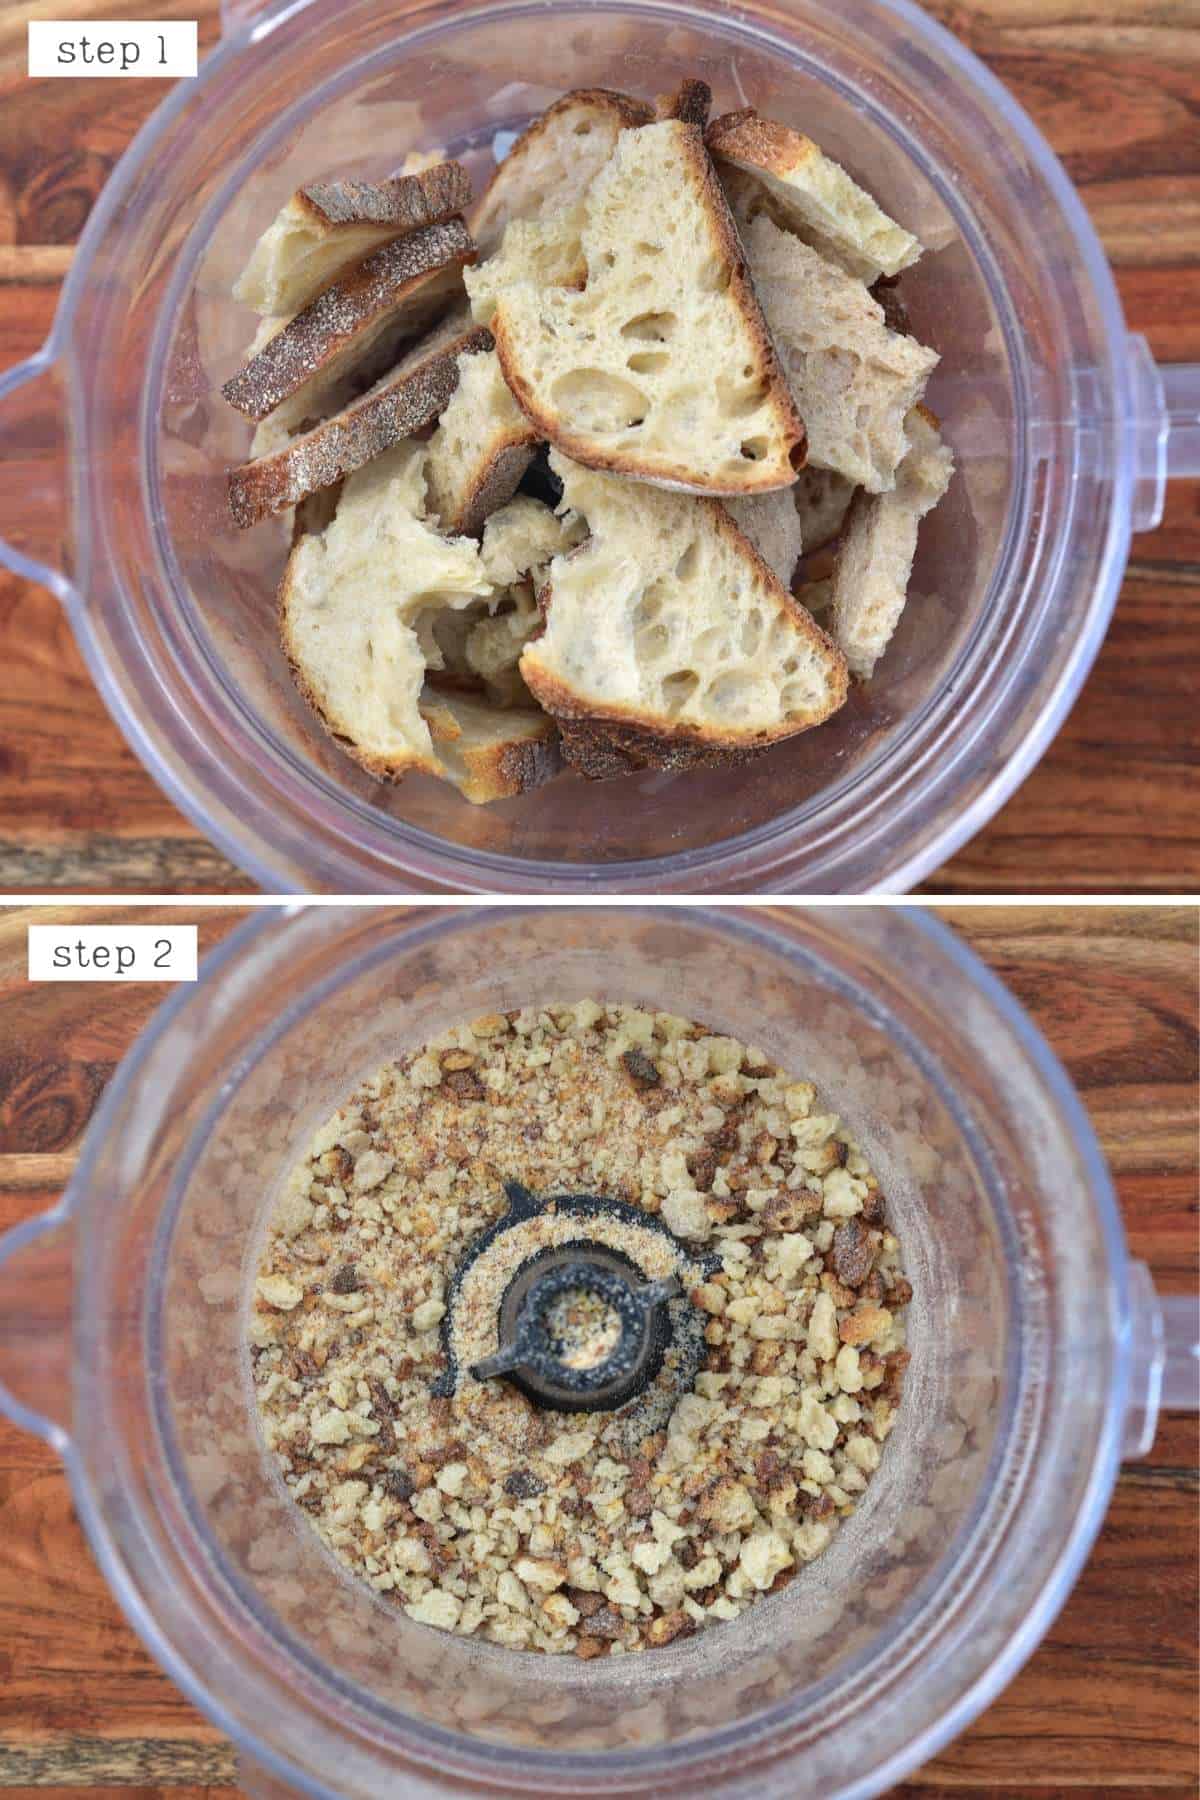
First, finely cube the bread and add to a food processor into breadcrumbs. This can take between 30 seconds to 2 minutes (or longer if you have a weak machine).
If you want fresh breadcrumbs, then this is all that’s needed – use immediately or store for later.
For dried breadcrumbs: once processed, spread the breadcrumbs out over a large oven sheet in a thin layer (use two if necessary).
Bake in a preheated oven at 300ºF/150ºC for 10-15 minutes, stirring the crumbs halfway. The crumbs are ready when they’re lightly browned and feel dry.
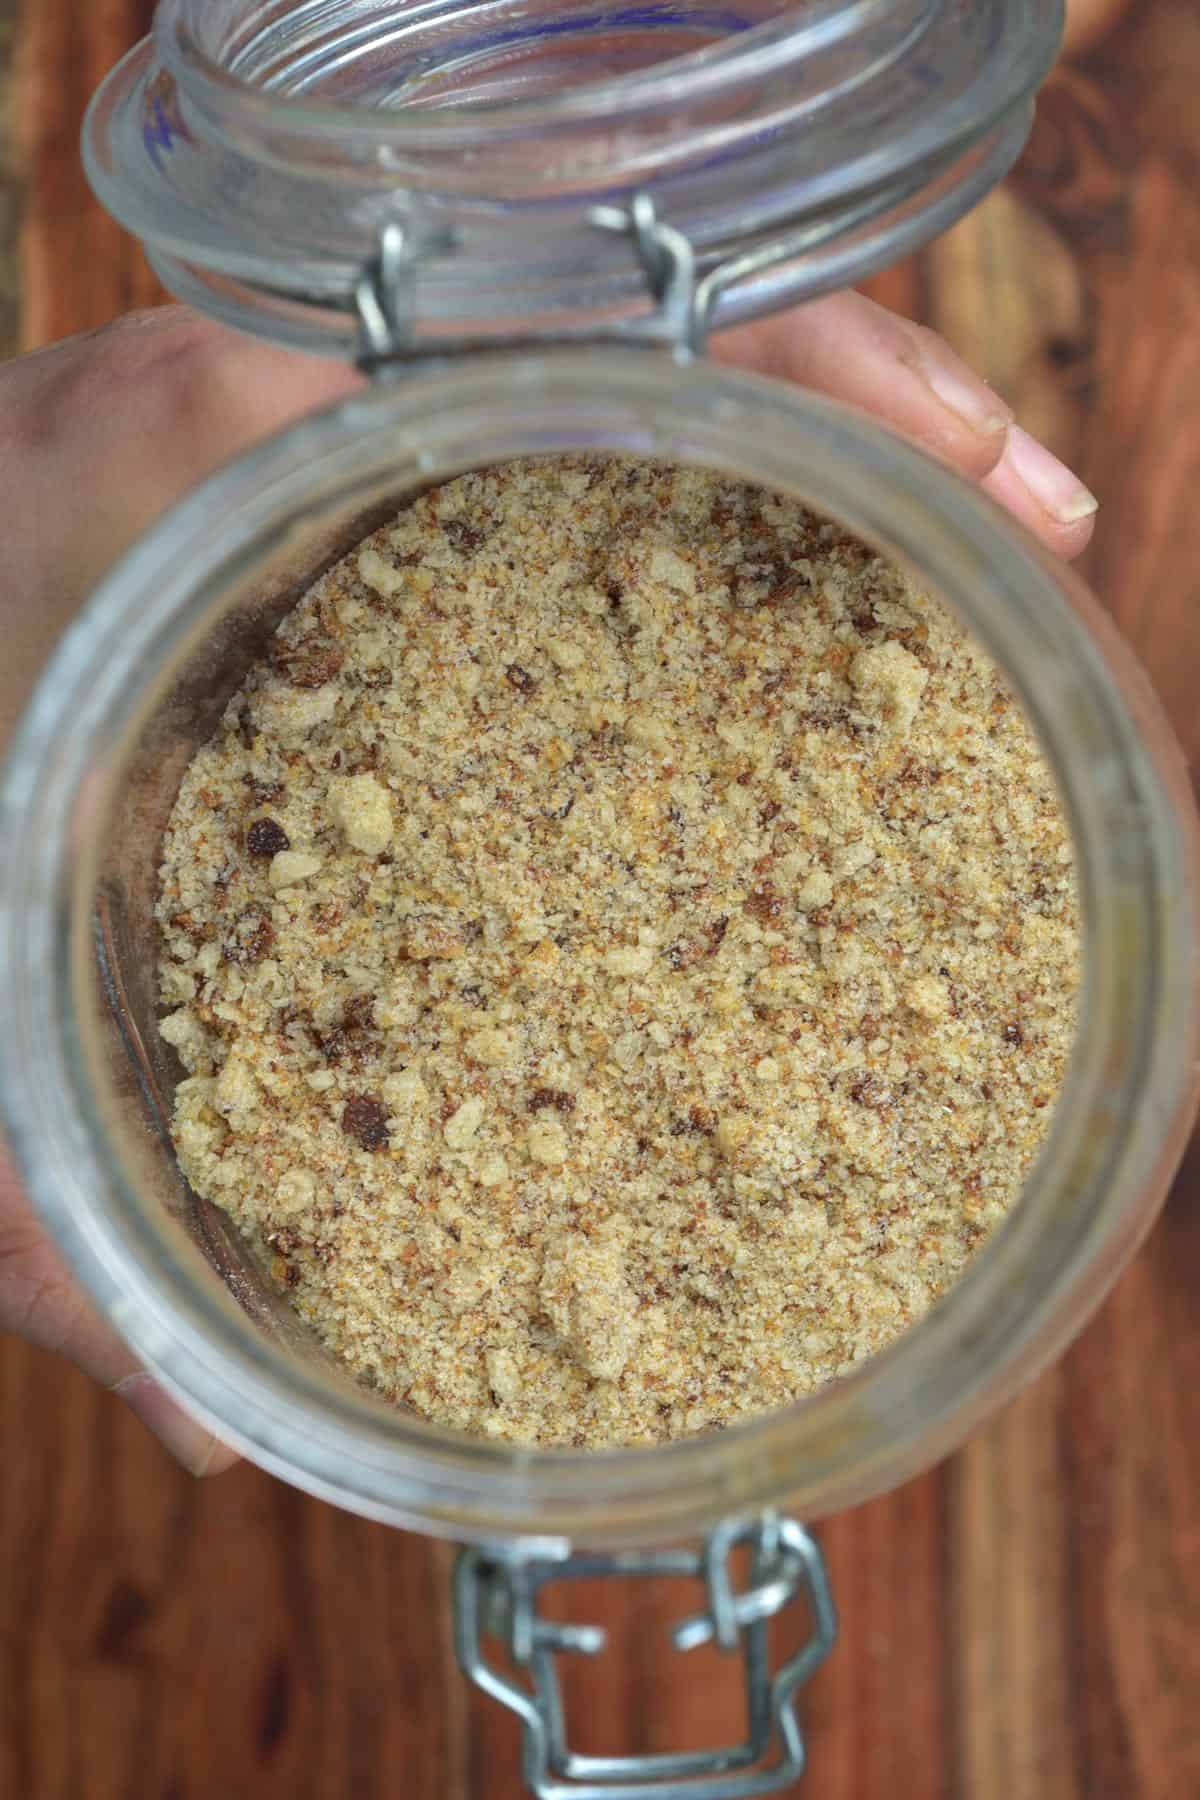
Allow the crumbs to cool (where they will dry further) before using immediately or transferring to an airtight jar.
With this process, you can alternatively dry out the bread in the oven first before processing it into crumbs. However, this takes longer as the larger pieces of bread will take longer to dry, though, and you may need to dry the bread further once it’s processed if it isn’t fully dry.
With Stale Bread
The bread I used was very hard and dried, so you can break it into pieces and then add it to a food processor to process into the preferred consistency.
If the bread isn’t really stale/fully dry, it might not process as fine as you’d like. You can dry the crumbs out in the oven (method above), allow them to cool, and then re-process them into a finer crumb.
For Italian Breadcrumbs
For each cup of homemade breadcrumbs using either of the methods above, add 1 tsp dried Italian seasoning, 1/8th tsp garlic powder and onion powder, and 1/4-1/2tsp salt.
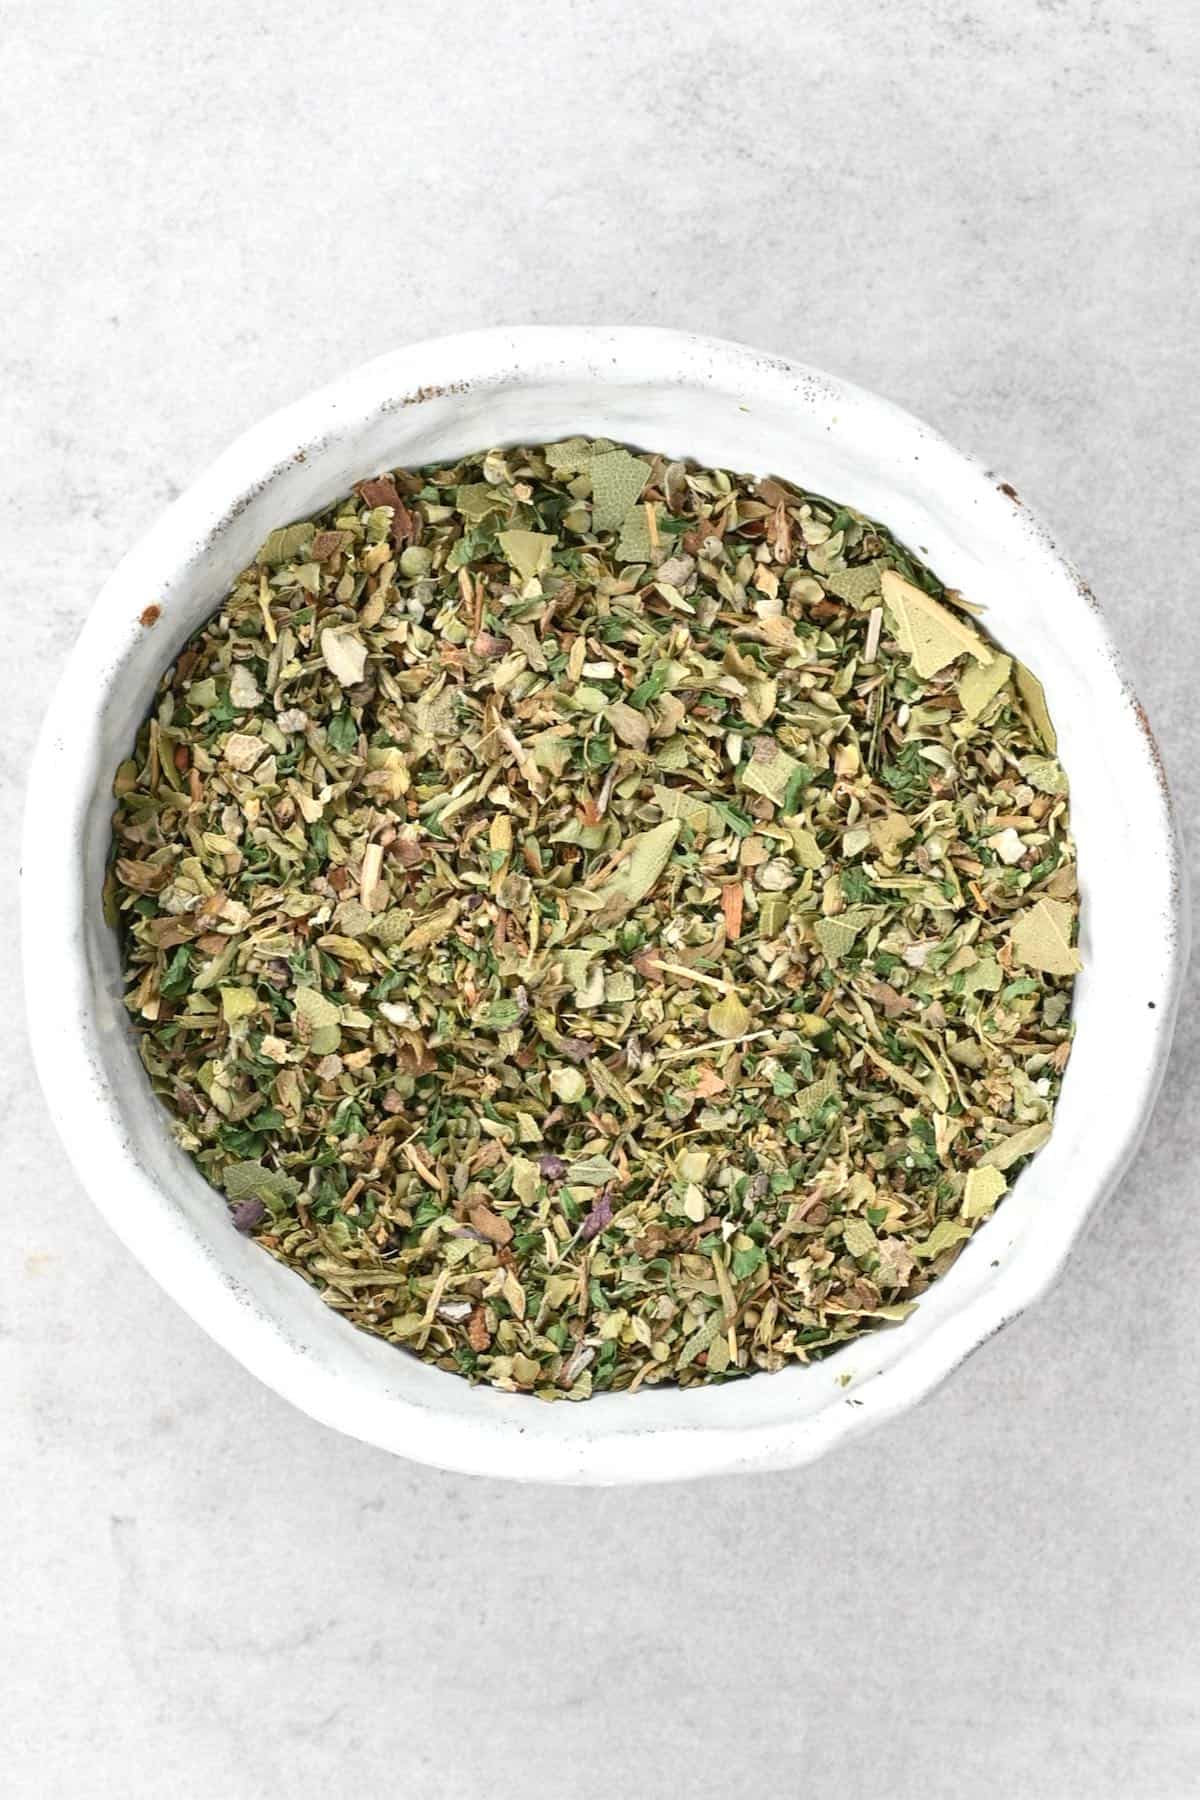
Feel free to adjust those amounts to your liking. If you don’t have Italian seasoning, you could add some or all of the individual dried herbs (equal to 1tsp total).
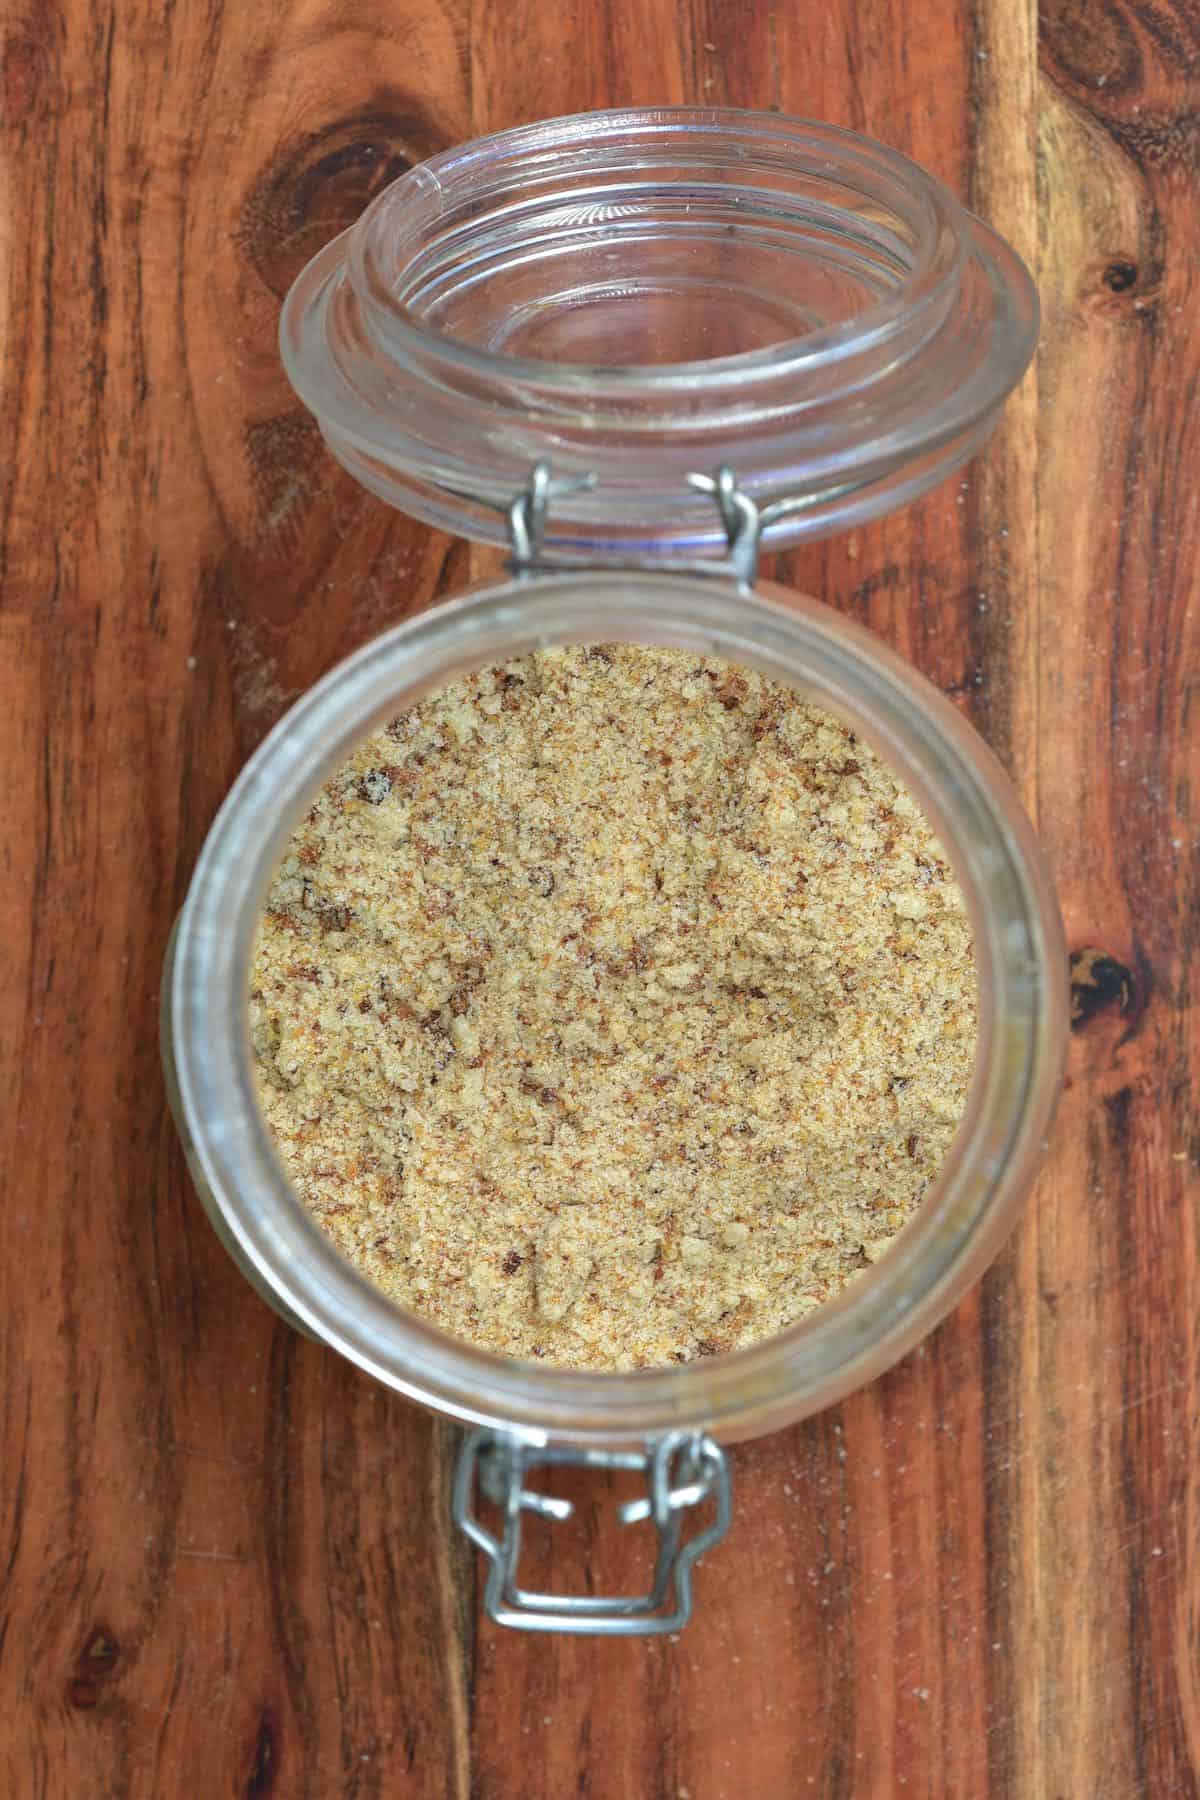
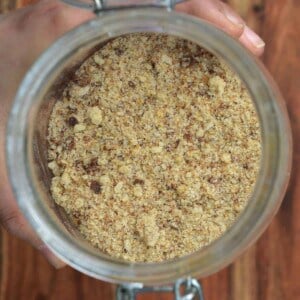
How to store homemade breadcrumbs
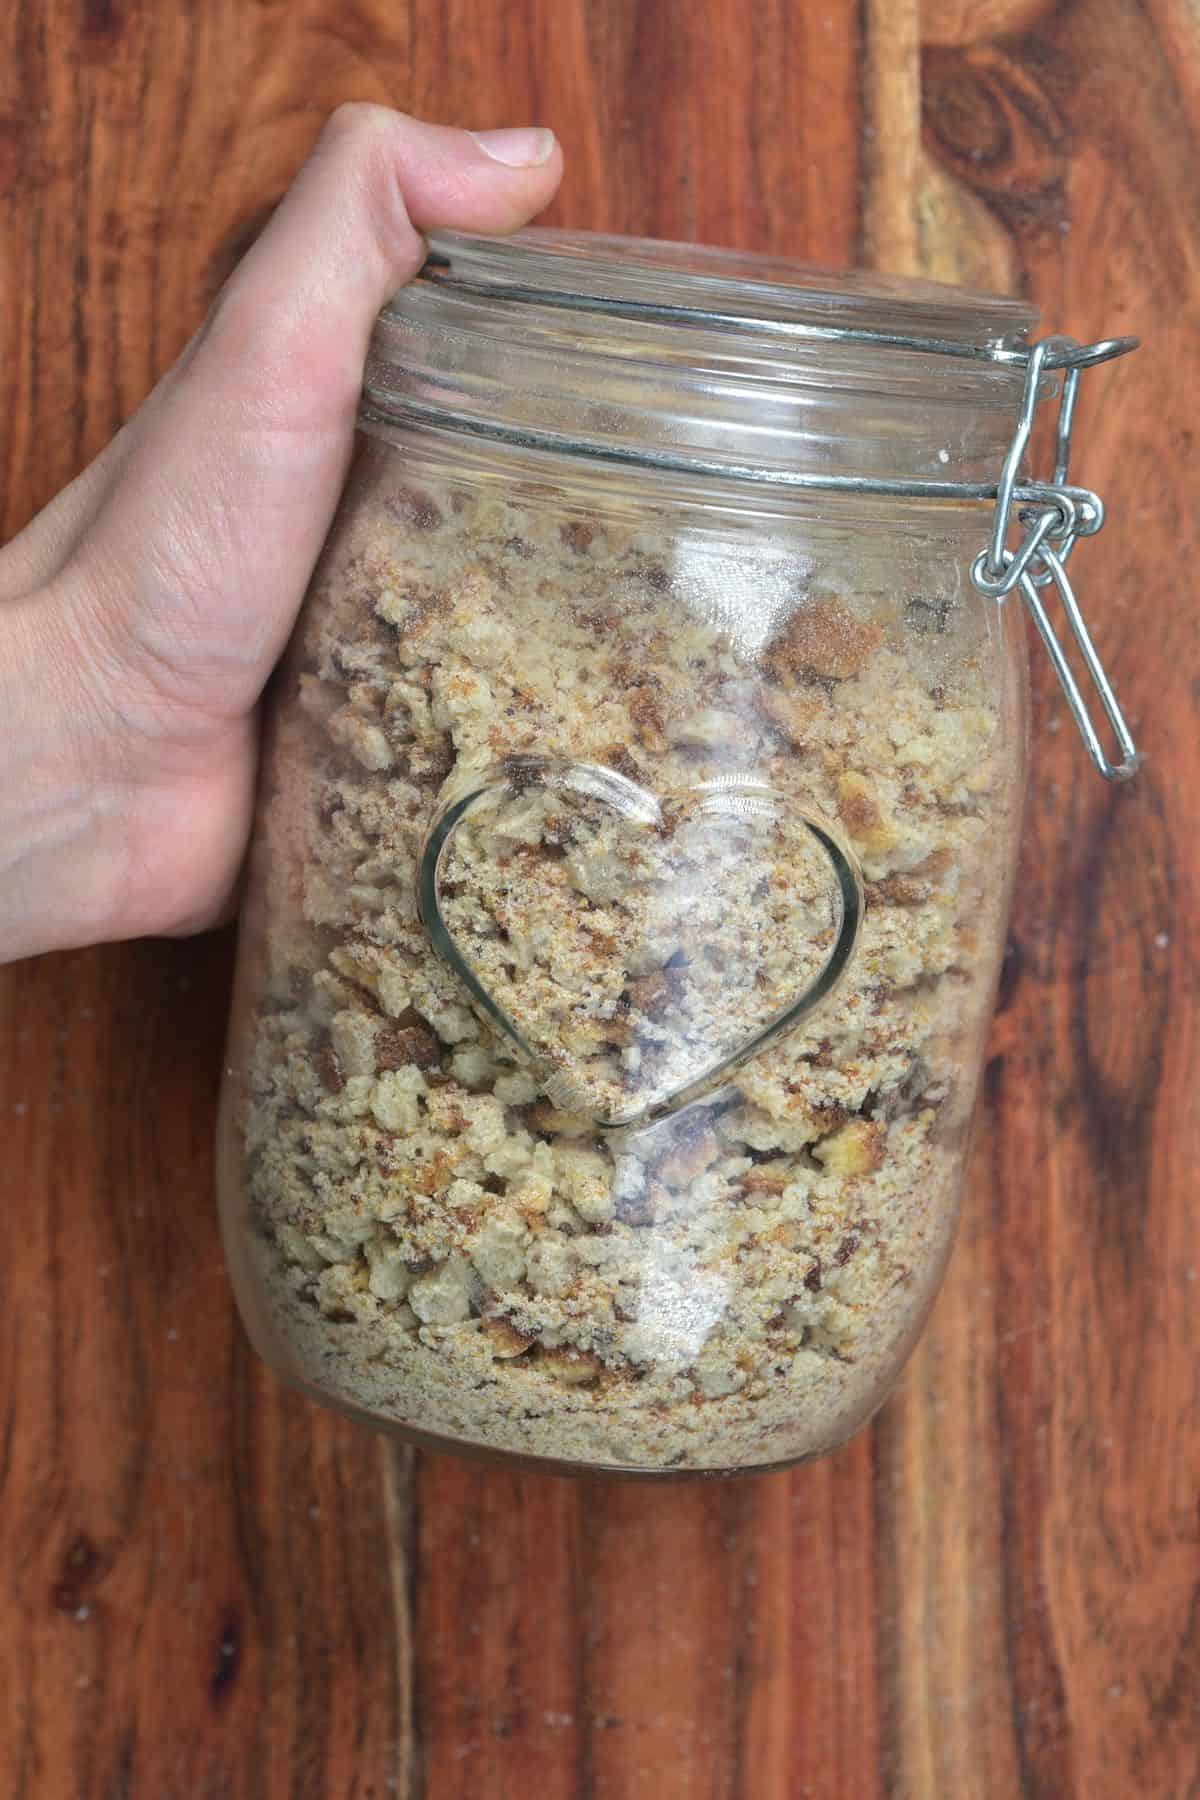
Store the prepared dried breadcrumbs in a large airtight jar or container for up to a month. If there is any moisture left in the bread, it may spoil faster, though, so it’s important to dry them thoroughly or store them in the freezer (read FAQs).
Fresh breadcrumbs (using fresh bread that isn’t dried out in the oven) will store for a week in an airtight container in the refrigerator or up to a month in the freezer.
How to use
There are several ways to use your homemade breadcrumbs, including:
- Sprinkle over pasta dishes – like this Creamy Vegan Mac and Cheese, Baked Feta and Cherry Tomato Pasta, and Easy Vegan Bolognese.
- To top baked dishes like casseroles and gratins – or this Vegetarian One-Pot Pasta bake.
- Mixed into meatballs, burgers, and meatloaf.
- Sprinkle over salads for texture – like this Massaged Kale Salad with Lemon.
- Use as a coating for fried proteins and veggies – like breaded tofu, Buffalo cauliflower wings, baked coconut shrimp, or baked eggplant fries.
- For stuffing – it’s perfect for this homemade stuffing recipe.
FAQs
Yes, just make sure to keep them in an airtight container, so no moisture gets in. Otherwise, you can store the dried breadcrumbs in the freezer for up to 3 months. Meanwhile, you can freeze fresh breadcrumbs for up to a month.
There are several methods you can use to create breadcrumbs without a food processor.
1. You can break up the bread into smaller pieces (and dry if the bread is fresh) and then add the bread to a resealable bag and crush with a rolling pin. This will only work with dried crumbs as fresh breadcrumbs will just ‘smush’ when bashed.
2. Use a grater on the coarsest holes and grate the bread. This will take some time, but it works. It works best with bread that is slightly stale but not rock solid or bread that’s partially frozen (if it’s too soft, it’s very fiddly to grate).
3. Use a zester – very similar to the grater method; use a Microplane to create the crumbs – these will be very fine.
Recipe notes
- If you want homemade breadcrumbs with a uniform color, you can remove the crusts first and blend the bread’s crusts and interior separately. You can use the crumbs from the crusts and heel of the load within casseroles and meatballs, while the lighter crumbs work well for breading and sprinkling over dishes.
- It’s important to make sure the breadcrumbs are completely dry if you plan to store them at room temperature; otherwise, the freezer is the best option.
- You can experiment with other seasonings too. For example, combining the breadcrumbs with everything bagel seasoning, cayenne pepper, etc.
- If you don’t often have stale bread, you can keep a ‘scrap bag’ in the freezer (like I do with veggie scraps when making stock) with the bits of bread you want to save for breadcrumbs until you have enough to go ahead with the process.
- If you have a dehydrator, you can use it instead of an oven to ensure the bread is fully dry (important for storing at room temp).
Other bread recipes & DIYs
If you try this homemade breadcrumbs method, then let me know your thoughts and questions in the comments. I’d also really appreciate a recipe card rating (below) and would love to see your recreations – just tag @AlphaFoodie.
Homemade Breadcrumbs (fresh, dried & Italian breadcrumbs)
Ingredients
- 3.5 oz leftover bread more or less as needed
Instructions
With Fresh Bread (for fresh breadcrumbs or dried breadcrumbs)
- Finely cube the bread and add to a food processor into breadcrumbs. This can take between 30 seconds to 2 minutes (or longer if you have a weak machine).If you want fresh breadcrumbs, then this is all that's needed – use immediately or store for later.
- For dried breadcrumbs – once processed, spread the breadcrumbs out over a large oven tray in a thin layer (use two trays if necessary).
- Bake in a preheated oven at 300ºF/150ºC for 10-15 minutes, stirring the crumbs halfway. The crumbs are ready when they're lightly browned and feel dry.Allow the crumbs to cool (they will dry further) before using immediately or transferring to an airtight jar.With this process, you can alternatively dry out the bread in the oven first, before processing it into crumbs. However, this takes longer as the larger pieces of bread will take longer to dry, though, and you may need to dry the bread further once it's processed if it isn't fully dry.
With Stale Bread
- The bread I used was very hard and dried, so you can break it into pieces and then add it to a food processor to process into the preferred consistency.If the bread isn't really stale/fully dry, it might not process as fine as you'd like. If that's the case, you can dry the crumbs out in the oven (method above), allow them to cool, and then re-process them into a finer crumb.
For Italian Breadcrumbs
- For each cup of homemade breadcrumbs using either of the methods above, add 1 tsp dried Italian seasoning, 1/8th tsp garlic powder and onion powder, and 1/4-1/2 tsp salt.Feel free to adjust those amounts to your liking. If you don't have Italian seasoning, you could add some or all of the individual dried herbs (equal to 1 tsp total).
How To Store Homemade Breadcrumbs
- Store the prepared dried breadcrumbs in a large airtight jar or container for up to a month. If there is any moisture left in the bread, it may spoil faster, though, so it's important to dry them thoroughly or store them in the freezer (read the FAQs on the blog post).Fresh breadcrumbs (using fresh bread that isn't dried out in the oven) will store for a week in an airtight container in the refrigerator or up to a month in the freezer.
Notes
Nutrition
Nutrition information is automatically calculated, so should only be used as an approximation.


