
This post may contain affiliate links. Please read our disclosure policy.


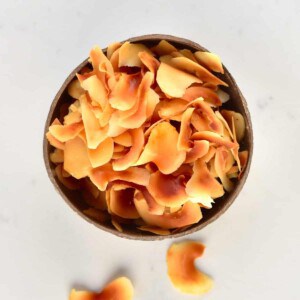
How to make coconut flakes/coconut chips at home – including dried and toasted coconut flakes. Perfect for decorating baked goods sprinkling over salads, smoothies, ice-cream, and more!
Of all the possible things that you can make out of a single mature coconut, coconut flakes quickly climbed the ranks to become one of my favorite. Whether you need unsweetened coconut flakes for decoration, toasted coconut flakes to top off baked goods, or flavored ‘coconut chips’ to eat as a snack or sprinkle over dishes, this ingredient really is super versatile. By learning how to make coconut flakes at home, you have an unlimited list of ways to customize these to your liking.
That’s not to say that I’m still not 100% obsessed with all things coconut. You only have to look at my numerous DIYs including shredded coconut, coconut oil, coconut cream, coconut butter, coconut milk, coconut yogurt, etc. So feel free to peruse through those if you are as coconut obsessed as me.
Now, I’m focusing on coconut flakes (aka coconut chips). All you need for this DIY is mature coconut, a peeler or mandolin, and an oven or dehydrator. Depending on what method you choose to open your coconut, you may also need either a hammer or mallet. I’ll be taking you through how to shape the coconut chips, dehydrate them (for recipes like this Coconut Cream Cake), and even how to toast coconut flakes.
The process for making these coconut flakes is actually very similar to shredded coconut, but with a few tweaks. So I usually end up making half of each, when I’m batch preparing some for my pantry. I love having coconut products to hand for all my snacking and cooking needs. I mean, coconut is low-carb, gluten-free, nut-free, keto, grain-free, paleo, and more.
Want to save this recipe?
The Step By Step Method
There are just four simple steps to creating this simple DIY, so let’s get straight to it.
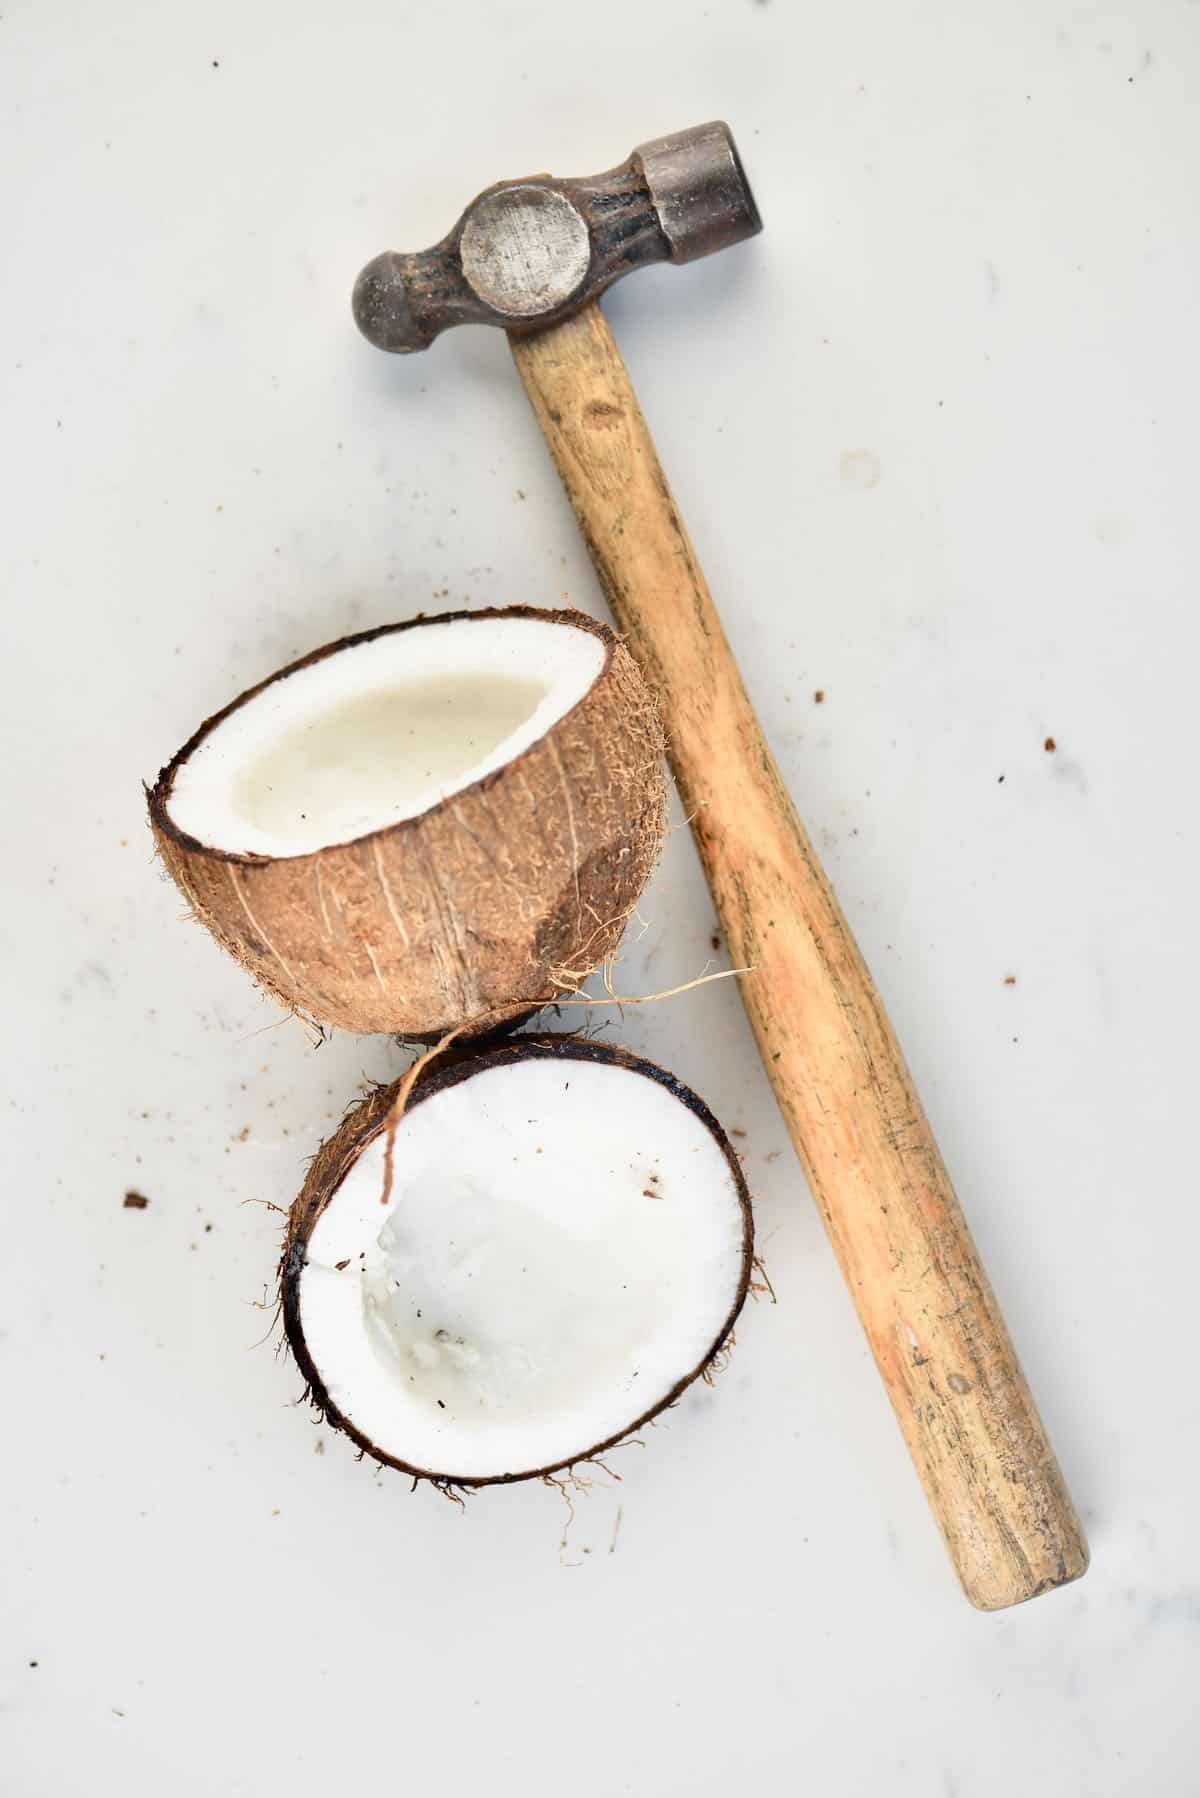
Step 1. Crack open the coconut.
You can choose from one of the four easy methods for opening a coconut. Otherwise, simply use a hammer and hit along the middle of the coconut, twisting it as you hit (while holding it firmly, with a kitchen towel underneath to keep it from sliding). The coconut will start to crack, and you can then pull it open. Open it over a bowl to drain the coconut water (which you can drink).
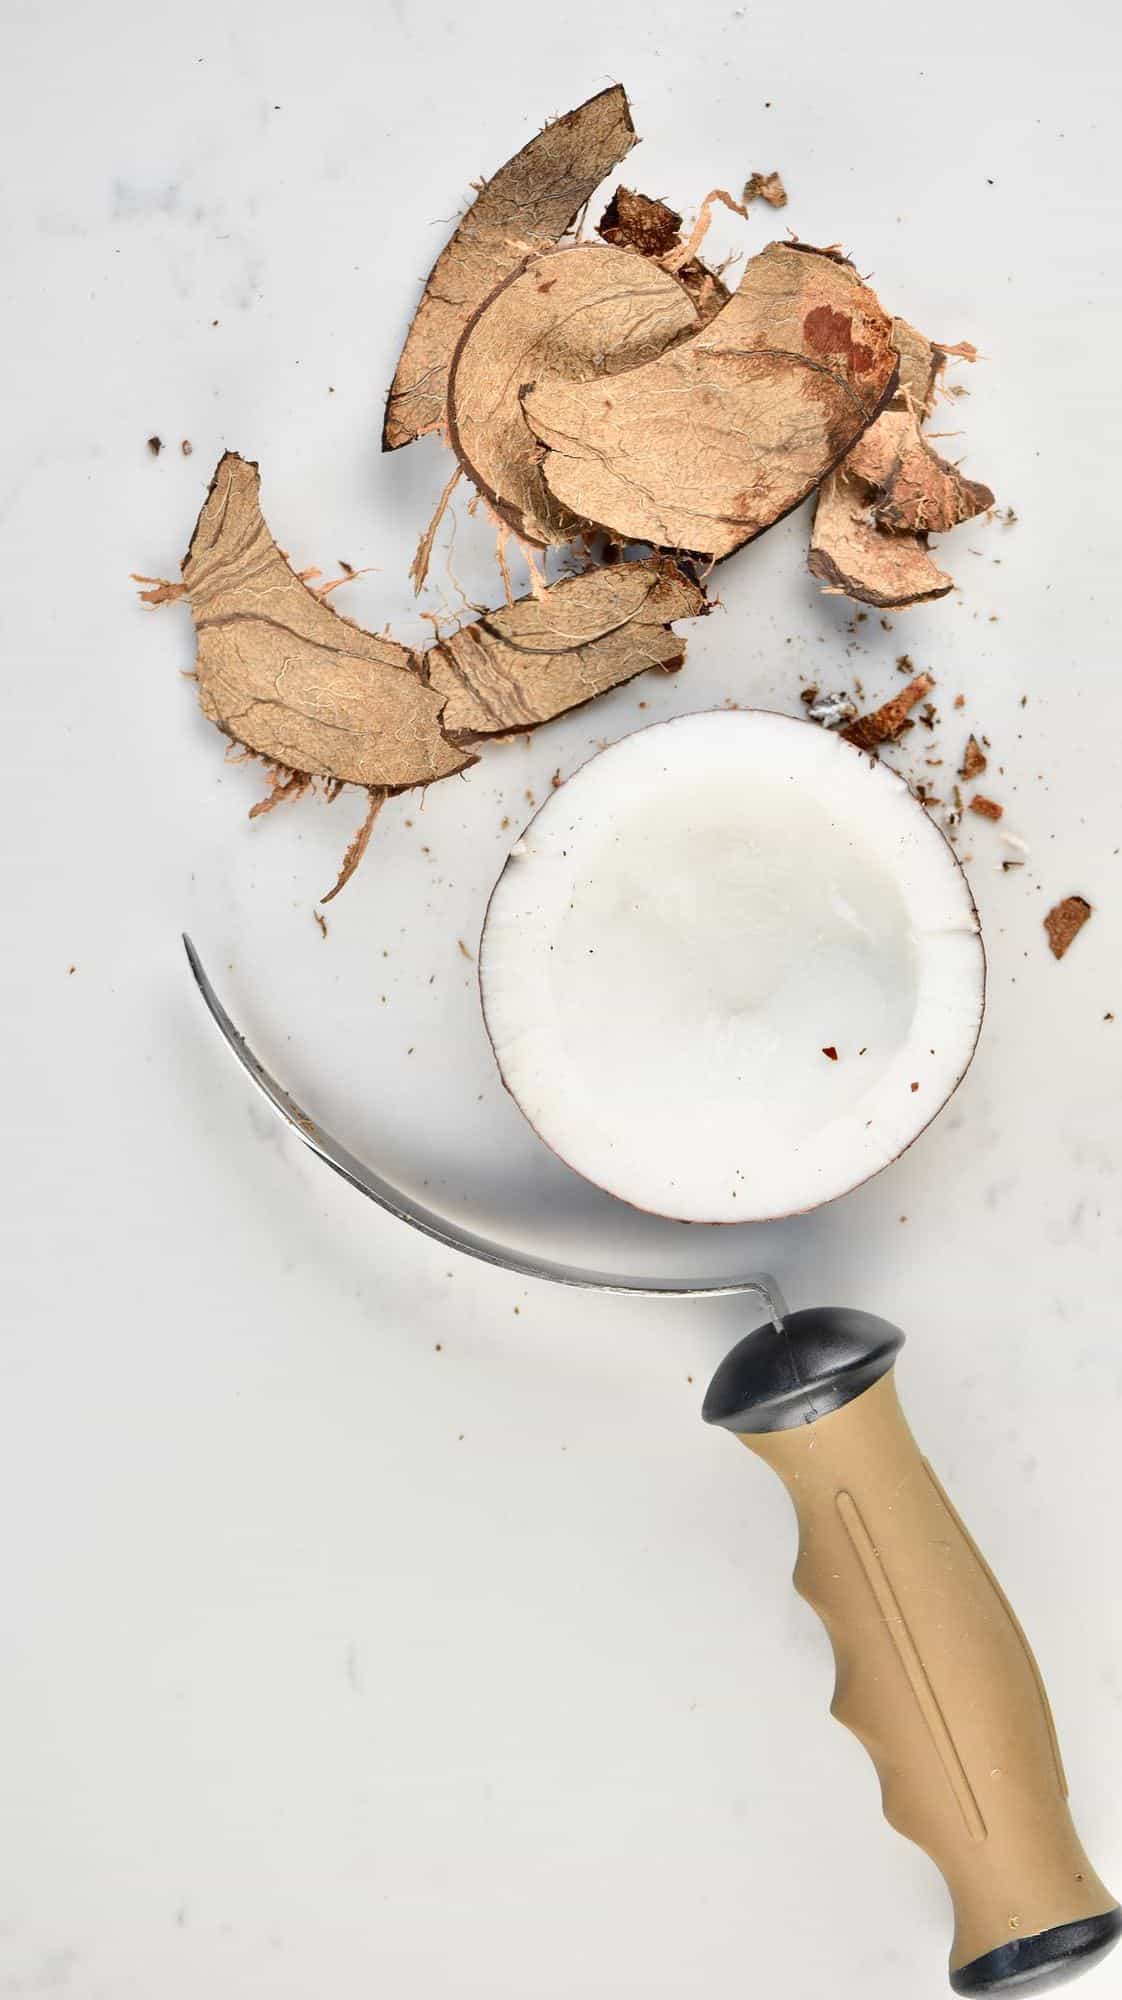
Step 2. Gather Coconut Meat.
Use a butter knife to slot between the meat and shell and wiggle. Work your way around the coconut and it will eventually come loose. Some bits may break, that’s perfectly normal.
You could also use a specific ‘coconut tool’ OR use the ‘freezer’ hack: place the whole coconut in the freezer overnight and then follow ‘step 1’. Usually, the shell just chips right away from the meat.
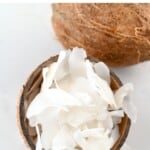
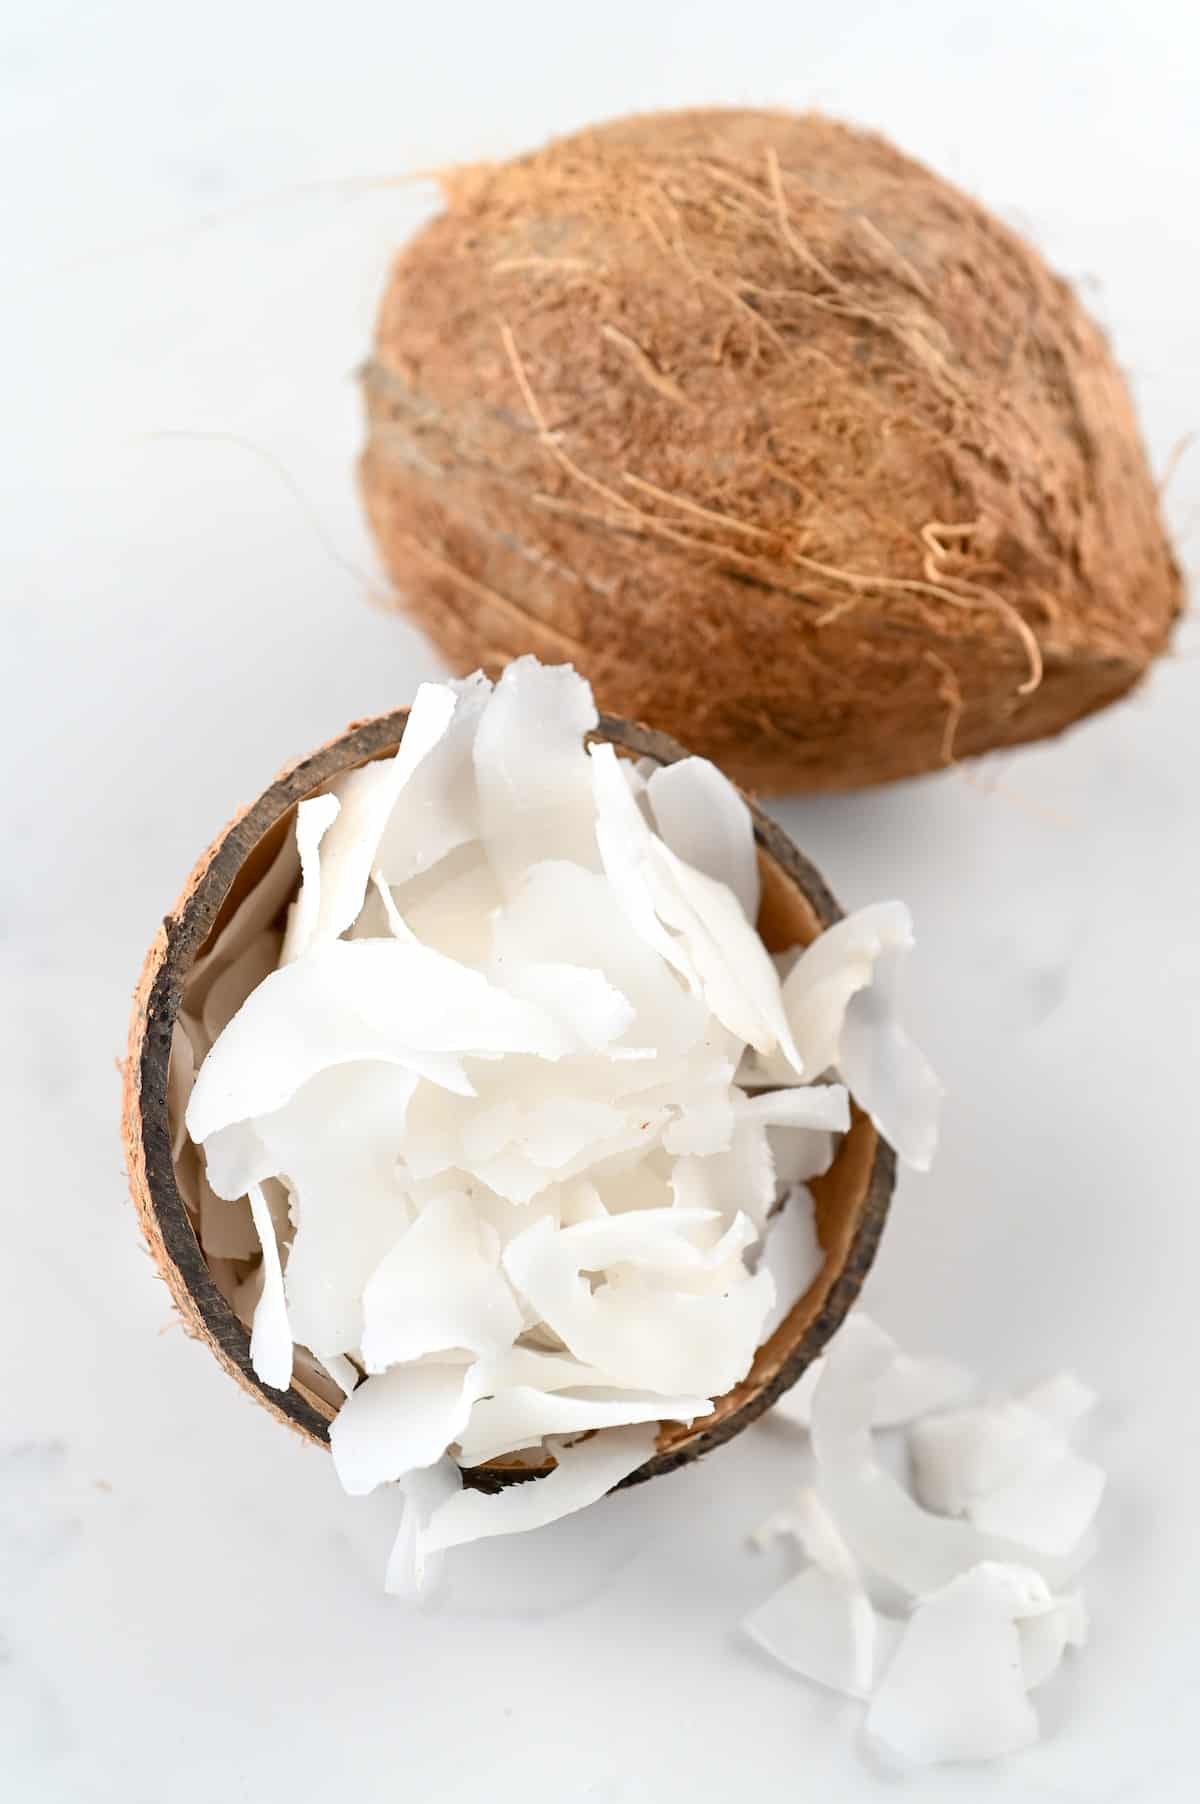
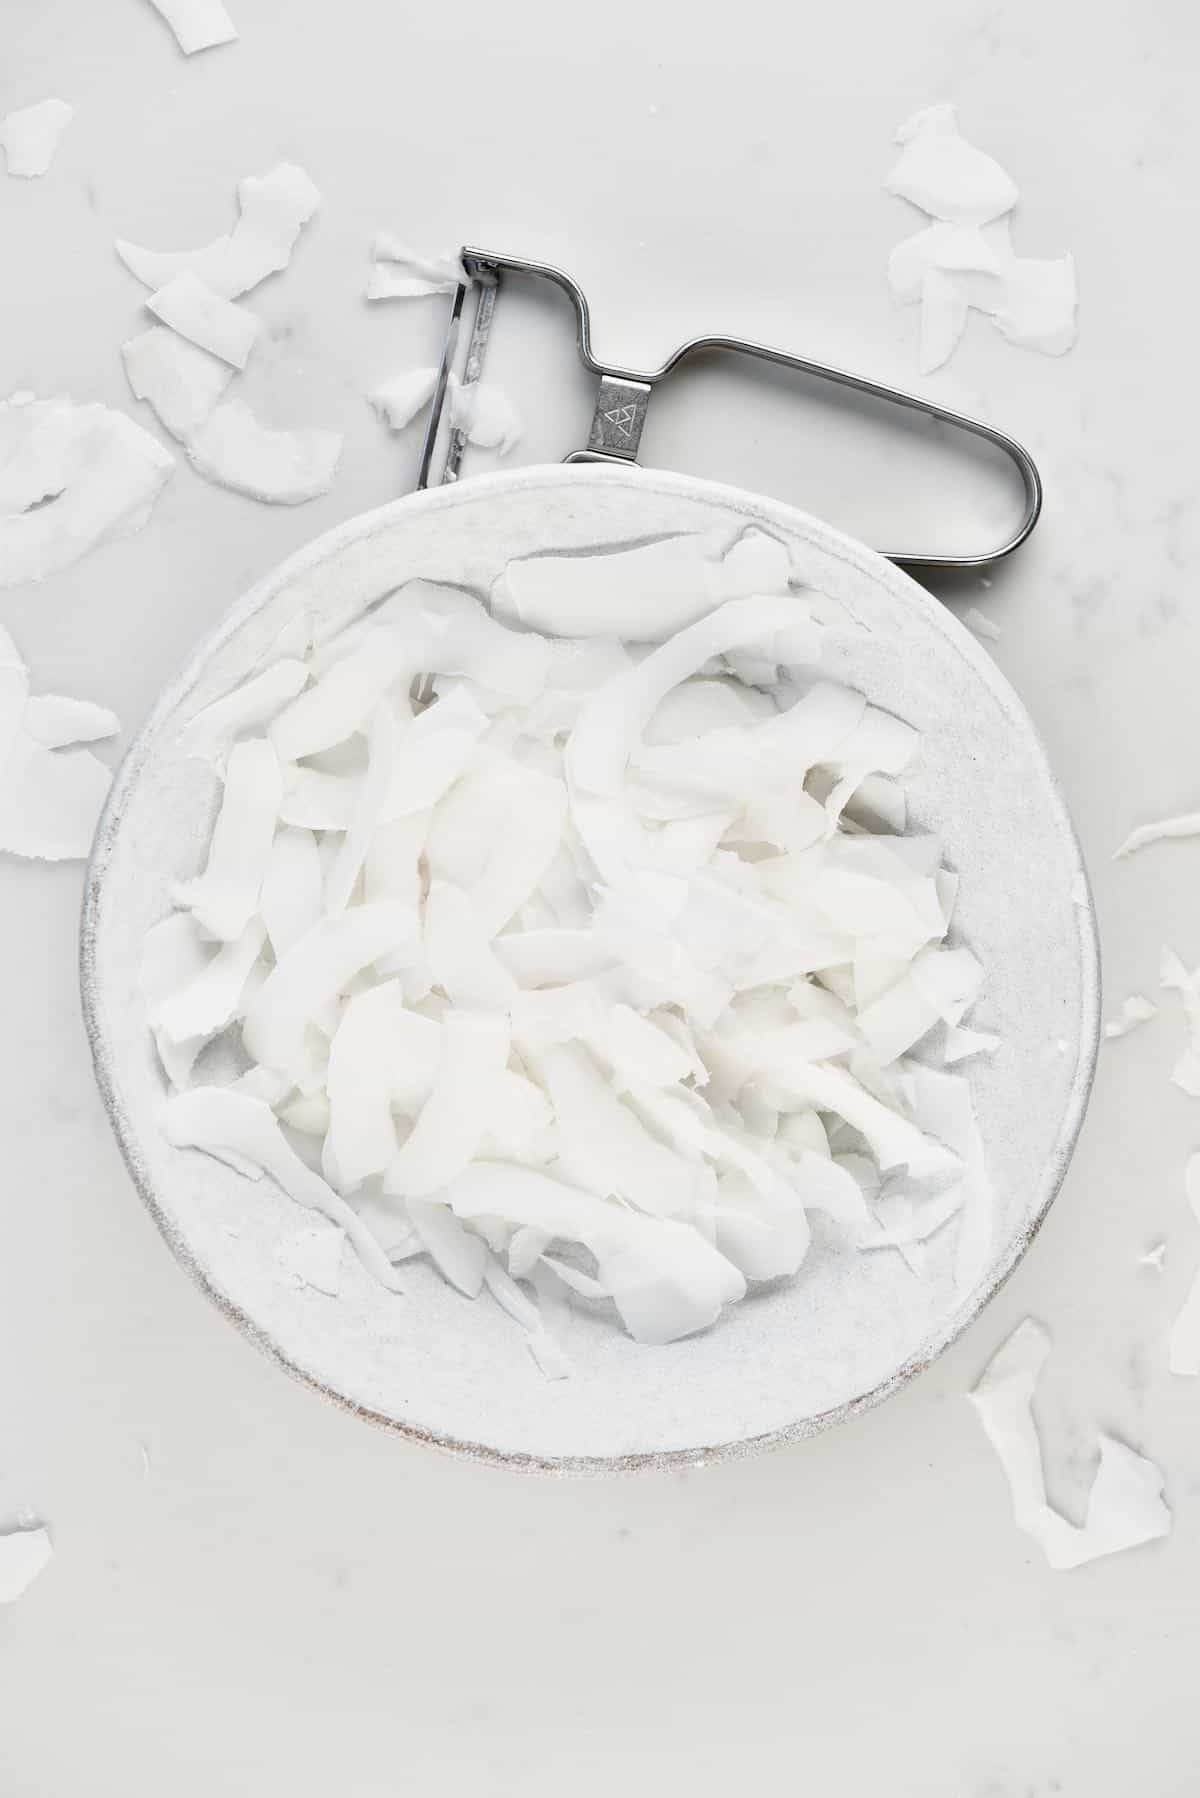
Step 3. Peel the meat
Begin by peeling the brown skin off of the coconut using a vegetable peeler (you can still eat this or add to oatmeal, smoothies, etc) and rinsing the white meat. Then, using either a vegetable peeler or mandolin, peel the coconut into chips/flakes.
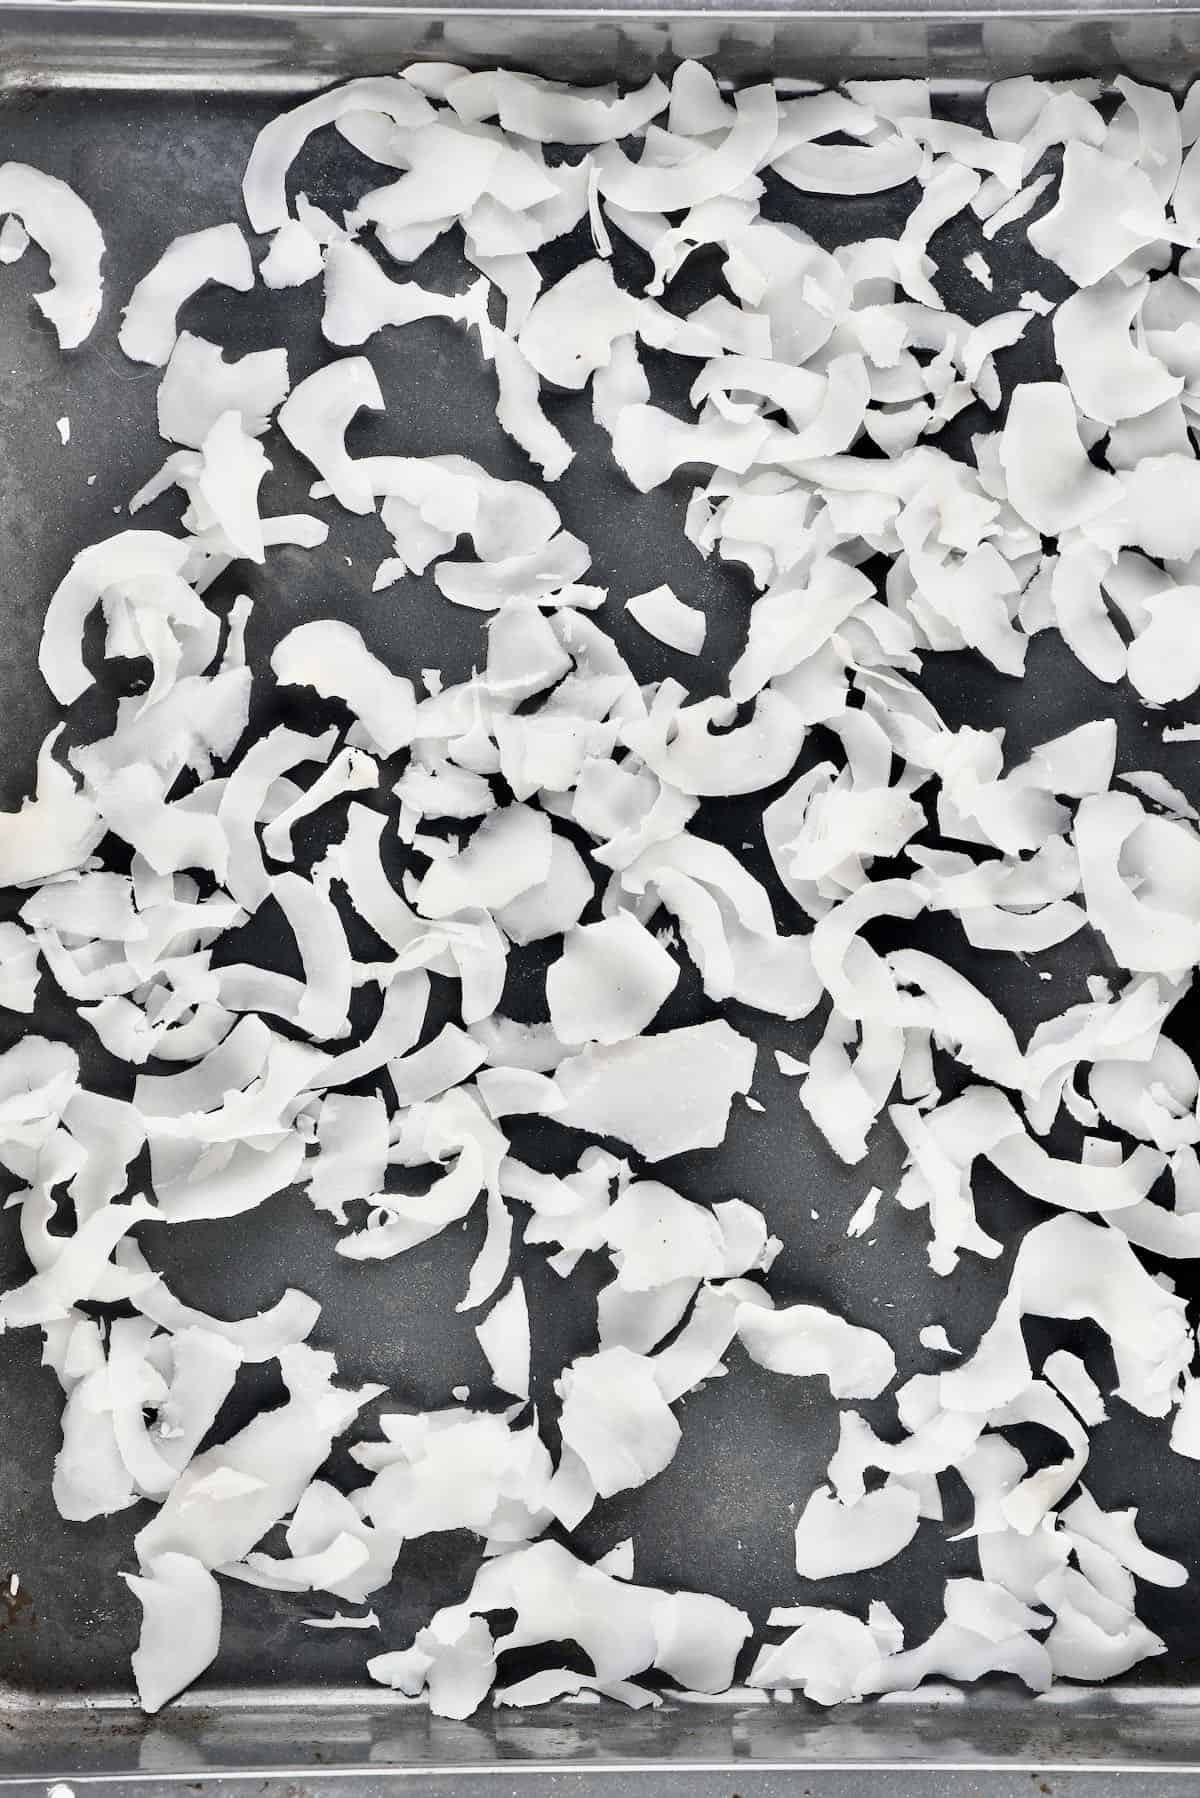
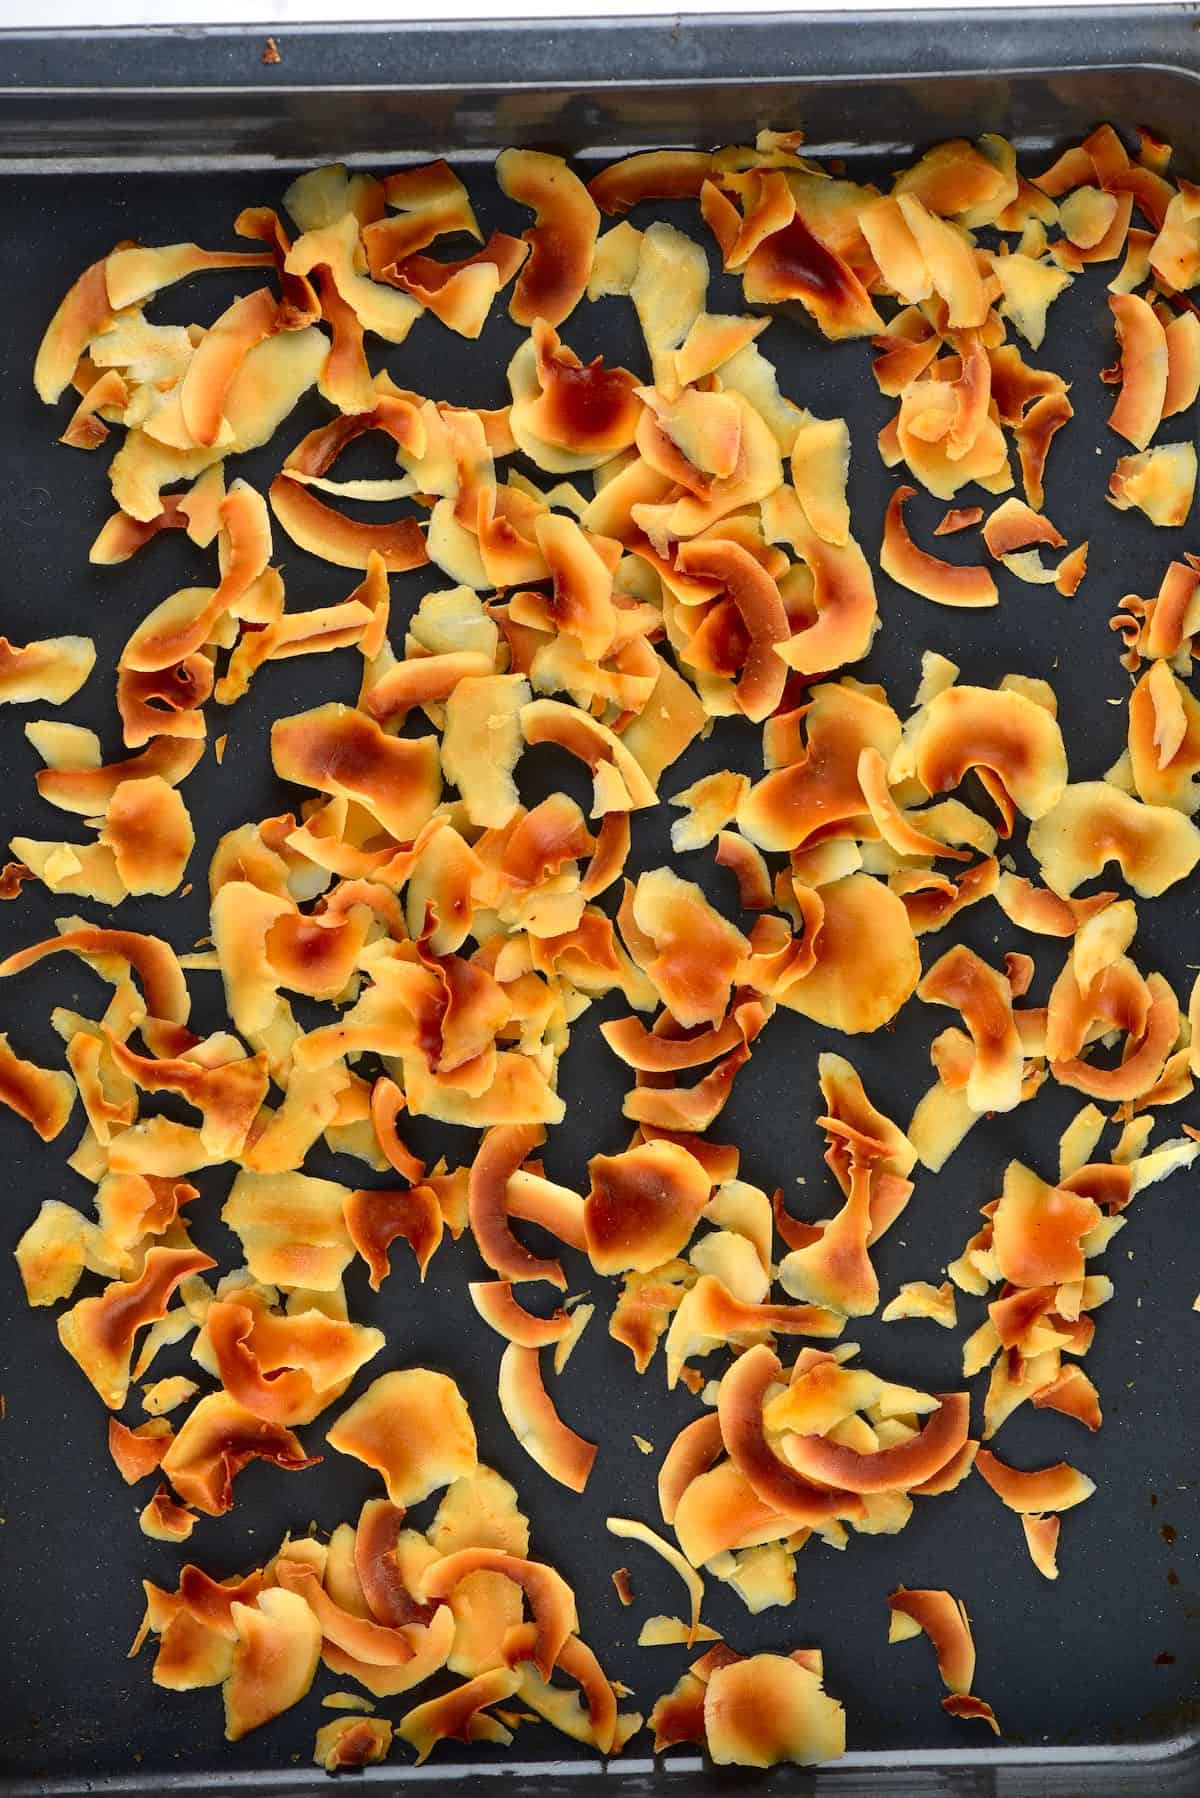
Step 4: Dry the chips
If using the oven method, spread the coconut chips in a single layer on a large baking sheet and dry at 60ºC/140ºF for around an hour. It may take longer, depending on your oven. I check on mine after 30 minutes, give them a shake, and then place back in the oven and check every 10 minutes, to stop them from ‘toasting’ or burning.
To dry the coconut in a dehydrator – dry at 40ºC/105ºF for about 4-6 hours.
Leave to cool completely before transferring to an airtight container to store.
Storing Instructions
- Unsweetened dried coconut flakes (dried not toasted) will store in an airtight container at room temperature for 6 months, or within the fridge (probably around 8-10 months), or freezer or up to 12 months (or longer!)
- Store toasted coconut chips for 3-4 weeks in an airtight container.
- Flavored coconut chips shelf life will vary depending on what flavorings you’ve used. I usually aim to eat my batched within a week if using anything ‘fresh’, like fruit puree’s, etc.


For a Sweetened Version
You can make sweetened coconut flakes using the same method as I did for my Shredded Coconut. Alternatively, you’ll need 2 Tbsp powdered sugar of your choice, 1 Tbsp coconut oil (or other neutral oil), and 1 1/2-2 Tbsp water per cup of coconut flakes.
Simply combine all of the ingredients in a bowl and stir thoroughly to coat the coconut, then set aside for 10-15 minutes (stirring just a couple of times), to allow it to absorb the liquid. They’re then ready to use, or can be dried out in the oven for 10 minutes, and stored for later.
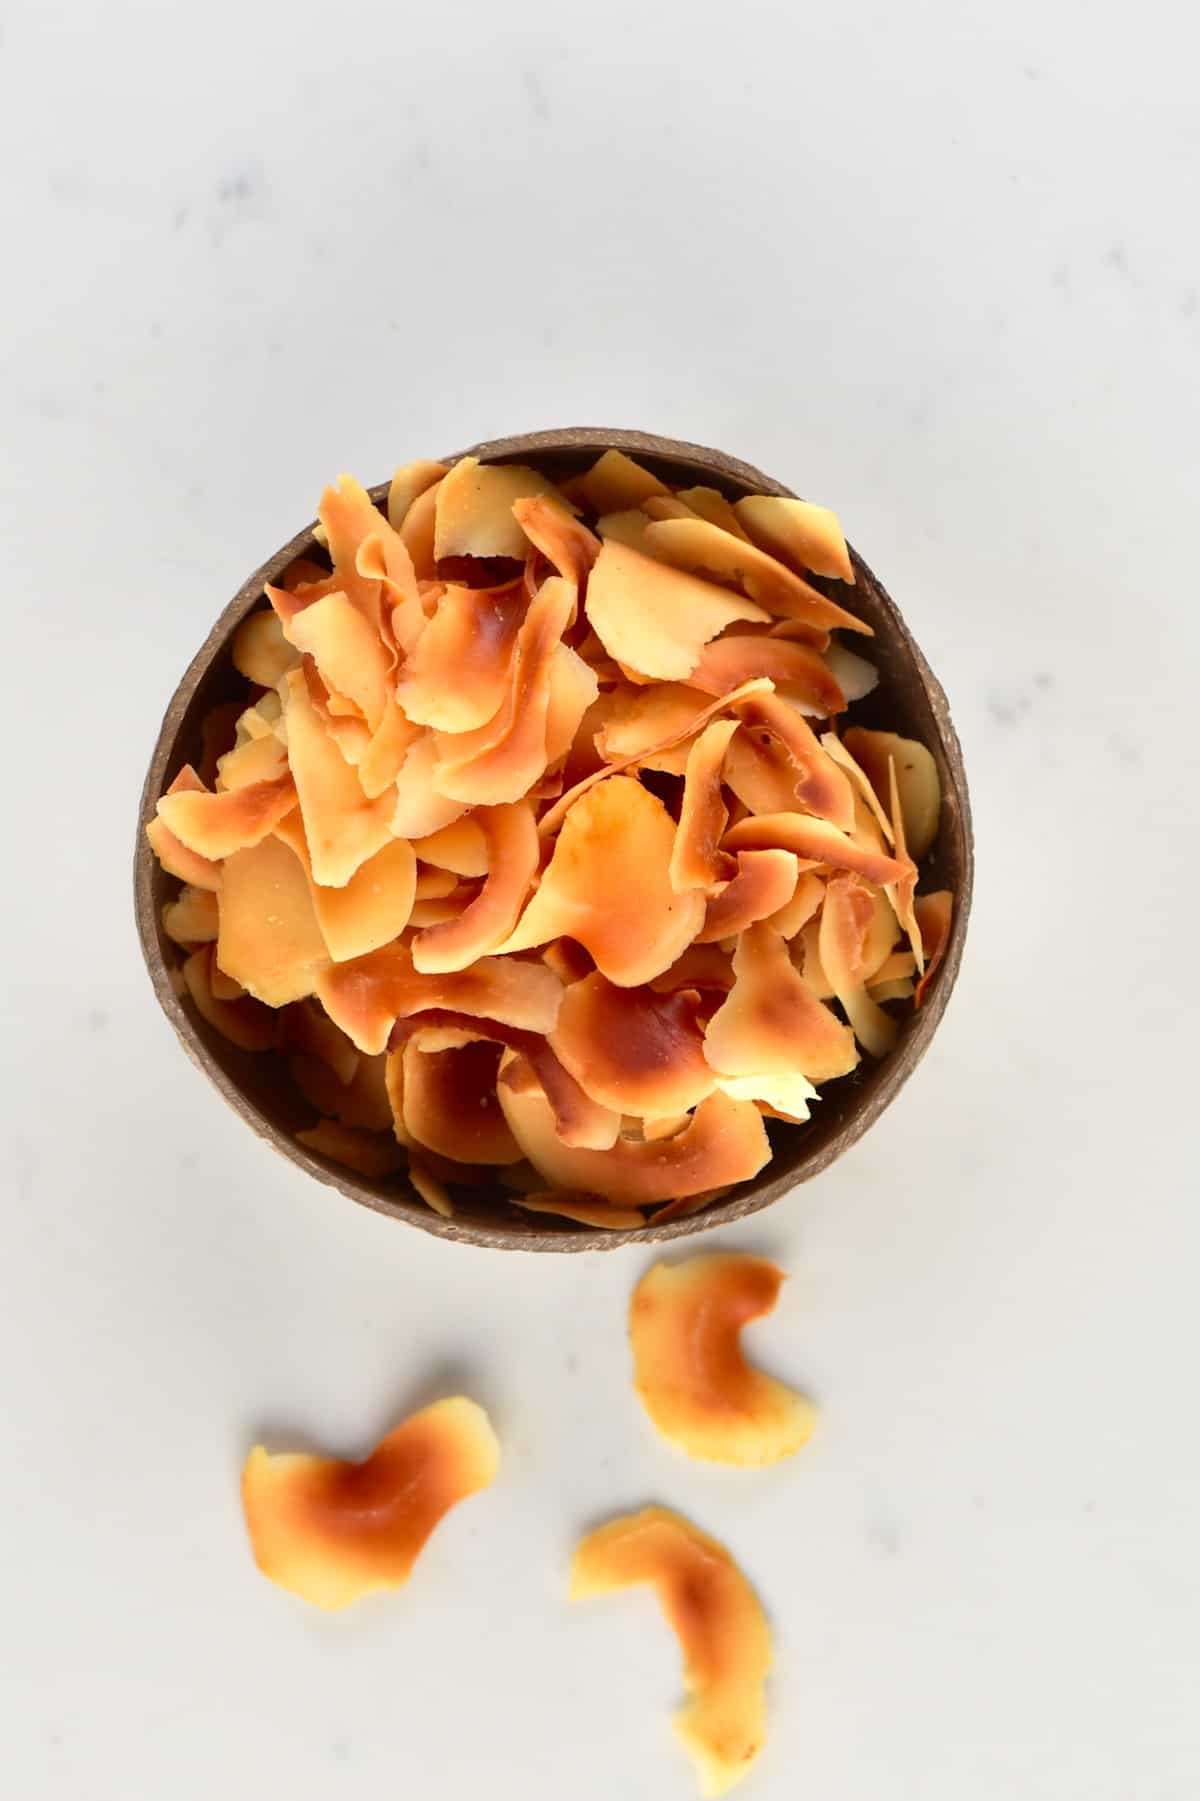
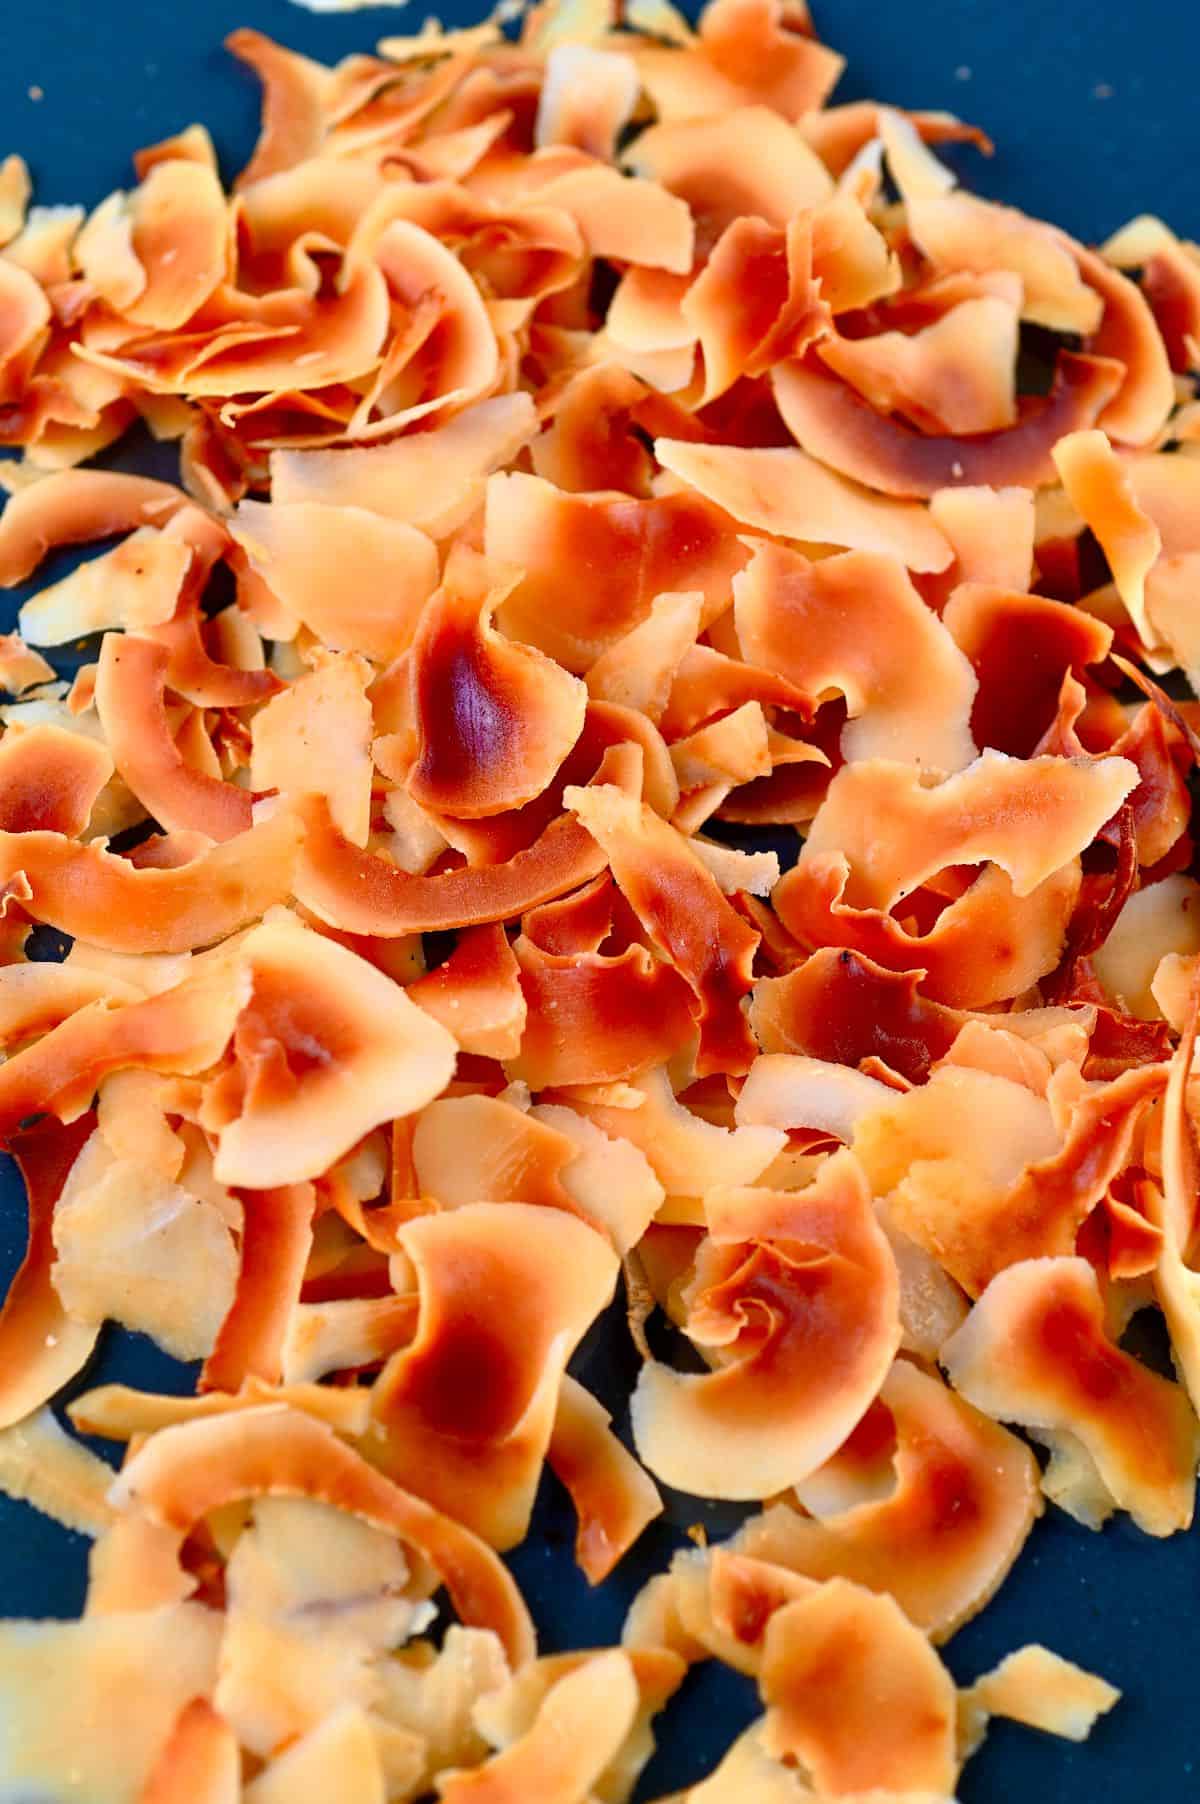
For Toasted Coconut flakes
If you want the flavor of toasted coconut flakes you can either leave the coconut in the oven for longer, until light brown. Alternatively, once your flakes are dried and stored, you can toast individual portions in a frying pan, as needed. It only takes a few minutes on medium-low heat and no-oil, if you use a non-stick pan.
If you give this recipe a try, then I’d love to know your thoughts in the comments below! Also, I love seeing your recreations, so feel free to tag me @AlphaFoodie.
How To Make Coconut Flakes (Coconut Chips)
Equipment
Ingredients
- 1 mature coconuts
Instructions
- Crack open the coconut. You can choose from one of these four easy methods for opening a coconut. Otherwise, simply use a hammer and hit along the middle of the coconut, twisting it as you hit (while holding it firmly, with a kitchen towel underneath to keep it from sliding). The coconut will start to crack, and you can then pull it open. Open it over a bowl to drain the coconut water (which you can drink).
- Gather the Coconut Meat. Use a butter knife to slot between the meat and shell and wiggle. Work your way around the coconut and it will eventually come loose. Some bits may break, that's perfectly normal.You could also use a specific 'coconut tool' OR use the 'freezer' hack; place the whole coconut in the freezer overnight and then follow 'step 1'. Usually, the shell just chips right away from the meat.
- Peel the coconut. Begin by peeling the brown skin off of the coconut using a vegetable peeler (you can still eat this or add to oatmeal, smoothies, etc) and rinsing the white meat. Then, using either a vegetable peeler or mandolin, peel the coconut into chips/flakes.
- Dry the coconut chips either in an oven or dehydrator. If using the oven method, spread the coconut chips in a single layer on a large baking sheet and dry at 60ºC/140ºF for around an hour. It may take longer, depending on your oven. I check on mine after 30 minutes, give them a shake, and then place back in the oven and check every 10 minutes, to stop them from 'toasting' or burning.
- To dry the coconut in a dehydrator – dry at 40ºC/105ºF for about 4-6 hours.
- Leave to cool completely before transferring to an airtight container to store.
Storing Instructions
- Unsweetened dried coconut flakes (dried not toasted) will store in an airtight container at room temperature for 6 months, or within the fridge (probably around 8-10 months), or freezer or up to 12 months (or longer!)
- Store toasted coconut chips for 3-4 weeks in an airtight container.
- Flavored coconut chips shelf life will vary depending on what flavorings you’ve used. I usually aim to eat my batched within a week if using anything ‘fresh’, like fruit puree’s, etc.
For a Sweetened Version
- You can make sweetened coconut flakes using the same method as I did for my Shredded Coconut. Alternatively, you'll need 2 tbsp powdered sugar of your choice, 1tbsp coconut oil (or other neutral oil), and 1 1/2-2tbsp water per cup of coconut flakes.Simply combine all of the ingredients in a bowl and stir thoroughly to coat the coconut, then set aside for 10-15 minutes (stirring just a couple of times), to allow it to absorb the liquid. They're then ready to use, or can be dried out in the oven for 10 minutes, and stored for later.
For Toasted Coconut flakes
- If you want the flavor of toasted coconut flakes you can either leave the coconut in the oven for longer, until light brown. Alternatively, once your flakes are dried and stored, you can toast individual portions in a frying pan, as needed. It only takes a few minutes on medium-low heat and no-oil, if you use a non-stick pan.
Video
Notes
- If you have issues with the coconut browning in the oven, place the coconut towards the lower middle, or low in the oven. Then, place another oven pan on the shelf above. This should stop them from getting ‘toasted’ from above. You can also leave your oven door open just a crack to allow some of the heat out and all the liquid being evaporated from the coconut.
- You need fully dry coconut for it to last the shelf life that it should. If it’s still slightly moist, then it will spoil far quicker.
- To flavor the coconut chips, you can do this from fresh coconut or dried. I prefer to wait until they’re dried because then it takes just a quick 10-15 minutes in the oven to crisp up with all the flavors. sprinkle with your favorite herbs and spices, or even cinnamon and maple syrup, whatever you like!
- The yield is around 2 cups of coconut chips, per coconut.
Nutrition
Nutrition information is automatically calculated, so should only be used as an approximation.


