This post may contain affiliate links. Please read our disclosure policy.
How to make herb salts at home, with three preparation method options. Plus, a rosemary salt recipe that requires just 5 ingredients, a few minutes to prepare, and has tons of uses!
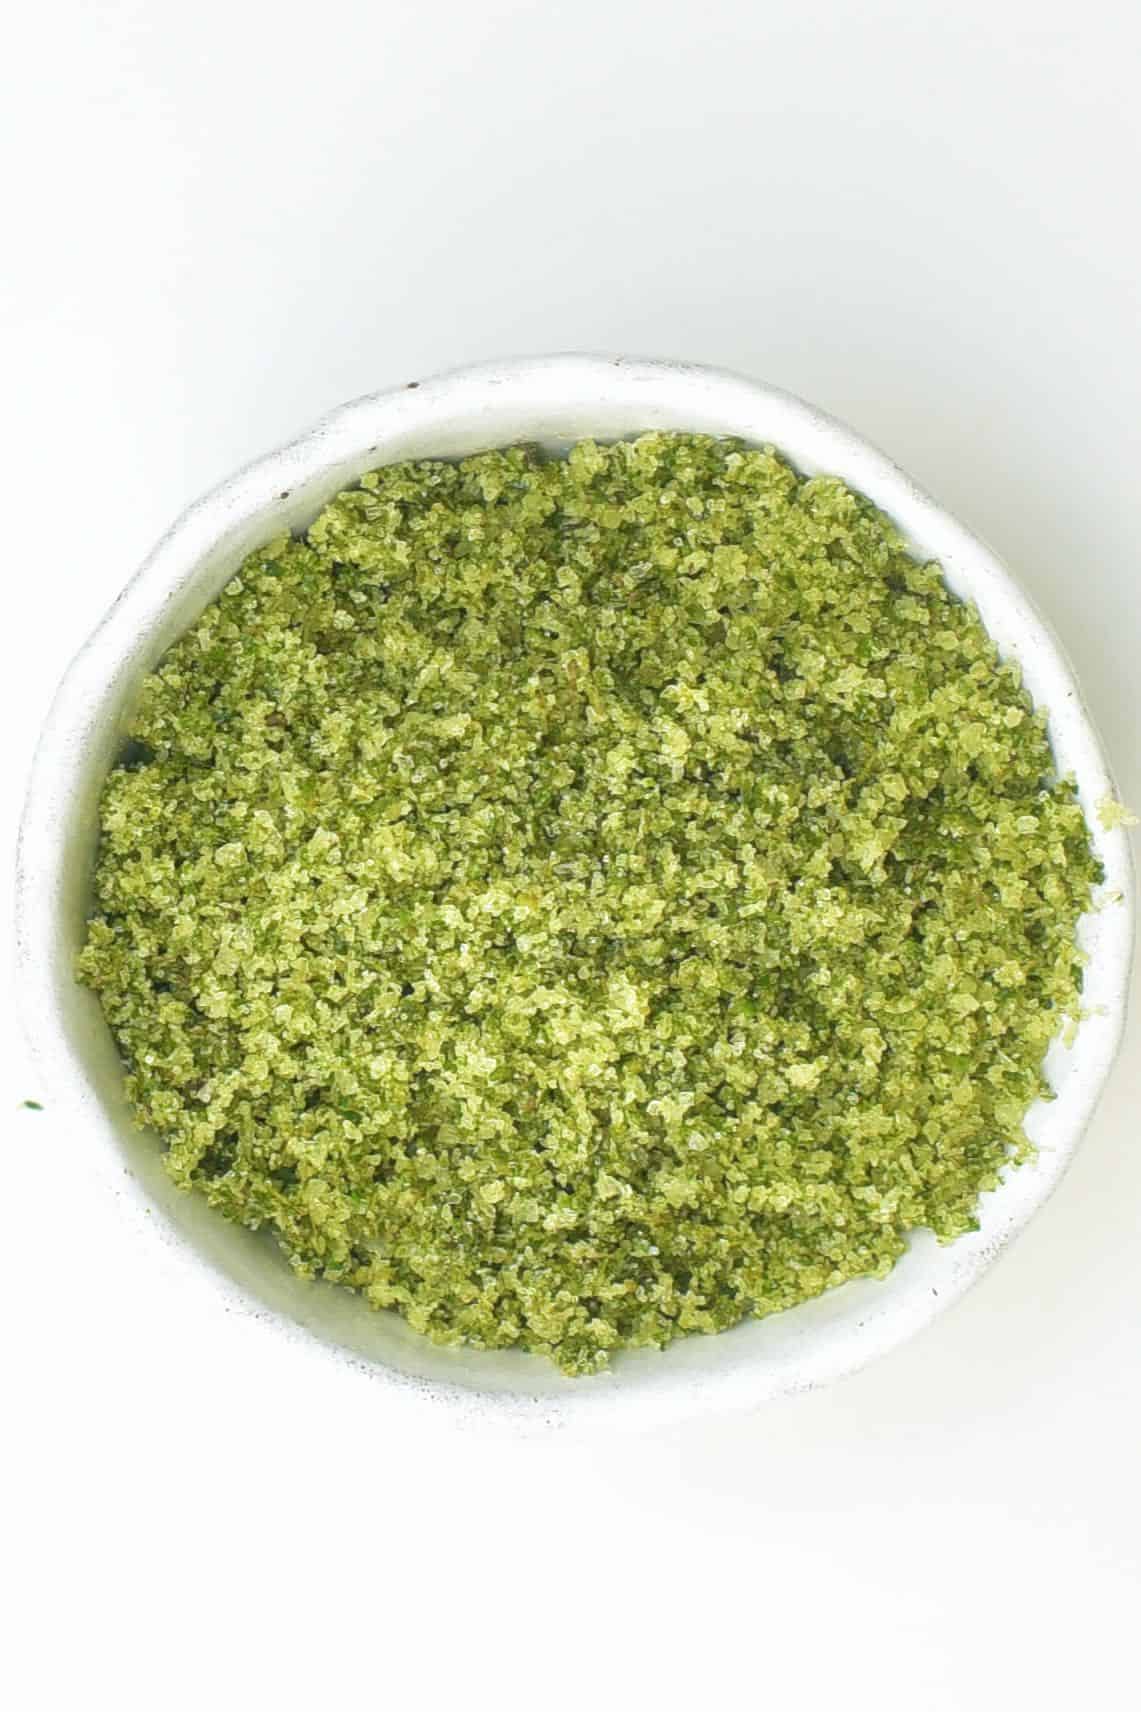
As is probably fairly obvious to anyone who pays attention to my blog, I love to make things from scratch and have dedicated the last 2-3 years to food DIYs. There are homemade butter, homemade cream cheese, Powdered Milk, not to mention tons of vegan alternatives, and – recently – items like this homemade Italian seasoning and flaky salt. Now, it’s the turn of herby-flavored salt and this homemade rosemary salt.
Flavored salts are a quick and simple way to pack tons of flavor into meals – not to mention that they are a great way to preserve fresh herbs from your garden. I’ve found that homemade flavored salts tend to get even better as they sit/age over time (though they do eventually start to lose flavor, but that’s months away!).
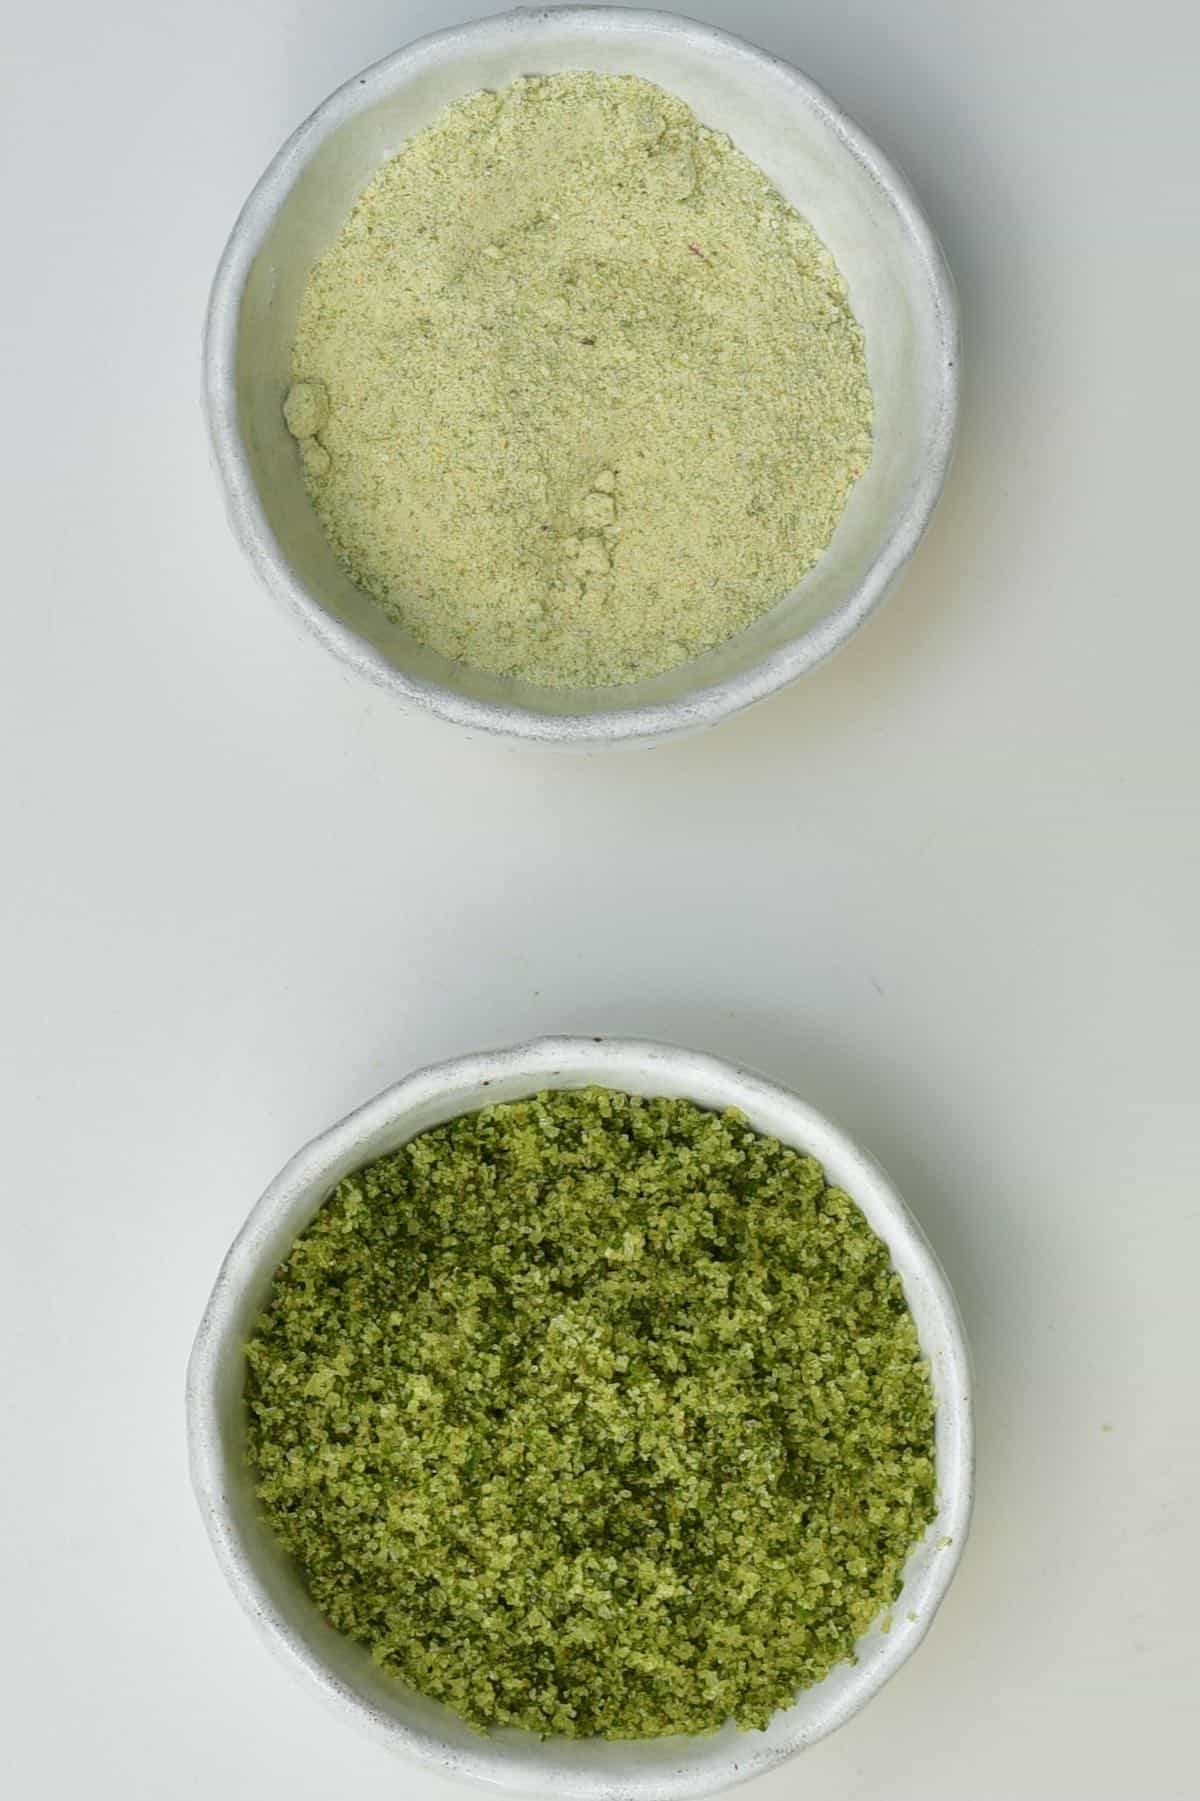
Plus, herb salts also make great homemade gifts for foodies or party/wedding favors and are much more cost-efficient than store-bought options!
Want to save this recipe?
The Ingredients
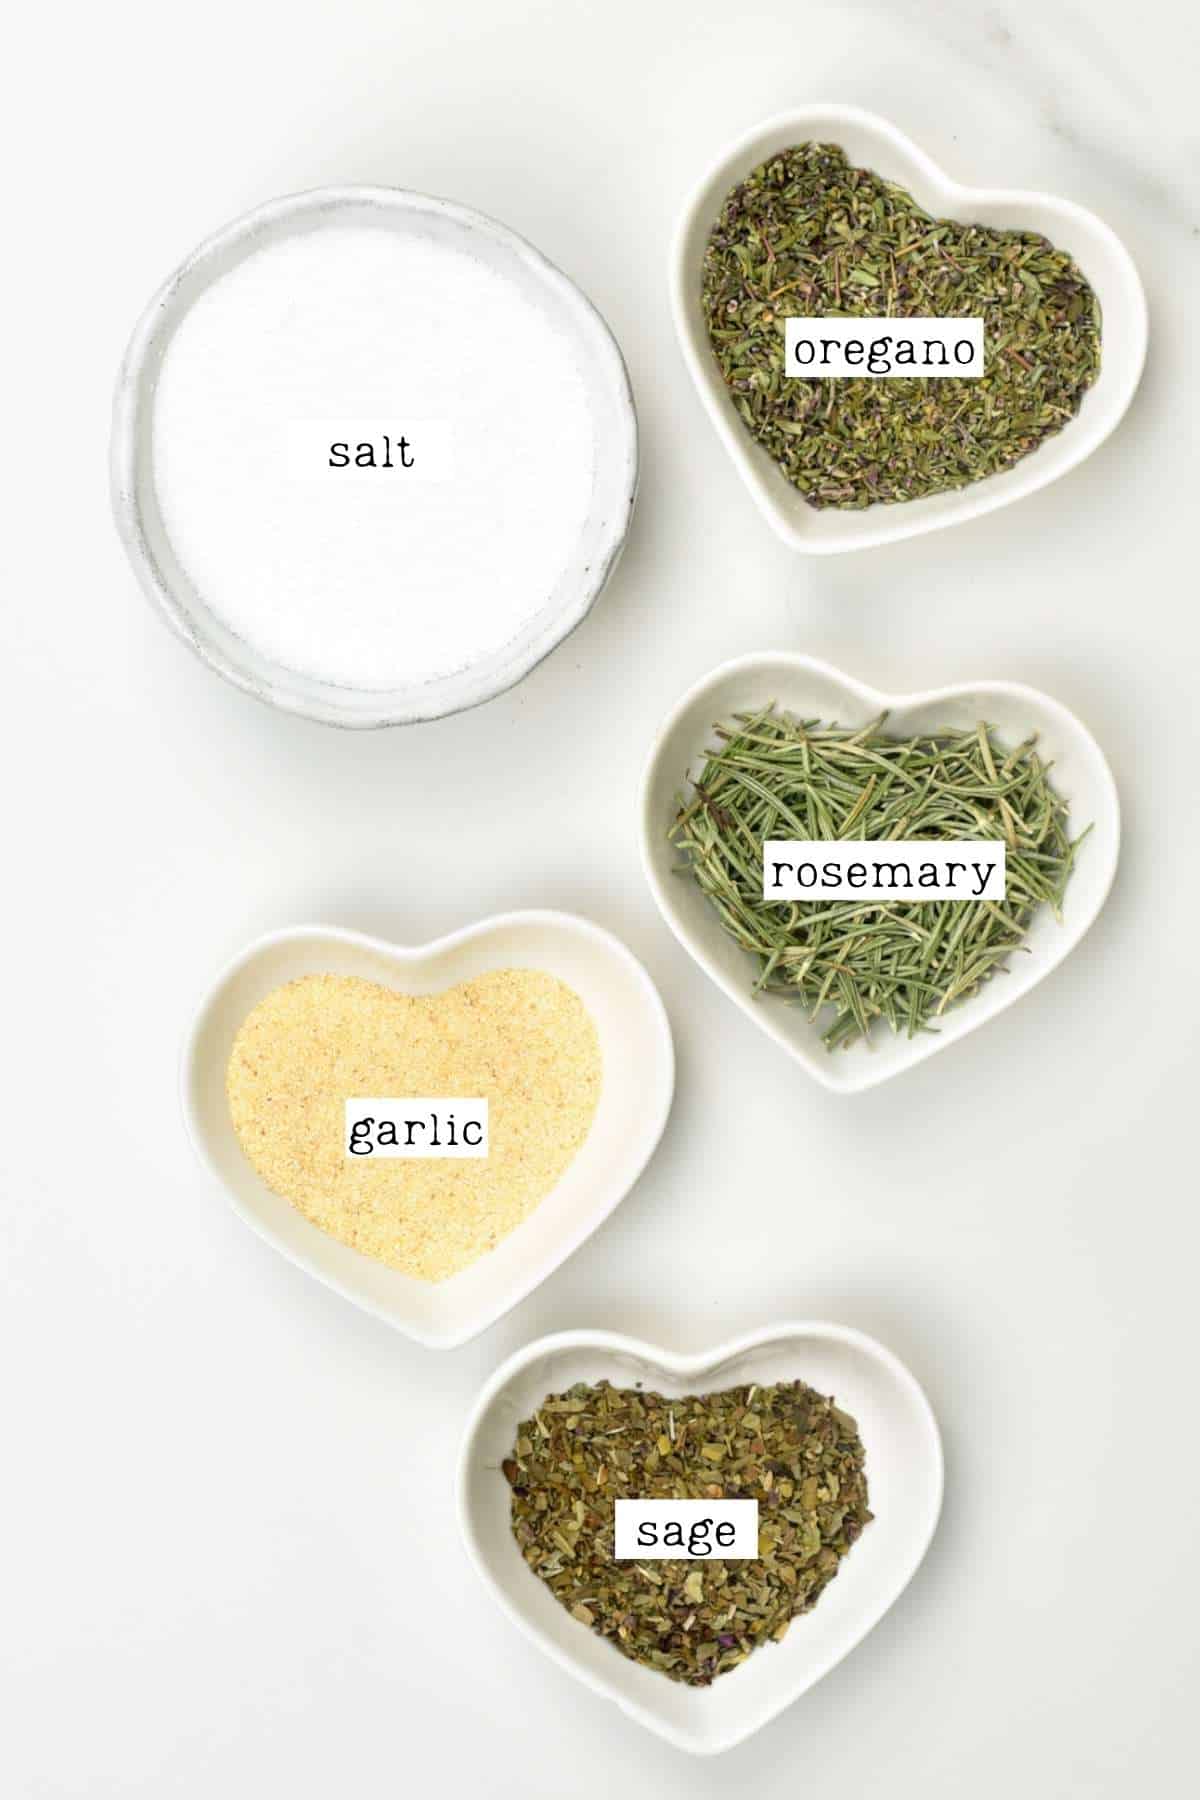
- Salt – I use coarse sea salt. Kosher salt also works very well.
- Rosemary – I use rosemary from my garden. Use fresh or dried.
- Sage – use fresh or dried.
- Oregano – use fresh or dried.
- Garlic flakes or garlic powder – you could also use fresh garlic if drying the salt out.
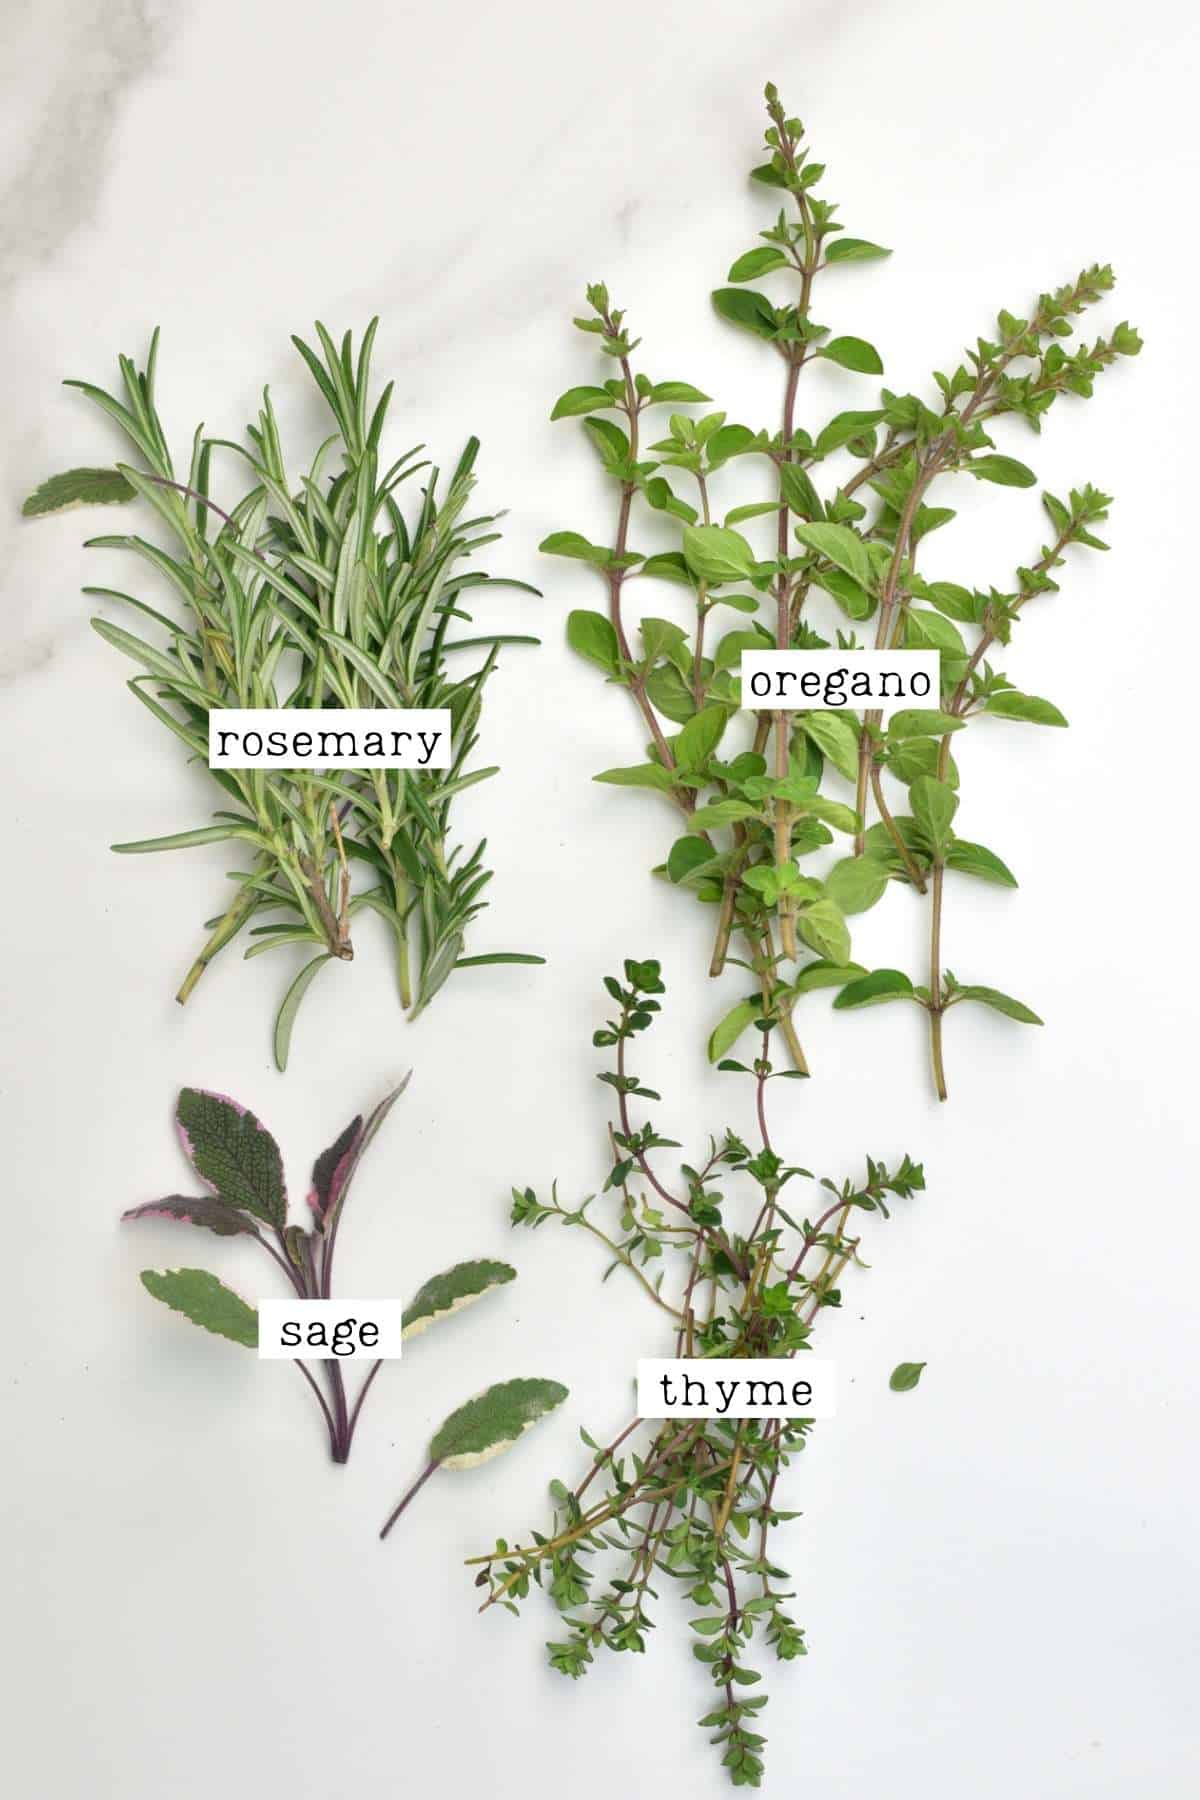
Other Flavored Salt Herb Options
- Lemon Zest/Orange Zest/Lime Zest
- Basil/Thai basil
- Bay Leaf
- Celery
- Cilantro (Coriander)
- Coriander
- Dill
- Fenugreek
- Lavender
- Marjoram
- Mint
- Parsley
- Thyme
- Tarragon
- Zaatar spice
You can also use dried chili and chili flakes or ingredients like minced garlic (for when you’re drying the salt!). You can also experiment with spices such as paprika, curry powder, or even vanilla (vanilla salt is actually delicious).
How To Make Rosemary Salt
Technically there are three ways to prepare any herb salt: the first is to use fresh herbs and store the salt in the fridge (for short-term use), the second is to use fresh herbs and dry them with salt in the oven (or at room temperature), the third is to use dried herbs (home-dried or store-bought).
Below I’ll provide options for all three methods.
Step 1: Prepare the herbs
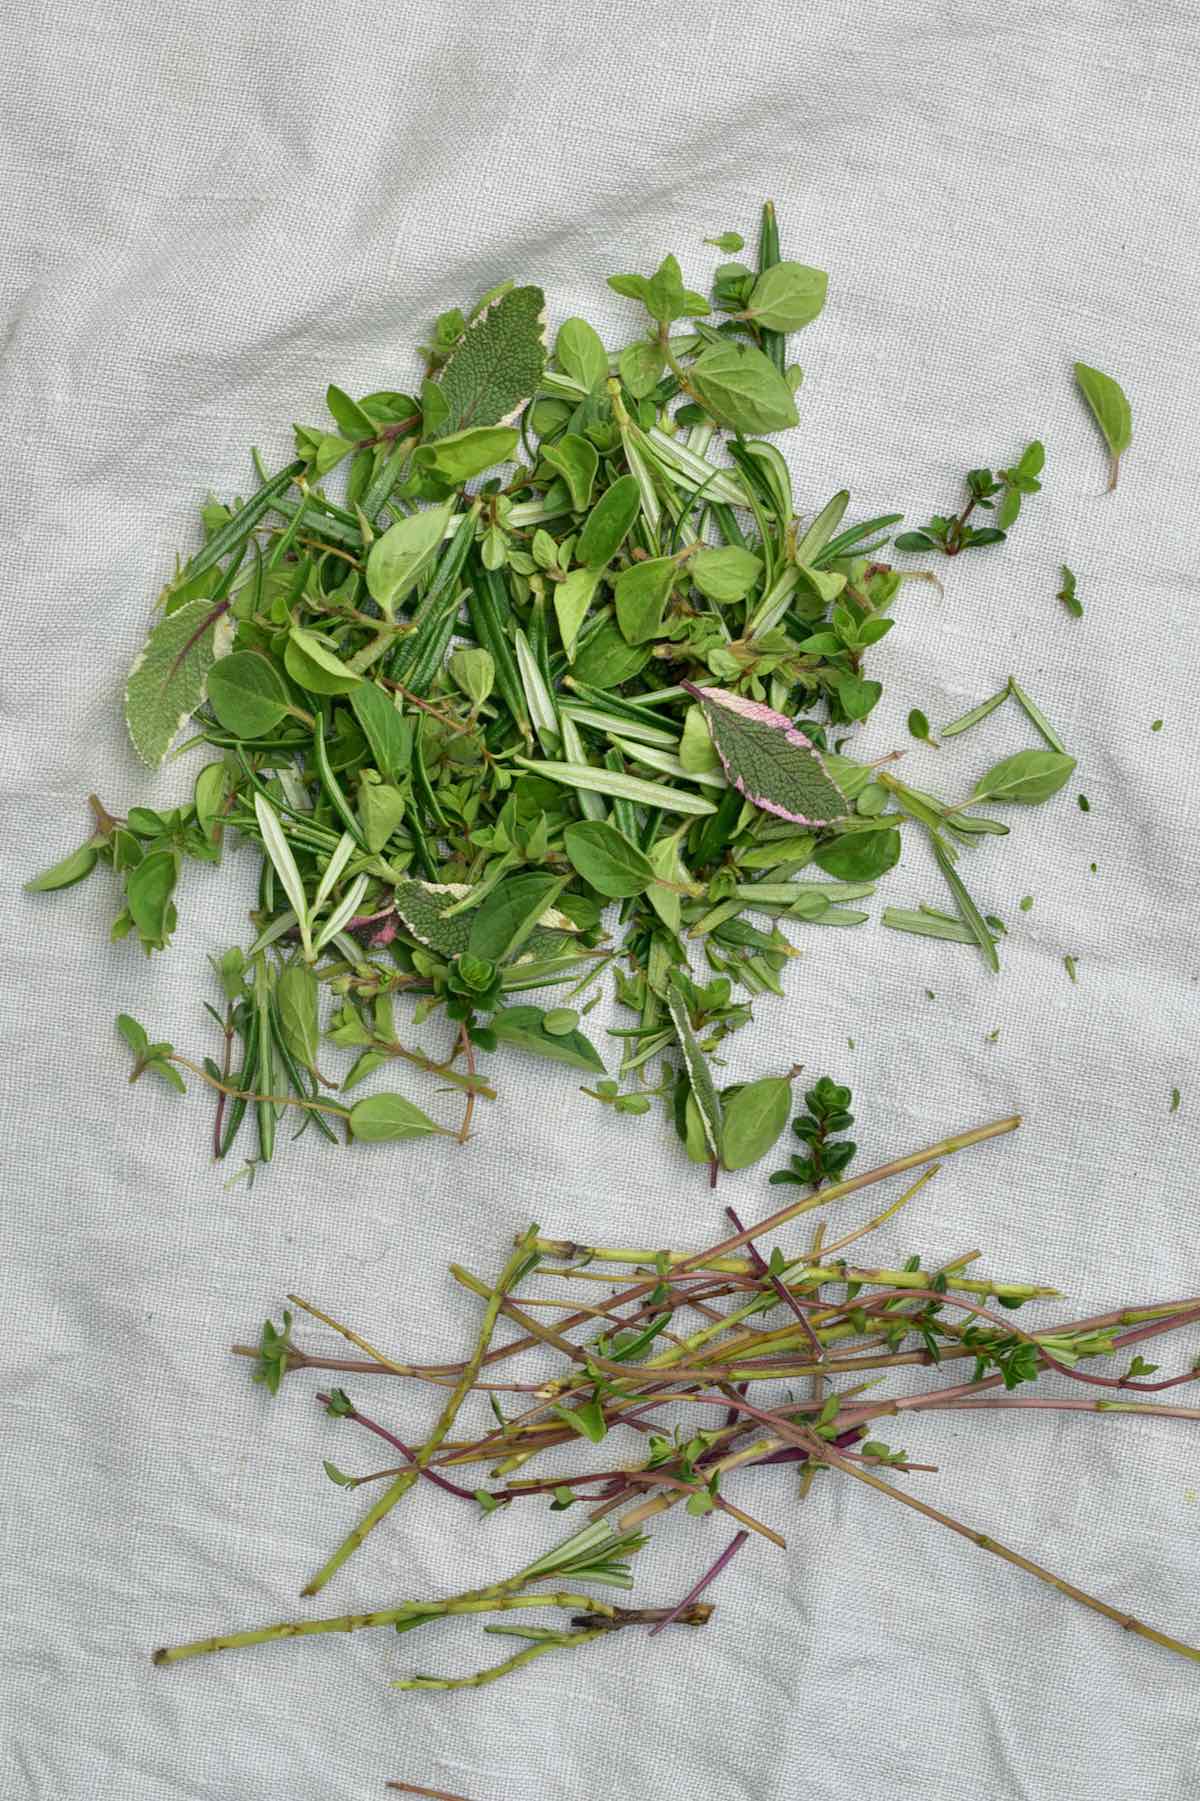
First, wash the herbs (rosemary/sage/oregano) and pat dry with a kitchen towel. Then separate the stems from the leaves. We are only using the leaves. The stems give a bitter taste to the salt, so you can discard/compost them.
If you’re using dried herbs, then skip this step.
Step 2: Blend the flavored salt
For finely ground salt
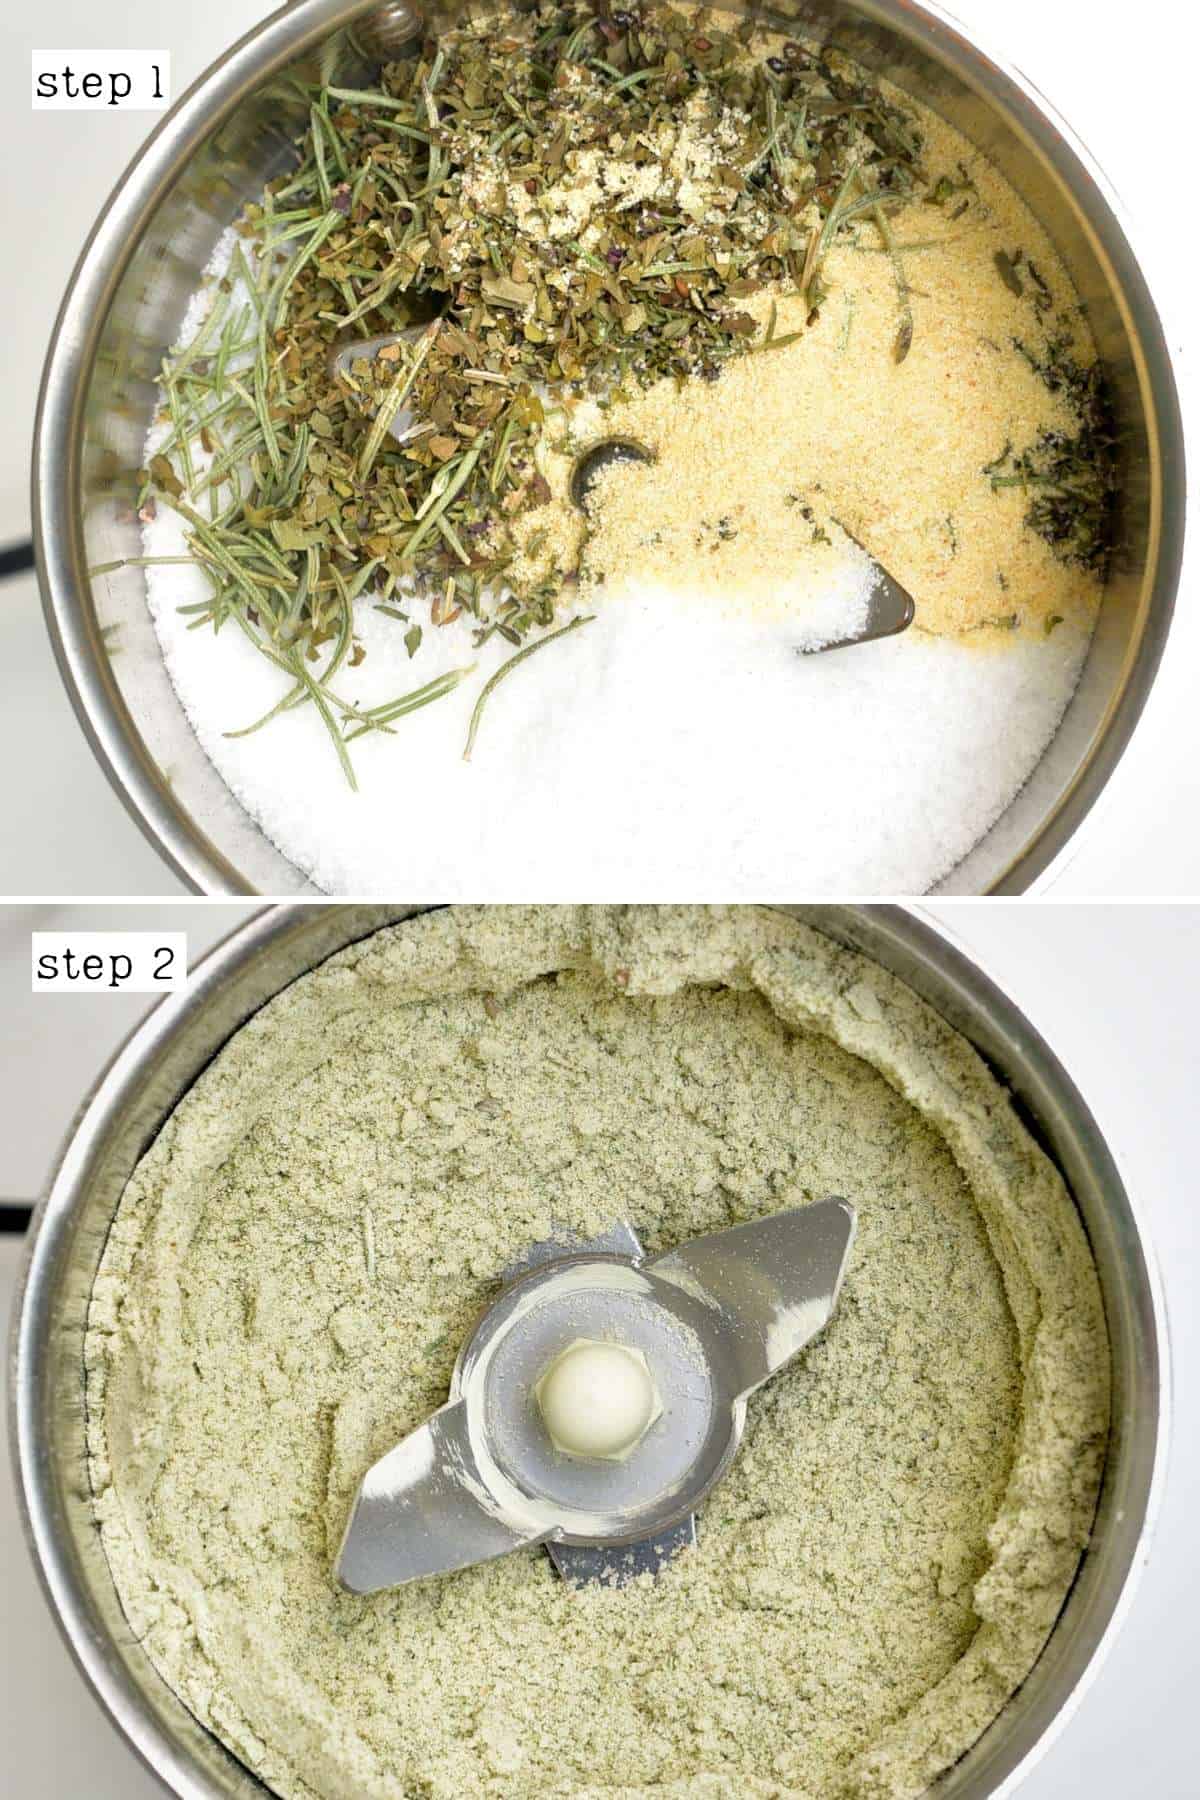
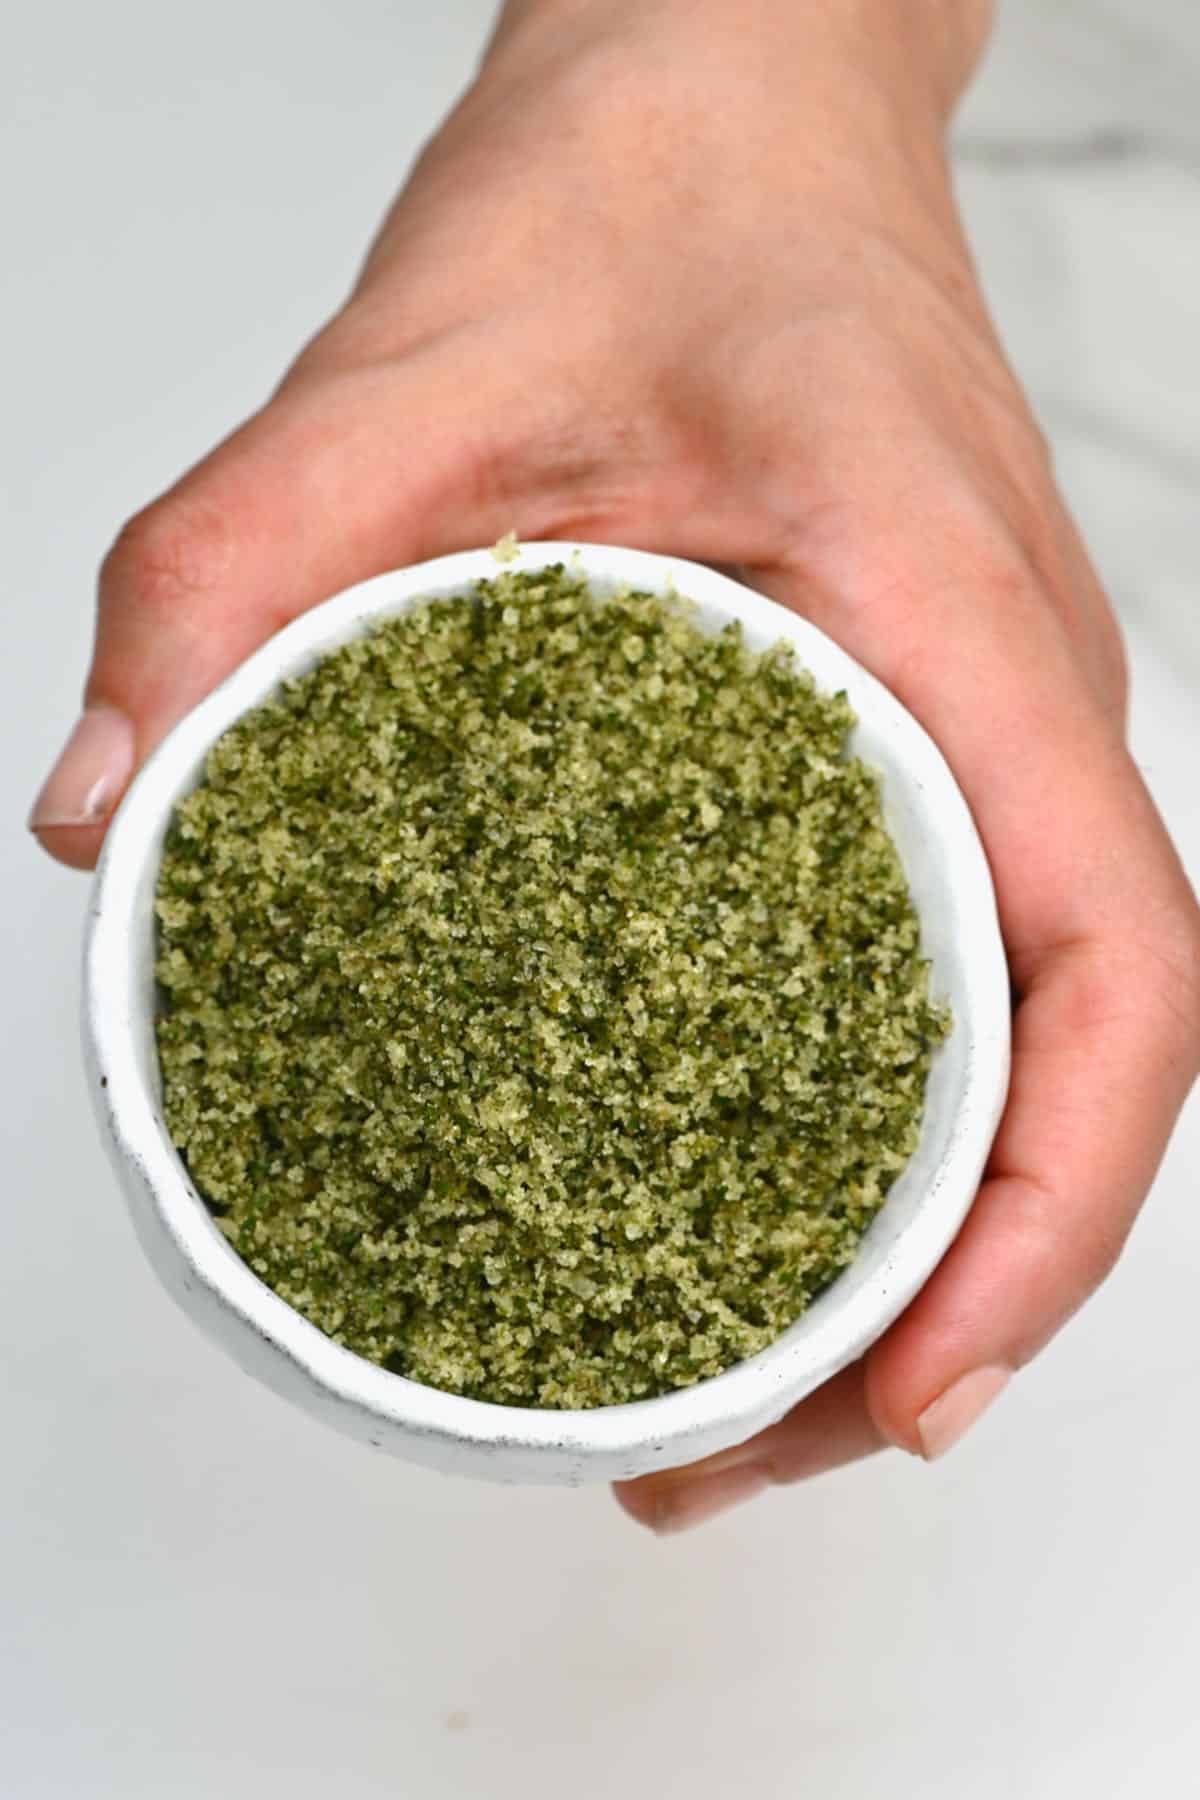
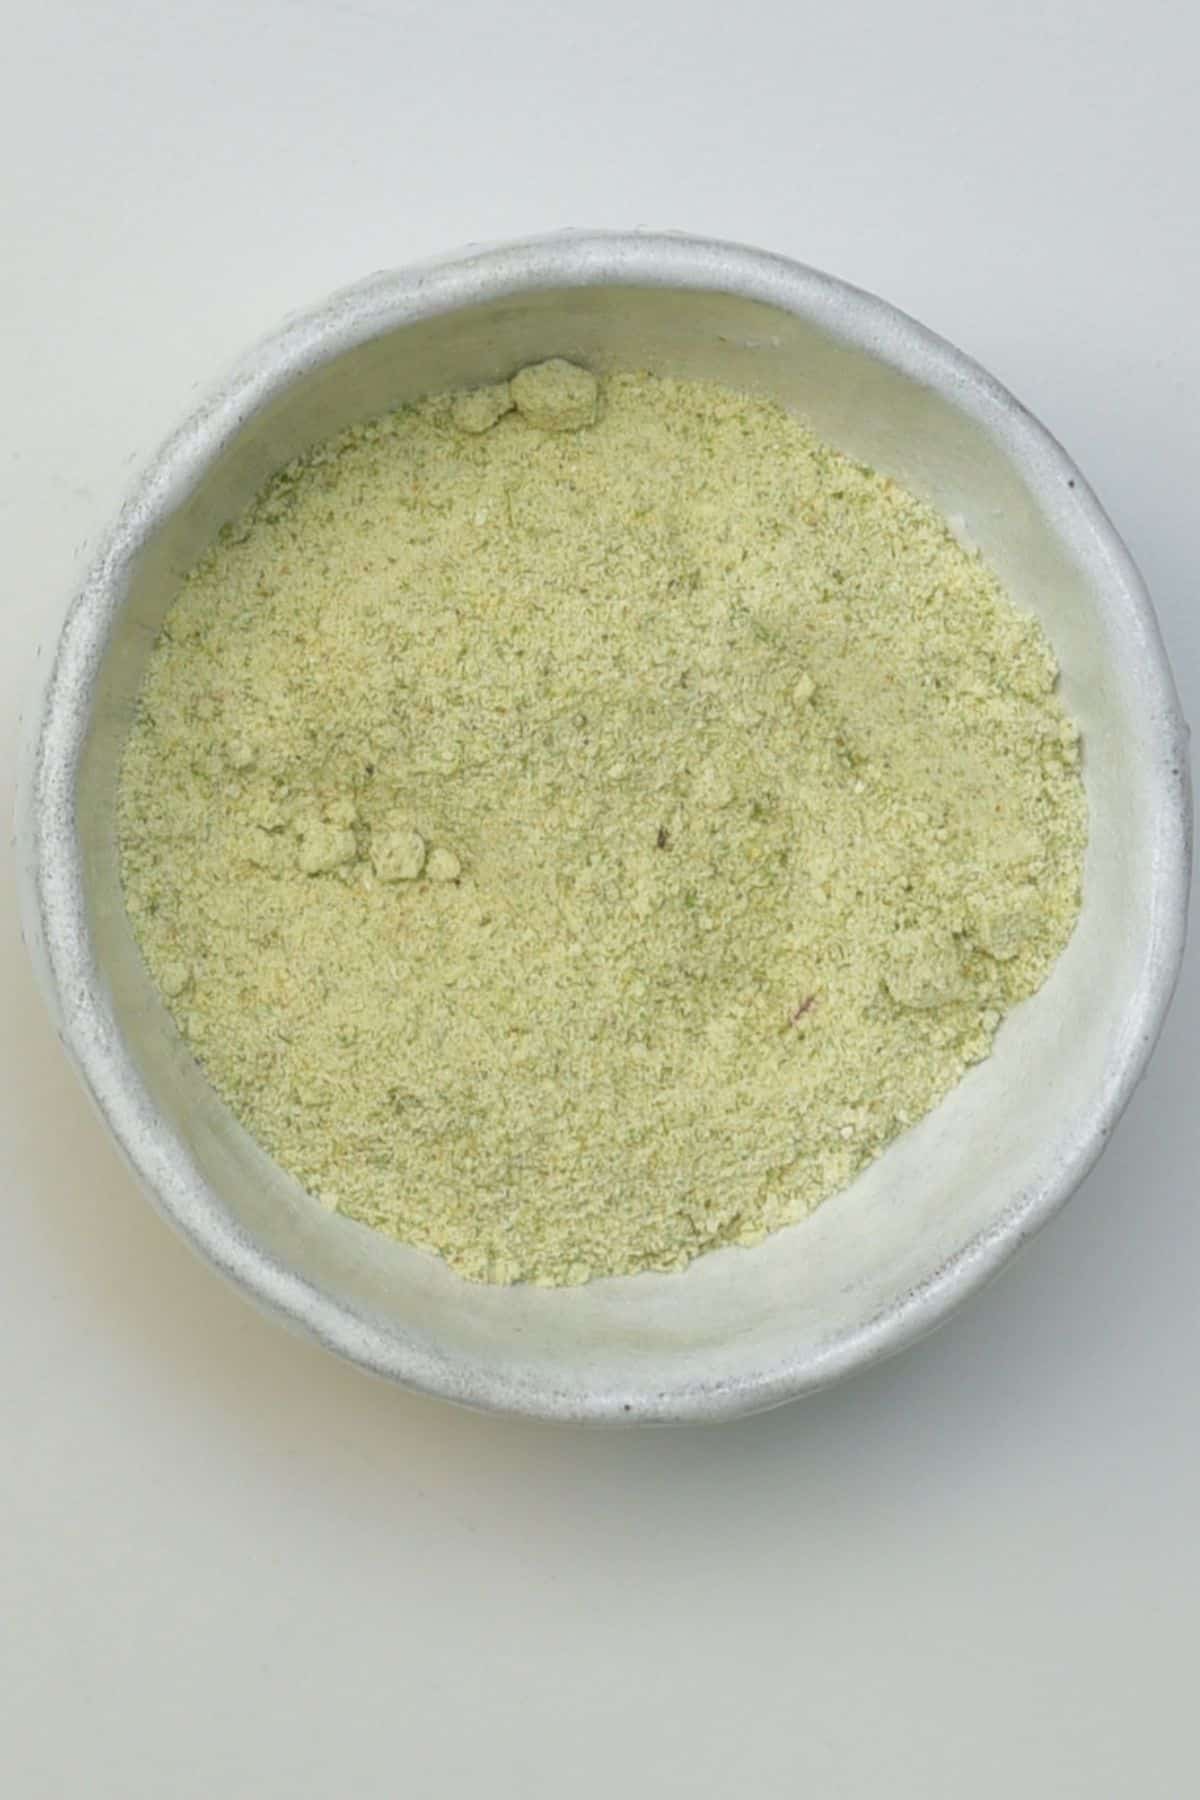
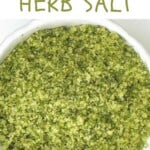
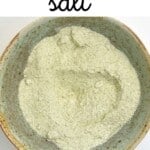
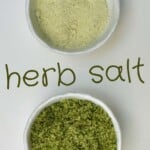
Put the salt, herbs, and garlic together in a mixer or grinder. Blend until the mixture resembles fine, refined green salt.
At this point, you can decant it into a glass jar and put it away. If you use fresh herbs, you can also continue with step 3.
For more coarse/chunkier salt
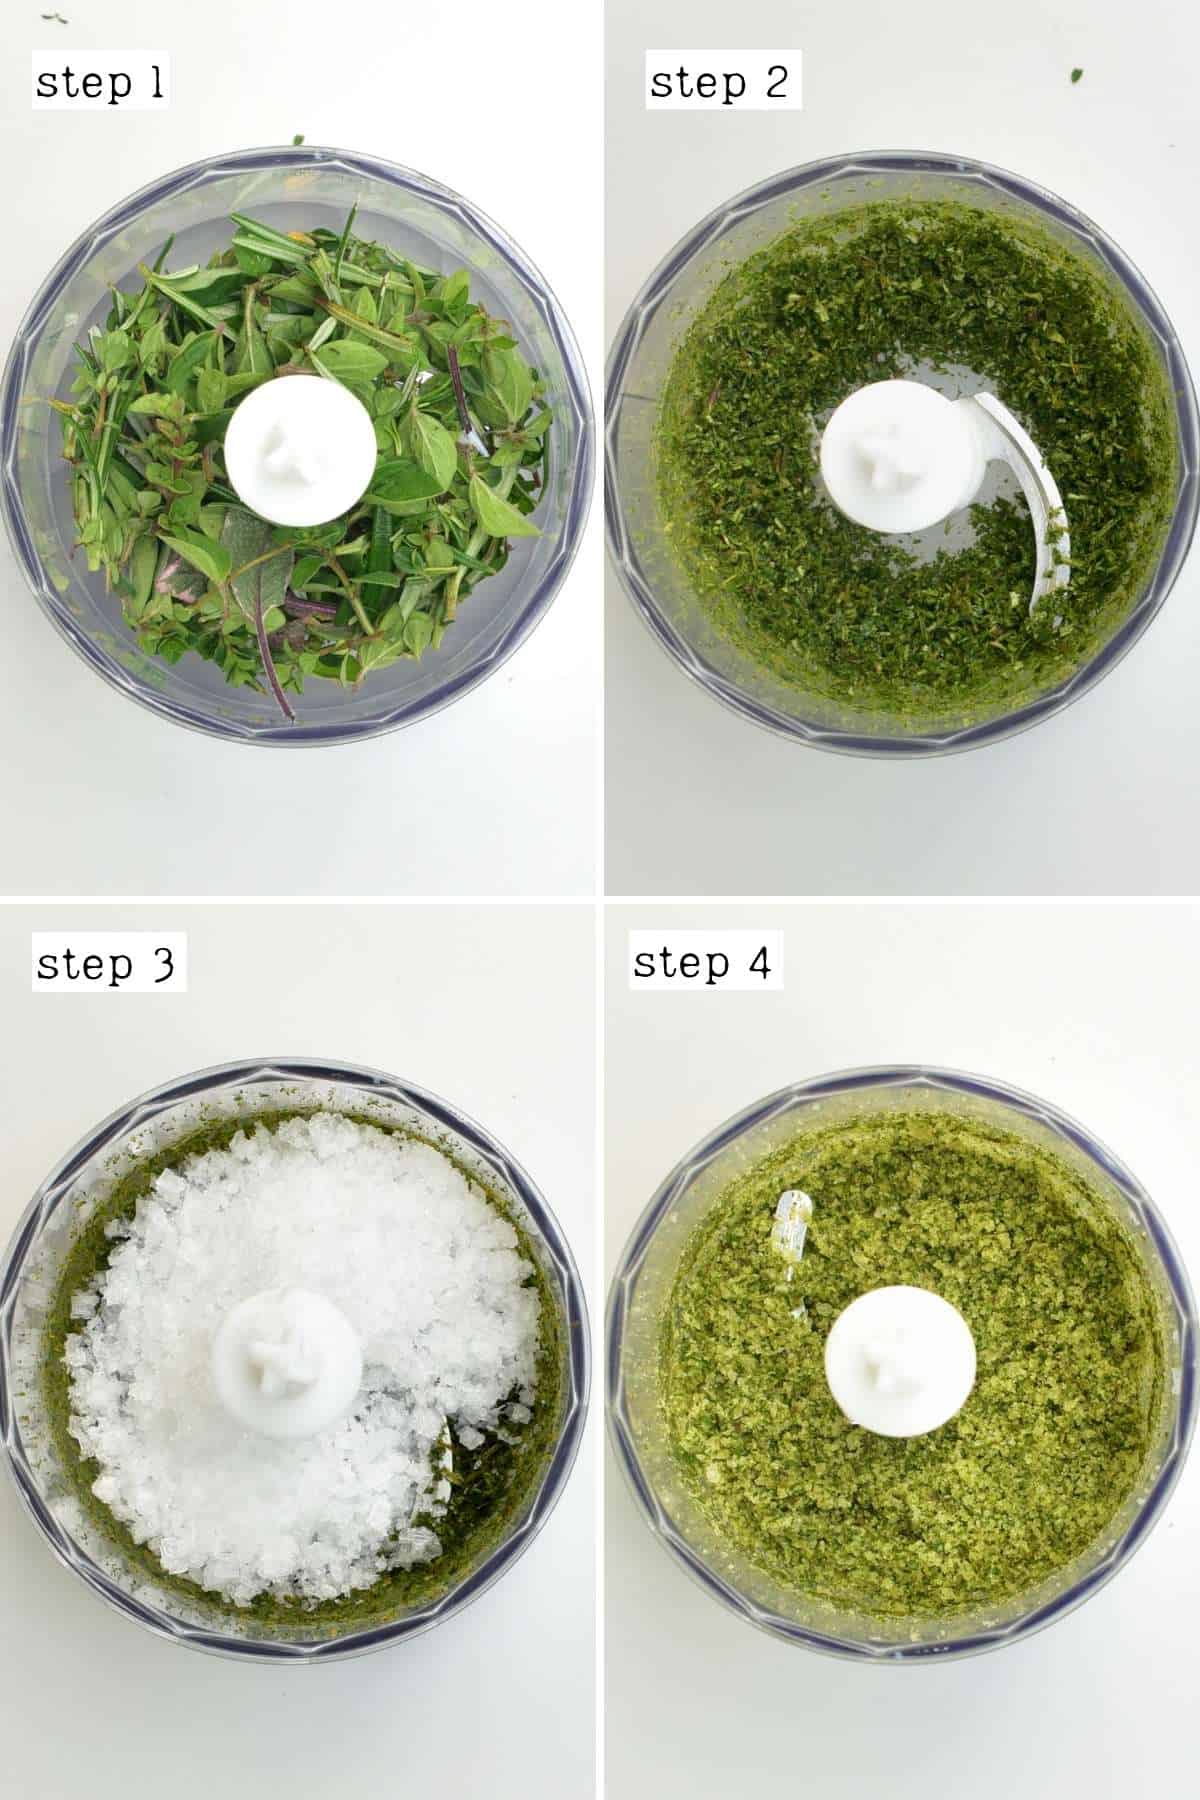
First put only the herbs in a mixer or grinder. Blend till you achieve a texture you like – it can be a little finer or chunkier.
Then add the salt and pulse just a couple of times to combine the mixture. Doing this allows you to keep bigger salt crystals for a more coarse salt texture.
Pour into a glass jar and put it away. Or, if you used fresh herbs, you can also continue with step 3 and dry the salt.
Step 3: Dry the salt mixture
Drying the salt mixture with fresh herbs prolongs its shelf life. Spread the salt mixture over a large baking sheet (or multiple sheets if making a large batch).
To dry at room temperature, leave in a well-ventilated area, near a window if possible. Depending on the weather and humidity, it can take several days to dry completely (best for warmer climates).
To dry in the oven, place the baking tray in the oven and allow the salt to dry at 230ºF/110ºC. The time will vary depending on the herbs you use. I suggest paying attention between the 30-45-minute marks and then increasing the time as needed until dry to the touch.
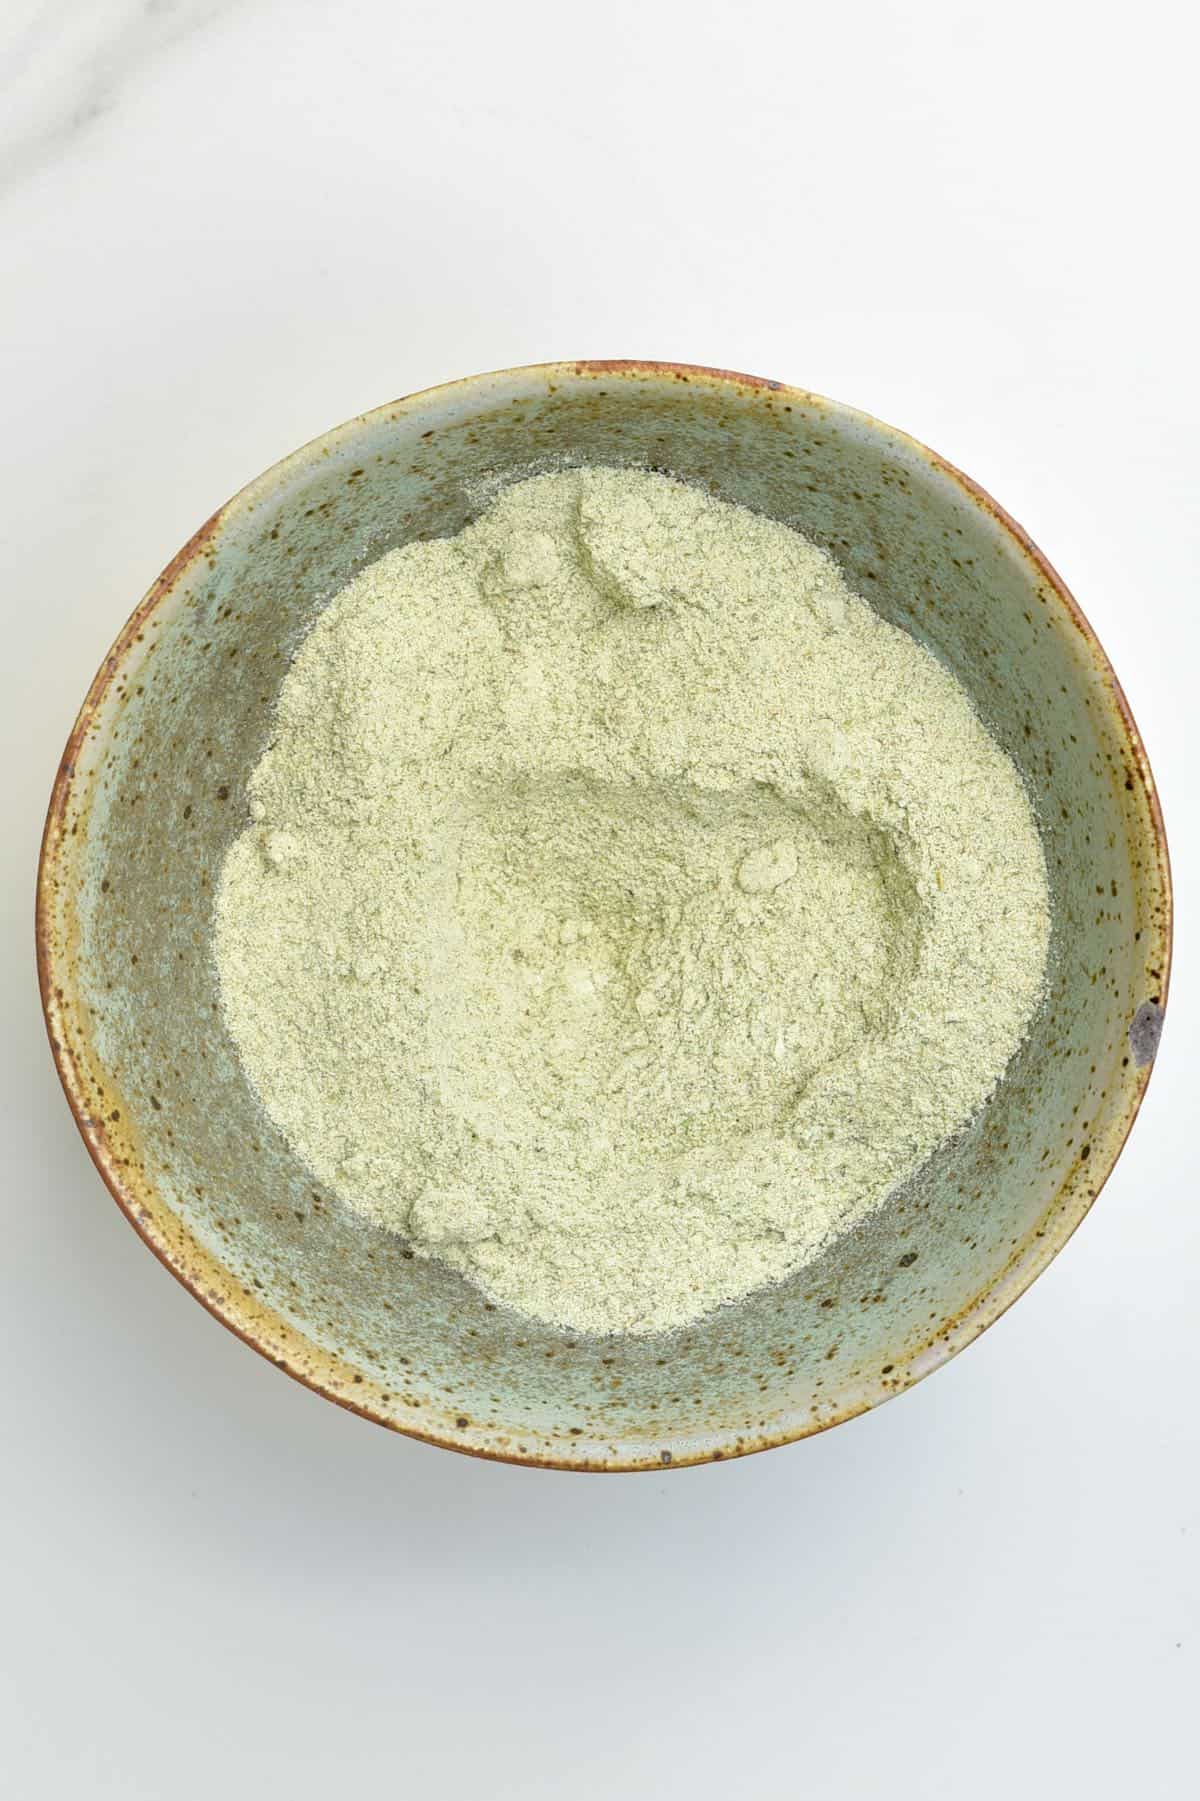
Top Tip: Allow the salt to sit for 1-2 days before using it to allow all the flavors to develop. Though you can also use it immediately.
How To Store
When using fresh herbs, without drying the mixture, store it in an airtight container in the fridge, and use within 2-3 weeks.
If dried, then this salt will last well up to a year (technically, it will keep indefinitely if completely dry – but the flavor will eventually decrease).
How To Use
- Rubbed over proteins – tofu scramble or grilled meat/chicken/fish.
- Mixed into butter- to make garlic herb compound butter.
- Roasted potatoes – like these crispy roasted potatoes or roasted Okinawan sweet potatoes.
- Mashed potato and other potato dishes.
- Other roasted veggies.
- Over pasta dishes – like this Creamy Vegan Mac and Cheese or Vegetarian One-Pot Pasta bake.
- Sprinkle over popcorn!
- Sprinkled over and into bread recipes – like this Simple Homemade Multigrain Bread Recipe or flatbreads like focaccia.
- Use with eggs – like a Veggie Omelette, or even this tofu scramble.
- Over pizza – like this Butternut Squash Pizza or Homemade Neapolitan pizza.
- With fresh salad veggies like tomatoes and cucumber.
Top Tips/Notes
- The color and flavor of the rosemary salt will fade over time (months after making), so you may want to top it up with some additional herbs.
- Sturdier herbs work best for simple herb salts and create the best results. Delicate leafy herbs like cilantro, parsley, and dill work best as part of a blend (in my experience).
- If you don’t have a food processor/blender, you can finely chop the herbs by hand and/or use a mortar & pestle.
- Top Tip: You can dry herbs out in the microwave too. This is something a reader actually let me know – so it isn’t something I’ve tried – but I’m told to spread them over a few layers of paper towel and dry for between 1-2 minutes, in spurts of 20-30 seconds.
Related DIYs
If you try this herb salt recipe/DIY, let me know your thoughts in the comments. I’d also really appreciate a recipe rating and would love to see your recreations—just tag @AlphaFoodie.
How To Make Herb Salt (Rosemary Salt Blend)
Equipment
Ingredients
- 1/4 cup salt coarse salt such as seas salt, kosher salt, etc.
- 3-4 sprigs of rosemary
- 2 sage leaves
- 1 sprig oregano or any other herb you like
- 1 tsp garlic flakes
Instructions
Step 1: Prepare the herbs
- First, wash the herbs (rosemary/sage/oregano) and pat dry with a kitchen towel. Then separate the stems from the leaves. We are only using the leaves. The stems give a bitter taste to the salt so you can discard/compost them.If you're using dried herbs then skip this step.
Step 2: Blend the flavored salt
For finely ground salt
- Put the salt, herbs, and garlic together in a mixer or grinder. Blend till it is a nice smooth refined green salt.At this point, you can decant it into a glass jar and put it away.
For more coarse/chunkier salt
- Put only the herbs in a mixer or grinder. Blend till you achieve a texture you like – it can be a little finer or chunkier.
- Add the salt and pulse just a couple of times to combine the mixture. Doing this allows you to keep bigger salt crystals for a more coarse salt texture.Now, you can decant it into a glass jar and put it away.
Step 3: Dry the salt mixture
- If using fresh herbs, to prolong the shelf life, you can dry the mixture. To do that, spread the salt mixture over a large baking sheet (or multiple sheets, if making a large batch).
- To dry at room temperature: leave in a well-ventilated area, near a window if possible. This can take several days to dry completely depending on the weather/humidity (best for warmer climates).To dry in the oven: Place the sheet in the oven and allow it to dry at 230ºF/100ºC. The time will vary depending on the herbs you use – I suggest paying attention between the 30-45 minute marks and then increasing time as needed, until dry to touch.Top Tip: Allow the salt to sit for 1-2 days before using it to allow all the flavors to develop. Though you can also use it immediately.
How To Store
- When using fresh herbs, without drying the mixture, store it in an airtight container in the fridge, and use within 2-3 weeks.If dried, then this salt will last well up to a year (technically, it will keep indefinitely if completely dry – but the flavor will eventually decrease).
Notes
- The color and flavor of the rosemary salt will fade over time (months after making), so you may want to top it up with some additional herbs.
- Sturdier herbs work best for simple herb salts and create the best results. Delicate leafy herbs like cilantro, parsley, and dill work best as part of a blend (in my experience).
- If you don’t have a food processor/blender, you can finely chop the herbs by hand and/or use a mortar & pestle.
- Top Tip: You can dry herbs out in the microwave too. This is something a reader actually let me know – so it isn’t something I’ve tried- but I’m told to spread them over a few layers of paper towel and dry for between 1-2 minutes, in spurts of 20-30 seconds.
Nutrition
Nutrition information is automatically calculated, so should only be used as an approximation.




I was wanting to make these to give as gift…do they have to go in a jar? I wanted to use small craft paper envelopes.
Hi Ashley,
The salt should be OK in paper envelopes for a couple of days if the environment is not too humid. But it’s best to place it in a spice jar or regular jar quickly so it doesn’t absorb any moisture. I hope this helps.
Brilliant! This makes adding herbs to elevate flavor in your fav dishes simple. I’ve been playing with herbs in sweet dishes lately and am surprised at how much I like the boost!
I followed the recipe exactly (coarse/dried version) with the fresh herbs I have in my garden (rosemary, sage), and the flavor was very good. I have a two suggestions:
1. 230F/120C is a bit hot for herbs. If you oven can go lower, try 140F/60C for a longer time. It’s even more efficient if you have a convection oven.
2. The ratio of herbs to salt is only a suggestion. I prefer more herbs and less salt. Try a few different ratios (can be accomplished in a single batch) to find your sweet (salty?) spot.
Thank you so much for your comment, Chris. Great tips and suggestions!