
This post may contain affiliate links. Please read our disclosure policy.
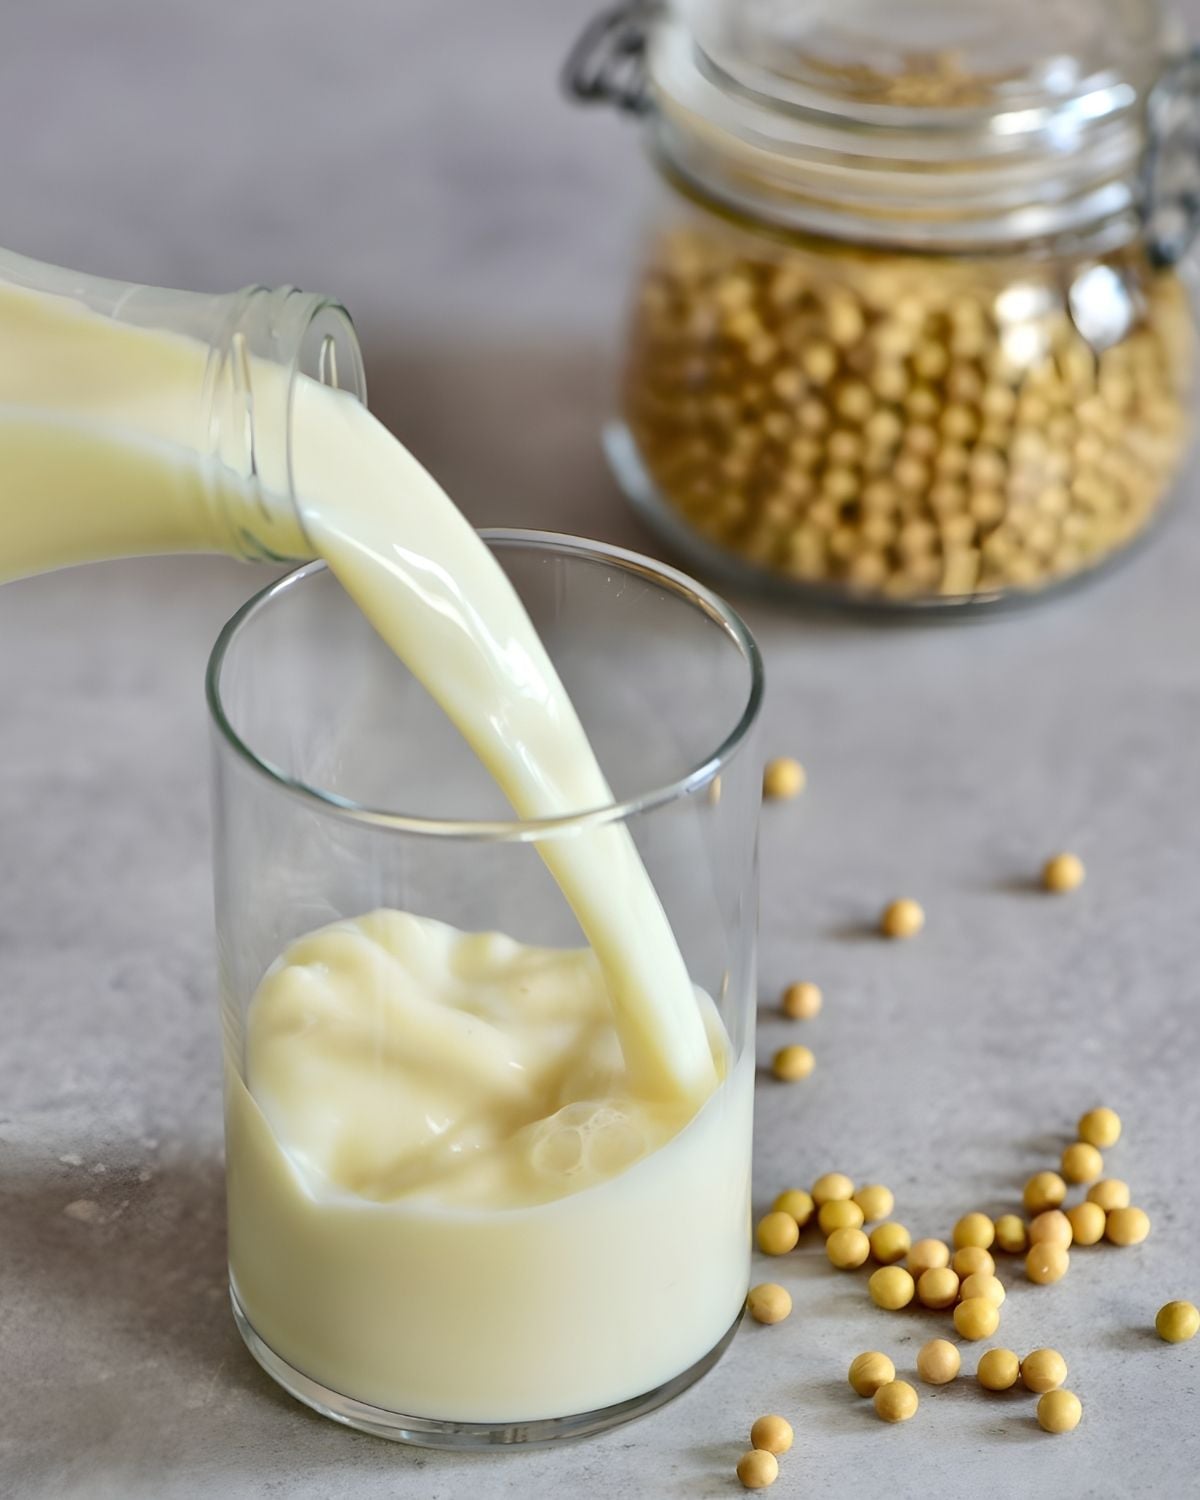
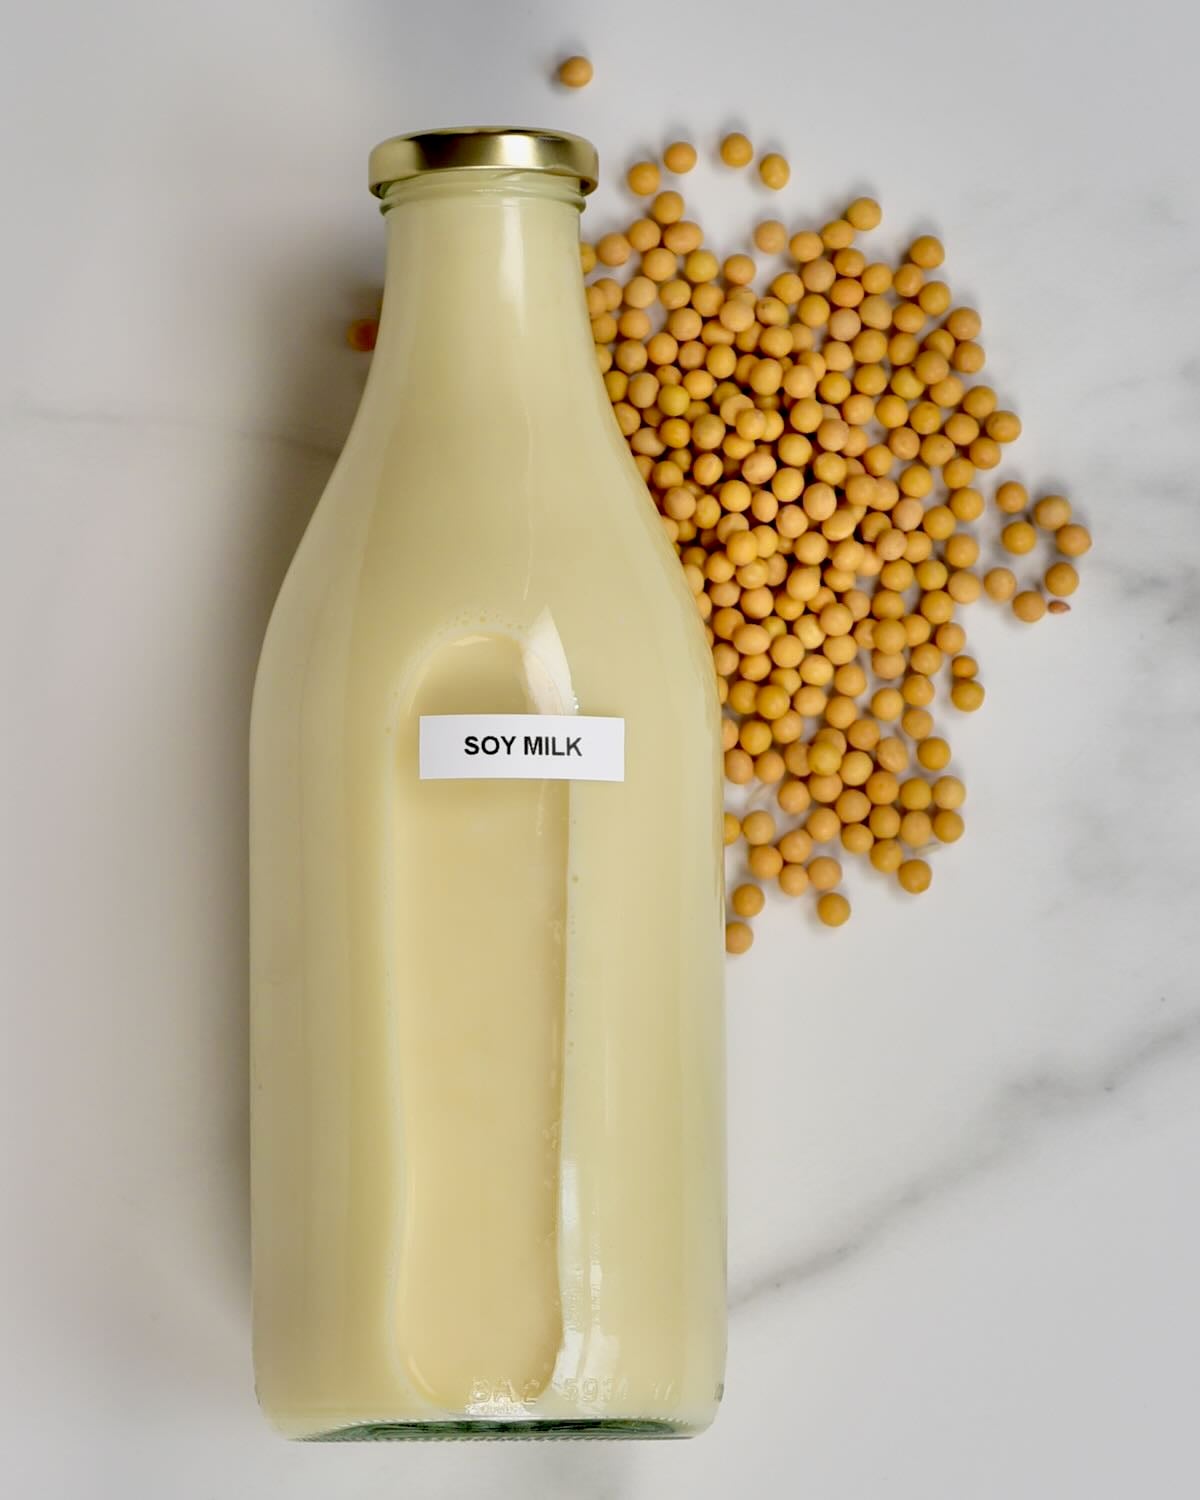
If you’ve been wondering how to make soy milk, you’re in the right place. It is fresher, creamier, and more affordable than buying cartons, and you only need two ingredients: soybeans and water.
In this guide, I’ll walk you through the full method, from soaking and blending to cooking and straining. I’ll also share the small details that make a big difference, including how to reduce the beany taste, how to prevent scorching, and what to do with the foam or soy skin that forms on top.
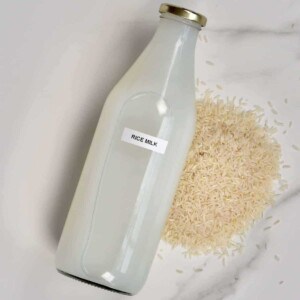
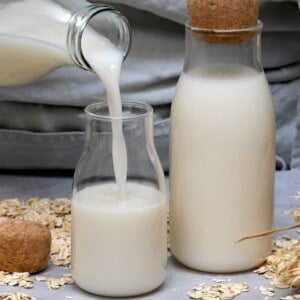
If you want more dairy-free options, I have plenty to choose from, including homemade almond milk, homemade oat milk, homemade coconut milk, and this simple homemade rice milk.
What you’ll need
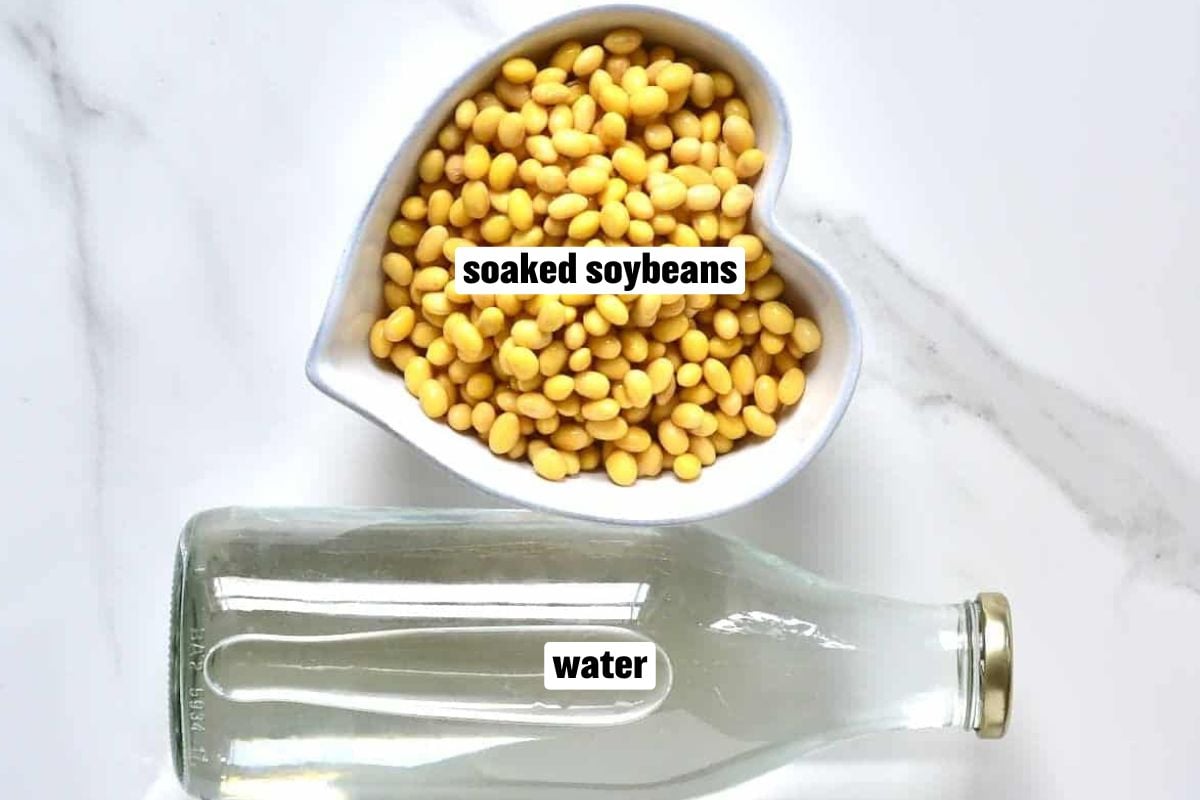
- Dried soybeans: Use beans that smell fresh and mild. Older beans can taste more “beany.”
- Water: Filtered water gives the cleanest flavor.
Optional (for serving):
- Fine sea salt: A tiny pinch can round out the flavor.
- Vanilla extract: Add after the soy milk cools for a vanilla version.
- Sweetener: Sweeten to taste. Maple syrup works well.
Equipment: A blender and a large, heavy-bottom pot. For straining, a nut milk bag is easiest. Cheesecloth or a clean kitchen towel over a fine-mesh strainer also works.
See printable recipe card below for the full ingredients list and quantities.
How to make soy milk
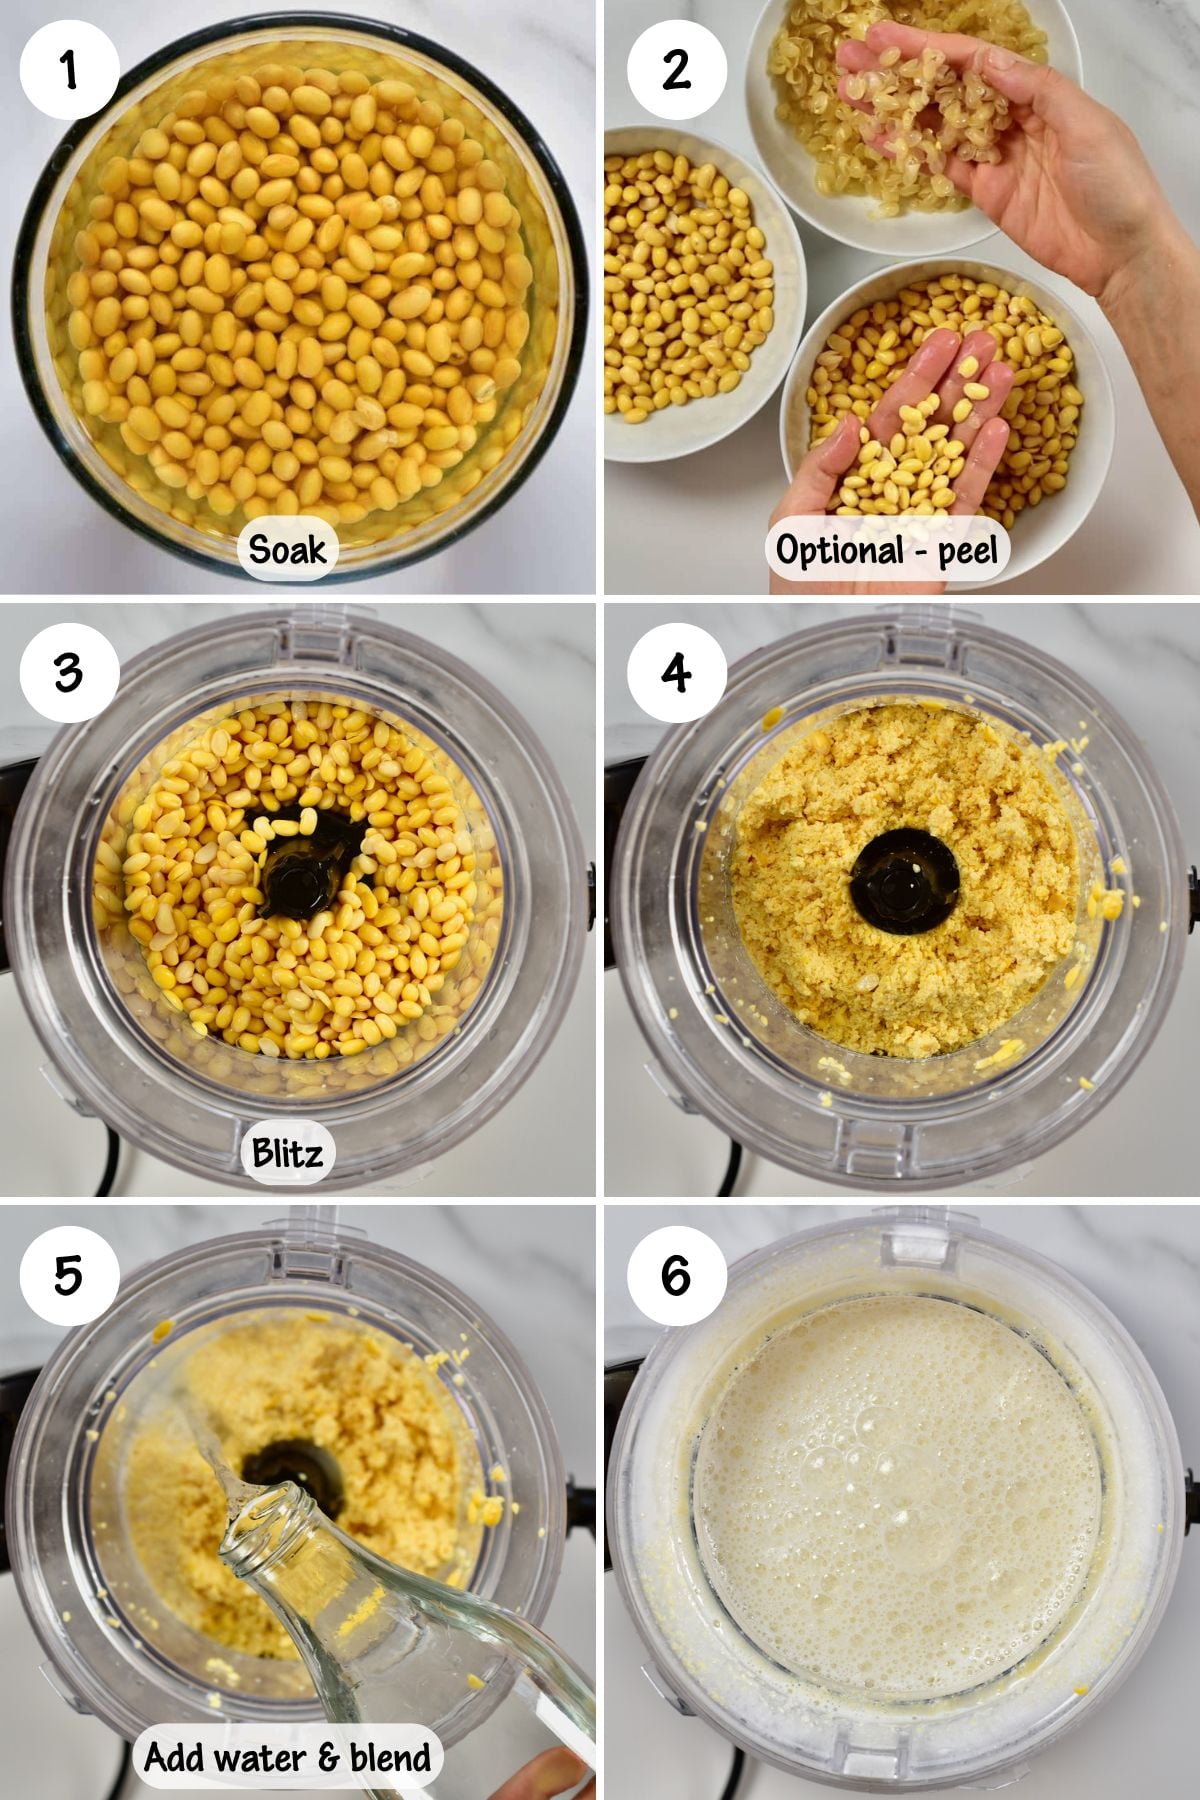
Soak the soybeans: Soak the dried soybeans in plenty of water until fully plumped, either for several hours or overnight. Drain and rinse well.
Optional: remove the skins. For a smoother result and a milder flavor, rub the soaked beans between your hands while rinsing. The skins loosen easily and can be rinsed away. This step is optional and only takes a couple of extra minutes.
Blend until very smooth: Add the soaked soybeans to a high-speed blender and briefly pulse to break them up. Add fresh water and blend until the mixture looks completely smooth and creamy with no visible grit.
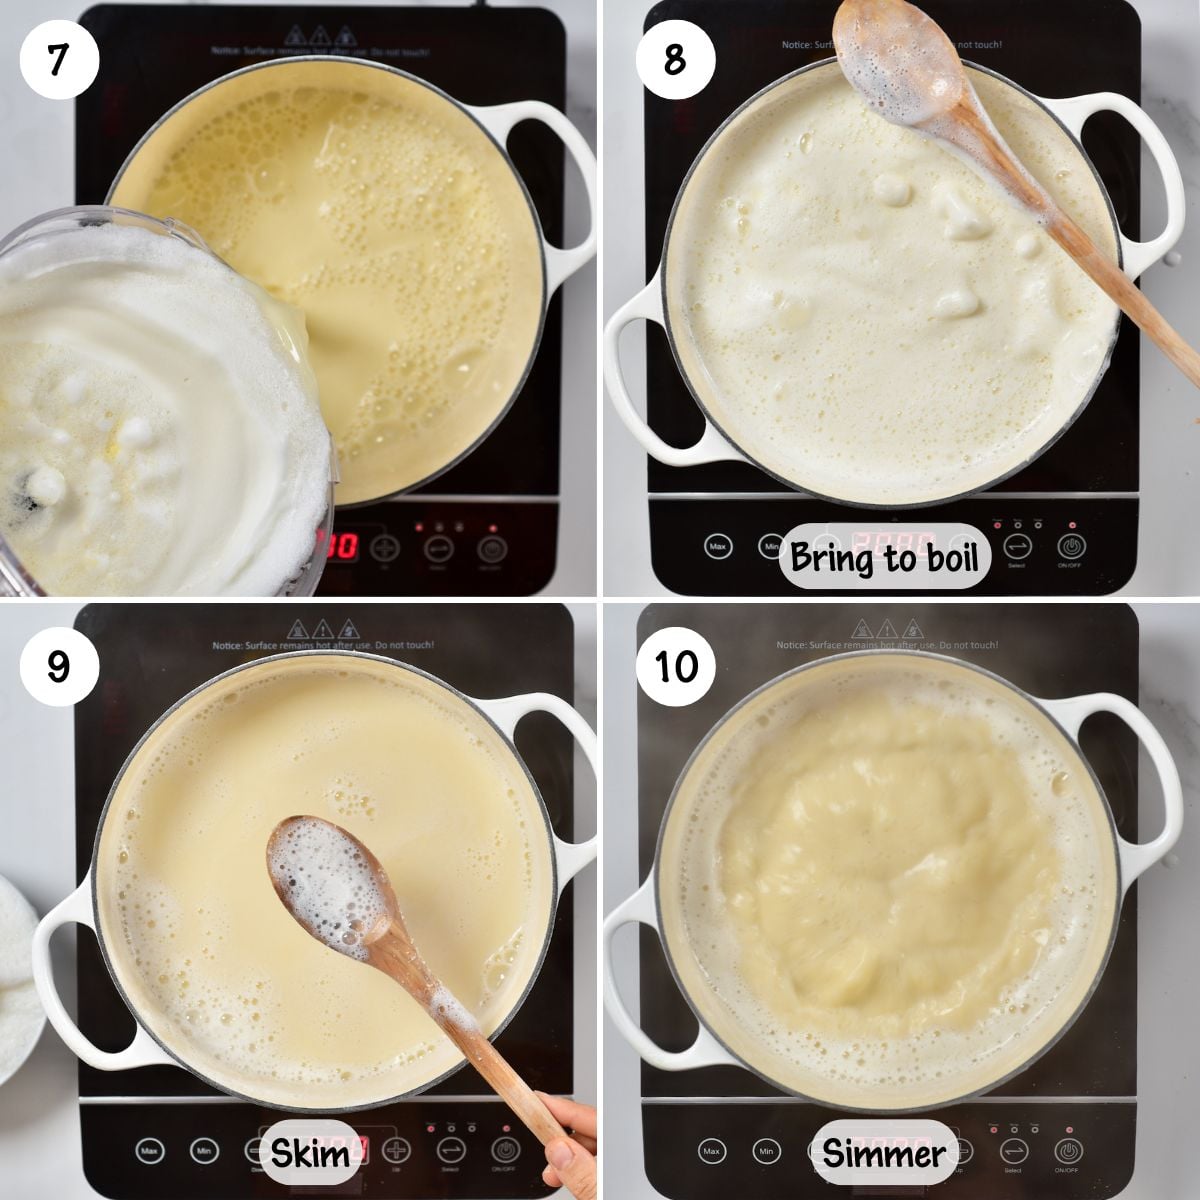
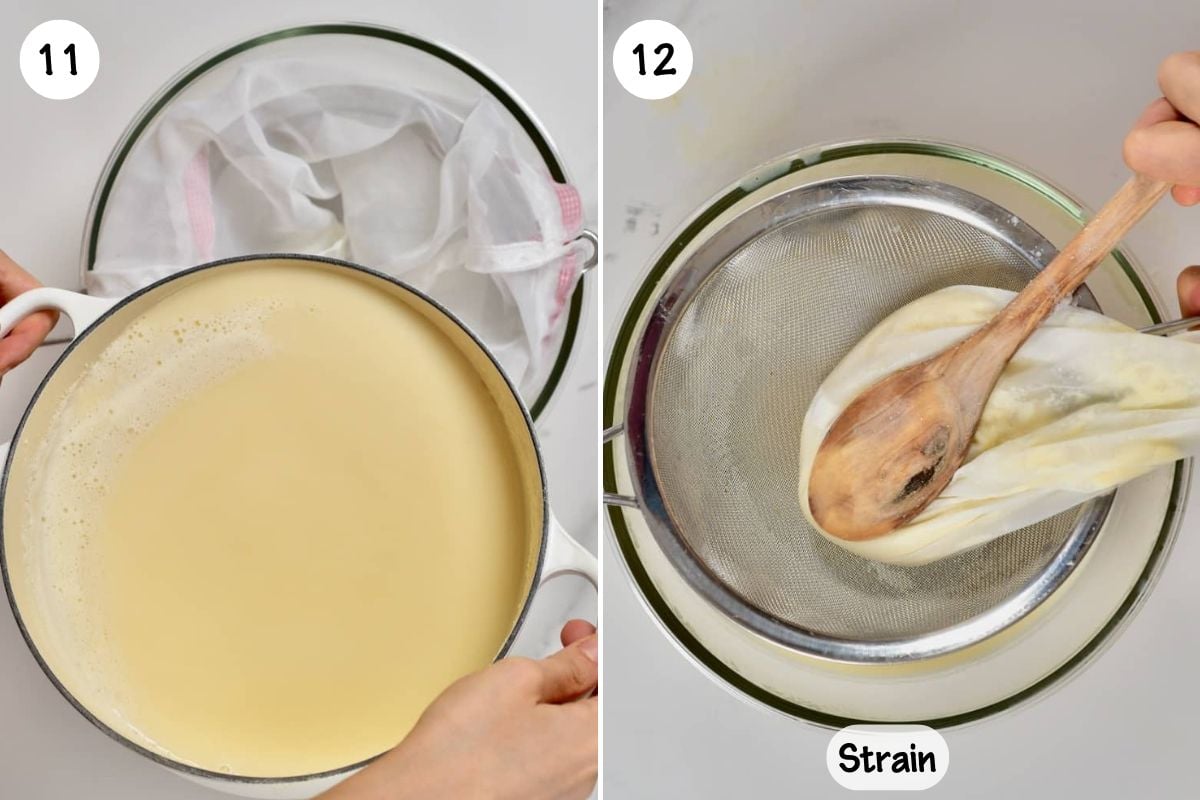
Cook the blended mixture: Pour the blended mixture into a large pot and heat over medium heat, stirring often so nothing sticks to the bottom. Soy milk can foam up quickly as it heats, so stay nearby and keep stirring.
Once it reaches a boil, continue cooking for a few minutes, then skim off the foam that collects on top.
Reduce the heat to a steady simmer and cook until the soy milk tastes fully cooked, stirring occasionally and scraping the bottom of the pot to prevent scorching.
Cool briefly, then strain: Turn off the heat and let the mixture cool for a few minutes. Pour it through a nut milk bag set over a large bowl, then squeeze well to extract as much milk as possible.
Bottle and chill: Transfer the soy milk to a clean bottle or jar and refrigerate.
My tips

Use a big pot. Soy milk foams up quickly, so extra headspace helps prevent boil-overs.
Stir and scrape the bottom. Stir often as it heats and scrape the bottom and corners to prevent scorching.
Skim foam as it cooks. Skimming keeps the simmer calmer and helps the soy milk taste cleaner.
Let it cool a few minutes before straining. It’s easier (and safer) to squeeze the bag once it’s not boiling hot. For extra-smooth soy milk, strain twice.
Flavor after cooling. Add vanilla and sweetener once the soy milk is cool so it tastes fresh.
Adjust richness to your taste. Prefer it lighter? Dilute with a little cold water after chilling. Want it richer for coffee? Use slightly less water next time.
How to use homemade soy milk
Warm it gently and use it in coffee drinks, like an iced latte or matcha latte. If you want step-by-step ideas, try my homemade iced latte, matcha green tea latte, or iced matcha green tea latte.
Pour it over cereal or granola, or blend it into smoothies for an easy dairy-free base. Use it anywhere you’d use store-bought soy milk, including overnight oats, baking, soups, and sauces. Keep it unsweetened if you want to use it for savory cooking.
You can also use it to make homemade soy yogurt.
FAQs
Do not shorten the simmer time, and skim the foam as it cooks. Using fresh soybeans and filtered water also helps keep the flavor clean.
That’s normal for homemade soy milk. Since this version doesn’t include stabilizers or emulsifiers, separation is expected. Just shake the bottle or whisk before using.
Soy milk foams up quickly as it heats. Use a large pot, stay close, and lower the heat as soon as it starts climbing. If needed, remove the pot from the burner briefly to calm it down.
Okara is the leftover soy pulp from straining. It’s edible and works well mixed into soups, stews, veggie burgers, and baking.
Yes, as long as you keep it unsweetened and unflavored. Follow my detailed guide for homemade tofu.
More homemade plant milk recipes

If you made this recipe, please leave a rating and a quick comment. Your feedback supports the blog and helps other readers.

How to make soy milk
Equipment
Ingredients
- 1 cup dried soybeans
- 8 cups filtered water + more for soaking the beans
- Pinch fine sea salt optional, to taste
- ½-1 teaspoon vanilla extract optional, add after cooling
- 1-2 Tablespoons maple syrup or sweetener of choice (optional, add after cooling)
Instructions
- Soak the soybeans in plenty of water for 6 hours or overnight. Drain and rinse well.
- Add the soaked soybeans to a high-speed blender and pulse briefly to break them up.
- Add the 8 cups of water and blend until completely smooth.
- Pour into a large, heavy-bottom pot. Bring to a boil over medium heat, stirring often so nothing sticks.
- Once boiling, cook for 3 to 4 minutes, skimming off foam as it rises.
- Reduce the heat and simmer for 15 to 20 minutes, stirring occasionally and scraping the bottom of the pot.
- Turn off the heat and let cool for a few minutes. Strain through a nut milk bag into a large bowl and squeeze well.
- Let the soy milk cool completely, then stir in vanilla and sweetener if using. Transfer to a clean bottle or jar and refrigerate.
Video
Notes
Nutrition
Nutrition information is automatically calculated, so should only be used as an approximation.


The instructions for the recipe are poor. At what point do you add the 8C water? Is that the soaking volume, or do you just cober the beans with water and strain after they soak? If so do you add the 8C water when you’re blending the beans? Do you expect 8C volume at the end?
Hi Michelle,
Please first soak the beans with enough water to cover them by a few inches. Then drain and discard that water. When blending the beans, you need to use 8 cups of fresh water. I hope this helps and you give this recipe a try!
How much milk does this make? 8 cups?
Hi Jasmine,
This recipe will yield about 6 cups of soy milk. I hope this helps.
Thank you. I lace my soy milk, 350 ml mug, with about 30-35 ml whole milk and a small amount of honey and drink it ice cold. Good stuff.
Thanks for sharing, Reid!
Thanks for your tips
After draining the milk is the chart edible
Hi there. The leftover pulp is indeed edible can be used in cooking – add it soups, stews, veggie burgers, and more. But keep in mind that it needs to be cooked first. I hope this helps.
I really thumb up for you .
Pls I don’t know where or how to get the sweetener here in Nigeria
Thank you so much!
You don’t necessarily have to sweeten the soy milk. If you wish to do so and don’t have dates or maple syrup, you can also use sugar or your preferred type of sweetener.
I made soy milk for the first time using this recipe. It was super easy and I’m very happy with the result!
Hey Sonja! I’m so glad to hear that you found the recipe easy and that you loved the soy milk! It’s awesome to make things from scratch, isn’t it? Hope you have a wonderful day 🙂
You can also make soy yoghurt, using soy milk exactly as for dairy milk and dairy milk starter culture. Yum!
Thanks for your tip, John!
There is no video. Thanks
Hi Fernande,
There is a video in the recipe card. Unfortunately, if you are using an ad blocker, the video doesn’t display. You can check my social channels as well, where I share many videos including this one.
If I were to add vegan collagen powder, would it be before or after heating? Thanks in advance 😀
Hi Tabatha! You can add the vegan collagen powder after heating the soy milk. Hope you like it!
Great recipe! is there a use for the foam you are skimming off?
and are you using the soybean paste you are filtering with the cheese cloth? I would assume it can be used in cooking? would it still contain protein?
Hi Elisabeth.
Skimming off the foam will result in a smoother texture at the end. The soybean paste (leftover pulp) can be used in cooking indeed – add it soups, stews, veggie burgers, and more. I hope this helps.
Can you confirm that we are soaking the soybeans in 8 cups of water, for 3hrs or overnight. We take the soaked beans out and keep the remaining water. Once we process the soaked beans, we add back the remaining water or do we add the 8 cups of water?
Hi Stephane,
Soak the soybeans in enough water to cover them and allow them to expand. They will expand 2-3 times their size, so use a large bowl/container with plenty of water or several smaller containers as needed. Then, after soaking, discard this water or use it to water your plants. When blending the beans, please use 8 cups of fresh water. I hope this helps and you give this a try!
This is helpful as I wasn’t clear on the water either, thanks
glad you found it helpful, hope you have a great day 🙂