This post may contain affiliate links. Please read our disclosure policy.
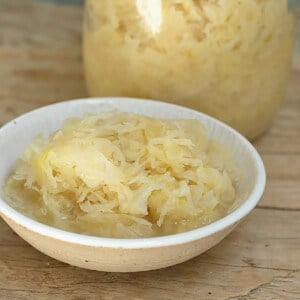
This homemade sauerkraut recipe is beginner-friendly, inexpensive, requires just 2 base ingredients, and is packed with tang, crunchiness, and gut-friendly probiotics!
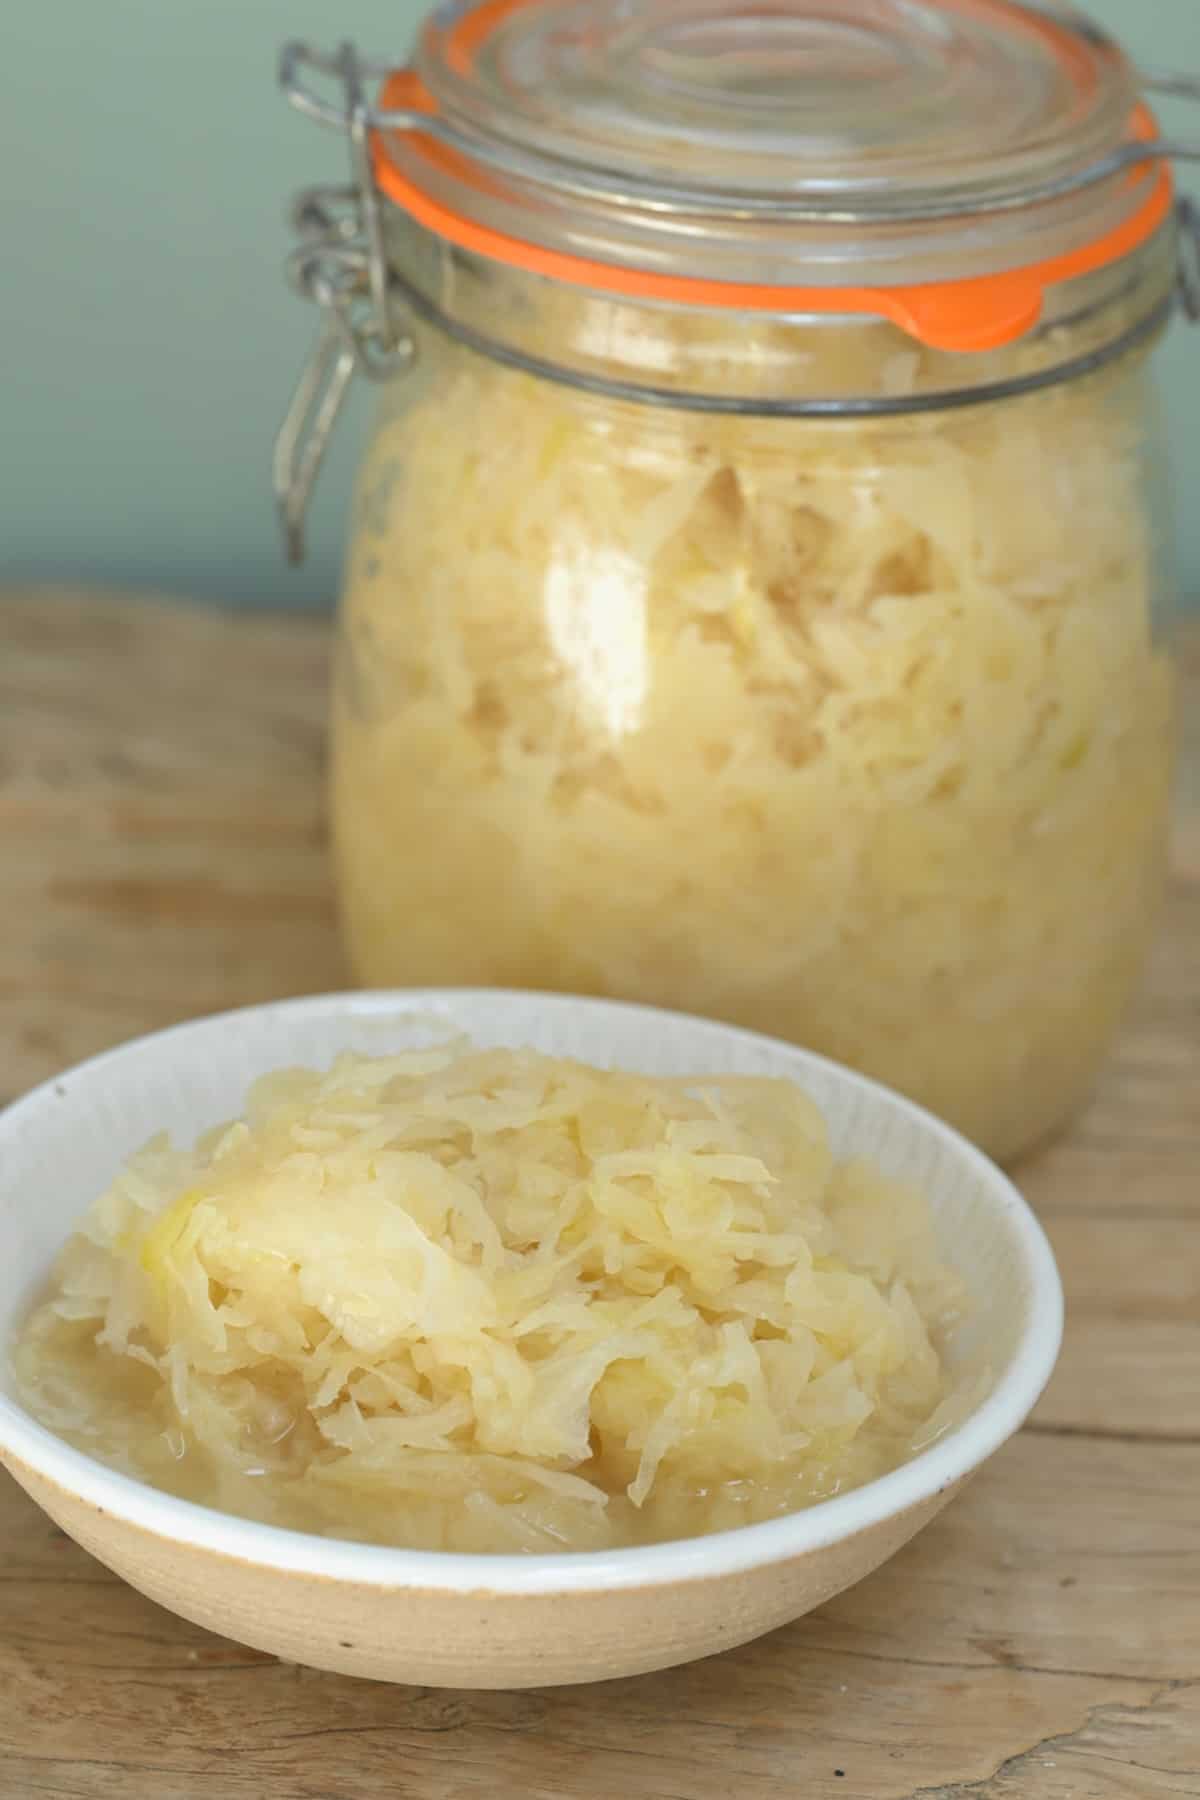
Over the past couple of years, I’ve placed more importance on consuming probiotic-rich fermented foods like homemade yogurt, homemade fermented garlic honey, homemade kombucha, and this homemade sauerkraut recipe. Luckily, making sauerkraut is inexpensive and simple enough for even fermentation beginners!
Want to save this recipe?
What Is Sauerkraut
Sauerkraut (often misspelled as saurkraut or sourkraut), meaning “sour cabbage,” is a fermented cabbage dish native to Germany (and popular across Europe), though some say it originated in China. With few ingredients, the process ferments raw cabbage with lactic acid bacteria that forms from the sugars within the cabbage leaves. The resulting dish is sour, crunchy, and – like most fermented/pickled items – has a long shelf life.
The process is super simple too. All you need is just TWO base ingredients (several regional varieties/optional add-ins included below) and around 10 minutes of hands-on prep time to prepare this homemade sauer kraut recipe. Leave it to ferment and voila.
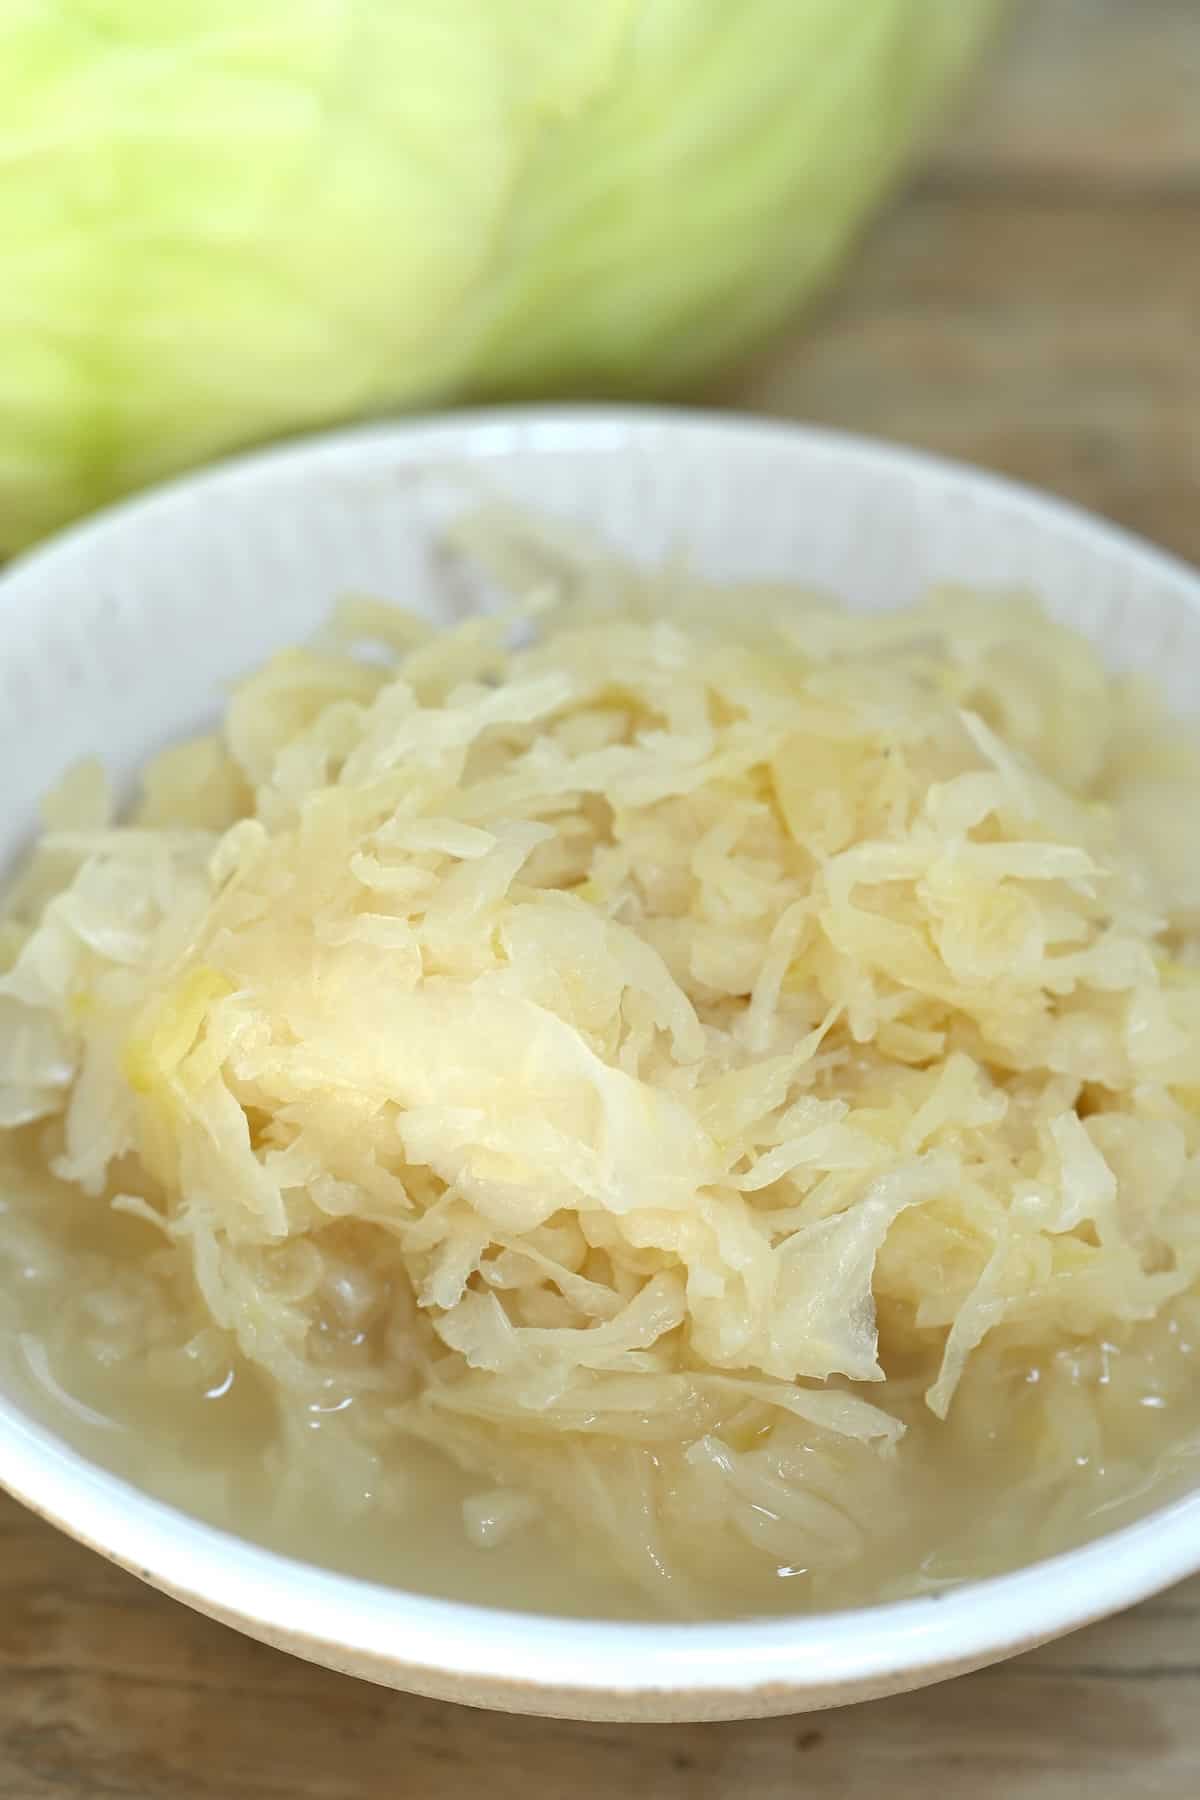
Want to try more simple pickled recipes? You might enjoy these pink pickled red onions, quick pickled asparagus, or pickled garlic (regular or spicy)!
What Is Sauerkraut Made of
The base sauerkraut recipes require just TWO ingredients.
- Cabbage: I recommend using organic (when possible) green cabbage to make this easy sauerkraut recipe.
What Is The Best Cabbage for Fermentation?
While most cabbages will ferment, round-headed green cabbage is the most common type for sauerkraut as it ferments easily, maintains its crunch, and generally produces the best sauerkraut.
You could also experiment with fermented red cabbage (which will have a more robust flavor) or napa cabbage (which has a milder flavor and will produce softer fermented sauerkraut).
When selecting the cabbage, make sure it’s firm, compact, and heavy for its size with bright, crisp leaves. It should also be slightly sweet (avoid bitter cabbage). The fresher it is, the better, too, as it will naturally create more brine and contains more beneficial bacteria.
- Pickling salt: Pickling salt is best, but otherwise, any iodine-free salt will work.
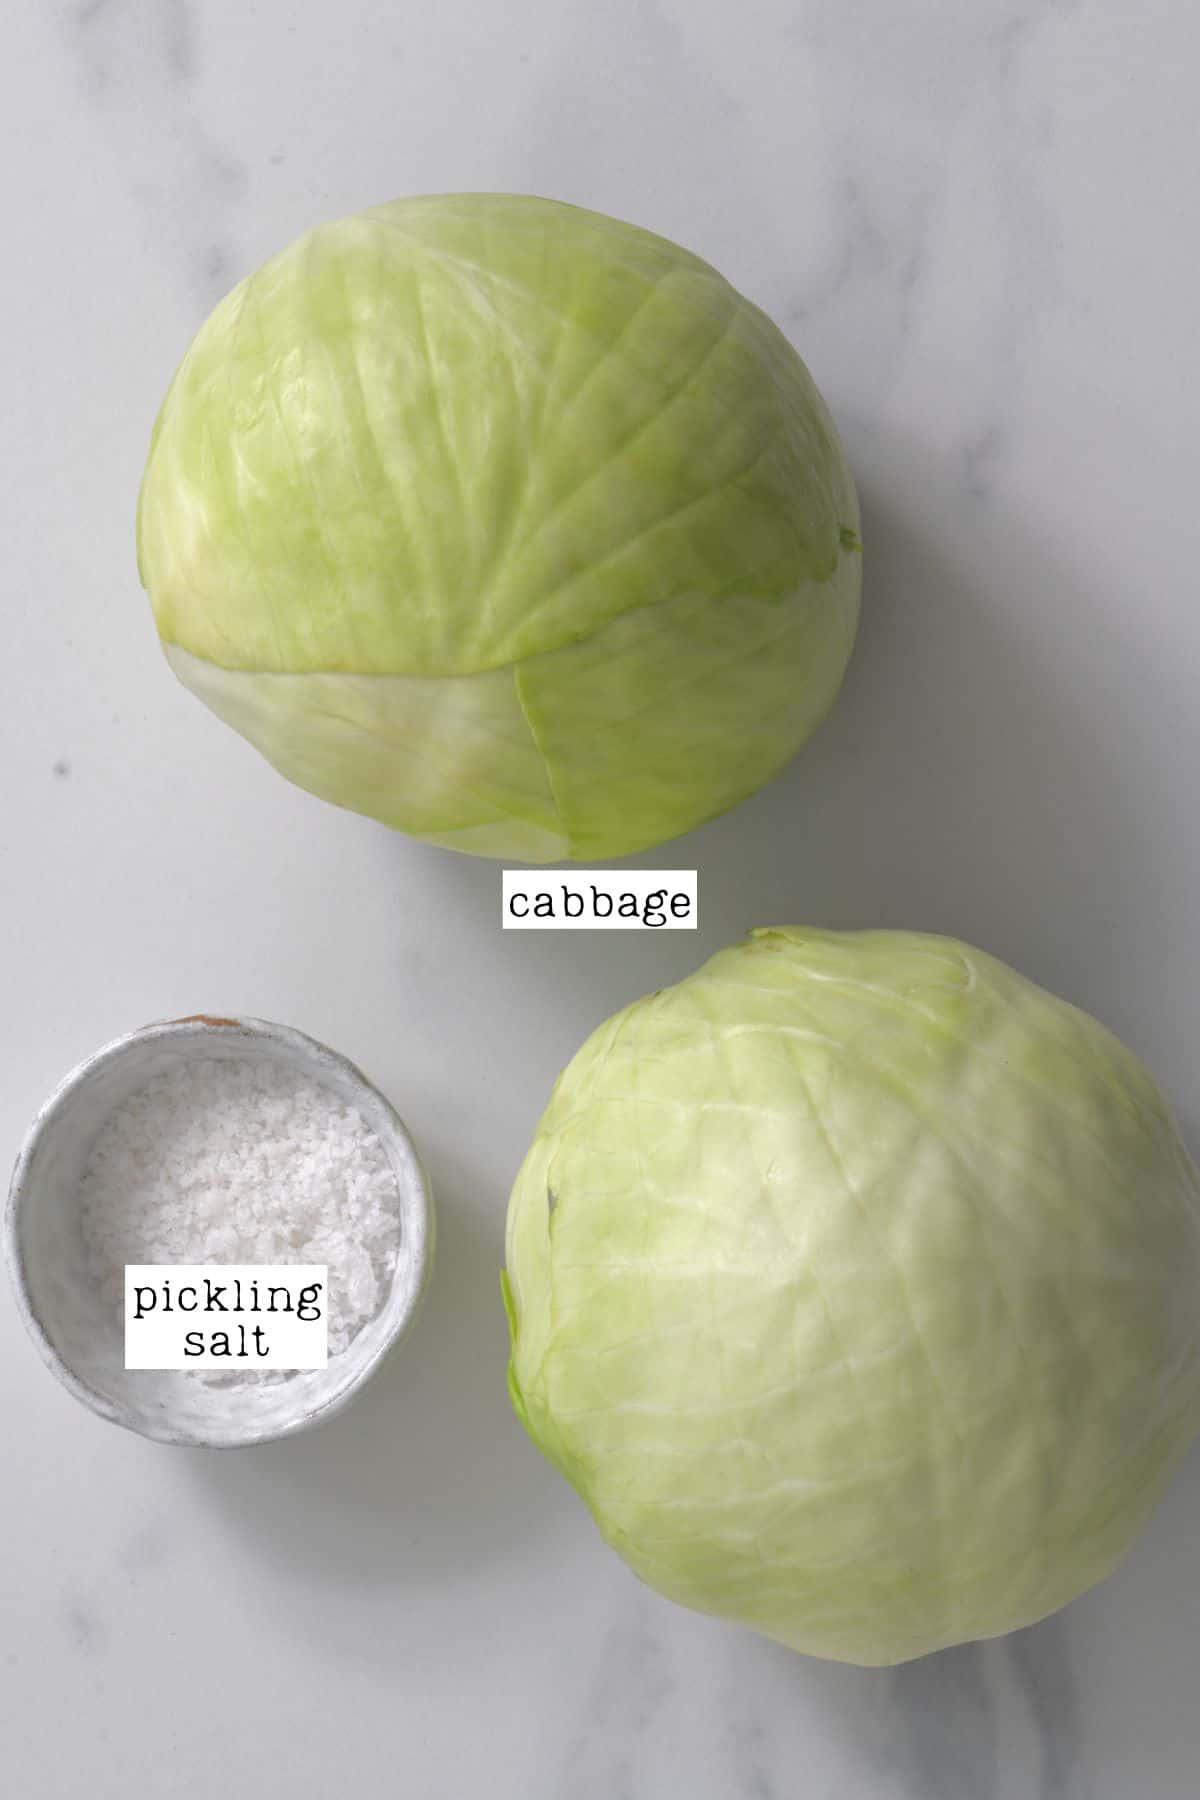
You will also need glass mason jars or canning jars and a glass weight (or pickling weight, or inverted plate).
How to Make Sauerkraut
First, sterilize the jar/s you plan to store the sauerkraut in.
Jars with an airlock lid are useful for fermentation, but not necessary. Alternatively, you can make the homemade kraut in a traditional crock.
To do so, preheat the oven to 325ºF/160ºC. Meanwhile, wash the jars and lids in hot, soapy water and rinse them after.
Then, transfer them to the oven (except anything not oven-proof like rubber/plastic parts) and allow them to dry completely for 10-15 minutes.
Alternatively, you can sterilize the jars and lids for 10 minutes in boiling water.
Step 1: Prepare the Cabbage
Rinse it well and remove any outer leaves of the cabbage if they look wilted, browned, etc.
Then, slice the cabbage in half lengthwise and then quarters, removing the core with a small paring knife.
Cut each of the quarters into thin slices (around 0.2cm) using a knife, mandoline, or a food processor with a slicing disk.
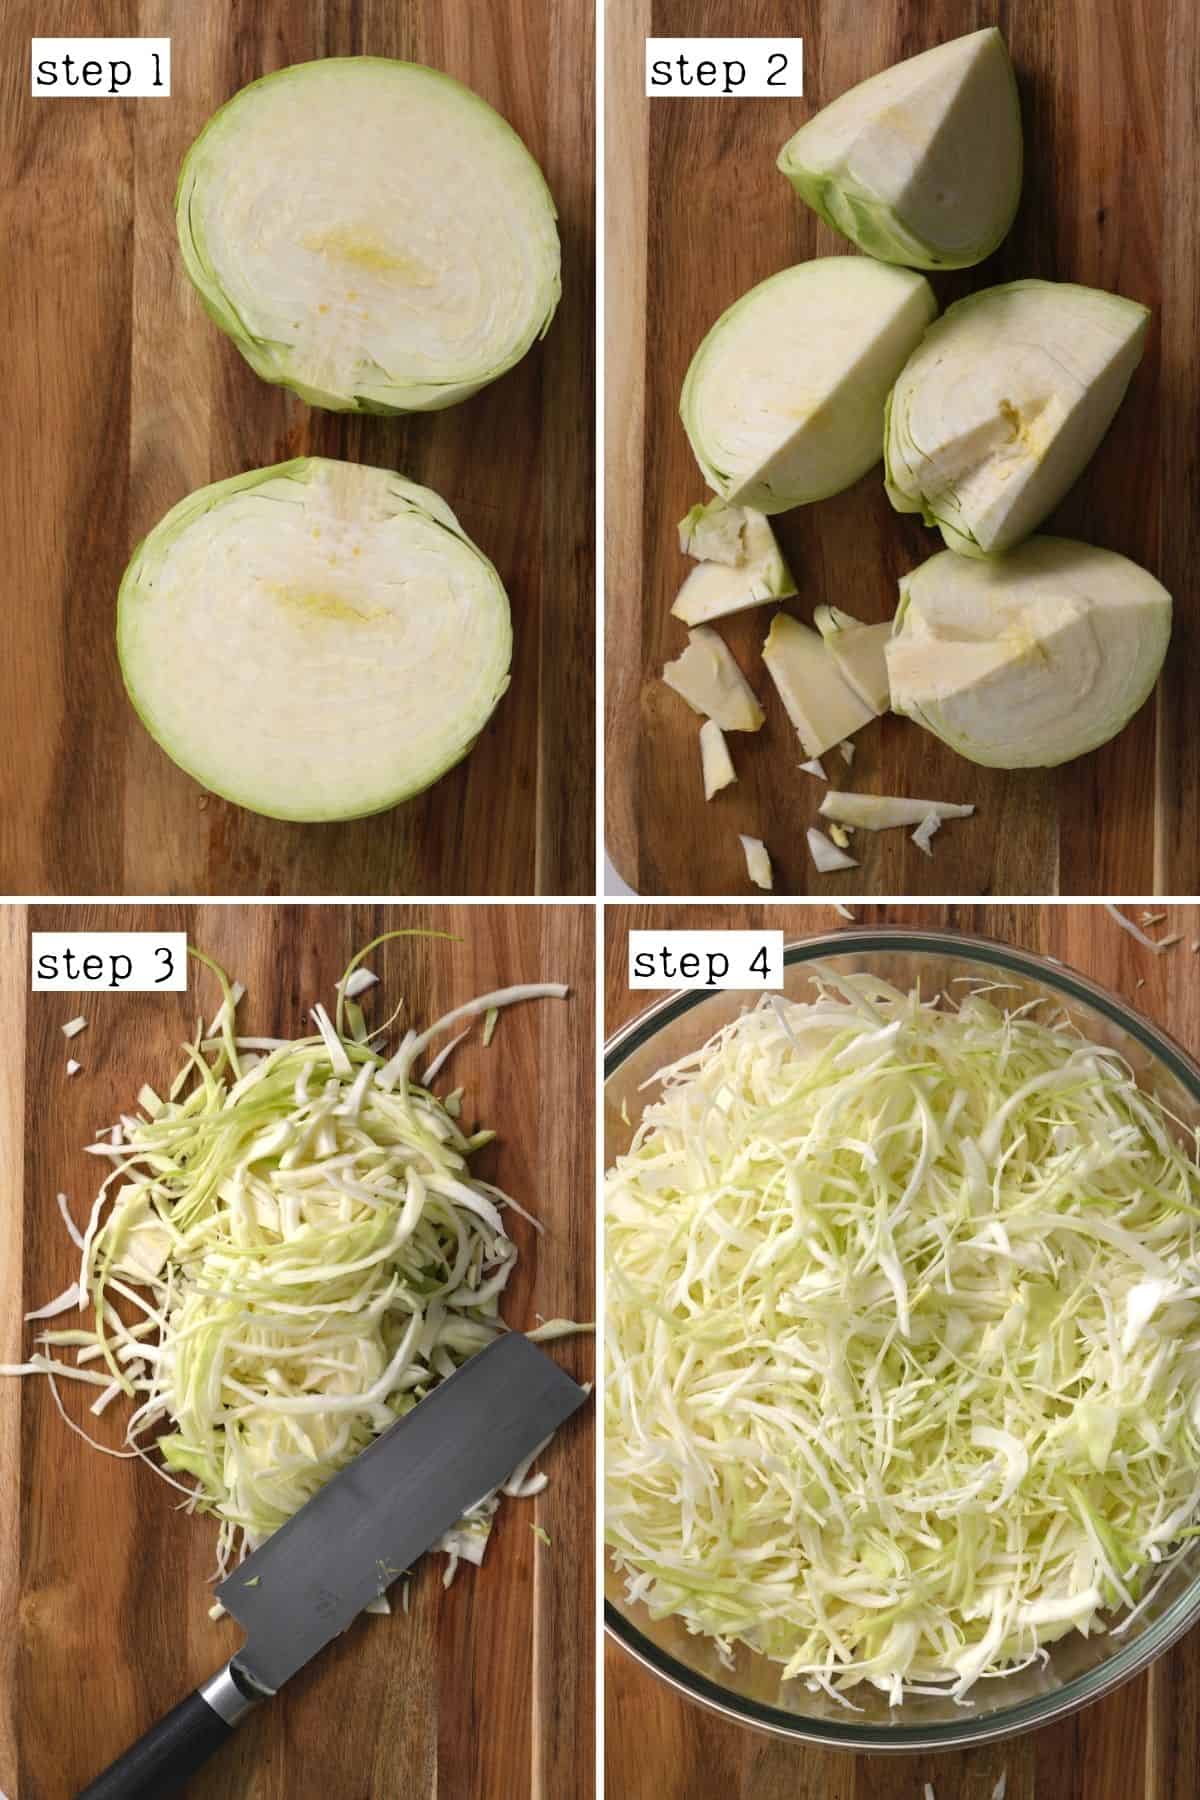
At this point, weigh the cabbage to determine how much pickling salt is required. You need 2% salt to cabbage. I.e., a 2.2lb cabbage will require 0.044lb salt (0.7oz).
Step 2: Combine the Ingredients
In a large bowl, combine the shredded cabbage and salt and toss well, rubbing the salt into the cabbage. Set it aside for 20-25 minutes.
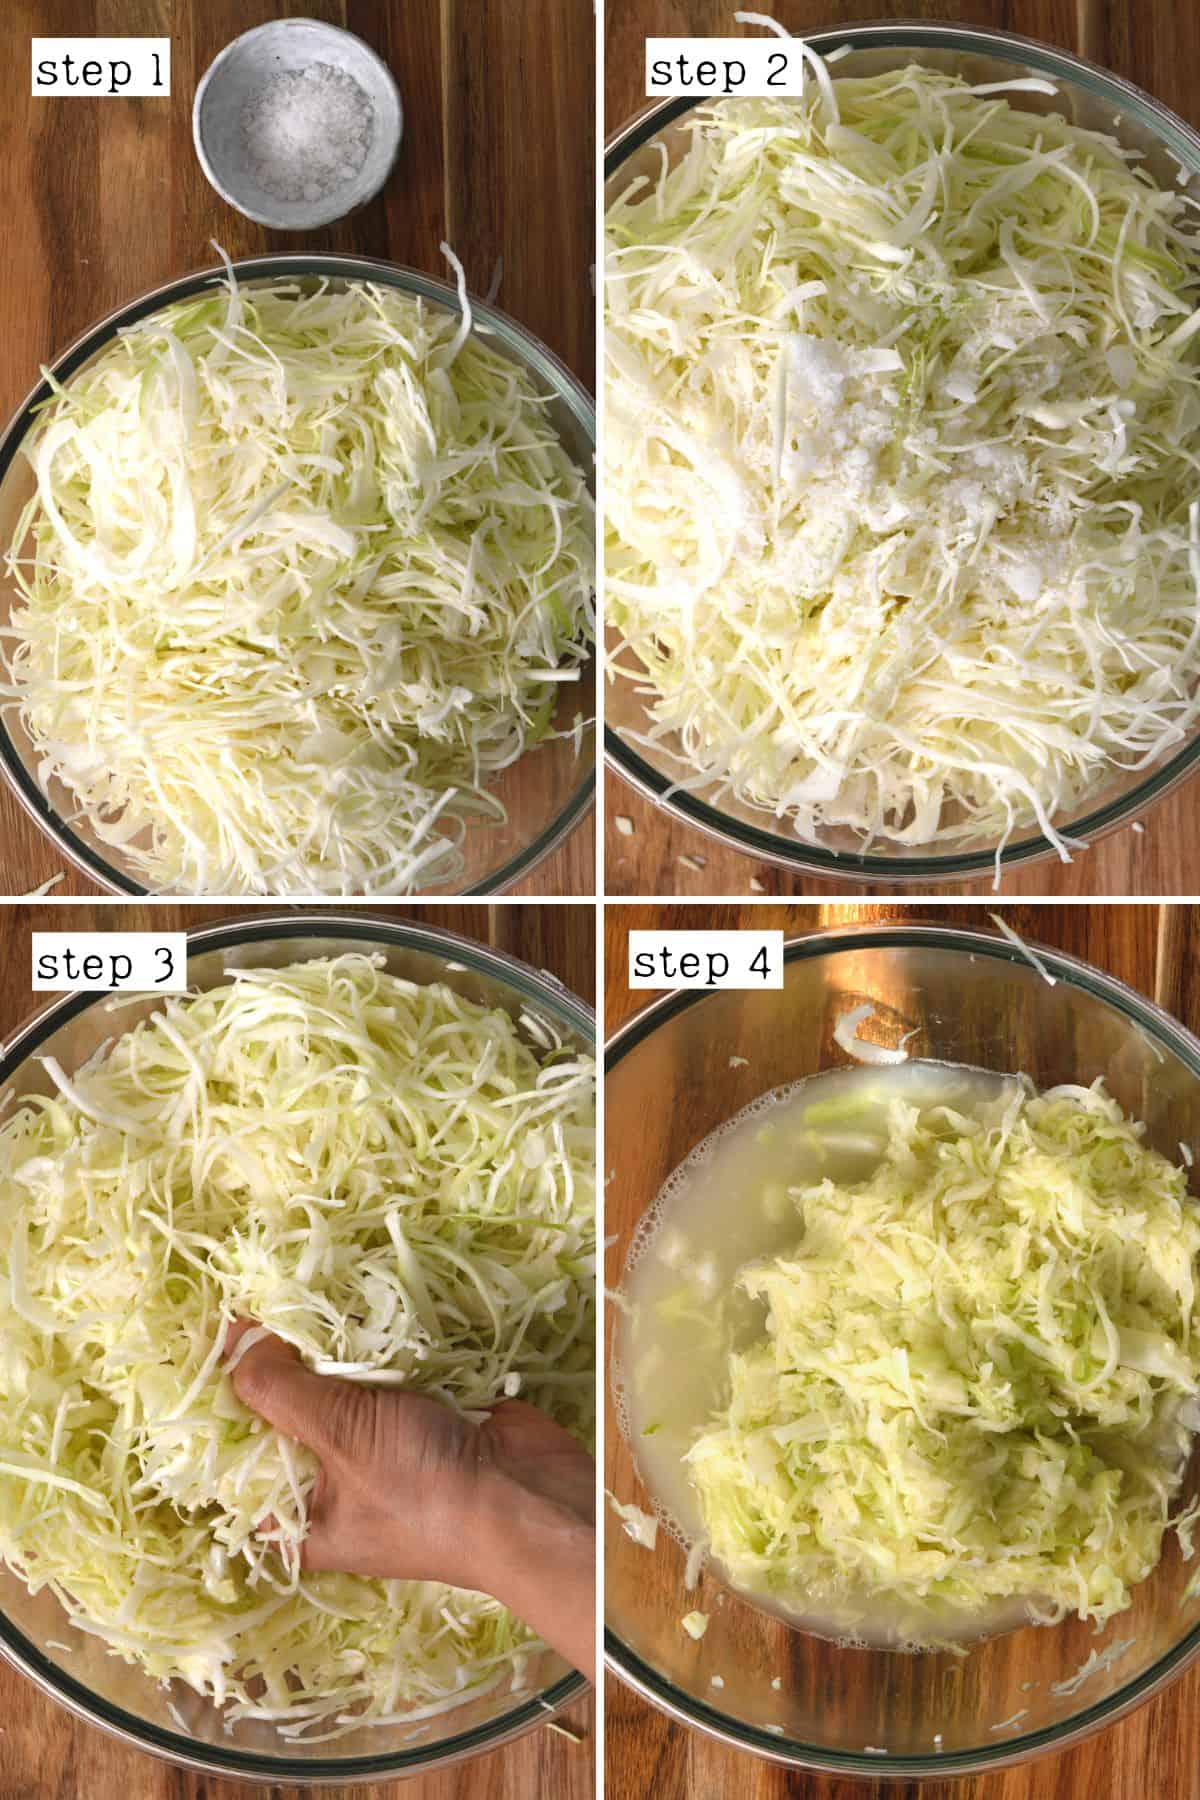
Then, squeeze the cabbage well to remove all the excess water (allow it to drop into the bowl as we’ll be using it).
As you squeeze the cabbage, transfer it to the jar and pack it in tightly, until just the liquid is left in the bowl. Make sure to leave around 1/3 inch / 1 cm headspace in each jar. Then, pour the juice over the cabbage, ensuring it’s covered by all the liquid.
If there isn’t enough liquid to cover the cabbage, you’ll need to prepare a 2% brine of boiling water and salt to top up the jar.
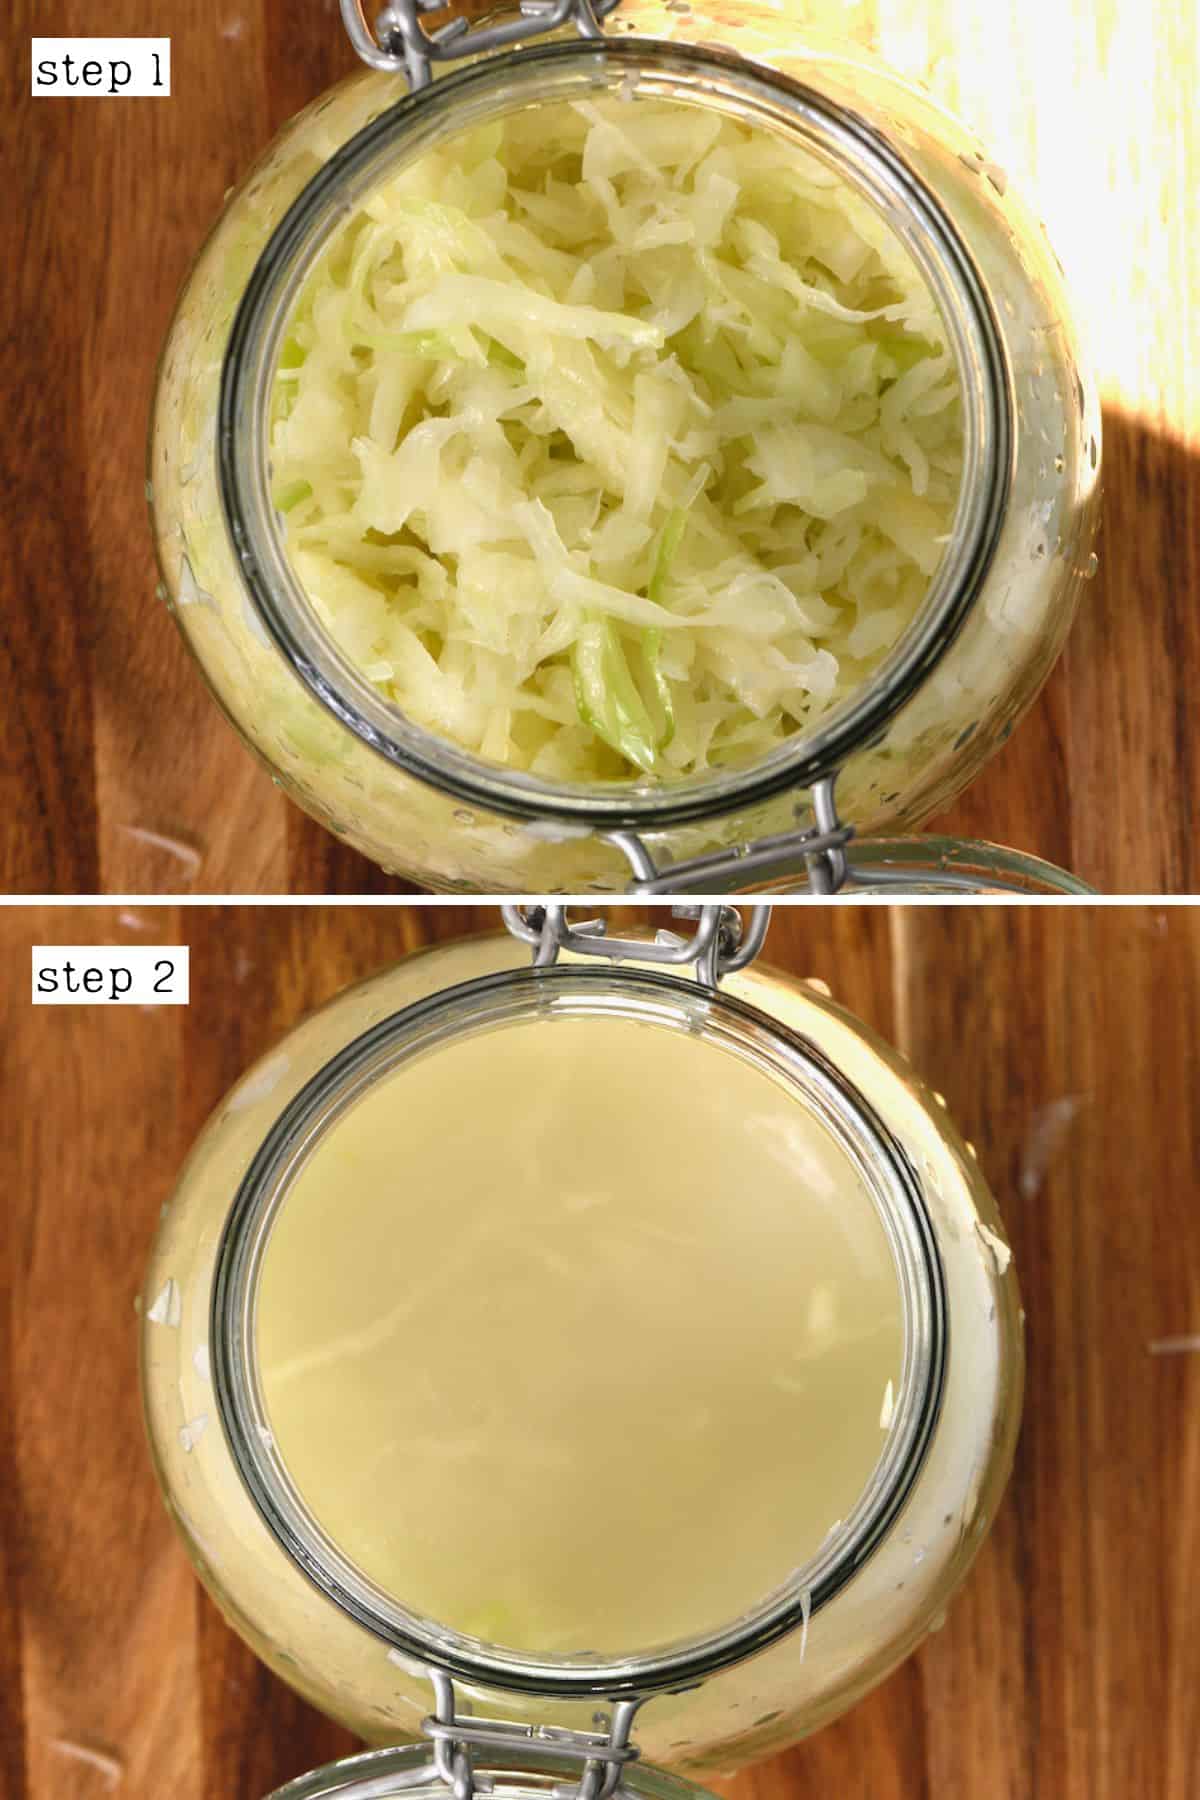
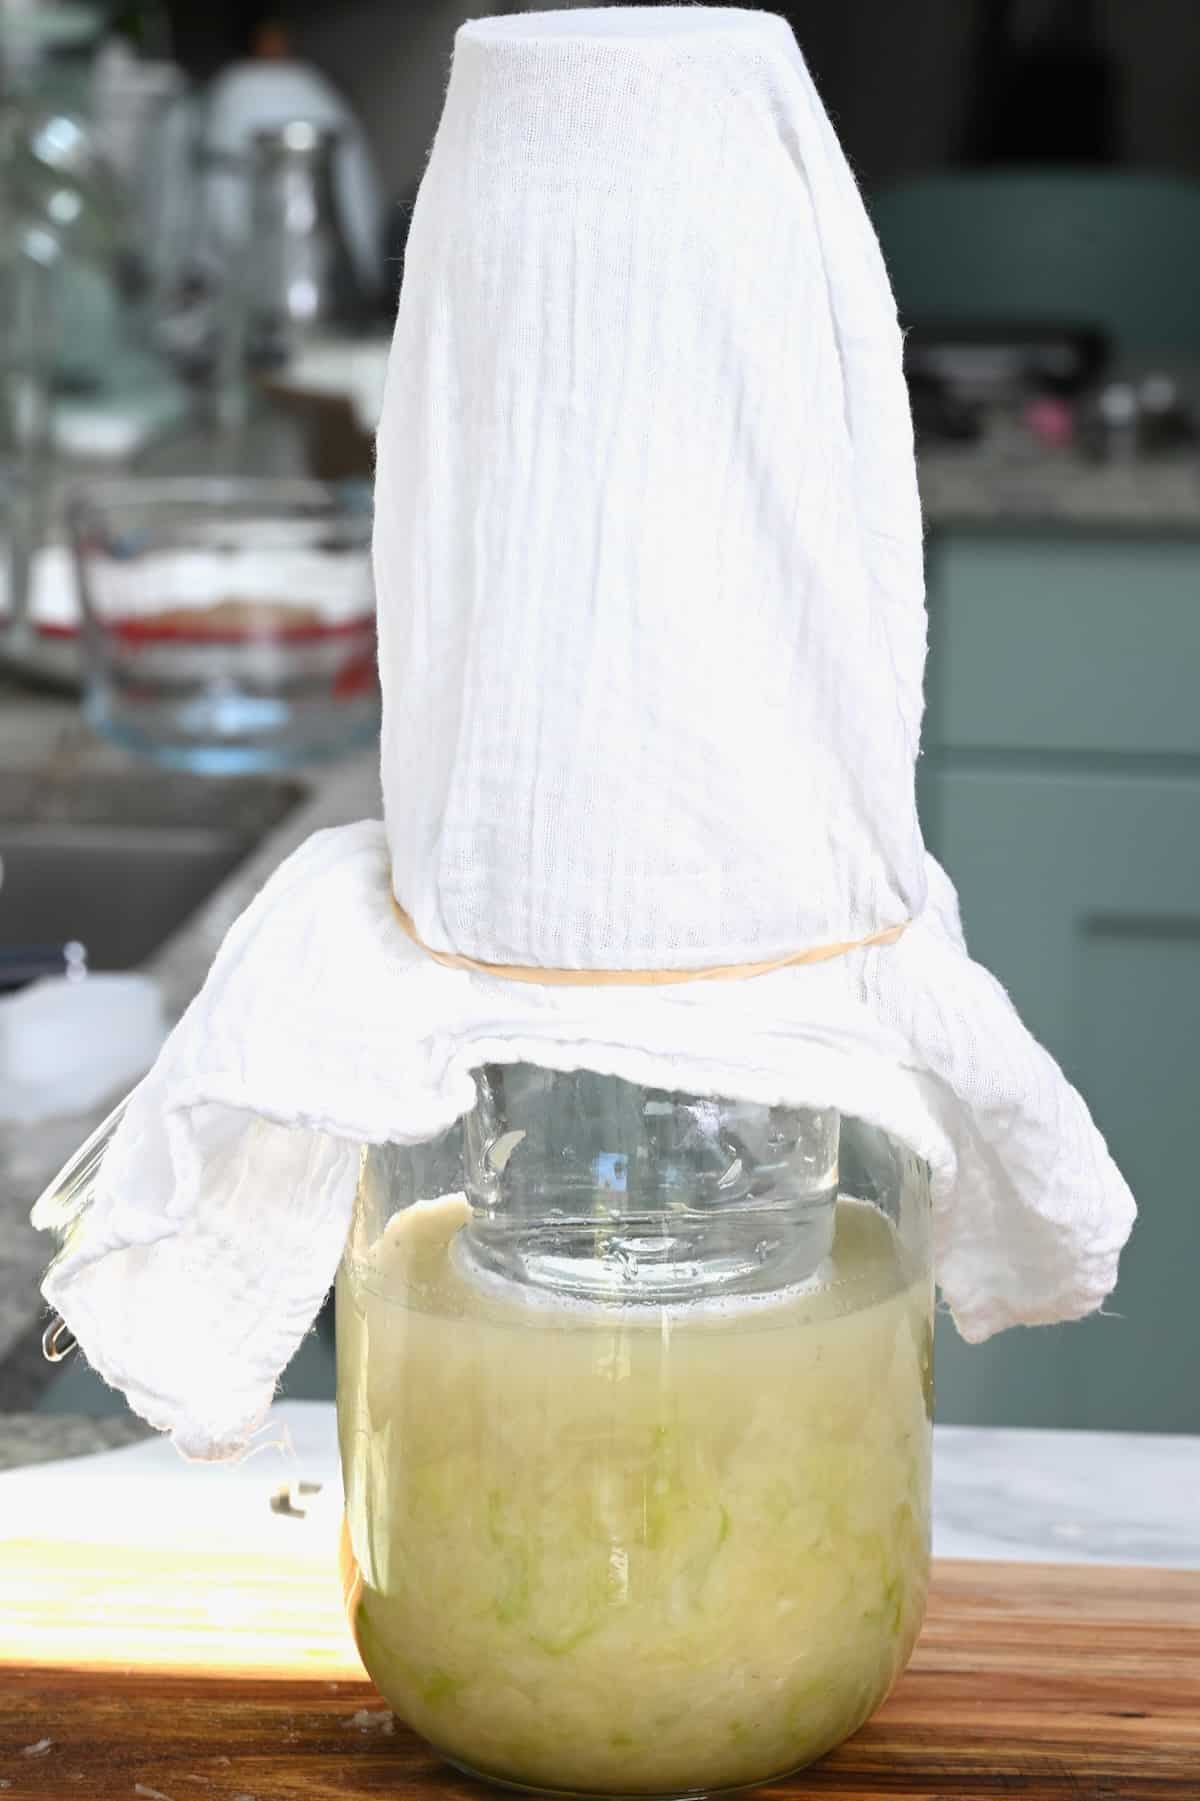
Finally, use a pickling weight, inverted plate, or similar item to weight the cabbage and keep it submerged beneath the liquid.
I used a plate weighted down with a filled bottle (make sure to completely cover the jar with a clean kitchen towel and secure it to the jar if doing it this way). You could alternatively use a Ziplock bag filled with something heavy like rocks.
Set the jar/s of sauerkraut aside to ferment in a draft-free space around 72ºF/22ºC.
How Long Does It Take To Ferment Sauerkraut?
The fermentation process can take 4-6 weeks, depending on the temperature, climate, and the cabbage itself, though some people leave it for as little as 1-4 weeks.
After the first week, I recommend tasting the homemade kraut every other day until it reaches your desired tartness.
As a general rule, while the mixture is still bubbling, it’s still fermenting. Once the air bubbles settle down, it’s ready. It should also be a more yellow color with a tart and tangy flavor similar to pickles.
Make sure to check on it daily and remove any scum formed at the top of the cabbage liquid in your sour kraut jar.
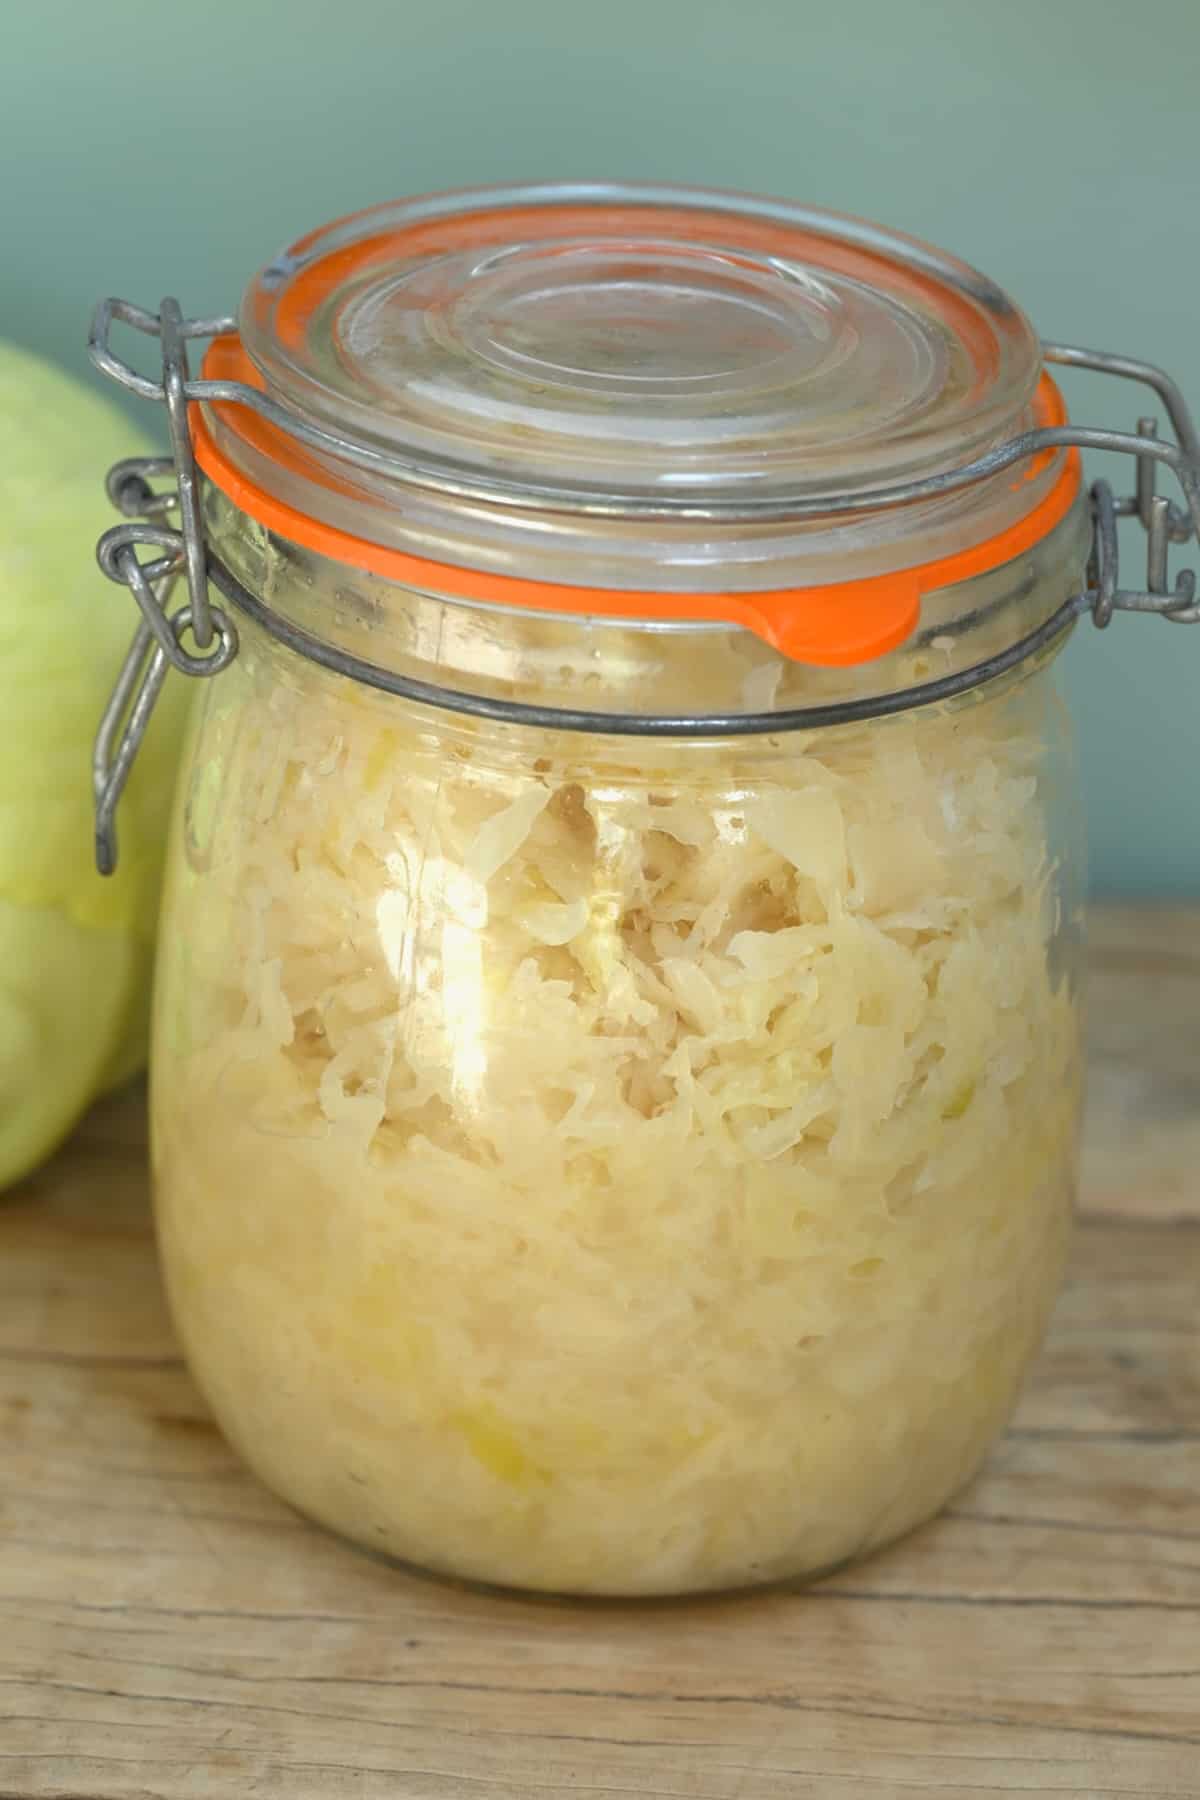
Check the recipe card below for instructions on how to can sauerkraut. Canning sauerkraut requires just a few additional steps.
Storage Recommendations
Fridge Storage: You can store the fully fermented sauerkraut in your fridge for 6+ months. Some batches may even last up to one year.
Canned: Unopened jars of canned sourkaut will last for between 3-4 years at room temperature. Once opened, transfer it to the fridge and aim to eat it within a month or two.
Can You Freeze Sauerkraut? Yes (for about a year), though I usually don’t recommend it as it will kill the probiotics.
What to Eat with Sauerkraut
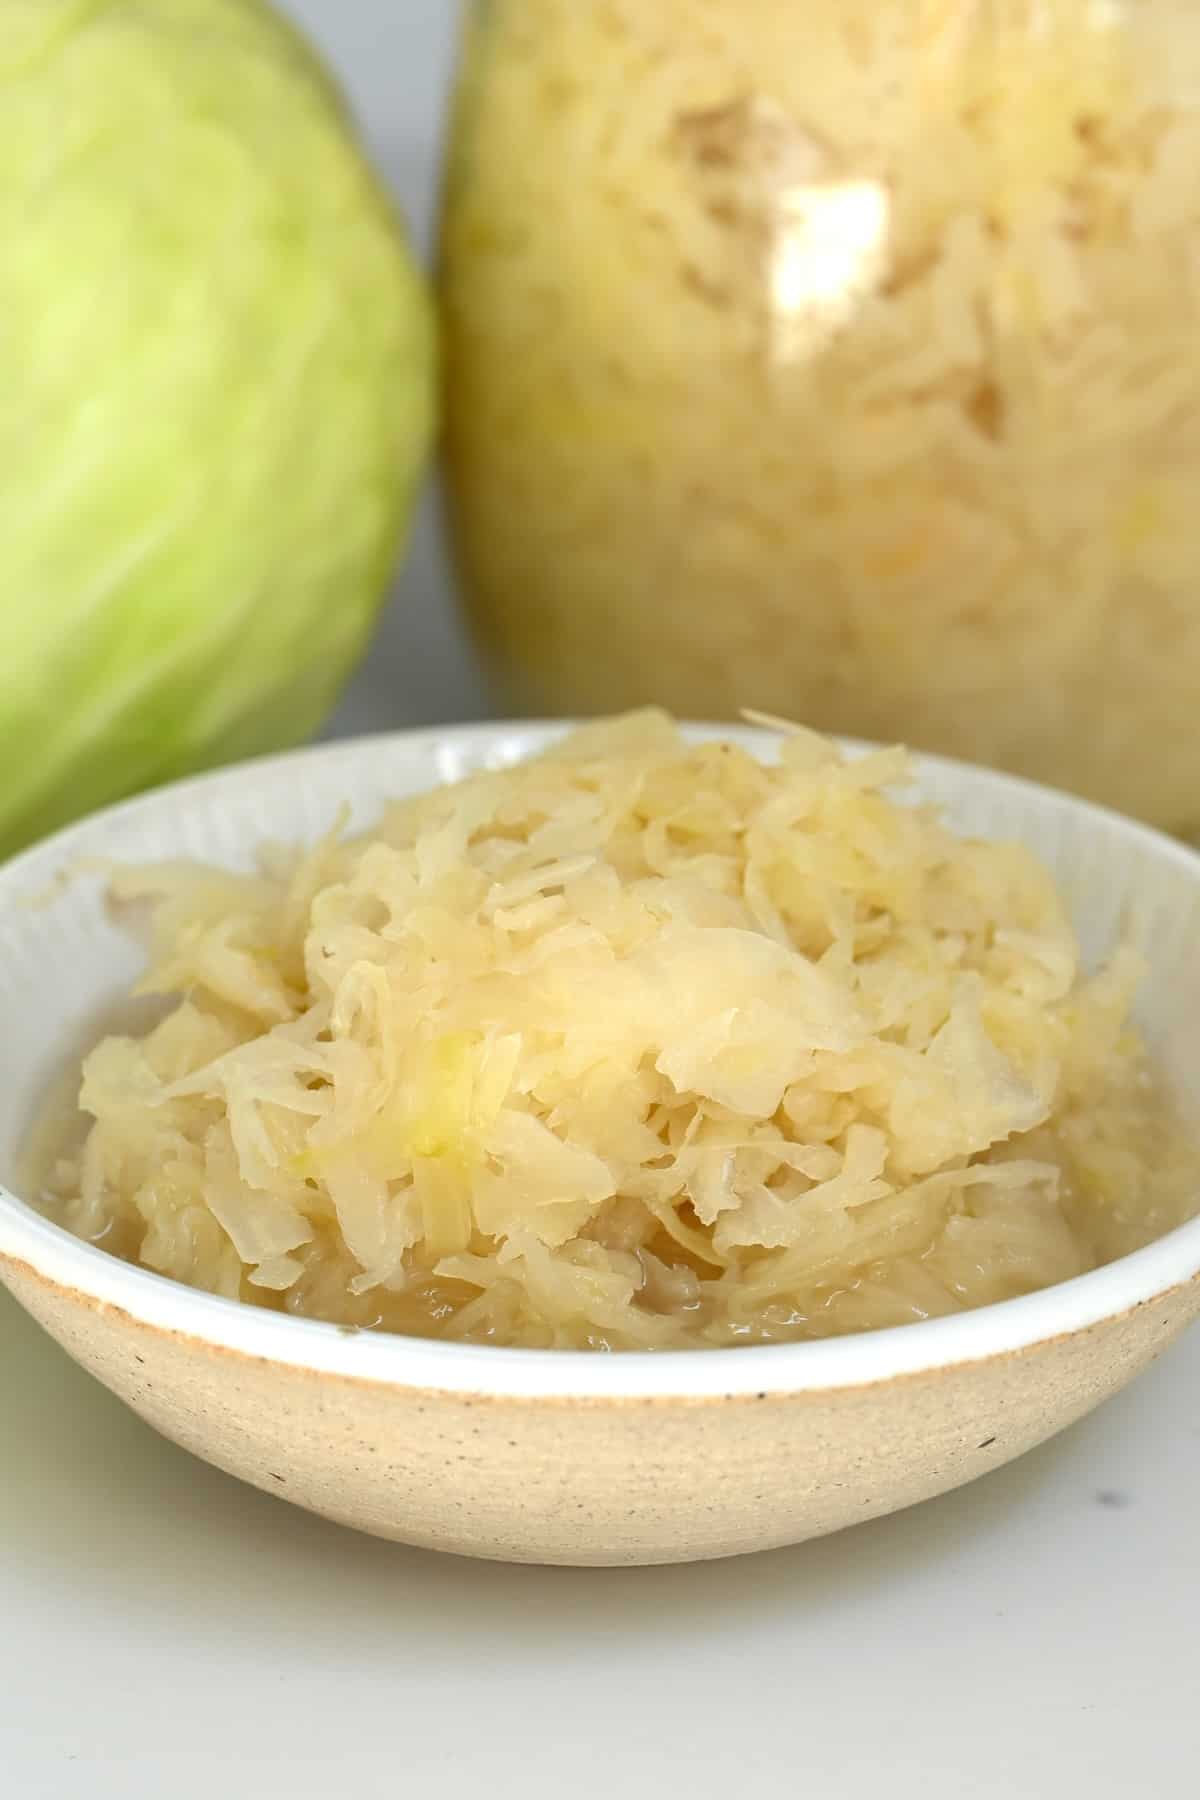
Several traditional dishes are made using kraut, including pierogi, sauerkraut soup, zuurkoolstamppot (sauerkraut mashed potatoes), and the popular dish of sauerkraut and sausages. Other ways to enjoy this homemade sauerkraut include:
- Serve as part of a charcuterie board with cheese and crackers.
- Serve with casseroles and stews.
- Enjoy as a topping for sandwiches, burgers, and hot dogs.
- Enjoy with potato dishes.
- Serve homemade sauerkraut with your Thanksgiving feast.
- Add to avocado toast.
- Enjoy in salads.
FAQs
Yes, this fermented cabbage dish is naturally keto and a great way to add extra flavor to dishes.
Sauerkraut ferments thanks to lactobacillus, a beneficial probiotic, and the resulting dish is a highly nutritious, probiotic-rich food.
I recommend eating 1-2 tablespoons daily to make the most of this good-for-you ingredient. However, be wary of the amount of salt in the kraut.
If the flavors are too intense, to begin with, you can actually leave the homemade sauerkraut for a further month or two and then try it again as the flavors develop over time. You could also try rinsing it before eating it.
Yes, but this only happens at temperatures around 46ºC/115ºF. So, if you want to heat it gently over a low temperature, then you should retain the majority of probiotics.
If you notice the brine level falling within the first 7-10 days of fermentation, I recommend making up some additional brine (dissolving around ½ Tbsp of pickling salt per 1 cup of water).
However, after that point, the cabbage usually has enough bacteria to be considered a “safe environment” for fermentation without the risk of mold/slime. Though I recommend topping up the jar with a 2% brine for optimal shelf life.
More Easy Pickled Recipes
- Homemade Easy Pickled Cucumbers Recipe
- Preserved lemons (pickled lemons)
- How to Make Homemade Pickled Jalapeños
- Pink Pickled Turnips
- Simple Stuffed Makdous Recipe (cured eggplant)
- Easy Pickled Eggs (3 Easy Recipes)
If you try this easy homemade sauerkraut recipe, I’d love to hear your thoughts/questions below. Also, I’d appreciate a recipe card rating below, and feel free to tag me in your recipe recreations on Instagram @Alphafoodie!
Easy Homemade Sauerkraut (Just 2 Ingredients)
Equipment
- Big glass jars 2 pints/ 1 liter
Ingredients
Use as much cabbage as wanted and adjust the amount of salt
- 2.2 lb cabbage weigh after chopping; organic green cabbage is best
- 0.7 oz pickling salt should be 2% of the cabbage weight
Instructions
- Sterilize the jar/s you plan to store the sauerkraut in.Jars with an airlock lid are useful for fermentation but not necessary. Alternatively, you can make the homemade kraut in a traditional crock.To do so, preheat the oven to 325ºF/160ºC. Meanwhile, wash the jars and lids in hot, soapy water and rinse them after. Then, transfer them to the oven (except anything not oven-proof like rubber/plastic parts) and allow them to dry completely for 10-15 minutes.Alternatively, you can sterilize the jars and lids for 10 minutes in boiling water.
Step 1: Prepare the Cabbage
- Rinse it well and remove any outer leaves of the cabbage if they look wilted, browned, etc.
- Slice the cabbage in half lengthwise and then quarters, removing the core with a small paring knife.
- Cut each of the quarters into thin slices (around 0.2cm) using a knife, mandoline, or a food processor with a slicing disk.
- At this point, weigh the cabbage to determine how much pickling salt is required. You need 2% salt to cabbage. I.e., a 2.2lb cabbage will require 0.044lb salt (0.7oz).
Step 2: Combine the Ingredients
- In a large bowl, combine the shredded cabbage and salt and toss well, rubbing the salt into the cabbage. Set it aside for 20-25 minutes.
- Squeeze the cabbage well to remove all the excess water (allow it to drop into the bowl as you will be using it).
- As you squeeze the cabbage, transfer it to the jar and pack it in tightly, until just the liquid is left in the bowl. Make sure to leave around 1/3 inch / 1 cm headspace in each jar. Then, pour the juice over the cabbage, ensuring it's covered by all the liquid.If there isn’t enough liquid to cover the cabbage, you’ll need to prepare a 2% brine of warm water and salt to top up the jar.
- Use a pickling weight, inverted plate, or similar item to weight the cabbage and keep it submerged beneath the liquid.I used a plate weighted down with a water-filled bottle (make sure to completely cover the top with a clean kitchen towel and secure it to the jar if doing it this way). You could alternatively use a Ziplock bag filled with something heavy like rocks.
- Set the jar/s of sauerkraut aside to ferment in a draft-free space around 72ºF/22ºC.
How Long Does It Take To Ferment Sauerkraut?
- The fermentation process can take 4-6 weeks, depending on the temperature, climate, and the cabbage itself, though some people leave it for as little as 1-4 weeks.Make sure to check on it daily and remove any scum formed at the top of the liquid in your jar.After the first week, I recommend tasting the homemade kraut every other day until it reaches your desired tartness.As a general rule, while the mixture is still bubbling, it's still fermenting. Once it settles down, it's ready. It should also be a more yellow color with a tart and tangy flavor similar to pickles.
How To Can Sauerkraut?
- Canning sauerkraut requires just a couple of extra steps. First, carefully transfer the sealed jars to a large saucepan filled with boiling water (place a trivet or similar tool at the bottom, so the cans aren’t touching the bottom of the pan), ensuring they’re submerged by 1-2 inches of water. Then, add the lid to the pan, bring it to a boil, and allow it to boil for 20 minutes.
- Remove the lid from the saucepan and wait 5 minutes with the heat off. Then finally, remove the jars and set them on a kitchen-towel-lined counter to cool down before transferring them to your pantry. As the jars of fermented sauerkraut cool, you’ll hear a ‘pop’ when the lids fully seal.If any cans don't seal, pop them in the fridge instead.
Storage Recommendations
- Fridge Storage: You can store the fully fermented sauerkraut in your fridge for 6+ months. Some batches may even last up to one year.Canned: Unopened jars of canned sauerkraut will last for between 2-3 years in your pantry. Once opened, transfer it to the fridge and aim to eat it within a month or two.Can You Freeze Sauerkraut? Yes (for about a year), though I usually don't recommend it as it will kill the probiotics.
Notes
- Shredded carrot: A popular addition across several European countries.
- Shredded beet: For an earthy flavor and wonderfully vibrant pink/red color.
- Apples: Usually quartered to add extra flavor.
- Cranberries: Add flavor AND are a natural preservative.
- Ginger: Add minced ginger (around an inch of ginger root) to sauerkraut made with carrots or beet for a sweet and spicy combination.
- Dill: Use either 2-3 tablespoons of fresh dill or around a tablespoon of dried.
- Caraway seeds: Works with or without the dill. Add around ½ tablespoon.
- Juniper berries: Add about 1/2 tbsp or more.
- Dukkah: Add 1-2 tablespoons of this Egyptian spice blend for a warm and delicious flavor.
- Jalapeño: Finely minced jalapeño (or slices) will add some heat to this recipe for sauerkraut. Adjust the amount to personal preference.
- Lemon peel: For a zesty flavor. Remove the bitter white pith.
- Turmeric and black pepper: This gives the fermented cabbage a yellow color. I recommend 2-3 teaspoons of dry turmeric with a generous pinch of freshly cracked black pepper. Ginger also works with this blend.
Nutrition
Nutrition information is automatically calculated, so should only be used as an approximation.


