This post may contain affiliate links. Please read our disclosure policy.
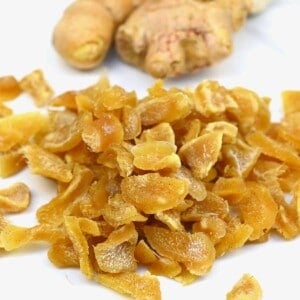
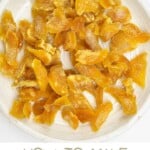
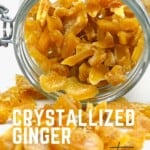
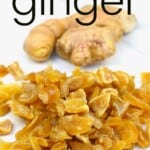
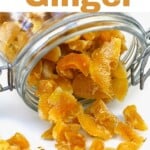
How to make crystallized ginger with just three base ingredients and a simple process. Use this method to make candied ginger stored in a simple ginger syrup, or go one step further and dry the ginger pieces for delicious homemade crystallized ginger!
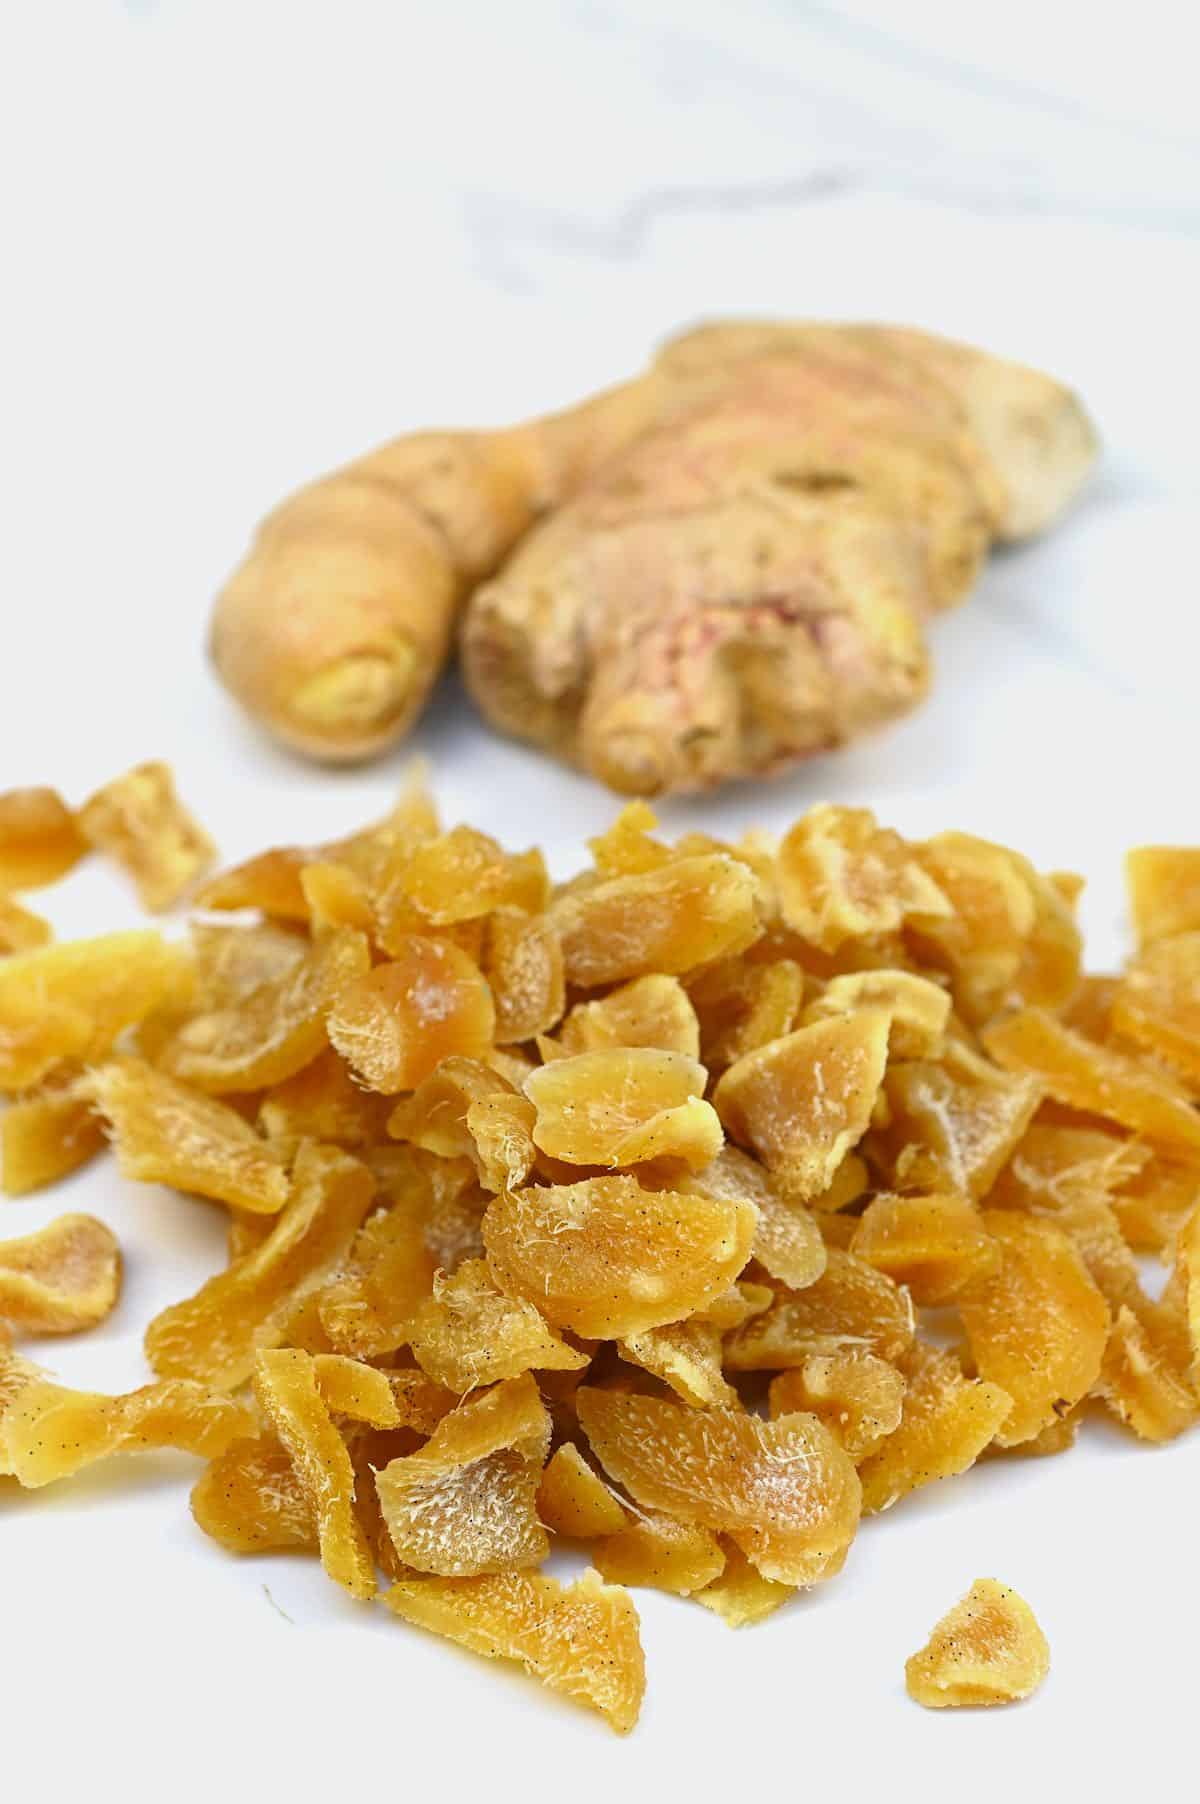
If you’ve enjoyed commercial candied ginger or crystallized ginger before, then prepare to fall in love with this homemade version! It’s super-fresh, with a more robust and brighter flavor than any store-bought version! Even better, this process leaves you with several yummy by-products, including a delicious ginger “tea” liquid and simple ginger syrup!
I’ve previously shared ginger simple syrup and ginger tea methods, but what could be better than using one recipe for multiple delicious treats?! If you have leftover ginger, I recommend whipping up a ginger ginger marmalade or ginger lemonade batch, too!
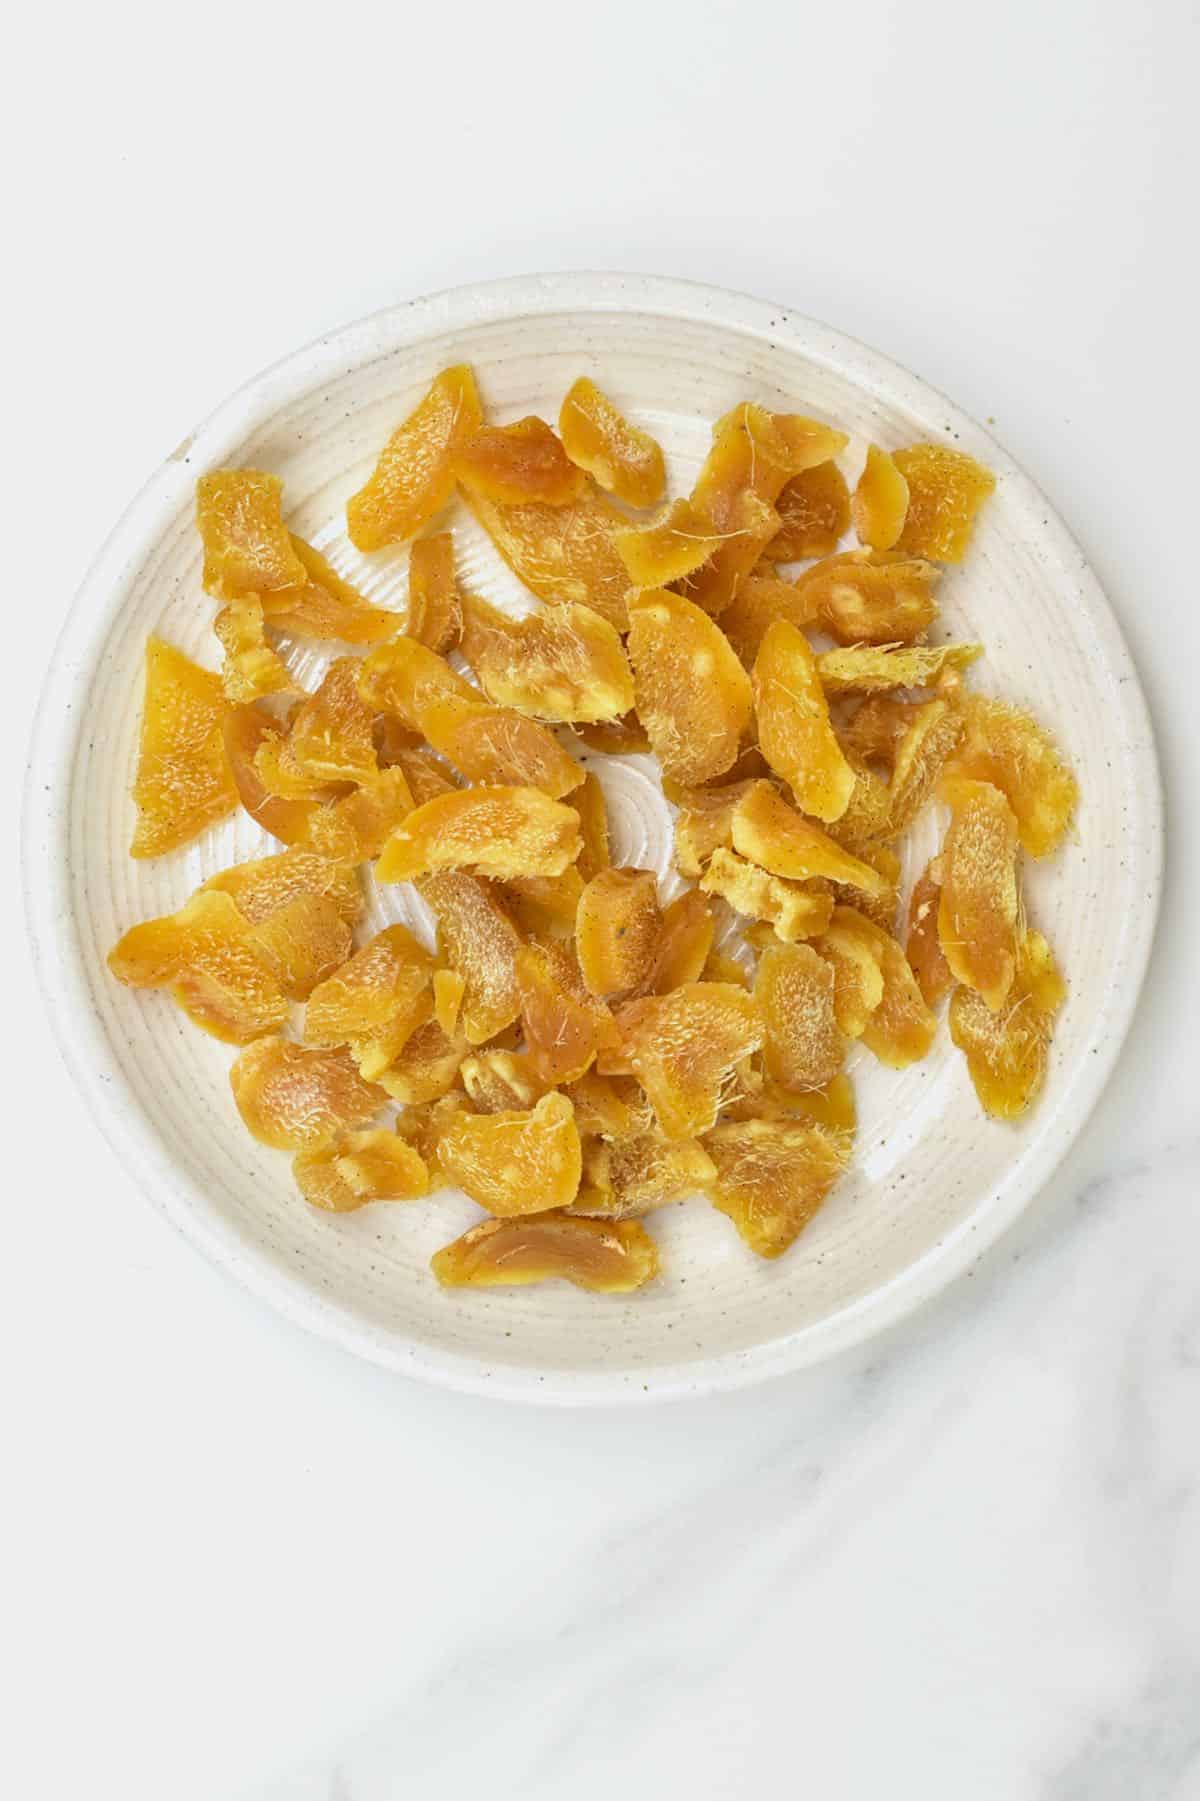
This process allows you to make candied ginger stored within the syrup, drain the syrup, optionally coat it in sugar, and then dry it for tender, sweet, and chewy crystallized ginger “candy.”
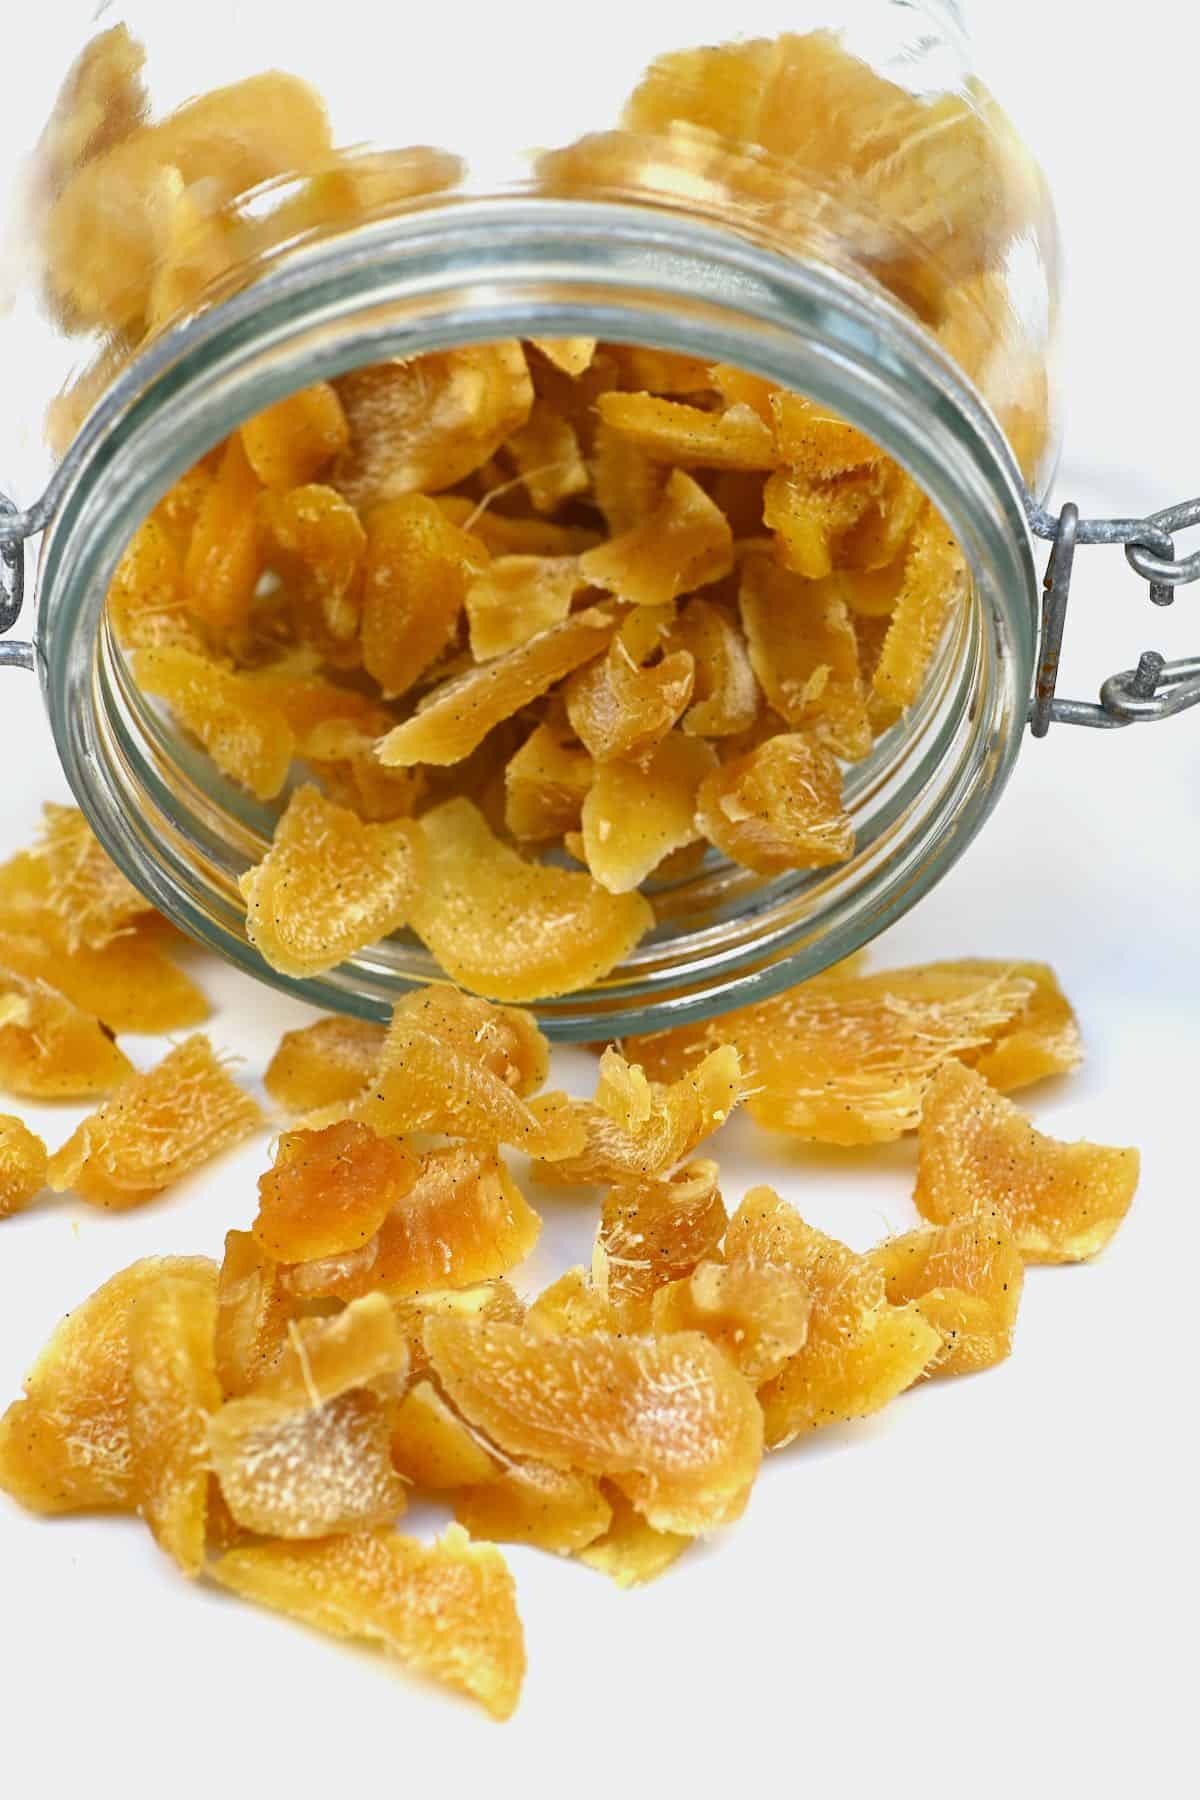
Snack on it as is or use it within tons of recipes (options listed below). Best of all, you can make up a large batch now and have a supply for months – you won’t regret it! While you’re at it, why not make some candied orange slices or candied grapes, too!
Want to save this recipe?
Candied vs. Crystallized ginger?
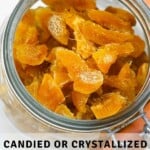
Lots of the time, the two terms are used interchangeably. However, some argue that there are differences. Largely candied ginger is the sugar-soaked ginger stored in the syrup, whereas crystallized ginger is the version coated in sugar and dried out.
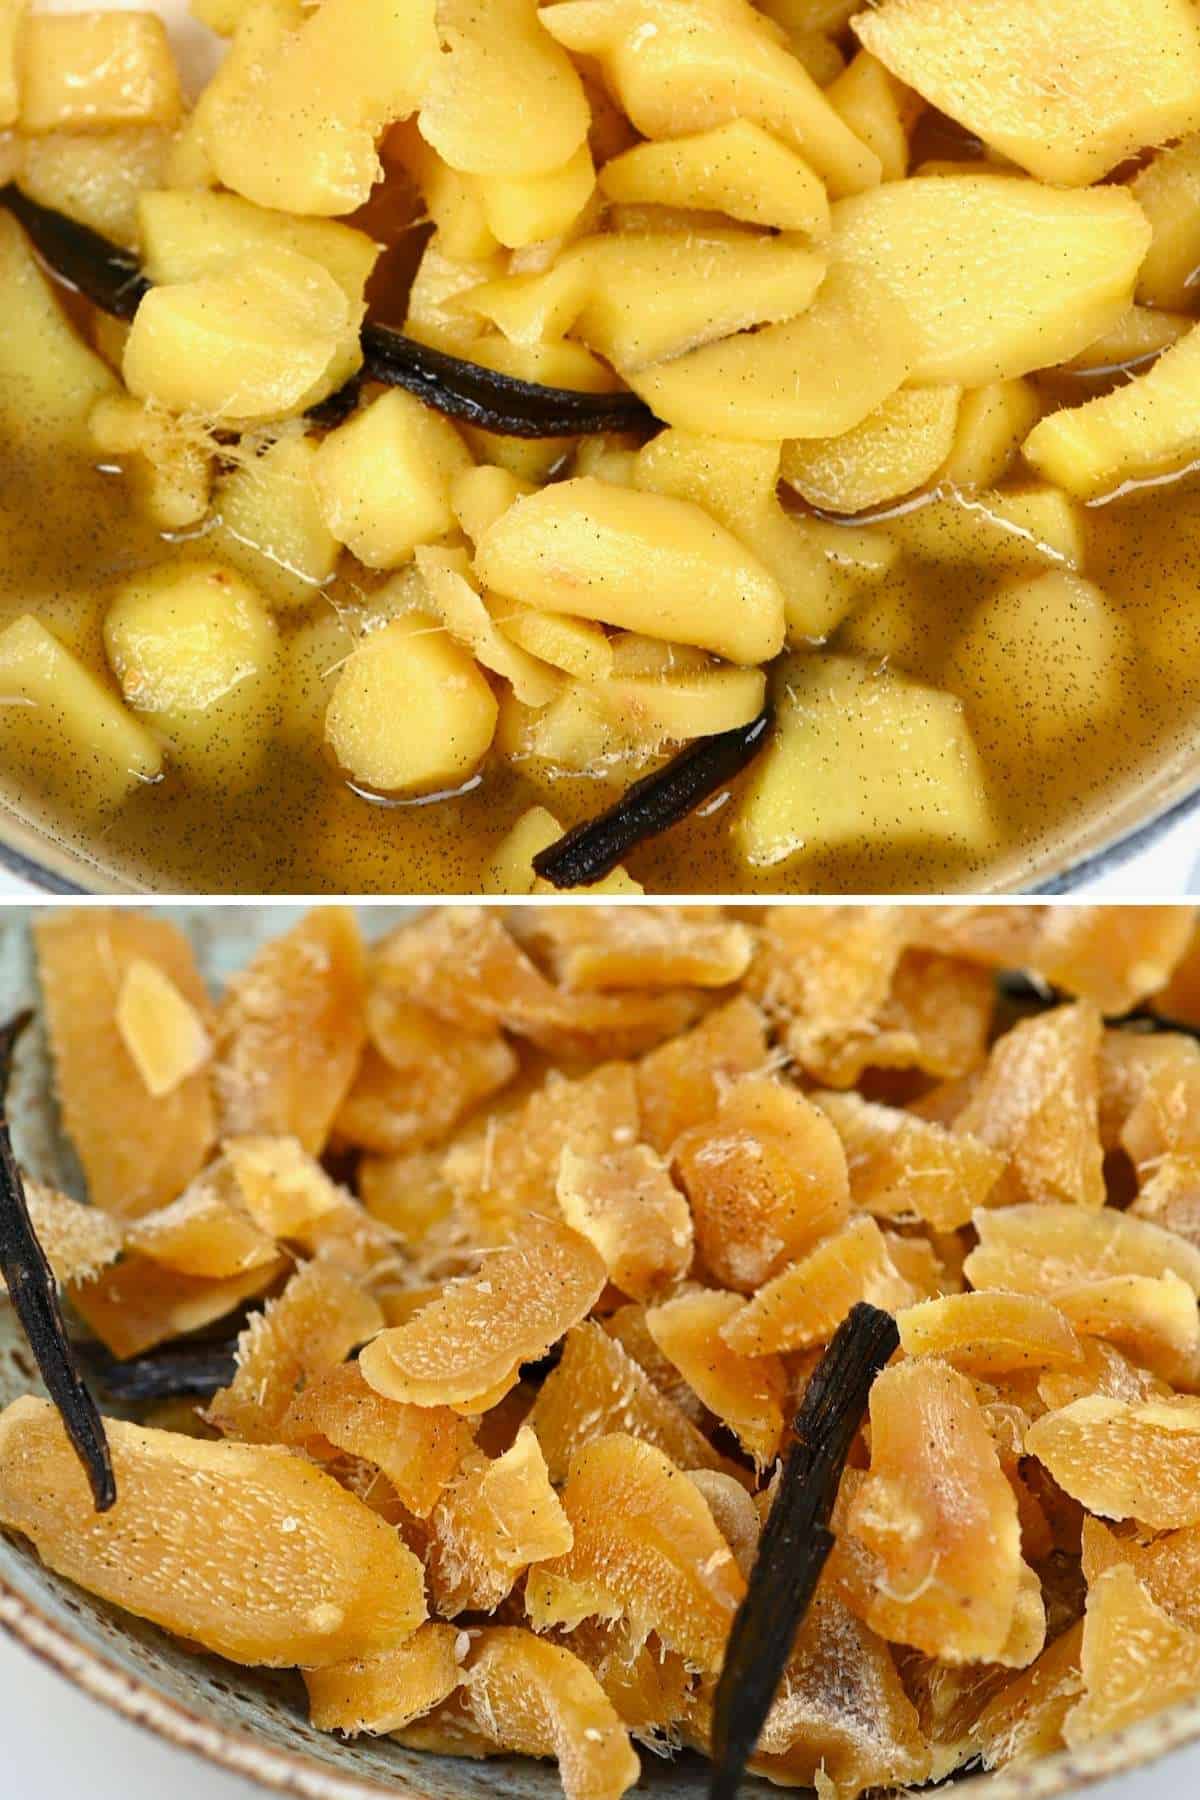
Others argue that candied ginger can also be a version that is dried out, minus the sugar coating.
You can do all three with the candied ginger recipe outlined below, so I use both terms within the post. You could even call it ginger candy; it’s that delicious!
The Ingredients
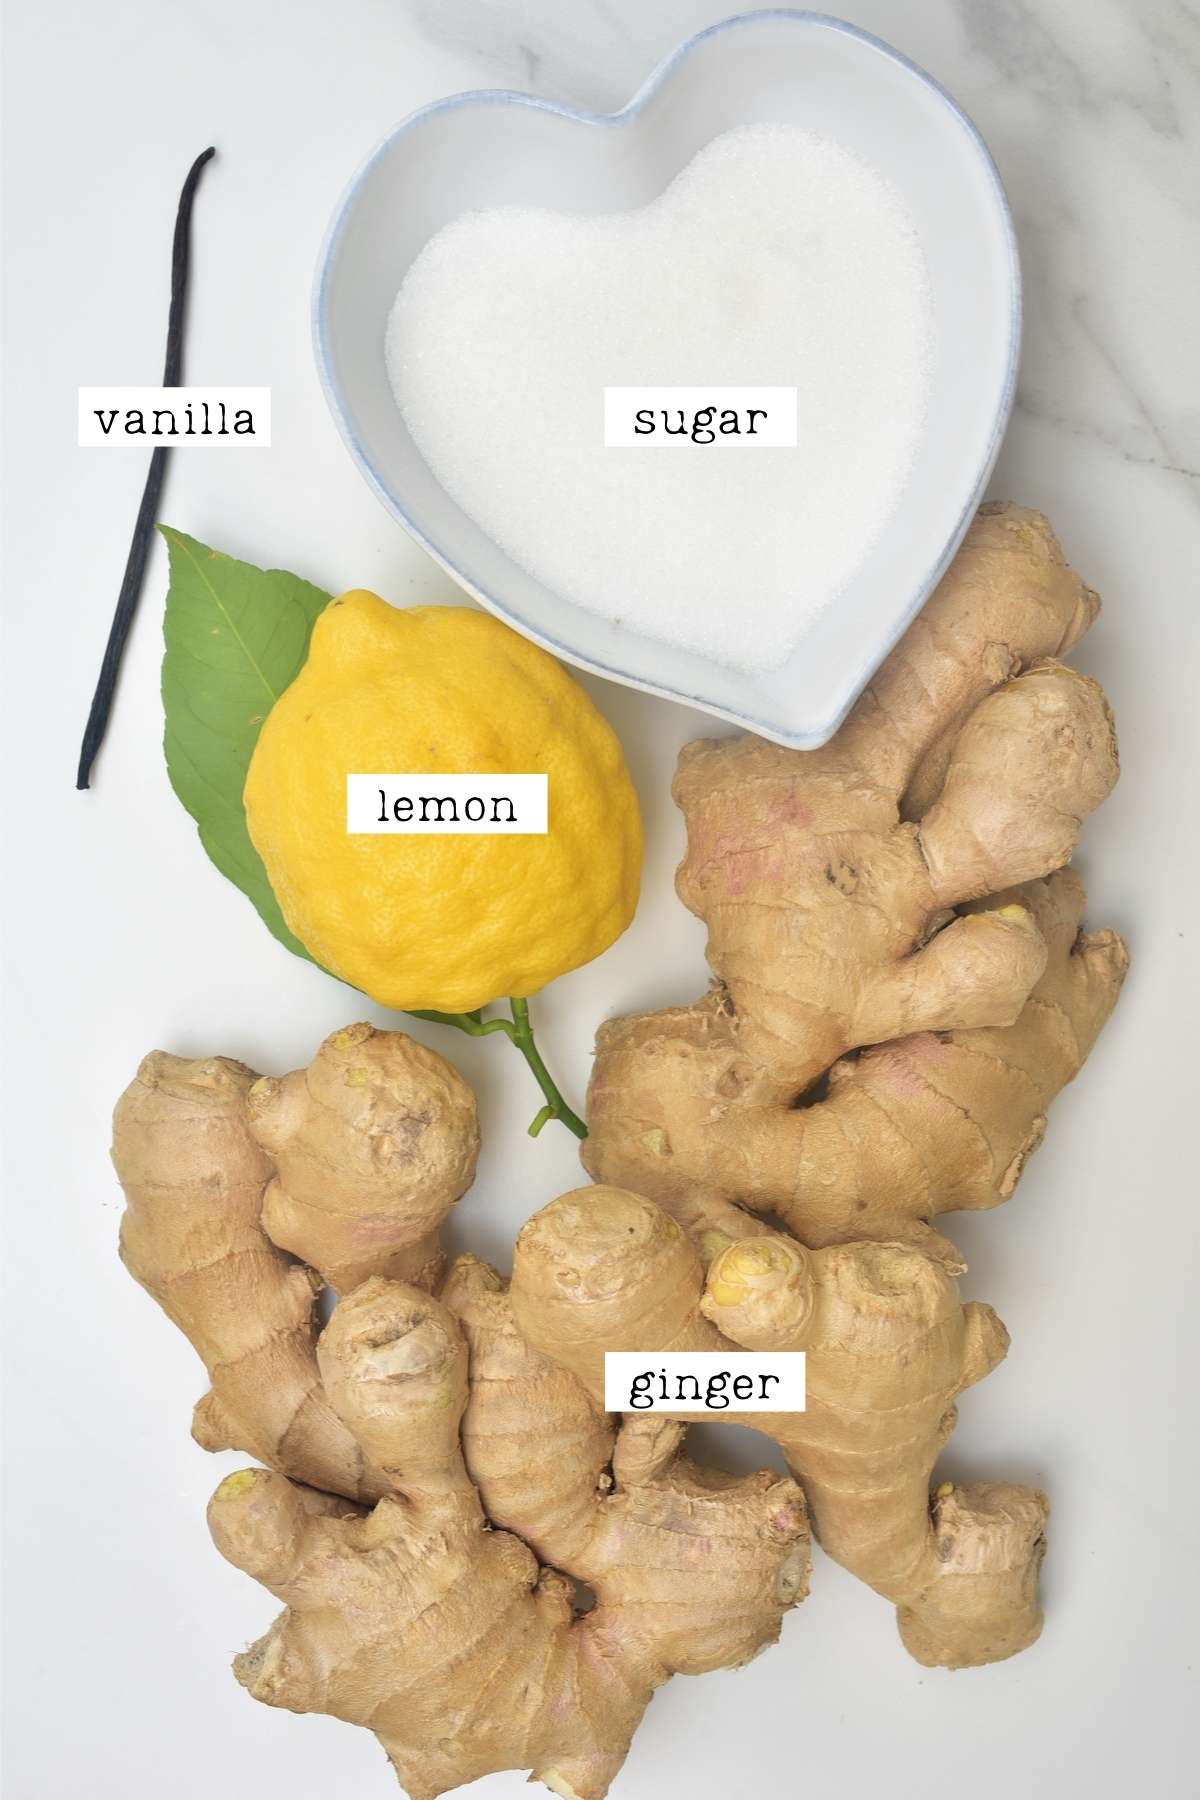
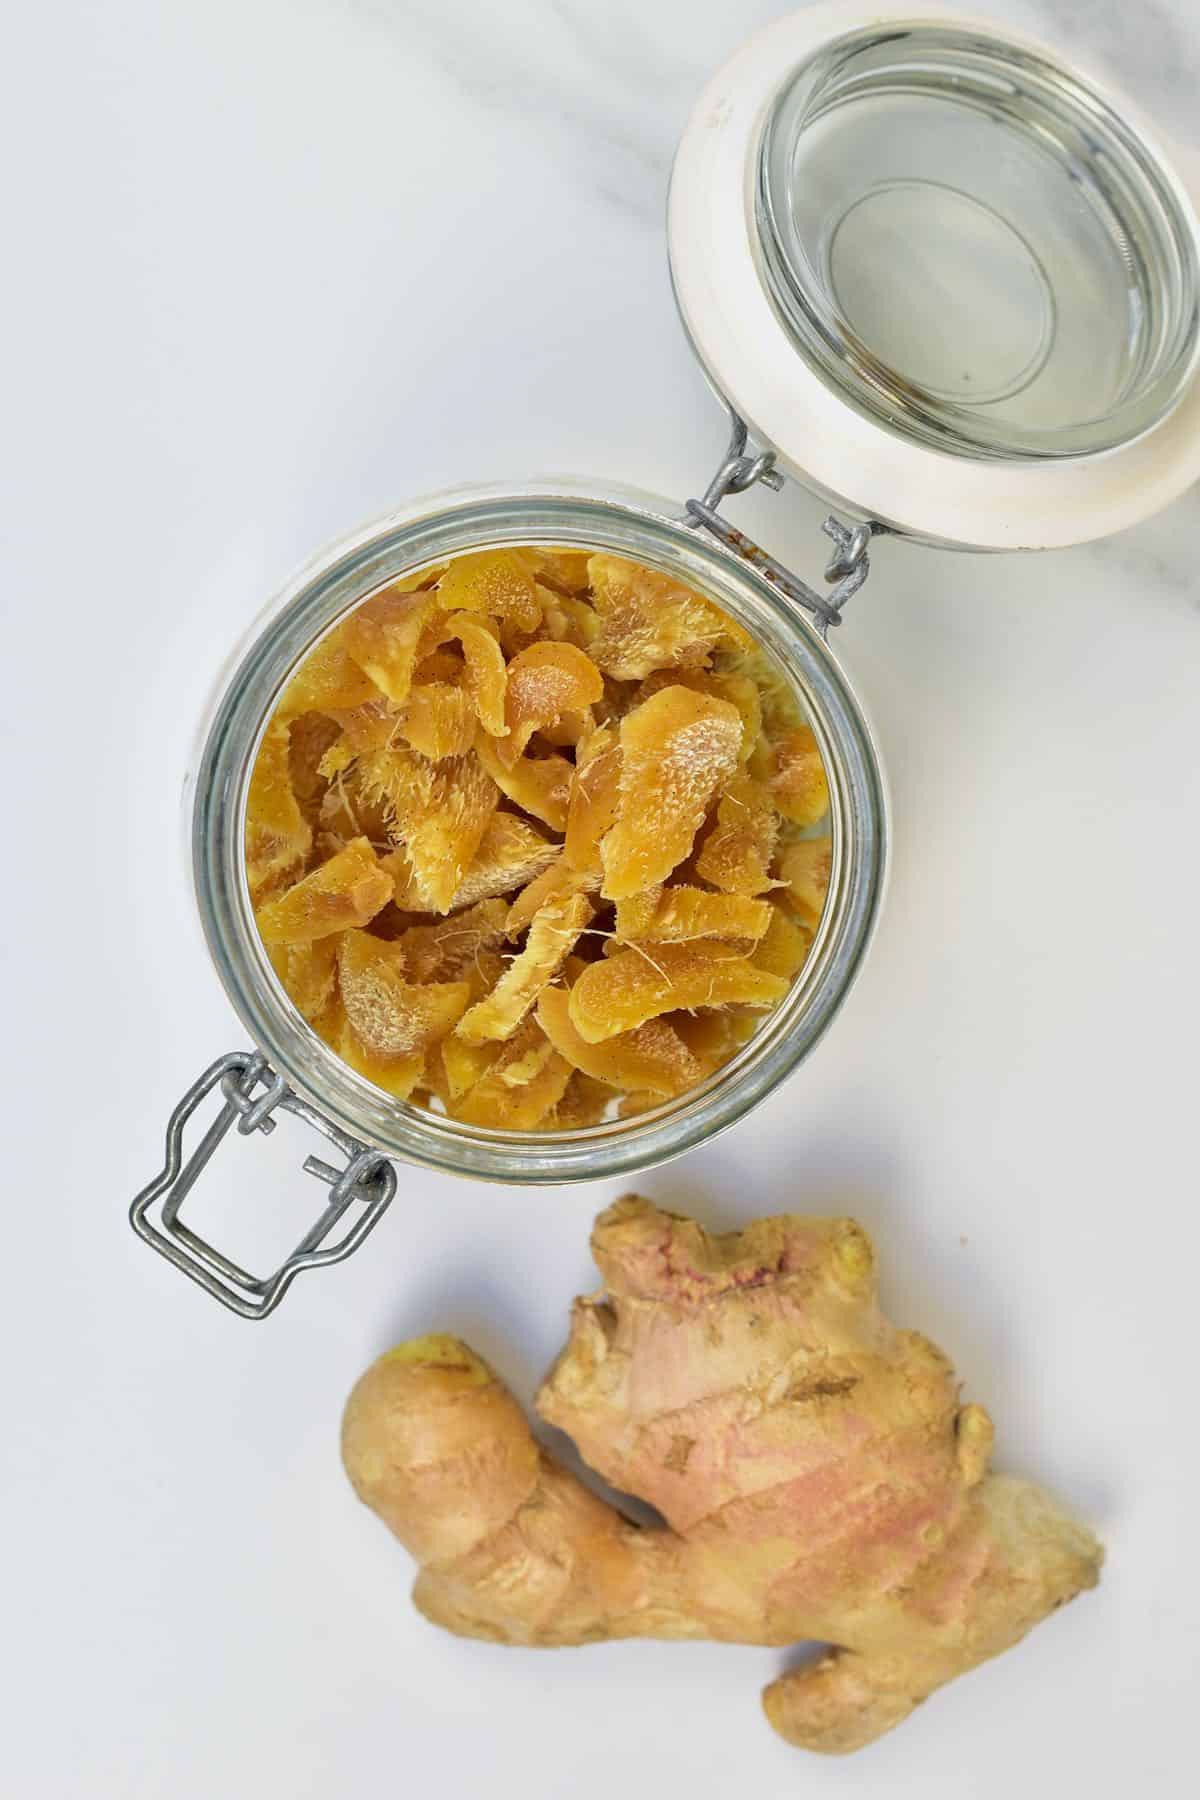
- Ginger: it’s best to use young ginger (organic is best) as it tends to be less “woody,” with better flavor and a more tender texture. However, use what is available (mine were on the older side, so more fibrous, but still tasted delicious).
- Sugar: I used white sugar to keep the color nice and bright. If you use brown sugar/coconut sugar, the color will be darker, and the flavor will vary due to the molasses in the sugar. You may also be able to use a sugar alternative like Swerve.
- Lemon: fresh lemon juice (not bottled) is needed to help keep the color of the ginger bright (it can brown slightly otherwise due to oxidation) without affecting the flavor.
- Vanilla: this is technically optional. However, I used a vanilla bean for extra flavor.
- Water: water is needed for two steps: cooking the ginger initially and preparing the ginger syrup for the candied ginger.
How to Make Crystallized Ginger?
Step 1: Prepare the ginger
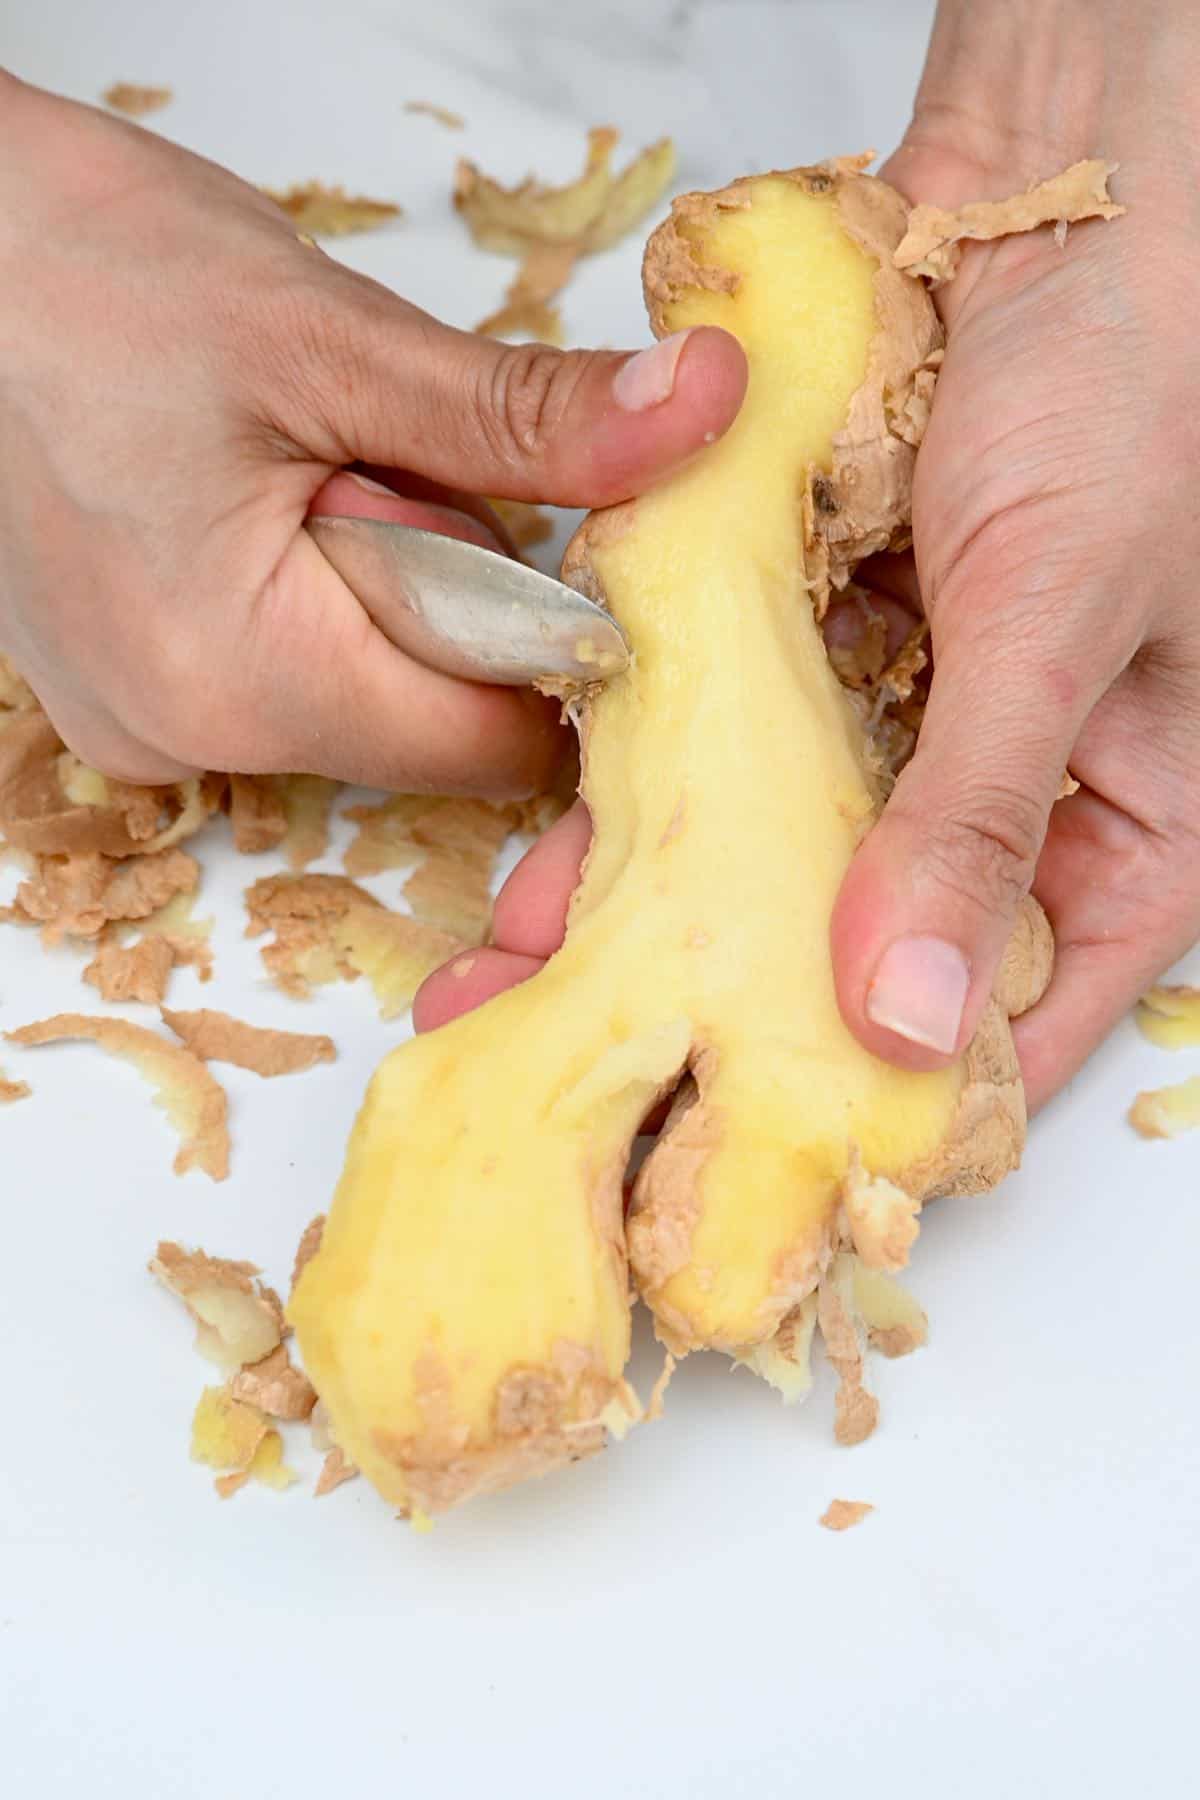
First, peel the ginger. I find this easiest with a spoon, following this method on how to peel ginger. You can even steep these skin pieces for a very light tea (if organic).
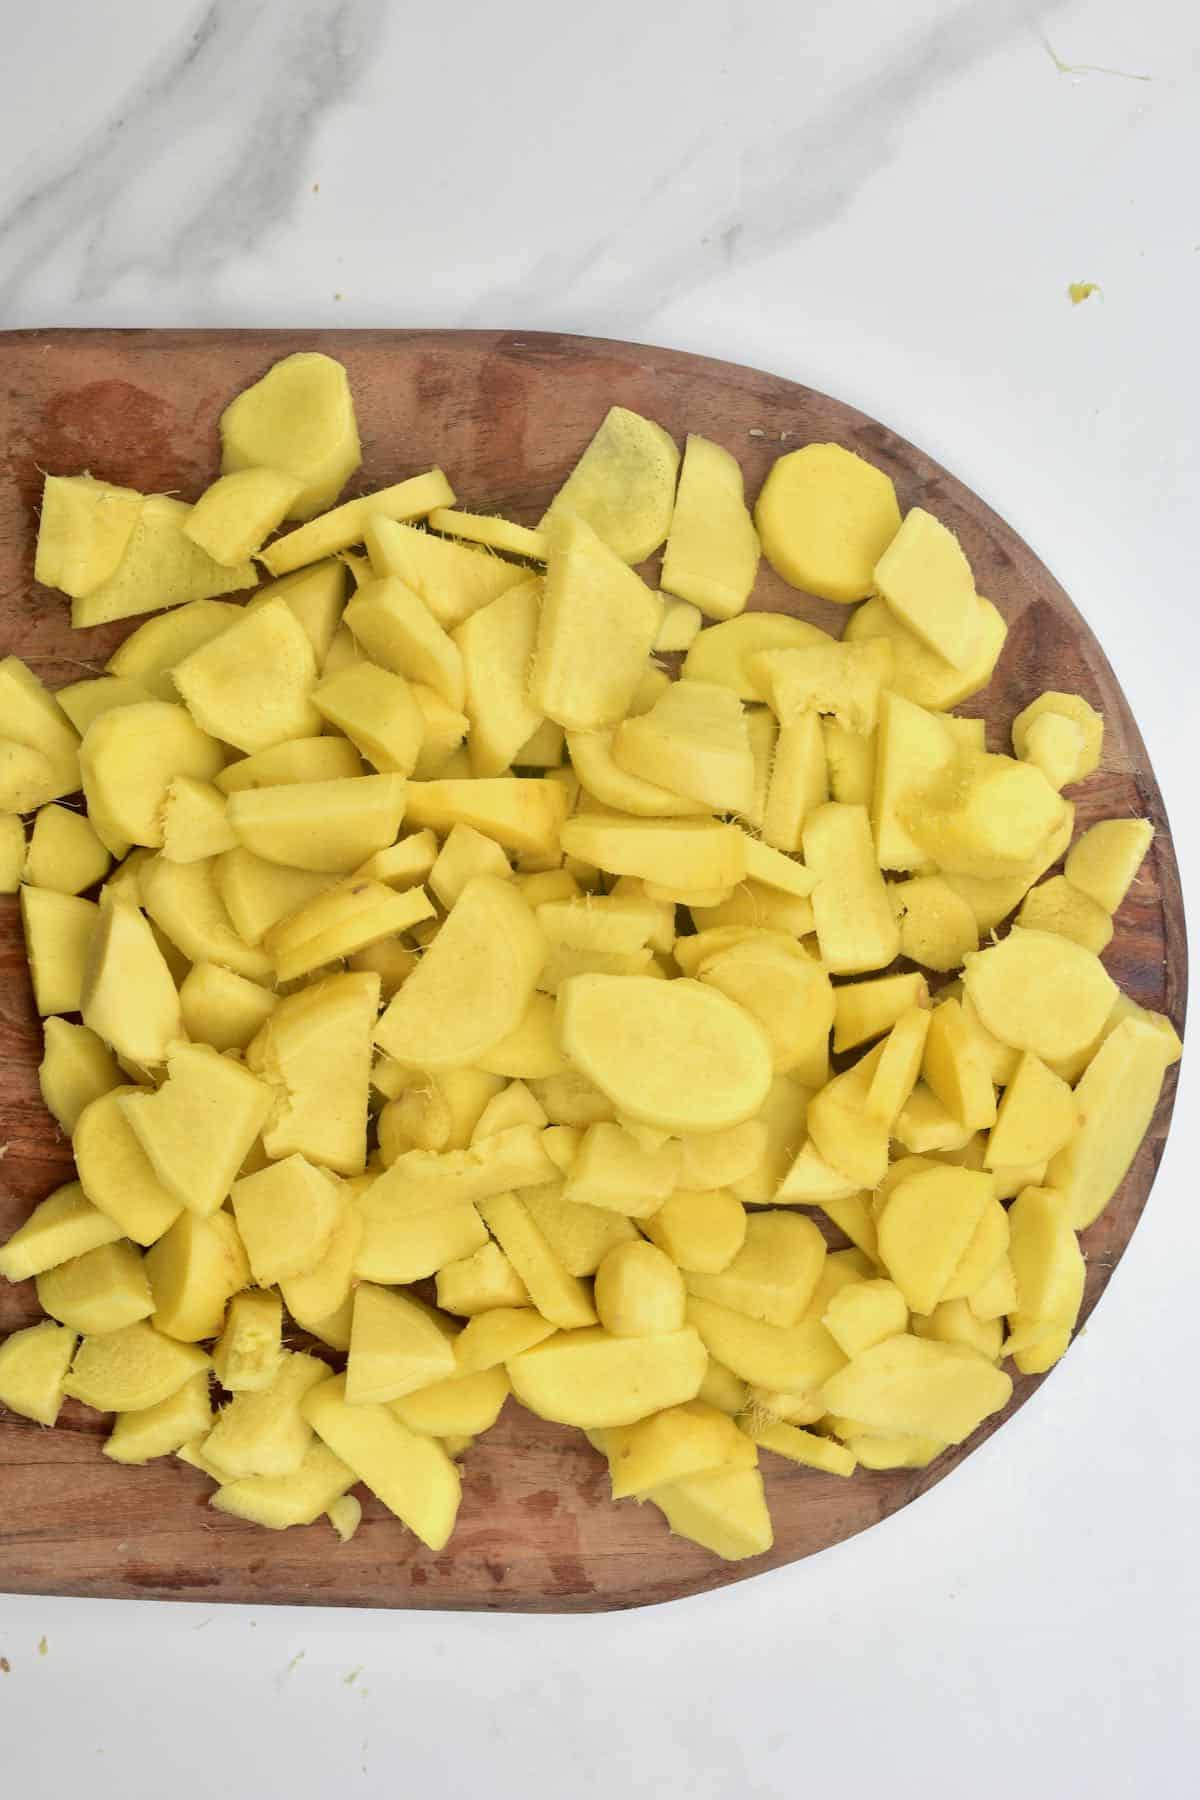
Then, chop the ginger to your desired size – in cubes or in coins/strips. Keep in mind that the ginger will shrink during the process, so no need to make the pieces too small.
If you want the pieces to be 100% even, you could use a mandolin to slice the ginger into coins/diagonal slices. The thinner you slice it, the more “crunchy” rather than “chewy” results you’ll have. I recommend around ⅛ inch (0.3 cm).
Step 2: Cook the ginger
Add all of the ginger to a large pot with enough water to cover the pieces entirely and the juice from ½ a lemon. I used about 8 cups/2 l of water but you might need a bit more or less depending on how big your pan is.
Bring the mixture to a boil over medium-high heat, using a slotted spoon to remove the foam that settles on the top of the mixture.
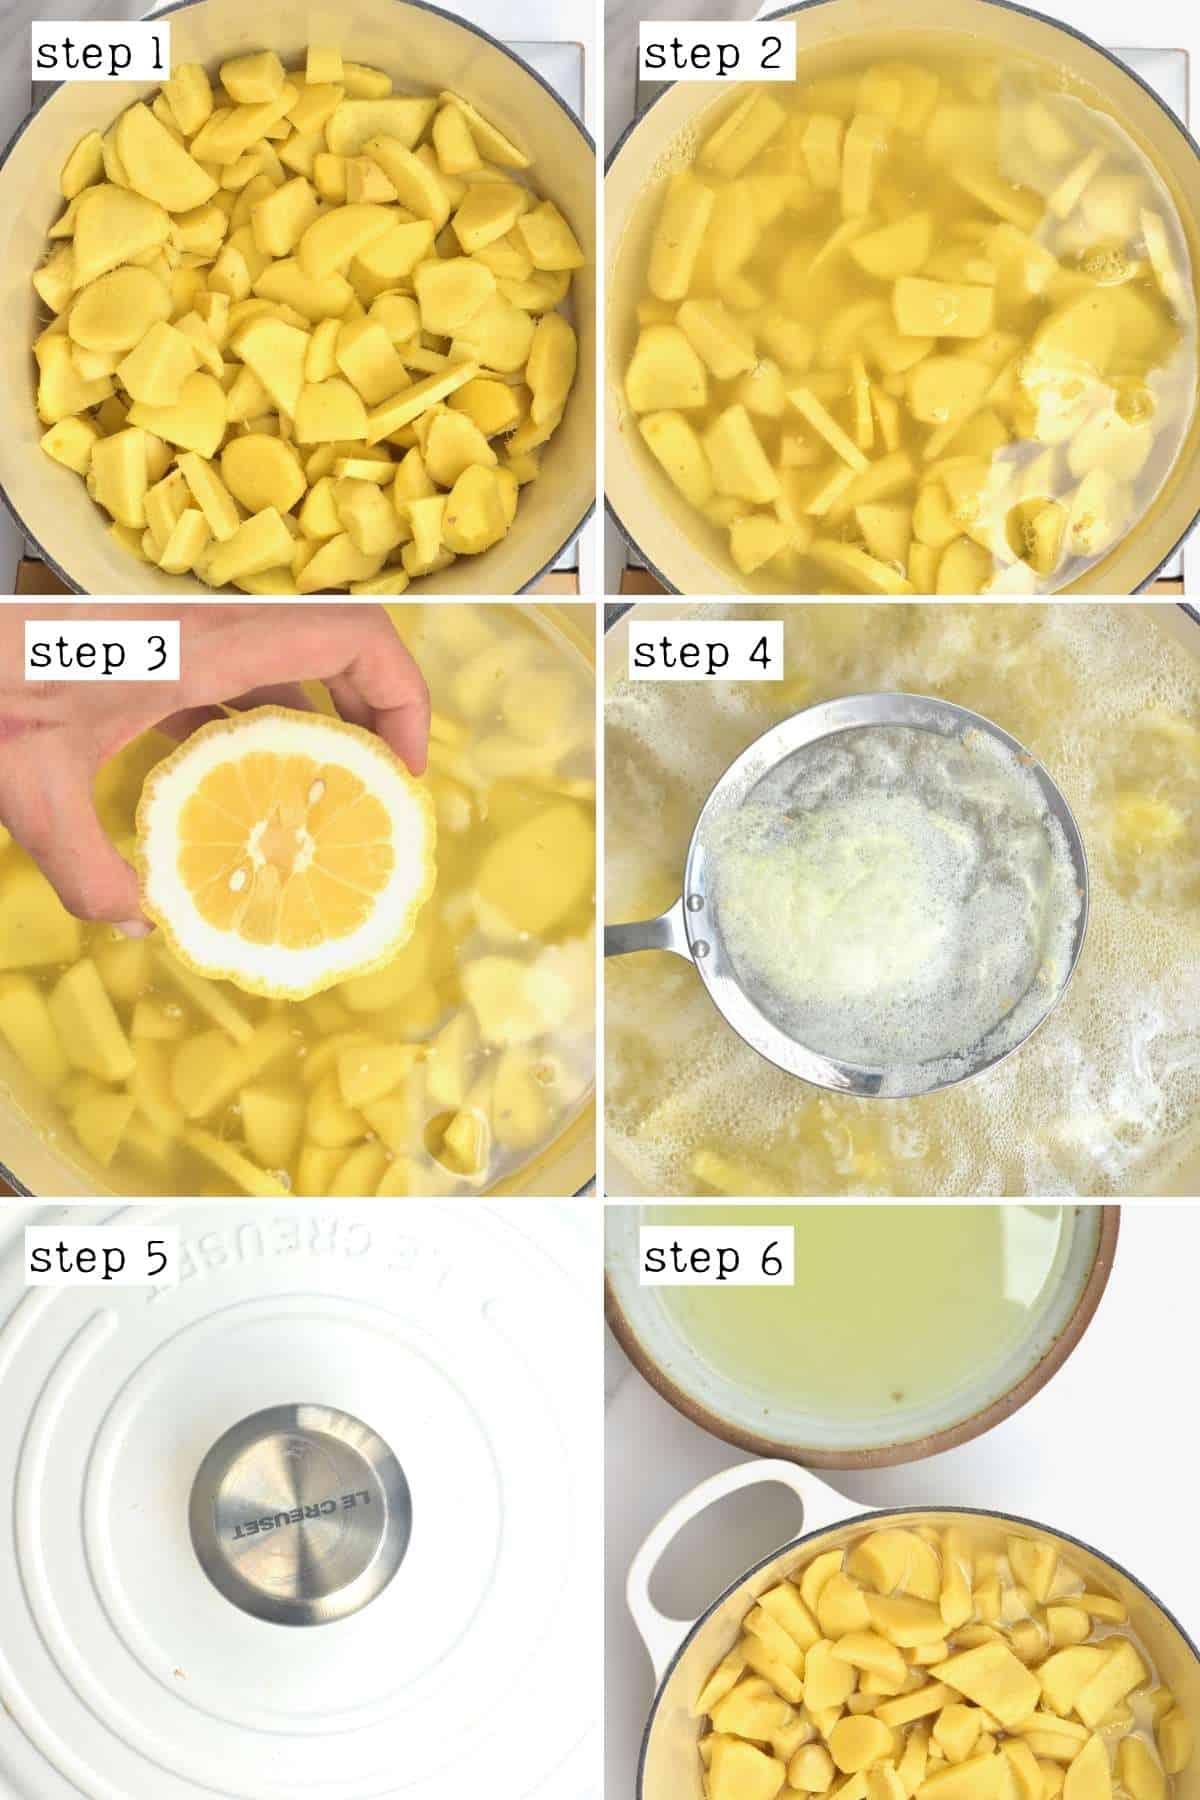
Then, cover the pan with a lid, reduce the heat to a gentle simmer, and cook for 30 minutes.
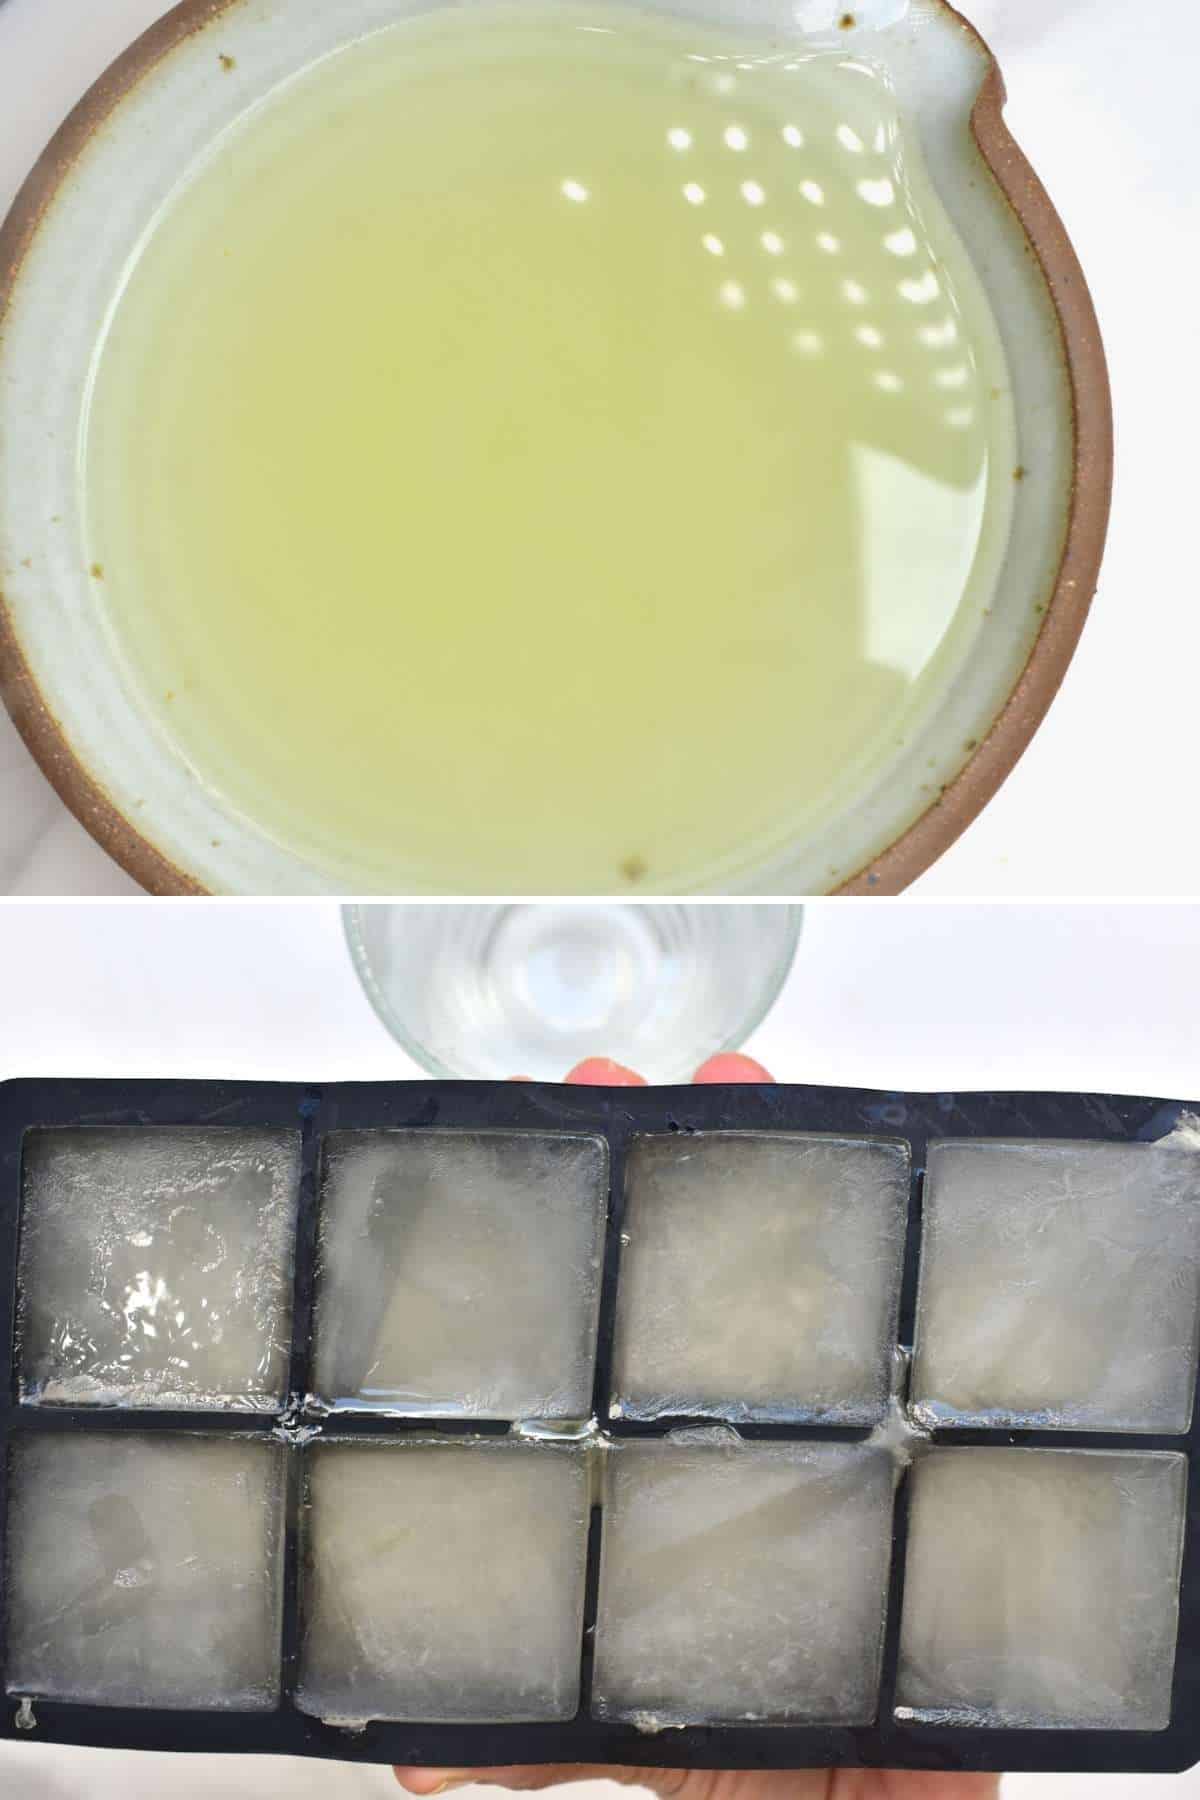
Once ready, strain the ginger. There’s no need to get rid of the cooking liquid. This ginger water/juice will be full of flavor. I recommend saving it to either drink as a tea with a bit of honey/sugar or pour it into ice cube molds and use it with lemonade and other drinks, smoothies, etc.
Step 3: Candy the ginger
Place the ginger back into the pot with the sugar, vanilla (slice the beans in half lengthwise and scrape all the seeds out into the pot), and remaining ½ lemon juice.
Add water to the pan. You can use the same amount of water as sugar (1:1 ratio) but, after some taste testing, I find that adding a bit more sugar gives better results – see the recipe card below for my recommended exact amounts. Also, you can optionally use a little of the ginger water from before (about ½ cup). However, I tend to prefer it without this – as that liquid will be more bitter.
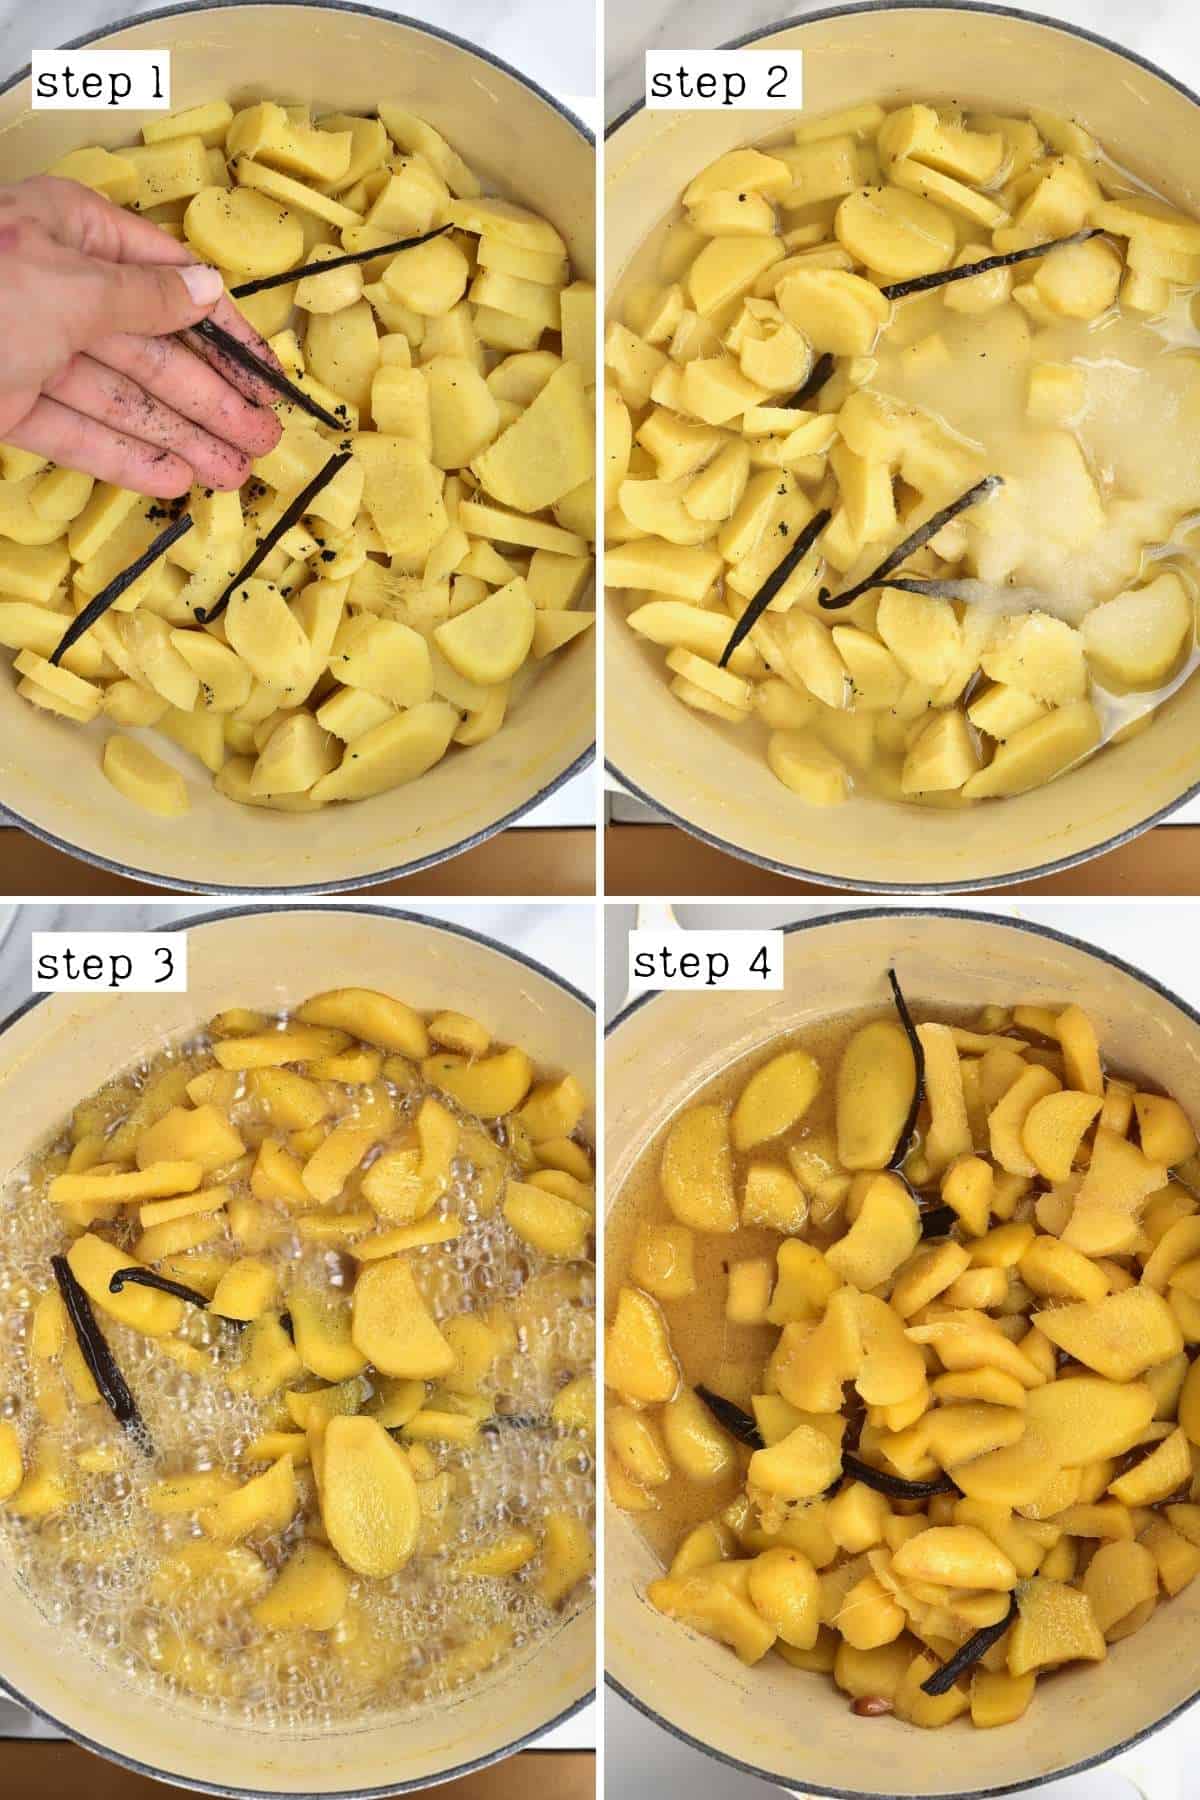
Simmer the mixture over low heat for 35-45 minutes, stirring occasionally, until a lot of the water has evaporated and you are left with a syrupy mixture and the soft, sweet, and slightly chewy candied ginger pieces.
You could now store the ginger in the syrup for simple candied ginger. However, for crystallized ginger, we now separate the two.
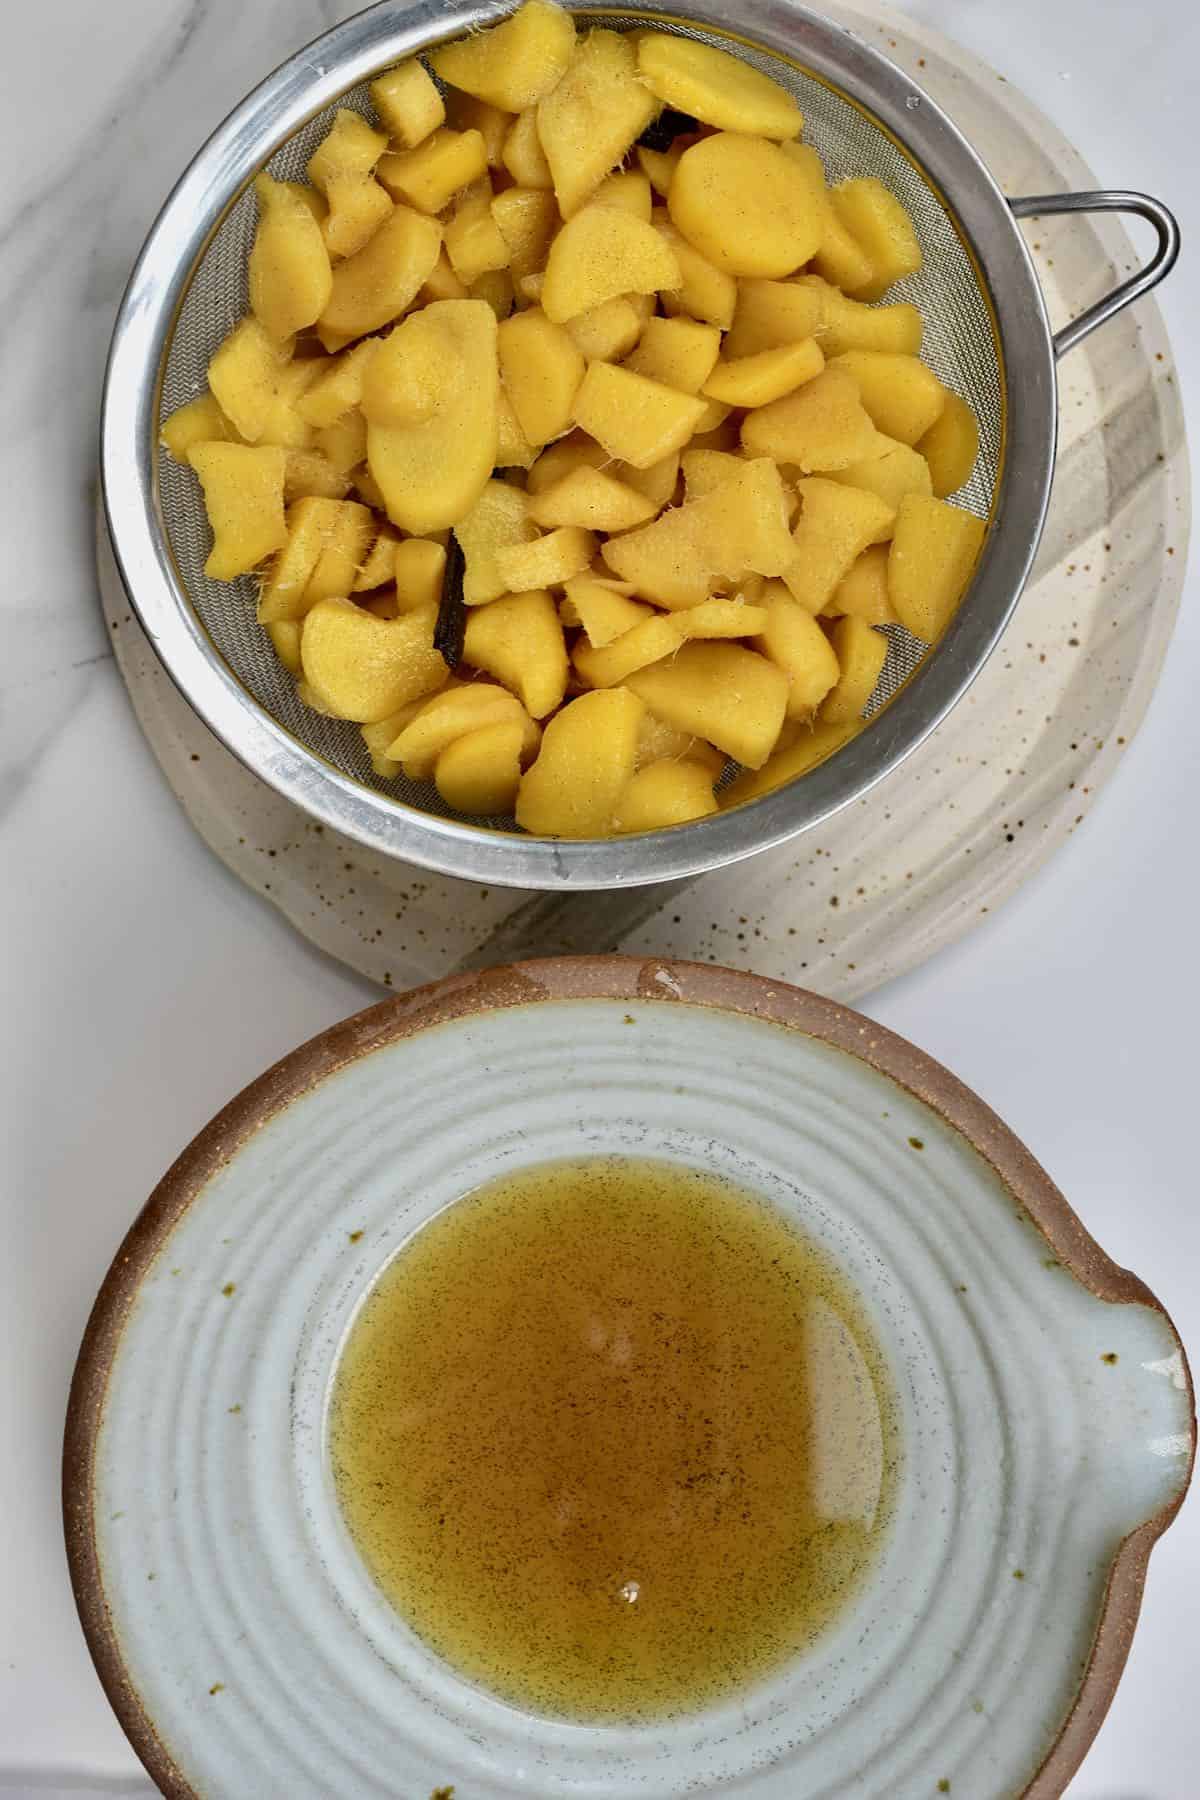
Step 4: Crystallize the ginger
During this stage, you can dry the ginger as is or lightly toss it with sugar first. I chose not to add extra sugar this time – however, crystallized ginger traditionally has a sugar coating. To toss in sugar, I recommend allowing the pieces to dry for 1-2 hours first so they aren’t super wet, just sticky.
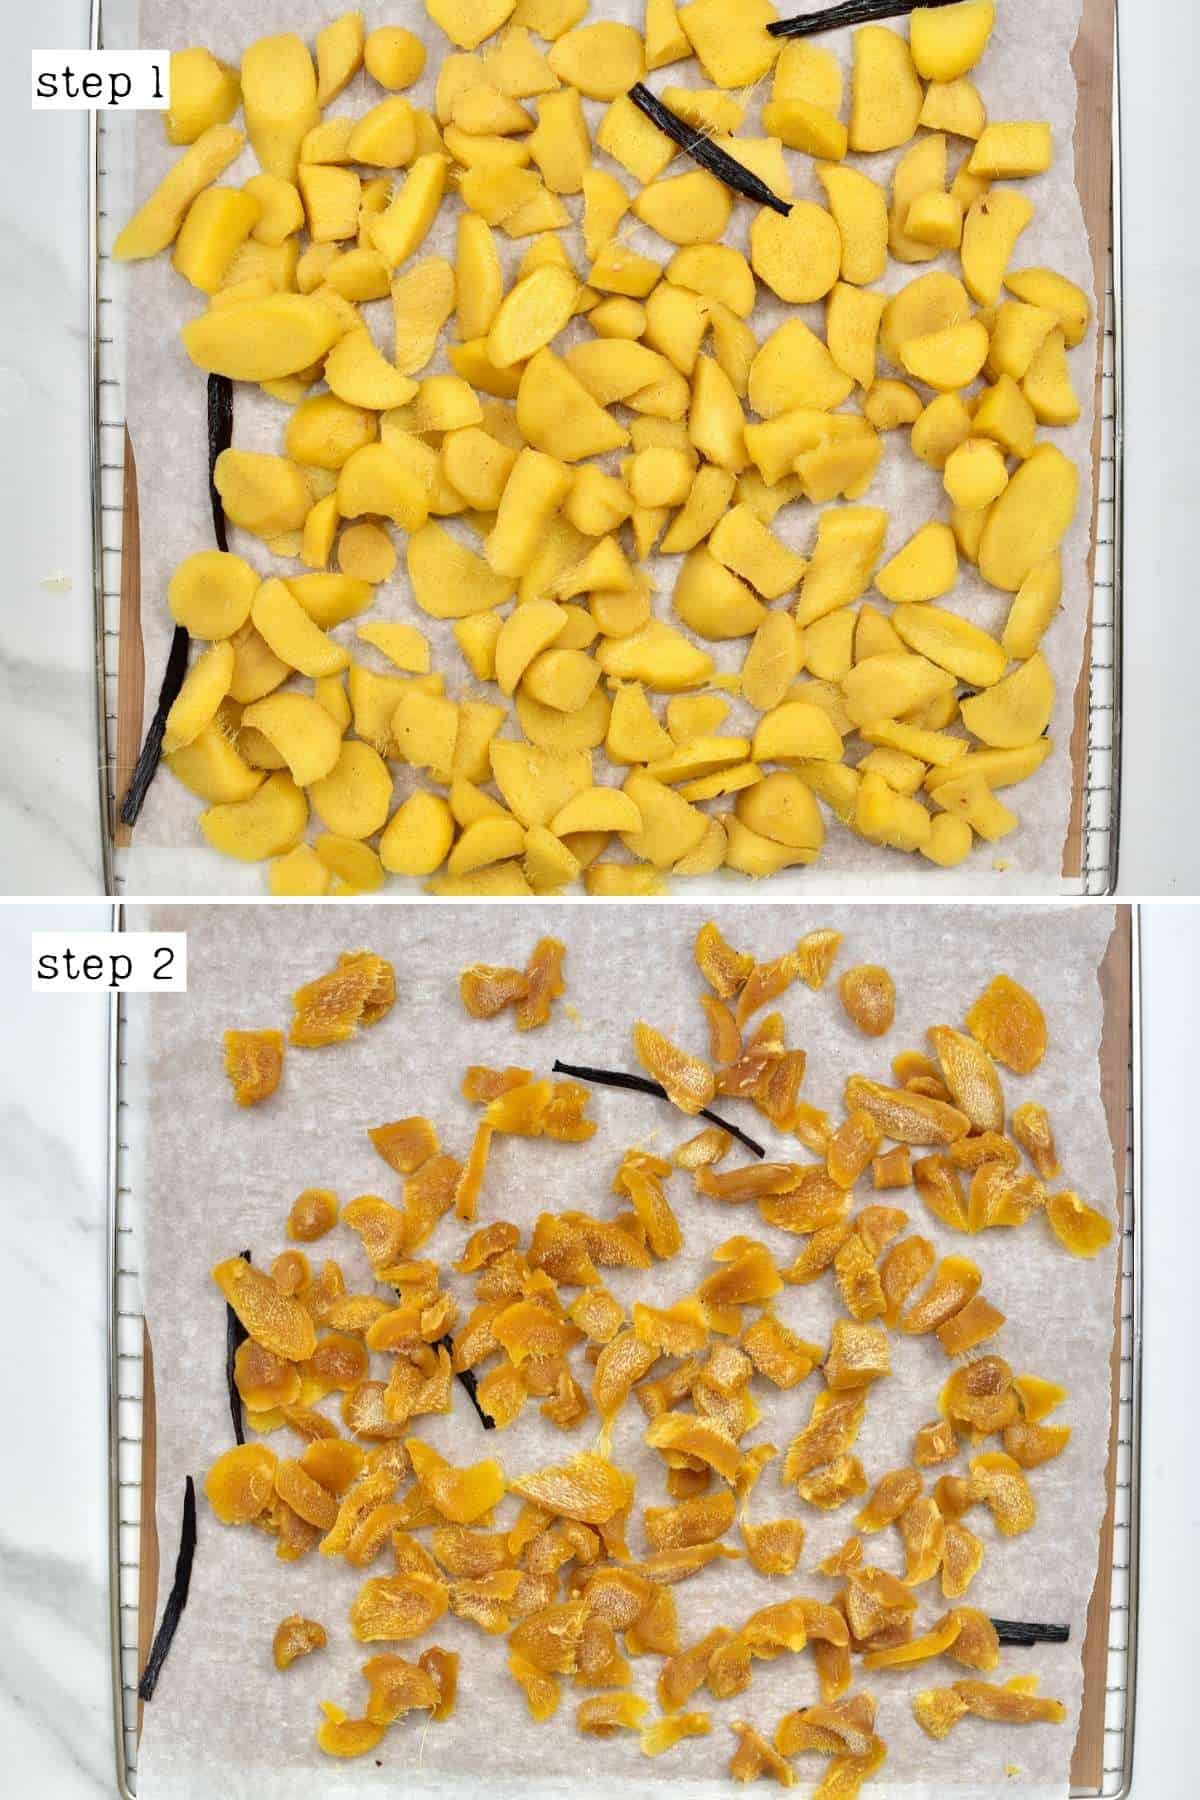
Lay the ginger pieces on a large parchment-lined tray in a single layer, if possible, to dry. The ginger can be air-dried or using an oven/dehydrator.
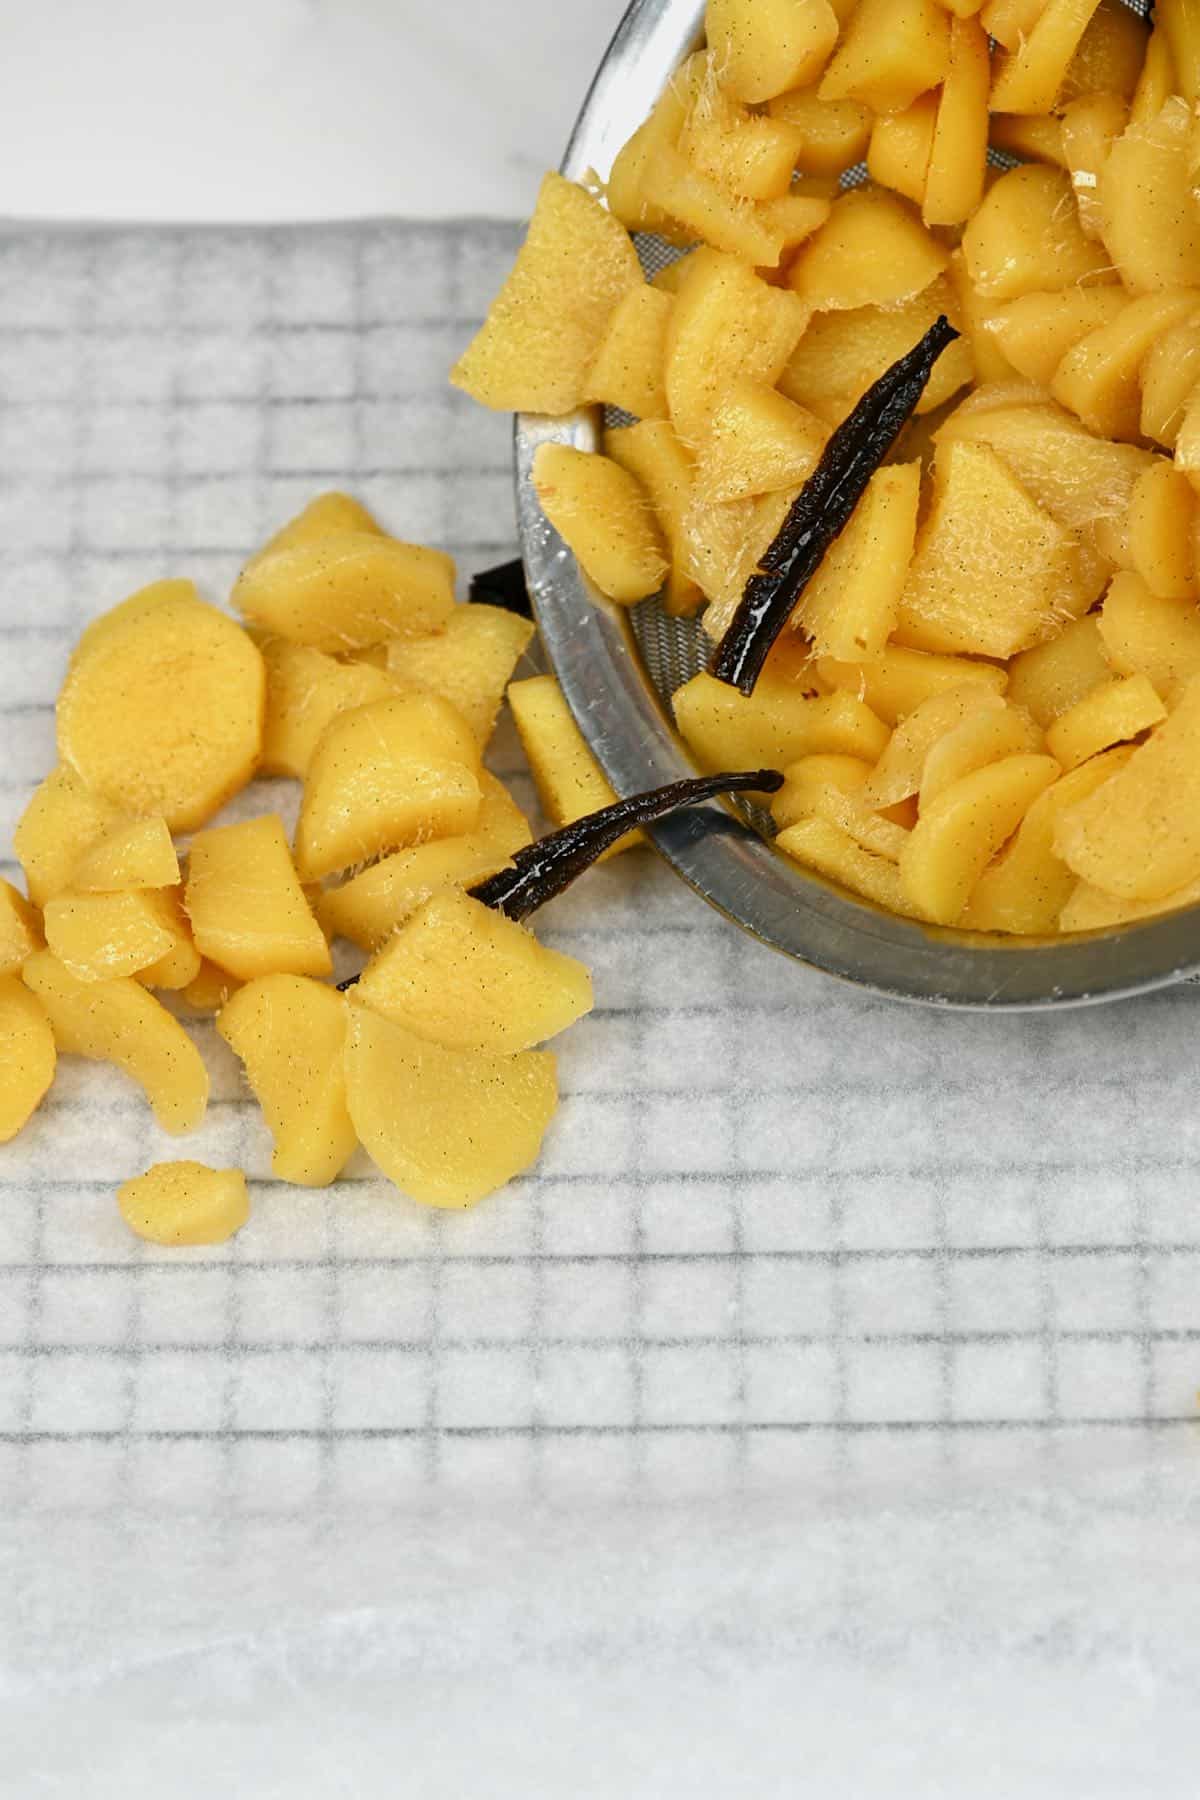
To air-dry: place on a cooling rack and allow to dry out overnight. This is best done in areas with low humidity.
To use an oven/dehydrator: dry at 150ºF/65ºC for about 4-5 hours or until almost dry to the touch but still tender and chewy. The time will vary based on how big the candied ginger pieces are and the temperature/humidity, etc. If the oven temperature doesn’t go that low, then set it to the lowest setting and prop the door open just a cm or so (I use a heat-proof wooden spoon to do this).
How to Make Ahead and Store
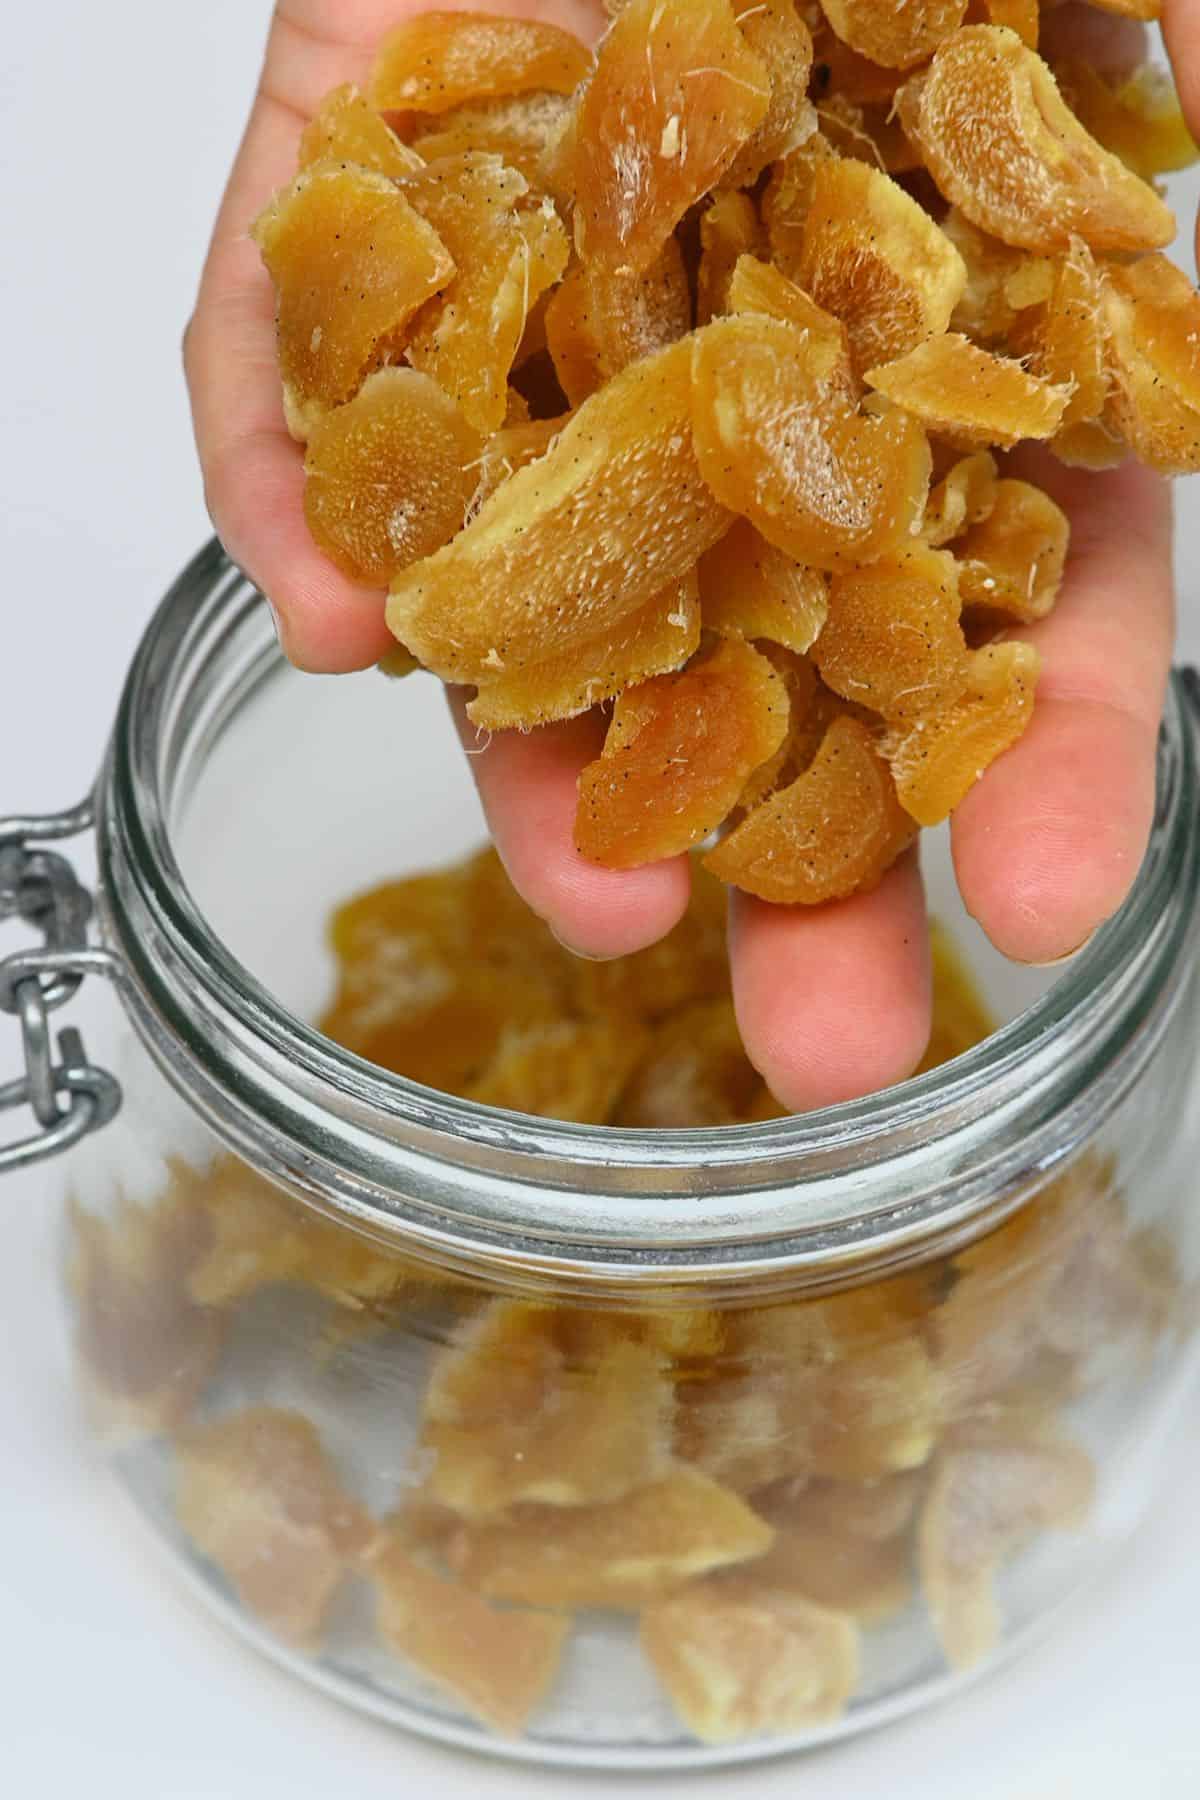
The crystallized ginger candy can be stored in the syrup or dried and stored separately.
Store: the shelf life of the crystallized ginger will depend on whether it’s coated in sugar (which extends the shelf life). When stored in an airtight container in a cool, dark location, sugar-coated ginger should last several months (around 3 months). In comparison, non-sugar-coated crystallized ginger is best stored in an airtight container in the fridge/freezer.
Fridge: candied ginger stored in its syrup will keep for 6 months (up to a year, in some cases) in the refrigerator in a sterilized airtight jar/container. Crystallized sugar will last up to 6 months in the fridge in an airtight container (with or without sugar-coating, though sugared will last longer).
Top tip: if you’re worried about the candied ginger mixture crystallizing, you can add a spoonful of glucose or corn syrup to the mixture in place of some of the sugar when boiling it.
Freeze: you can also freeze the ginger candy for up to a year.
FAQs
You can use the syrup the same as any simple syrup: for homemade lemonade, tea, cocktails, drizzled over ice cream and desserts, a fresh fruit salad, etc. 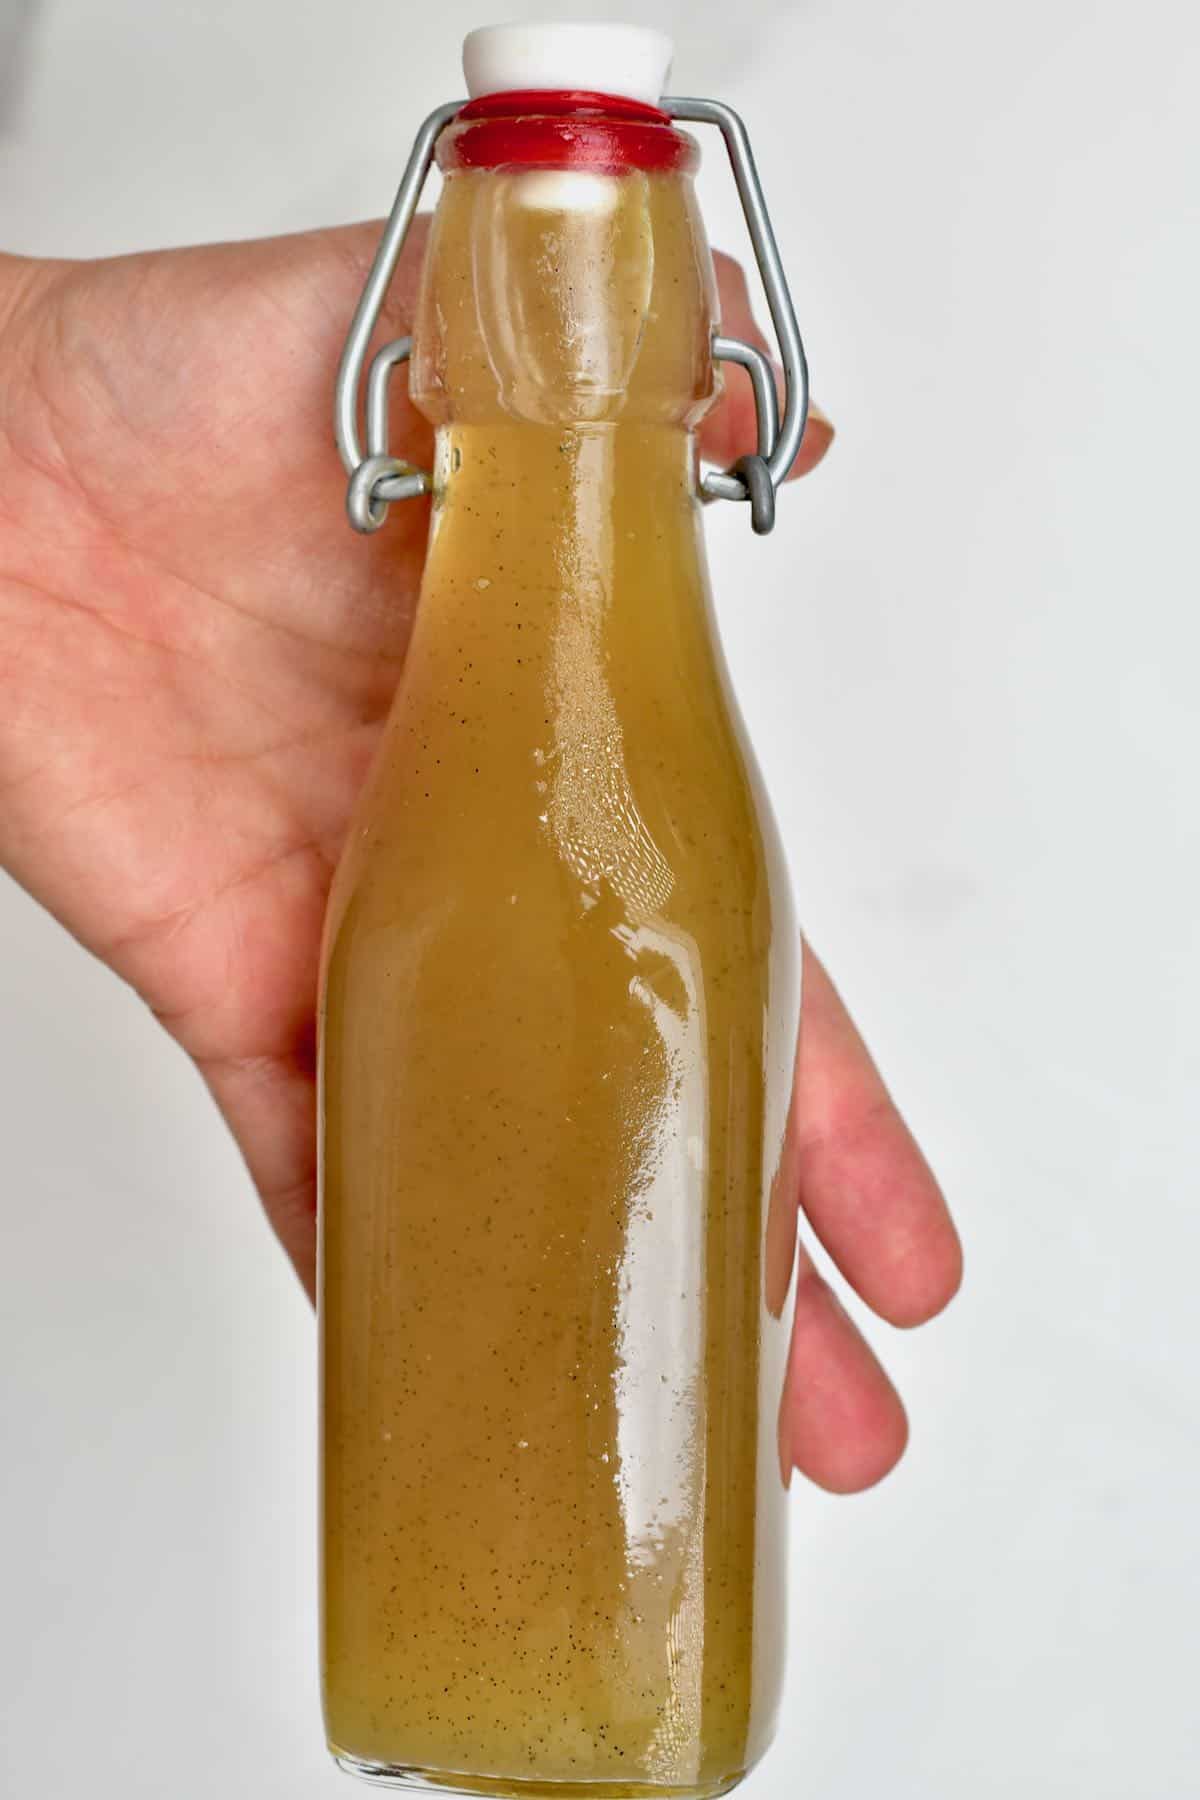
The first boil helps to remove some of the potent flavor, so the final crystallized ginger isn’t overwhelmingly strong/spicy. It also helps to tenderize the ginger, which is initially quite tough.
I haven’t tried this ginger candy method without sugar. However, you may be able to use a sugar alternative like Swerve for both the syrup cooking stage and to lightly coat the pieces.
How to Use Candied/Crystallized Ginger
There are tons of candied ginger recipes and uses you can choose from, including:
- Add to fruit and nut bars
- Use as a garnish: for cakes, cupcakes, brownies, cheesecakes, cocktails, etc.
- Add to baked goods: cake, muffins, cupcakes, banana bread, cake, cookies, etc.
- Use over pancakes and waffles.
- Add a little to yogurt bowls – Natural yogurt/Greek yogurt or dairy-free like coconut yogurt or almond yogurt.
- Serve with ice cream.
- As a natural remedy for nausea and tummy issues.
- Use within stir-fries.
- Add over salads, particularly those with Asian flavors.
- Garnish ginger milk pudding.
Recipe Notes & Variations
- The best pot to use: it’s preferable to use a wider pot, so the ginger pieces are spread out more and will candy faster.
- For extra flavor: I used vanilla with this crystallized ginger recipe. However, it’s not the only option you have. You could also use cinnamon, mint, or lemon zest, for example.
- For chocolate-dipped ginger: for a ginger candy everyone will love, you could half dip the crystallized ginger slices in dark or milk chocolate – make sure it’s tempered!
- Use frozen ginger: frozen and thawed ginger works very well for this candied ginger recipe. The freezing/thawing process softens the ginger, making it even more “delicate” and chewy.
- Using a candy thermometer: alternatively, rather than simmering for the amount of time I’ve specified in the recipe method, you can cook the mixture until it reaches 225ºF/107ºC.
More Delicious Ginger DIYs & Recipes
- Orange and ginger juice
- Lemon, ginger, and cayenne immunity shots
- Carrot ginger juice
- Homemade crispy ginger chips
- How to make ginger powder
- How to juice ginger
- Ginger turmeric immune-boosting shots
- Silky Ginger Milk Pudding (Ginger Curd)
- Zero Waste Ginger Syrup (+ Ginger Pulp Crackers)
- How to Make Ginger Paste
And if you like ginger as much as I do, why not check how to use ginger in 40+ ways – maybe you will find another recipe that you like!
If you try this crystallized ginger recipe, I’d love to hear your thoughts/questions below. Also, I’d appreciate a recipe card rating below, and feel free to tag me in your recipe recreations on Instagram @Alphafoodie!
How to Make Crystallized Ginger (Candied Ginger)
Ingredients
To cook the ginger
- 2.2 pounds ginger
- 8 cups water needs to cover the ginger in the pan, use more or less as needed
- 1/2 lemon, juiced 1.5 Tbsp
To candy the ginger
- 2 cups sugar white, brown, coconut
- 1.5 cups water
- 1/2 lemon, juiced 1.5 Tbsp
- 1 vanilla pod optional
Instructions
Step 1: Prepare the ginger
- Chop the ginger to your desired size – in cubes or in coins/strips. Keep in mind that the ginger will shrink during the process, so no need to make the pieces too small.If you want the pieces to be 100% even, you could use a mandolin to slice the ginger into coins/diagonal slices. The thinner you slice it, the more ‘crunchy’ rather than ‘chewy’ results you’ll have. I recommend around ⅛ inch (0.3 cm).
Step 2: Cook the ginger
- Add all of the ginger to a large pot with enough water to cover the pieces entirely and the juice from ½ a lemon. I used about 8 cups/2 l of water but you might need a bit more or less depending on how big your pan is.
- Bring the mixture to a boil over medium-high heat, using a slotted spoon to remove the foam that settles on the top of the mixture.
- Cover the pan with a lid, reduce the heat to a gentle simmer, and cook for 30 minutes.Once ready, strain the ginger. There’s no need to get rid of the cooking liquid. This ginger water/juice will be full of flavor. I recommend saving it to either drink as a tea with a bit of honey/sugar or pour it into ice cube molds and use with lemonade and other drinks, smoothies, etc.
Step 3: Candy the ginger
- Place the ginger back into the pot with the sugar, vanilla (slice the beans in half lengthwise and scrape all the seeds out into the pot), and remaining ½ lemon juice.
- Add the water to the pan. You can optionally use a little of the ginger water from before (about ½ cup). However, I tend to prefer it without this – as that liquid will be more bitter.
- Simmer the mixture over low heat for 35-45 minutes, stirring occasionally, until almost all of the water has evaporated and you are left with a syrupy mixture and the soft, sweet, and slightly chewy candied ginger pieces.You could now store the ginger in the syrup for simple candied ginger. However, for crystallized ginger, we now separate the two.
Step 4: Crystallize the ginger
- During this stage, you can dry the ginger as is or lightly toss it with sugar first. To toss in sugar, I recommend allowing the pieces to dry for 1-2 hours first, so they aren’t super wet, just sticky.
- Lay the ginger pieces on a large parchment-lined tray in a single layer, if possible, to dry. The ginger can be air-dried or using an oven/dehydrator.To air-dry: place on a cooling rack and allow to dry out overnight. This is best done in areas with low humidity.To use an oven/dehydrator: dry at 150ºF/65ºC for about 4-5 hours, or until almost dry to the touch but still tender and chewy. The time will vary based on how big the candied ginger pieces are and the temperature/humidity, etc. If the oven temperature doesn’t go that low, then set it to the lowest setting and prop the door open just a cm or so (I use a heat-proof wooden spoon to do this).
How to Make Ahead and Store
- The candied/crystallized ginger can be stored in the syrup or dried and stored separately.Store: The shelf life of the crystallized ginger will depend on whether it’s coated in sugar (which extends the shelf life). When stored in an airtight container in a cool, dark location, sugar-coated ginger should last several months (around 3 months). In comparison, non-sugar-coated crystallized ginger is best stored in an airtight container in the fridge/freezer.Fridge: Candied ginger stored in its’ syrup will store for 6 months (up to a year, in some cases) in the refrigerator in a sterilized airtight jar/container. Crystallized sugar will last up to 6 months in the fridge in an airtight container (with or without sugar-coating, though sugared will last longer).Top tip: If you’re worried about the candied ginger mixture crystallizing, you can add a spoonful of glucose or corn syrup to the mixture in place of some of the sugar when boiling it.Freeze: You can also freeze the crystallized ginger for up to a year.
Notes
- The best pot to use: It’s preferable to use a wider pot, so the ginger pieces are spread out more and will candy faster.
- For extra flavor: I used vanilla with this crystallized ginger recipe. However, it’s not the only option you have. You could also use cinnamon, mint, or lemon zest, for example.
- For chocolate-dipped ginger: For a ginger candy everyone will love, you could half dip the crystallized ginger slices in dark or milk chocolate – make sure it’s tempered!
- Use frozen ginger: Frozen and thawed ginger works very well for this candied ginger recipe. The freezing/thawing process softens the ginger, making it even more ‘delicate’ and chewy.
- Using a candy thermometer: Alternatively, rather than simmering for the amount of time I’ve specified in the recipe method, you can cook the mixture until it reaches 225ºF/107ºC.
Read the blog post for more tips in the FAQs and serving suggestions!
Nutrition
Nutrition information is automatically calculated, so should only be used as an approximation.



Easy to make, great recipe, thank you.
Hey EC! So glad you found the recipe easy! You’re welcome, and happy cooking!
fantastical!!! Now this is how to put a big BANG!! into your biscotti recipe!
Thank you so much. Glad you liked it!