
This post may contain affiliate links. Please read our disclosure policy.

Enjoy fresh, sweet, tangy, crunchy beets year-round with this simple, quick pickled beets recipe, perfect for the refrigerator or water bath canning for long-term storage!
When it comes to preserving food, I’ll admit I’m a little pickle-obsessed. Along with pickled okra and pickled asparagus, homemade quick pickled beets are my new favorite obsession. The slightly sweet and earthy flavor of beets is enhanced with a simple yet flavorful spice-infused sweet and sour pickling. Meanwhile, the rich beet color makes it a beautiful addition to salads, sandwiches, and more.
Even better, the process is almost ridiculously simple – especially if you only want a small batch of quick refrigerator pickled beets. However, with only a few additional steps to make shelf-stable canned beets (that you can store for up to a year!), this recipe works great for small or large batches.
Want to save this recipe?
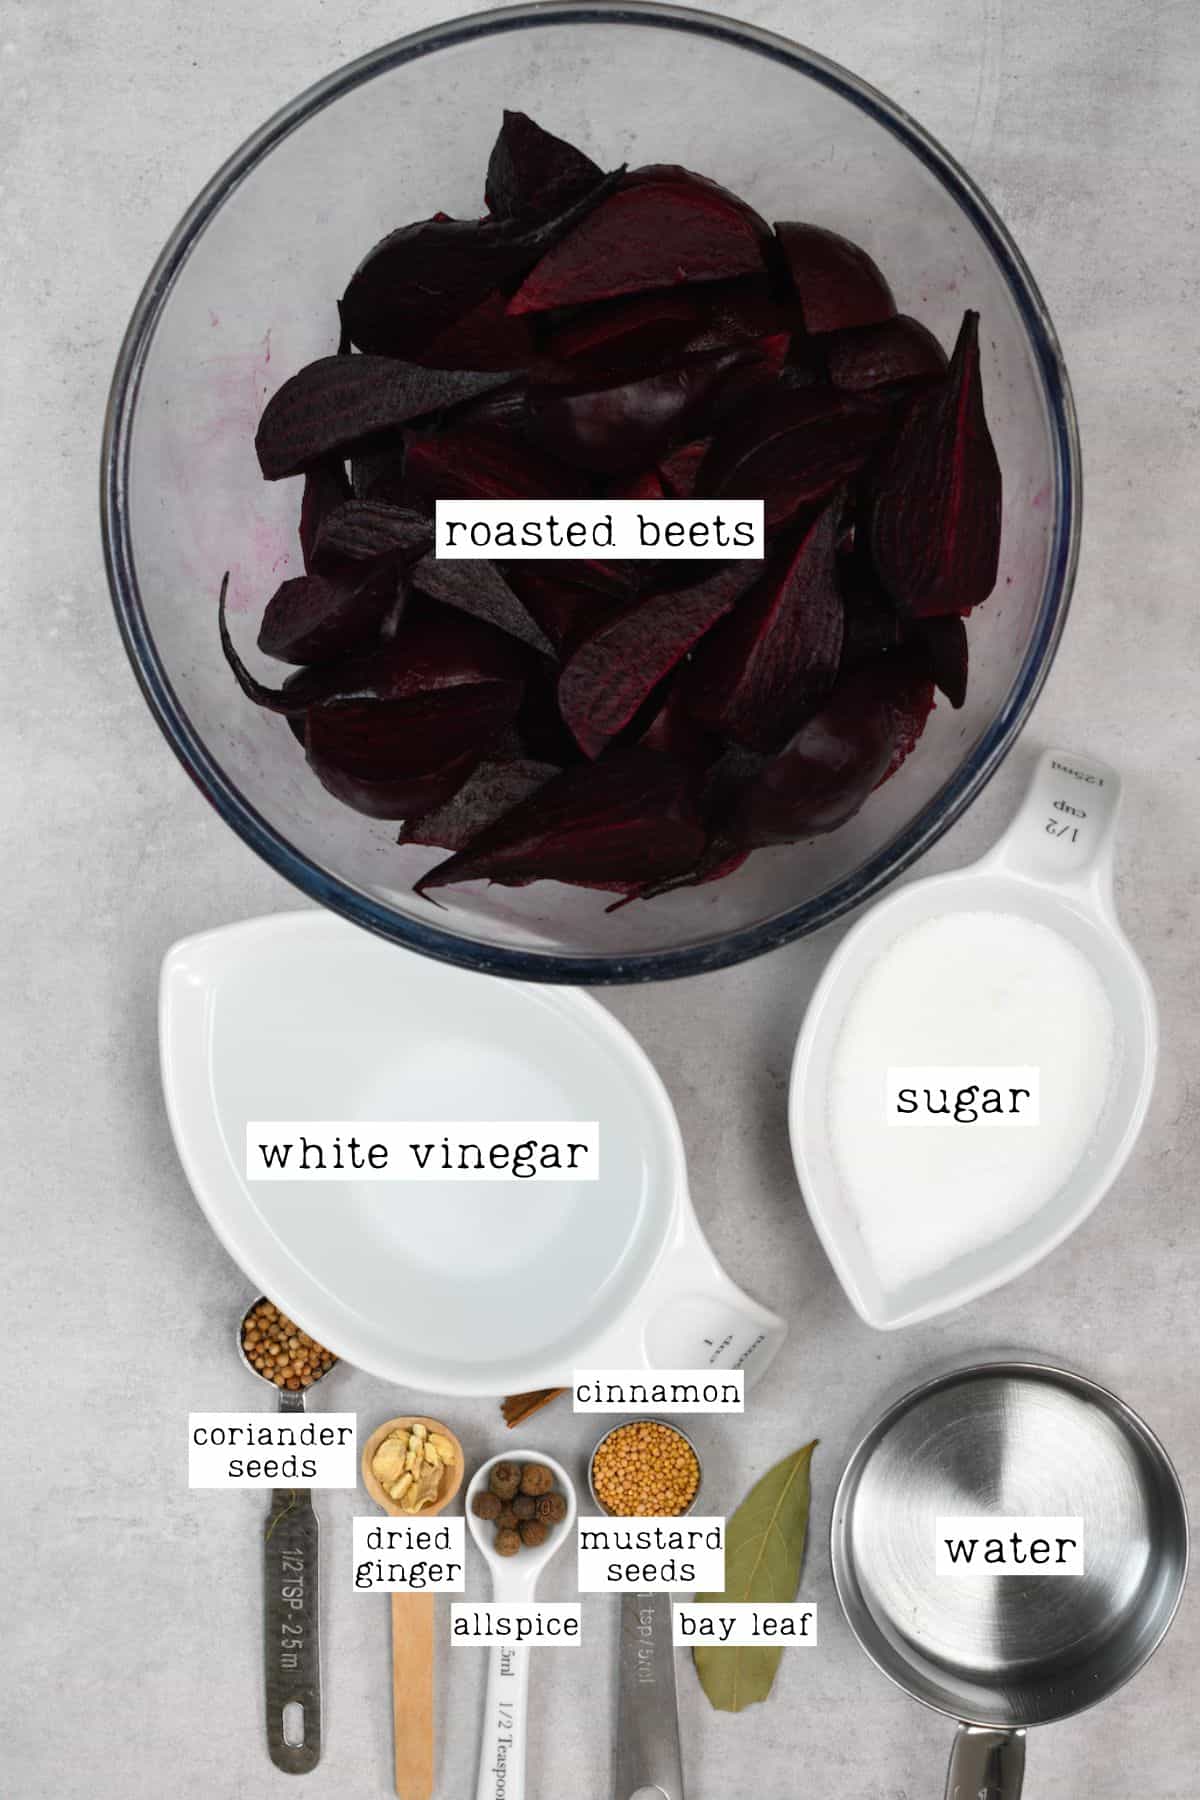
Ingredients for Pickled Beets
- Beetroot: You’ll need freshly cooked beetroot (red and/or golden). I like to roast mine, though steamed or boiled beets also work.
- Vinegar: I used distilled white vinegar this time. However, apple cider vinegar or rice wine vinegar would also work.
- Sugar: I just use regular granulated white sugar. Adjust the amount if preferred.
- Water: For the brine.
- Pickling salt: This dissolves quickly and helps achieve a clear brine, though kosher salt will work too.
- Pickling spice blend: I used cinnamon, dried ginger, coriander seeds, allspice, mustard seeds, and bay leaves.
There are several other ingredients you can experiment with adding to the spice blend, including peppercorns, garlic, red pepper flakes, clove, dill, etc.
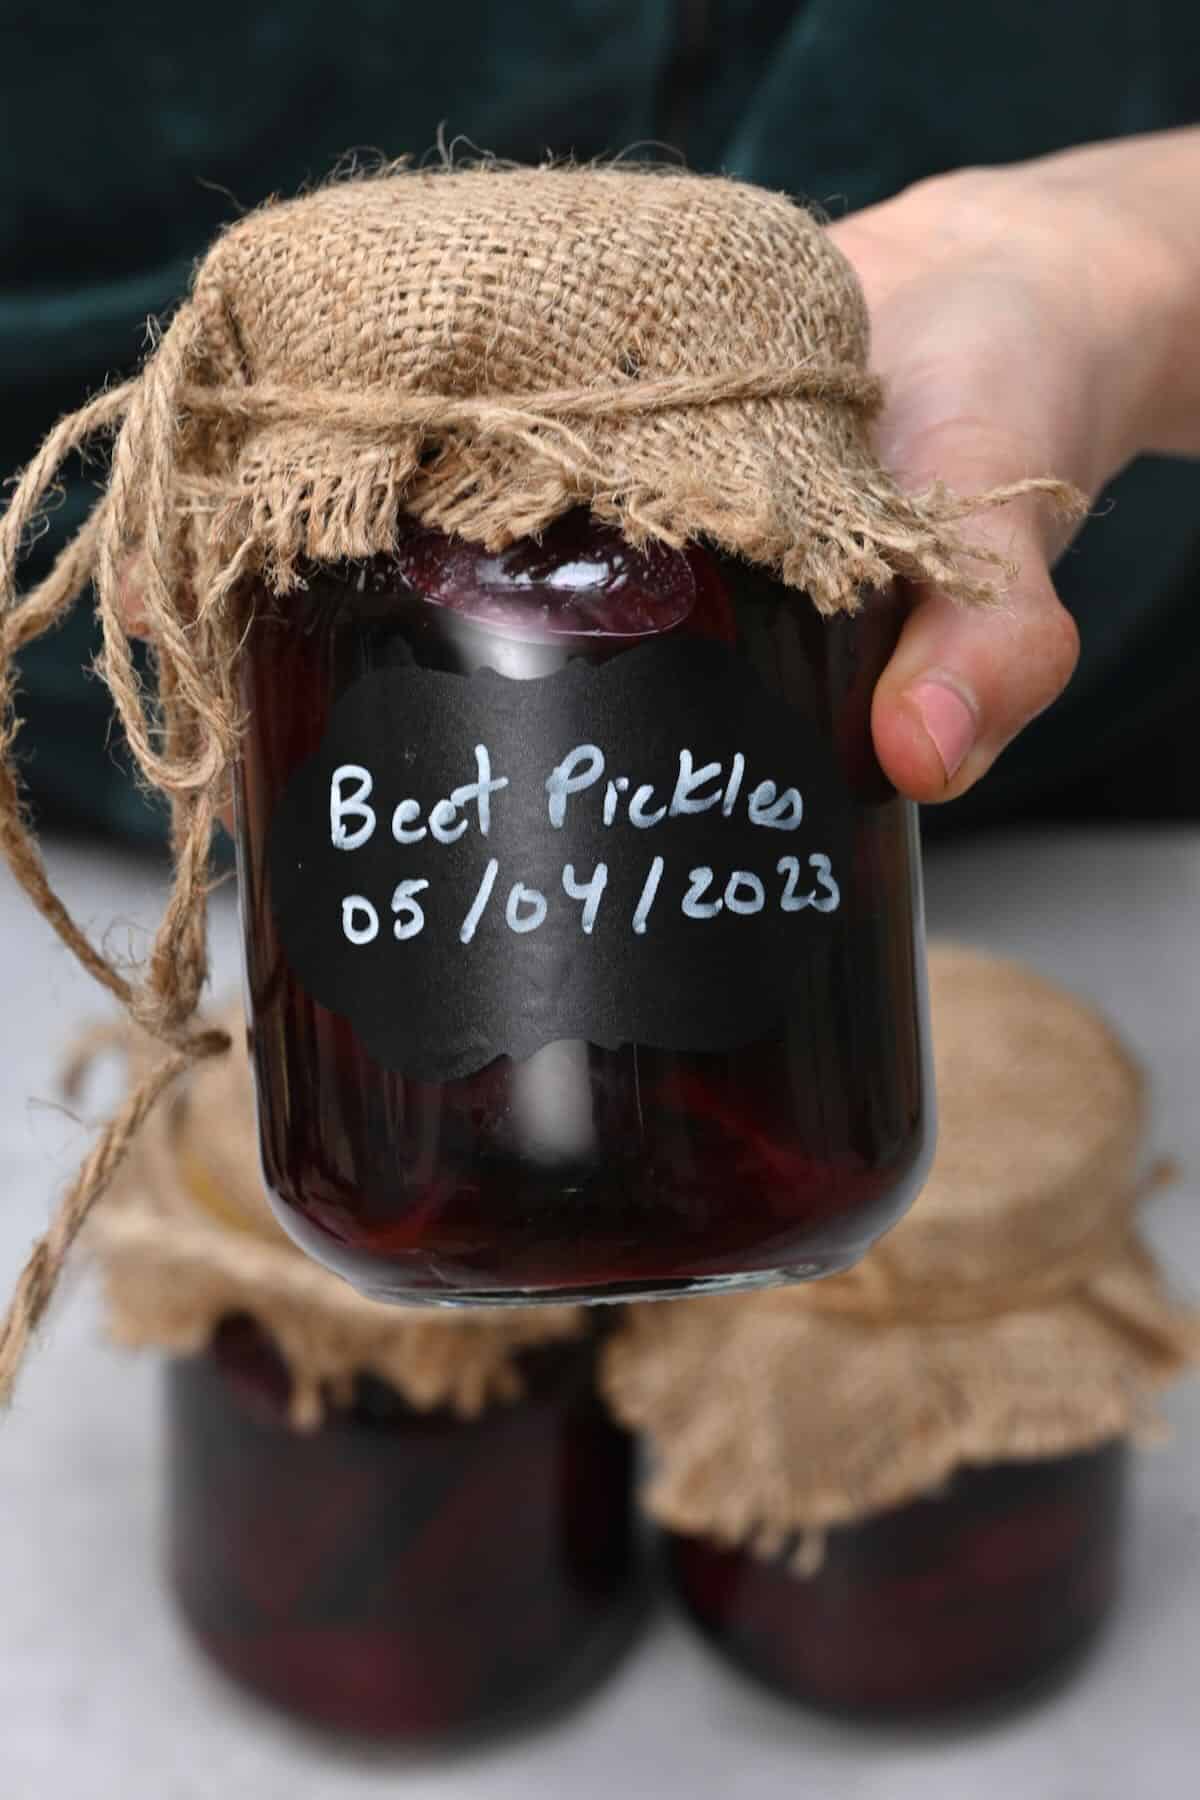
You will also need 3 x 16oz/500ml canning jars (wide-mouthed jars work best) with lids.
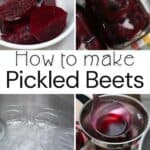
How to Make Pickled Beets
Learn how to pickle beets in just 4 simple steps (and one optional). It’s a breeze!
Step 1: Prepare the Beetroot For Pickling
If you don’t already have cooked beetroot, you’ll first have to clean and cook the beetroot until tender. I prefer to roast mine, you can find a simple recipe of how to roast beets in the oven whole in foil though you could boil them (for 25-30 minutes) or steam them until tender.

Once cooked, remove the peel (it should slip right off), and cut the beet into quarters or ¼-inch slices/half slices.
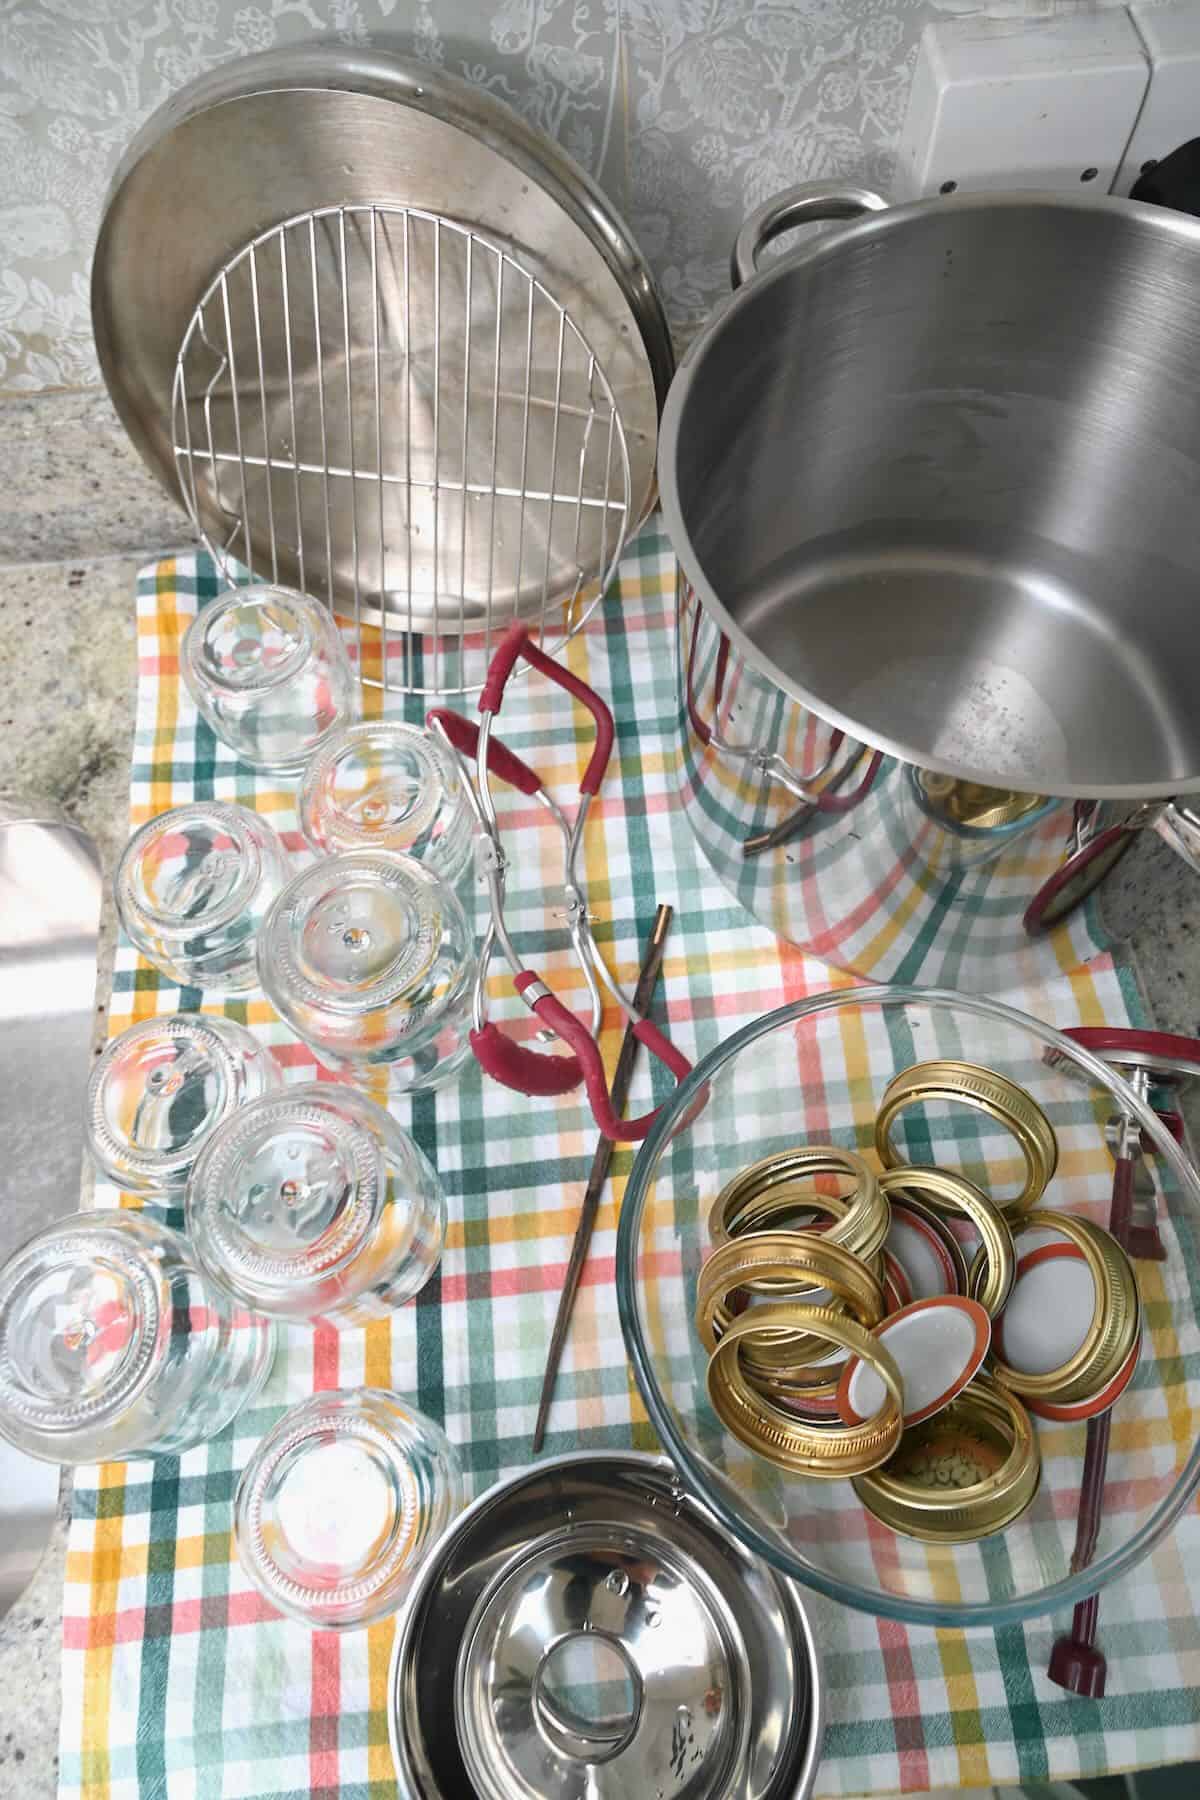
Step 2: Sterilize the Canning Jars
Wash the jars and lids thoroughly in hot soapy water and then leave to sit in boiling water for 10 minutes. Finally, leave them to air dry on a clean surface until completely dry.
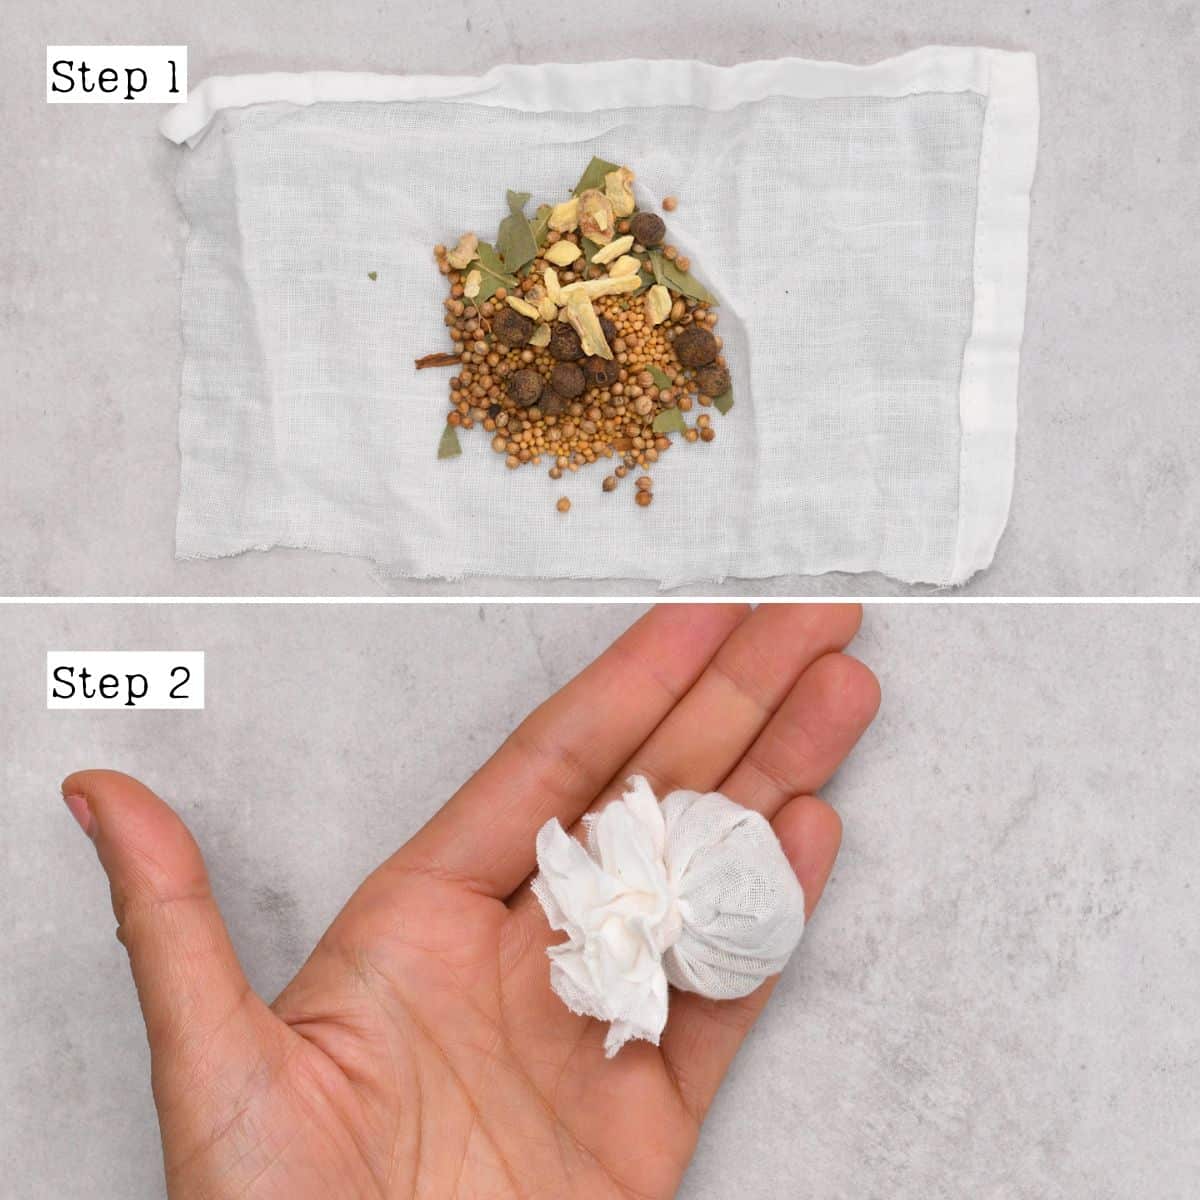
Step 3: Prepare the Pickling Brine
Place all the spices in a small cheesecloth tied with twine.
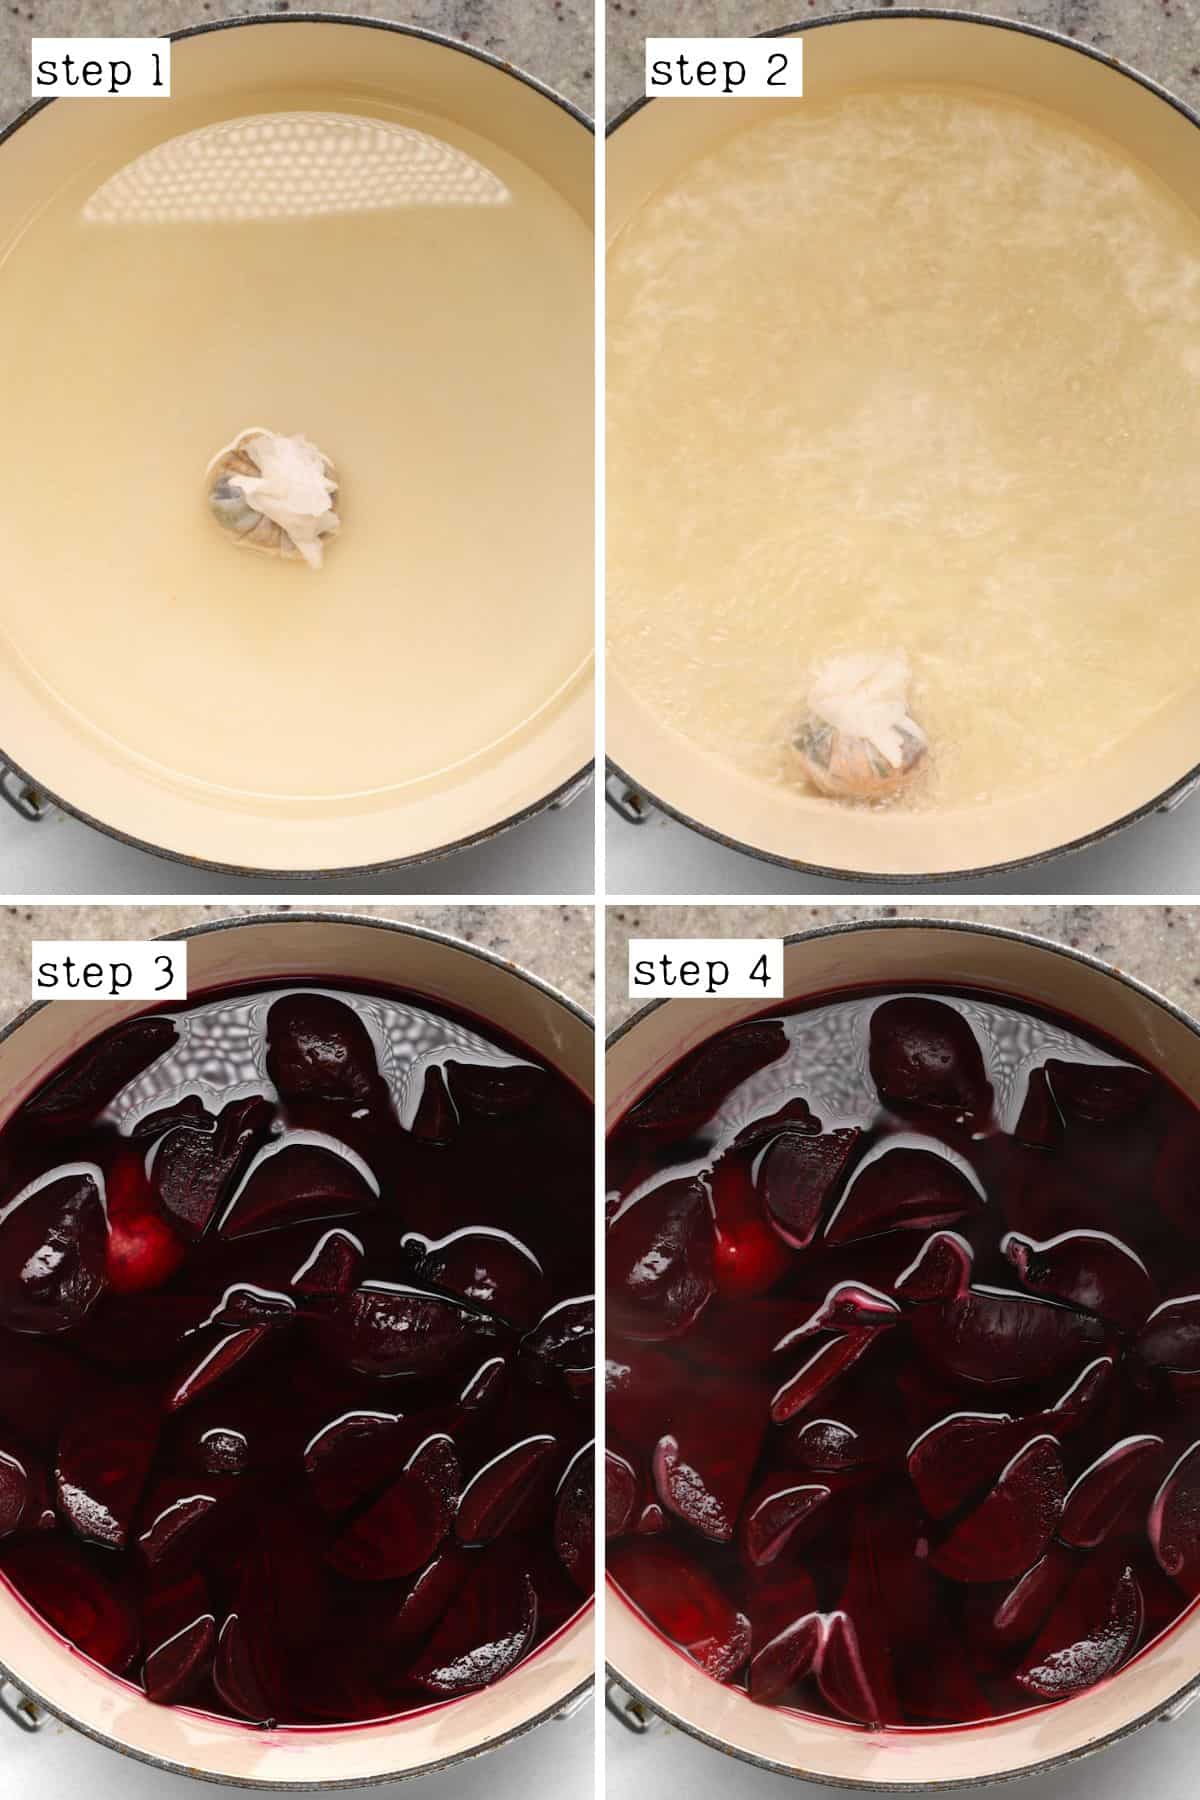
Then, combine the vinegar, water, sugar, salt, and spice bag in a large saucepan and bring to a boil over medium-high heat. Stir often until the sugar dissolves.
Once boiling, reduce the heat and allow the mixture to simmer for 15 minutes to allow the spices to infuse the liquid. Then, discard the spice bag.
Next, add the beets to the pan and bring the mixture to a boil once more before removing it from the heat.
Step 4: Transfer The Beets to The Jars
Use a slotted spoon to carefully transfer the beets into the sterilized jars, ladling the vinegar mixture over them to immerse them entirely. Leave ½-inch (1cm) of headspace.
Give the jars a tap against the counter to release air bubbles. Finally, wipe the jar rims with a clean cloth and secure the lids until fingertip-tight.

Allow the jars to cool and transfer them to the fridge, ready to use immediately.
Step 5: Water Bath Can the Pickled Beets (Optional)
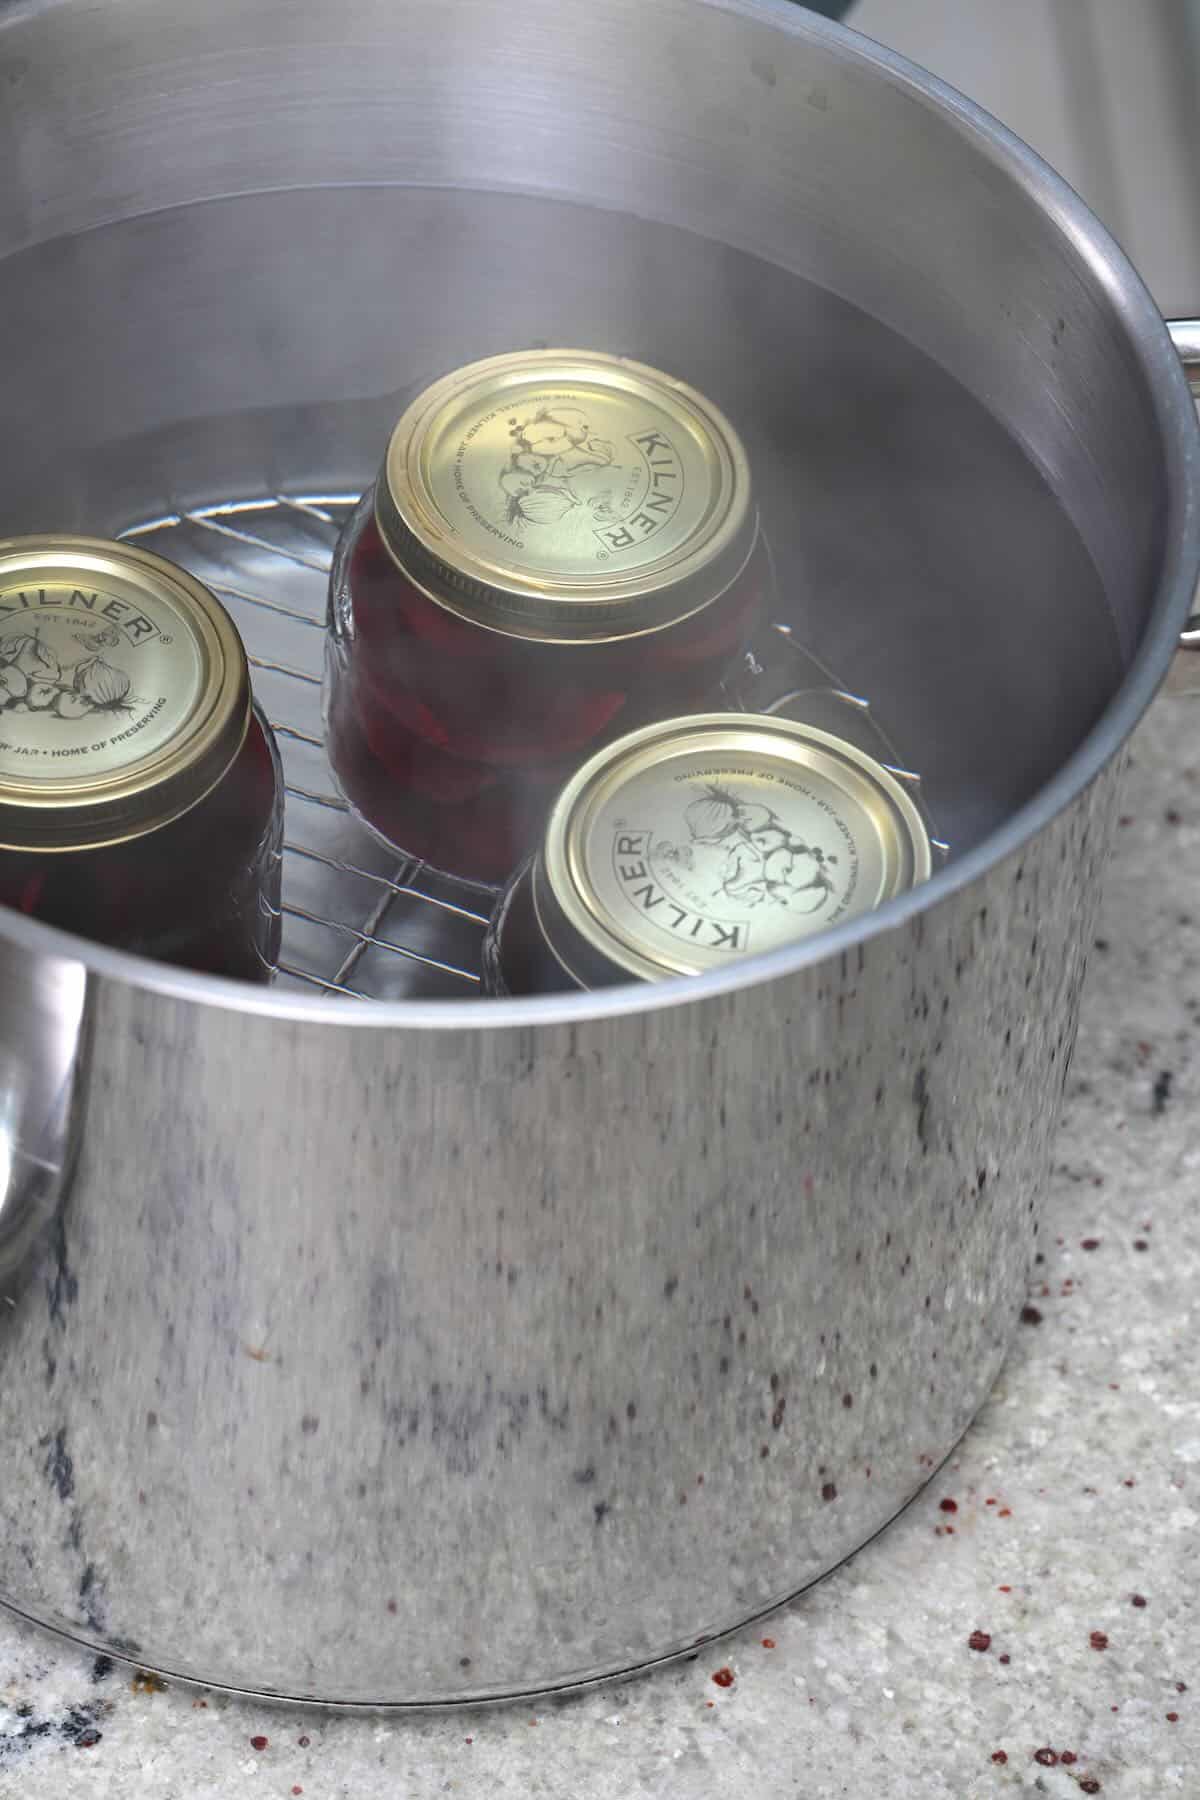
Add a trivet or steamer rack to the bottom of a large, heavy-based saucepan or pot and fill it with enough boiling water to submerge the jars by at least 1-2 inches of water.
Remember, the water will rise when you add the jars, so be careful not to add too much.
Carefully transfer the sealed jars to the pot using canning tongs. Then, add the lid to the pot, bring it to a boil, and allow it to boil for 30 minutes processing time.
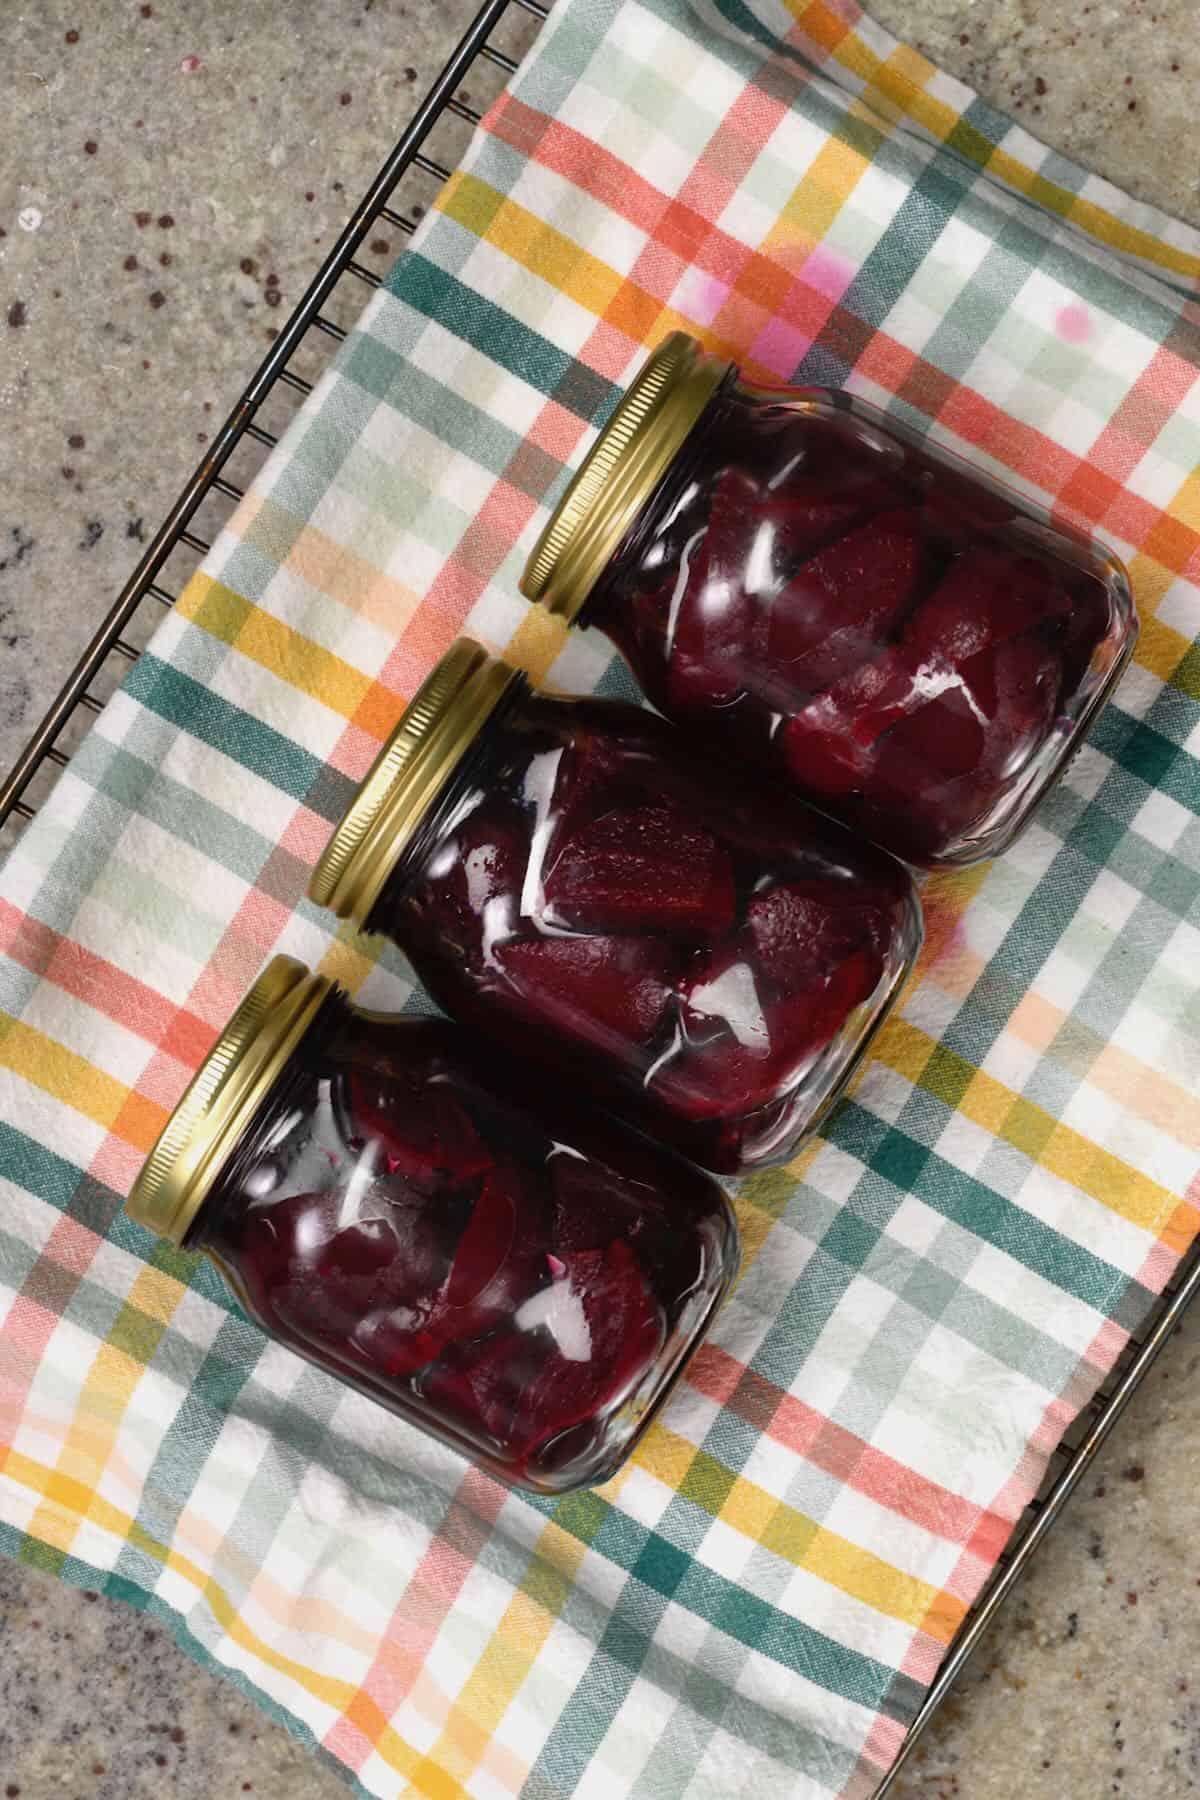
Then, turn off the heat, remove the lid from the pot, and leave untouched for 5 minutes. Finally, carefully remove the jars from the liquid and transfer them to a kitchen-towel-lined counter (not a cold surface or the glass may crack!) to cool down completely before storing them in your pantry.
As the jars cool, you’ll hear a “pop” where the lids are fully sealed.
Check out my beginner’s guide to water bath canning for more info! Also, adjust the processing time according to altitudes.
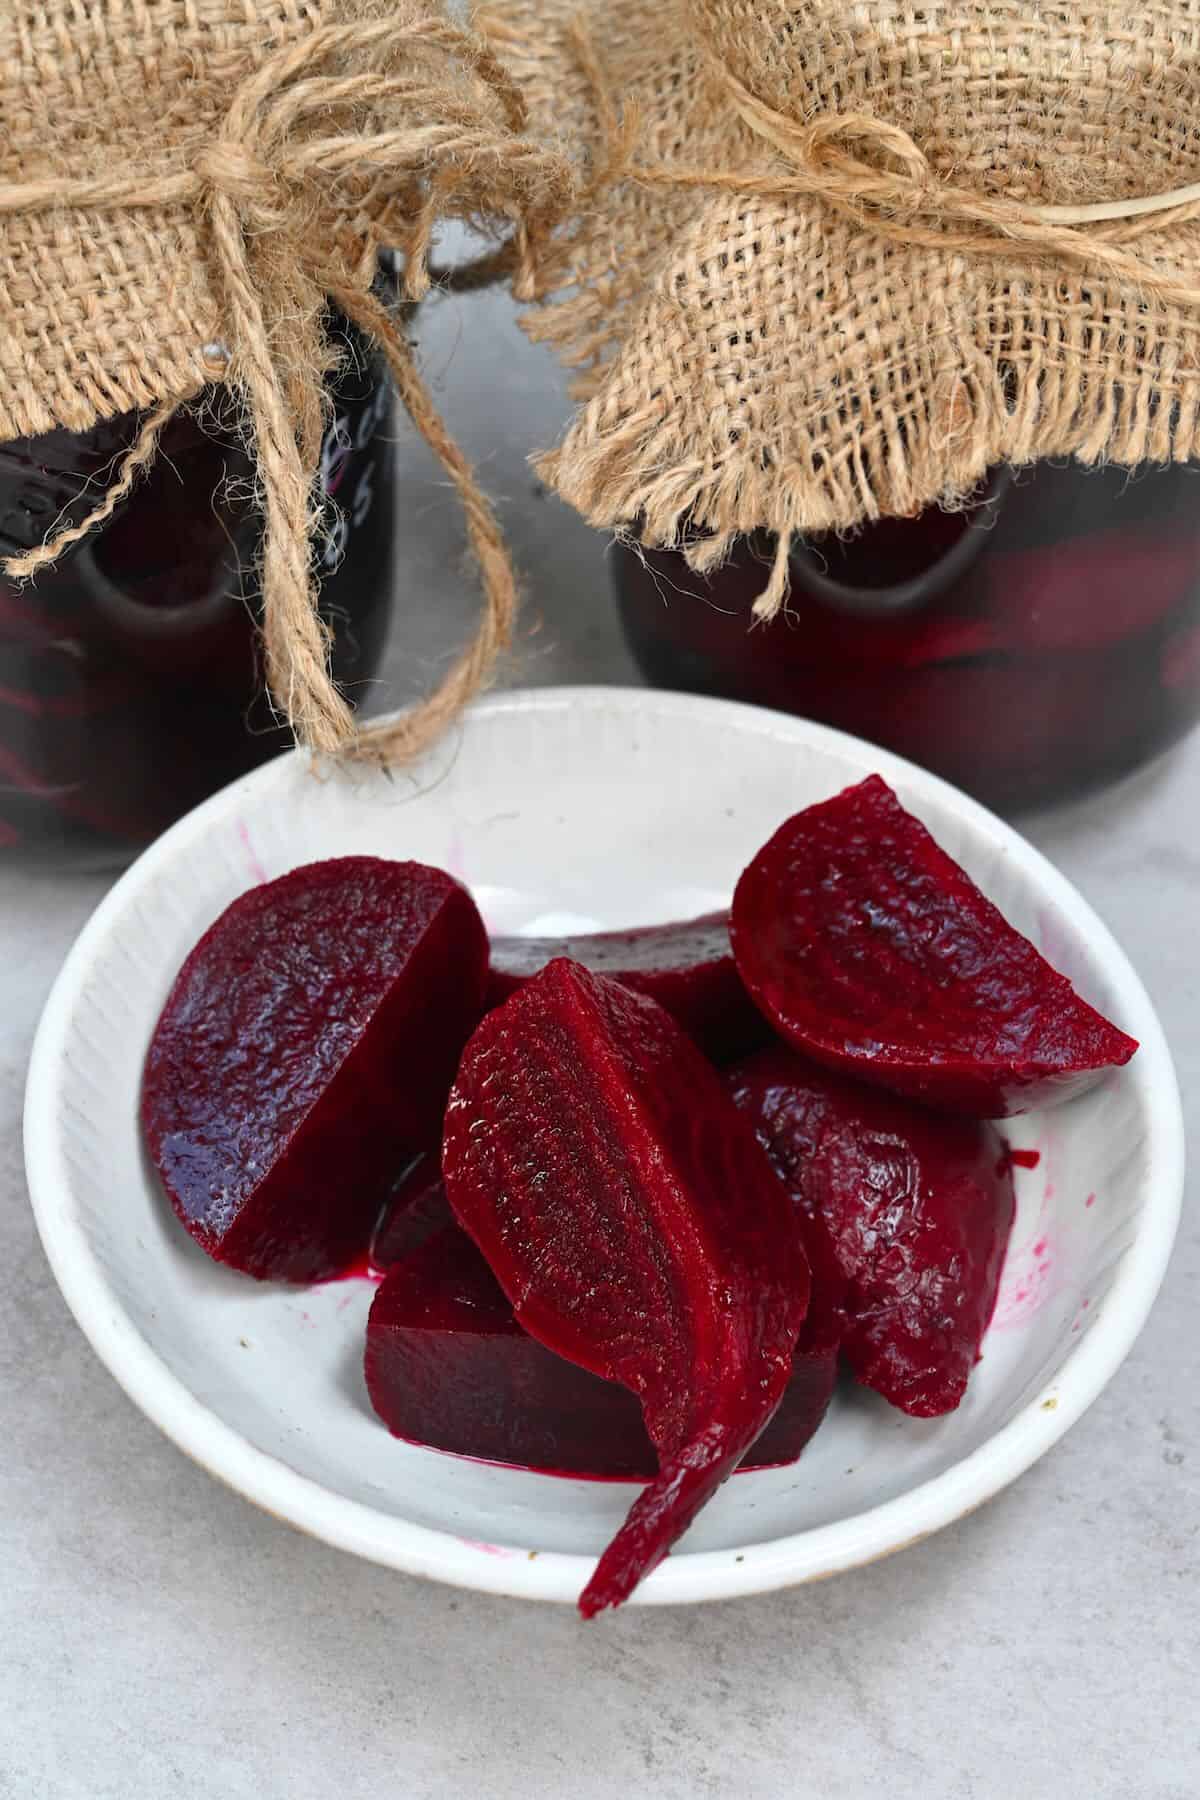
What To Do With Pickled Beets?
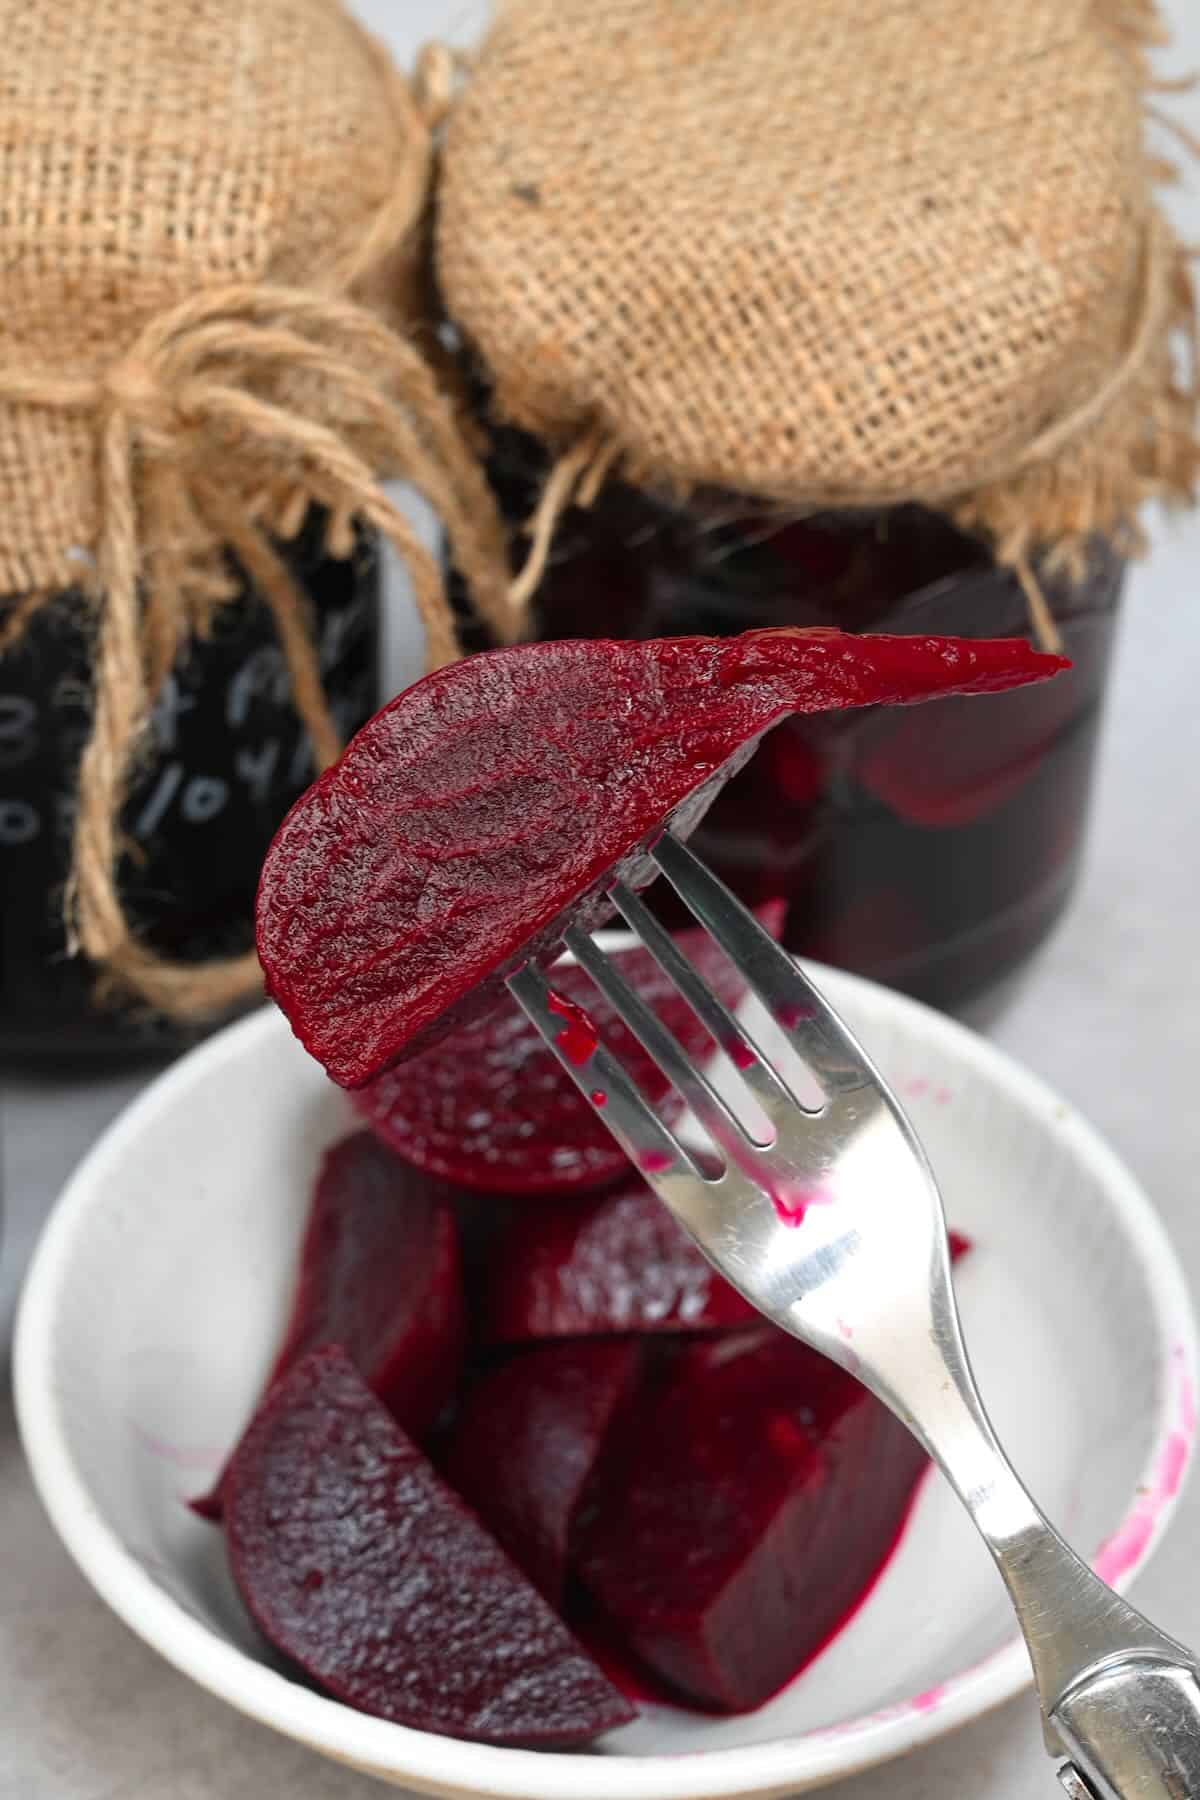
They make a flavorful and beautiful (look at that color!) addition to several dishes and meals:
- As a snack straight from the jar!
- Add to a charcuterie board with cheese and crackers.
- In salads – arugula salad with goat cheese and walnuts or even potato salad, check here what is arugula and what to do with it.
- In sandwiches, burgers, and wraps, check my 20+ delicious sandwich ideas for lunch.
- Warm as a side dish,
- Use as a garnish for dips,
- Add to cocktails, like Bloody Mary or Martini.
FAQs
There’s no need to wait to enjoy these delicious, easy pickled beets. Just allow them to cool down, and they’re ready to enjoy. However, the longer you leave them to sit, the better their flavor will develop, so I highly recommend giving them 2-3 days first (or even a week if you have the patience!).
Sure, if you want to! Just remember it contains added sugar and salt, and too much vinegar in one go may cause stomach upset. But just a few sips should be fine.
You can store quick pickled beets in the refrigerator for up to 2 months, ensuring you always use clean utensils within the jar to avoid premature spoilage.
In comparison, the shelf-stable canned beets will store for up to a year when kept in a cool, dark location away from direct sunlight. Once opened, transfer them to the fridge and aim to use them within a week or two.
Don’t throw away this flavorful liquid! You can drink it or repurpose it in several ways. Reuse the leftover brine to pickle more beets or other vegetables like pickled red onions and pickled daikon radish. You can also create a vinaigrette, enhance cocktails, or mix a little into potato egg salad or tuna salad . It’s also great in marinades and sauces!
To be safe, I only re-use brine once. However, as long as you’re re-boiling it and watching out for spoilage (cloudiness/rancidity), you may be able to safely re-use it 2-3 times.
More Easy Pickled Recipes
If you try this pickled beet recipe, let me know how it goes in the comments below. I’d appreciate a recipe card rating and would love to see your recipe recreations – tag me on Instagram @Alphafoodie!
Quick Pickled Beets
Equipment
- 3 Canning jars (16 oz) (500 ml each)
Ingredients
- 30 oz beet cooked, 5 cups chopped; any beets will rok – red, golden, etc.
- 3.5 oz sugar 1/2 cup; adjust the amount to preference
- 1 cup white vinegar or apple cider vinegar or rice wine vinegar
- 1 cup water
Spices (or experiment with your own blend/omit them entirely)
- 1 bay leaf
- 1 tsp mustard seeds
- 1/2 tsp whole allspice berries
- 1/2 inch ground cinnamon powder
- 1/2 tsp dried ginger or 1/4 tsp ginger powder
- 1/2 tsp coriander seeds
Instructions
Prepare the Beets
- If you don't already have cooked beetroot, you'll first have to clean and cook the beetroot until tender. You can roast beets, boil them for 25-30 minutes, or steam them until tender.
- Once cooked, remove the peel (it should slip right off), and cut the beet into quarters or ¼-inch slices/half slices.
Sterilize the Jars
- Wash the jars and lids thoroughly in hot soapy water and then leave to sit in boiling water for 10 minutes. Finally, leave them to air dry on a clean surface until completely dry.
Prepare the Pickling Brine
- Place all the spices in a small cheesecloth parcel, tea bag, or other "parcel." Then, combine the vinegar, water, sugar, salt, and spice bag in a large saucepan and bring to a boil over medium-high heat. Stir often until the sugar dissolves.
- Once boiling, reduce the heat and allow the mixture to simmer for 15 minutes to allow the spices to infuse the liquid. Then, discard the spice bag.
- Add the cooked beets to the pan and bring the mixture to a boil once more before removing it from the heat.
Transfer The Beets to The Jars
- Use a slotted spoon to carefully transfer the beets into the sterilized jars, ladling the vinegar mixture over them to immerse them entirely. Leave ½ inch (1cm) of headspace at the top of the jar.
- Give the jars a tap against the counter to release air bubbles. Finally, wipe the jar rims with a clean cloth and secure the lids until fingertip-tight.
- Allow the jars to cool and transfer them to the fridge, ready to use immediately.
Water Bath Can (Optional)
- Add a trivet or steamer rack to the bottom of a large, heavy-based saucepan and fill it with enough boiling water to submerge the jars by at least 1-2 inches of water.Remember, the water will rise when you add the jars, so you might not need to add as much as you think.
- Carefully transfer the sealed jars to the pot using canning tongs. Add the lid to the pot, bring it to a boil, allow it to boil and process for 30 minutes.
- Turn off the heat, remove the lid from the pot, and allow it to cool for 5 minutes. Finally, carefully remove the jars from the liquid and set them aside on a kitchen-towel-lined counter (not a cold surface or the glass may crack!) to cool down completely before storing them in your pantry.As the jars cool, you’ll hear a "pop" when the lids have fully sealed.
Video
Notes
- Any beet works: That includes red beets, golden beets, and Chioggia beets.
- If any water bath canned jars don’t seal: Just pop them in the fridge and enjoy them within 1-2 months OR replace the lid and try to process them once more.
- Adjust the sugar/salt: Personal preference will dictate how sweet and salty you prefer the brine, so experiment to find your desired ratios.
- Experiment with your pickling spice: You can use as little as just one ingredient or a combination of several. Experiment and make notes on your favorite combinations.
- Ensure the beets are fully submerged: This is important to avoid premature spoiling.
Nutrition
Nutrition information is automatically calculated, so should only be used as an approximation.


Why not raw beets?
— jay
Hey Jay!
Raw beets can be a bit tough and earthy for some people. Cooking before pickling softens them up and adds a nice tangy flavor. Give it a try, hope you like it! 🙂
Thank you so much for this wonderful beating beet recipe. It is absolutely refreshing, smells amazing and comes together quite nicely. Excited to make pickling beets for the first time. I used fresh ginger instead of dried ginger and boiled for longer so it’s got a nice kick to it. Many thanks.
Glad you liked it. Sounds delicious with the fresh ginger too!