
This post may contain affiliate links. Please read our disclosure policy.

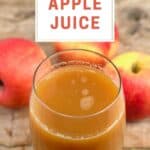
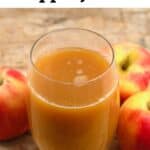
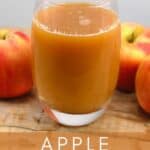
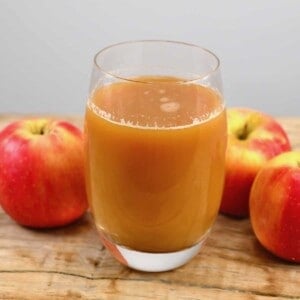
How to make apple juice at home with a blender, juicer, or manual – with no added sugar and several flavor blends! Fresh, delicious, and easy to prepare, this homemade apple juice (aka unfiltered apple cider juice) is ready in no time at all!
Whether you’re looking for a refreshing summer drink, a way to use up an abundance of apples from a nearby apple tree, or the weather has cooled, and you’re getting ready to whip up large batches of hot apple cider and other warm drinks – learning how to make apple juice is a must!
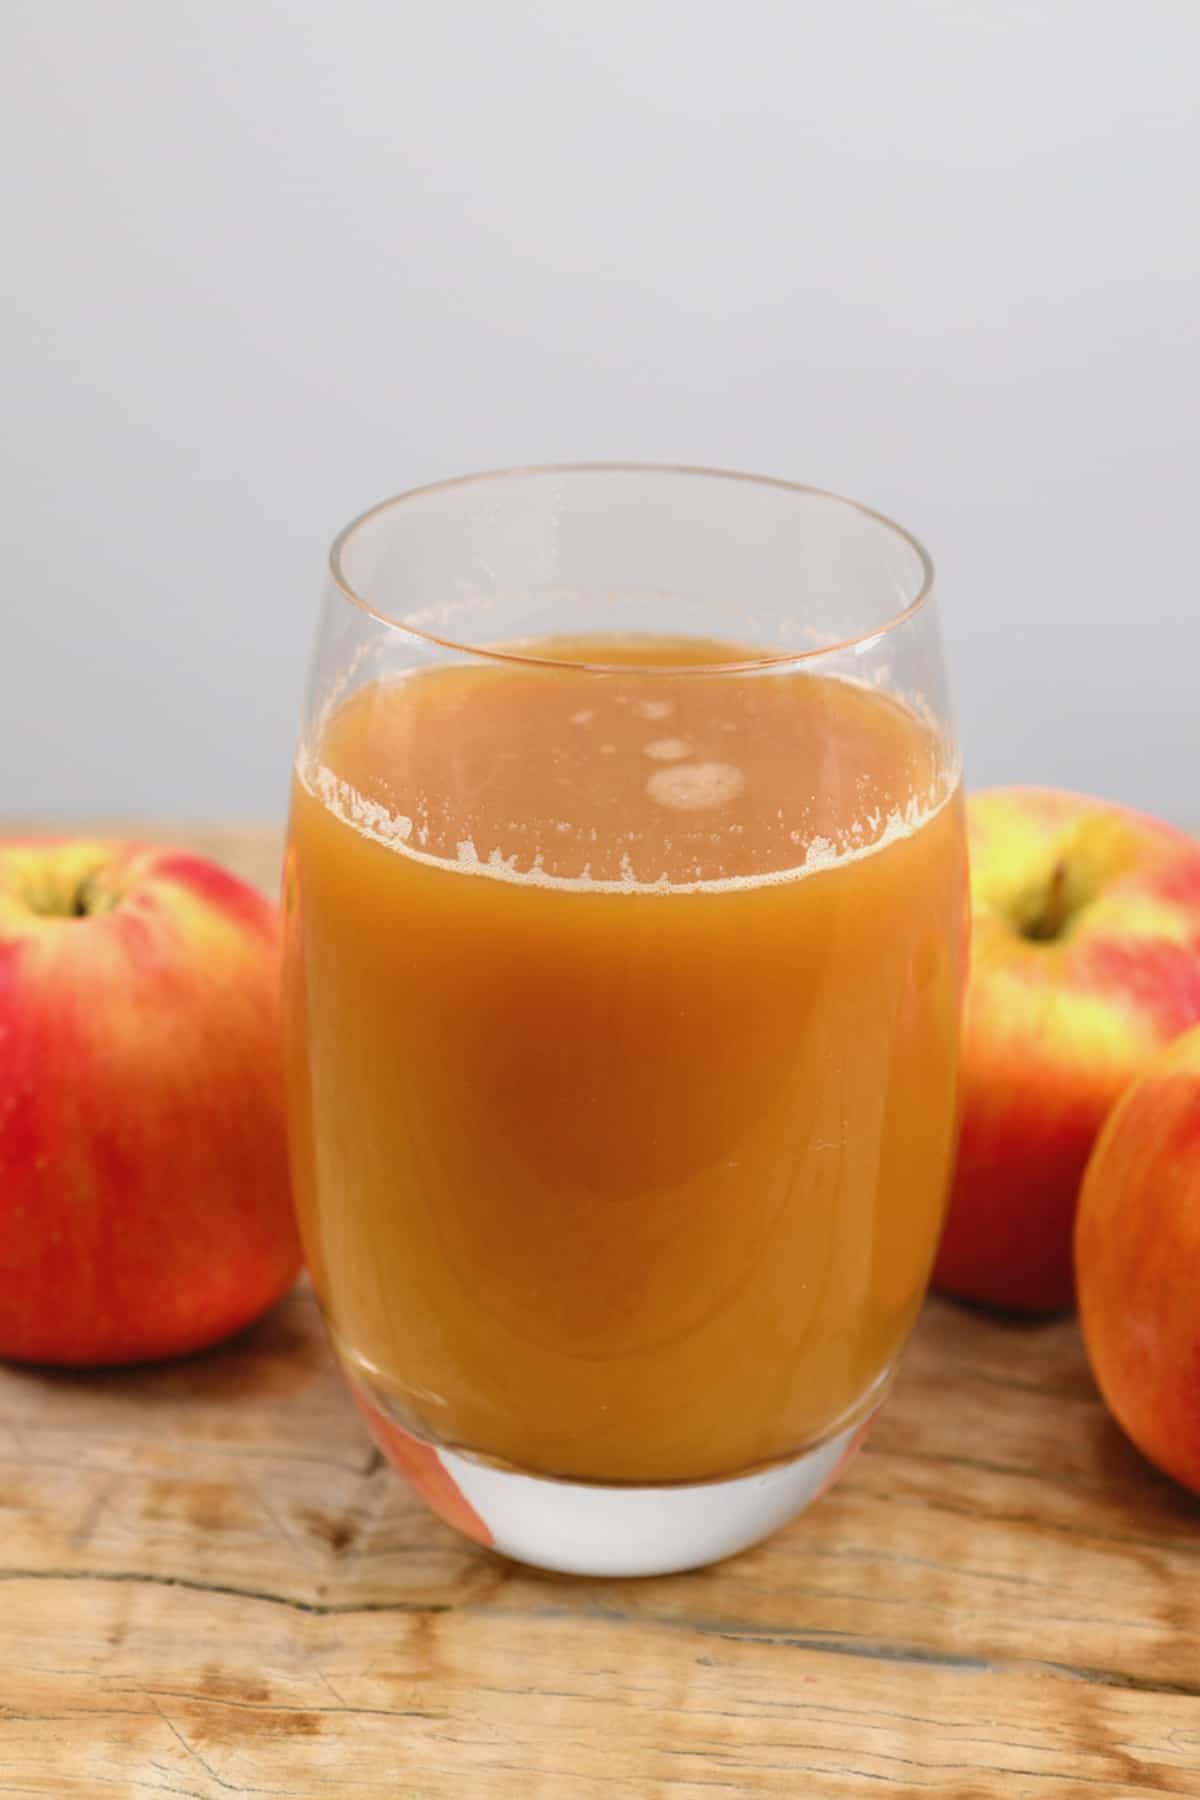
Within this post, I’ll take you through how to make apple juice with a blender or juicer with absolutely no added sugar or any “additives.” The result is a naturally sweet, unfiltered cloudy apple juice that’s perfect for enjoying alone or within other recipes!
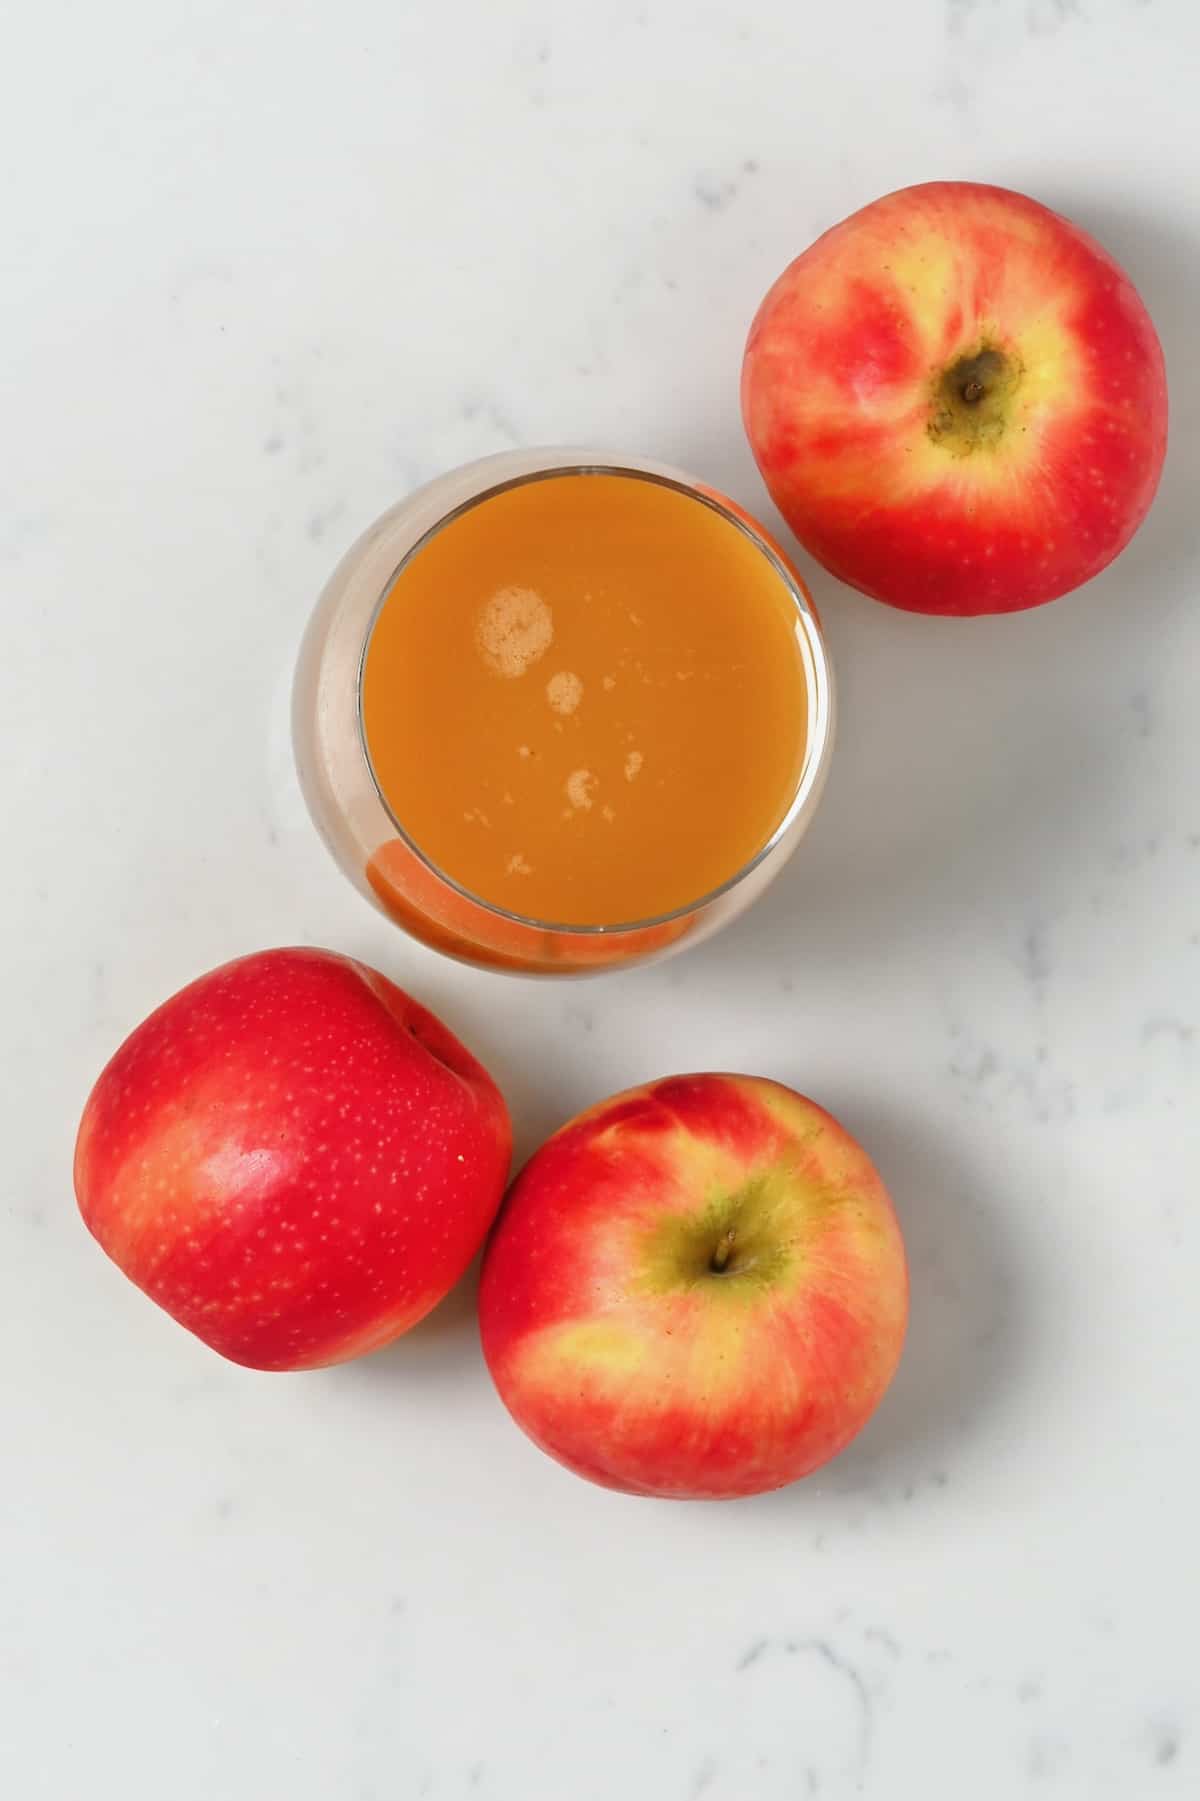
Depending on what variety of apple you use, this homemade apple juice is usually naturally sweet and tart and can be adjusted with different varieties based on how sweet vs. tart you prefer the apple cider juice to be. You can even enjoy this strained or unfiltered apple juice!
You might also enjoy these other simple juice recipes, including kiwi juice, strawberry juice, pomegranate juice, orange juice, and carrot juice!
Want to save this recipe?
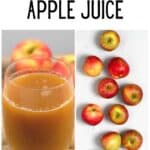
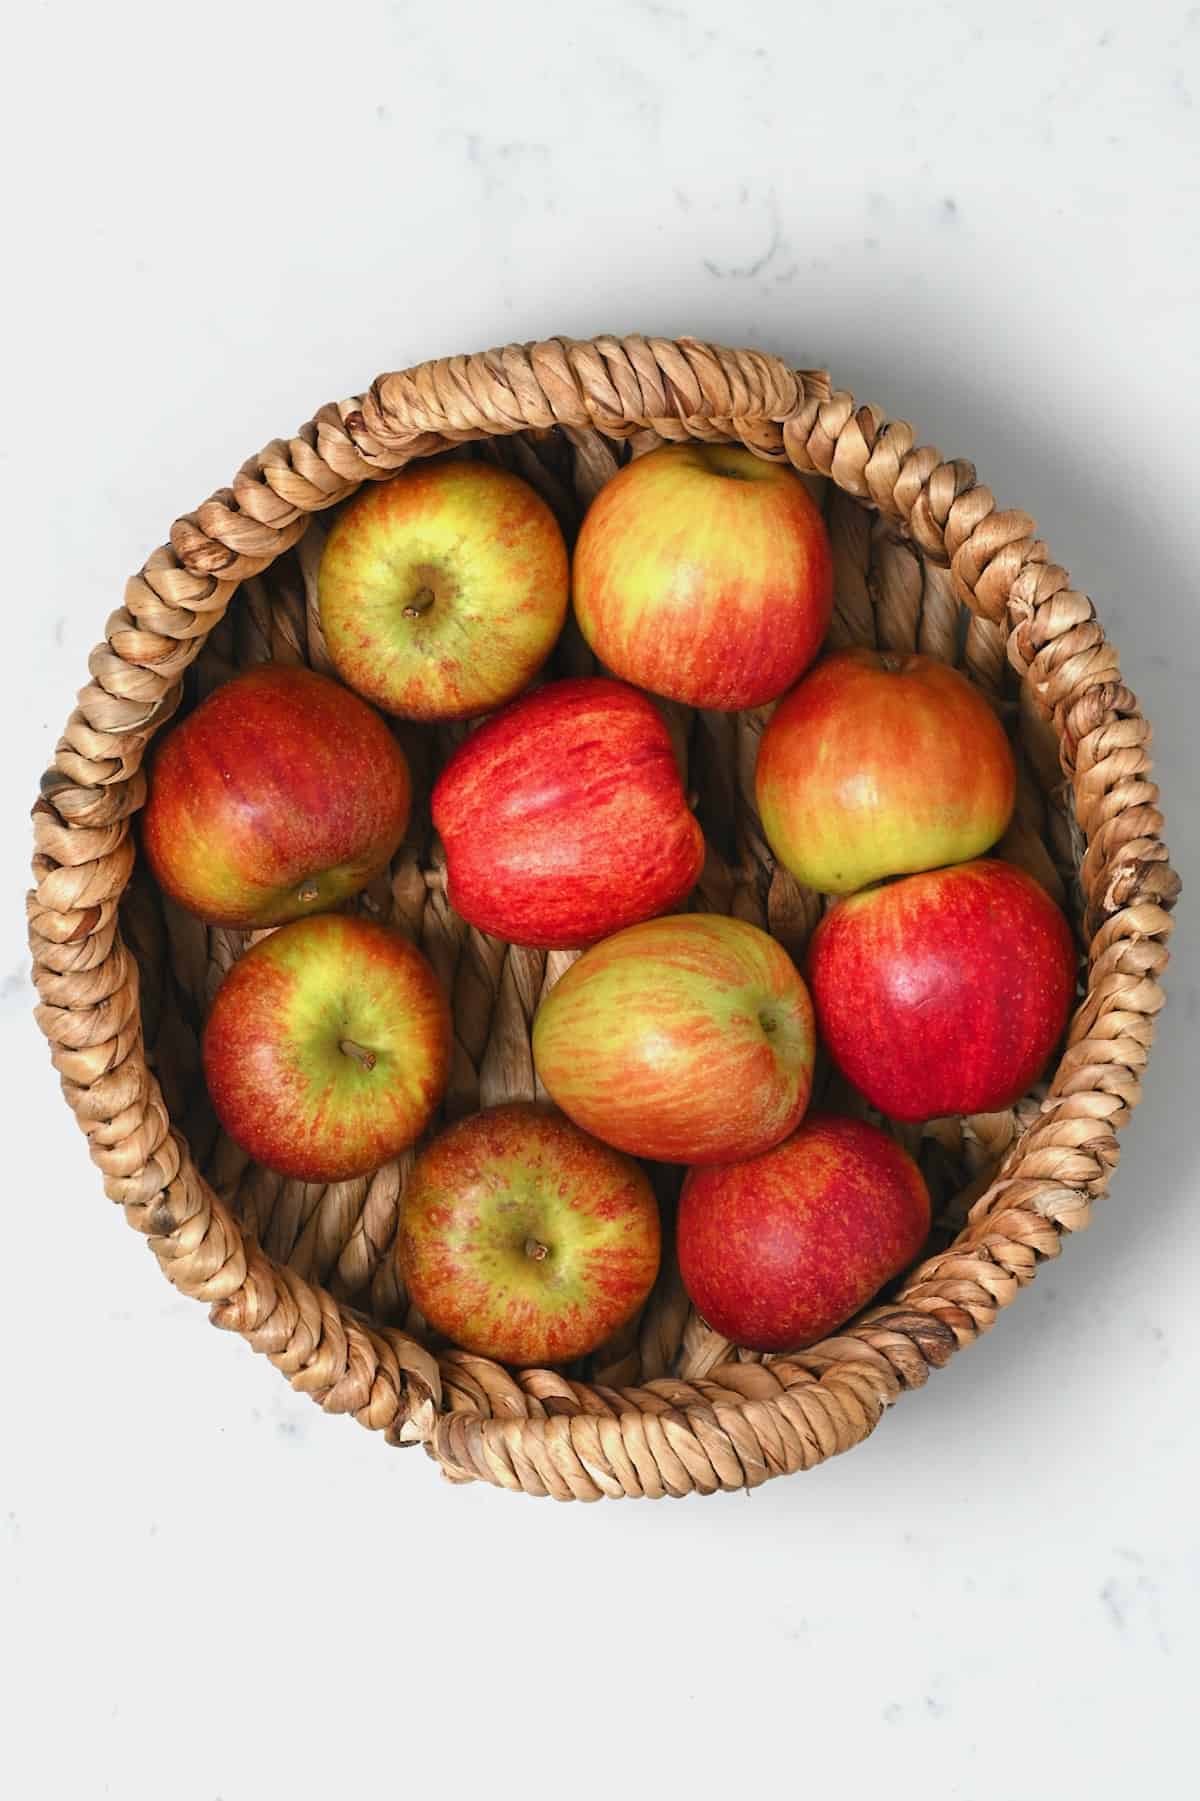
The apple juice ingredients
- Apples: choose the apple variety based on how sweet/tart you wish the apple juice to be. Keep reading for the best apples to use).
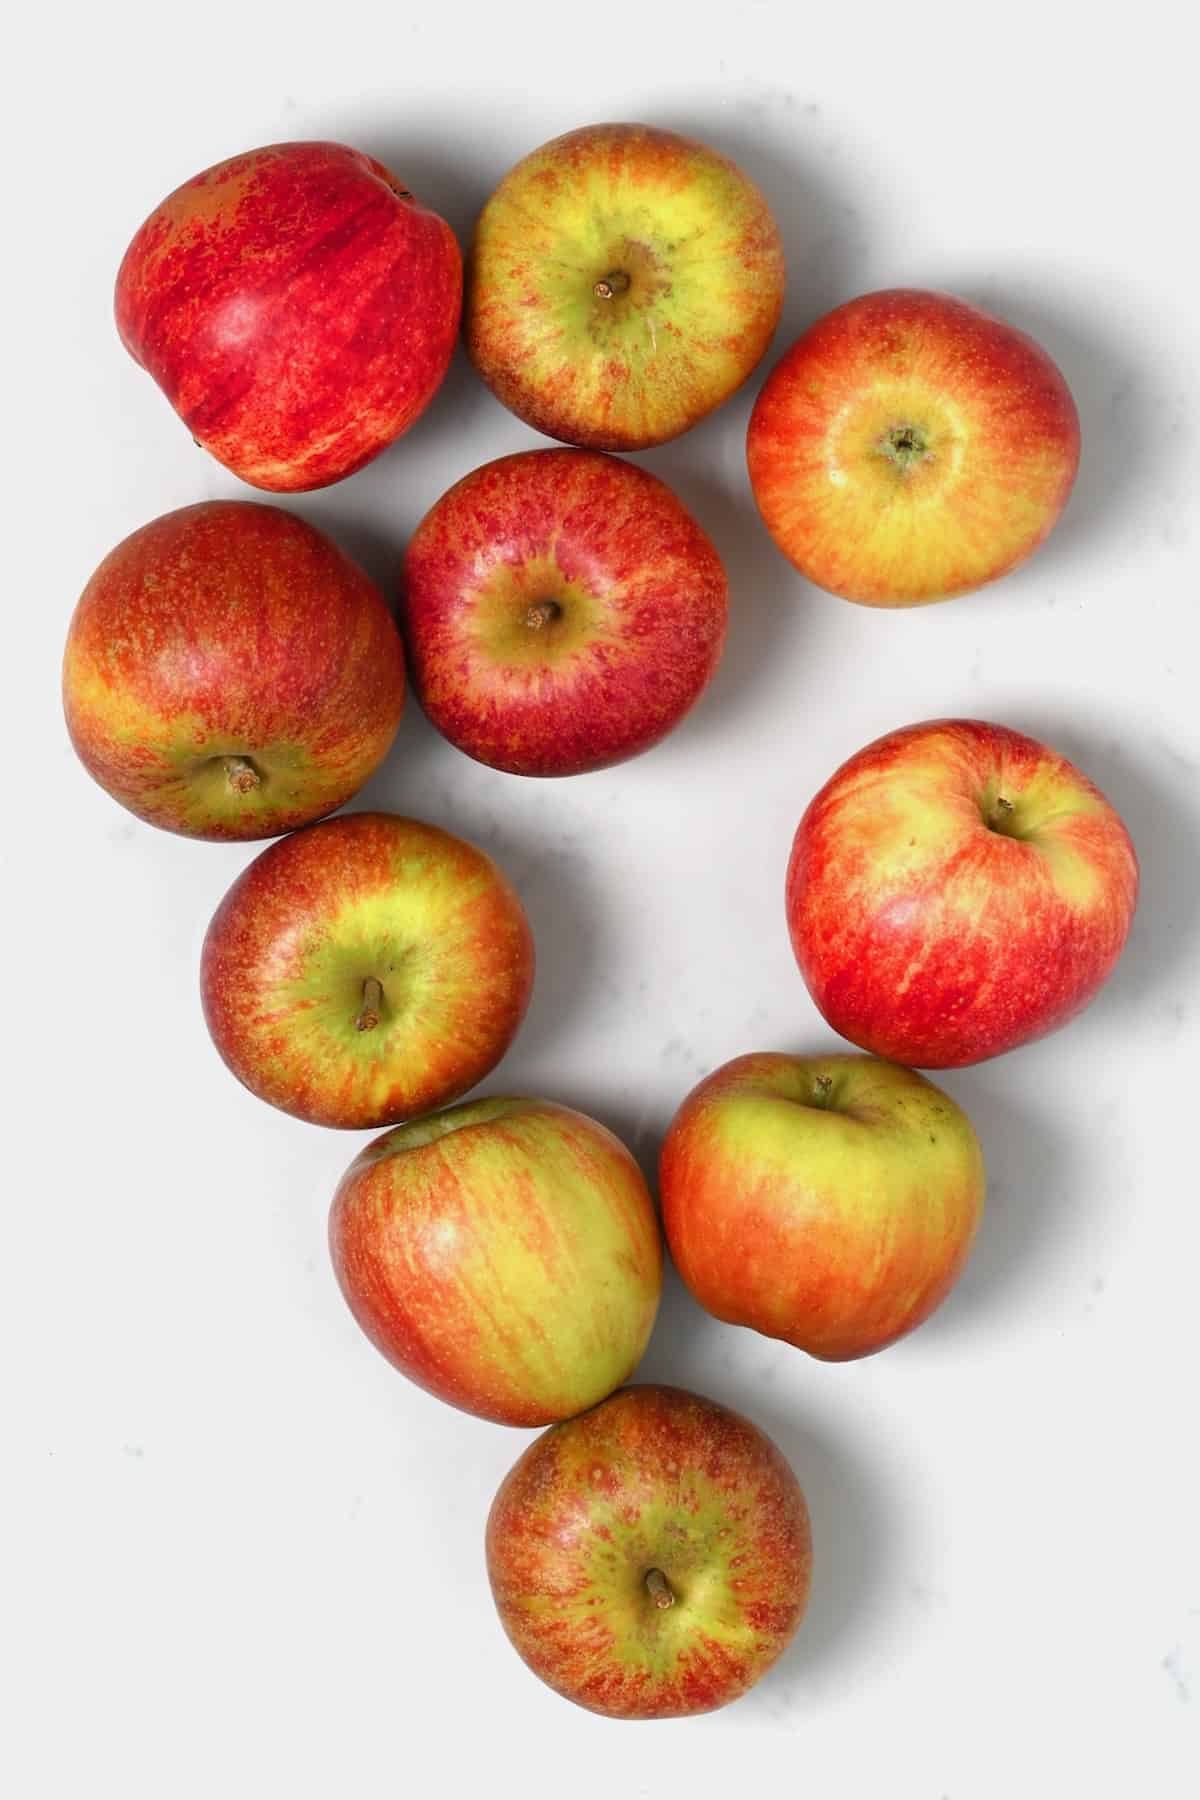
What are the best apples for apple juice?
When it comes to choosing apples, there are plenty of options to choose from. Which you go for will depend on the taste, acidity, sweetness, color, etc., that you prefer (and what’s available to you).
For sweeter apple juice
- Fuji: round and red, with a creamy white interior. Fuji apples are wonderfully sweet and very juicy – perfect for homemade apple juice.
- Honeycrisp: due to the price, this isn’t an option I often use for juicing. However, Honeycrisp apples are crunchy, sweet, and super juicy with bright red skin.
- Gala: rounded, pale red/yellow coloring. Gala apples are firm and crisp with a slightly mild, sweet flavor with notes of vanilla. Make for a great drink.
- Red Delicious: deep red outside with a sweet yet mild flavor and high level of antioxidants. This apple is used a lot as a “lunchbox” style apple and is fairly bland – but also low cost and can be boosted with other apples. It’s not super juicy, but still relatively juicy and makes for a great, balanced, all-purpose apple juice.
- Golden Delicious: golden yellow-green color with a sweet and slightly rich, honey-like flavor.
- McIntosh: mild sweet flavor but with a bold “apple” flavor – perfect for homemade apple juice with “apple cider juice” flavor.
For Tart Apple Juice
- Granny Smith: bright green in color with a firm texture and tart flavor. Granny Smith apples have a high liquid content, are lower in sugar than other varieties, and also don’t brown from oxidization as quickly. I recommend pairing with a few sweet apples to balance the sour/sharp flavor.
- Pink Lady: a pinkish golden color with a very firm texture and tart flavor yet fairly high sugar content. The skin will also give this homemade apple juice a lovely pink tint.
- Braeburn: fairly juicy with a tart but not too tart flavor and rich apple flavor.
You can also use a combination. For example, if you have a majority of sweet/tart apples, you can balance the flavor with just a few of an opposite flavor variety. If you have a local orchard nearby, it’s always worth checking it out in the Fall months to see if they have local apple varieties you could try, too (usually at super discounted prices).
Optional add-ins
- Sweetener: if you’re using tart apples but want a sweeter flavor, you can naturally sweeten the juice. I recommend using a liquid option like maple, agave, or honey – which all pair well with apples.
- Spices: cinnamon and cardamom pair wonderfully with fresh homemade apple juice and create a “warm” depth of flavor.
- Citrus: not only can orange/lemon/lime juice help to balance sweet drink, but the acidity can also help prevent the unfiltered apple juice from browning too soon.
- Greens: I like to add extra greens when using green apples. For example, a big handful of spinach or kale. This will pack in nutrients without impacting the flavor too much.
- Water: you can dilute the juice further with more water, coconut water, or even sparkling water.
- Other fruits: there are plenty of fruits that will pair with this homemade apple cider juice. Orange, blueberries, other berries, pineapple, guava, mango, etc.
- Alcohol: vodka and rum pair well with this recipe. Others may work, but I haven’t tried any.
Simple Apple Juice Recipes/Variations
- Apple ginger juice: I love the spicy, acidic zing of apple ginger juice. Adjust the amount to taste (I recommend around ½-inch piece per 3-4 apples used). You can either add the ginger to your blender/juicer OR use pre-juiced ginger juice. Optionally add a pinch of cayenne, too.
- Apple orange juice: use double the amount of oranges to apple and optionally some lemon/lime and/or ginger for a morning pick-me-up! A little carrot juice added would also be delicious.
- Apple carrot juice: the lightness of carrot juice pairs well with the rich sweetness of apple juice. I recommend using more carrots than apples (between 2-3 carrots per apple used). Ginger would also pair well with these flavors (around ½-inch piece) and/or some lemon/lime.
- Apple celery juice: You can make a simple apple-celery blend with a stalk or two of celery added to this apple juice recipe. A little lemon juice and sweetener would also pair well.
- Apple cucumber juice: this juice is very light and works well with lots of other add-ins (carrot, beet, spinach, other green ingredients). Use around 1 cucumber per 2 apples.
- Apple kiwi green juice: per serving, combine one kiwi, one sweet green apple, and 1/3-1/2 cucumber.
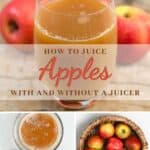
How to make apple juice
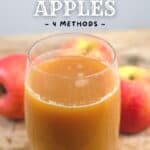
There are three main ways that you can easily use to make homemade apple juice at home, including with a juicer, blender, or manually (machine free).
If your apples are waxed, then you’ll first want to remove this. To do so, you can dip the apples in hot water with a splash of distilled vinegar (or ACV) for a few seconds, then rinse them with cold tap water. Alternatively, you can use some apple cider vinegar or white vinegar and a paper towel to wipe the apples then rinse them.
How to Make Apple Juice with a Blender
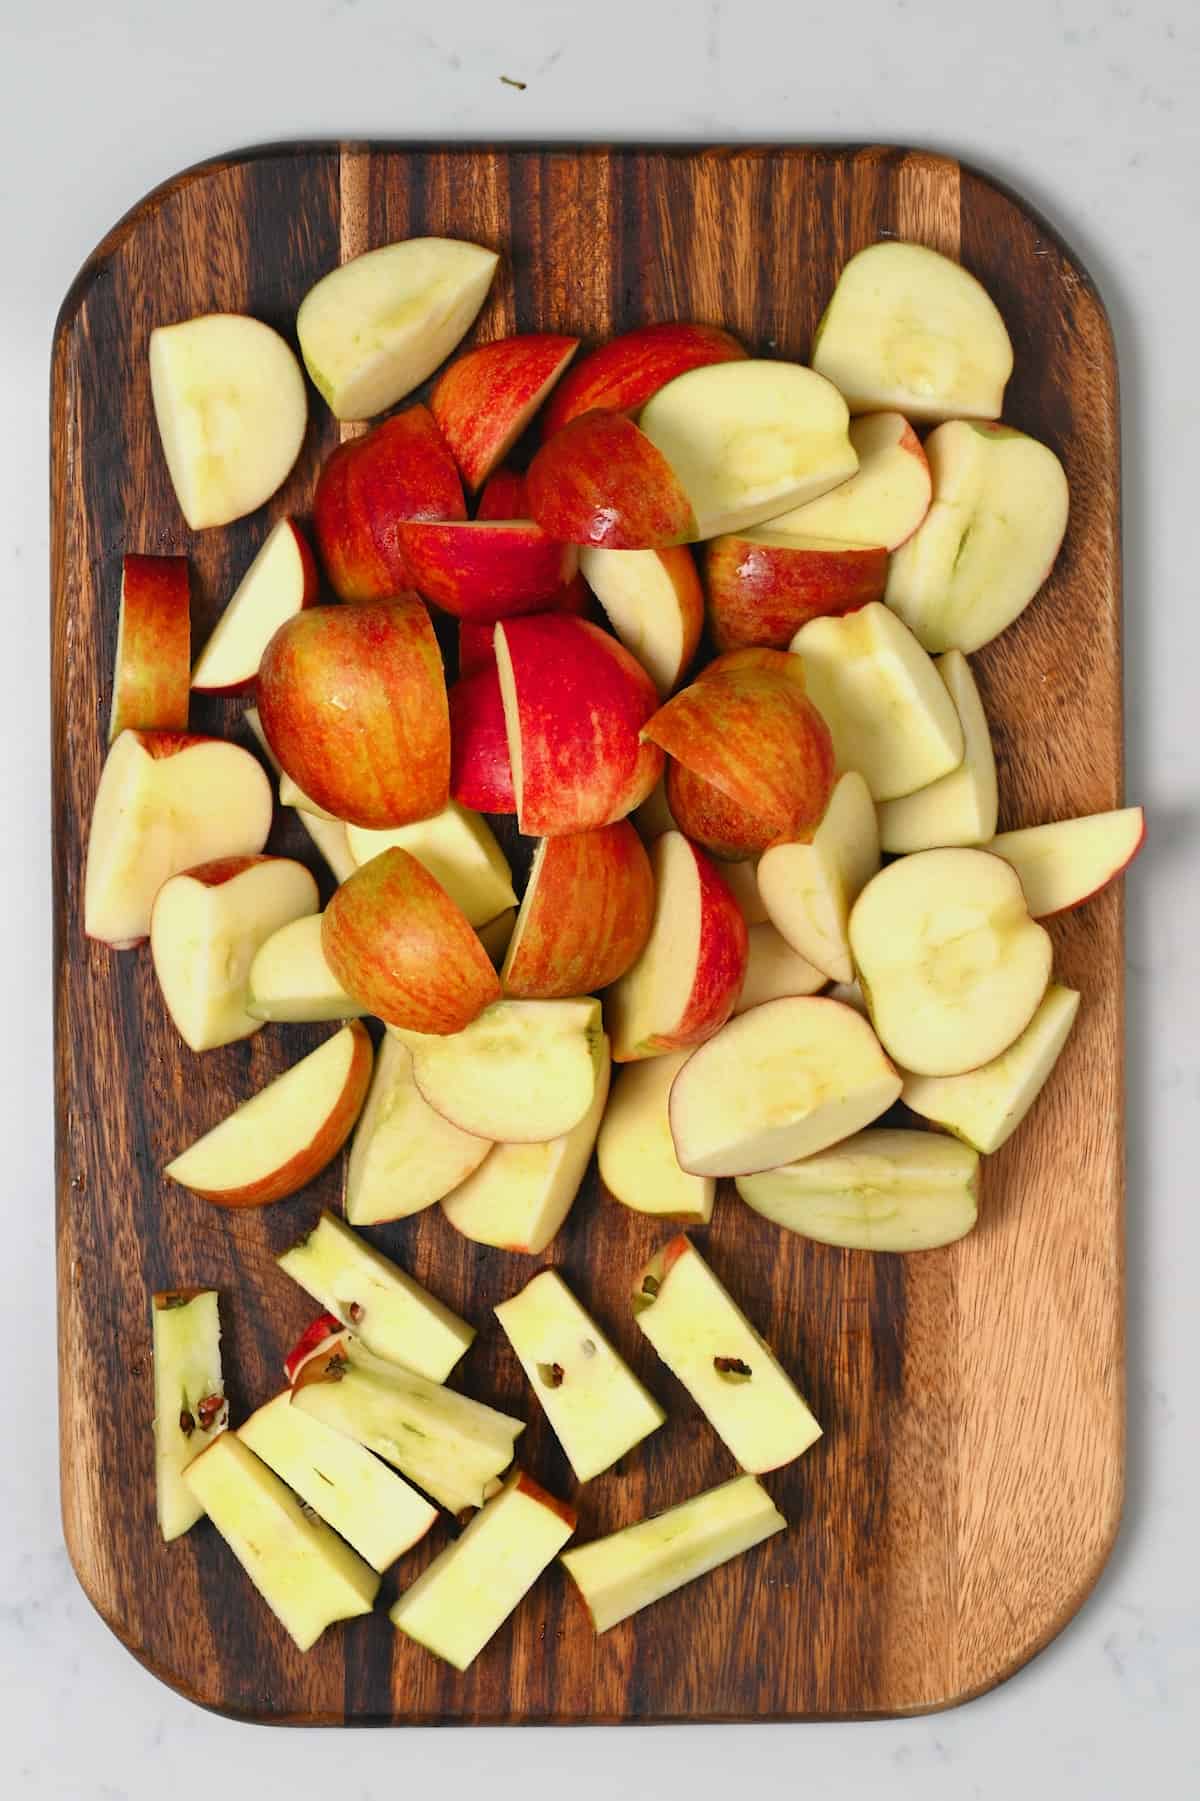
- Clean and chop the apples, discarding the core with the seeds. Optionally peel the apples – though I don’t.
- Then add the apple pieces to your blender along with ½ cup or so of water (or even orange juice) – this will help the machine blend the apples into a smooth(-ish) juicy, pulpy consistency.
- Finally, if you want to get rid of the pulp, pour the mixture into a nut milk bag or through a muslin cloth and manually squeeze it to squeeze out as much liquid as possible.
You can optionally add some back into the juice if you want just a little pulp. Read the FAQs for more ways to use the leftover apple pulp.
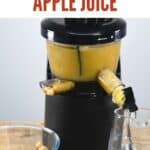
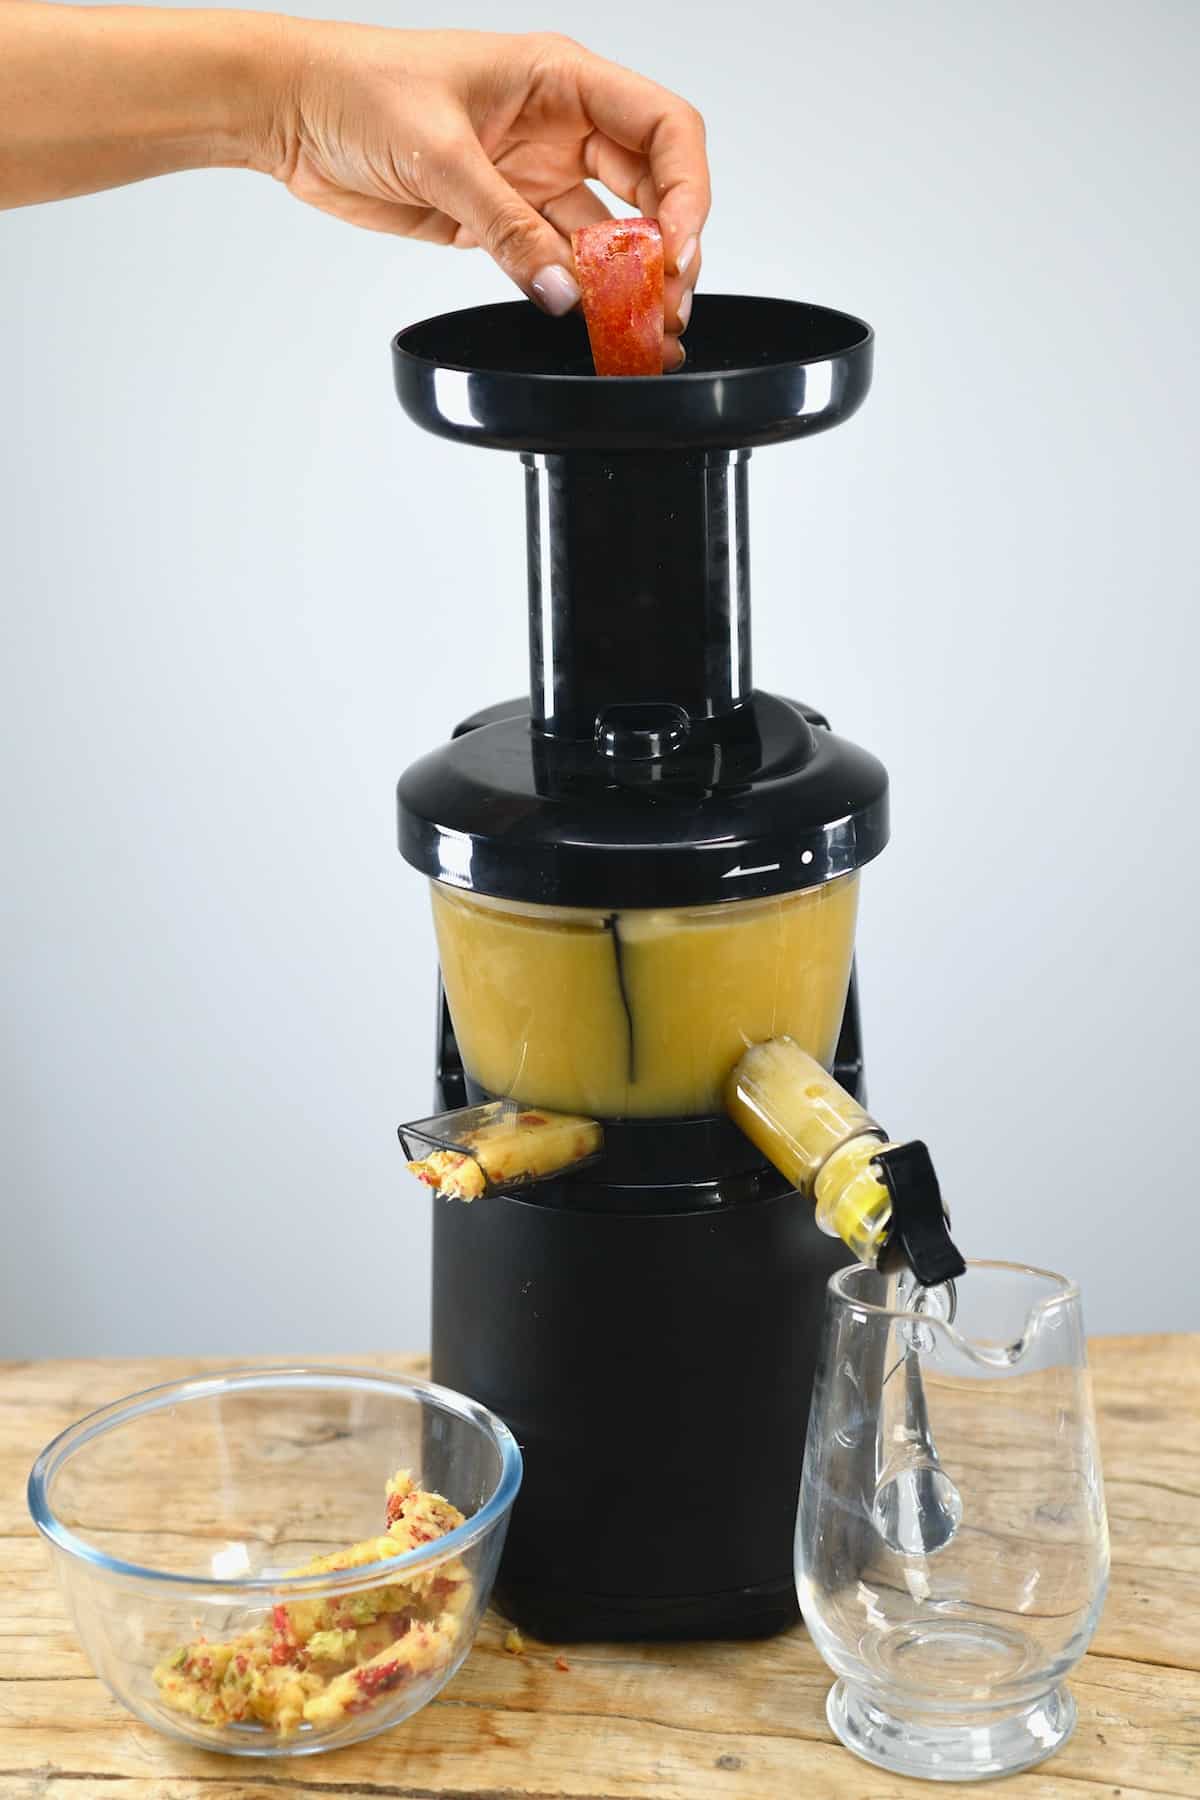
Using a Juicer
- Wash, and chop the apples – removing the inner core/seeds – into pieces small enough to fit your juicer chute. Optionally peel the apples, though I don’t.
- Then, feed the apple pieces into your juicer, and voila! Save the apple pulp to use later (check FAQs).
Squeezing the Juice Manually
Finally, there is a machine-free method. For this version:
- First, wash the apples if needed. Then grate them into a muslin/cheesecloth-lined bowl (or use a strainer).
- Once grated, pull the cloth together, twist the top and wring it well/ squeeze by hand to remove as much liquid from the apples as possible.
To make the process simpler, freeze the grated apple overnight, then leave it to defrost at room temperature before squeezing the liquid out. When thawing, the apple will soften enough to make it easier to squeeze.

Bonus: Boiling Method
This isn’t a method I often use, as I prefer to use heat-free methods for the highest nutrition. However, the boiled method often makes for a higher volume of juice, AND it allows you to use lots of leftover apple scraps from other recipes, too (peels, cores, etc.).
- Gather your apple scraps and any additional washed thin apple slices – there’s no need to core them as you’ll be straining all the pulp afterward anyway. However, feel free to do so if you want to use the pulp for applesauce.
- Add the fruit to a large pot and cover them with an inch of water. Don’t add too much liquid as it will dilute the juice. It is better to add more later if preferred than add too much now. Then bring the mixture to a boil over medium-high. Once the water boils, reduce to a simmer and cover with a lid, cooking for 25-30 minutes (stirring occasionally), or until the apples are very tender.
- Then, transfer the mixture through a fine-mesh strainer, muslin cloth, or nut milk bag to strain. Next, use a spoon (or your hands when it’s cool enough to handle) to press/squeeze the remaining apple pulp to remove as much liquidas possible.
- Taste and adjust the juice with more water/sweetener if preferred. Then, you can use the leftover apple pulp to mix/blend into homemade applesauce with a bit of cinnamon and sweetener.
You can also “water bath can” this version of apple juice, though I haven’t tried. I recommend referring to professional guidelines. However, my previous experience would have me recommending a 10-minute processing time, leaving an inch headspace in the canning jars before processing.
How to Store?
Store: I recommend drinking homemade apple juice within 24 hours for the best flavor and nutrient levels. However, the leftover juice will last up to 5 days in the refrigerator in an airtight container. It will brown over time as it oxidizes.
To increase the shelf life of the homemade apple juice then you can pasteurize the juice.
Freeze: freeze any leftover juice as quickly as possible for optimal nutrient retention. I recommend doing so in ice-cube trays for “portioned” juice. You can store the juice in the freezer for several months (4-6). You can then add the ice cubes to other drinks, smoothies, and slushies – or allow them to thaw in the fridge first.
FAQs
There are several ways to use leftover fruit pulp. You can add it to healthy smoothies, soups, or baked goods (bread, muffins, etc.). You can also freeze the pulp to add to juice and smoothies.
Apple puree could also be used to prepare a fruit leather or a “cheat” apple topping for fluffy pancakes, waffles, and French toast.
This will depend entirely on the size and juiciness of the apples you’re using. However, as a general rule of thumb, you’ll need somewhere between 3-5 medium-sized apples.
Yes, you can. In fact, I’ve included several baking apples (Honeycrisp, Braeburn, pink lady) on my list of top apples for juicing. If you’re referring to “cooking apples” – then still yes, though their juice is usually much more tart than “eating apples”.
The best way to make this homemade apple cider juice clearer is to filter it (use a coffee filter for the finest filtration and allow it to manually drip over several hours.
There are some concerns over the fact that apple seeds contain levels of cyanide. Though the levels are so low that you’d need to consume 200+ crushed seeds before it poisons you. For those intending to drink apple juice daily, I’d recommend coring the apples before juicing them. Better safe than sorry.
If you’d prefer not to drink it, but it’s still safe to consume, then cooking with it is the next best option. For example, you could turn the juice into apple “jelly”/jam, you can use it for your morning hot oatmeal, or even use it on cooked meats.
Peeled apples will yield juice with fewer vitamins, minerals, and fiber (and often color, too). However, without the skin, the juice will have a crisper, slightly sweeter flavor. I like to include it for the fiber and color – but it’s up to you.

Recipe tips and notes
- Apple cider vs apple juice: with some research, I’ve found that, according to the Massachusetts Department of Agriculture, cider is raw, unfiltered apple juice. Whereas ‘apple juice’ has been filtered to remove the pulp (then usually pasteurized to extend the shelf life). With this recipe, you can make either – though the main version is unfiltered.
- Experiment with apples: there are many varieties to choose from – so experiment to find your perfect type/blend.
- To avoid the juice browning: you can add some lemon juice or citric acid to the juice to help delay the oxidization process.
- Don’t discard the apple pulp: there are several ways to use this (listed in the FAQs above).
- Make popsicles: you can pour the juice (pulp included) into popsicle molds for a healthy, unsweetened, refreshing treat.
- No need to peel: I recommend using organic apples, when possible, to avoid any nasty pesticides in the skin. Otherwise, the skin helps to add extra nutrients and fiber (when the juice isn’t filtered/sieved).
Other homemade juice recipes
- Strawberry kiwi juice
- Pineapple orange juice
- Beetroot juice
- Orange carrot juice
- How to Make Cranberry Juice
- Passion Fruit Juice (2 Methods)
If you try this fresh apple juice recipe, I’d love to hear your thoughts/questions below. Also, I’d appreciate a recipe card rating below, and feel free to tag me in your recipe recreations on Instagram @Alphafoodie!
How to Make Apple Juice (With and Without Juicer)
Equipment
- Nut milk bag or muslin cloth
Ingredients
- 5-6 apples Fuji, Honeycrisp, Gala, Red Delicious, Golden Delicious, McIntosh, Granny Smith, Pink Lady or Braeburn – etc.
Check the Recipe Notes section below for add-ins and apple juice blends!
Instructions
- There are three main ways that you can easily use to make homemade apple juice at home, including with a juicer, blender, or manually (machine free).If your apples are waxed, then you’ll first want to remove this. To do so, you can dip the apples in hot water with a splash of distilled vinegar (or ACV) for a few seconds, then rinse them with cold tap water. Alternatively, you can use some apple cider vinegar or white vinegar and a paper towel to wipe the apples then rinse them.
Using a Blender
- Clean and chop the apples, discarding the core with the seeds. Optionally peel the apples – though I don’t.
- Add the apple pieces to your blender along with ½ cup or so of water (or even orange juice) – this will help the machine blend the apples into a smooth(-ish) juicy, pulpy consistency.
- If you want to get rid of the pulp, pour the apple juice into a nut milk bag or through a muslin cloth and manually squeeze it to squeeze out as much liquid as possible.You can optionally add some back into the juice if you want just a little pulp. Check the FAQs for more ways to use the leftover apple pulp.
Using a Juicer
- Wash, and chop the apples – removing the inner core/seeds – into pieces small enough to fit your juicer chute. Optionally peel the apples, though I don't.
- Feed the apple pieces into your juicer, and voila! Save the apple pulp to use later (check FAQs).
Squeezing the Juice Manually
- Wash the apples if needed. Then grate them into a muslin/cheesecloth-lined bowl (or use a strainer).
- Once grated, pull the cloth together, twist the top and wring it well/ squeeze by hand to remove as much juice from the apples as possible.To make the process simpler, freeze the grated apple overnight, then leave it to defrost at room temperature before squeezing the juice. When thawing, the apple will soften enough to make it easier to squeeze.
Bonus: Boiling Method
- This isn't a method I often use, as I prefer to use heat-free methods for the highest nutrition. However, the boiled method often makes for a higher volume of juice, AND it allows you to use lots of leftover apple scraps from other recipes, too (peels, cores, etc.)Gather your apple scraps and any additional washed thin apple slices – there's no need to core them as you’ll be straining all the pulp afterward anyway. However, feel free to do so if you want to use the pulp for applesauce.
- Add the apples to a large pot and cover them with an inch of water (don’t add too much as it will dilute the juice. It is better to add more later if preferred than add too much now). Bring the mixture to a boil over medium-high. Once the water boils, reduce to a simmer and cover with a lid, cooking for 25-30 minutes (stirring occasionally), or until the apples are very tender.
- Transfer the mixture through a fine-mesh strainer, muslin cloth, or nut milk bag to strain. Next, use a spoon (or your hands when it’s cool enough to handle) to press/squeeze the remaining apple pulp to remove as much juice as possible.
- Taste and adjust the juice with more water/sweetener if preferred. Then, you can use the leftover apple pulp to mix/blend into homemade applesauce with a bit of cinnamon and sweetener. You can also "water bath can" this version of apple juice, though I haven’t tried. I recommend referring to professional guidelines. However, my previous experience would have me recommending a 10-minute processing time, leaving an inch headspace in the canning jars before processing.
How to Store?
- Store: I recommend drinking homemade apple juice within 24 hours for the best flavor and nutrient levels. However, the leftover juice will last up to 5 days in the refrigerator in an airtight container. It will brown over time as it oxidizes. To increase the shelf life of the homemade apple juice then you can pasteurize the juice.Freeze: freeze any leftover apple juice as quickly as possible for optimal nutrient retention. I recommend doing so in ice-cube trays for "portioned" juice. You can store the juice in the freezer for several months (4-6). You can then add the apple juice ice cubes to other drinks, smoothies, and slushies – or allow them to thaw in the fridge first.
Notes
Nutrition
Nutrition information is automatically calculated, so should only be used as an approximation.


Delicious OMG! TYFS!❤❤
So happy you enjoyed it, Cynthia! Thank you! <3
Delicious and easy! thank you! I used my vitamix blender, filled it with a variety of cut up, locally grown, organic apples, no sweetener, no cores, about 1 -1 1/2 cups of water. I blended until smooth and strained in a nut bag. You do have to message the nut bag to get the most strained juice out of the pulp (my preference). SOOOO YUMMY! Lasts a good week in the fridge (although I’m assuming the nutrition level may diminish over time). I’ve also experimented with adding a small portion of other fruit for flavor…i.e. plums, pear, orange.
Glad you are enjoying the juice, Terri!
Read your blog and found it very helpful. Now a days very few are writing excellent content and it was the best i read till now. Keep writing such stuff
Thank you for your comment.
This worked perfectly for me! I used a vitamix to blend and a nut bag to strain. Super easy and delicious!
Thank you for your comment, Kayla. Glad you enjoyed the juice!