
This post may contain affiliate links. Please read our disclosure policy.
How to make honey fermented ginger and lemon, a bright and flavorful ferment that adds a zesty kick to meals, dressings, and drinks.
If you’ve never tried fermenting before, you might think it’s a terribly technical, difficult process. While that may be true in some cases (like caring for kombucha DIY SCOBYs), honey ferments are surprisingly simple! It’s fairly hard to “mess up” and requires no fancy tools! I’ve already shared my fermented garlic honey recipe; now let’s make honey fermented ginger and lemon!
The combination of honey, lemon, and ginger is one of my favorites, as in these ginger shots. It tastes great and makes a fantastic wellness tonic.
One of my favorite ways to soothe myself at the first sign of illness is to whip up a big mug of fresh ginger tea with lemon and honey. By preparing this fermented honey ginger, you can avoid having to do this from scratch each time! However, you don’t have to be ill to enjoy this honey-fermented ginger and lemon. The combination of lemon, honey, and ginger is also a delicious addition to meals, dressings, sauces, and marinades!
Want to save this recipe?
How does the honey fermentation work?
The magic of fermented honey lies in its ingredients. Raw honey (that’s unpasteurized) contains naturally occurring enzymes and yeast. When combined with enough water to reach a moisture content of 19-20%, this kickstarts the fermentation process. This is the same basic principle behind making “mead.”
While honey already contains around 16-17% water, the sugars in the honey pull the liquid from the ingredients (in this case, ginger and lemon), helping to reach the 20% needed for fermentation. If your ingredients aren’t “wet” enough, you can add a bit of extra water. The natural yeast found in fruits and vegetables also aids in the fermentation process.
Once fermentation begins, your ingredients are preserved, and you end up with a delicious fermented honey lemon ginger. Simple!
The ingredients

- Honey: Use raw, unpasteurized honey. Pasteurized honey won’t ferment because the microbes needed for fermentation are killed during processing.
- Ginger: Fresh ginger is a must! Organic ginger is preferred, as it is less likely to have been treated with chemicals that might reduce its natural yeast content necessary for fermentation.
- Lemon: Use whole slices of unwaxed lemon for the best results. Unwaxed lemons ensure that no unwanted chemicals interfere with the fermentation process. Different lemons vary in tanginess and sweetness. If you prefer a sweeter variety, Meyer lemons are a great choice. Limes can also be used.
You’ll also need a jar that is wide enough to fit whole lemon slices and has a lid. A wooden spoon or skewer is useful for mixing the fermenting ingredients (avoid using metal).
See the printable recipe card below for full information on ingredients and quantities.
How to make honey-fermented ginger and lemon
Step 1: Prepare the ginger and lemon
First, sterilize the jar you plan to use for the fermented honey recipe. To do so, wash the jar and lid in hot, soapy water, rinsing well. Then, place the jars (no rubber or plastic parts) in a preheated oven for ten minutes at 325ºF/160ºC to dry completely. Some dishwashers also come with a “sterilize” setting and you can use that.
Wash the lemon and peel the ginger. Then, thinly slice the lemon and ginger with a sharp knife or mandoline (even better for even slices). I used a peeler for the ginger, but thicker knife/mandoline slices will work, too.

Step 2: Fill the jar
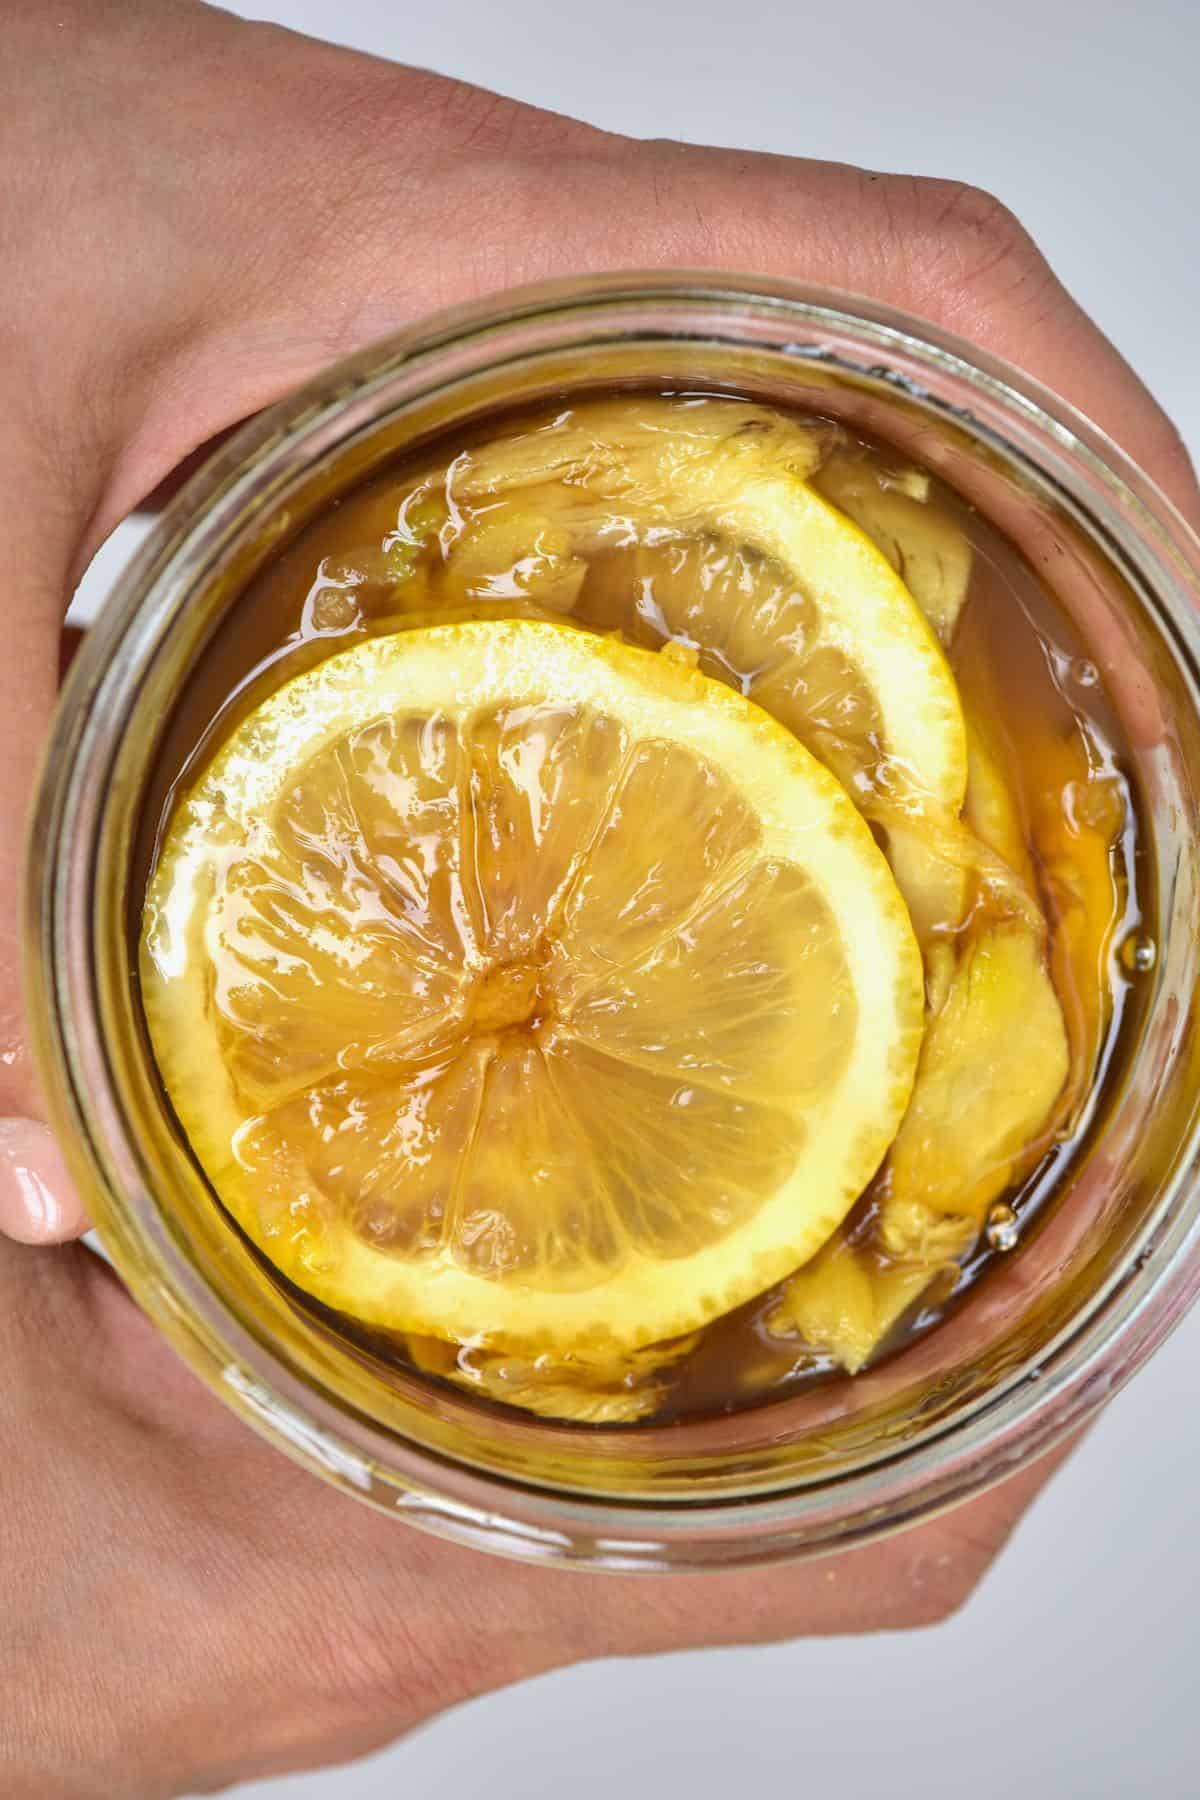
Layer the jar by placing some ginger at the bottom, then add a couple of lemon slices. Repeat this process until you’ve used all the ingredients.
Pour the honey over the ginger and lemon, making sure it fully submerges the ingredients. Use a clean spoon or skewer to gently move the ingredients around, ensuring the honey reaches the bottom of the jar.
Alternatively, drizzle 2-3 tablespoons of honey at the bottom of the jar and between each layer. This makes it easier to fully coat the ingredients.
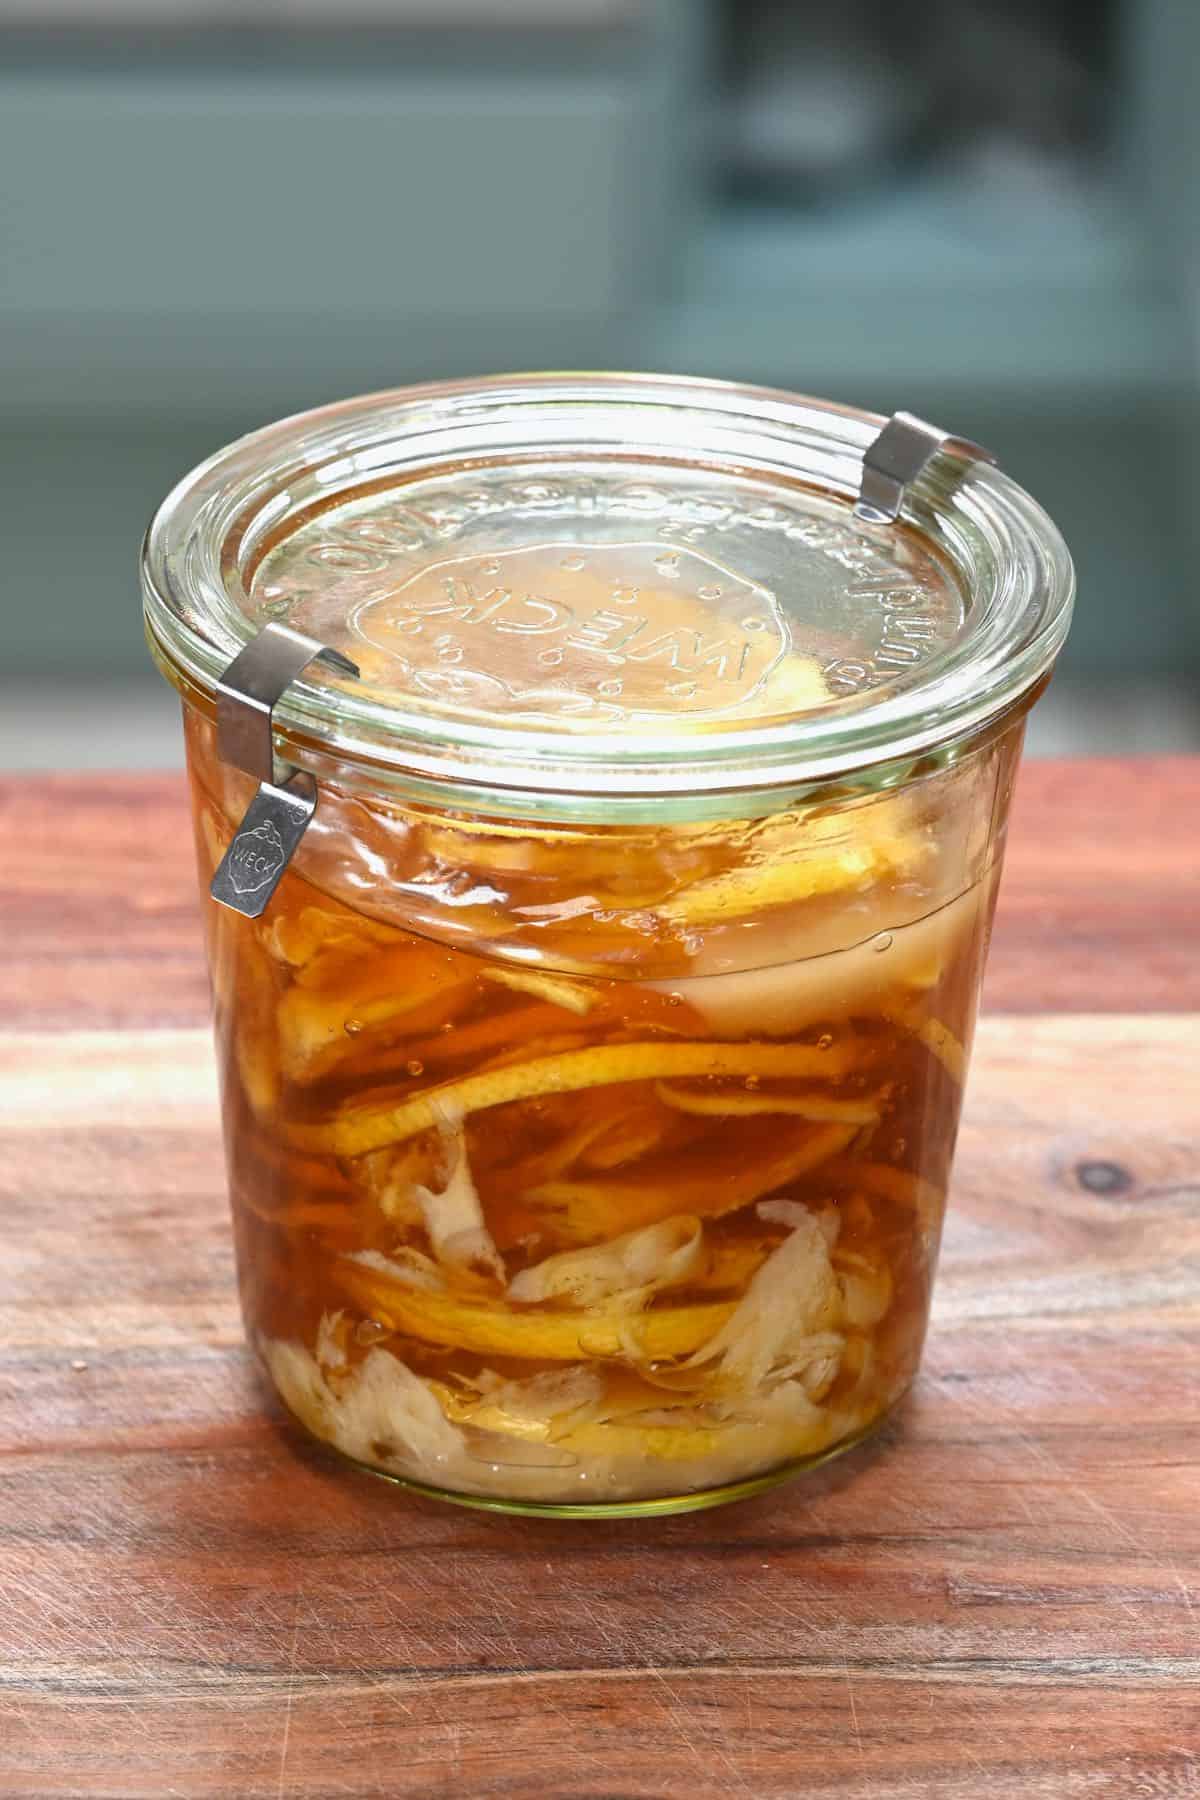
Finally, seal the jar.

Step 3: Leave it to ferment
Leave the ginger honey lemon mixture to ferment for two weeks. During this time, “burp” the jar daily by opening the lid for just a second to release any built-up gases.
It’s a good idea to shake the jar slightly or flip it upside down (with a plate or bowl beneath). Shaking or flipping is preferred over stirring (with a wooden spoon) to avoid introducing too much oxygen, which can affect fermentation.
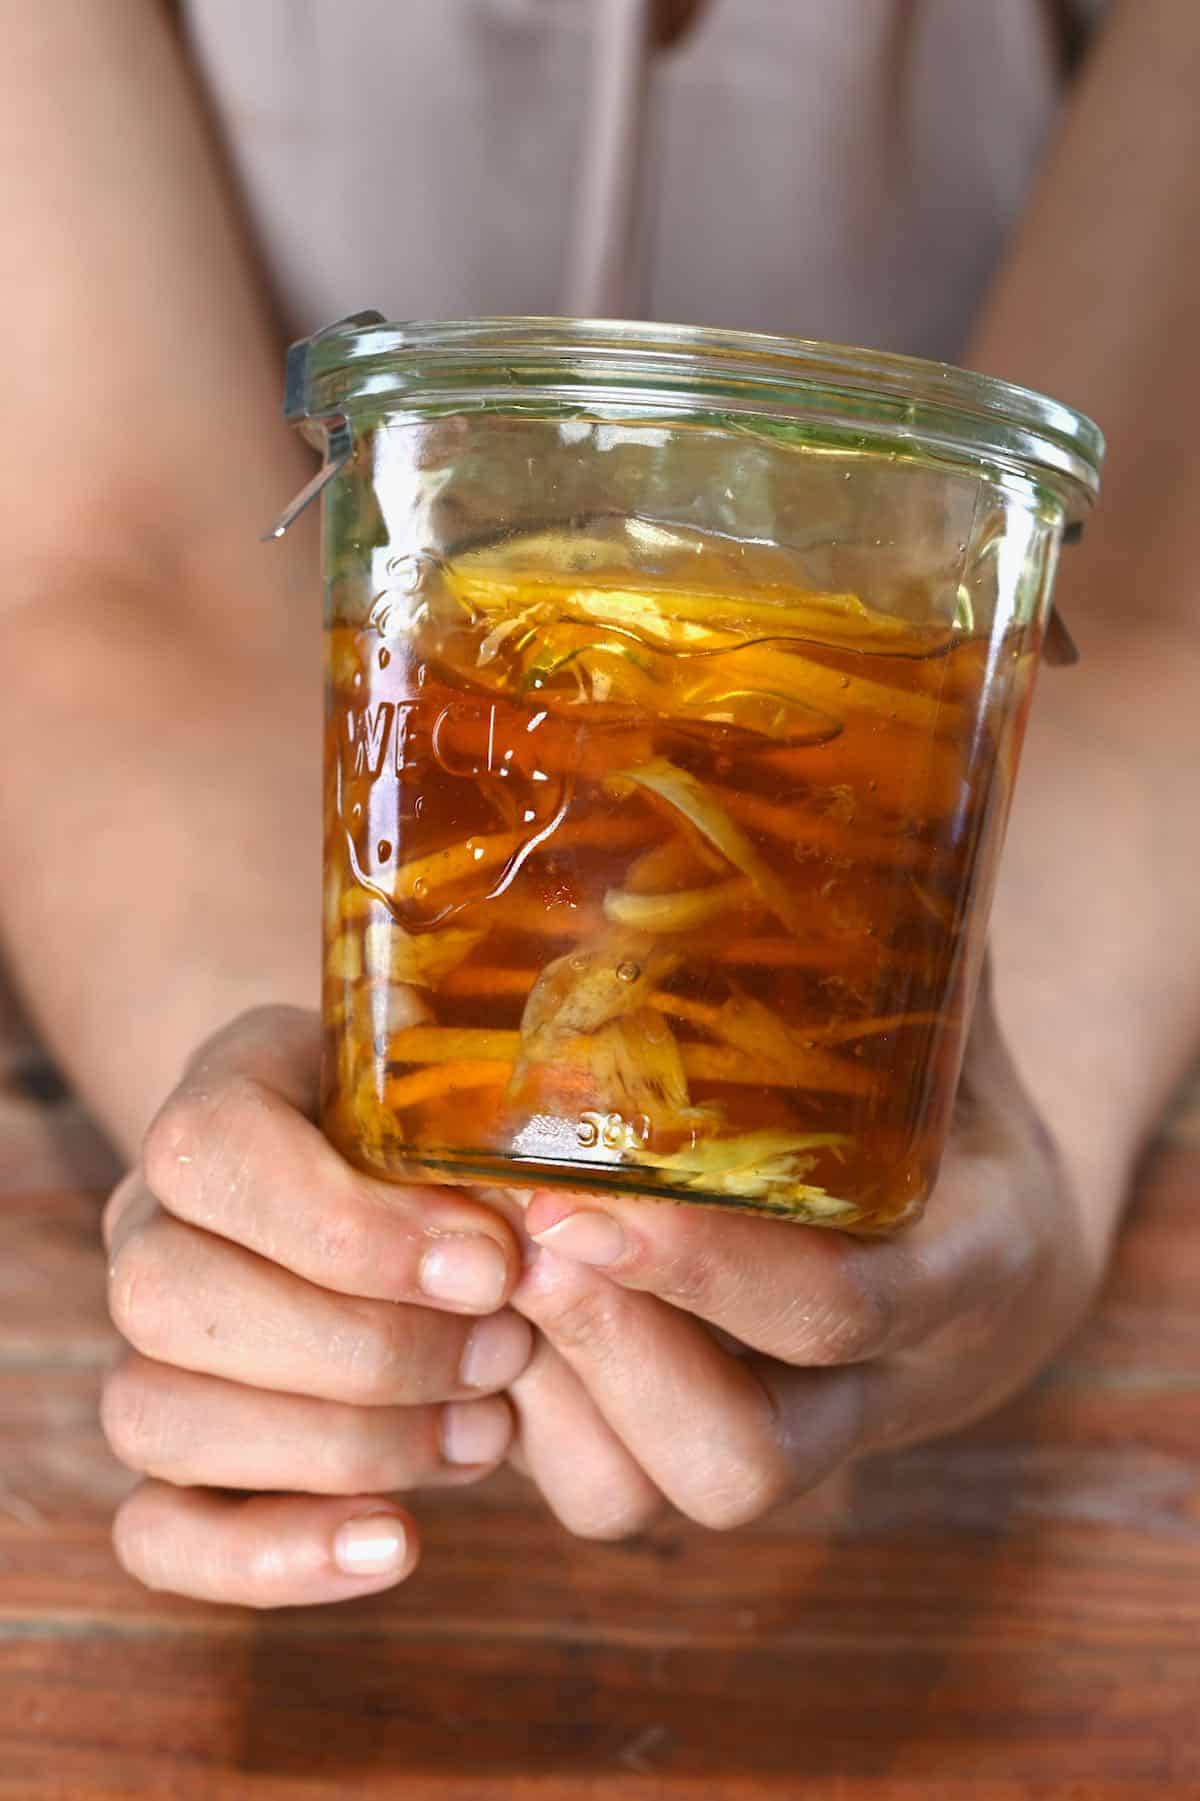
After two weeks, you can start enjoying the honey fermented ginger and lemon. However, it tastes even better after a month!
Recipe notes
- Leave Space in the Jar: Avoid overfilling the jar. Leave about an inch of headspace at the top to allow the mixture to bubble and expand as the ginger and lemon release their juices into the honey. This space helps prevent overflow and ensures proper fermentation.
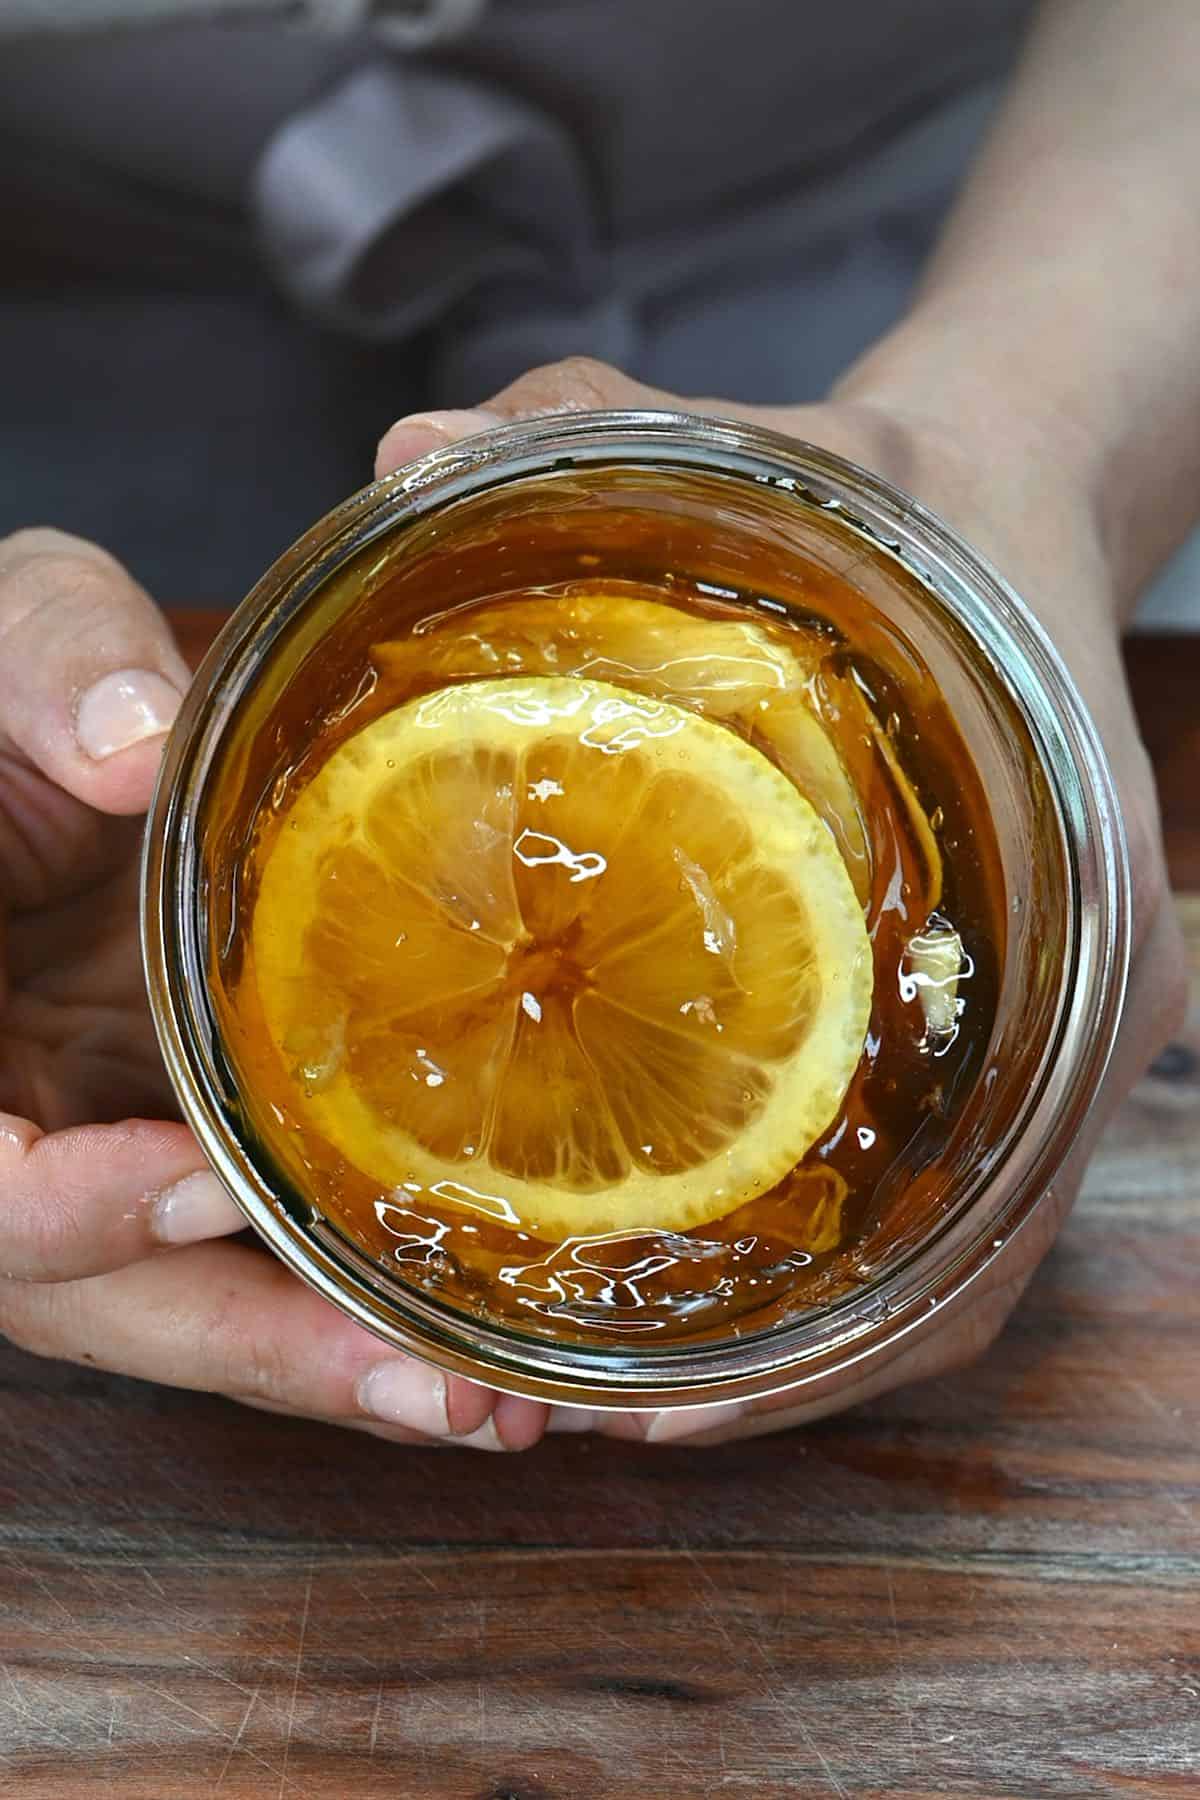
- Cover the Ingredients: Ensure the ginger and lemon are fully submerged in the honey. This prevents mold and ensures even fermentation.
- Burping the jar: Even if you don’t use the fermented lemon and ginger often, it’s a good idea to burp the jar occasionally. After the first 2-3 weeks, the main “activity” will slow down, so daily burpings aren’t necessary.
- The honey thickness: It’s important to note that the honey will become “thinner” during the ferment as the added liquid from lemon and ginger enters it. This is normal!
How to store
- Transfer to the Fridge: Once the honey-fermented ginger and lemon taste as you’d like, put the jar in the refrigerator. This action slows down the fermentation process significantly, almost stopping it. This method is ideal if you plan to use the fermented mixture slowly over several months (up to six months or more).
- Cool, Dark Location: Alternatively, you can store the jar in a cool, dark place like a kitchen cupboard. In this environment, the fermentation will continue at a faster rate compared to the refrigerator. Over time, the flavors will keep developing and changing. The mixture might even become slightly alcoholic, similar to mead. This method is better if you plan to use the ferment within a couple of months.
- Strain for Long-Term Storage: For better shelf stability and to reduce the risk of mold and fermentation issues, strain the ginger and lemon from the honey after 3-4 weeks.
Just note that the flavor will become more bitter over time due to the lemon pith.
Like most fermented foods, just keep an eye out for bad smells, mold, and other signs of spoilage. This doesn’t happen often, but if it does, it’s time to start a new ferment.
How to use honey fermented ginger and lemon
While I’ve already mentioned that this concoction is perfect for when you’re feeling under the weather, there are countless other ways to enjoy honey-fermented lemon and ginger.
- Ginger Tea: Add around one tablespoon of the honey, ginger, and lemon mixture, plus a slice or two of lemon, to a mug or teacup and top it up with hot water. For a sweeter or more flavorful drink, simply add a bit more of the mixture.
- Hot Toddy: Start with your ginger tea made from the honey-fermented lemon and ginger mixture. To turn it into an adult treat, add a splash of whiskey and a cinnamon stick (or a dash of cinnamon). This way, you enhance your ginger tea with a delightful twist.
- You can also add this fermented honey to smoothie recipes, salad dressings, and marinades.
- For sweeter treats, I love drizzling this over a breakfast bowl with natural dairy yogurt, dairy-free coconut yogurt, or dairy-free almond yogurt. You can also drizzle it over oatmeal porridge, protein pancakes, waffles, scones, and more.
Let me know in the comments how you enjoy using this honey fermented ginger and lemon!
FAQs
Yes, there are all kinds of honey ferments you can make with various fruits and vegetables, including apple, pear, cherries, blueberries, pomegranate, mango, peach, plum, onion, peppers, etc.
You can also use dried fruits like dates and figs. Though you’ll need to add an additional 3% water (based on the weight of the fruit), to raise the water content to the necessary level to start fermentation.
There is no cut-and-dry answer to this. Some say that when your added ingredients (lemon and ginger) have naturally sunk below the honey – which can take several weeks to a month, others say that it’s simply ready when you decide it tastes best. I tend to leave it between 2-4 weeks to ferment before starting to enjoy it. The longer it sits, the more the flavor will develop!
I recommend using a wooden spoon to give it a taste at the two week mark – if you like it, transfer it to the fridge to slow the ferment. If not, keep it at room temperature to further ferment for 1-2 weeks and test again.
During the fermentation process, you should notice the honey begin to thin out, and you may notice some bubbling (but not always) in the honey (of the built-up gases) and the ingredients beginning to naturally sink below the honey. If the honey has thinned but you aren’t noticing any other signs of fermentation, you may want to add 1-2 Tbsp of water, mix, and continue (as there may not have been enough water to properly encourage the fermentation). You could also add in a little apple cider vinegar which can also help kick-start fermentation, as well as bring the pH lower.
There is some differing guidance on this. I made sure to do this with my first honey ferment (this fermented garlic honey) when I noticed just how bubbly it became while fermenting (after having a bottle of kombucha explode in the fridge after forgetting to burp it, I’m on the “better safe than sorry” camp now).
While, technically, some say this isn’t necessary since honey ferments contain such low levels of water vs. honey (which means slower, gentler fermenting), I still like to do it daily for the first 2-3 weeks and then once a week or so after that. If you don’t want to do it daily, feel free to do it every other day (or experiment). Just beware of the potential of exploding jars if you never burp it!
More fermentation recipes
- How to Make Fermented Garlic Honey
- Tepache De Piña
- Homemade Kombucha DIY: Plain & Pomegranate Kombucha
- How To Make Apple Cider Vinegar
- How to Make Tempeh
- Easy Homemade Sauerkraut (Just 2 Ingredients)
- Napa Cabbage Kimchi (Korean Baechu-Kimchi)
- How to Make Miso Paste (Kome Miso/Shinshu Miso)
If you try this honey fermented ginger and lemon recipe, let me know how it goes in the comments below. I’d appreciate a recipe card rating and would love to see your recipe recreations – tag me on Instagram @Alphafoodie!

Honey Fermented Ginger and Lemon
Ingredients
- 11 oz raw honey unpasteurized, 1 cup
- 6 oz lemon 1 medium-sized
- 3 oz peeled ginger
Instructions
Step 1: Prepare the ginger and lemon
- Wash with hot, soapy water and dry in the oven at 325ºF/160ºC for 10 minutes (remove rubber/metal parts). You can instead use the dishwasher's "sterilize" setting.
- Wash the lemon and peel the ginger.
- Thinly slice the lemon and ginger with a sharp knife or mandoline. A peeler works for the ginger too.
Step 2: Fill the jar
- Place some ginger at the bottom, then a couple of lemon slices. Repeat until the jar is filled.
- Pour honey over the ginger and lemon until fully submerged. Use a clean spoon or skewer to gently move the ingredients, ensuring the honey reaches the bottom.
- Drizzle 2-3 tablespoons of honey at the bottom and between each layer to ensure the ingredients are fully coated.
- Seal the jar.
Step 3: Leave it to ferment
- Leave the ginger honey lemon mixture to ferment for two weeks. "Burp" the jar daily by opening the lid for a second to release built-up gases.Gently shake the jar or flip it upside down (with a plate/bowl beneath) to ensure the honey coats the lemon and ginger. Shaking/flipping is preferred over stirring to avoid introducing excess oxygen, which can affect fermentation.
- After two weeks, you enjoy the fermented lemon/ginger. However, it will taste even better at the one-month stag
Video
Notes
- Refrigerate: Once the taste is to your liking, transfer the jar to the fridge. This slows fermentation and is ideal for long-term storage (up to 6 months).
- Cool, Dark Place: Alternatively, store in a cool, dark place like a cupboard for continued fermentation and flavor development. Use within a couple of months.
- Strain for Long-Term Storage: Strain out the ginger and lemon after 3-4 weeks to keep the honey shelf-stable and prevent mold.
Nutrition
Nutrition information is automatically calculated, so should only be used as an approximation.


Question- Could I use ginger paste with lemon slices and honey? Thanks
Hi Jerraldine! 😊 You can use ginger paste, but for a proper ferment fresh ginger works best, since the natural enzymes and the surface of fresh slices help the fermentation along. Pre-made pastes sometimes contain added ingredients or preservatives that can interfere. If you do use paste, treat it more as a quick flavored honey than a true ferment, and keep an eye on it. Lemon slices and honey will be lovely either way!