

This post may contain affiliate links. Please read our disclosure policy.
Goat cheese (or chevre cheese) is super simple to make at home, not to mention ridiculously cost-effective. Using just 3 ingredients, you can whip up a batch of customizable homemade goat’s cheese ready to impress your family and friends!
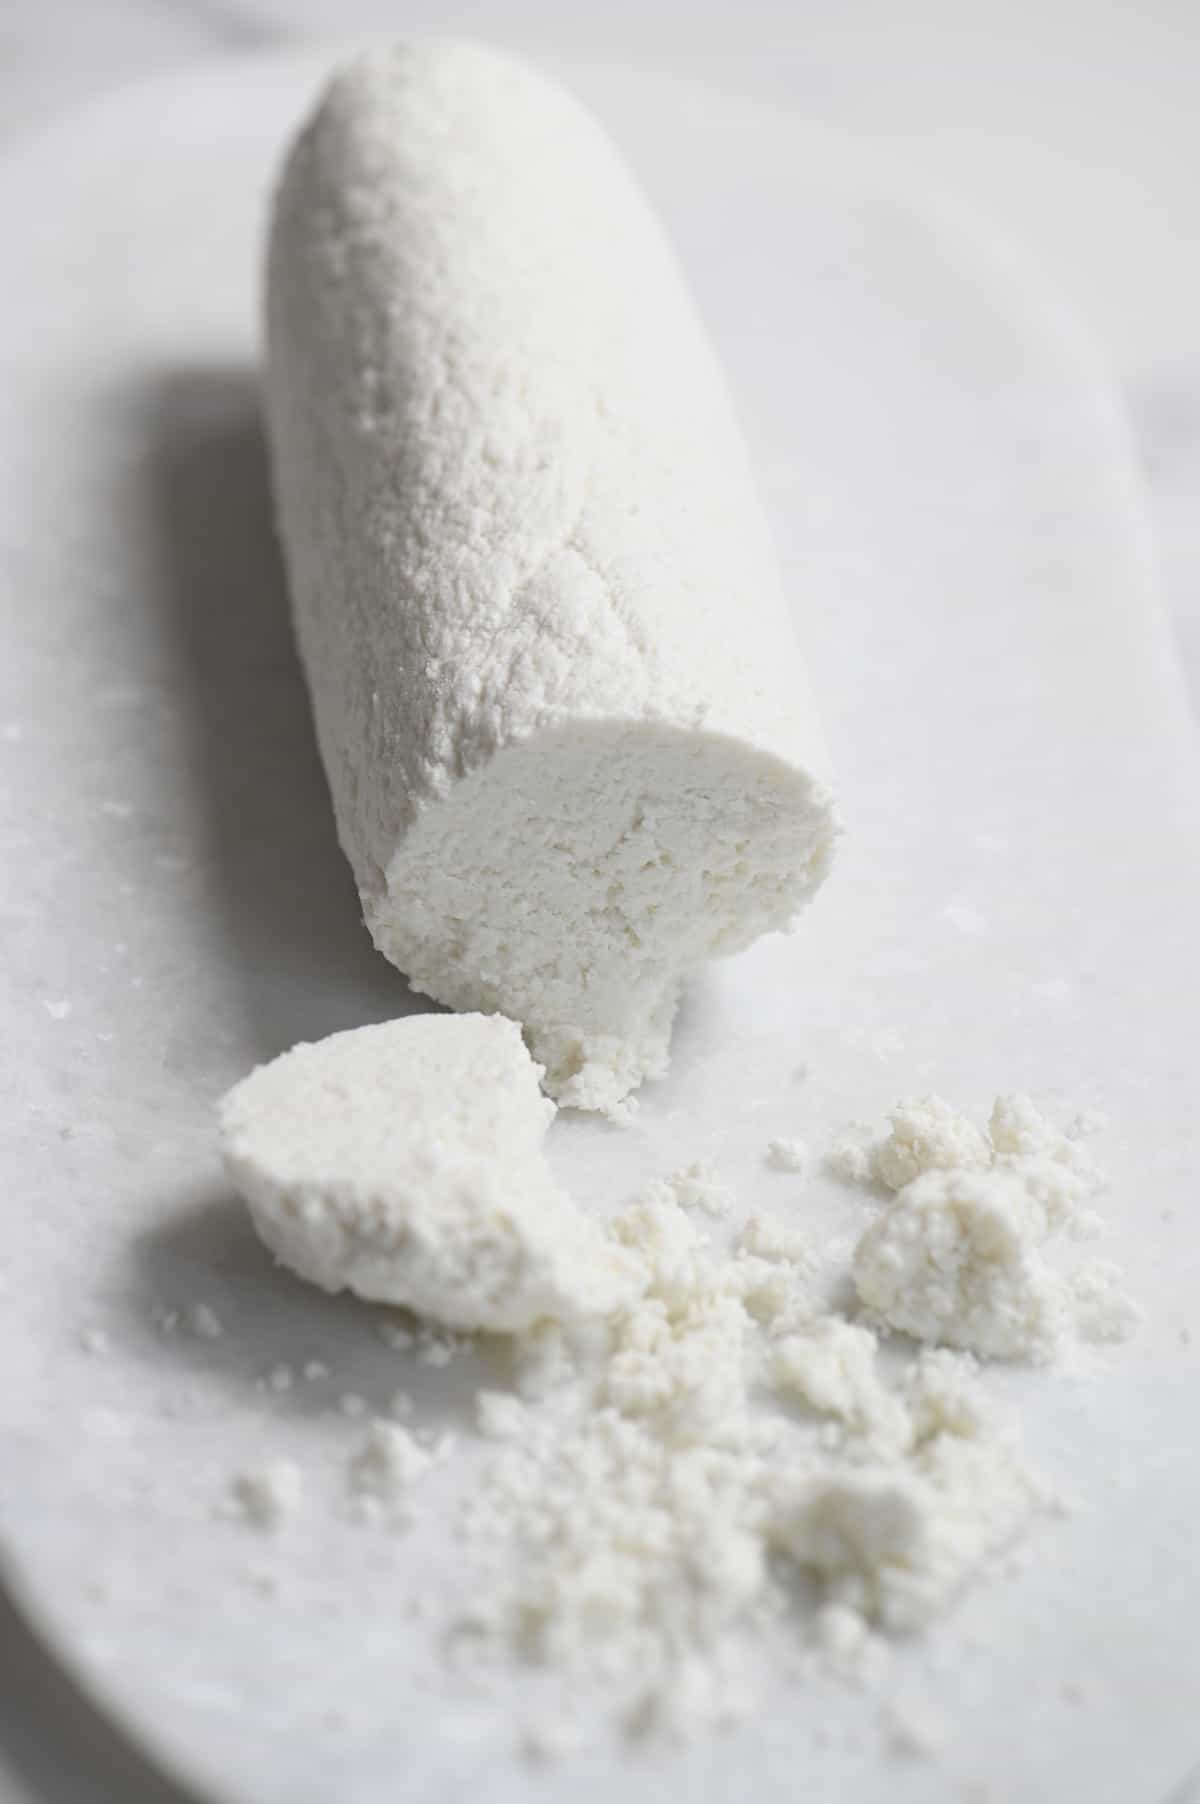
Out of all the DIYs I’ve done over the last few years, I think cheese-making is one of the ones that has truly revolutionized my spending habits. I honestly barely ever buy cheese at a store now because it’s so easy to make batches at home that I can flavor how I want, know exactly what went into them, and this homemade goat’s cheese (french chèvre – which translates to goat) is no different.
Plus, the process for making homemade cheese is FAR simpler than you may be imagining if you’re a complete newbie. This creamy goat cheese uses a ‘coagulation’ method, which means that we combine the goat’s milk with heat and acid. This then breaks down the milk into curds and whey. The curds are what we collect and drain to become our cheese – it’s as simple as that!
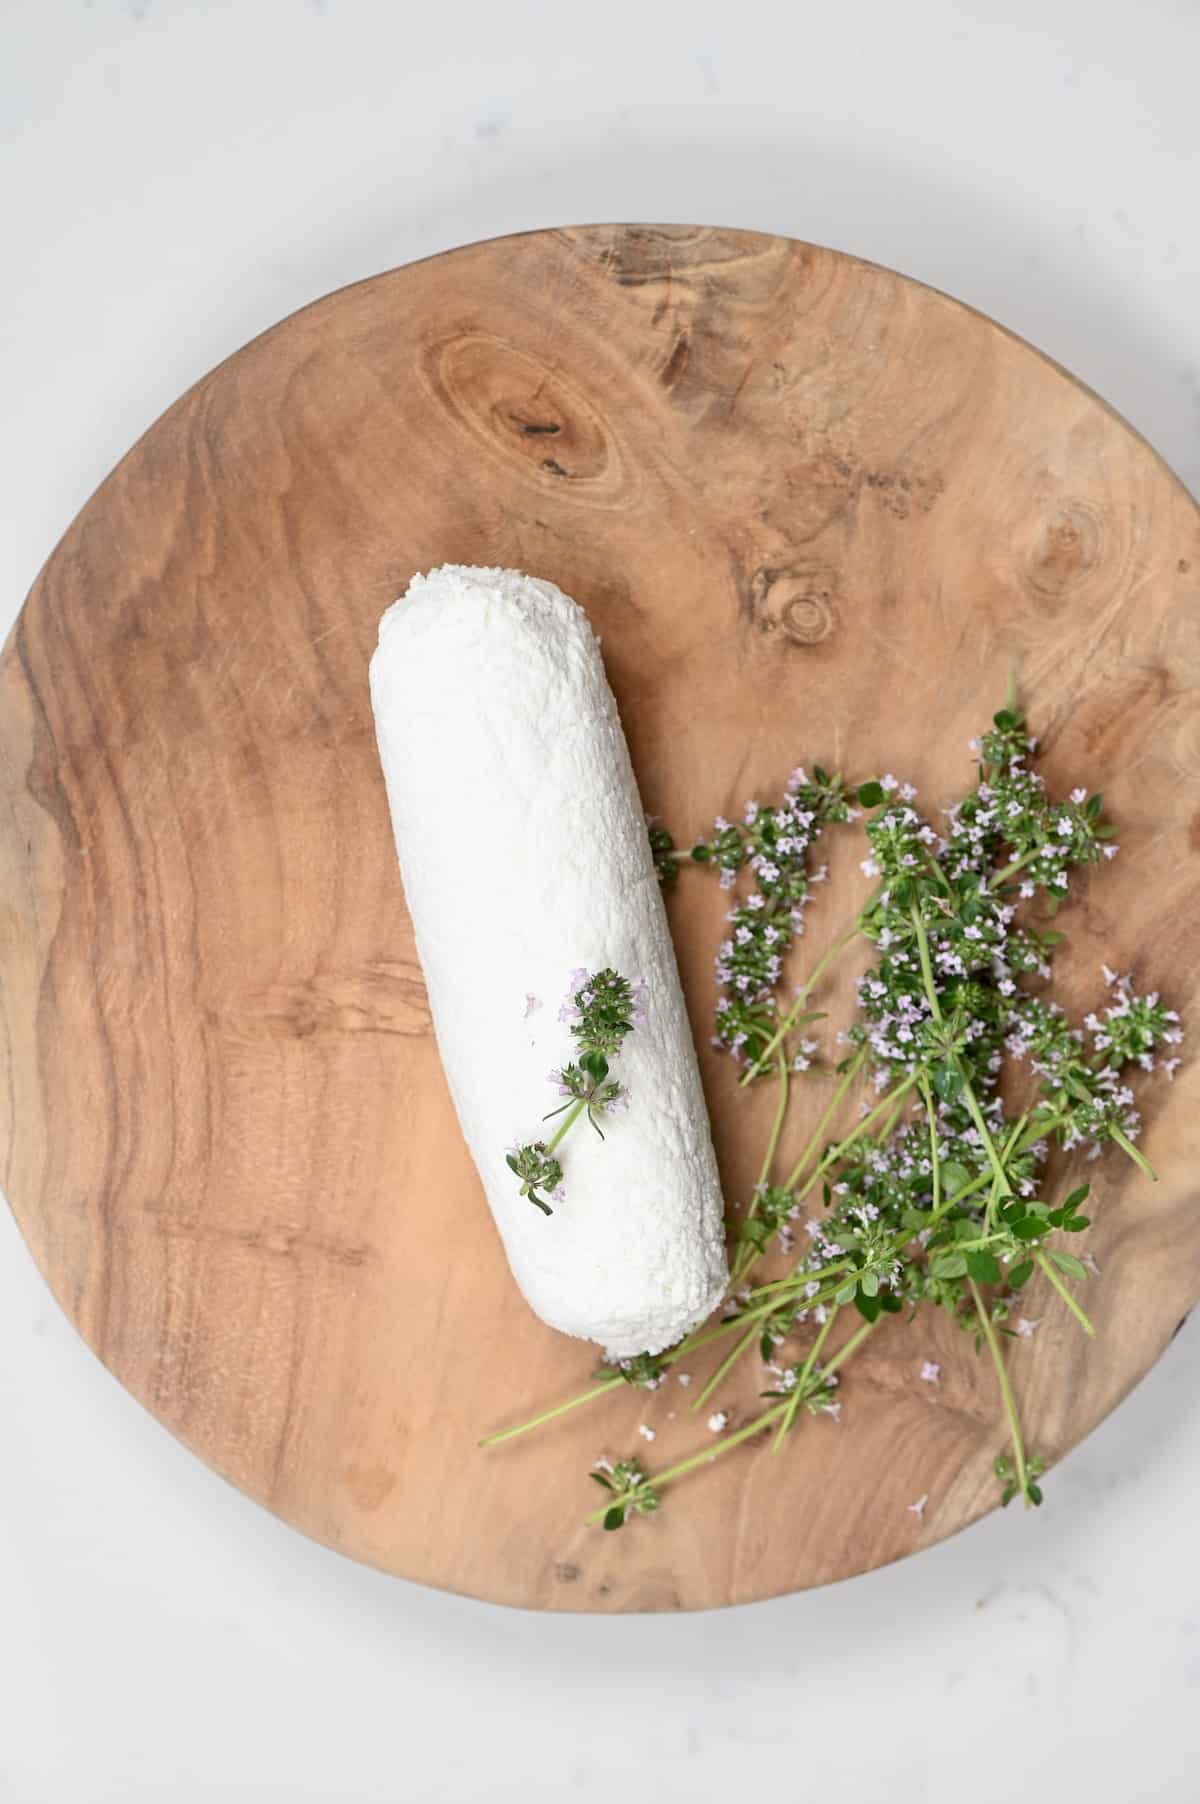
There’s honestly no specialty equipment you even need for this method – other than cheesecloth and a thermometer (which I honestly suggest you get anyway – because they are SUCH a handy kitchen gadget for anyone wanting to make their own DIYs and even ice cream, etc.).
Want to save this recipe?
Why try this recipe
It also tends to be easier on the stomach than cow’s milk/cheese, thus many people who have issues with cow’s milk/cheese can eat goat’s cheese.
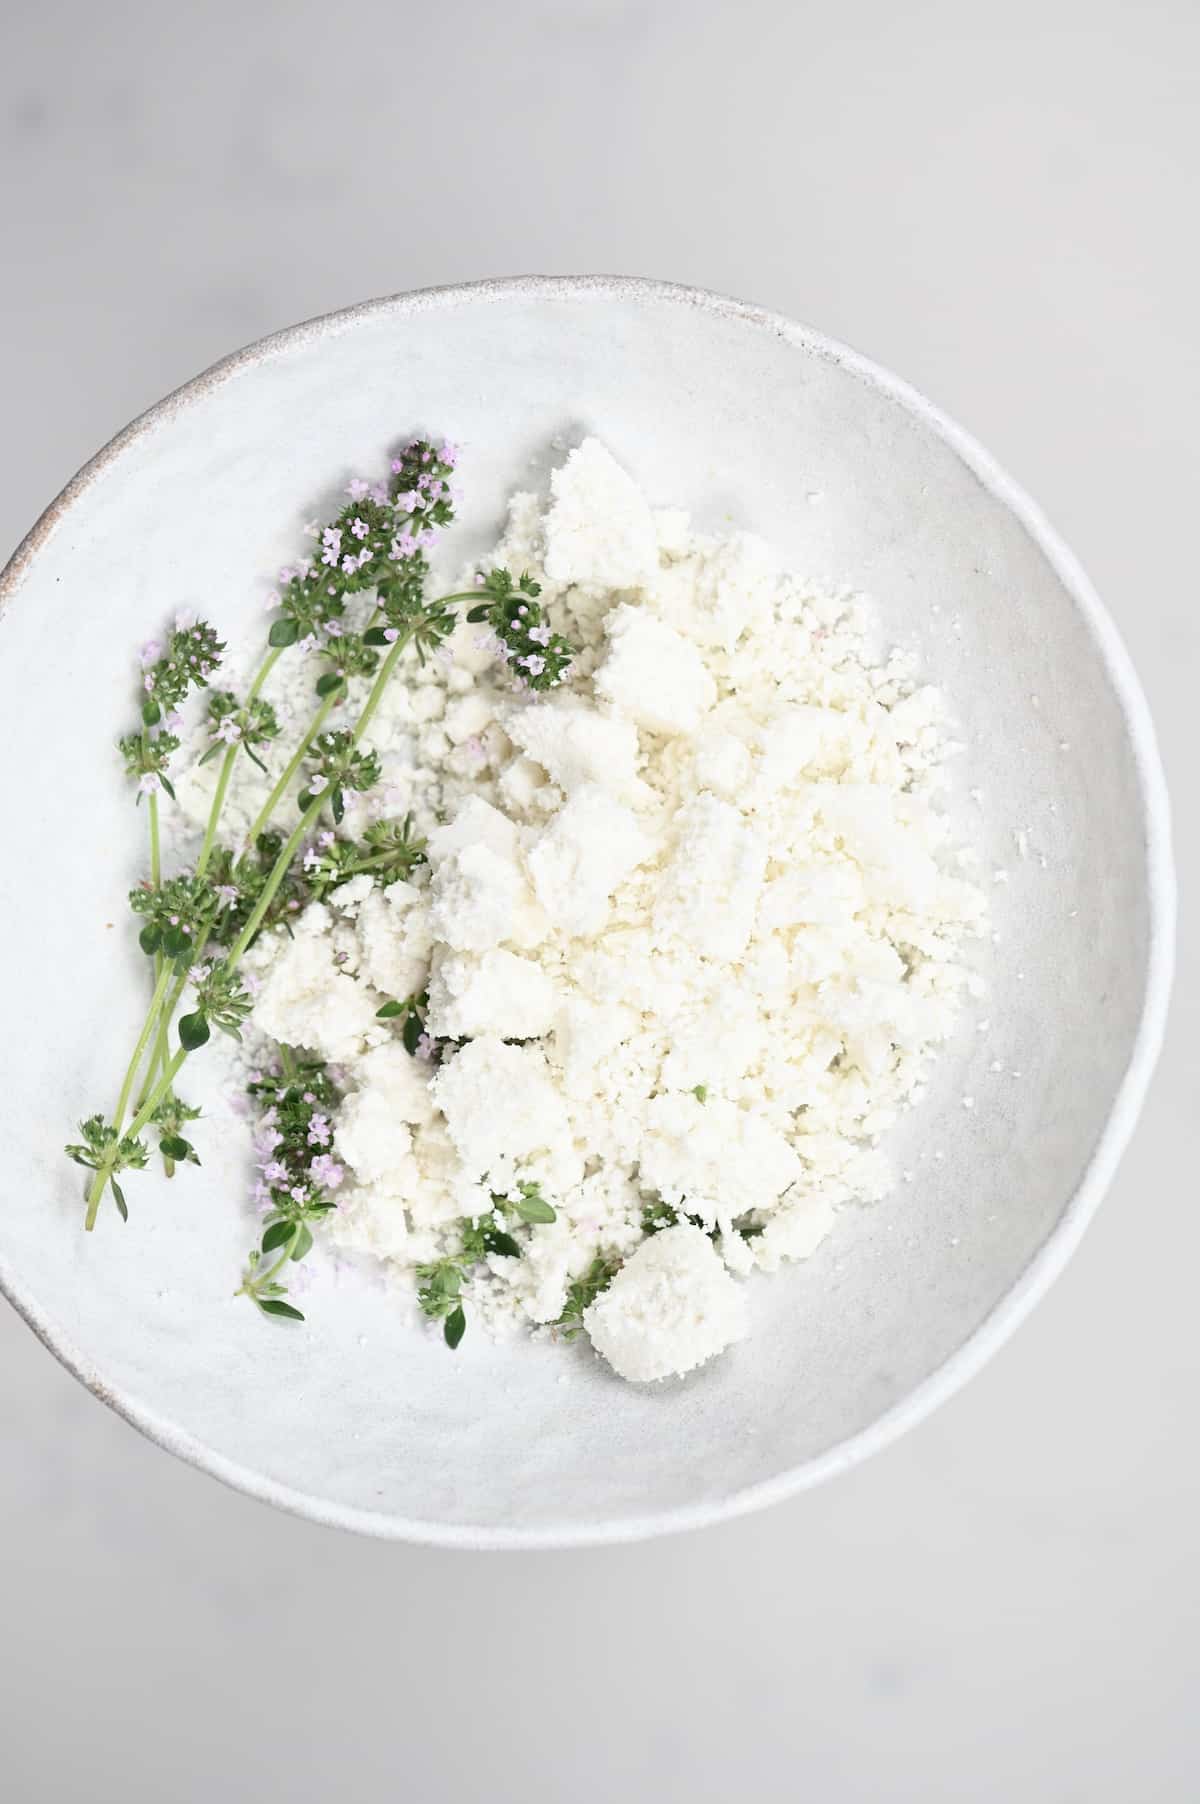
On top of that, this homemade cheese uses just three ingredients and tastes absolutely delicious!
Ingredients you need and variations
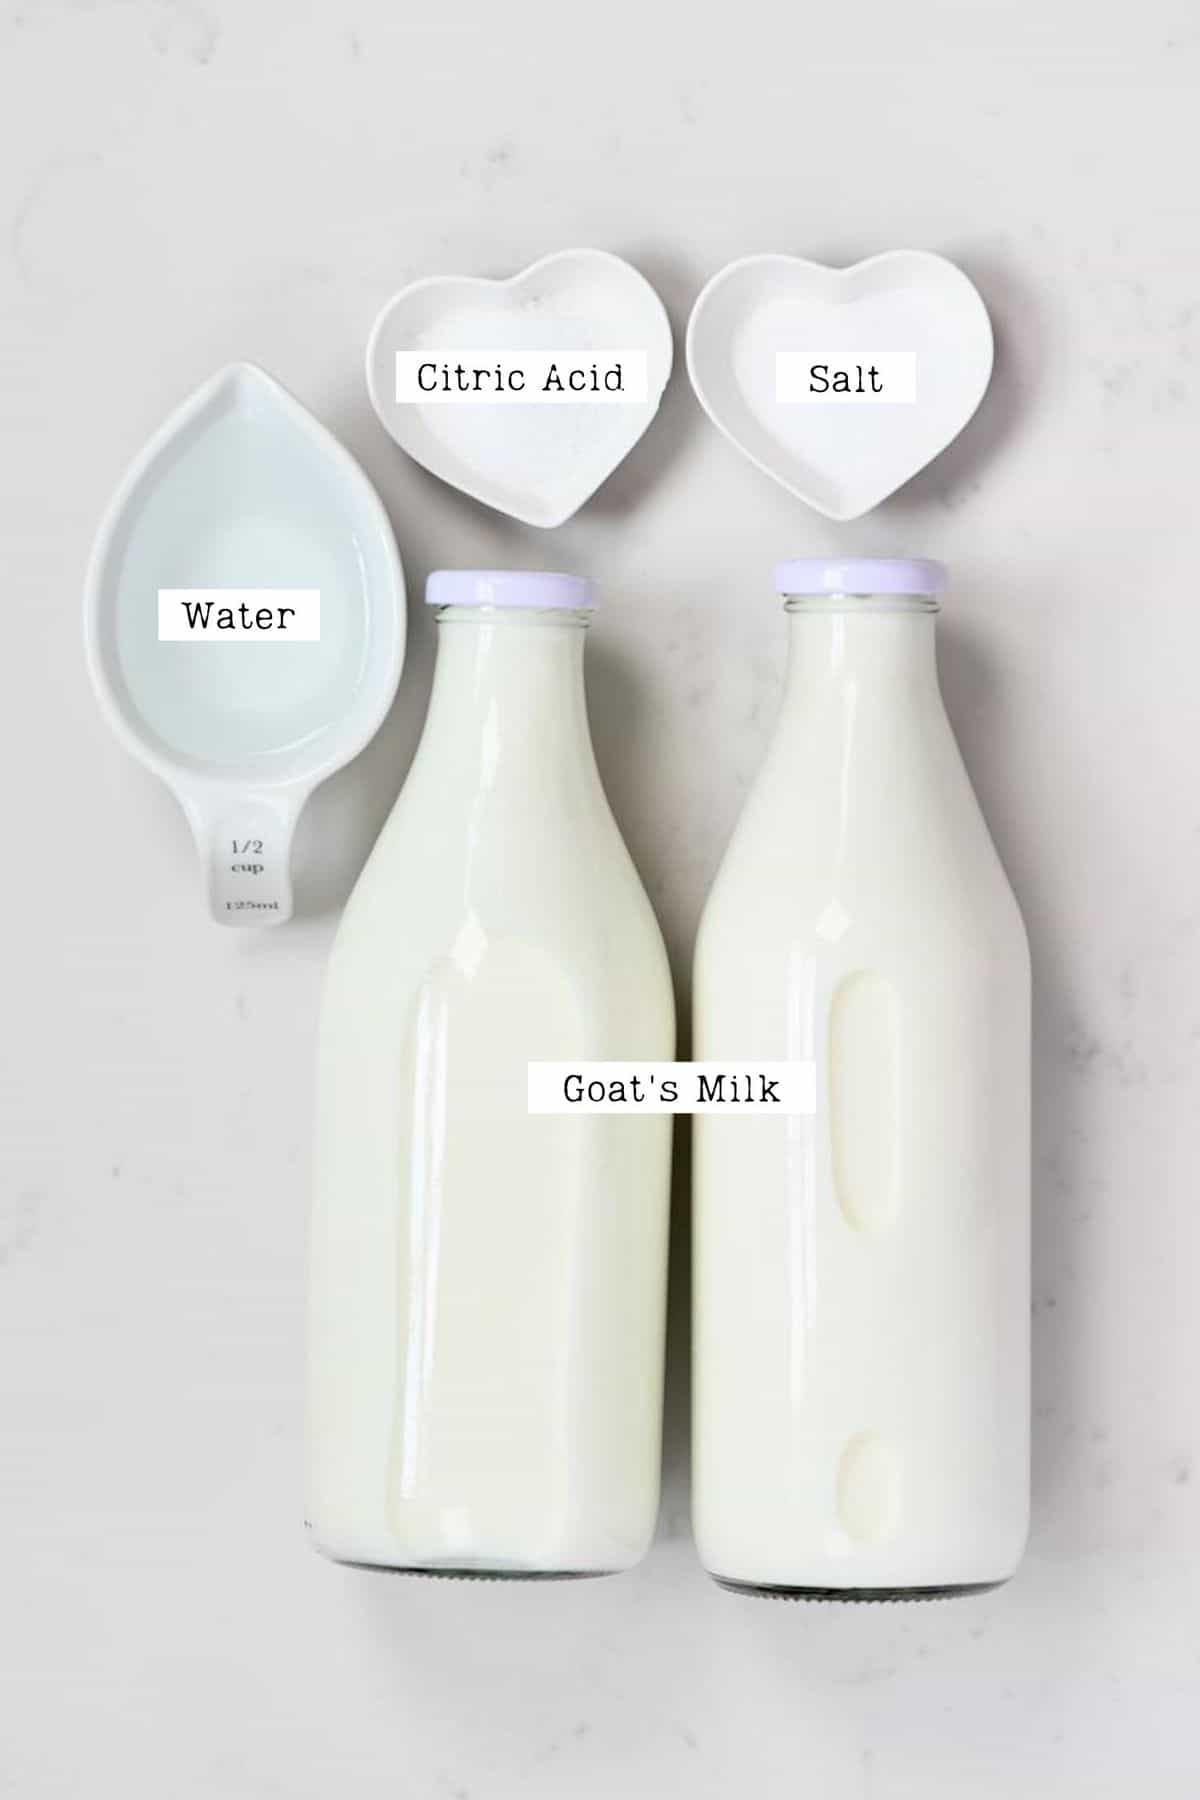
- Fresh goats milk: It’s best to use full-fat goats milk (I used pasteurized goat milk), avoiding anything ultra-pasteurized, as it won’t curdle the same way. You can use raw goats milk if you’re able to source some.
- Citric acid and water: This is what I decided to use as my curdling agent because I have it in my kitchen after lots of DIY-ing. However, if you’re new to cheesemaking and want options that you probably already have in the house (like lemon juice, and vinegar), then check out the FAQ section for more information.
- Cheese salt (kosher salt): This is a non-iodized salt perfect for cheese as the lack of iodine means that it won’t inhibit the needed cultures/bacteria within the cheese. You can use sea salt as well, but only add after the cheese had curdled and drained.
Optional ingredient add-ins
I love to make plain goat’s cheese, and then adapt smaller portions to individual meals/uses. However, you can also flavor the entire batch. Here are a few options:
- You can make a herbed goat cheese using dried herbs such as chives, thyme, rosemary, etc. Add at the same time as adding milk to distribute evenly throughout the cheese.
- You could also cover the goats’ cheese in fresh herbs, once molded. I like to use chives or dill. You can also use dried herbs and spice blends such as tarragon, za’atar, basil, etc.
- When making logs/disks, you could also cover them in chopped nuts (raw or toasted).
- For a sweet variation, drizzle with honey and, optionally, some cinnamon.
Step by step instructions
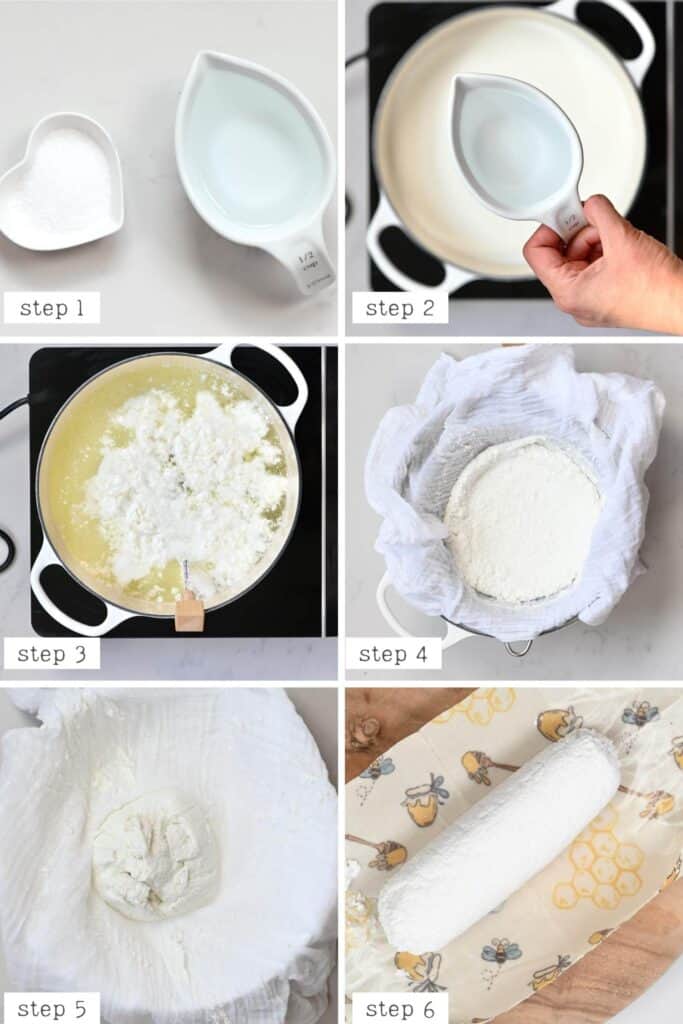
Step 1. Prepare the Citric acid
Start by dissolving the citric acid in the water. There’s no need to heat the mixture.
Step 2. Heat The Goats milk
Pour the milk into a large saucepan and add the dissolved citric acid. Heat over medium heat gently, until you reach 85ºC/185ºF.* Then remove from heat.
*This method will differ if using lemon juice/vinegar. In that case, you only add the acid once the milk has reached this temperature and you’ve turned the heat off.
Step 3. Leave the milk to curdle
Set the milk aside and allow to rest, covered (with a lid or tea towel), for 10 minutes.
Goats milk doesn’t curdle in the same way that cows milk does, as the curds can be fairly small and less ‘formed’, unlike when making ricotta. This means the mixture can still look fairly liquid after 10 minutes.
Step 4. Drain the cheese
Place cheesecloth inside a sieve and pour the milk into the cheesecloth and allow to drain for around an hour.
You can leave the sieve over a large bowl and collect the leftover whey to use in other recipes. Alternatively, you can bundle up the cheesecloth and hang it from the faucet, to drain.
Step 5. Flavor and mold it
Add your salt to the drained cheese and mix well. Now it’s time to form the cheese. You can place it in a mold or roll it into a log.
To easily roll into a log, place it over a piece of beeswax wrap, plastic wrap, or wax paper and use it to roll into a log. Twist/fold in the ends to secure the cheese parcel.
Move to the fridge to chill and ‘set’. Your homemade goat cheese is ready to use!
How to serve
There are tons (and tons and tons) of ways to serve and consume goats cheese. SO much so that I couldn’t possibly hope to list them all here. However, here are some of my top picks.
- Spread over toast (whole wheat or multigrain), bagels, or even croissants.
- Serve as part of a cheese platter, with crackers and this easy homemade fig jam.
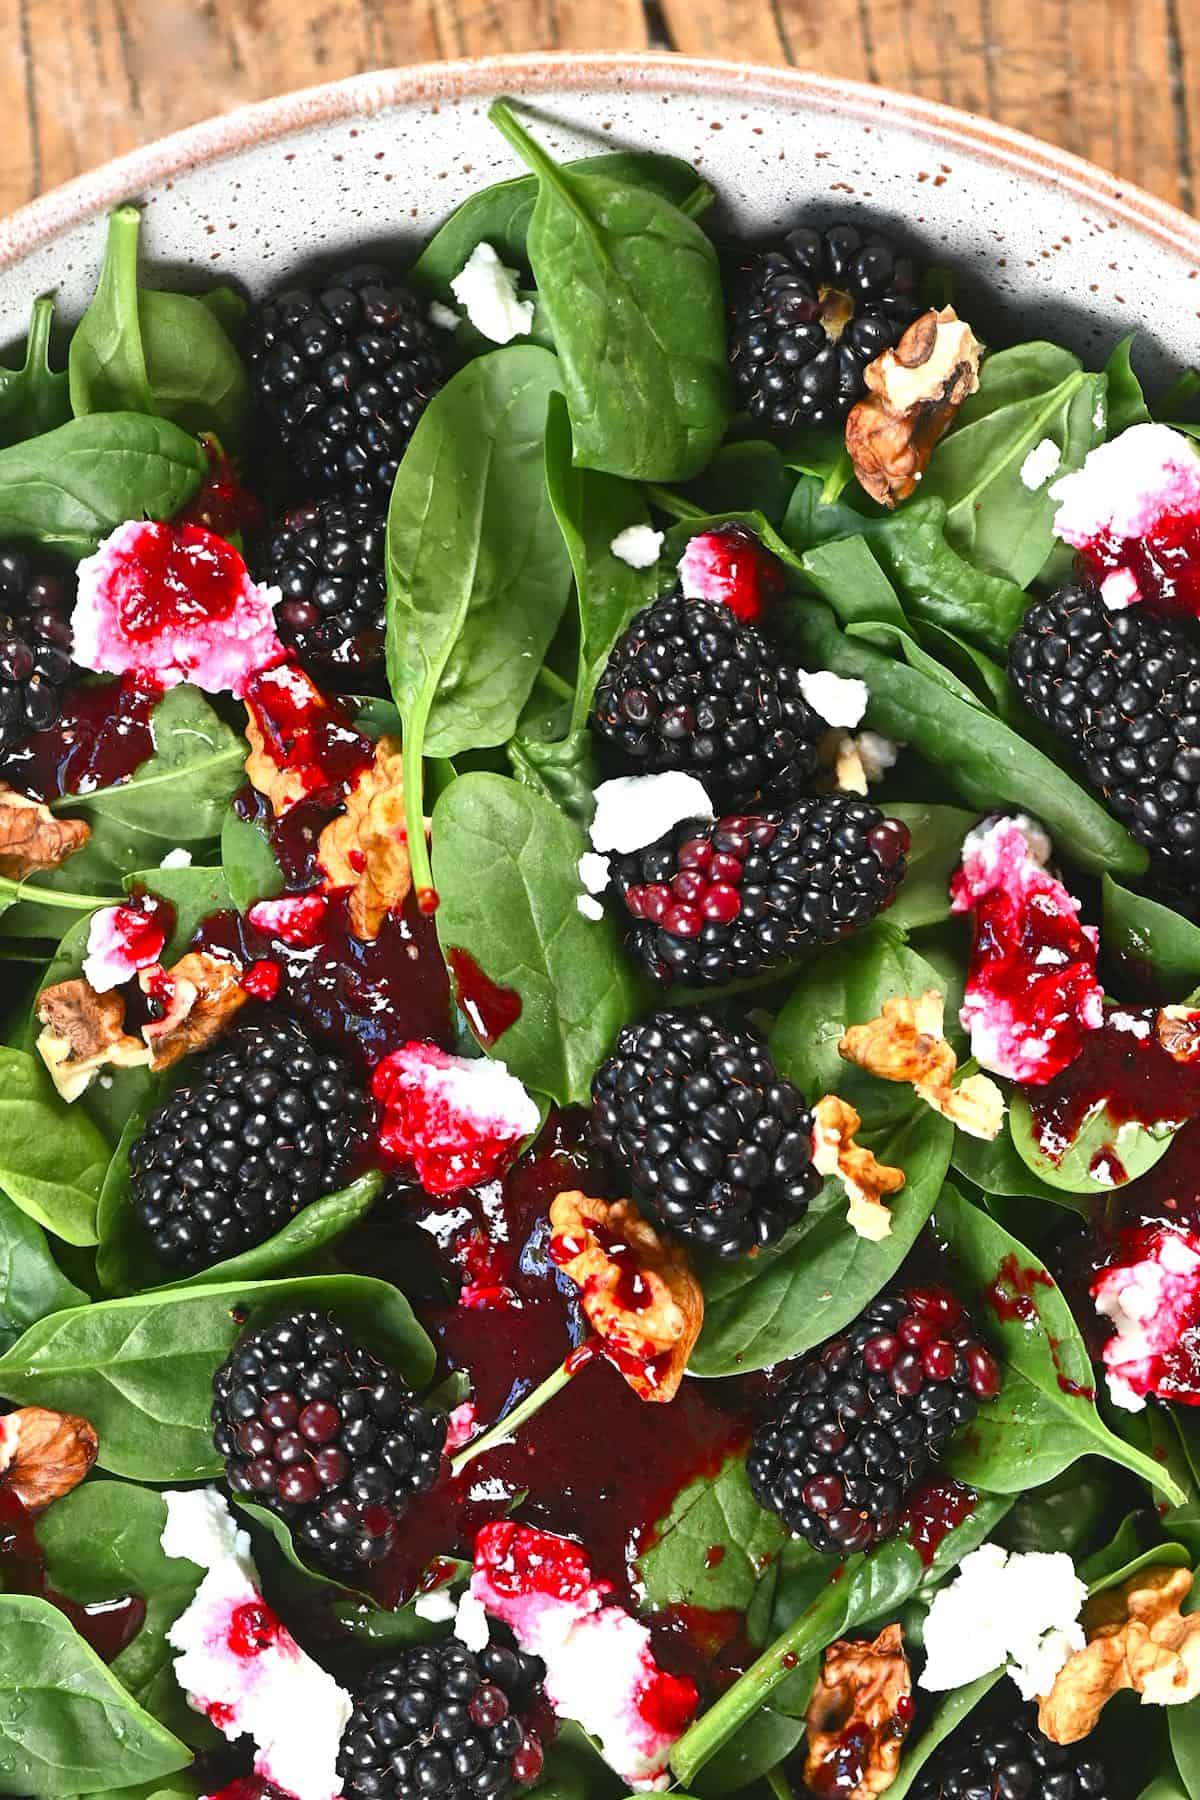
- Crumble over/into salads – like this beet salad recipe, simple quinoa salad, or blackberry spinach salad.
- Mix into pasta sauces – like this Vegetarian One-Pot Pasta bake, including within lasagne.
- Make a pizza and top with goat cheese.
- Use on baked potatoes (including sweet potatoes).
- Marinate in olive oil and herbs.
- A goat cheese and caramelized onion tart.
Let me know in the comments what your favorite goat cheese recipes are.
FAQs and tips
This cheese can last between 1-2 weeks in the fridge (although, I suggest aiming to use it within a week). It’s best kept with slight ‘humidity’, so keep in a drawer, if possible.
If there is any mold on your cheese then you’ll have to discard the entire cheese. It will also, usually, develop an odd smell and appearance.
Yes. It’s best to freeze soon after preparing the batch, tightly wrapped, to maintain its texture and moisture content. It is best consumed within 6 months. Allow to thaw slowly in the fridge, before using.
If the texture changes upon thawing you can blend it into a creamier texture, or even add a few tablespoons of milk to it and mix well.
You can also use simple home ingredients to help the milk curdle. This includes white vinegar, apple cider vinegar, or lemon juice. You’ll need 1/3 cup fresh lemon juice per quart (950ml) of milk or 1/4 cup vinegar.
I’ve never had this issue happen. However, this could be down to heating the milk too quickly. Slow and steady is the name of the game (the same goes for stirring the milk – stir too fast and you’ll have tougher cheese).
It could also be down to the amount of acid used with the milk. Goats milk changes in acid throughout the year (highest after giving birth), so this can affect the amount you need to add.
The key to a soft and spreadable goat cheese is simply mixing it with a spoonful or two of milk or cream. Mash them together in a small bowl, and within seconds, the goat cheese will be just softened enough to be spreadable.
If you do find the cheese too crumbly, you can whip it into a spreadable, creamy consistency. Simply combine goats cheese and cream cheese 2:1 ratio in a blender. You can even add extra ingredients such as garlic, red pepper flakes, herbs, etc.
Yes, sure can! I like tangy goat cheese – but to reduce the tangy flavor, lightly rinse the cheese curds gently with some cold water before leaving to drain and it will wash away some of the ‘tang’ from the acid.
Related recipes
- Super Easy Homemade Cream Cheese
- Homemade Ricotta Cheese
- DIY How To Make Paneer At Home
- Simple Smoky Vegan Cheddar Cheese
- Easy Stretchy Vegan Mozzarella Cheese
- Simple Herby Vegan Feta Cheese
- How To Make Butter (ONE ingredient)
If you give this recipe a go, then let me know your thoughts in the comments. Also, feel free to tag me in your recreations @AlphaFoodie.
How to Make Goat Cheese
Equipment
- Beeswax wrap or parchment paper, or wrap
Ingredients
- 8 cups fresh goats milk best to use full-fat goat's milk, avoiding ultra-pasteurized
- ½ cup water if using citric acid
- 1.5 tsp citric acid OR 2/3 cup fresh lemon juice and 1/4 cup vinegar(4 tbsp)(no water needed if using lemon/vinegar)
- 1 tsp cheese salt
Instructions
Using Citric Acid:
- Add citric acid to water and stir until fully dissolved.
- Pour milk into a large saucepan. Add dissolved citric acid and stir gently.
- Heat over medium heat until milk reaches 185ºF/85ºC. Remove from heat.
- Cover milk and let it rest for 10 minutes. It may still appear liquid after 10 minutes, but this is sufficient.
- Place cheesecloth in a sieve over a bowl. Pour milk into cheesecloth and allow to drain for about an hour. Reserve leftover whey if desired.
- Mix salt into drained cheese. Add spices or herbs as desired.
- Roll cheese into a log and wrap in beeswax, plastic wrap, or wax paper. Secure ends.
- Chill cheese in the fridge. Your homemade goat cheese is ready to enjoy!
Using Lemon Juice and Vinegar:
- Heat goat milk to 185ºF/85ºC.
- Remove from heat, add lemon juice, and stir gently.
- Add vinegar, stir to combine, and let sit for 30 minutes. And continue with straining the cheese and forming it the same method as using citic acid.
Optional step – Smooth creamy cheese
- Once the cheese has set, you can blend it with a bit of water, milk, or cream (2-3 Tbsp as needed) to achieve a smooth creamy goat cheese.
Video
Notes
Nutrition
Nutrition information is automatically calculated, so should only be used as an approximation.









It would have been nice to have the footnote about the juice/vinegar actually in the recipe.
Hi there. Hey there! Thanks for your feedback, I will make sure to update the post. If you have any more questions or suggestions, just let me know!
Love this recipe! It was super easy to make. Used ultra pasteurized goat milk from the store and it turned out just creamy and delicious!
Glad you liked it, Jeanette!
Mine didn’t separate like the video shows, with the yellow whey. All the curds (gelatinous goop) went to the bottom of my pan then started to scald, even though it was on medium heat?
I’m sorry that happened, Amy! It sounds like the curds didn’t form properly, and the milk may have overheated or scalded. Try using a lower heat and avoid stirring after adding the acid. Using a thermometer really helps with precision, too! I hope you give it another try!
Great easy recipe! Thank you I have made it into a log. I wanted to cut it into 2cm cubes and marinate it in garlic infused oil, with thyme and peppercorns. If I sterilised the jar, and then added the fresh marinate, how long would the cheese last?
Hi Hannah.
If the jar is sterilized and the cheese is fully submerged in oil, it should last up to 1–2 weeks in the fridge. Use a clean utensil each time to prevent spoilage.
I want to make this using freshly squeezed lemon juice. Will the amount be same as the water used here?
Hi Esther,
Yes! You can use freshly squeezed lemon juice instead of vinegar or citric acid. Use the same quantity (about ½ cup), though keep in mind that lemon juice acidity can vary slightly, so you may need to adjust by taste or curd formation.
Hello! I was very excited to find your recipe and gave it a try. It was a fun little DIY. I do think I heated the milk a little too fast but other than that I followed your steps as closely as I could, using white vinegar as the acid. The end result is good, but not very tangy. Any suggestions on what I might have done to not get a tangy result? Any suggestions appreciated and thank you again for sharing your recipe and instructions.
Hi Dallas! So glad you enjoyed the DIY – and apologies for the late reply. 😊 For a tangier goat cheese, you have a couple of options: use a bit more acid (vinegar or lemon juice), and avoid rinsing the curds before draining, since rinsing washes away some of that tang. Also, heating the milk slowly and gently (rather than too fast) helps the curds set well and hold flavor. If you’d like, you can even add a splash of lemon juice at the end and mix it in. Thanks for giving it a go!
Oh shoot, I just made this & followed recipe. I added lemon juice right away, but now after the fact I’m seeing a note at the bottom that says don’t add it until after it’s heated:( it’s straining now & so far its looking like it won’t turn out well
Hi Becky! Don’t panic – and sorry you spotted that note after the fact! 😊 Adding the lemon juice before heating doesn’t necessarily ruin it; it can still curdle, it just sometimes gives a slightly different (often softer or less tangy) result. Let it finish draining and see how it turns out – you may be pleasantly surprised. If the texture ends up a bit off, you can blend it smooth with a spoonful of milk or cream. Fingers crossed it works out!
So simple, so delicious! Used with my raw goats milk and fresh herbs from the garden.
Thank you for your comment, Kelly. Glad you liked the recipe.
I tried this with vinegar and there was no curdling. Milk reached 185 degrees What happened ? Besides I wasted my goats milk.
Hi Laura! Oh no, I’m so sorry you didn’t get any curdling and wasted your goat’s milk – that’s really disappointing. The most common culprit is ultra-pasteurized milk, which often won’t curdle no matter what; full-fat, regular pasteurized (or raw) goat’s milk works best. With the vinegar method, also make sure you bring the milk to 185ºF first and only then add the vinegar off the heat, stir gently, and let it sit – adding acid too early or too little can stop it setting. I hope you’ll give it another try with non-ultra-pasteurized milk. 😊
Thanks for the recipe..really easy to follow..one question though..do i double the acid if i double the milk?
Yes, you would need to double it.
How much cheese does this make? Thank you.
Hi Kathleen! Apologies for the late reply. 😊 This recipe makes about one 8-ounce log (roughly 8 servings). Hope that helps with your planning!
So what happens if you didn’t read all the way to the bottom and added vinegar before the milk gets to temp?
Hi Zoey! Sorry for the late reply. 😊 If you added the vinegar before the milk reached temperature, don’t worry too much – it can still curdle, though the result is sometimes softer or less tangy than intended. Just continue heating gently to 185ºF and let it sit; you should still get curds to drain. If the texture isn’t quite right, blending in a spoonful of milk or cream smooths it out nicely. Hope it turned out okay!