This post may contain affiliate links. Please read our disclosure policy.
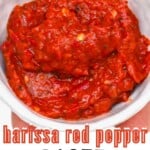
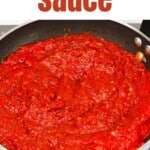
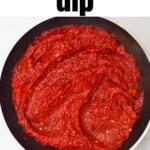
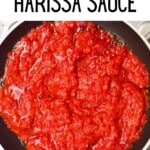
How to make harissa sauce, a smoky, spicy, creamy chili sauce and the ultimate condiment for heat-lovers. Even better, this harissa paste can be made with fresh or dried chiles, adapted to preferred spice levels, and stored in the fridge or freezer for weeks of deliciousness!
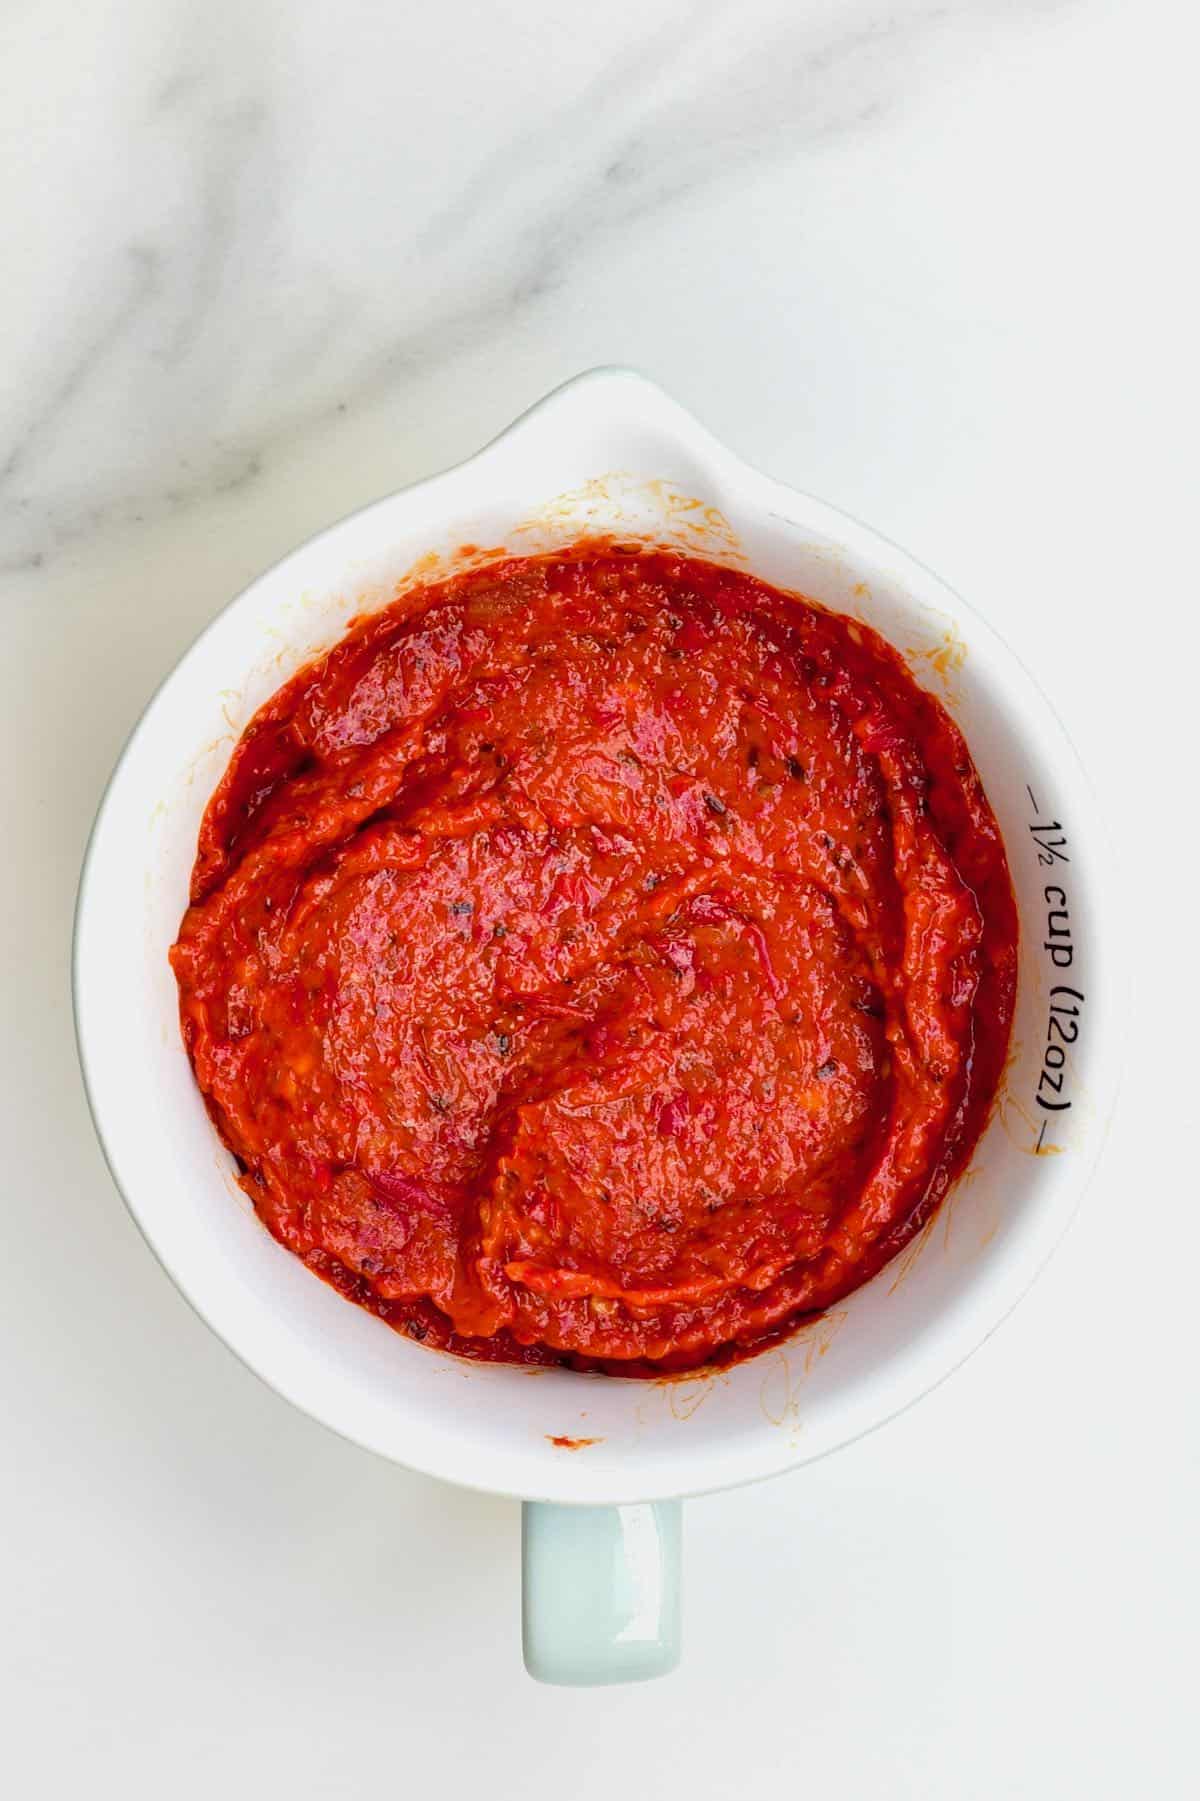
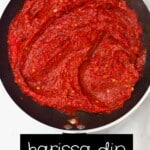
While I’ve previously shared a recipe for a quick chili sauce, this time, I’m making a thick, creamy, flavorful harissa sauce/paste – perfect for adding heat and smoky, tangy flavor to tons of dishes!
I know it’s possible to buy the paste in-store, but homemade harissa is just so simple, and it’s packed with fresh flavors and perfectly adapted to your tastes – how spicy, smoky, sweet the flavor is all up to you.
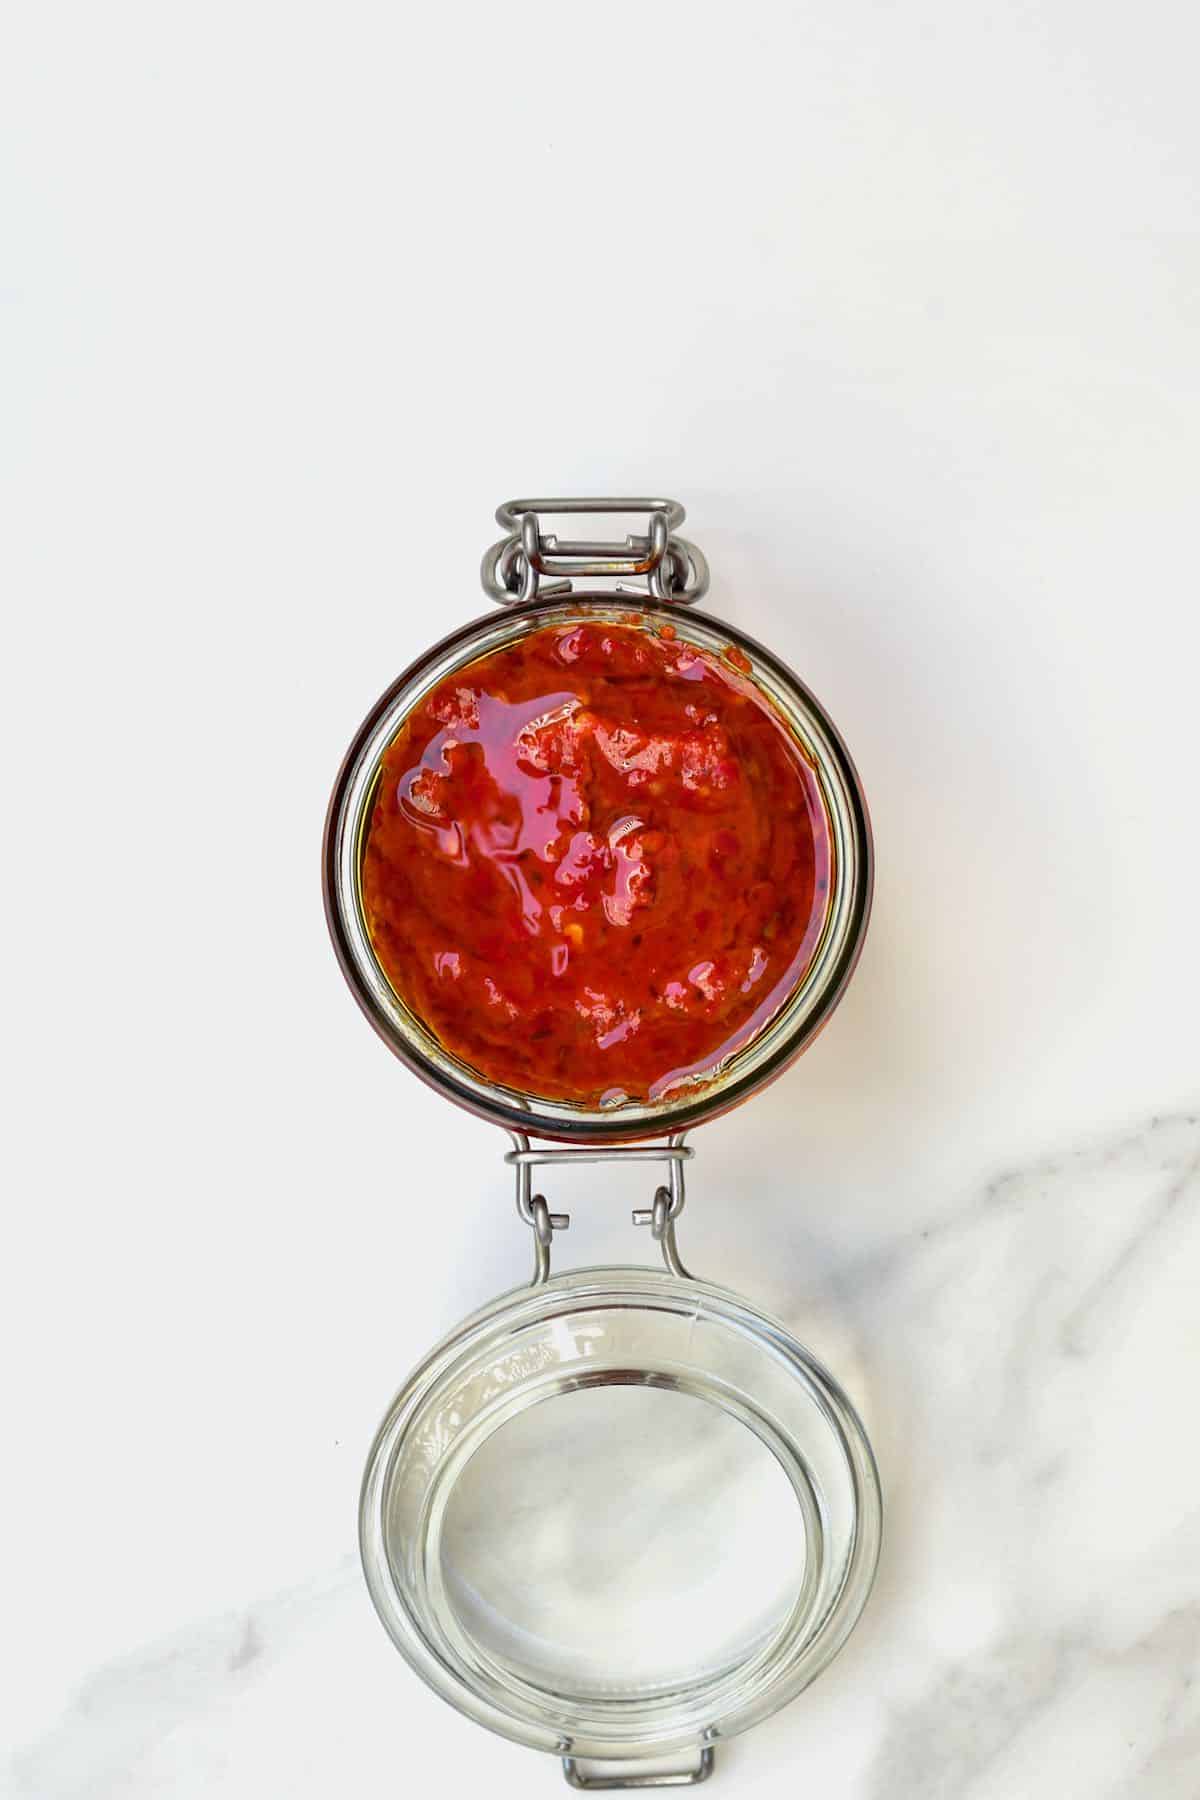
Garlic sauce (Toum), homemade mayonnaise, homemade ketchup, and this spicy harissa are now must-have condiments in my kitchen! Hopefully, you’ll agree.
Want to save this recipe?
What Is Harissa Sauce/Paste?
Harissa is a type of North African (Tunisian, to be exact) hot chili pepper paste. It combines roasted red peppers with baklouti peppers and a selection of spices, aromatics, and olive oil.
However, like many ‘traditional’ recipes, this condiment varies widely—practically from household to household. Some versions contain lemon juice, fermented onions, or rose petals (or rose water). Also, the heat levels will vary based on the exact peppers used.
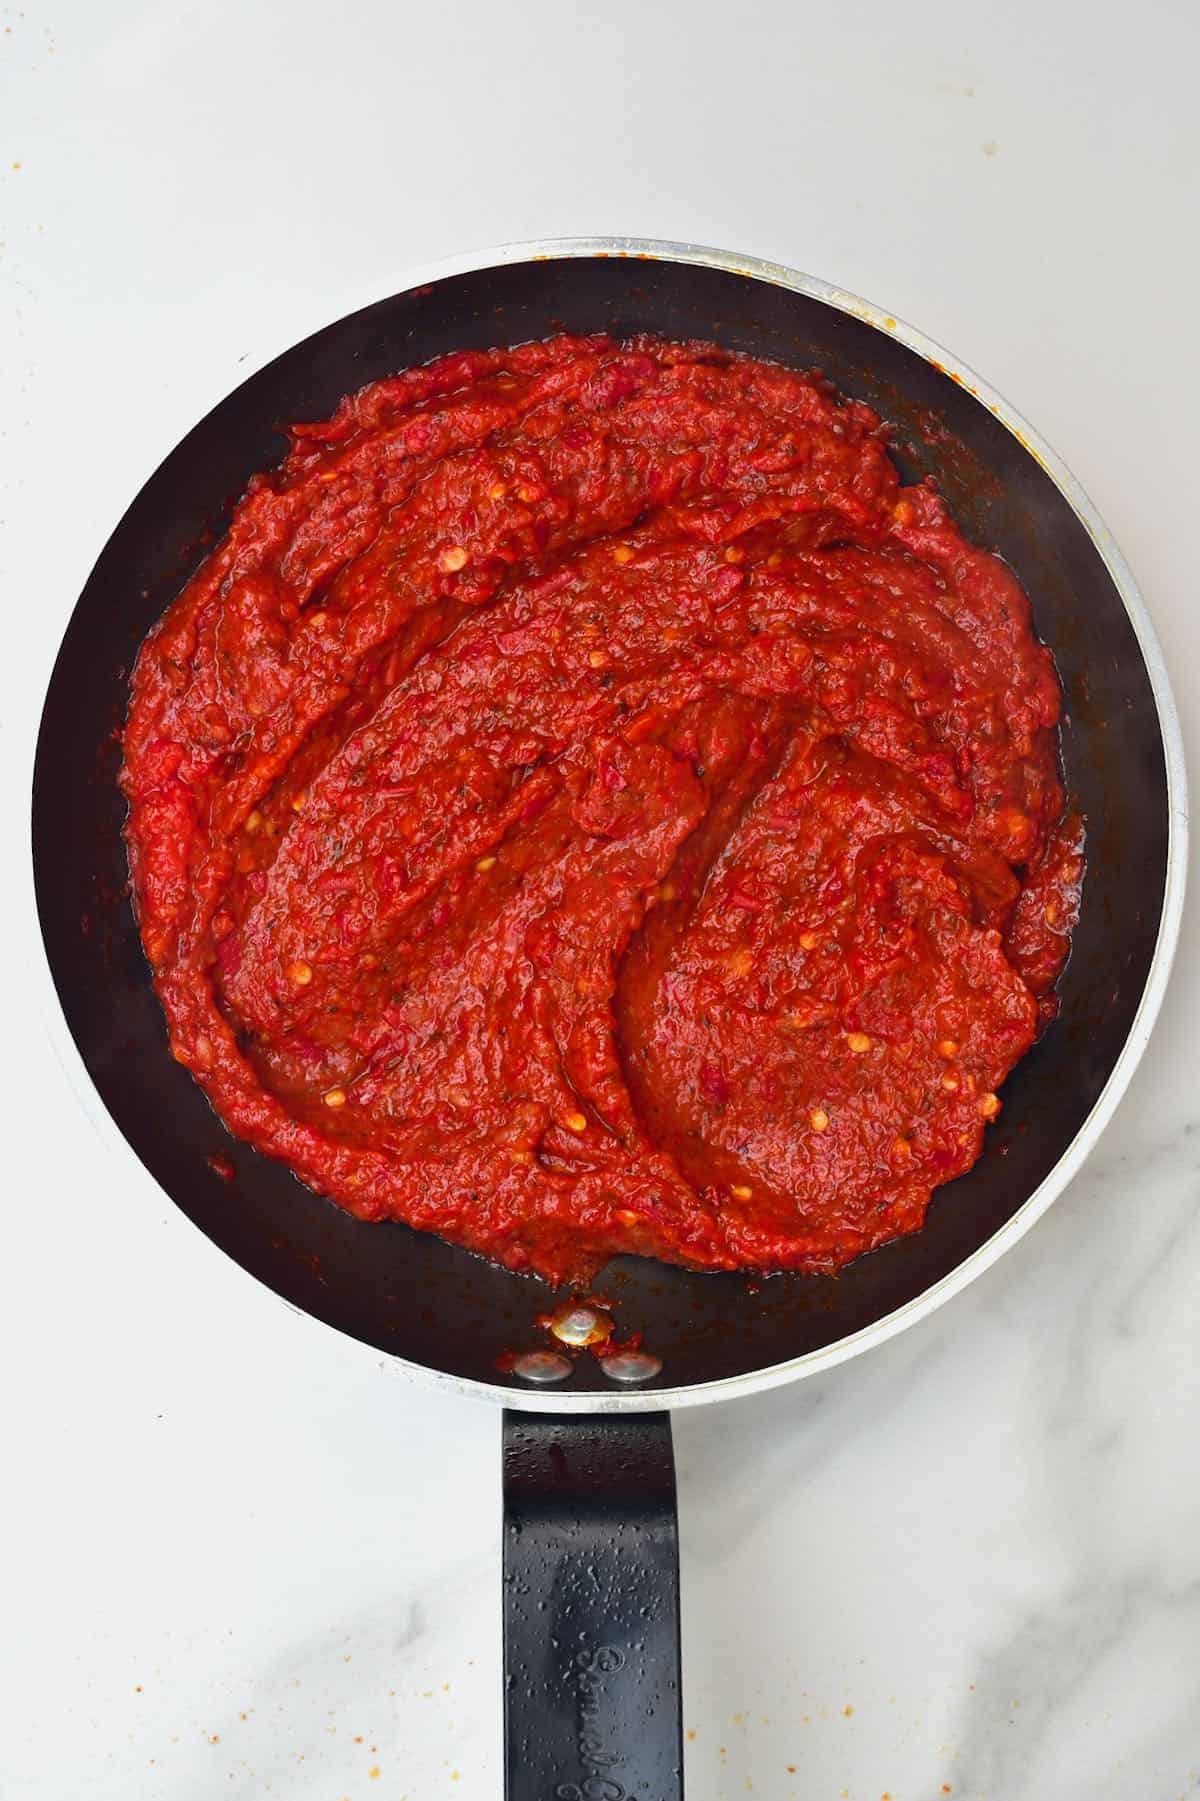
The resulting paste is the ultimate Tunisian condiment and can be used for meat and fish dishes, stews like Lebanese Green Beans (Loubieh Bi Zeit), and vegetables, as well as to flavor grains, in soup, etc.
There are several methods of making the paste, too. One version requires blending the dried chilies with the remaining ingredients. For this harissa sauce recipe, I’ve combined fresh peppers for a thick and creamy consistency.
While it’s not a traditional harissa paste (which relies on dried chili), you can use it in all the same ways!
The Harissa Sauce Ingredients
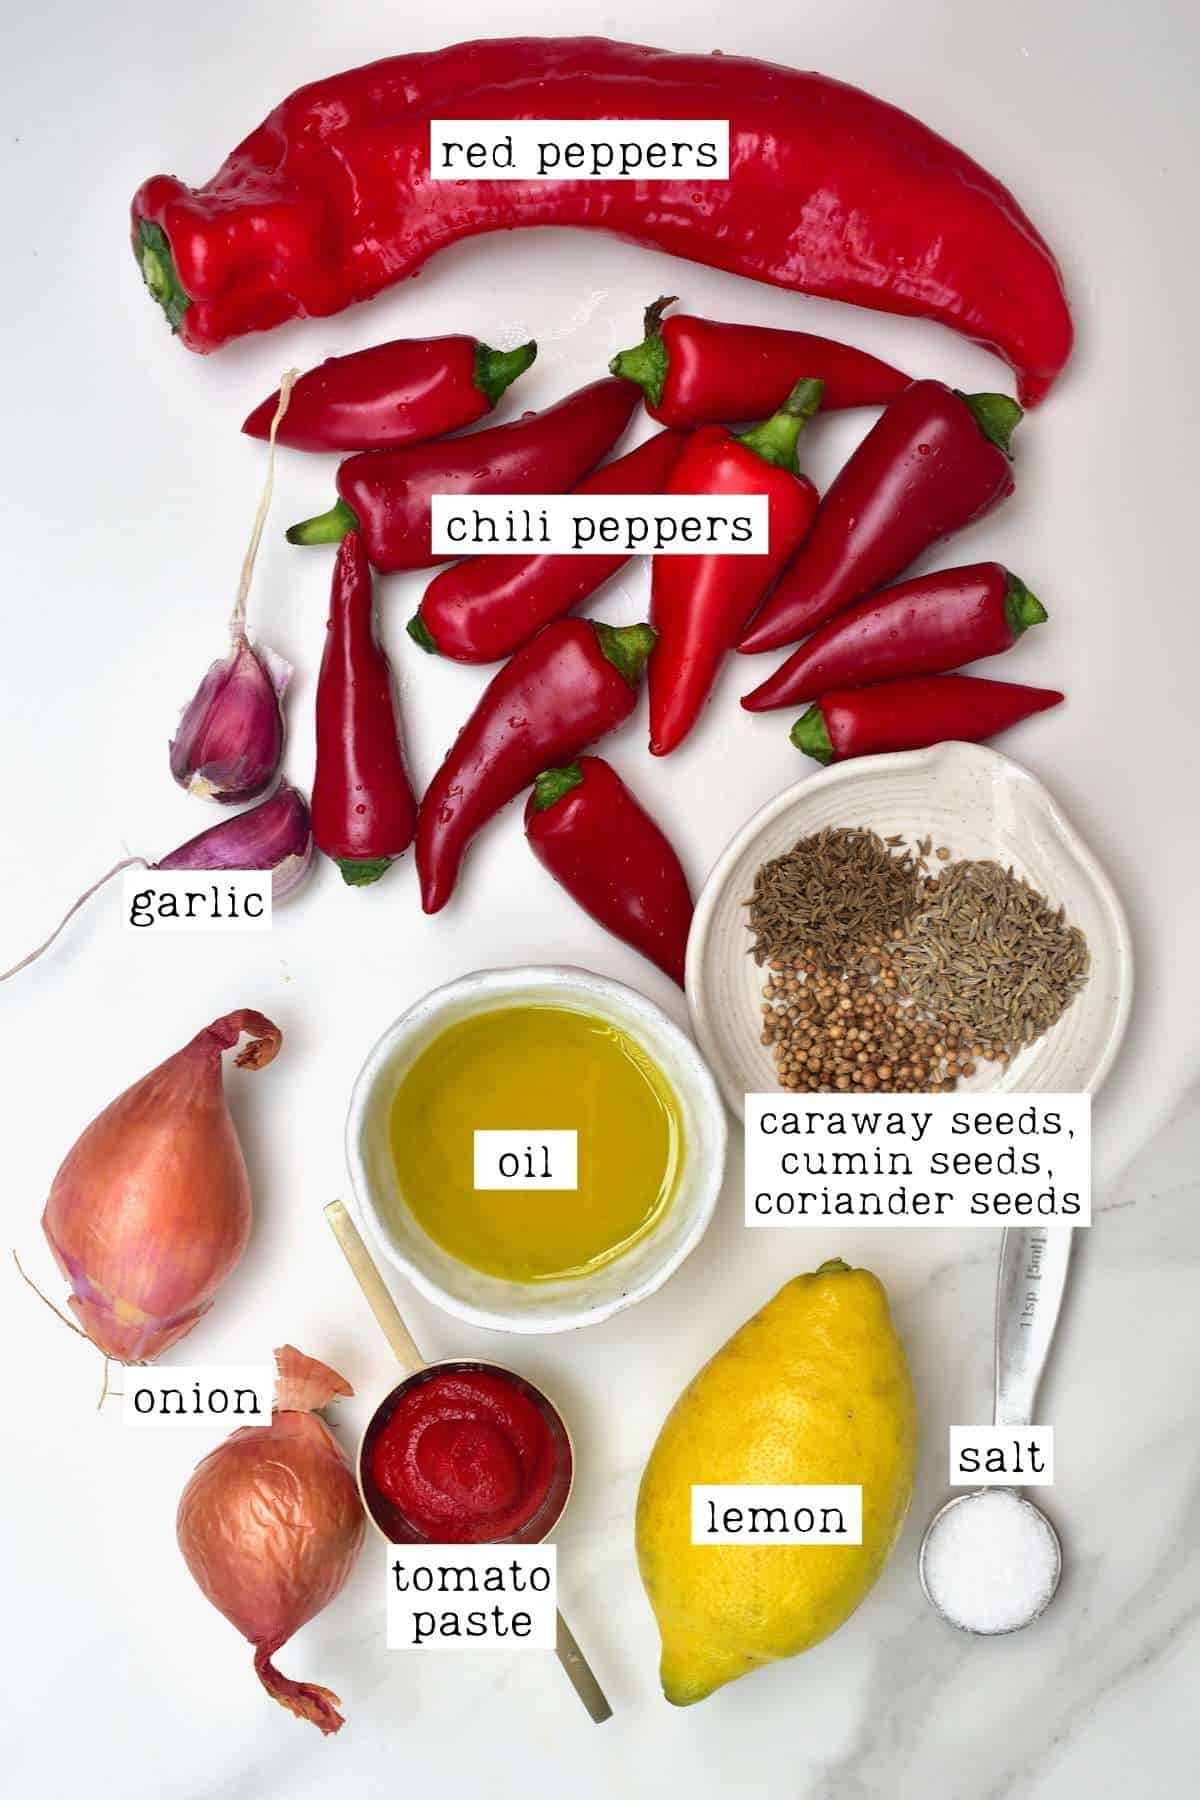
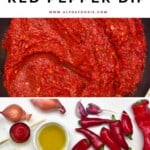
- Red pepper: use either red bell pepper or another mild red pepper. I used a long red pepper. You could also use jarred red peppers, which are slightly sweet and smoky.
- Chili peppers: I used fresh red chilies. You can also use dried chiles and choose the variety based on how spicy you’d like the harissa paste to be. I recommend New Mexico or Guajillo chilies, though Arbol and Chipotle could also work.
- Tomato paste: I use homemade tomato paste which cuts through the spice, adds depths of flavor, and a boost of umami. Sun-dried tomatoes would also work. You could omit this if preferred, though.
- Olive oil: use high-quality olive oil for the best results.
- Aromatics: I used a simple combination of onion and garlic, though the onion is optional.
- Spices: caraway, cumin, and coriander seeds – plus salt.
Optional add-ins and variations
- Lemon juice: to add fresh flavor and depth to the harissa sauce. Preserved lemon is another popular addition. Alternatively, you could add a bit of vinegar, like apple cider vinegar.
- Other spices: I particularly like smoked paprika (or hot smoked paprika). Cayenne pepper can be added to increase the spice further.
- Fresh herbs: cilantro, parsley, or even mint could be added for extra flavor.
How to Make Harissa Sauce/ Paste
Step 1: Roast the ingredients
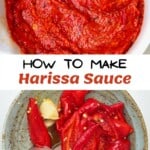
Start by spreading the pepper, chilies, garlic, and onion across a lightly oiled tray. Drizzle a bit of oil over the peppers as well. Then roast in a preheated oven for 20-25 minutes at 400ºF/200ºC.
Optionally you can broil (grill) them for a few minutes to lightly char the skins and add extra “smoky” flavor.
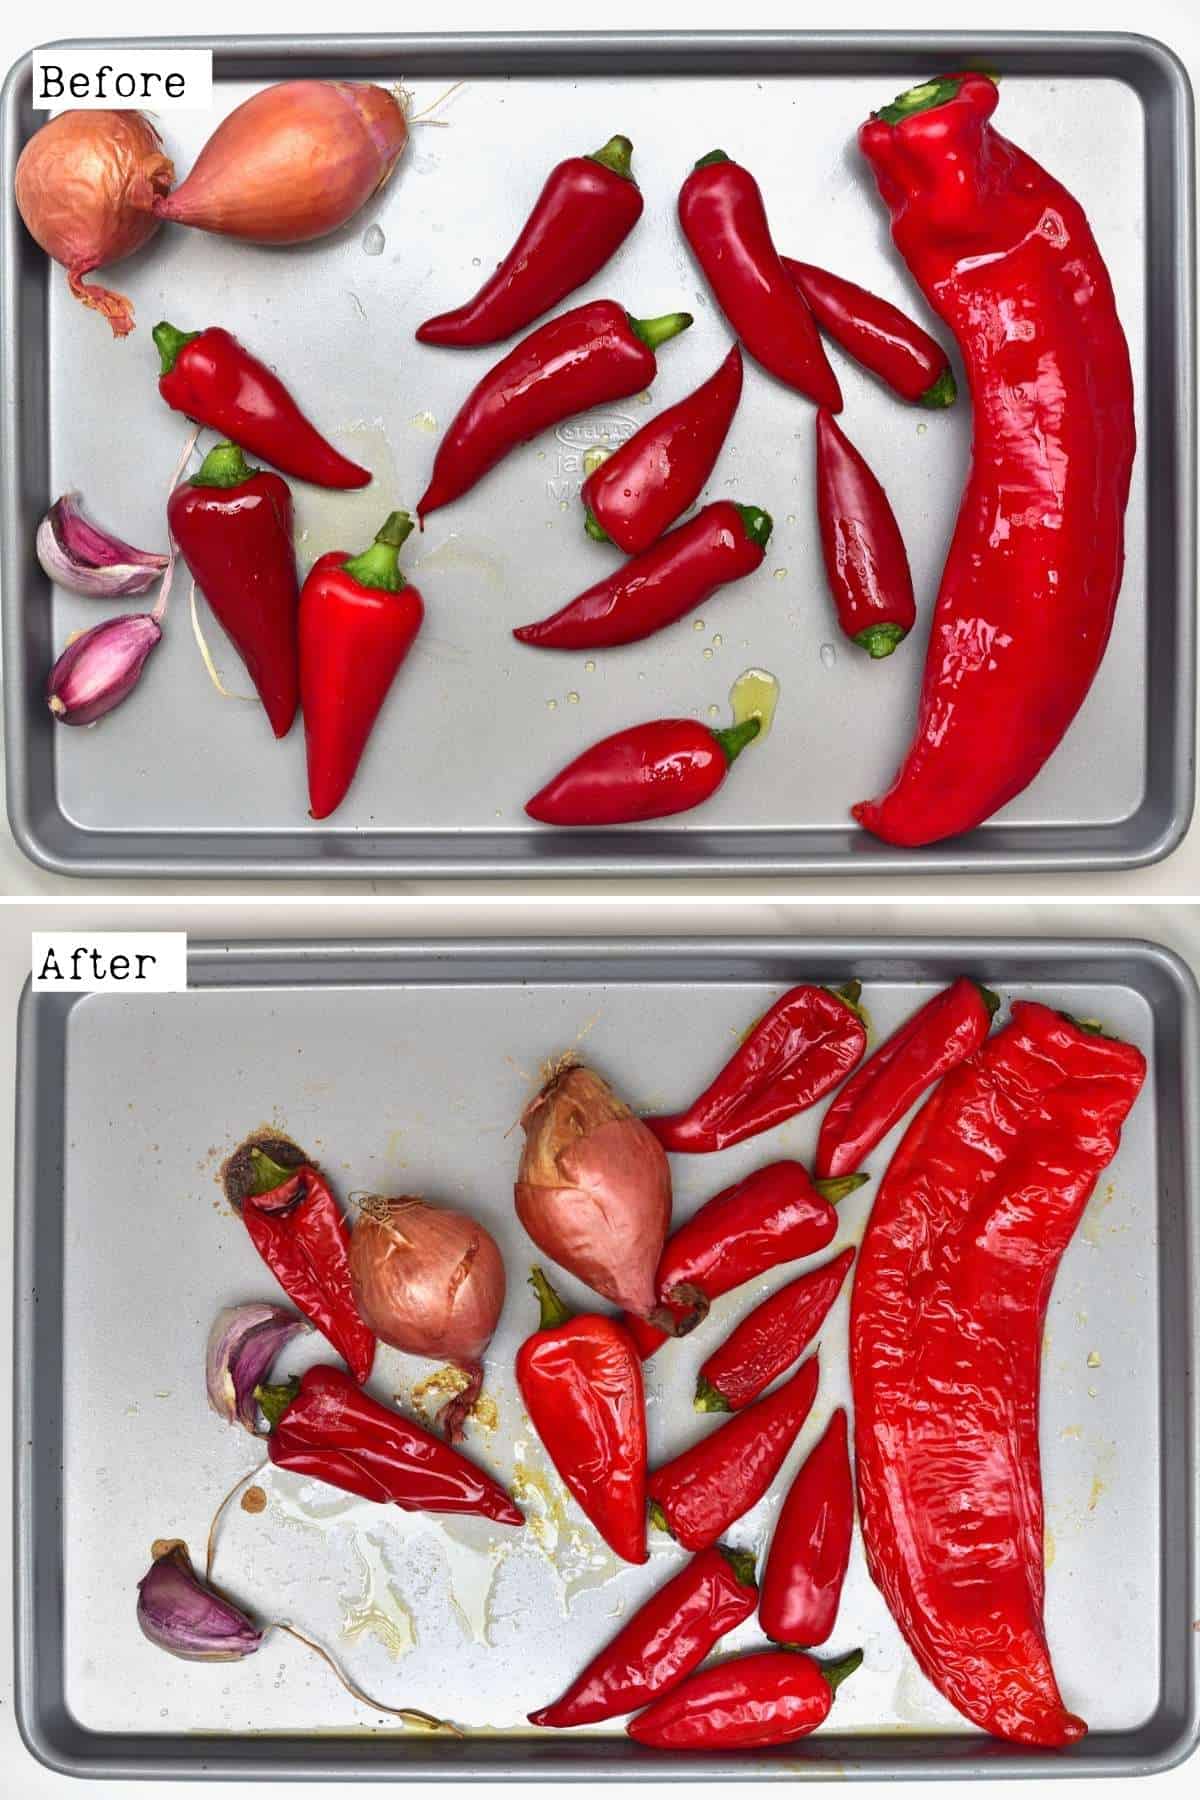
I roast everything whole and skin on as it’s easily removable after roasting and stops the onion and garlic from burning. Feel free to peel/ prepare everything before roasting, though, if preferred.
Step 2: Prepare the spices
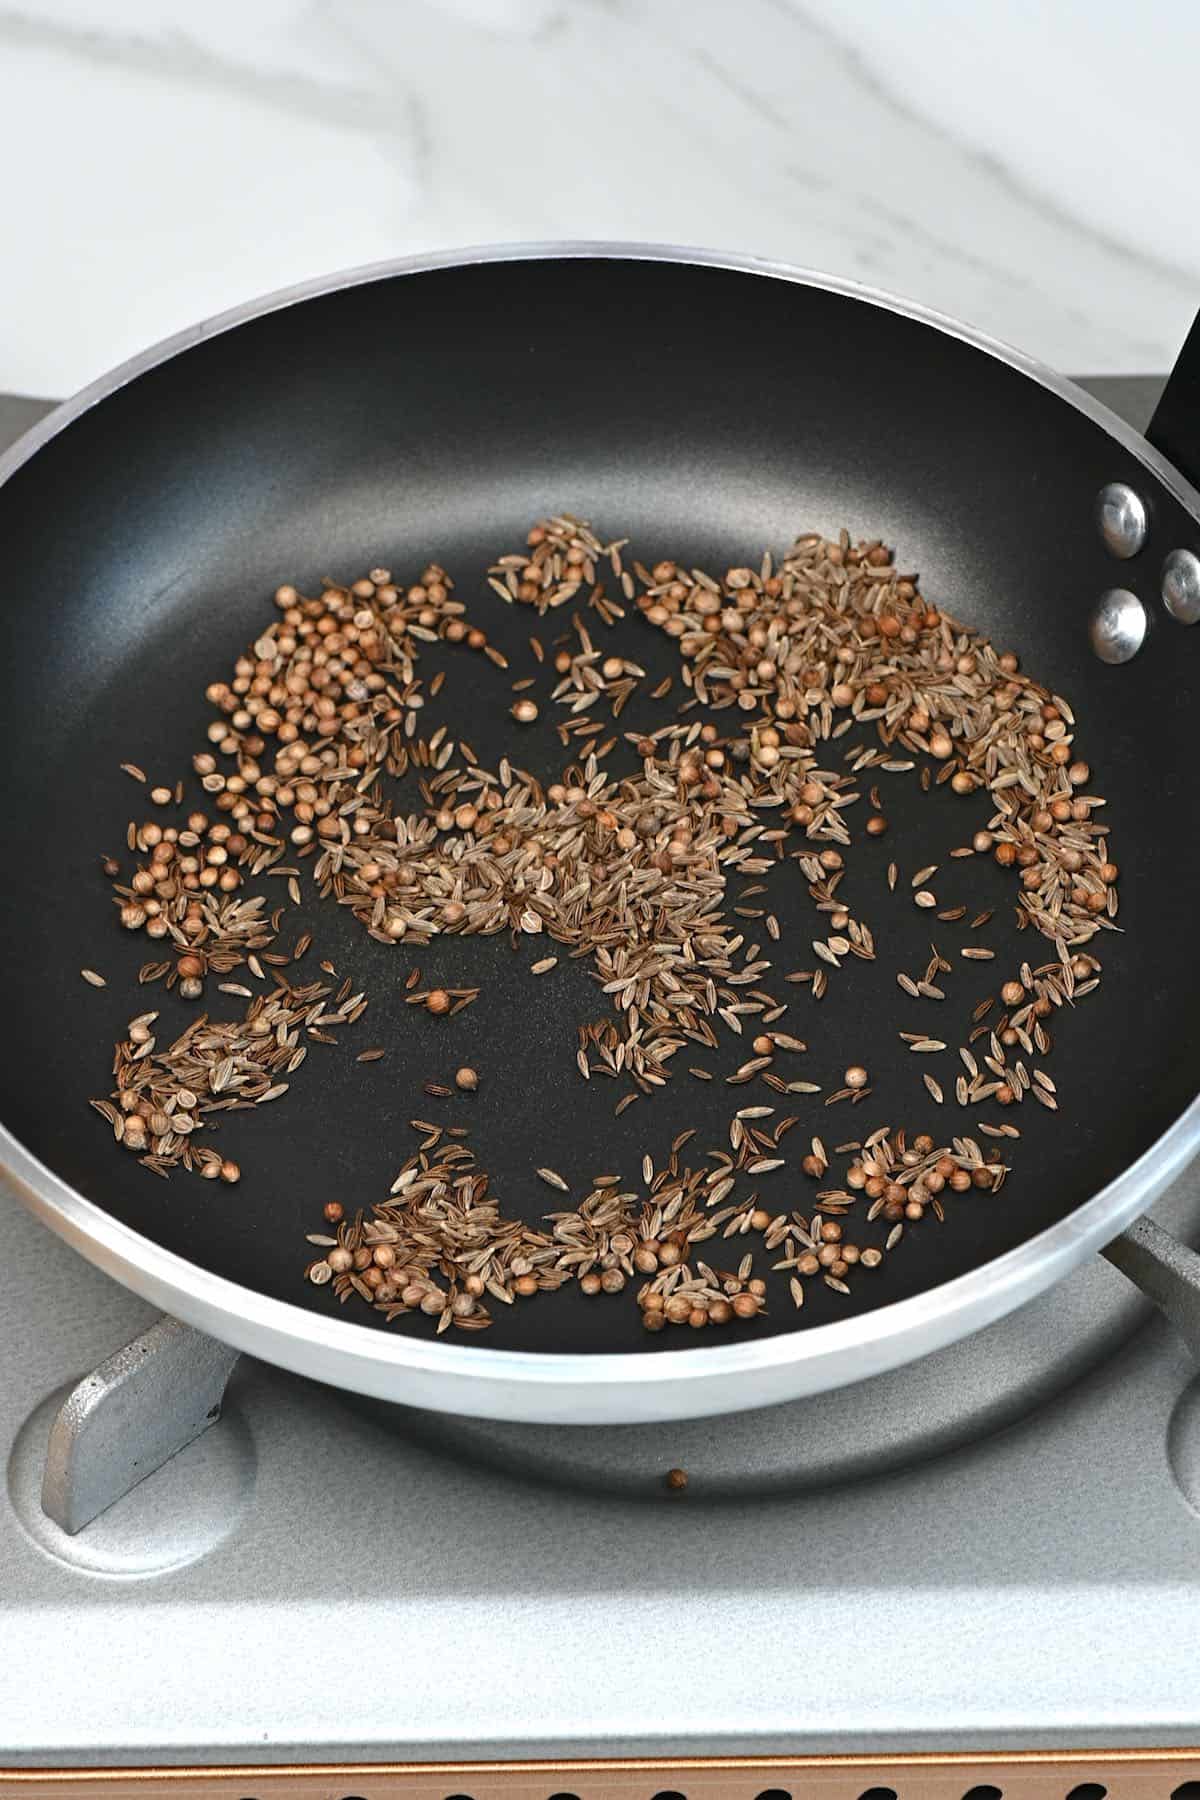
Meanwhile, optionally, lightly toast the dried spices in a large skillet until fragrant (this only takes 1-2 minutes but adds tons of extra flavor).
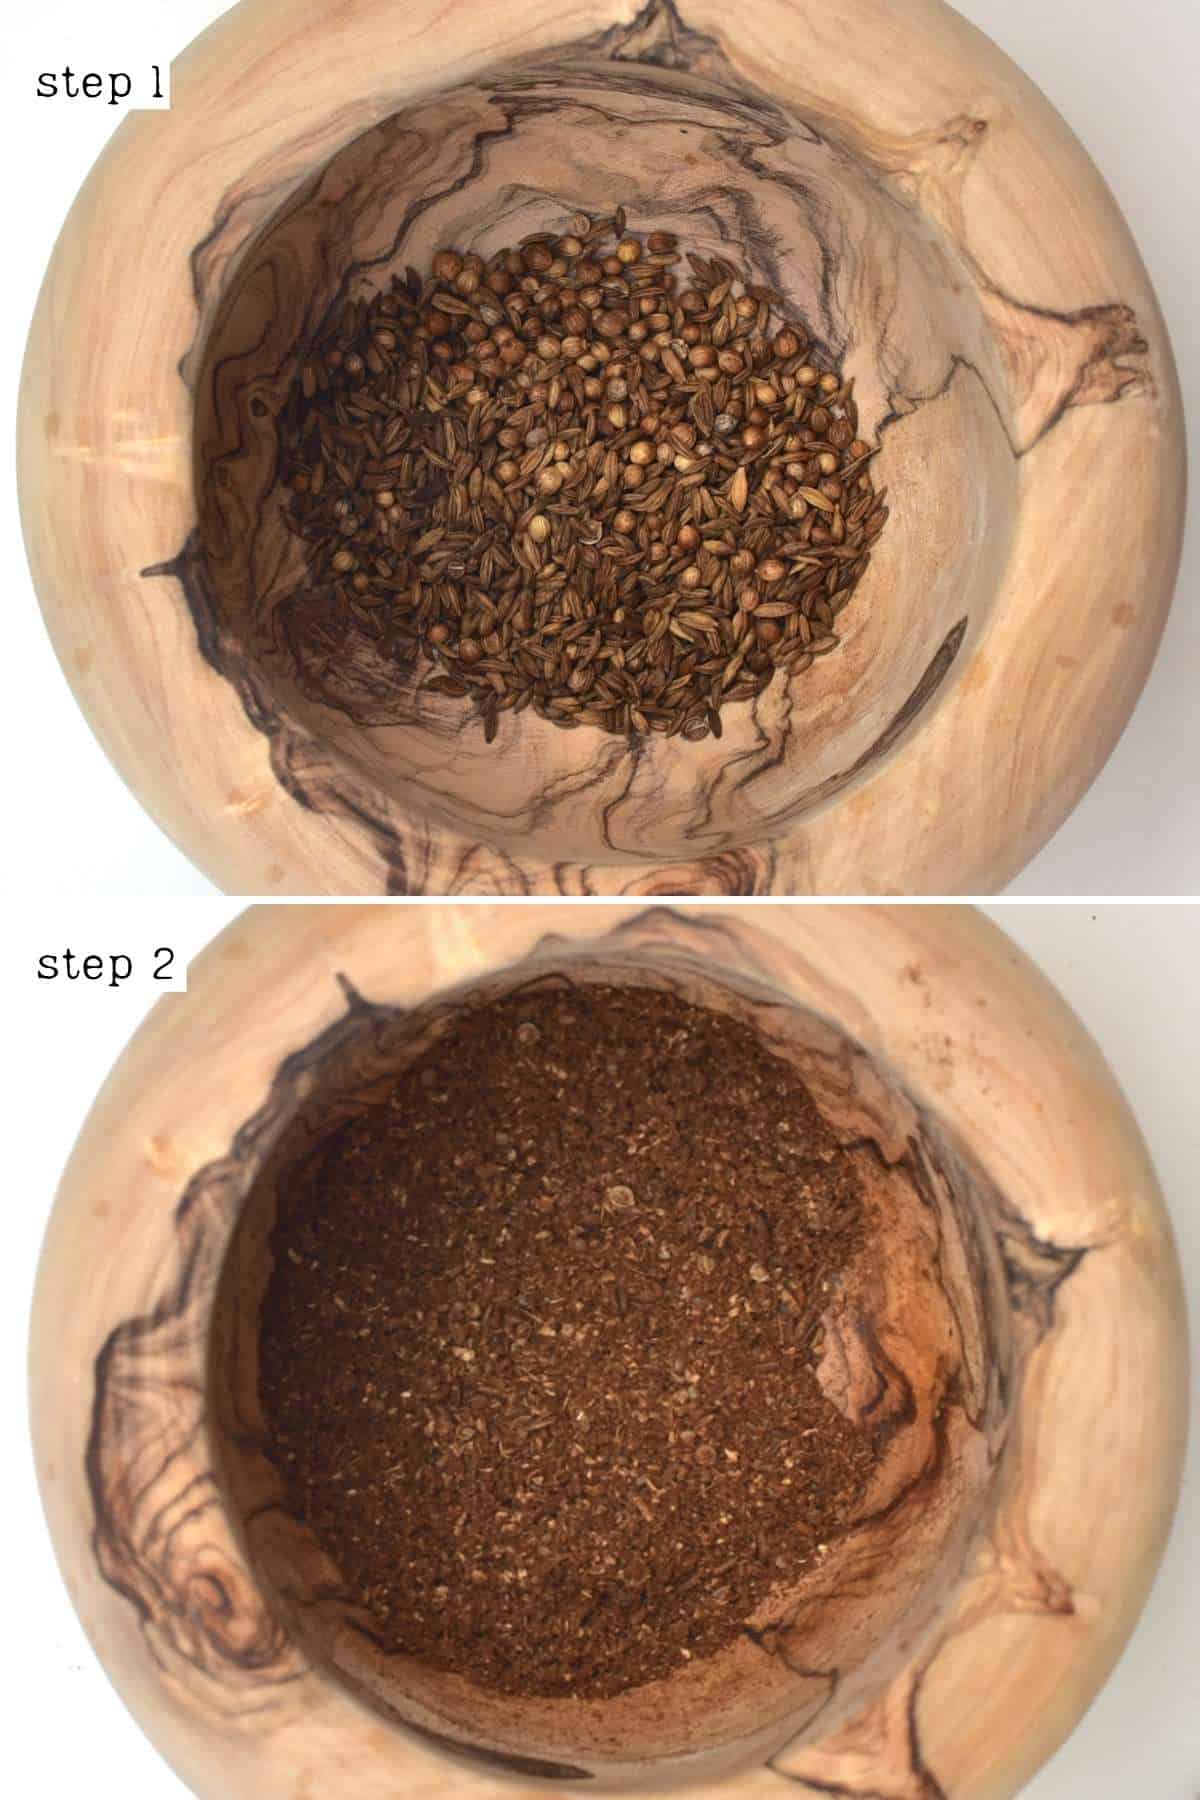
Once ready, crush the spices into a powder. You can do this using a small coffee/spice grinder or using a mortar and pestle.
Step 3: Blend the harissa sauce
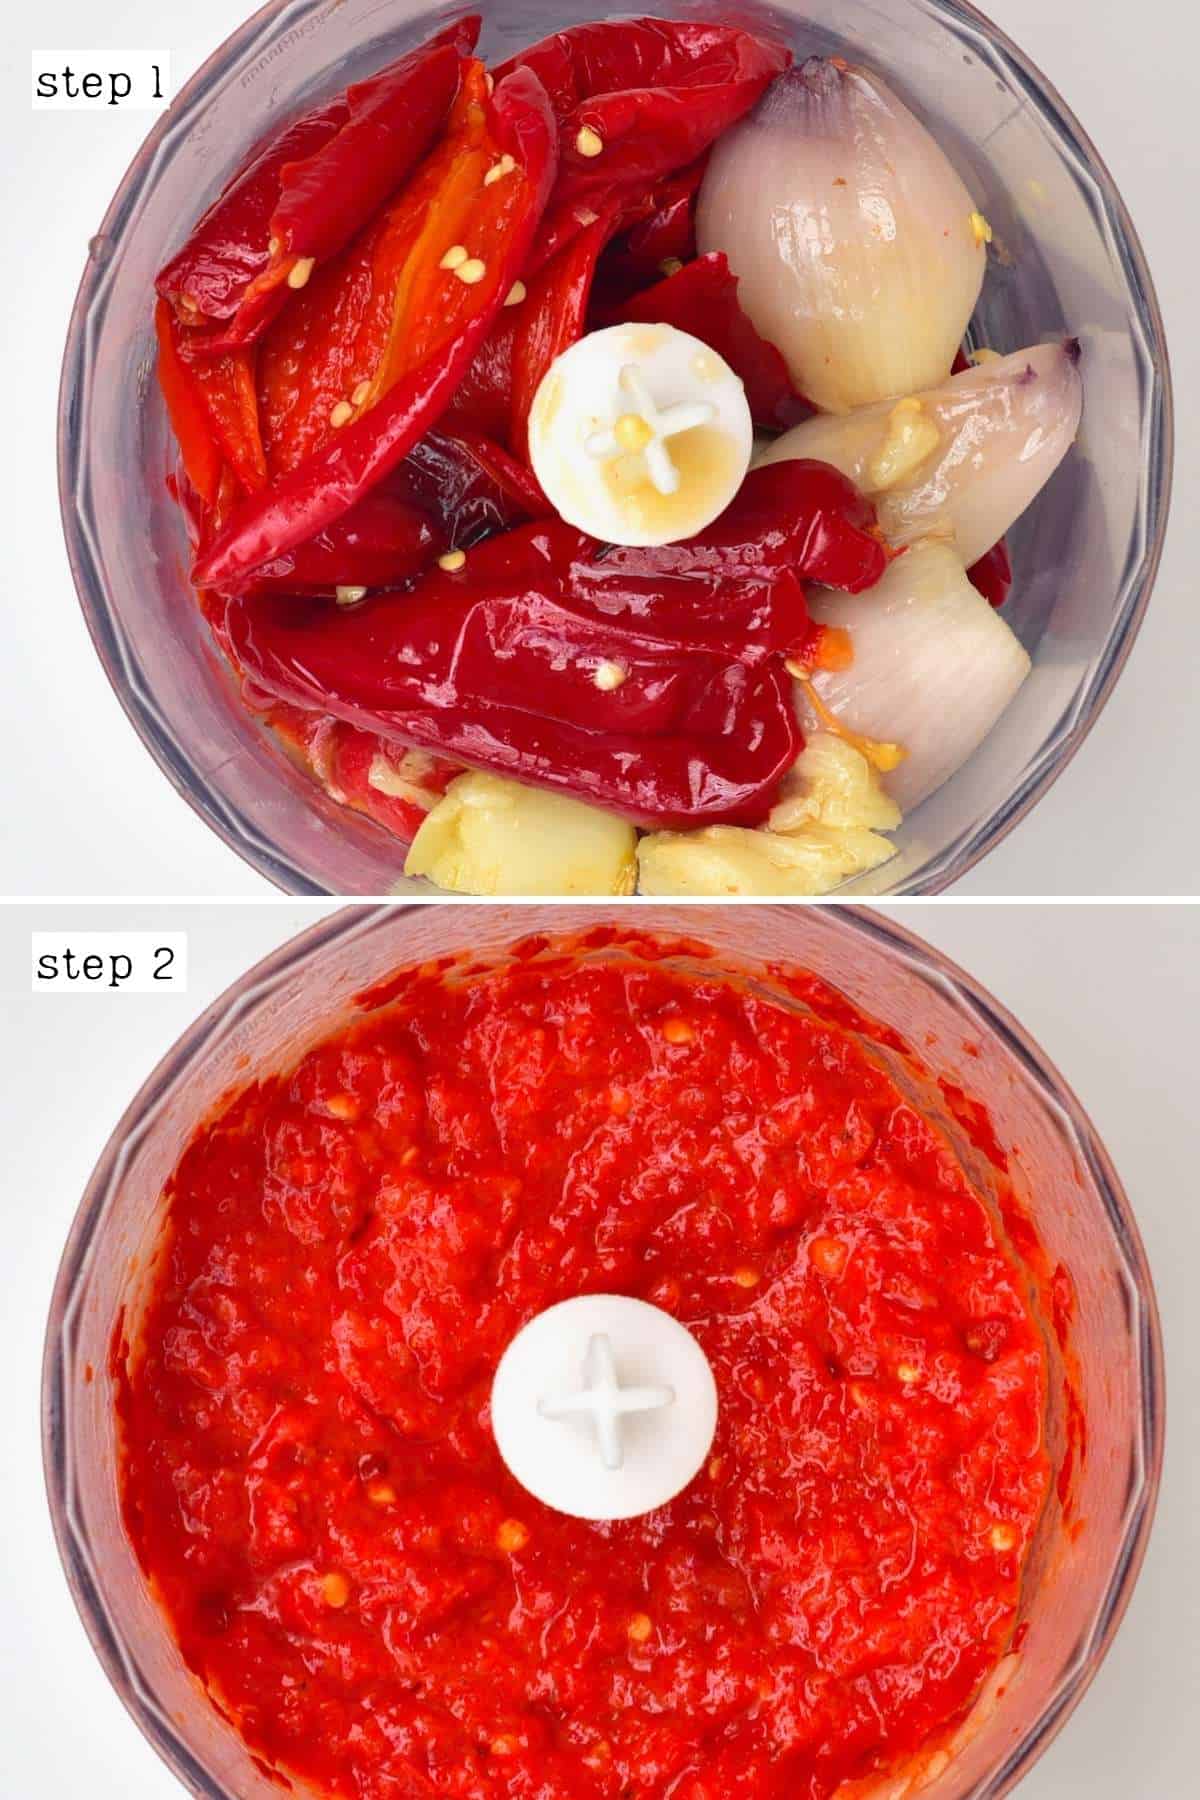
Once the veggies are roasted, peel the onion and garlic, remove the chili stems, and remove some or all the chili seeds to adjust how spicy the harissa paste will be. I only remove a part of them.
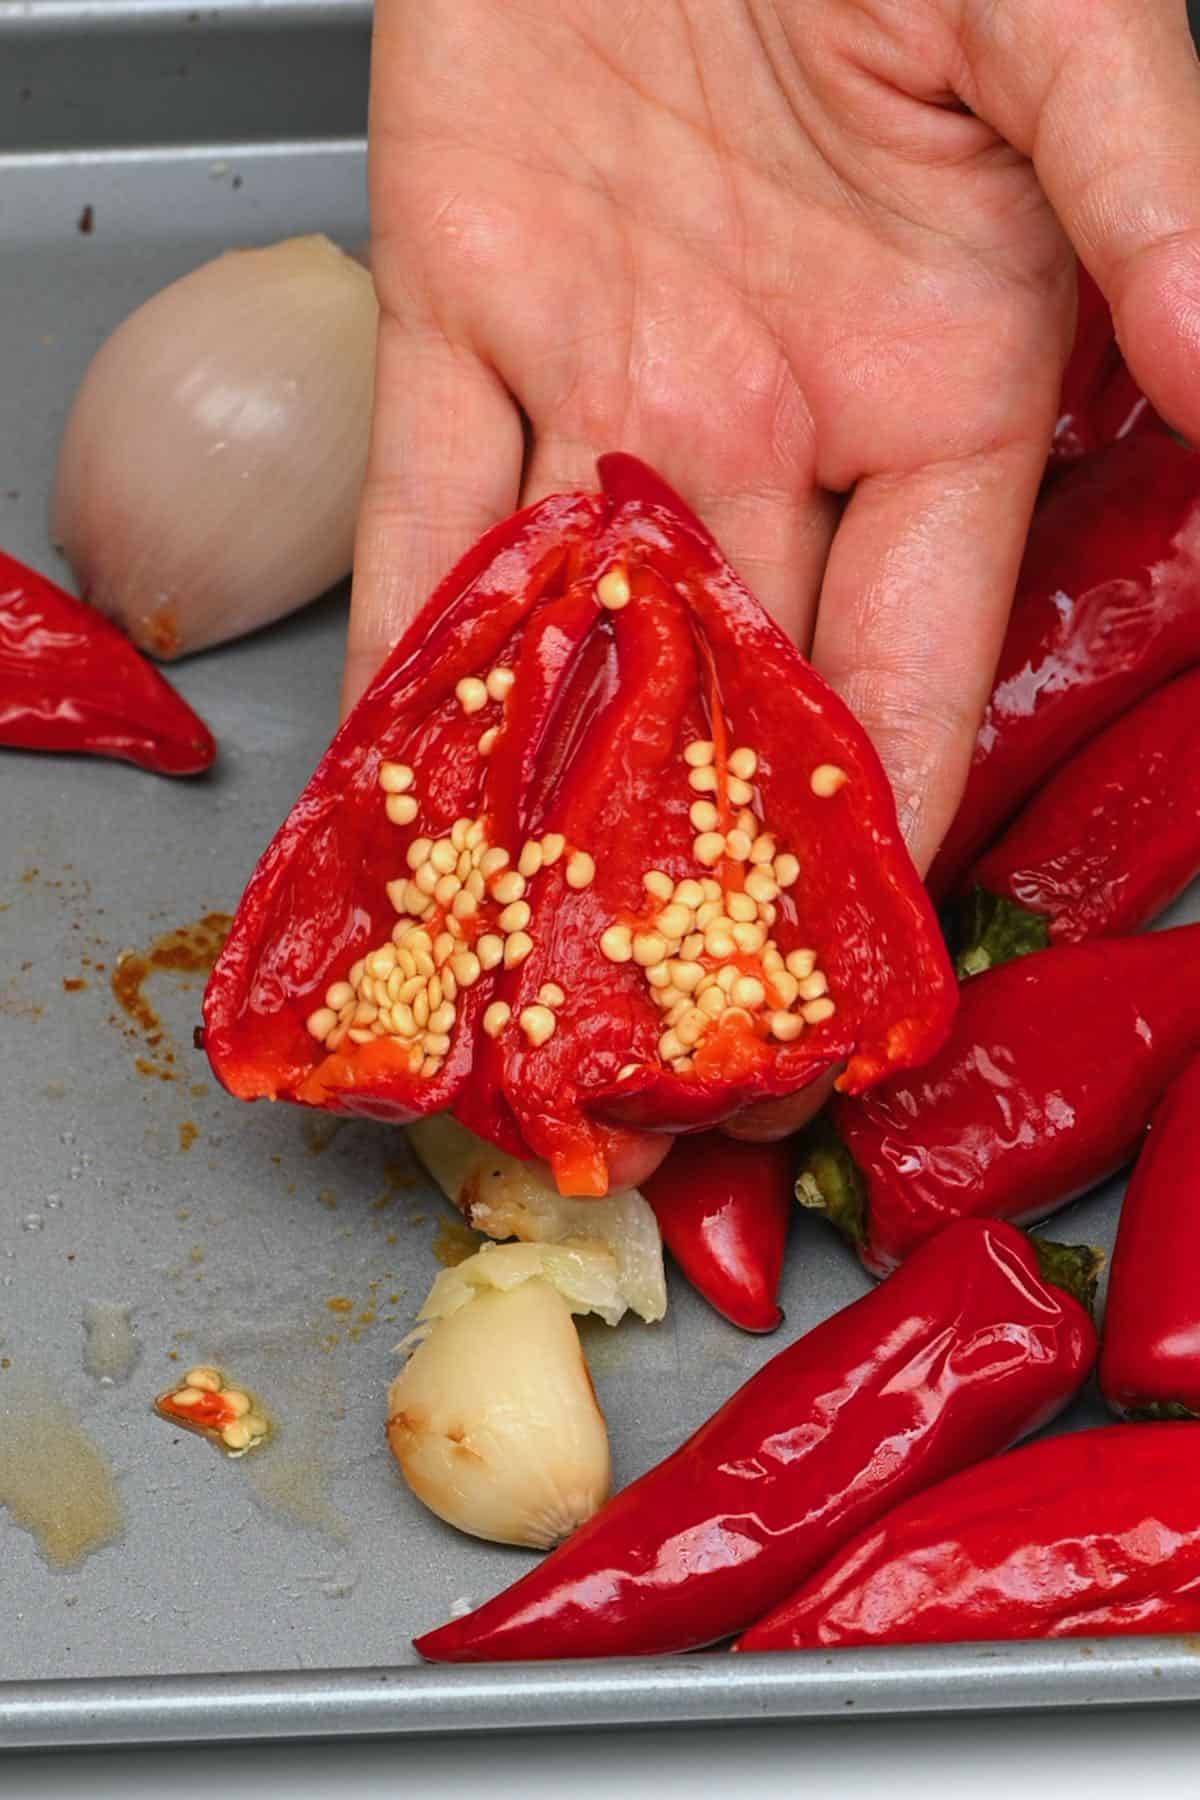
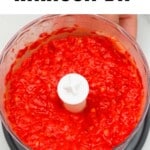
Then add the roasted veggies to a food processor and process them into a paste.
Step 3: Reduce the harissa paste
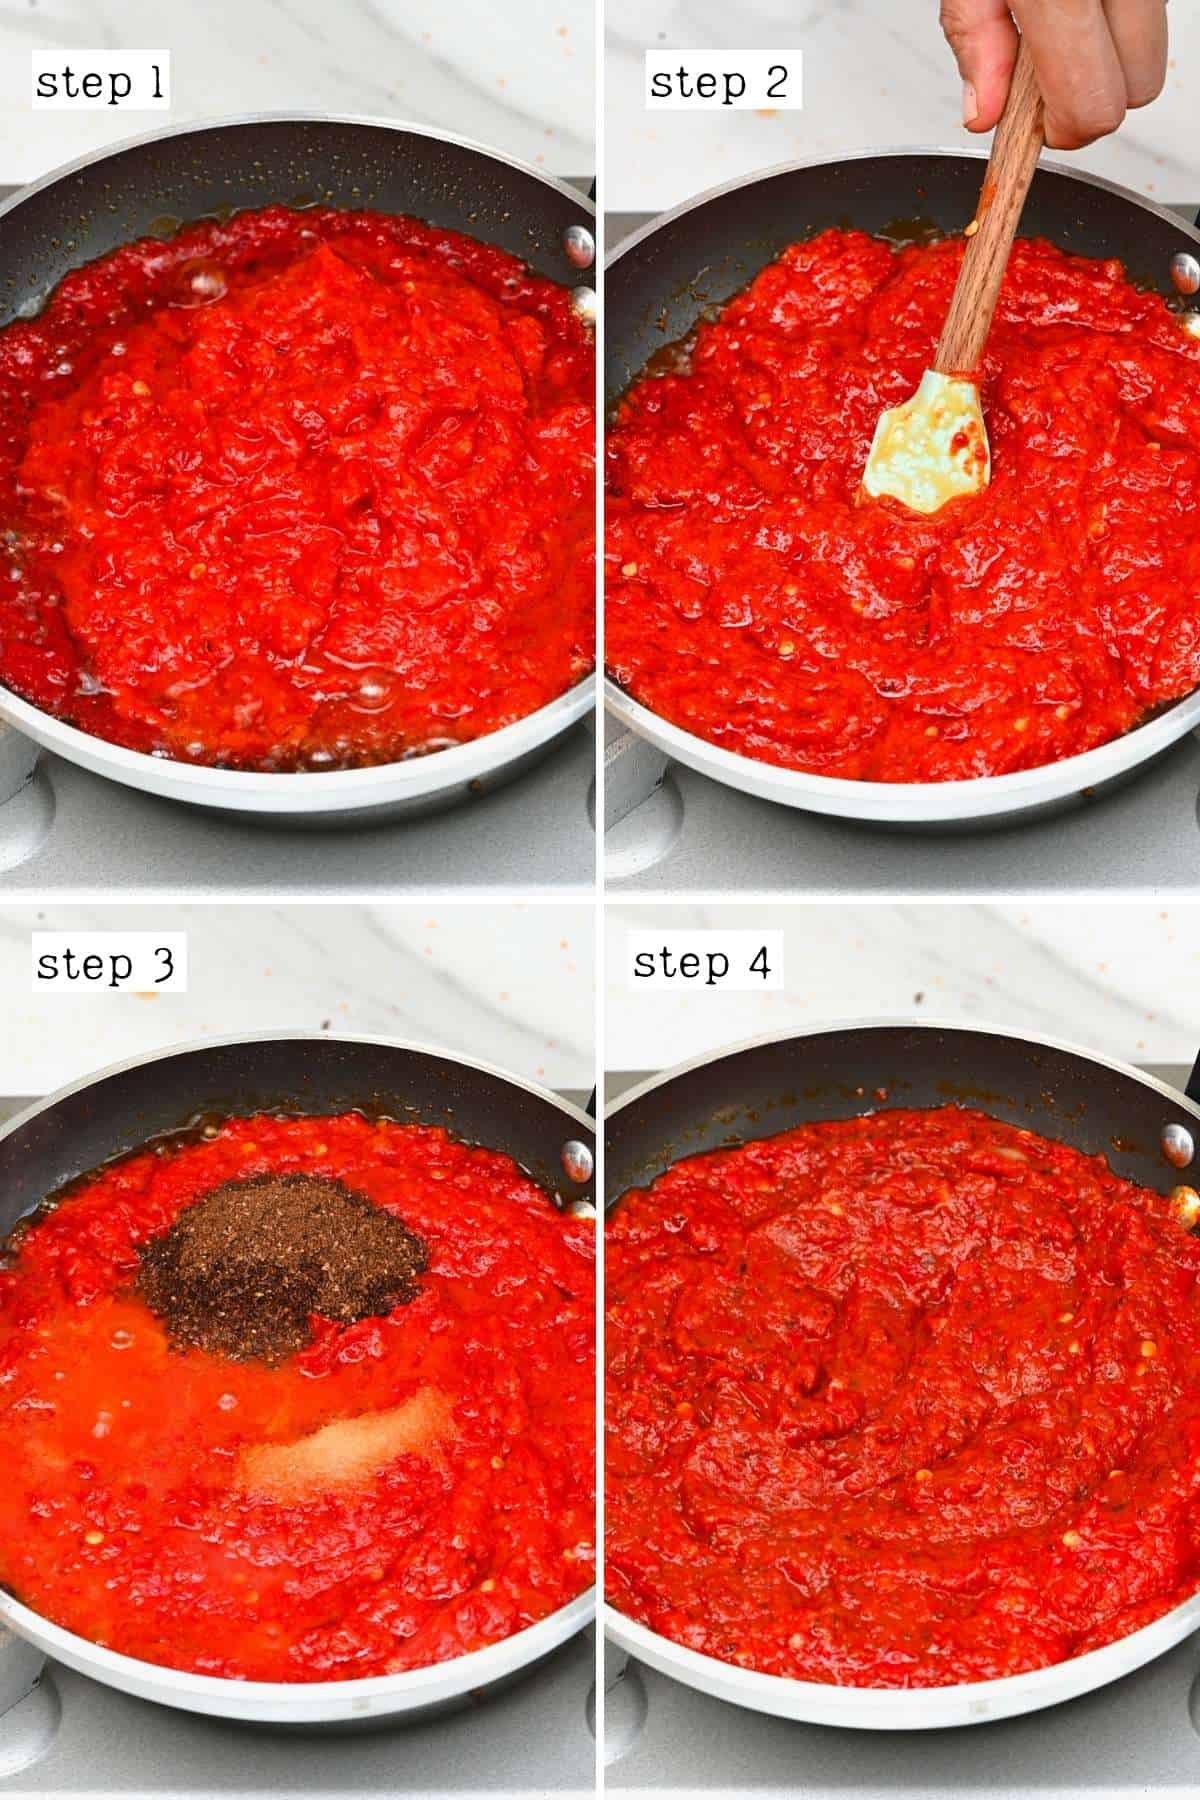
Add the olive oil to the skillet. Once heated, add the tomato paste, and mix a little. Then add the chili mixture and stir.
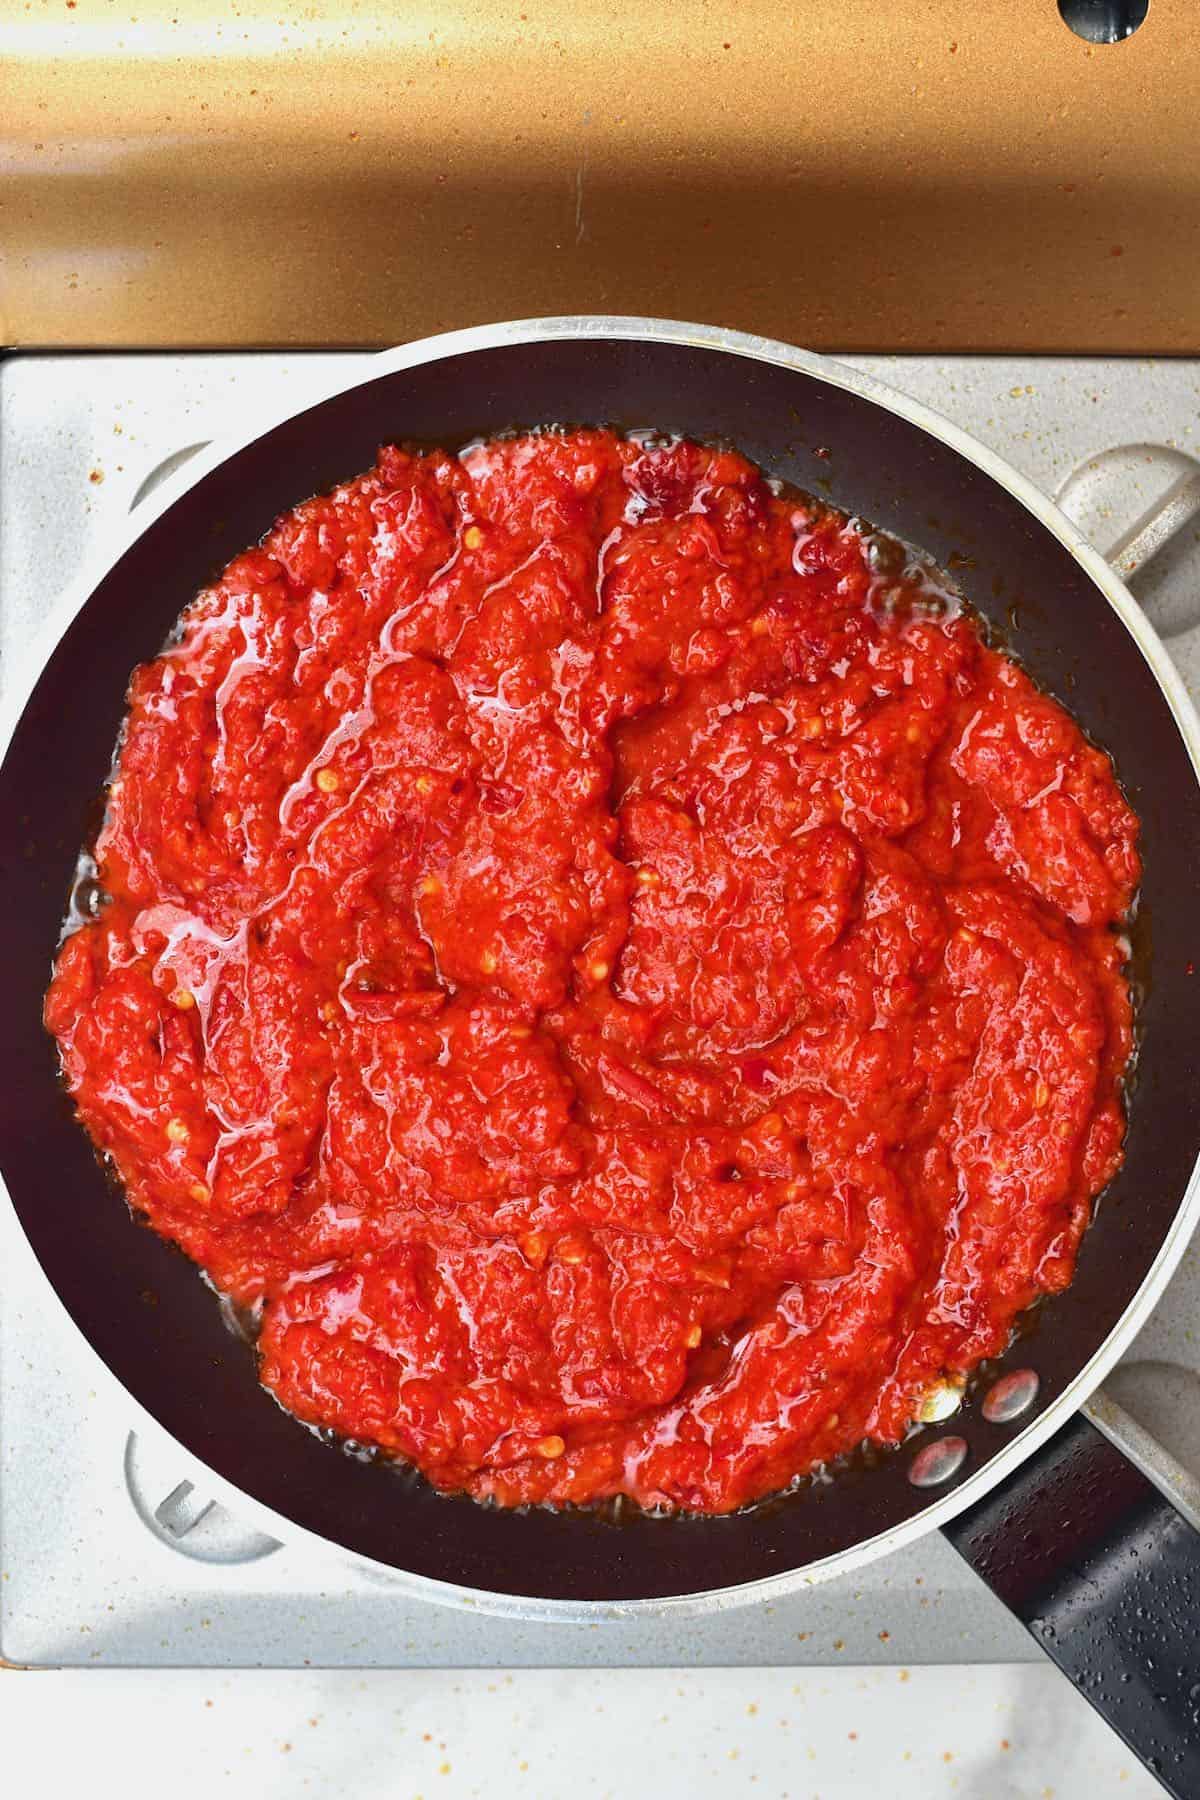
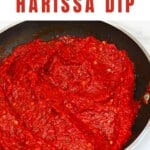
Add the ground spices, salt, and lemon juice and simmer for 10 minutes, stirring occasionally. During this time, it will cook down and become a thicker paste.
Meanwhile, sterilize the jar you plan to store the harissa paste in.
Once thickened, give the harissa sauce a taste and adjust any of the flavors if needed.
BONUS: How to make harissa paste from powder?
Making harissa paste from harissa powder is super simple. Combine the powder with oil and garlic (raw or roasted) until you achieve a thick paste.
Allow the paste to rest and the flavors to “meld” in the refrigerator for several hours (overnight if possible), and then you can use it when needed over the next two weeks.
How to Store Harissa Paste
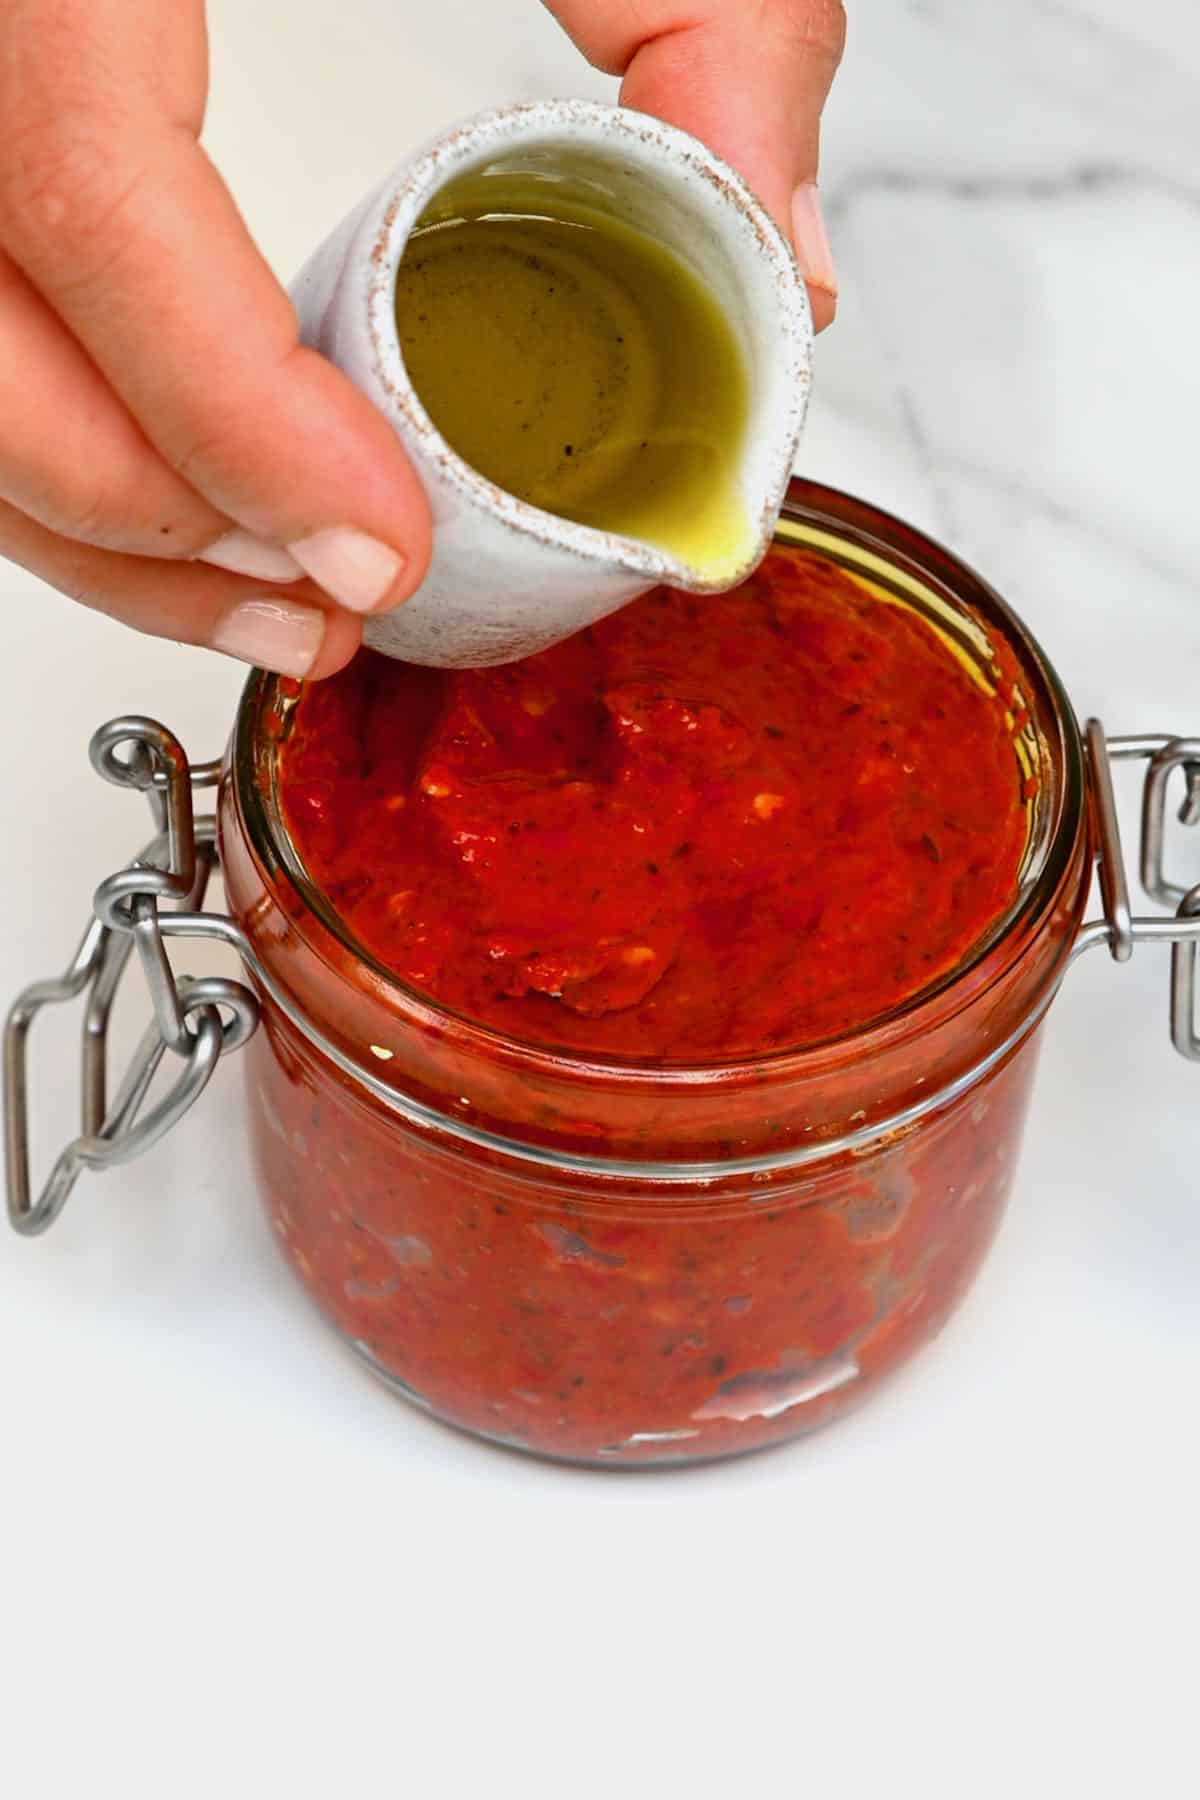
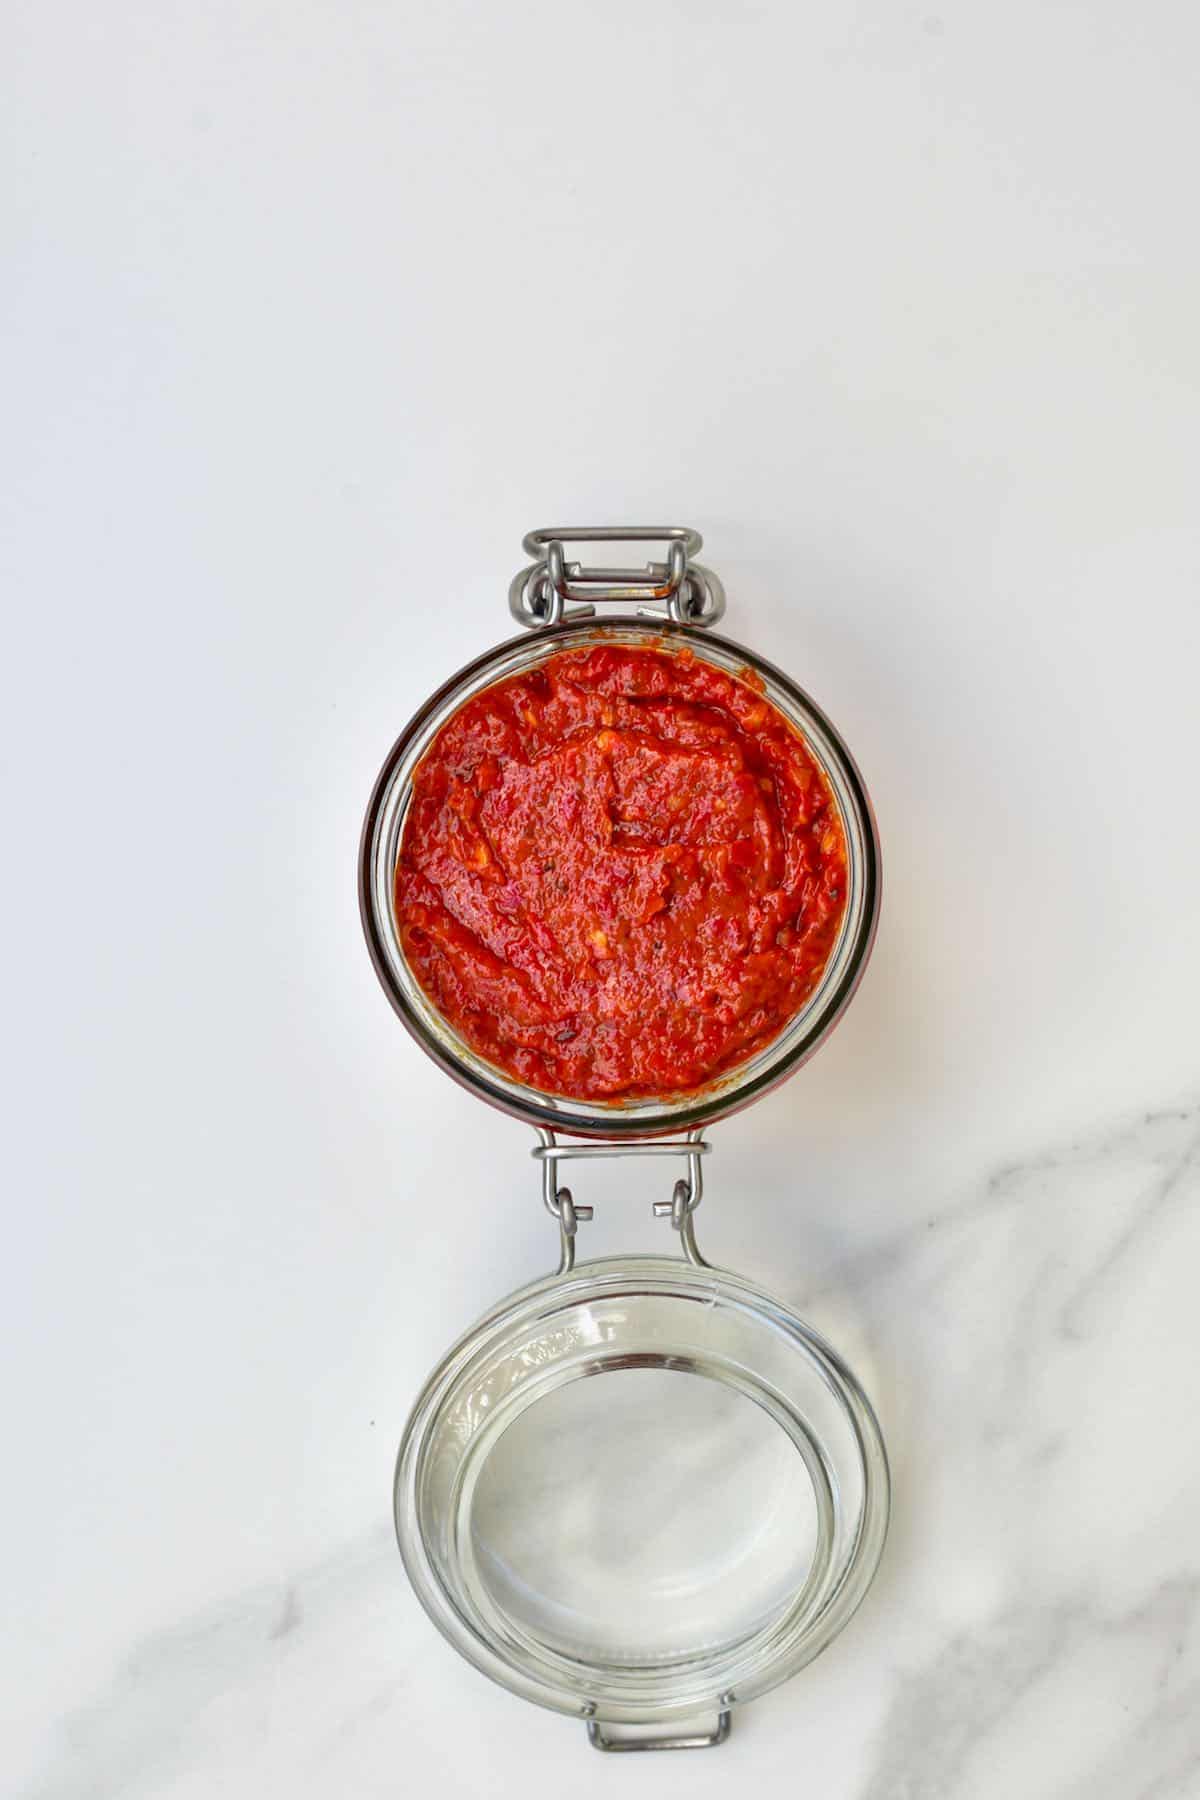
Fridge: Store the harissa paste in a sterilized jar in the refrigerator and cover it with a thin layer of olive oil to help increase the shelf-life for longer. This way, it should last several weeks (or even months!). Just make sure to top up the oil each time to make sure the paste is always covered.
Freeze: I recommend adding the harissa to an ice-cube tray and freezing it until solid, then transfer it to a freezer-safe bag/container. Freeze for up to two months.
You can then add the harissa cubes directly to hot dishes like soups, stews, and grains.
How to Use Harissa Paste
There are tons of ways you can take advantage of this Tunisian condiment, including:
- To add to soups and stews.
- Use to flavor grains, particularly couscous but rice and quinoa work well, too.
- Use as a marinade/rub for meat and fish (or even tofu/eggplant).
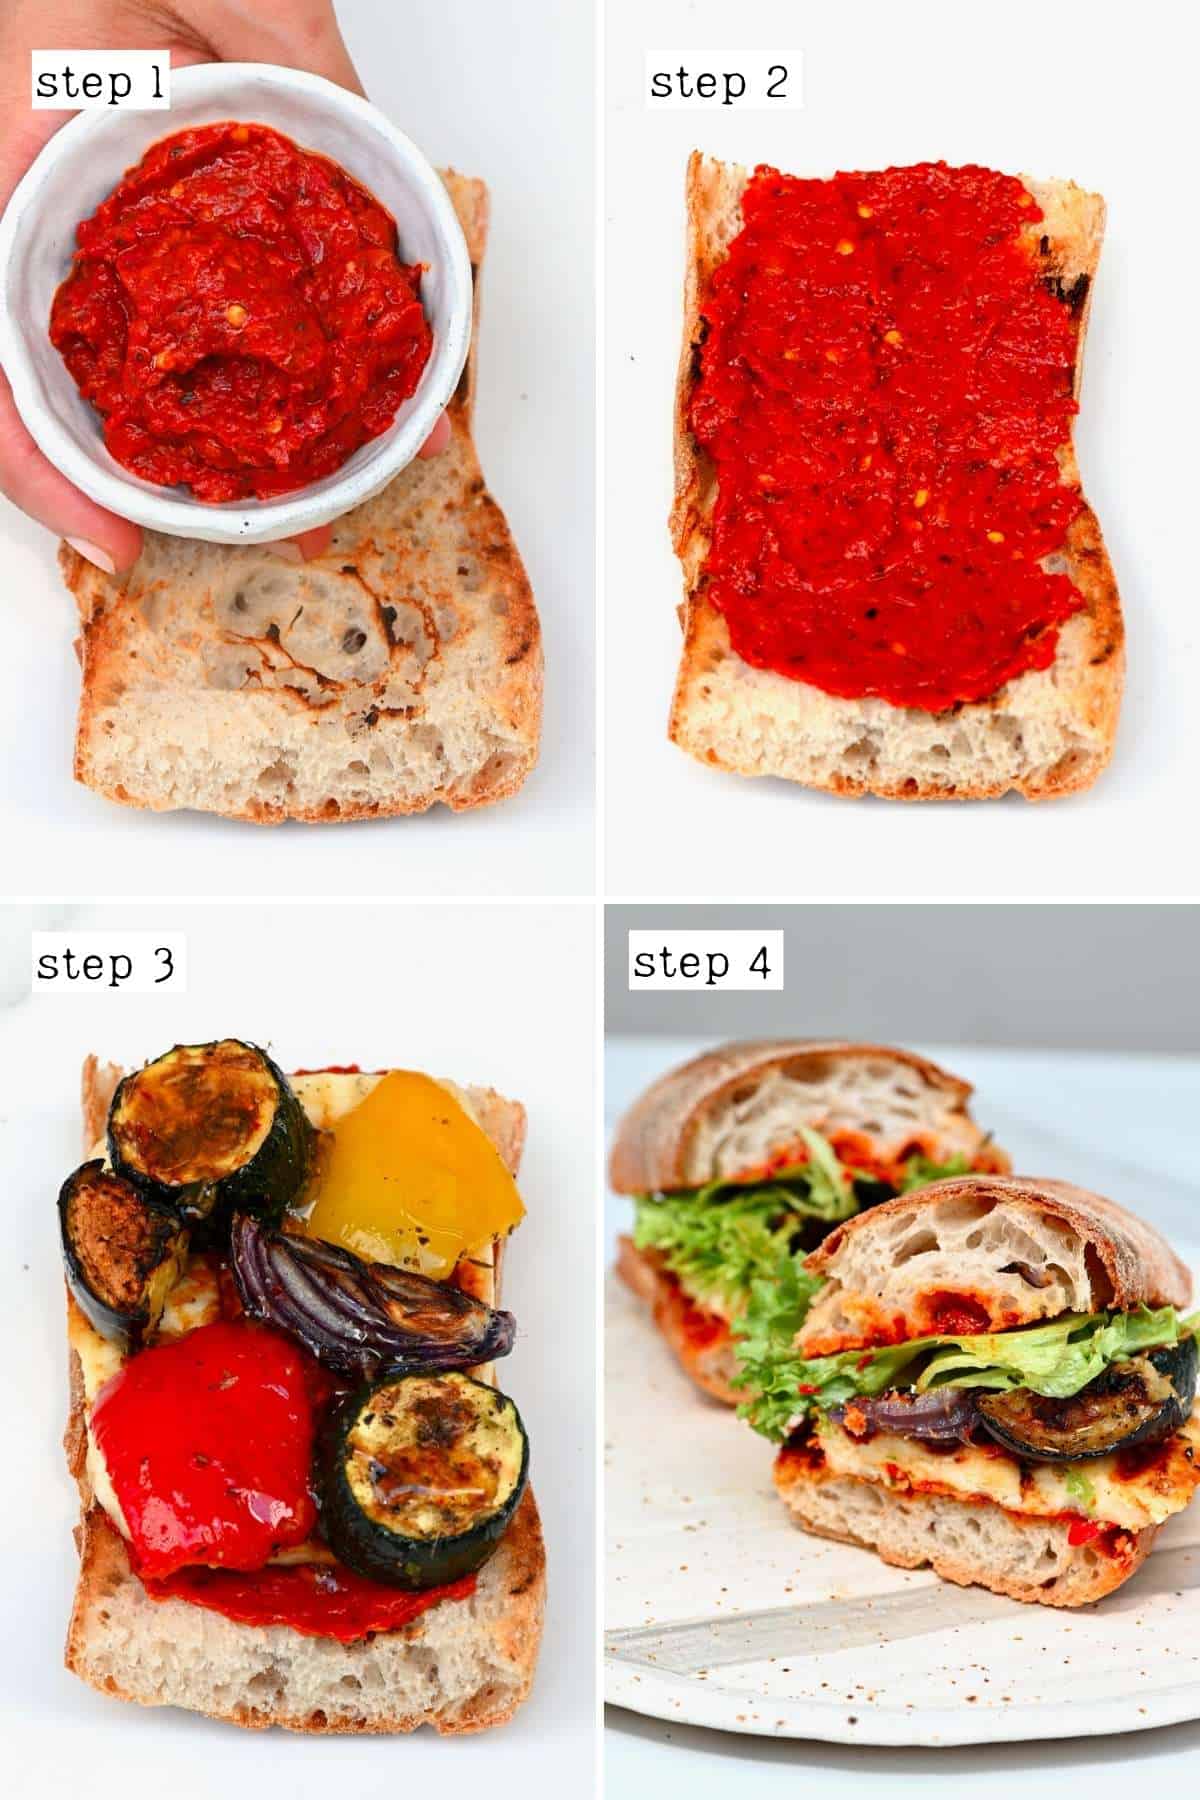
- To top shawarma or spread over toast and pita bread. Spread in sandwiches and wraps – like this Tunisian classic where you combine harissa with tuna and olives or eggs.
- Add to dips for heat and flavor, or use to top dips (like creamy hummus).
- Turn into a dressing. Or add to mayonnaise or homemade yogurt to create a simple sauce/dressing.
- Stir into scrambled eggs or tofu scramble or add to a veggie omelette.
- Drizzle over shakshuka.
- Use to marinate roasted veggies.
- Use with fries.
- Stir into or drizzle over potato dishes like mashed potatoes, smashed potatoes, and accordion potatoes.
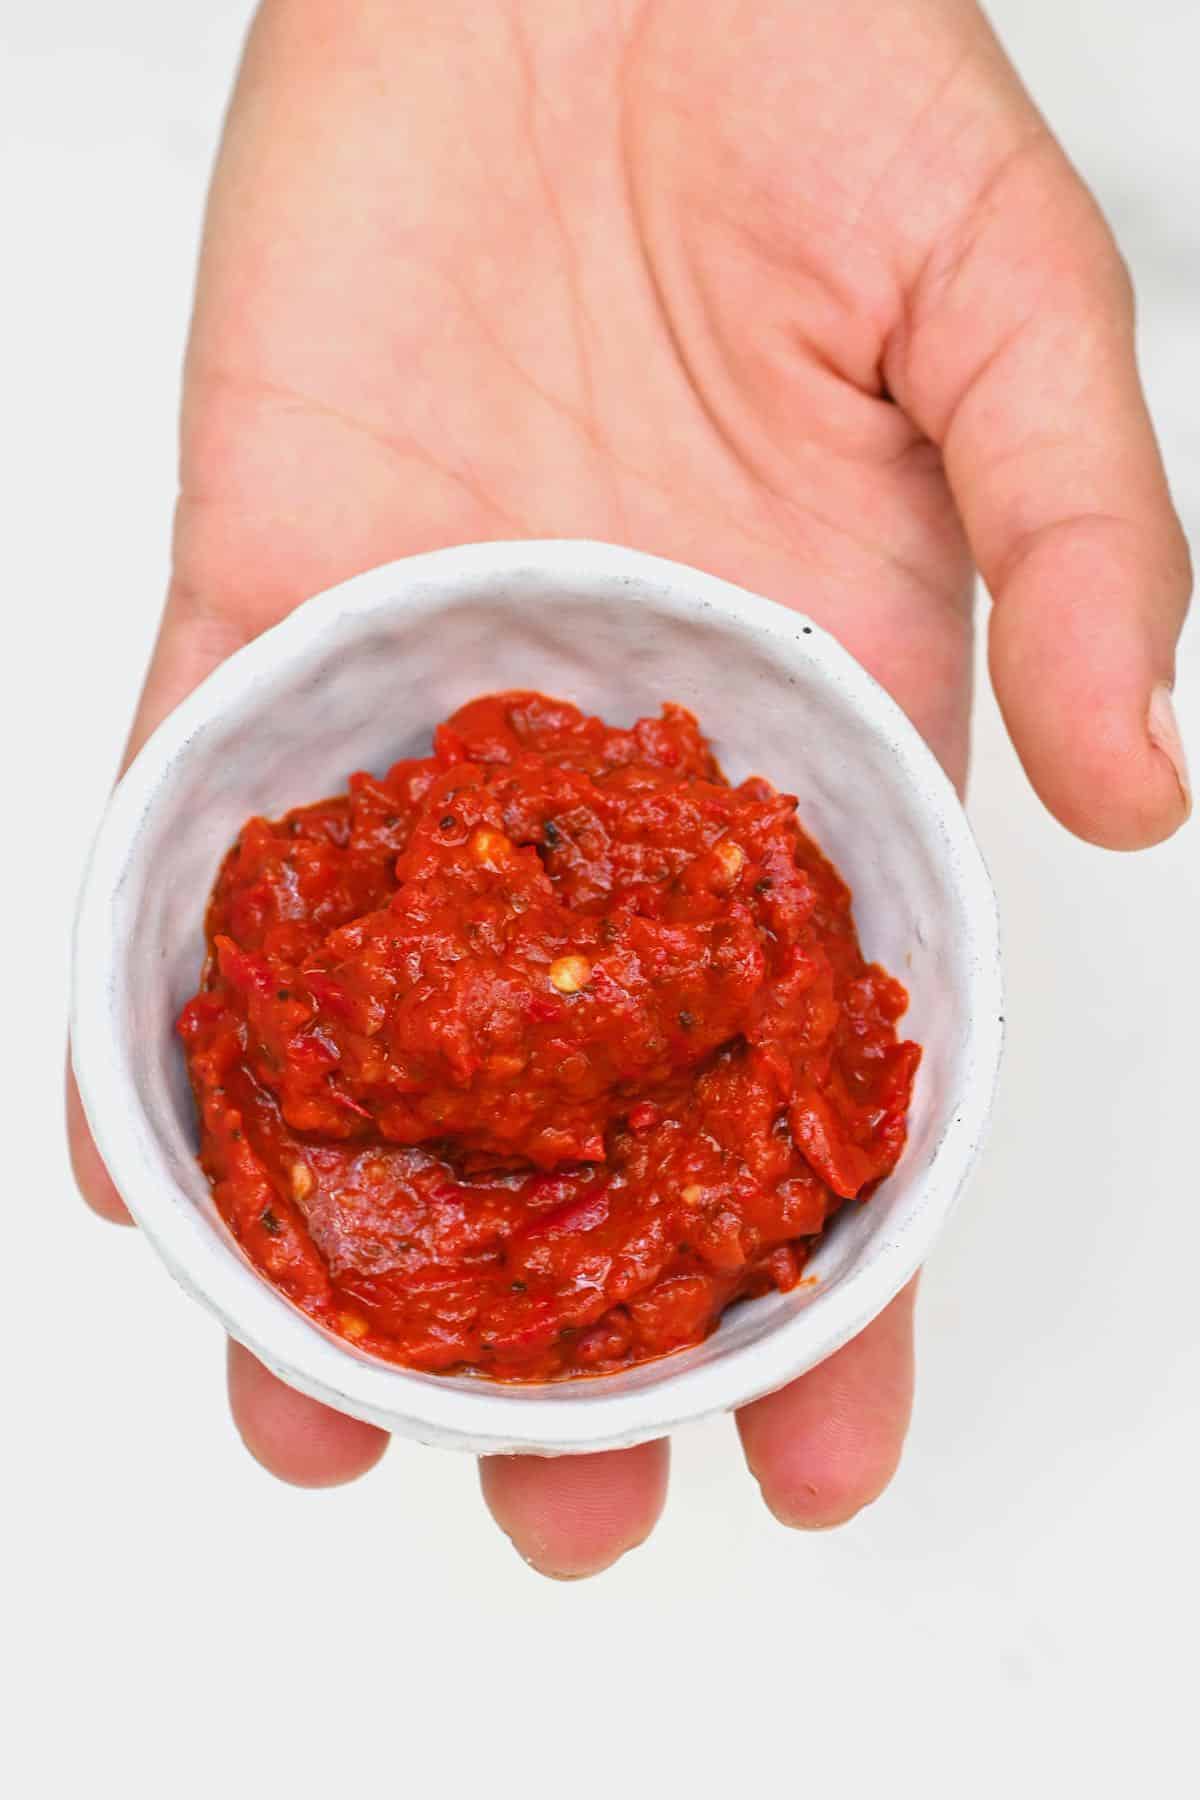
Generally, you can use the spicy harissa in any way that you would use a regular chili paste or hot sauce.
FAQs
You sure can. I recommend using a combination of mild-medium and more spicy chiles like Arbol (spicy) and New Mexico chilies or Guajillo. For extra smokiness, you could add chipotle chiles.
Rehydrate the chilies (I like to de-seed them first as it’s easier) in boiling water for 15-20 minutes (covered) and blend all the ingredients into a delicious, flavorful paste. If you plan on using dried chiles, then use half the amount (by weight).
For extra depth of flavor, you can lightly toast the dried peppers and the dried spices for extra flavor dimension.
The type of peppers you use for this harissa sauce is very versatile. Guajillo and New Mexico dried chiles are the most authentic in flavor. To add extra heat, you could use Arbol chilies. For smokiness, how about Chipotle or Morita? Other options include Ancho or Pasilla chilies.
Recipe Notes & Variations
- Allow the paste to rest: while it’s edible immediately after making it, allowing it to rest for 1-2 days in the refrigerator for the flavors to develop is super worth it!
- Wear gloves: it’s best to wear gloves when handling any hot chilies as the residue can stay on your hands even after washing them (multiple times!).
- Experiment with the ratio of peppers: I like to use lots of hotter chiles with just one or two mild ones. However, feel free to do this the other way around or anything in between to find your perfect level. Add just one smoked chili for added depth without overwhelming smokiness.
- Use a combination of chilies: based on what’s available, using a combination of fresh, dried, and smoked chilies will help create a harissa paste with tons of flavor.
More Simple Sauce Recipes
- Chili garlic-infused honey
- Simple Homemade Chili Sauce (Red Chilli Sauce)
- Authentic Greek tzatziki
- Mexican salsa Roja
- 5-Ingredient lemon tahini sauce
- Chimichurri Sauce (Authentic Chimichurri + Variations)
- How to Make Chili Oil
- Roasted red pepper sauce
- Marinara sauce
- Creamy avocado cilantro sauce
- Healthy Roasted Carrot Dip
If you try this homemade harissa sauce recipe, I’d love to hear your thoughts/questions below. Also, I’d appreciate a recipe card rating below, and feel free to tag me in your recipe recreations on Instagram @Alphafoodie!
How to Make Harissa Sauce (Harissa Paste)
Equipment
Ingredients
- 1 red pepper mild
- 10-12 hot chilies your choice based on heat, smokiness, etc.
- 1.5 Tbsp tomato paste I used homemade, optional
- 3 Tbsp olive oil
- 2 onion small
- 2 garlic cloves large
- 1 lemon, juiced 3 Tbsp
- 1 tsp salt
- 1 tsp caraway seeds
- 1 tsp cumin seeds
- 1 tsp coriander seeds
Instructions
Step 1: Roast the ingredients
- Start by spreading the pepper, chilies, garlic, and onion across a lightly oiled tray. Drizzle a bit of oil over the peppers as well. Then roast in a preheated oven for 20-25 minutes at 400ºF/200ºC.Optionally you can broil (grill) them for a few minutes to lightly char the skins and add extra "smoky" flavor.I roast everything whole and skin on as it’s easily removable after roasting and stops the onion and garlic from burning. Feel free to peel/prepare everything before roasting, though, if preferred.
Step 2: Prepare the spices
- Meanwhile, optionally lightly toast the dried spices in a large skillet until fragrant (this only takes 1-2 minutes but adds tons of extra flavor).
- Once ready, crush the spices into a powder, You can do this using a small coffee/spice grinder or using a mortar and pestle.
Step 3: Blend the harissa sauce
- Once the veggies are roasted, peel the onion and garlic, remove the chili stems, and remove some or all the chili seeds to adjust how spicy the harissa paste will be. I only remove a part of them.
- Add the roasted veggies to a food processor and process them into a paste.
Step 4: Reduce the harissa paste
- Add the olive oil to the skillet. Once heated, add the tomato paste, and mix a little. Then add the chili mixture and stir.
- Add the ground spices, salt, and lemon and simmer for 10 minutes, stirring occasionally. During this time, it will cook down and become a thicker paste.
- Meanwhile, sterilize the jar you plan to store the harissa paste in.
- Once thickened, give the harissa sauce a taste and adjust any of the flavors if needed.
BONUS: How to make harissa paste from powder?
- Making harissa paste from harissa powder is super simple. All you need to do is combine the harissa powder with oil and garlic (raw or roasted) until you achieve a thick paste.Allow the paste to rest and the flavors to ‘meld’ in the refrigerator for several hours (overnight if possible) and then you can use it when needed over the next two weeks.
How to Store Harissa Paste
- Fridge: Store the harissa paste in a sterilized jar in the refrigerator and cover it with a thin layer of olive oil to help increase the shelf-life for longer. This way, it should last several weeks (or even months!). Just make sure to top up the oil each time to make sure the paste is always covered.Freeze: I recommend adding the harissa to an ice-cube tray and freezing until solid, then transferring to a freezer-safe bag/container. Freeze for up to two months.You can then add the harissa cubes directly to hot dishes like soups, stews, and grains.
Notes
- Allow the paste to rest: While it’s edible immediately after making it, allowing it to rest for 1-2 days in the refrigerator for the flavors to develop is super worth it!
- Wear gloves: It’s best to wear gloves when handling any hot chilies as the residue can stay on your hands even after washing them (multiple times!)
- Experiment with the ratio of peppers: I like to use lots of hotter chiles with just one or two mild ones. However, feel free to do this the other way around or anything in-between to find your perfect level. Add just one smoked chili for added depth without overwhelming smokiness.
- Use a combination of chilies: Based on what’s available- using a combination of fresh, dried, and smoked chilies will help create a harissa paste with tons of flavor dimension.
Optional add-ins and variations:
- Lemon juice: To add fresh flavor and depth to the harissa sauce. Preserved lemon is another popular addition. Alternatively, you could add a bit of vinegar like apple cider vinegar.
- Other spices: Smoked paprika (or hot smoked paprika) is a particular favorite addition of mine. Cayenne pepper can be added to increase the spice further.
- Fresh herbs: Cilantro, parsley, or even mint could be added for extra flavor.
Read the post for more answers to FAQs!
Nutrition
Nutrition information is automatically calculated, so should only be used as an approximation.








Excellent instructions and great tips thank you
Thank you, Shelley!