
This post may contain affiliate links. Please read our disclosure policy.
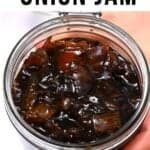

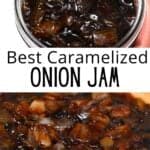
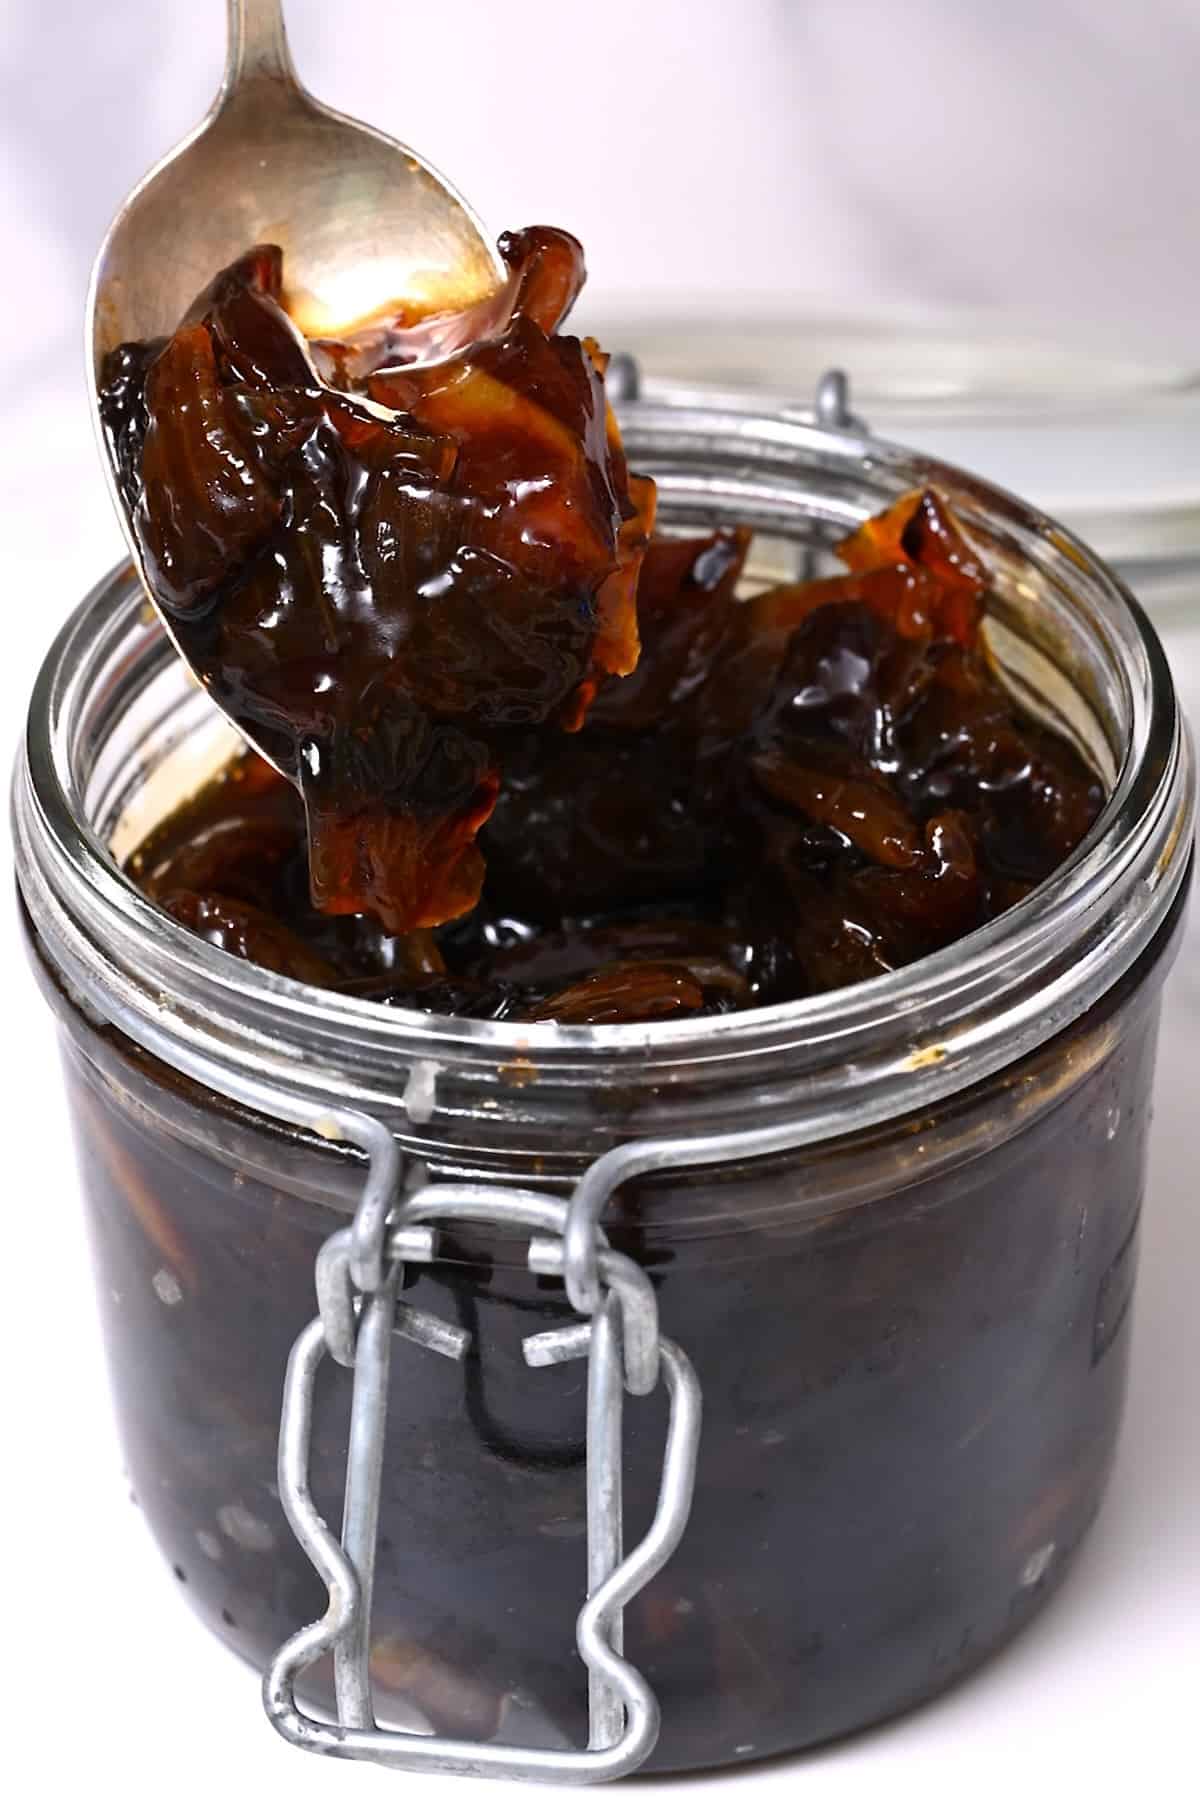
This 6-ingredient caramelized onion jam is rich, sweet, jammy, and packed with flavor (and no pectin!) – perfect for enjoying with a cheese board, over burgers, at Thanksgiving, in a grilled cheese sandwich, and more!
Every season, I love preserving fresh produce in jam form — from fruity classics like blackberry jam, fig jam, and rose petal jam to many more. This time, I’m trying something a little more savory with a sweet onion jam that’s rich, tangy-sweet, and enhanced with balsamic vinegar, sugar, and thyme.
This onion condiment requires no pectin or complicated jam-making techniques. You can also swap out the vinegar, the sugar, and the herbs, or add extra ingredients to it. Keep reading for tons of my favorite recommendations. Once ready, these onion preserves are a super versatile addition to party spreads, cheeseboards, appetizers, and mains!
If you enjoy savory preserves, you might also like my new tangy-sweet tomato jam. It’s earthy, a little sticky, and full of flavor.
Want to save this recipe?
What is Onion Jam?
Onion jam (sometimes called onion jelly or caramelized onion jam) is a simple combination of onions, sugar, and vinegar, with your choice of herbs and other aromatics cooked down into a sticky, sweet, jam-like consistency. Unlike fruit jam, the diced onion is left intact, and the mixture is pectin-free.
For this recipe, the sweet and savory onion flavor is packed with tons of depth thanks to the addition of balsamic vinegar, black pepper, thyme, and bay leaves.
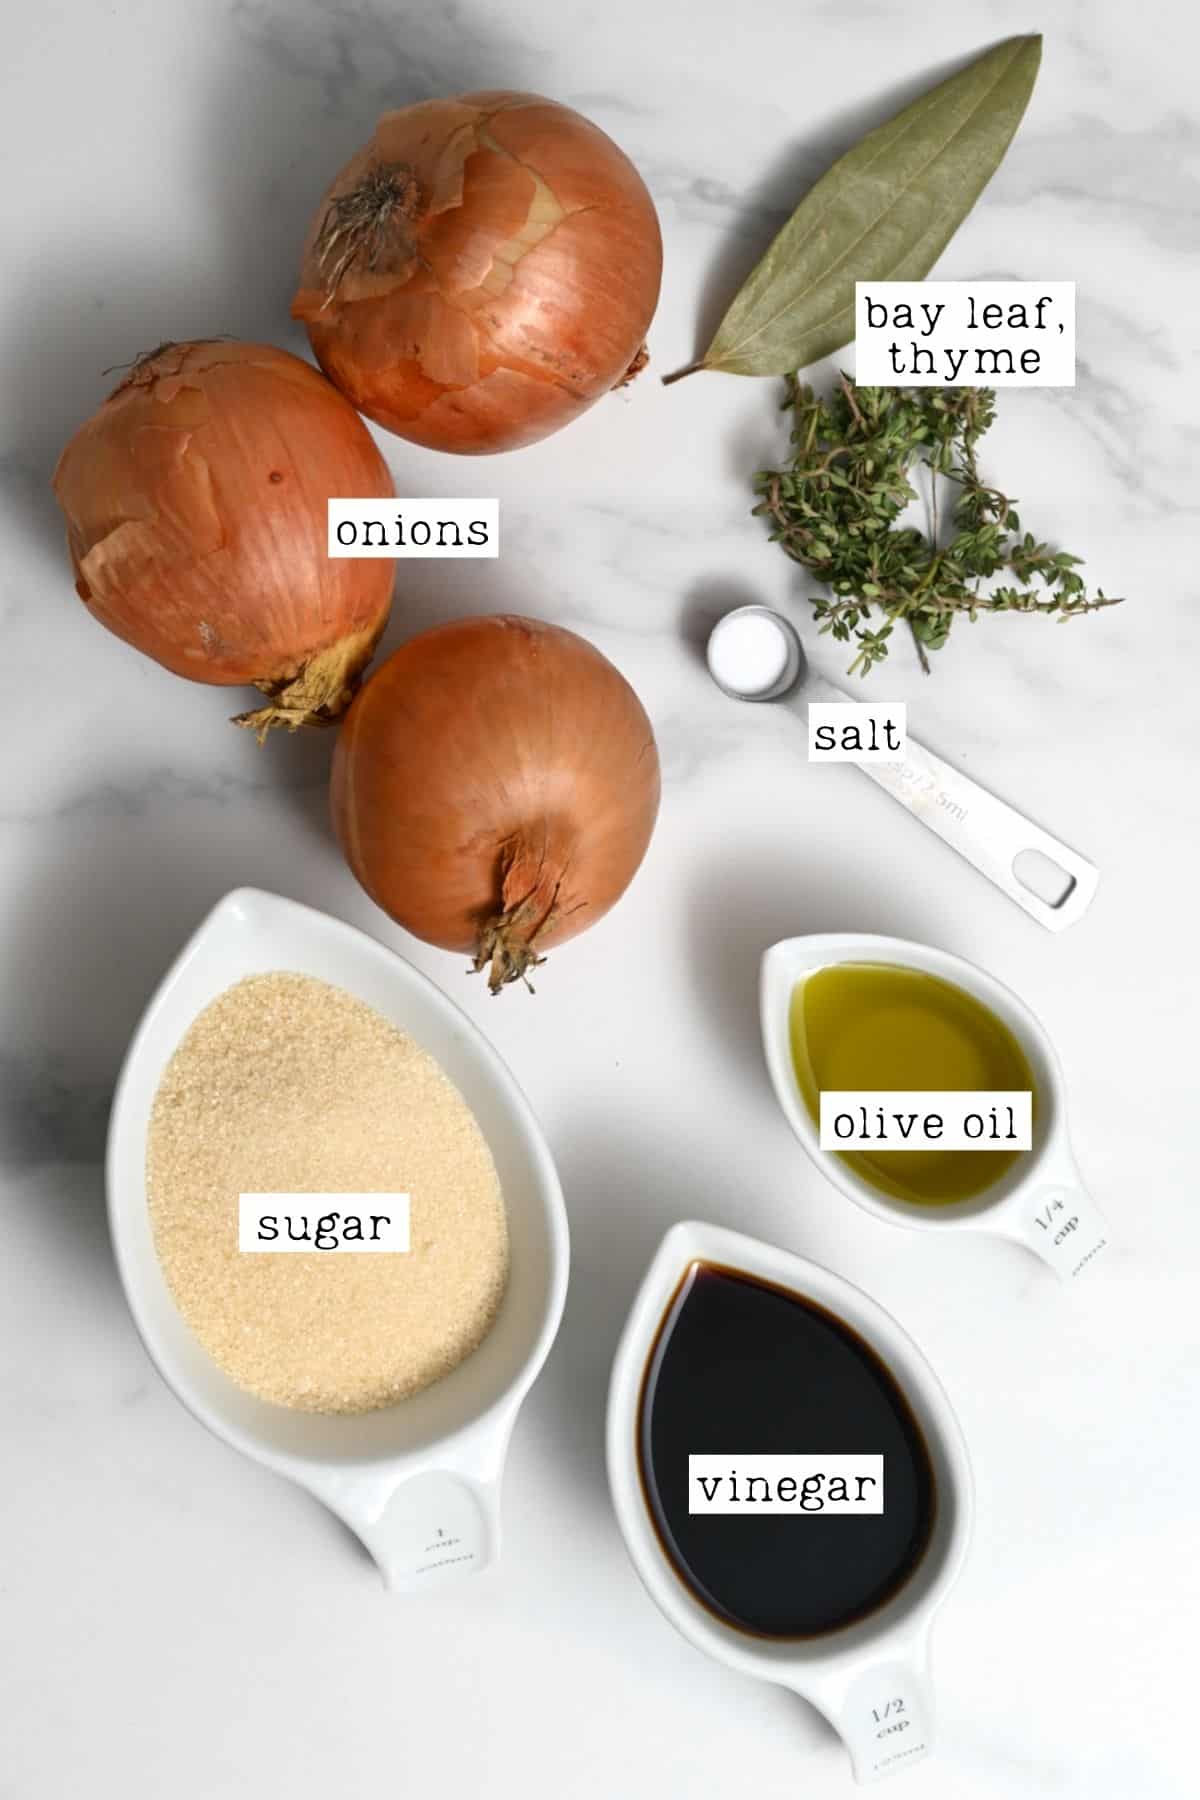
The Ingredients
This simple balsamic onion jam recipe requires just six pantry-friendly ingredients.
- Onions: I recommend using sweet onion or yellow onions. I prefer sweet onion jam, though.
What onions are best for this onion jam recipe?
I highly recommend using sweet onions, which are not only sweeter (unsurprisingly) than white onion and red onions but are my go-to for caramelized onions and French onion soup, too.
Yellow onions (also called brown onions) are my backup choice, as they aren’t too strong and have a subtle sweetness. However, white and red onions will still work.
- Sugar: I used unrefined cane sugar. You could use another type of sugar, like coconut sugar or brown sugar, though the flavor will vary.
- Olive oil: I used extra virgin olive oil, but feel free to use another neutral cooking oil like avocado oil.
- Vinegar: I use balsamic vinegar, which is typical in an onion jam recipe. However, you could also experiment with red wine vinegar, white wine vinegar, or even apple cider vinegar.
- Salt: Season to taste.
- Herbs: I used fresh thyme and a bay leaf.
Optional Add-ins and Variations
- Butter: For a richer onion jam, replace some olive oil with butter.
- Rosemary: Add a single sprig (around 3-4 inches long) to the saucepan. Remove it before jarring the balsamic onion jam.
- Oregano: A pinch of dried oregano would pair well.
- Lemon: You can add lemon juice and zest to brighten the flavor.
- Clove: Add a pinch of ground clove for depth.
- Worcestershire sauce: A splash will add further depth.
- Allspice leaves: You could use this instead of a bay leaf.
- Ginger: Use finely grated ginger. I recommend ¼ tsp to begin and increase if you prefer a more robust flavor.
- Garlic: I haven’t tried this, but I imagine adding a small amount of roasted garlic to the onion jam recipe would taste delicious.
- Alcohol: Add a splash of port or bourbon towards the end.
- Spice: Add a pinch of red pepper flakes OR some finely chopped chilies.
- Mustard: A small amount of Dijon mustard helps to add depth and a slight heat.
How to Make Onion Jam (Onion Preserves)
Step 1: Sauté the Onions
First, peel and dice (or slice) the onions.
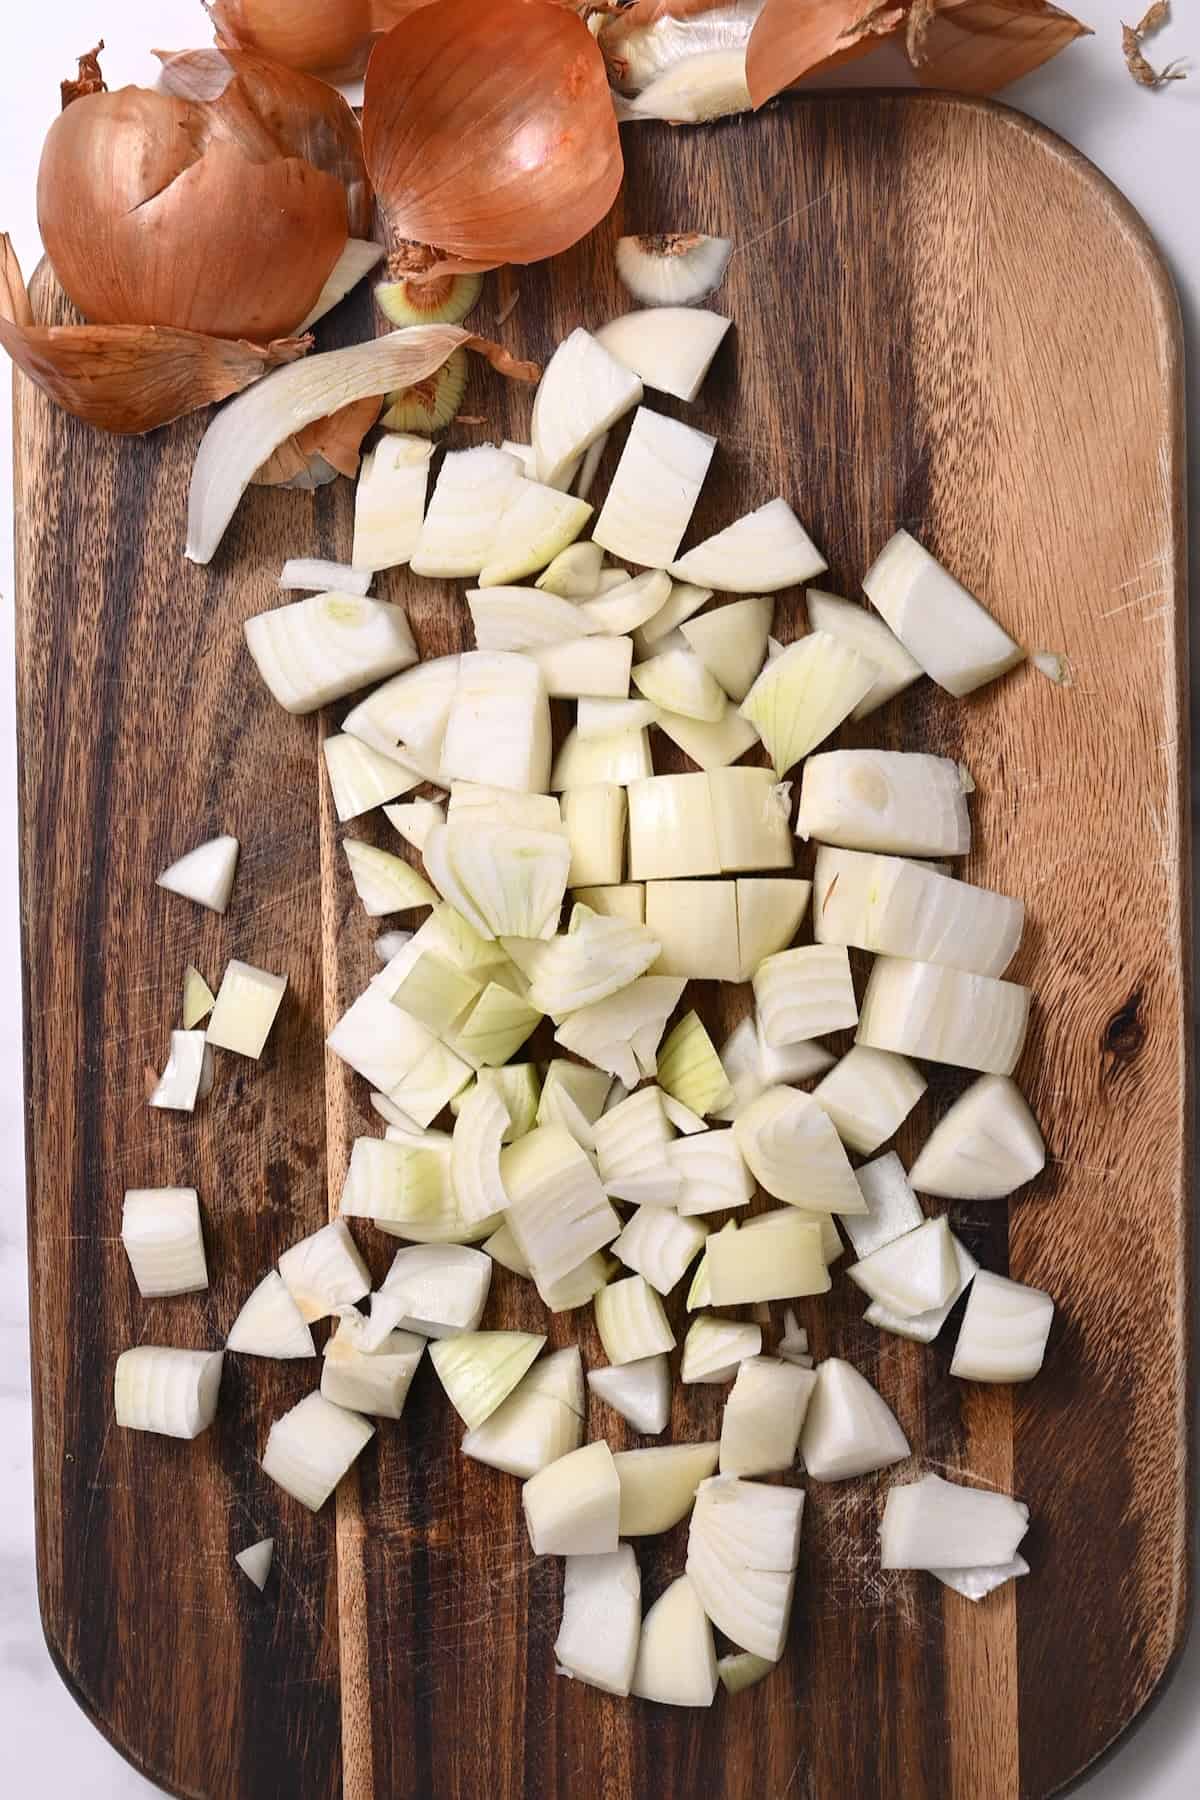
How to Dice an Onion?
- Slice the onion in half, through the root, and then peel the onion.
- Slice off the very end of the top of the onion (not the root) and cut vertical slices along the top of each onion half, almost all the way to the root but not cutting through it. How far apart the vertical slices are will affect how large the diced pieces are. I recommend 1/4 inch.
- With the onion still laid flat against the table, carefully slice the onion horizontally (still keeping the root intact) a couple of times.
- Make slices across the length of the onion to cut it into diced pieces. It can help to gently hold the sides and tops near the root, to keep it together while you slice.
Then, in a large heavy-bottomed pot/skillet, add the oil and heat over medium-high heat.
Once hot, add the onions to the pan and cook for 15 minutes, stirring often, until the onions are tender and golden-brown.
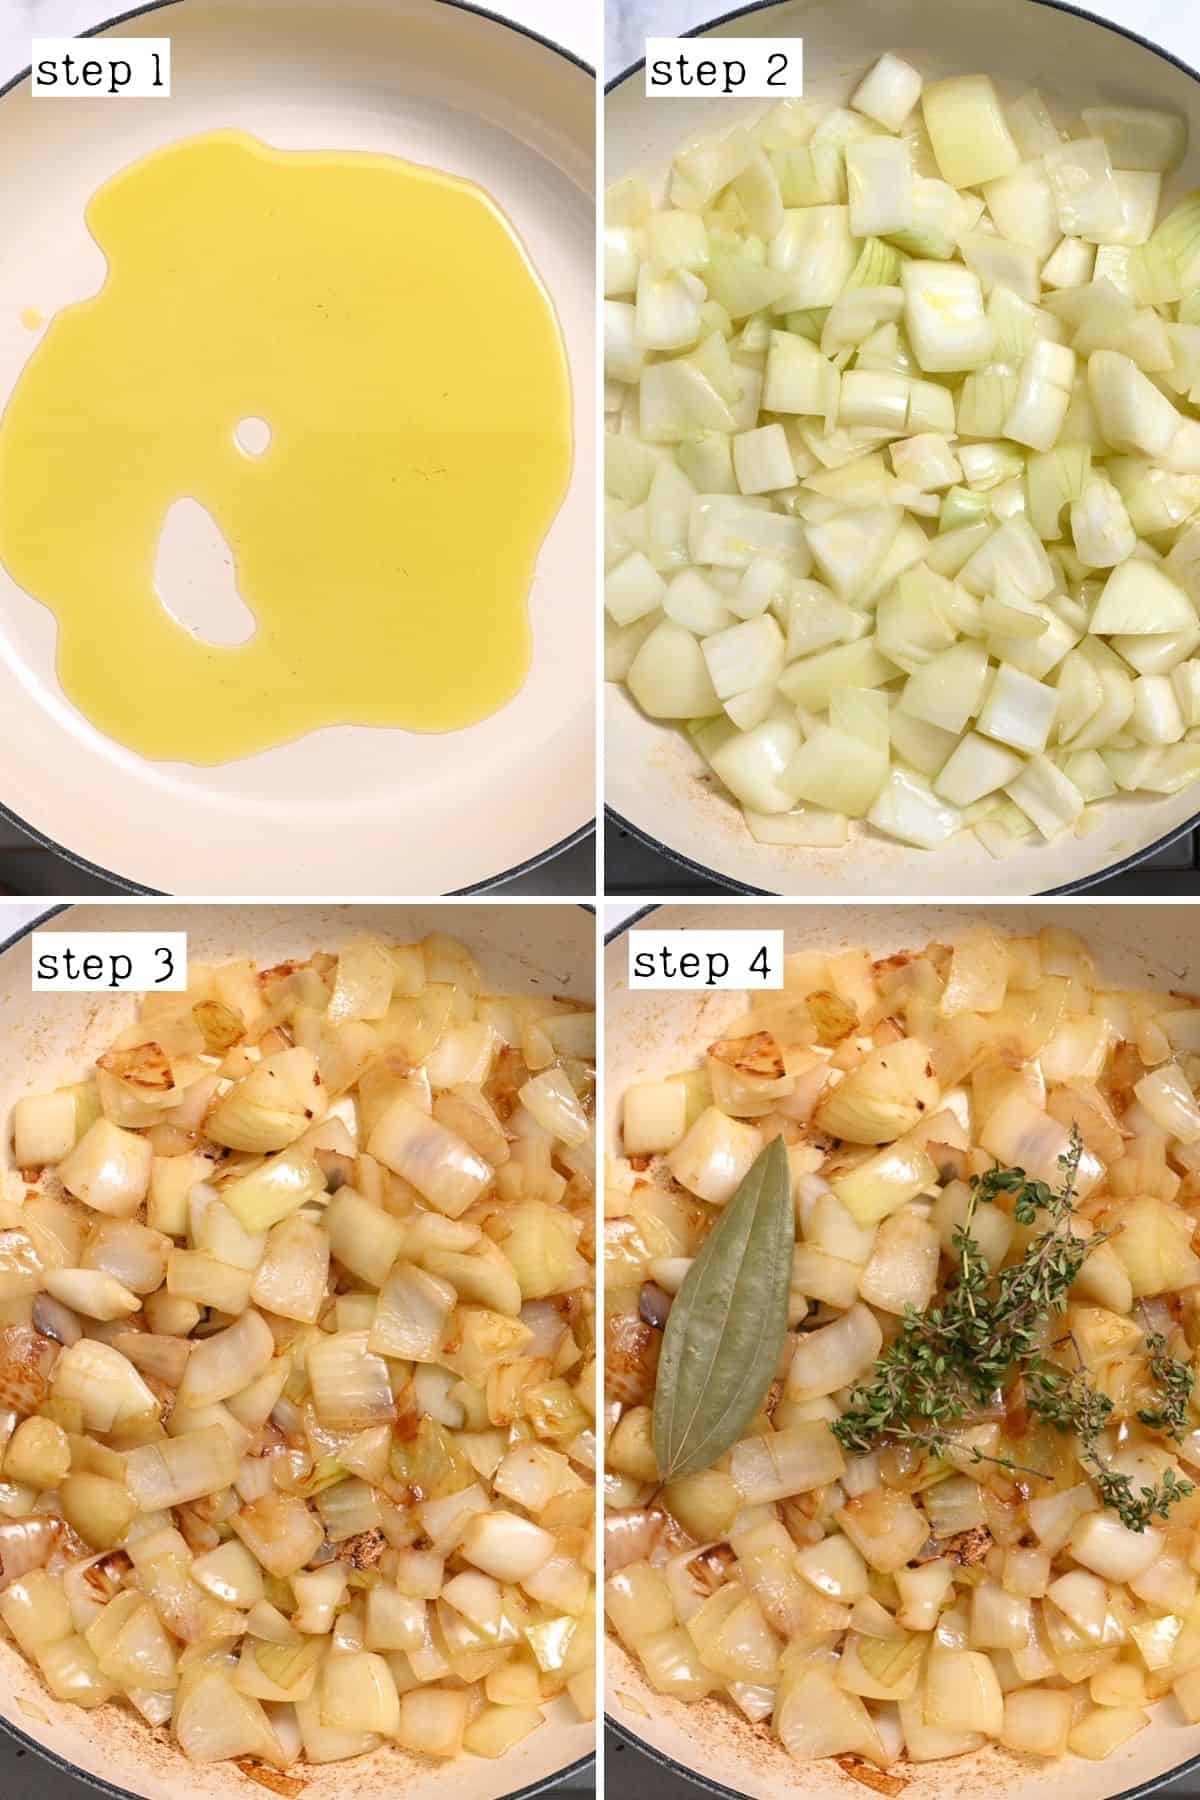
Step 2: Add the Remaining Ingredients
Reduce the heat to low, add the thyme and bay leaf, and cook for 3-5 minutes.
Then, sprinkle the sugar over the onions, leaving it to cook for 5 minutes, untouched. The aim is for it to melt over the onions without stirring.
If you stir the sugar in with the onions, it can seize into clumps. While it’s possible to melt it back down again, the process takes longer and is annoying.
Increase the heat to high and cook for 5 minutes, or until the sugar caramelizes and turns golden-brown, without stirring.
To avoid the caramel burning, it’s important to watch the pan fairly closely at this point so you can reduce the heat if needed.
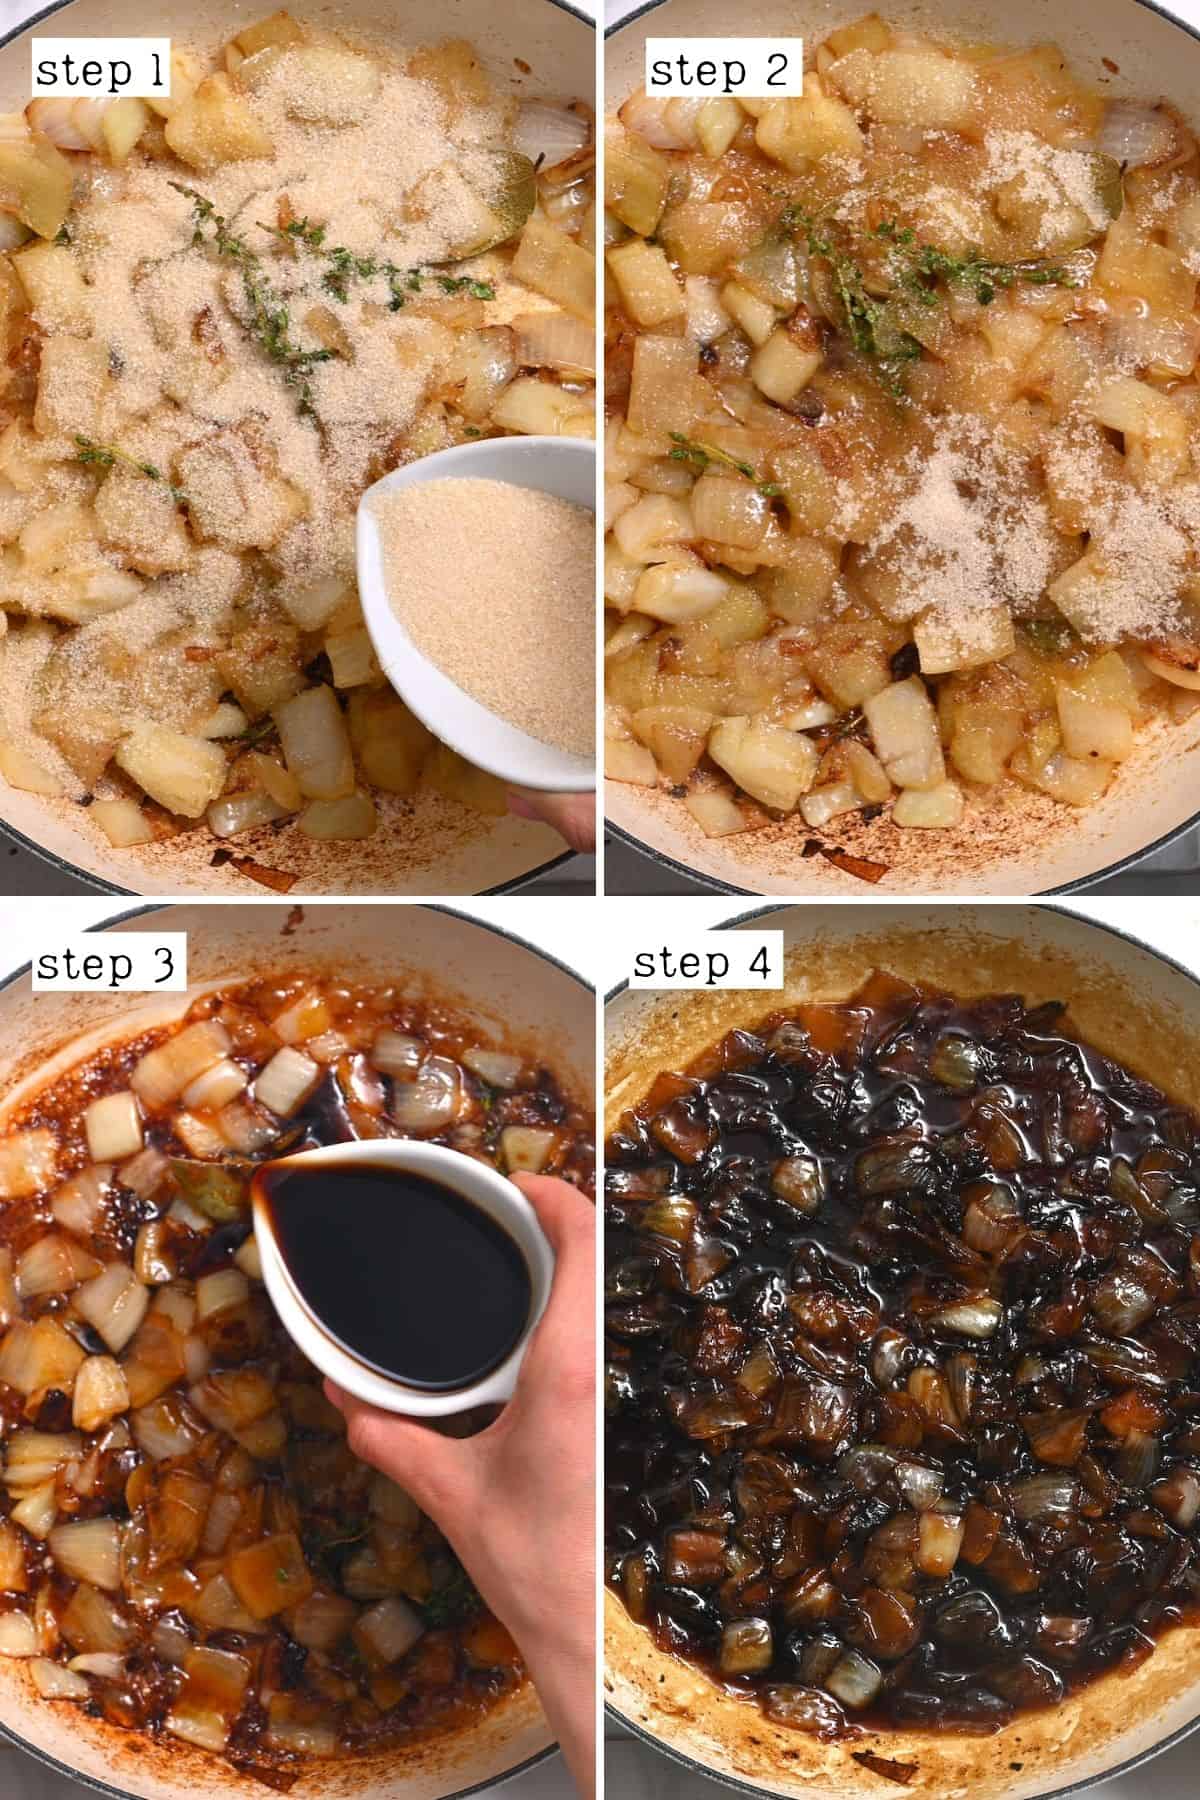
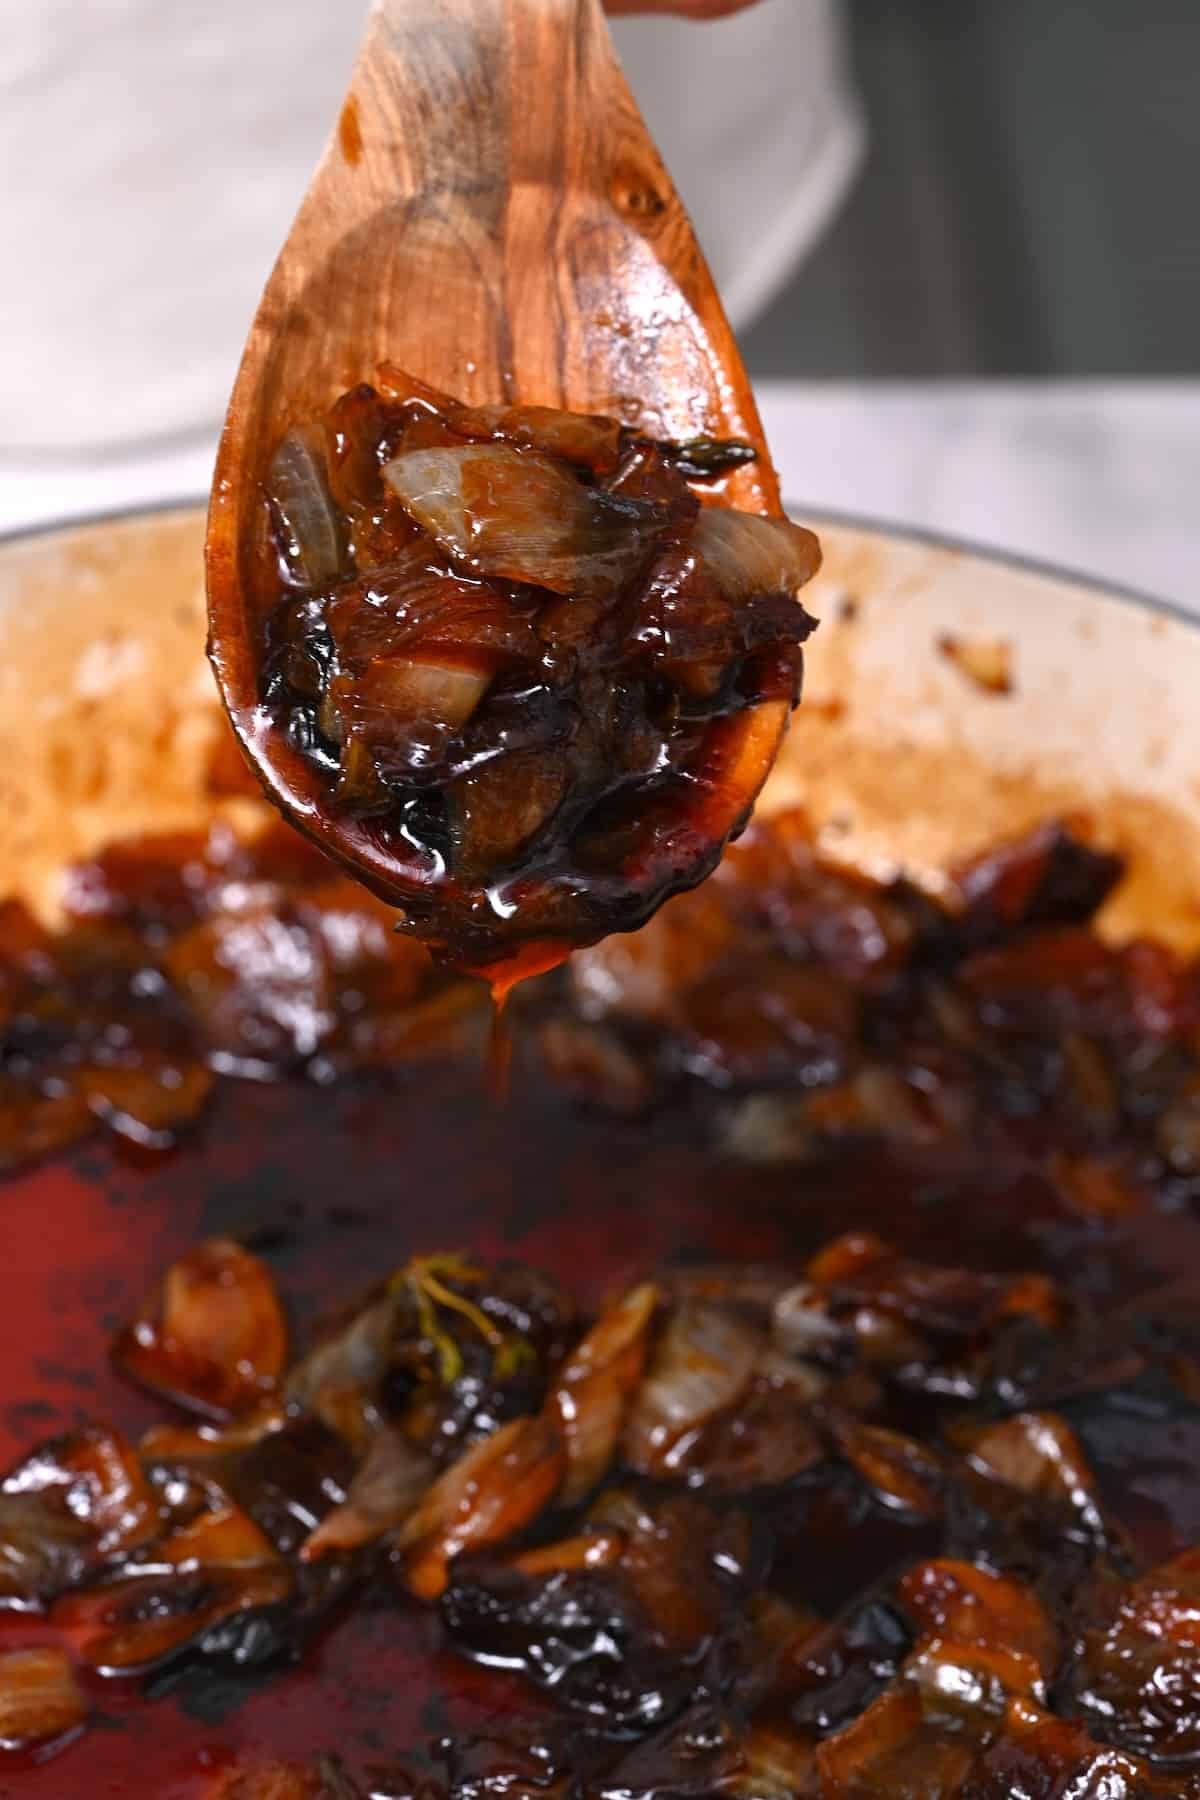
Next, add the balsamic vinegar and stir, then simmer on low for 5 minutes. During this time, the balsamic onion jam mixture should thicken, though feel free to simmer it slightly longer if needed.
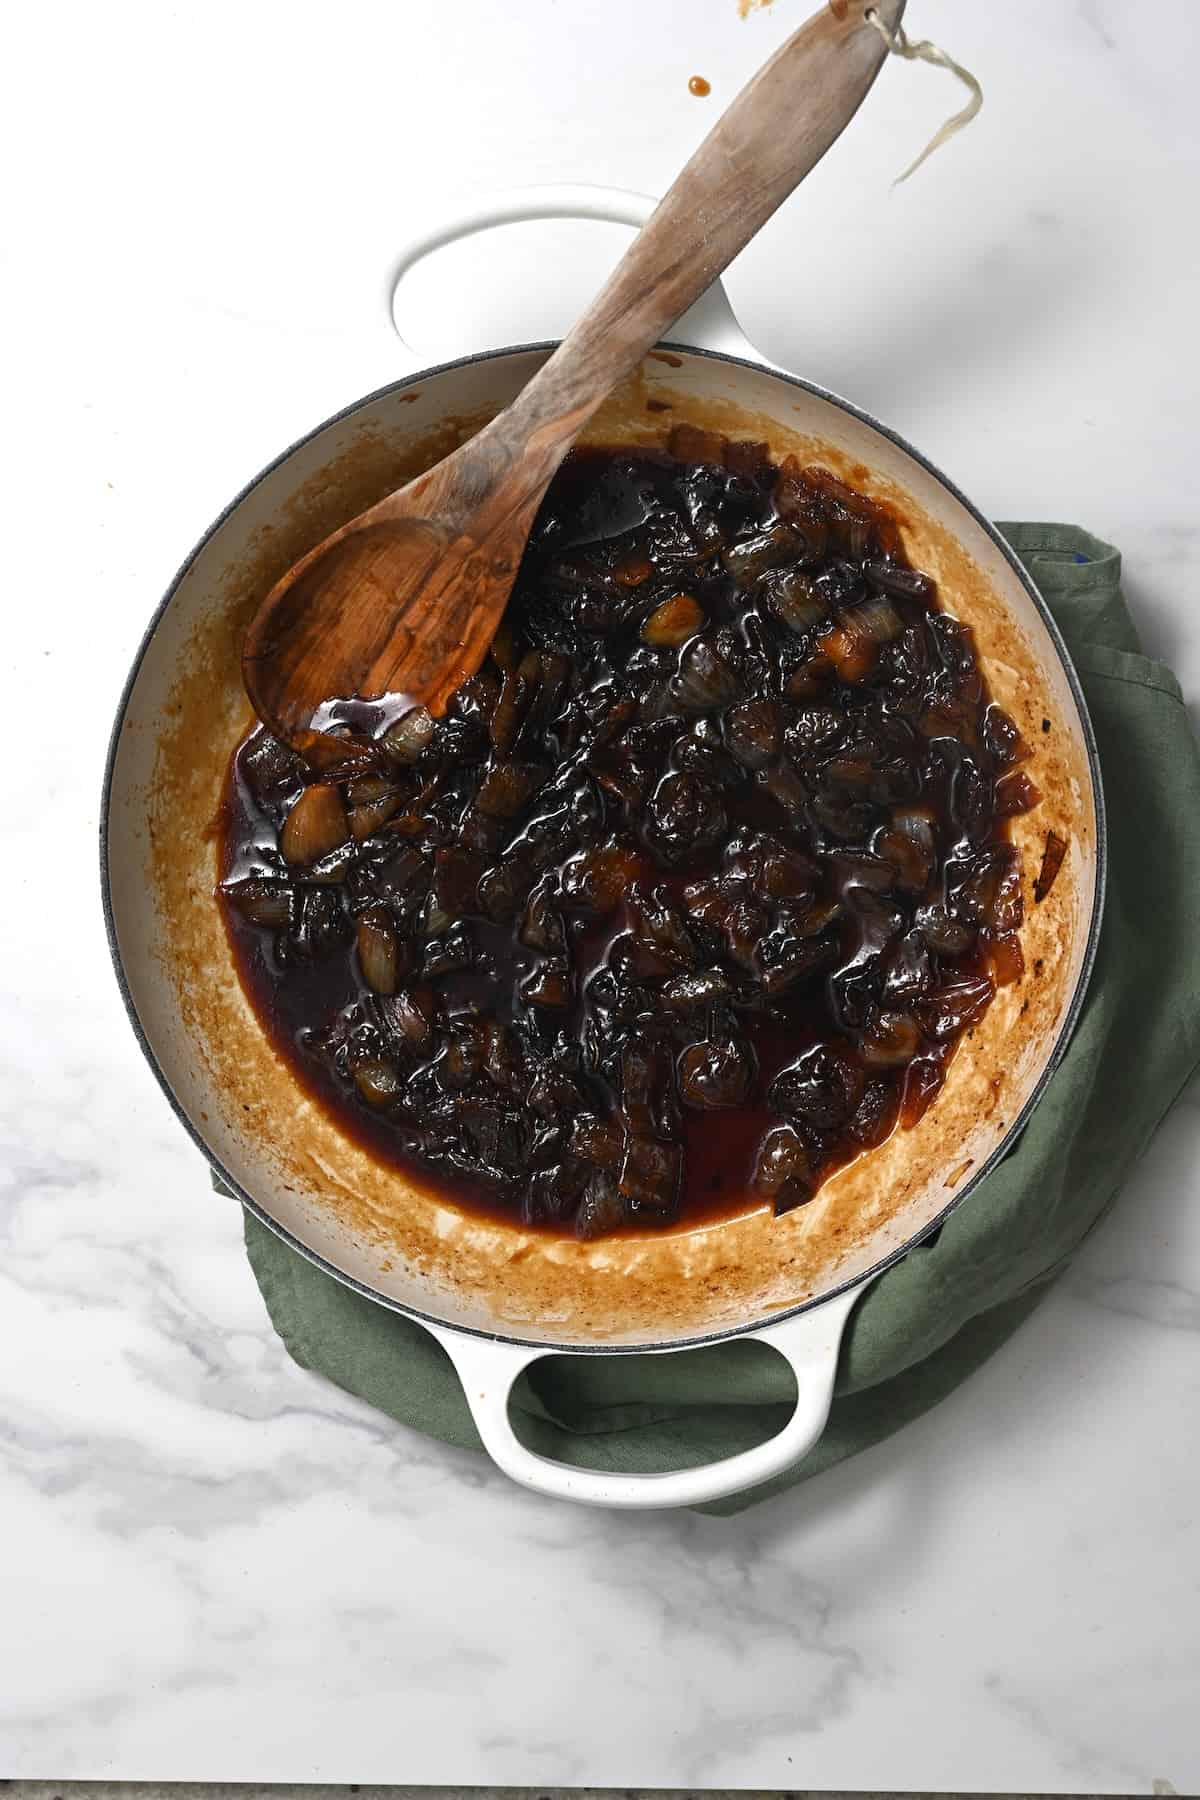
It’s ready when you draw your spoon across the bottom of the pan, and it leaves a clear trail for several seconds.
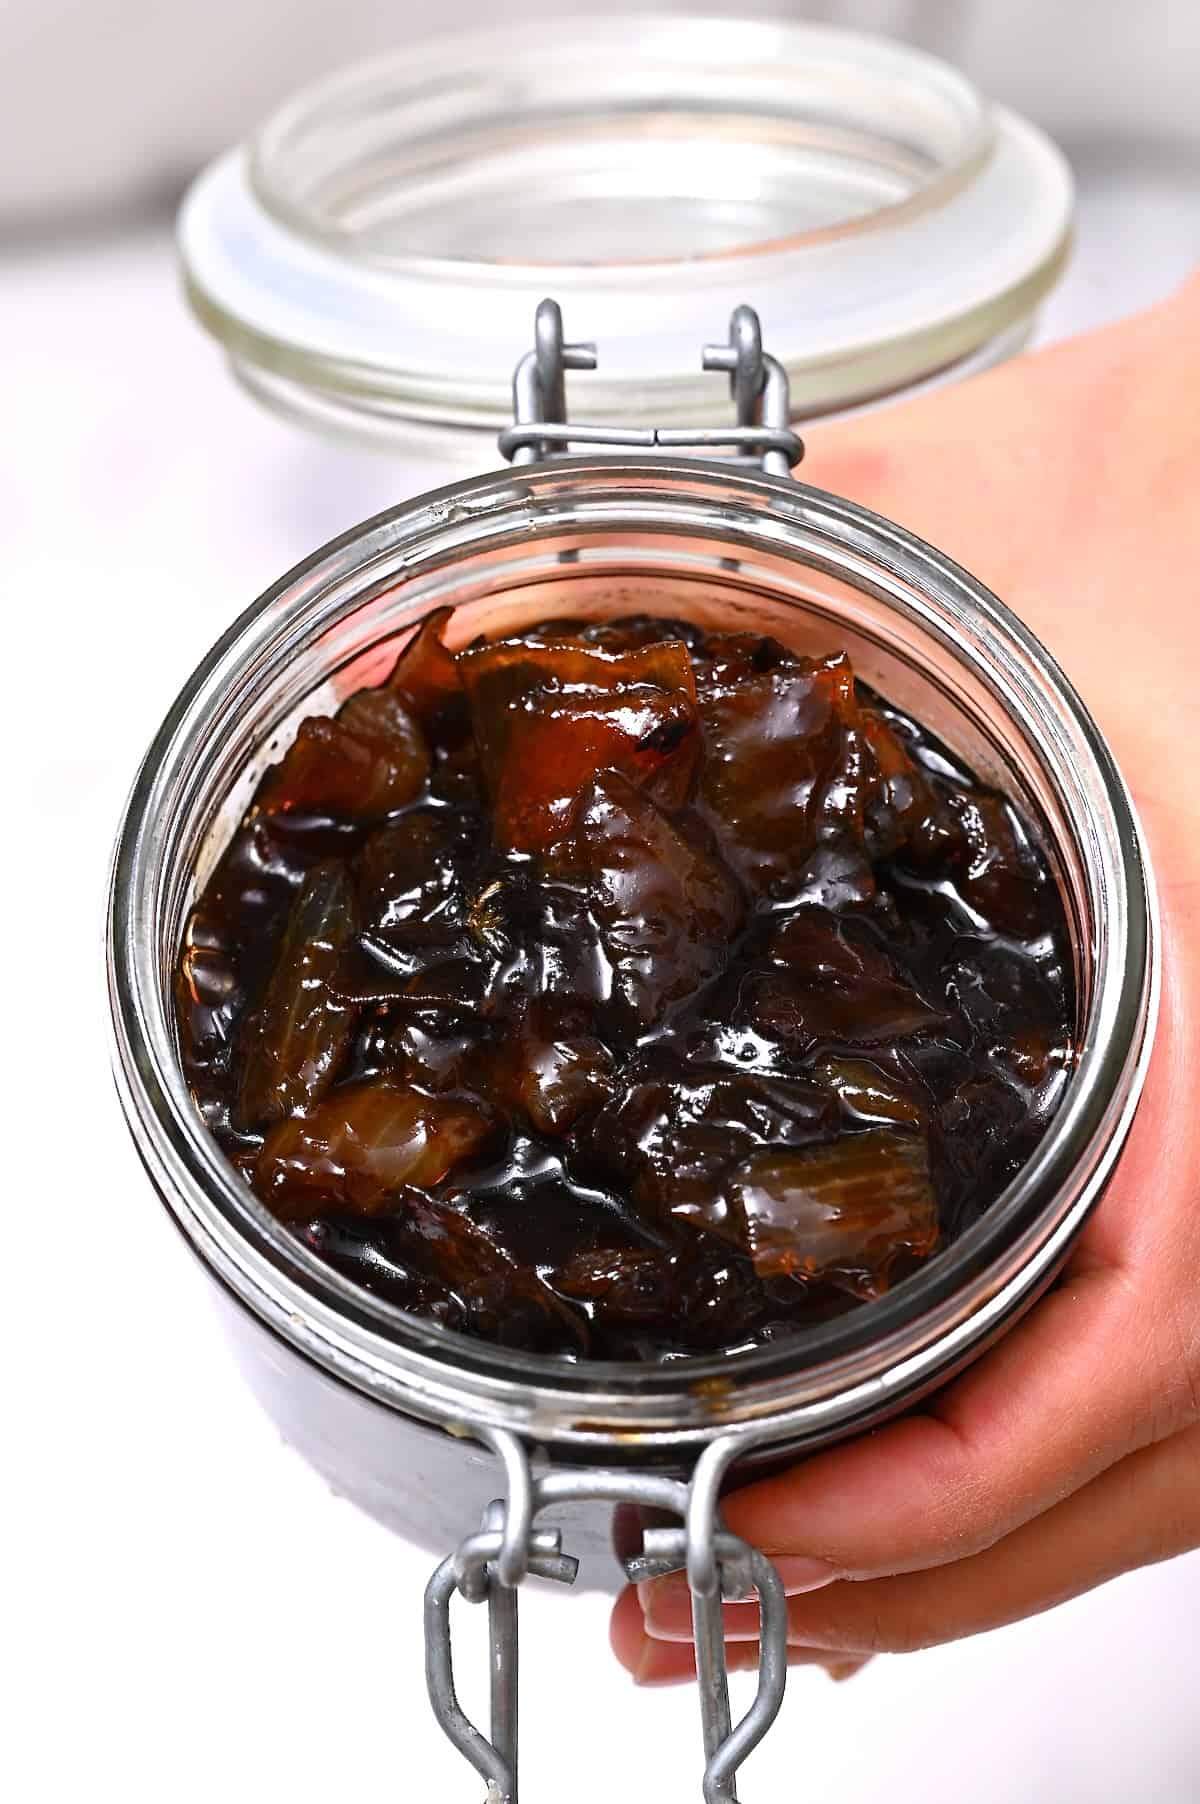
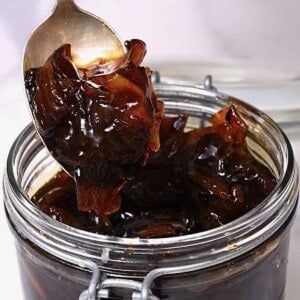
Finally, remove the herbs from the pan, taste, and season the sweet onion jam. Allow it to cool before transferring it to a sterile jar to store.
Storage Instructions
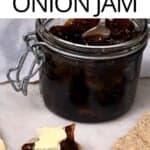
Storing: Store the balsamic onion jam in a sterilized jar in the fridge for 7-10 days.
Alternatively, transfer it to the freezer for 2-3 months (in a jar with 1-inch headspace or in portions in an ice cube tray).
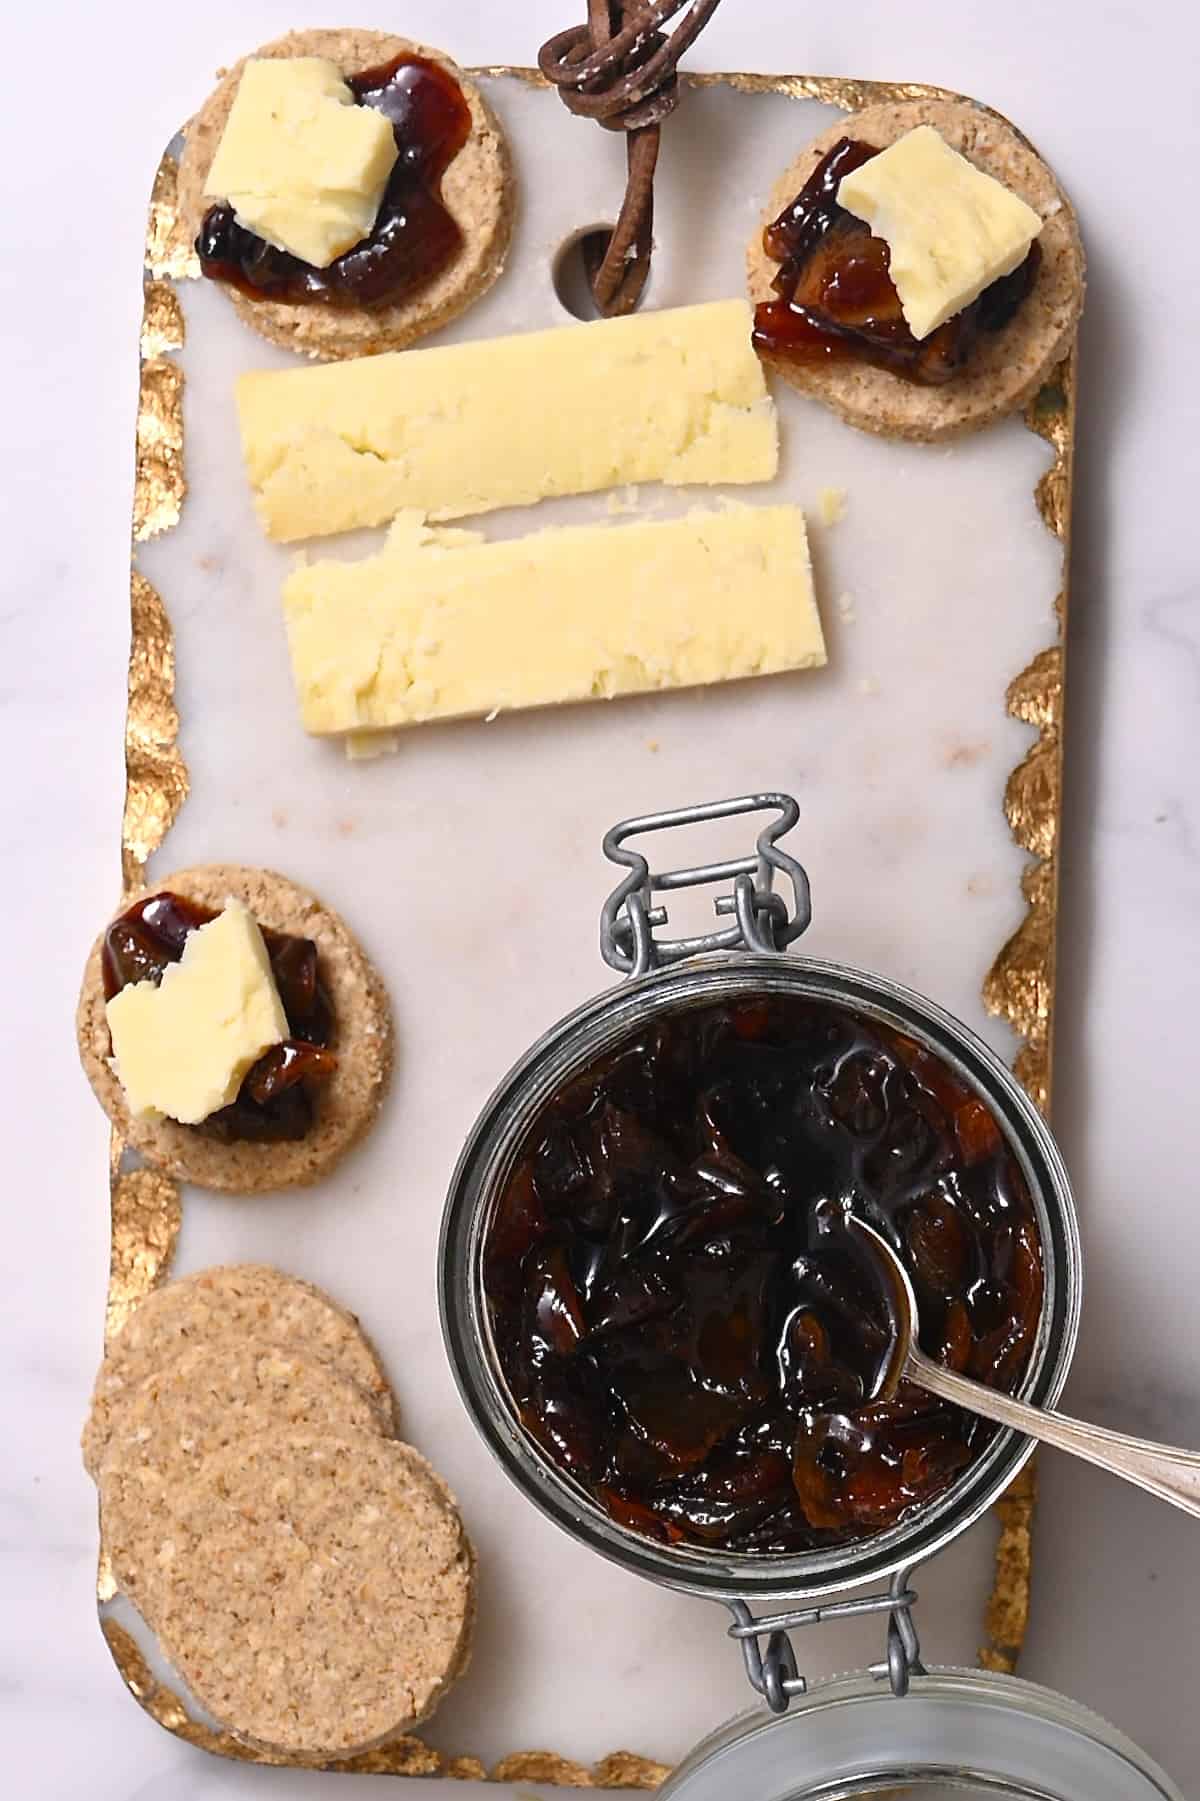
How to Serve Onion Jam?
To say that there are many ways to enjoy this onion jam would be a massive understatement. Here are just a few of my top picks:
You should enjoy this sweet onion jam at room temperature or warm (not chilled) for the best flavor and texture.
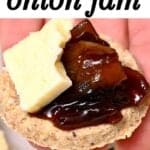
- As part of a cheese platter/charcuterie board with crackers and crusty bread.
- Spread over bagels, toast, simit, ciabatta, avocado toast, etc.
- Spread over a grilled cheese sandwich or other sandwiches and wraps
- It pairs amazingly with goat cheese – in salads, over pizza, a flatbread, a focaccia topping, etc. Or you can top baked brie or camembert at Christmas.
- To top a burger or hotdogs/sausage sandwiches – like this turkey burger, black bean burger, or a halloumi burger.
- Use as a pizza topping.
- To dollop over cooked grilled salmon, roasted chicken and other poultry, steak, lamb chops, and even tofu!
- Slather over a scone with cheese.
- Use to top creamy tomato soup or toss into pasta (warm or a pasta salad).
- Serve with boiled potatoes. Enjoy with vegetable fritters as well as tarts and quiches.
Let me know in the comments how you best enjoy this caramelized onion jam.

FAQs
Absolutely. Feel free to use whatever onions you have. The flavor and color will vary slightly, but red onion jam still tastes great.
To make a sugar-free version, you can use your favorite sweetener: stevia, erythritol, monk fruit sugar, etc., added to taste. However, note that it will affect the set of the jam, so you may need to add some cornstarch or pectin to thicken the mixture. It also affects the shelf life, as sugar is a natural preservative.
Onion jam cannot be water bath canned. It has to be pressure canned. It’s best to refer to the USDA and other professional guidelines for more information.
Recipe Tips and Notes
- Adjust the heat if necessary: If it looks to be cooking too quickly, then reduce the heat slightly. You don’t want to burn the onions or the sugar caramel.
- Time hack: Cut down on onion dicing time by using a food chopper to do the job. Just peel and slice them in half, then let the chopper do the work.
- Slice the onions evenly: This will ensure they cook evenly on the stovetop.
- If the onion jam is too runny: This may be the case if you’ve reduced or substituted the sugar. You could add some cornstarch slurry or pectin if preferred.
- For more flavor: For a more “caramelized onion” jam, I recommend fully caramelizing the onions before adding the herbs and sugar and continuing with the recipe.
- Adjust the texture: Traditional onion jam has the texture of the diced onion. If you want something smoother, feel free to use an immersion blender/blender to adjust it to your desired texture and consistency.
- Make sure to use sterilized jars: Whether or not you plan on water bath canning the jam, ensure you use sterilized jars for the longest shelf life. Wash them in hot, soapy water, then rinse and transfer to an oven (minus rubber and other non-heat-proof parts) at 325ºF/160ºC for 10-15 minutes.
More Simple Onion Recipes
- How to caramelize onions
- Simple roasted onions
- Crispy onions
- How to make onion powder
- How to make pickled red onions
- Homemade onion flakes
- Vegetarian French onion soup
If you try this balsamic onion jam recipe, I’d love to hear your thoughts/questions below. Also, I’d appreciate a recipe card rating below, and feel free to tag me in your recipe recreations on Instagram @Alphafoodie!
Caramelized Onion Jam With Balsamic Vinegar
Equipment
- Vegetable chopper optional
Ingredients
- 1.45 lb sweet onion 3 medium. Yellow, white, or red onion will also work
- 3 Tbsp olive oil or avocado oil
- 6 oz cane sugar 3/4 cup OR brown sugar, coconut sugar, etc.
- 0.1 oz thyme few sprigs
- 1 bay leaf
- 1/2 cup balsamic vinegar or red wine vinegar
- 1/4 tsp salt adjust to taste
This will yield about 1.5 cups of onion jam (14 oz/400 g)
Instructions
Step 1: Sauté the Onions
- Peel and dice (or slice) the onions. Check the Notes below for tips on how to dice them easily.
- In a large heavy-bottomed pot/skillet, add the oil and heat over medium-high heat.
- Once hot, add the onions to the pan and cook for 15 minutes, stirring often, until the onions are tender and golden-brown.
Step 2: Add the Remaining Ingredients
- Reduce the heat to low, add the thyme and bay leaf, and cook for 3-5 minutes.
- Sprinkle the sugar over the onions, leaving it to cook for 5 minutes, untouched. The aim is for it to melt over the onions without stirring.If you stir the sugar in with the onions, it can seize into clumps. While it’s possible to melt it back down again, the process takes longer.
- Increase the heat to high and cook for 5 minutes, or until the sugar caramelizes and turns golden-brown, without stirring.To avoid the caramel burning, it's important to watch the pan fairly closely at this point so you can reduce the heat if needed.
- Add the balsamic vinegar and stir, then simmer on low for 5 minutes. During this time, the balsamic onion jam mixture should thicken, though feel free to simmer it slightly longer if needed.It's ready when you draw your spoon across the bottom of the pan, and it leaves a clear trail for several seconds.
- Finally, remove the herbs from the pan, taste, and season the sweet onion jam. Allow it to cool before transferring it to a sterile jar to store.
Storage Instructions
- Storing: Store the jam in a sterilized jar in the fridge for 7-10 days. Alternatively, transfer it to the freezer for 2-3 months (in a jar with 1-inch headspace or in portions in an ice cube tray).
Notes
- Adjust the heat if necessary: If it looks to be cooking too quickly, then reduce the heat slightly. You don’t want to burn the onions or the sugar caramel.
- Time hack: Cut down on onion dicing time by using a food chopper to do the job. Just peel and slice them in half, then let the chopper do the work.
- Slice the onions evenly: This will ensure they cook evenly on the stovetop.
- If the onion jam is too runny: This may be the case if you’ve reduced or substituted the sugar. You could add some cornstarch or pectin if preferred.
- Adjust the texture: Traditional onion jam has the texture of the diced onion. However, if you want something smoother, feel free to use an immersion blender/blender to adjust it to your desired texture and consistency.
- Make sure to use sterilized jars: Whether or not you plan on water bath canning the jam, ensure you use sterilized jars for the longest shelf life. Wash them in hot, soapy water, then rinse and transfer to an oven (minus rubber, metal, and other non-heat-proof parts) at 325ºF/160ºC for 10-15 minutes.
- Slice the onion in half, through the root, and then peel the onion.
- Slice off the very end of the top of the onion (not the root) and cut vertical slices along the top of each onion half, almost all the way to the root but not cutting through it. How far apart the vertical slices are will affect how large the diced pieces are. I recommend 1/4 inch.
- With the onion still laid flat against the table, carefully slice the onion horizontally (still keeping the root intact) a couple of times.
- Finally, make slices across the length of the onion to cut it into diced pieces. It can help to gently hold the sides and tops near the root, to keep it together while you slice.
Nutrition
Nutrition information is automatically calculated, so should only be used as an approximation.


I’m looking forward to making this for christmas gifts… sorry, just a little confused about the steps where we add the sugar and don’t stir. Would the bottom layer not just burn up on high heat sitting there for 10 min? I just don’t want to ruin the whole pot! Thank you 🙂
Hi Jessie,
The sugar melts quickly and helps draw out moisture from the onions, so it won’t burn as long as the heat stays at medium-low and the pan isn’t too dry. It caramelizes gently underneath, which is what gives the jam its depth of flavor. I hope this helps.
I’m making a big batch this morning! Easy & rich..I’ll serve this with grilled steak tonight. Thanks for sharing it!
Happy to hear you are making a big batch! Thanks for your comment, Lee!
Having just returned from Scotland where onion jam is everywhere, I grabbed everything I had on hand. I used yellow onions, two shallots, fig balsamic vinegar and coconut sugar. I didn’t need as much sugar as the recipe called for as the fig balsamic is sweet on its own. Being a veteran jam maker, I also used butter along with the olive oil as it really is a conduit for flavor. I added everything to the pot once the butter and olive oil melted down. Skipped the bay leaf and thyme (personal taste) and used a scant bit of oregano to give it a bit of earthy taste to cut the sweetness. I added additional vinegar as the onions cooked down. It’s fabulous.
Thank you so much for sharing, Anne. Your version sounds delicious!
I followed this recipe using some of the recommended variations. I used red onions and added some butter in place of some of the olive oil. The recommendation to add ground cloves was BOMB!!! That was the biggest game changer for me. I used entirely brown sugar — it’s the only way to go for onion jam in my opinion. I also followed the recommendation to fully caramelize the onions for closer to an hour — more time always makes for better caramelized onions in my experience.
The only thing I changed from the recommendations in this recipe is I added vegetable bullion rather than water as the onions were caramelizing, and I highly recommend it. I like how it adds to the flavor and adds some saltiness to complement all the sweetness as it’s cooking. The final product was delicious!!!! This recipe is amazing!
Hi Amanda,
Thank you so much for your comment and these excellent tips! Using vegetable bouillon sounds delish! <3
Easy but super tasty recipe. Thank you!
Thank you so much for your comment, Michelle! Glad you liked it! 🙂
I love this recipe, I’ve been putting the onion jam on everything: pizza, cheese and crackers, tagine, Indian curry, lamb, burgers, etc…
Great way to do this, tried another recipe and they wanted to caramelize the sugar first but it just seizes up. This way works so much better!
Hi Abby! I’m so glad you love the onion jam! It really does go well with everything. Happy cooking! 🙂