This post may contain affiliate links. Please read our disclosure policy.
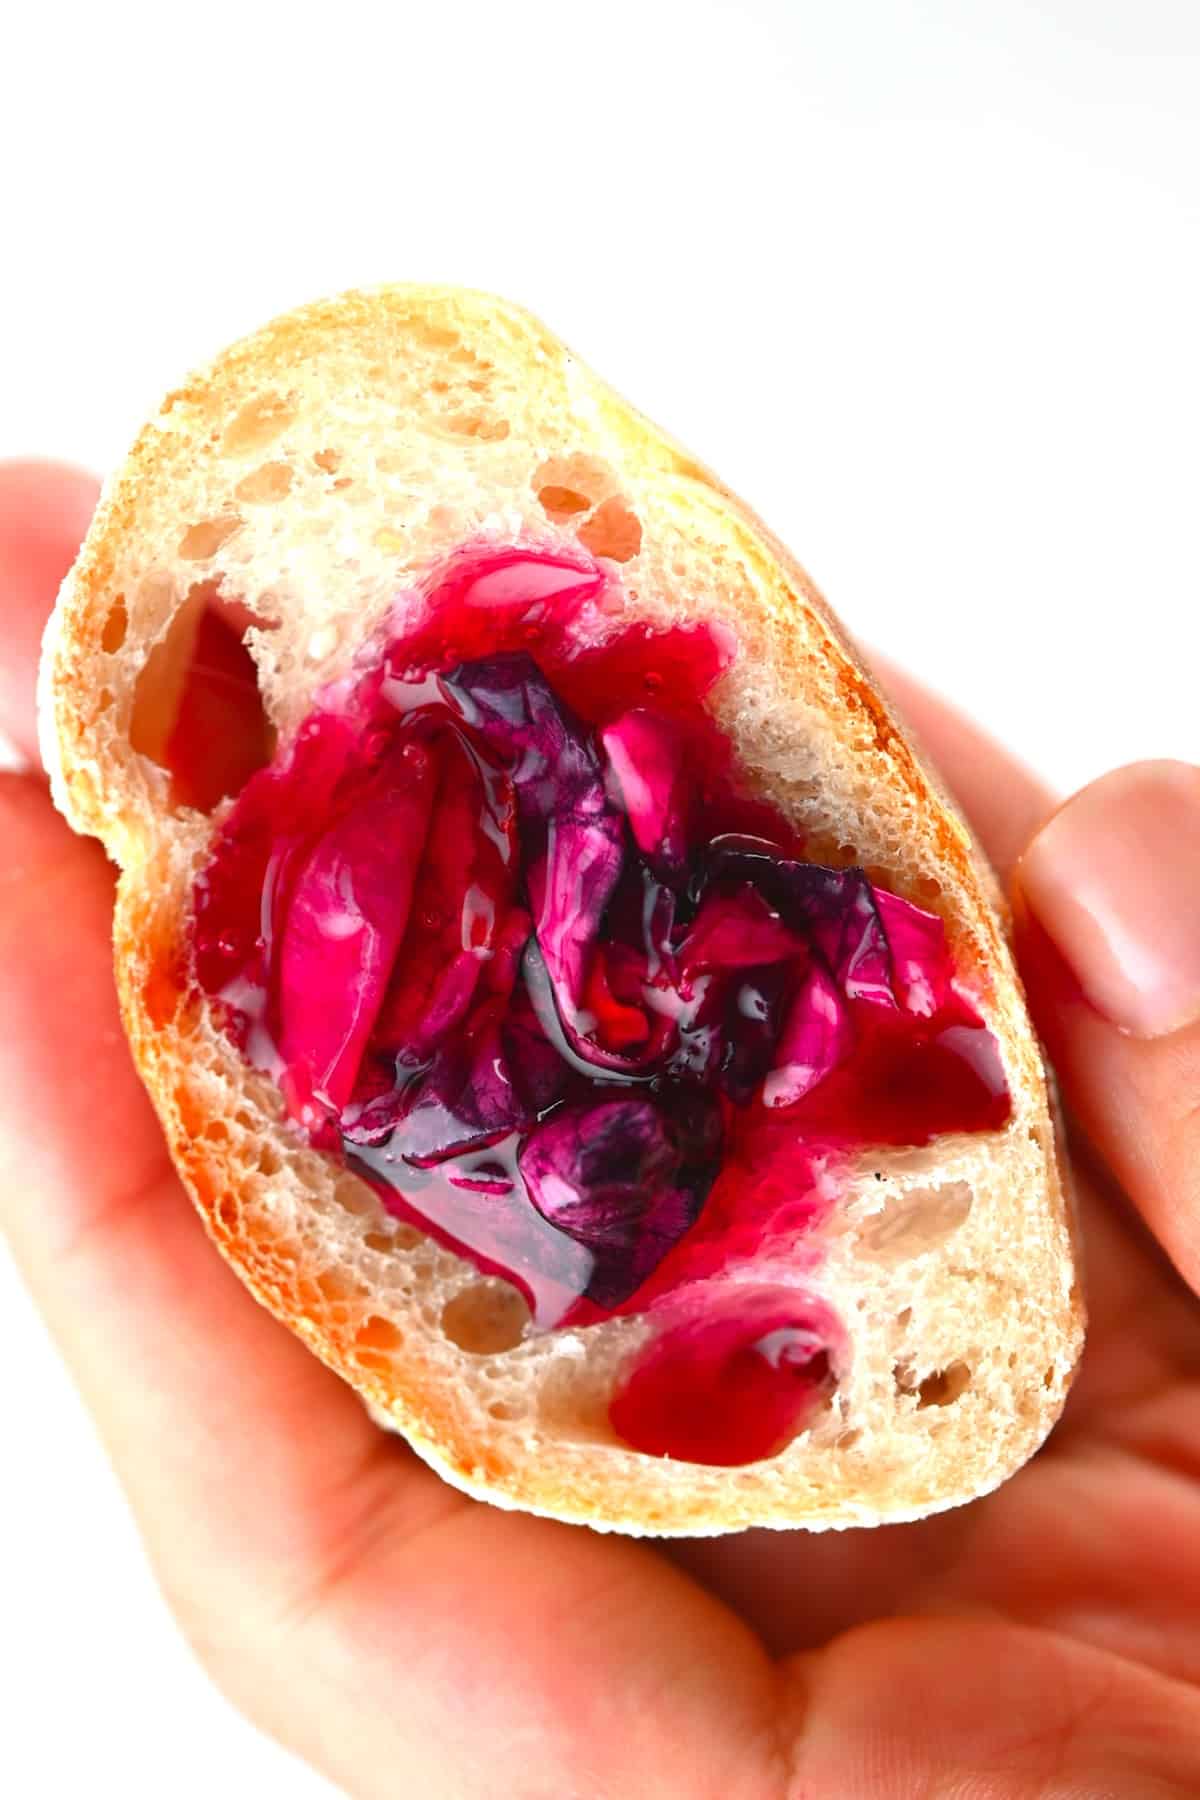
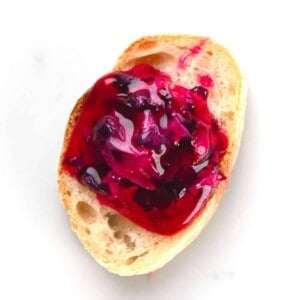
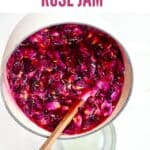
A flavorful, delicious, and simple rose petal jam recipe made with just 4 ingredients and a simple process! Perfect as a spread, slathered, or spooned into desserts- this rose jam will take your dishes to the next level!
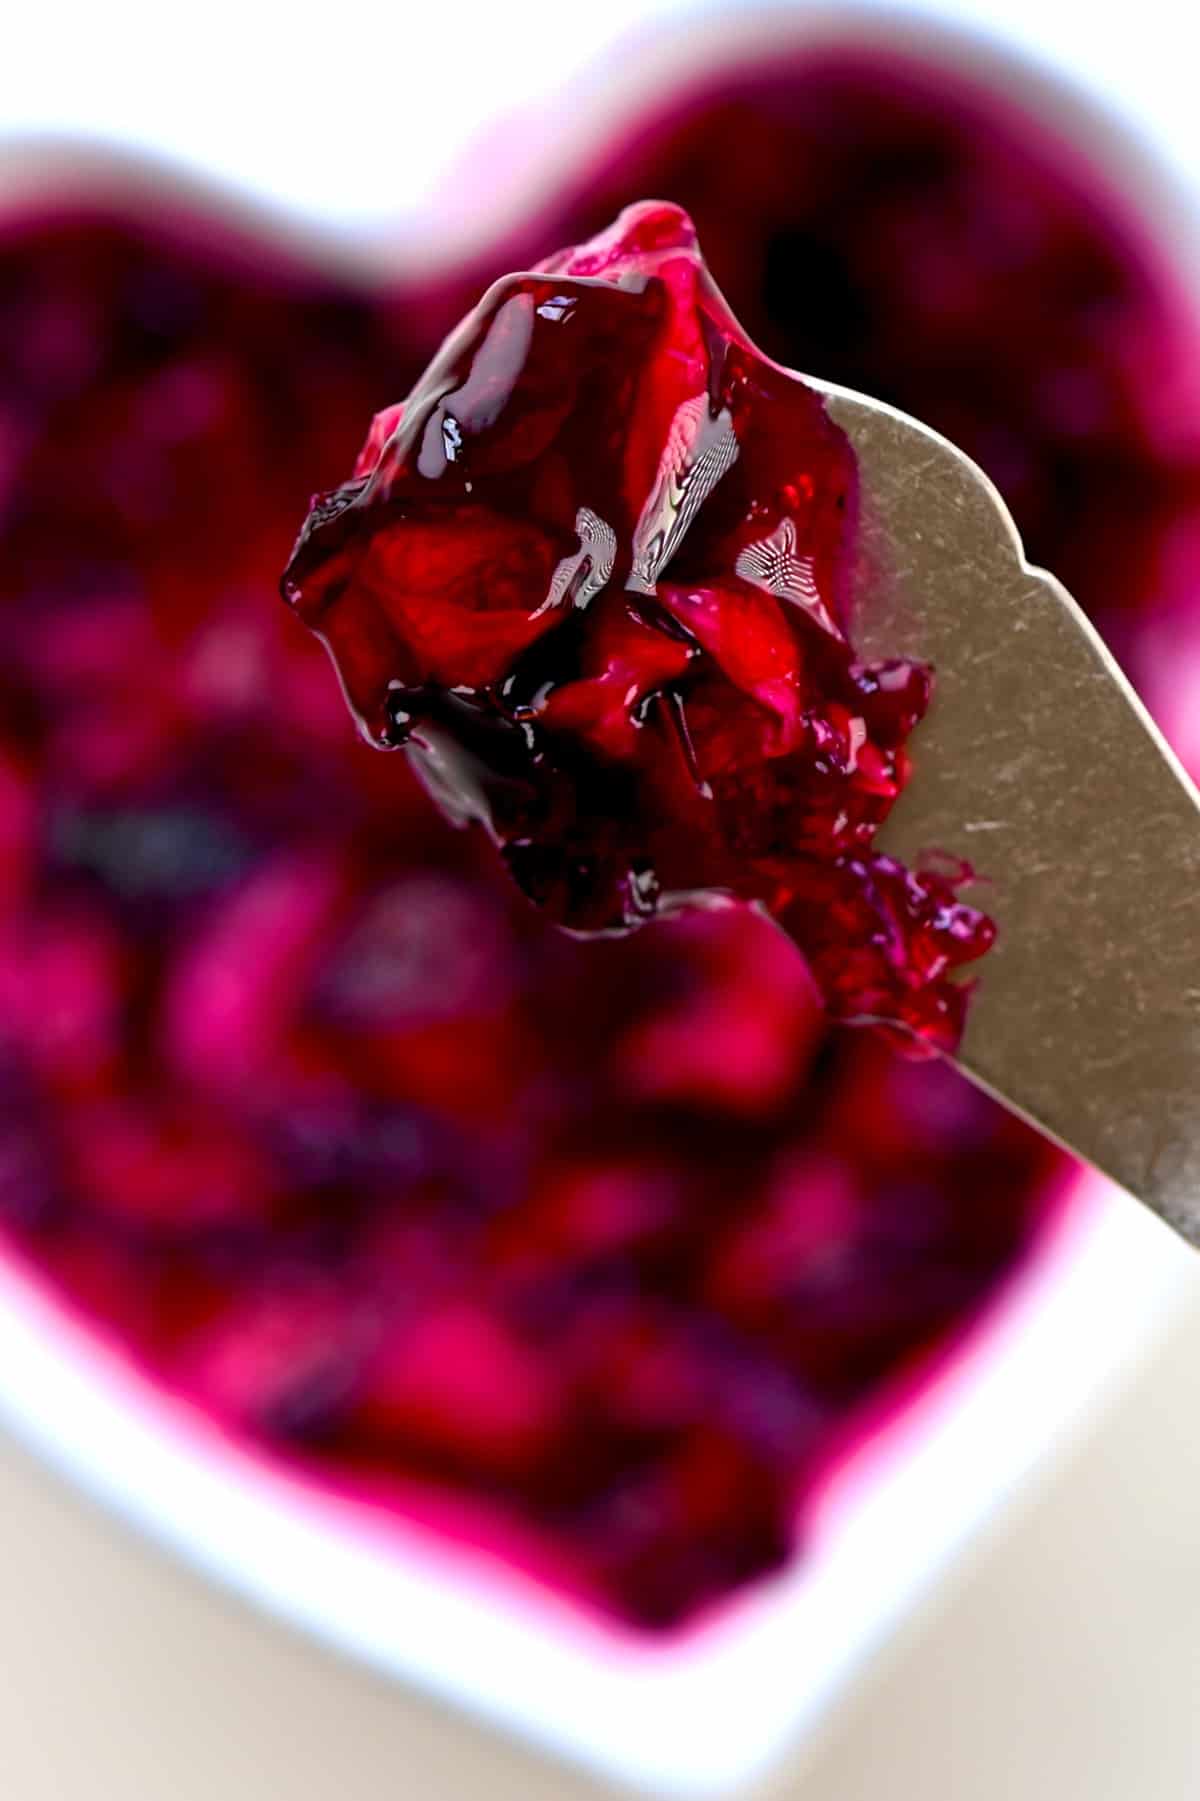
The flavor of rose is one of my ultimate guilty pleasures, and not just because I’ve grown up consuming it a lot with delicious Lebanese sweets. I already have posts on my blog for homemade rose water and, more recently, rose extract. Now, here is a simple but sinfully delicious recipe for rose petal jam.
As delicious as strawberry, raspberry, blackberry, fig, rhubarb, and other fruit jams are- this rose jam is my ultimate indulgence jam. The fragrant rose flavor is strong and sweet, without being overwhelming. I find it hard not to slather it over everything that I can.
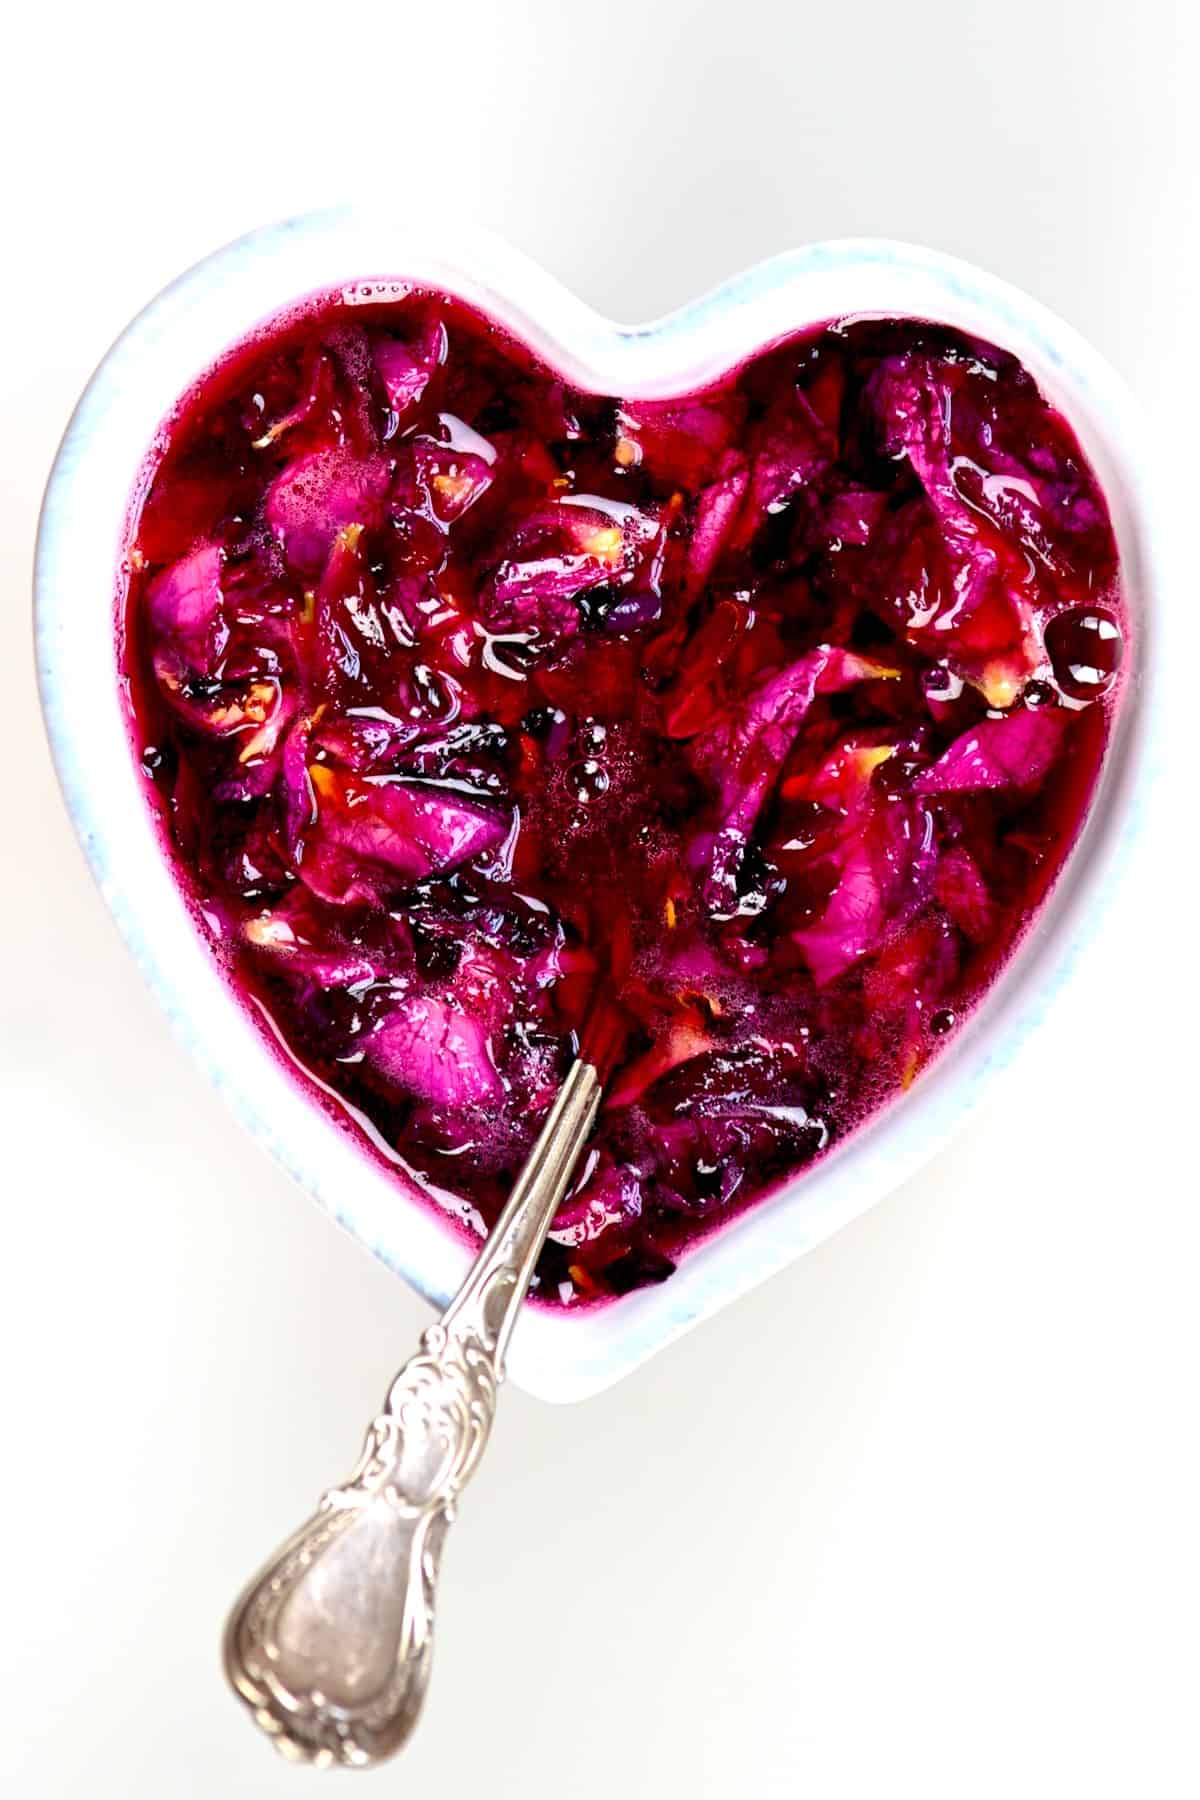
Plus, when all you need for this organic rose petal spread are four ingredients (water not included), a few simple tools, and 30 minutes of prep – it’s the perfect way to try something new and a simple step into the world of jam-making.
Want to save this recipe?
The Ingredients
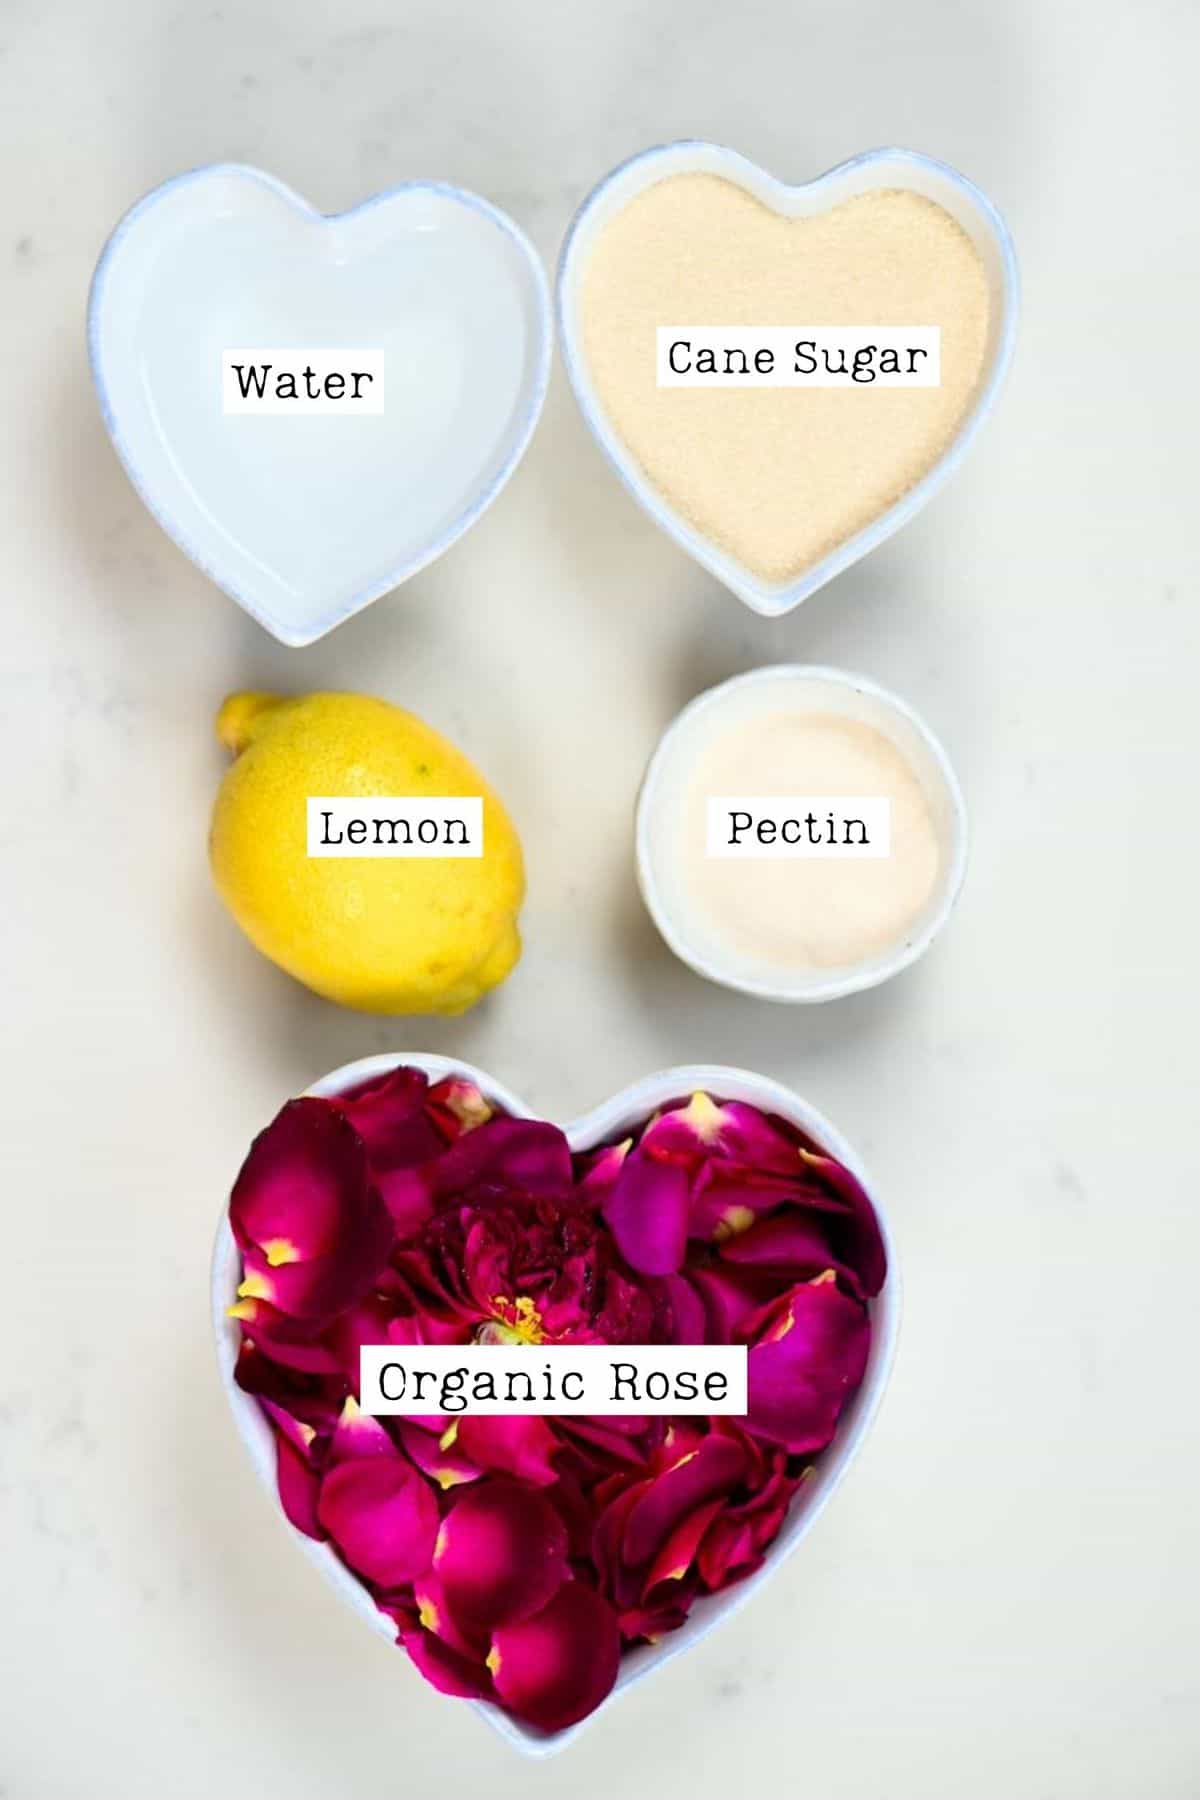
Sugar: For this particular recipe, I’ve decided to use cane sugar. However, you can experiment with other sugar types, too. Just be aware that different sugars will affect the flavor differently. It also affects the set and shelf life- so be wary when trying to reduce the amount I’ve suggested.
Pectin: You can buy ‘jam sugar,’ which is a combination of white sugar mixed with pectin, or buy pectin on its’ own. I like to use separate pectin nd experiment with different sugar types. However, I’ve included a method for using jam sugar with this recipe too.
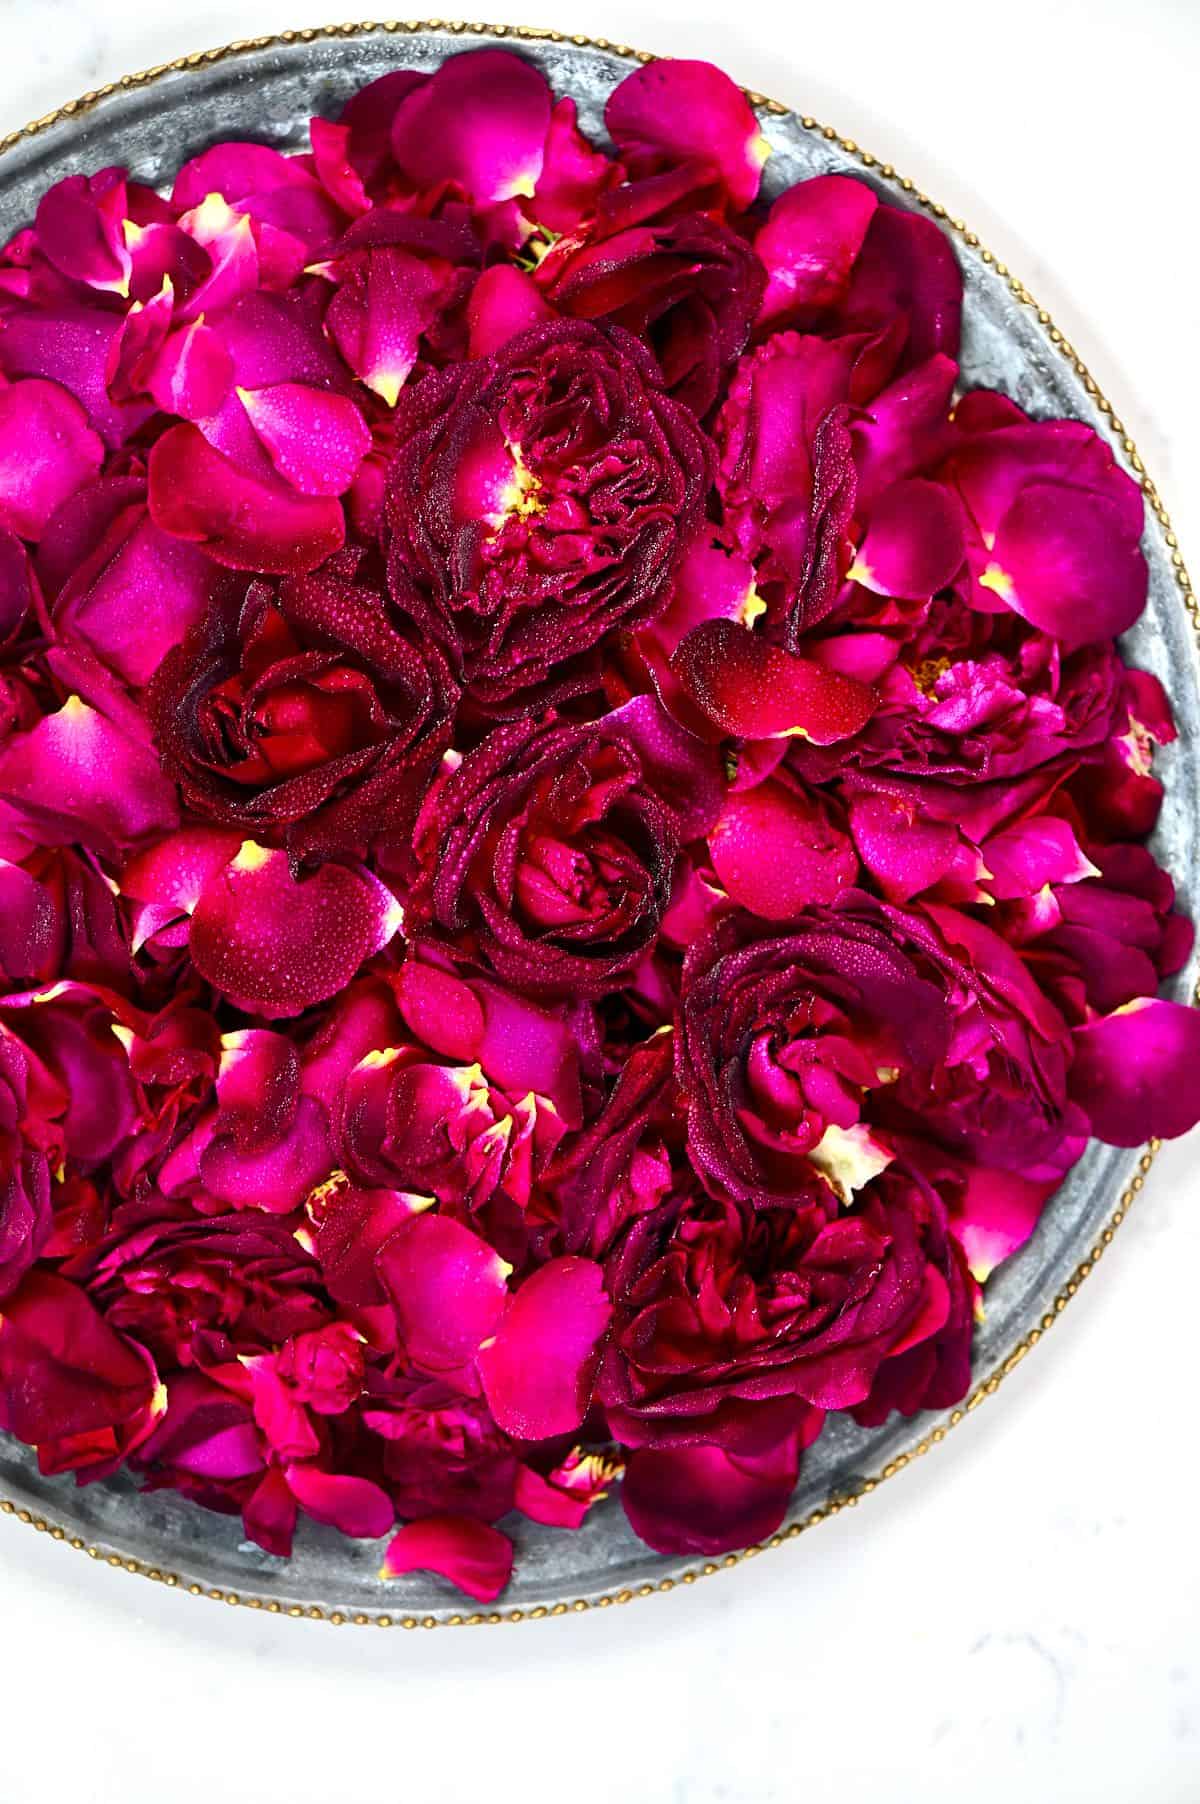
Fragrant Organic Rose Petals: There are several types of edible roses that you can use that will all result in slightly different flavors and colors. It’s best to use roses with thin and/or more delicate petals so they end up soft, rather than chewy.
Lemon Juice: Not only does lemon juice help the jam set (as it works to bond the pectin to the other ingredients), it also prevents bacteria growth, and works like magic on brightening up the color of the jam and petals, when using specific roses.
Note* Bottled lemon juice has a consistent pH level, unlike raw lemons, so you can use it if preferred. However, I prefer to use fresh lemon juice.
Equipment Needed
A Pan: Use a heavy-based large ad shallow pan rather that one that is tall and thin, for quicker and even cooking.
Spatula or wooden spoon: Avoid using a metal spoon or plastic. Go for heat-proof wooden or silicone tools.
Jam Jars: Especially needed if you plan to ‘can’ the jam for long-term storage. Otherwise, you need sturdy heat-proof jars with tight, airtight lids.
Sieve or jelly bag (optional): If you want to remove some or all of the rose petals from the jam.
Canning Funnel (optional): While not entirely necessary, especially if you aren’t canning the jam for long term storage, this tool does make transferring the jam into the jars much cleaner and easier.
The Step By Step Instructions
Step 1: Prepare the roses by removing the petals and washing them well.
Step 2: First combine the sugar and pectin in a bowl. Then, in a medium heavy-based pan, add the sugar pectin mix, water, and rose petals.
Step 3: Heat the mixture over a low-medium heat stirring constantly, till the sugar is entirely dissolved. Don’t raise the temperature until it is dissolved, otherwise, you can end up with a grainy jam and/or the formation of sugar crystals.
Note* Depending on what rose petals you use, they may leech the majority of their color during the initial cooking. Don’t panic though, this is temporary as the lemon juice works magic in brightening up the colors!
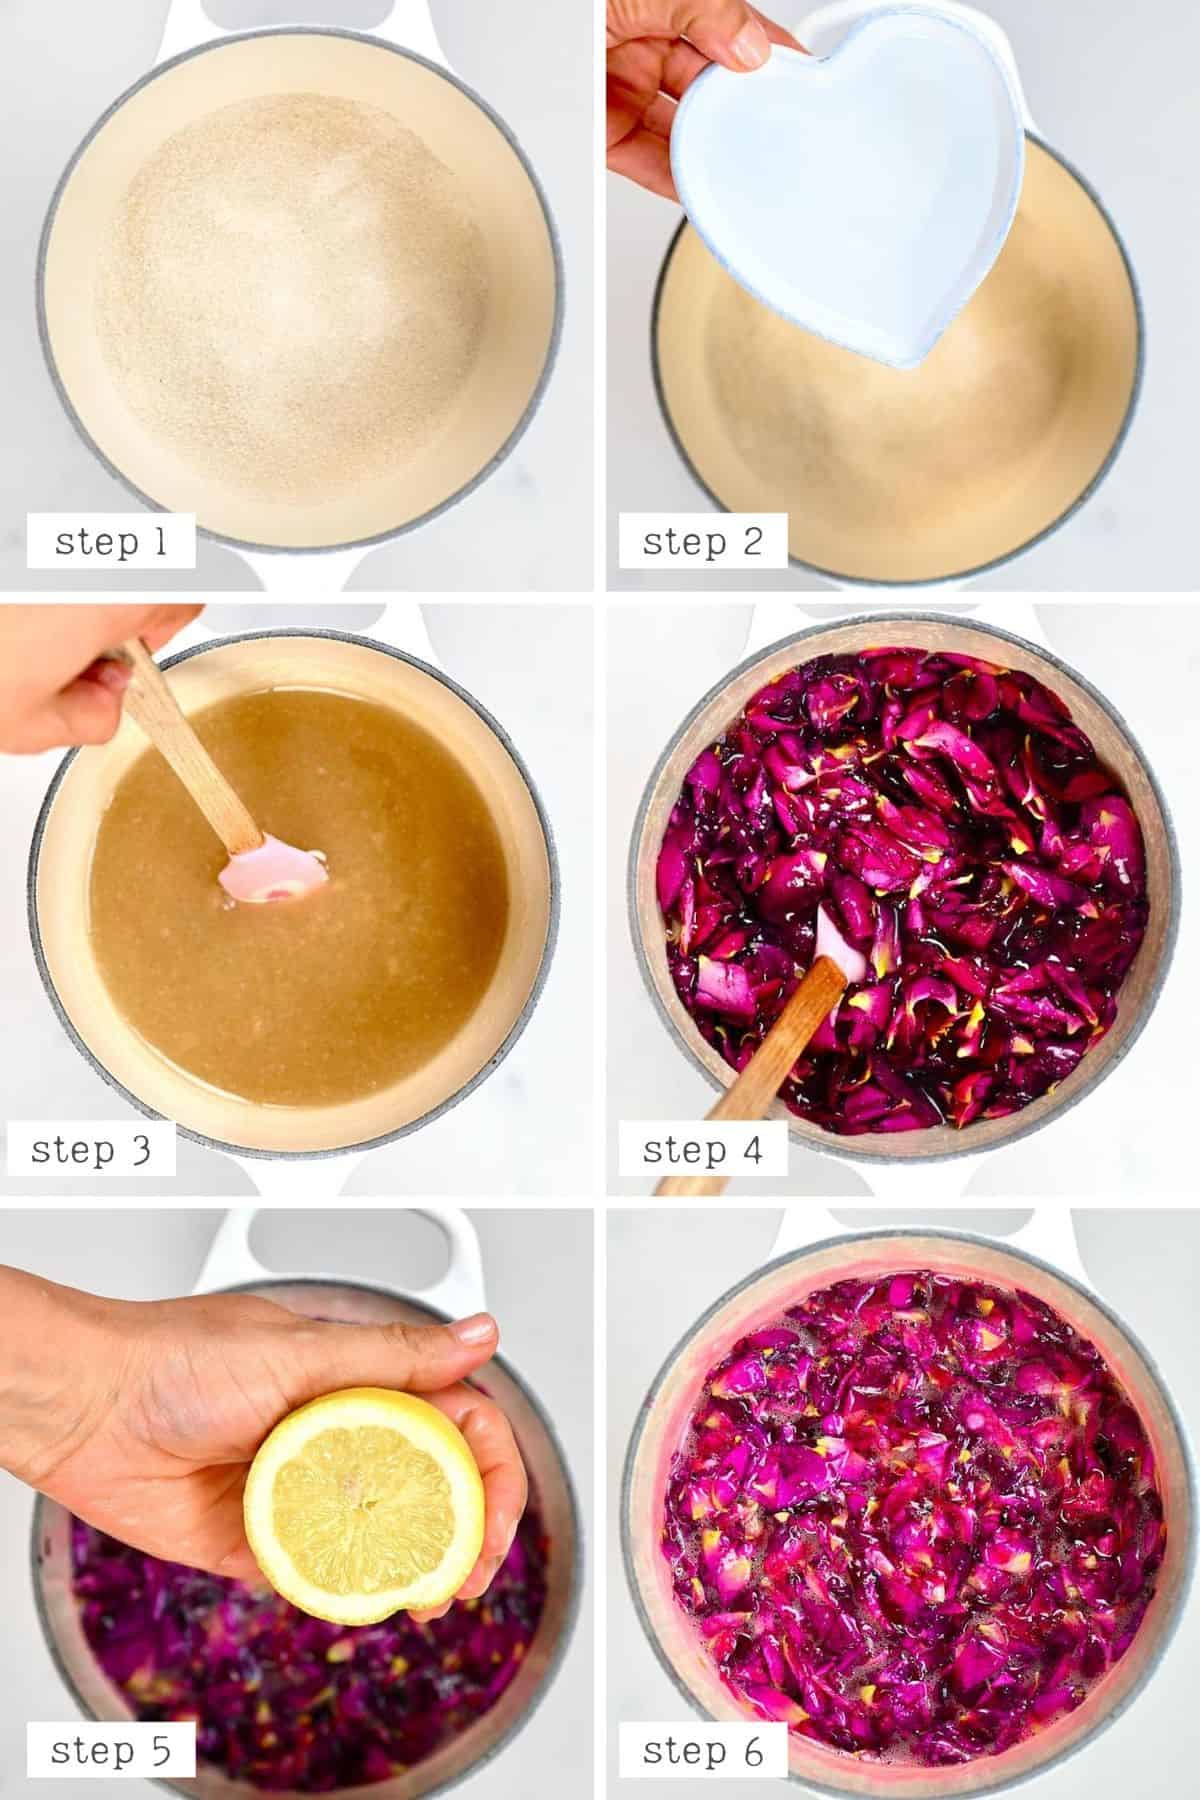
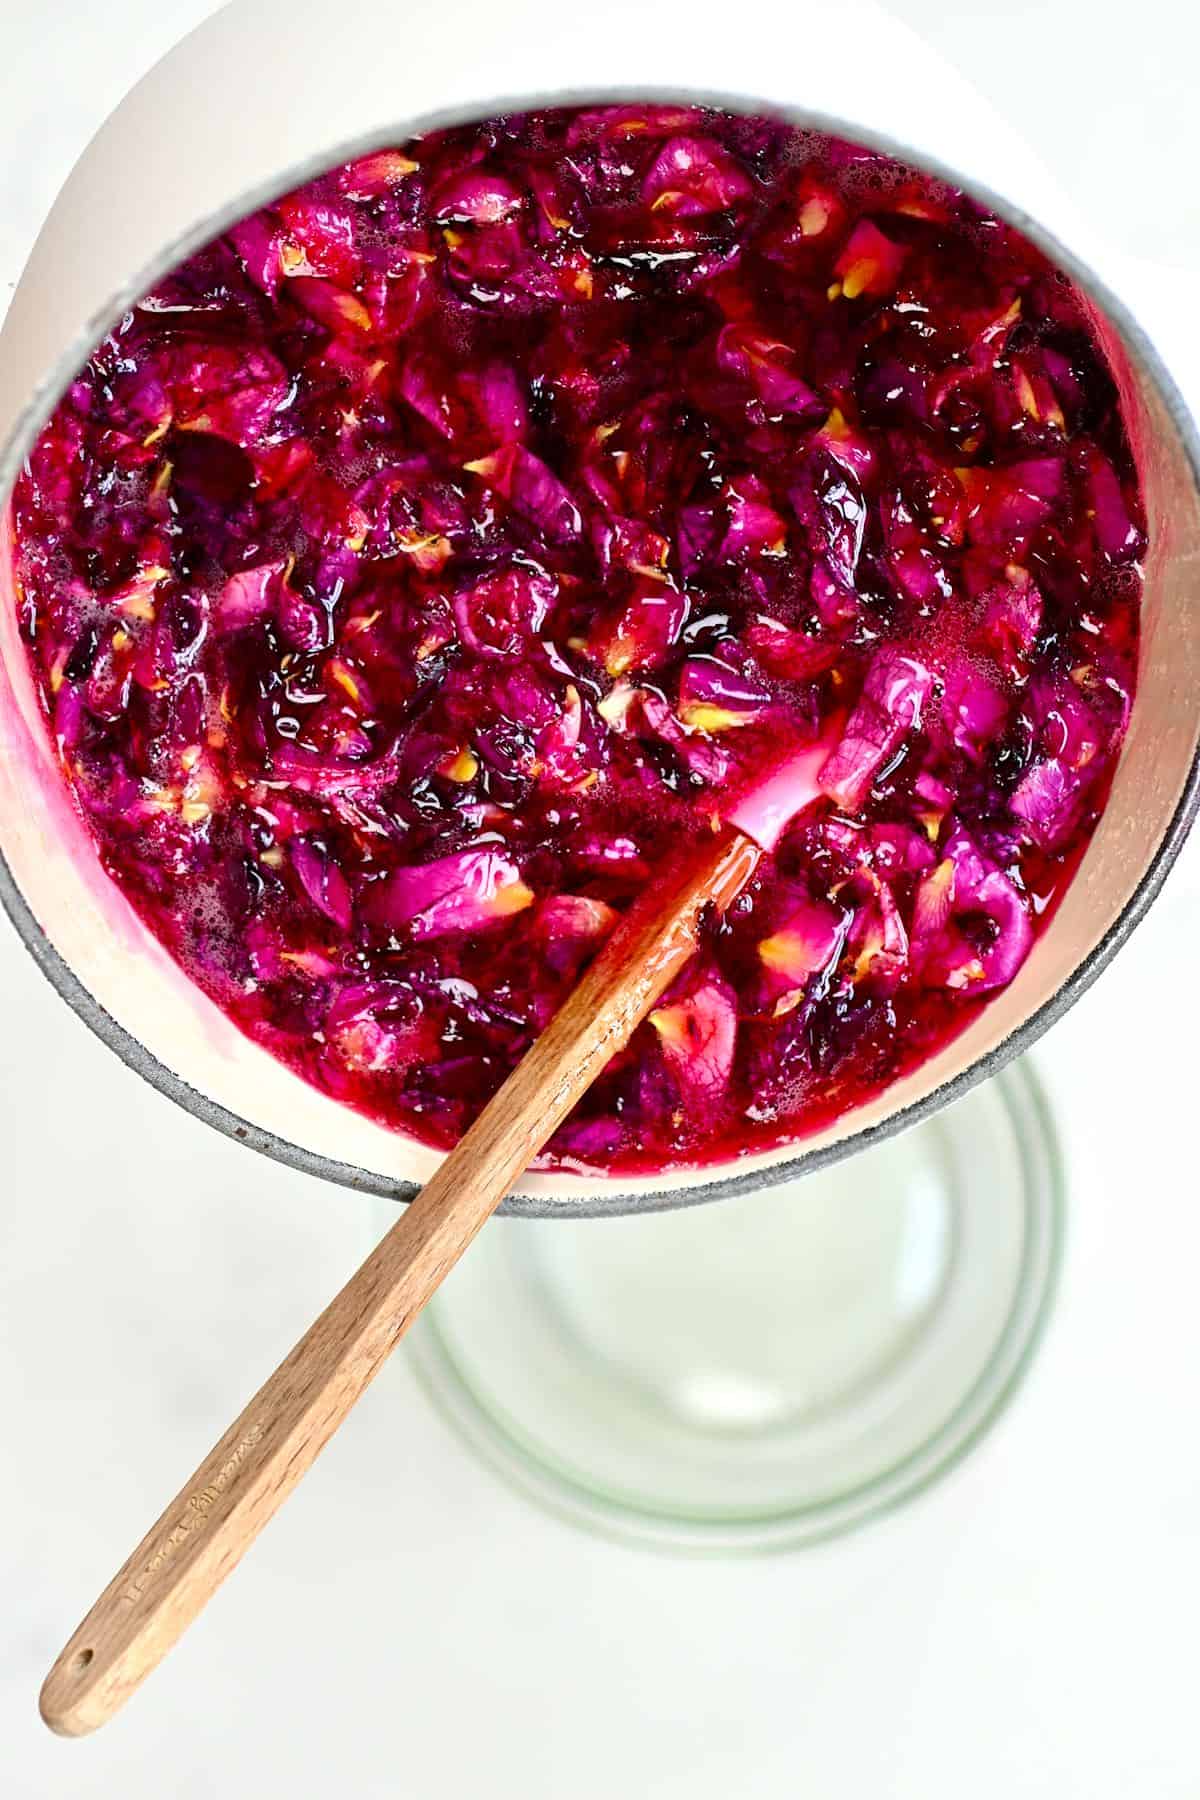
Step 4: Add the lemon juice and then continue heat at a slightly higher temperature for a further 5-10 minutes (only stirring once or twice), allowing the mixture to begin thickening.
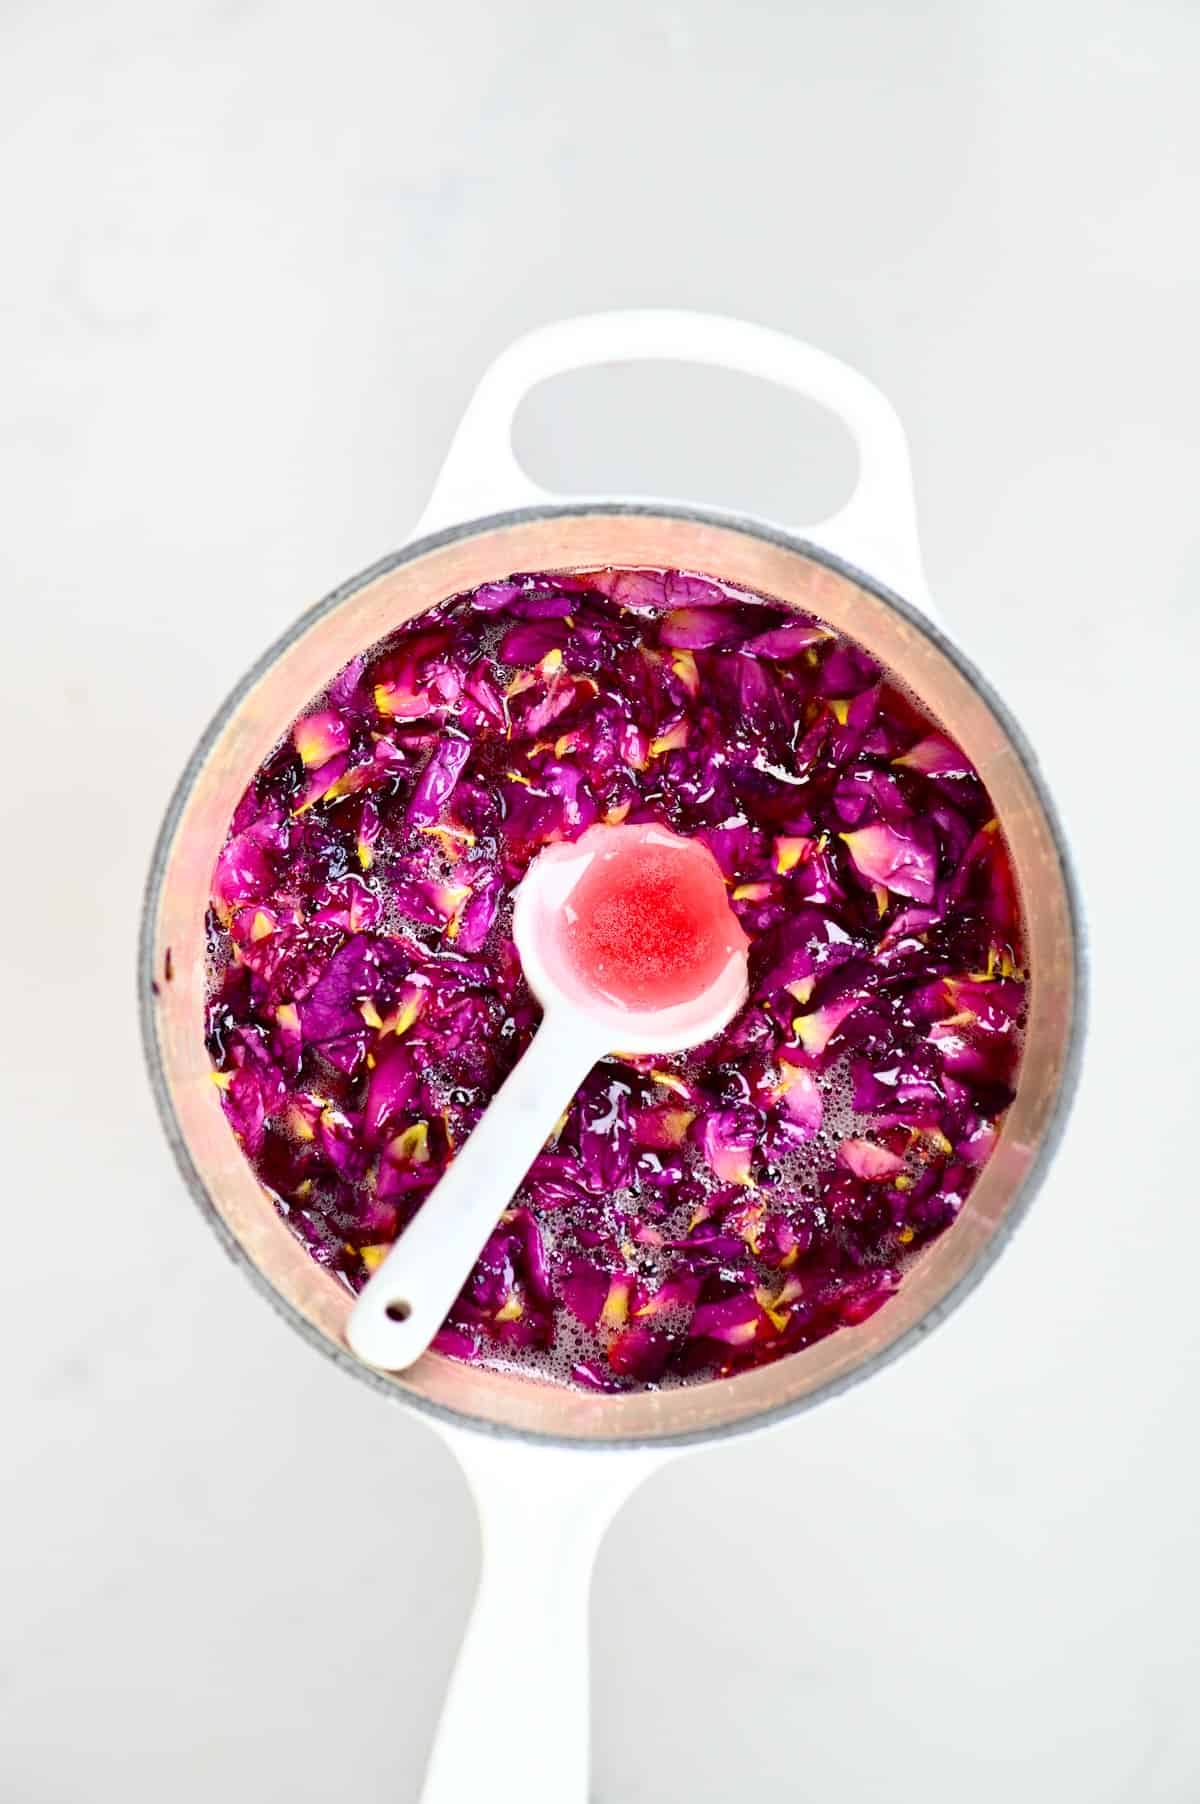
Note** The ‘setting; point may vary depending on your pan and the size of the batch you’re preparing. You can check to see if the jam is set by placing a plate in the fridge/freezer to chill. To test the set, place a spoonful on the plate and leave for 30 seconds. When you press the jam, if it wrinkles (even a little), then it will set.
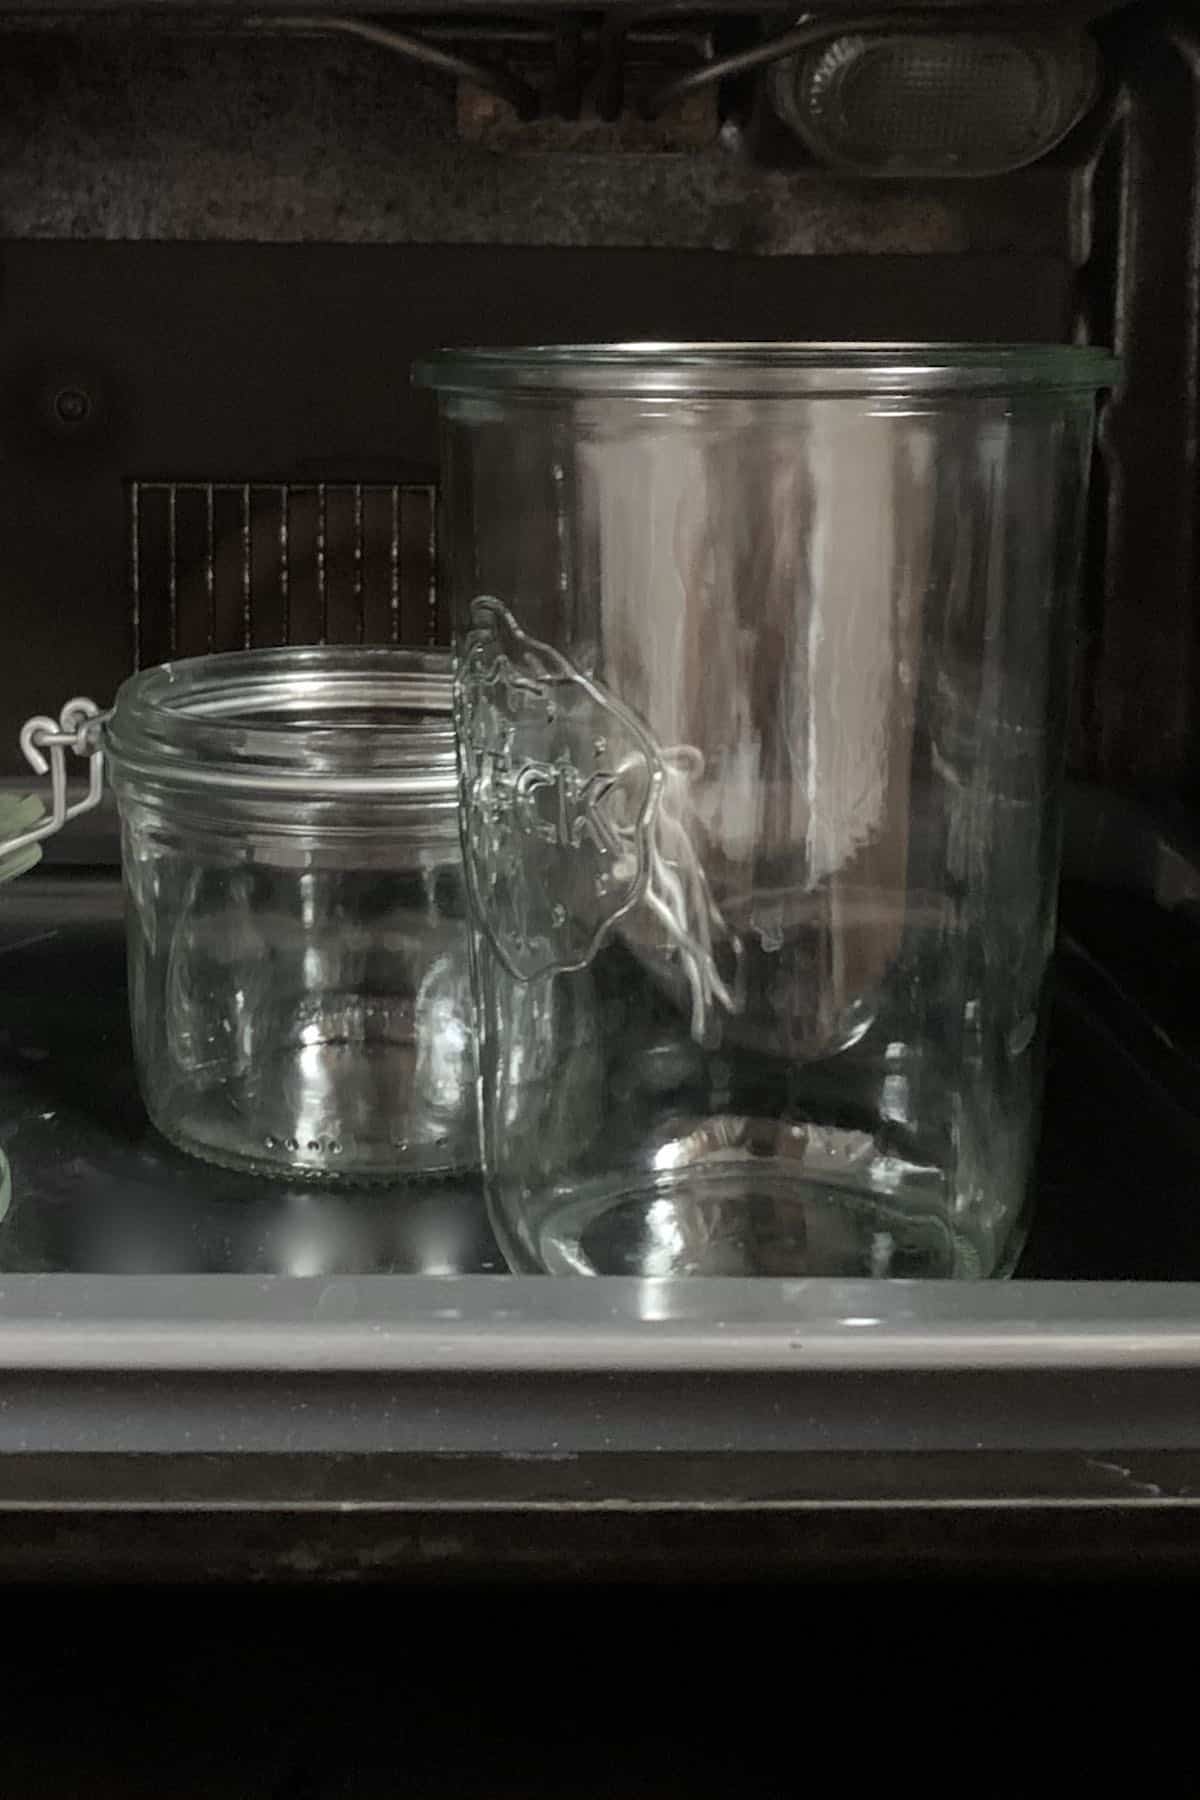
Step 5: Remove from heat and allow the jam to cool slightly. Meanwhile, sterilize all of the jars/utensils you’ll be using to transfer and store the rose jam. To do this, wash everything with soapy water and then place it in the oven for about 10 minutes at 160ºC/325ºF to completely dry it.
Step 6: Pour into sterilized jars, being careful not to touch the inside of the jar or lid during this step. Finally, seal the jars and your jam is ready! You can optionally water bath the jam too.
How To Store
Without properly heat ‘canning’ this rose jam/ rose jelly it will last in the fridge for up to two months or in the freezer for up to 6 months.
You can also use a boiling water bath canner method (outlined in the recipe notes of my Blackberry Jam recipe) to properly store your jam for long-term storage. That way your jam will last around 1-1.5 years in a cool, dry, dark location.
Recipe Notes
- You can make this into a rose petal jelly by simply straining the petals out of the mixture before allowing it to set. The rose jelly is best for when you don’t want any additional texture from the petals in your dish.
- You can use dried rose petals too – about 1/3 cup of dried petals are equal to 1 cup fresh.
- If you end up with a jam that is too runny, this can be cooked again to thicken up either with more reducing or a little additional pectin. It’s always better to undercook rather than overcook.
- The more jam you make, the longer it will take to reach its setting point. Mine is a small-batch jam, so it didn’t take long at all.
How To Serve
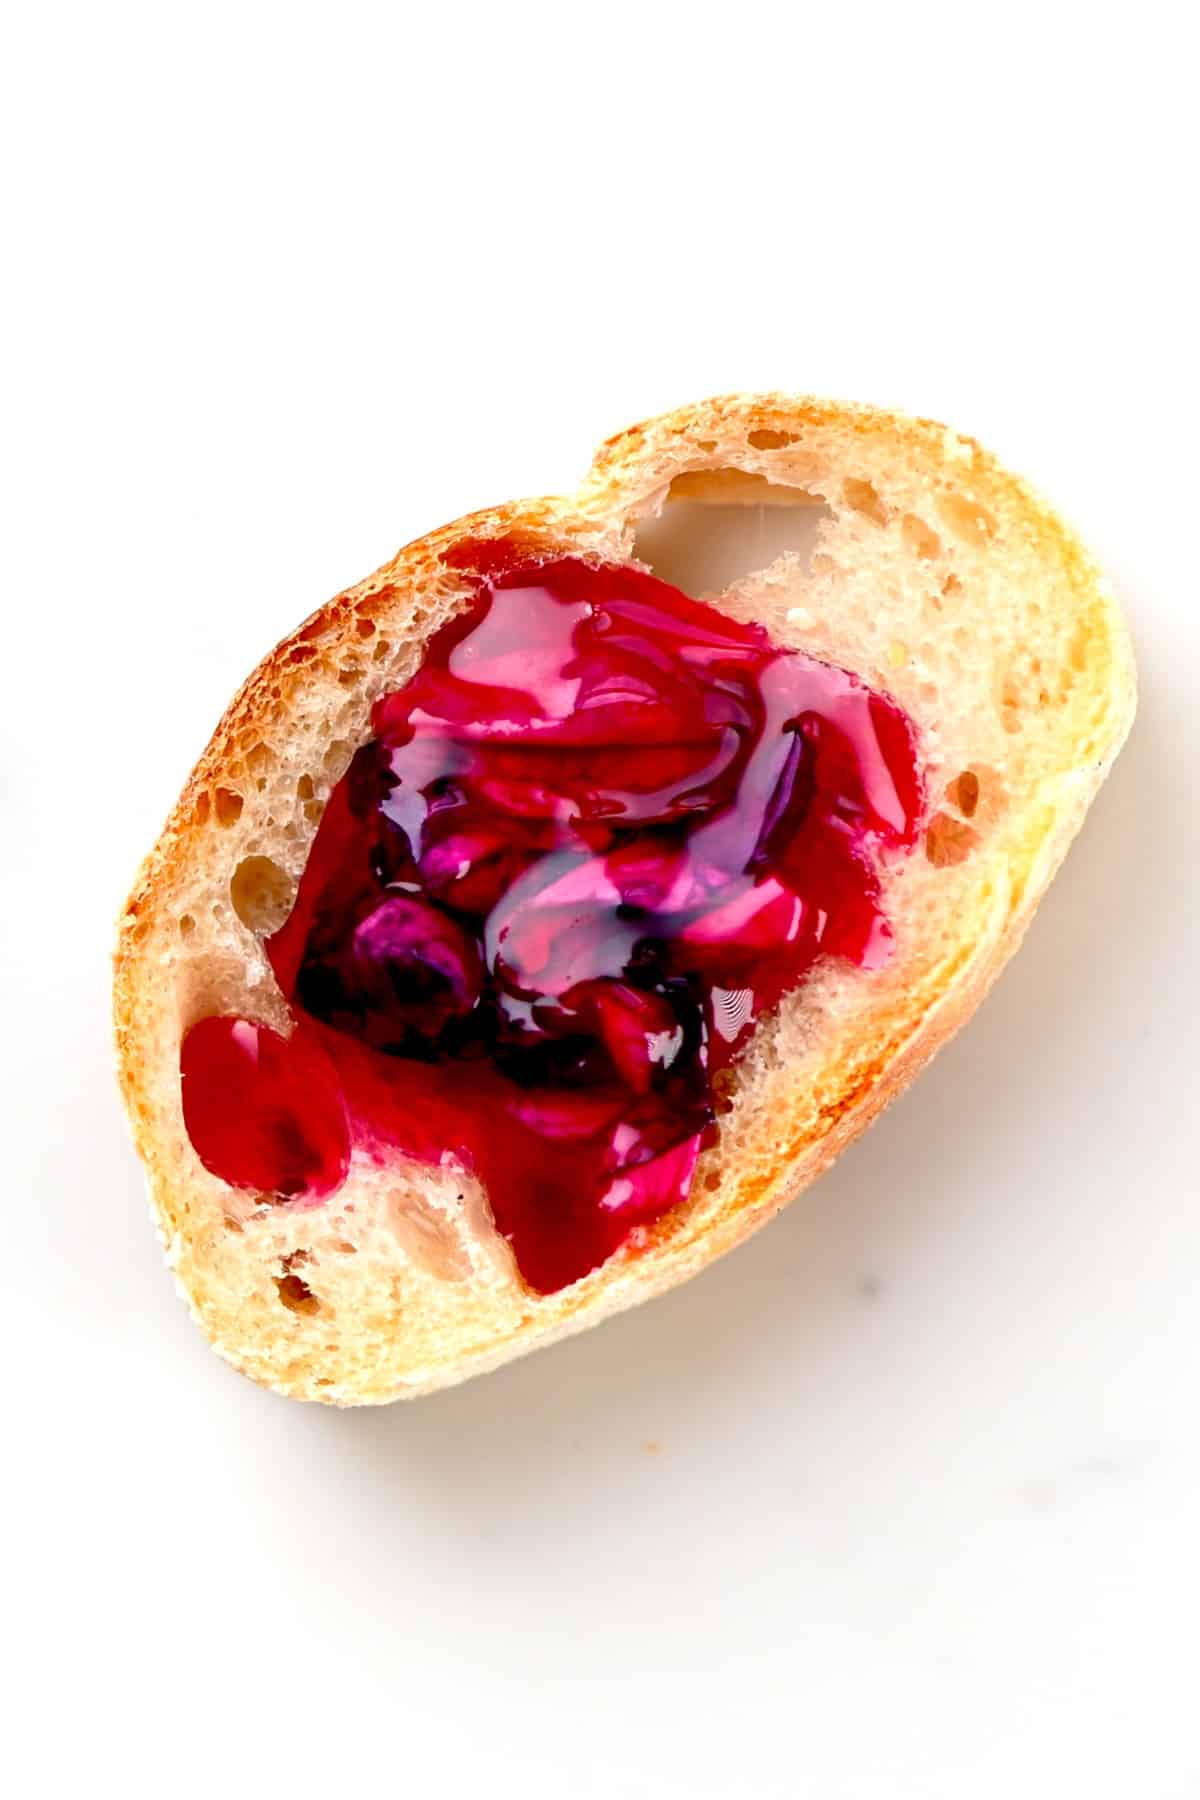
There are tons of ways to use this rose petal spread. For example, on toast (like this Simple Homemade Multigrain Bread or Whole Wheat Bread.)
Alternatively, spread over croissants, French Toast, or pancakes. This rose jam also works well as a topping for desserts – such as over ice-cream (also within these Vegan magnums), and within creamy breakfast and dessert dishes like rice pudding or overnight oats.
Of course, this also works well to spread over cakes, macarons, and even a spread for Healthy Banana Bread (Naturally Sweetened).
Personally I love to spoon some into my yogurt bowls (using either this greek/natural yogurt, coconut yogurt, or almond yogurt).
Other Rose Recipes
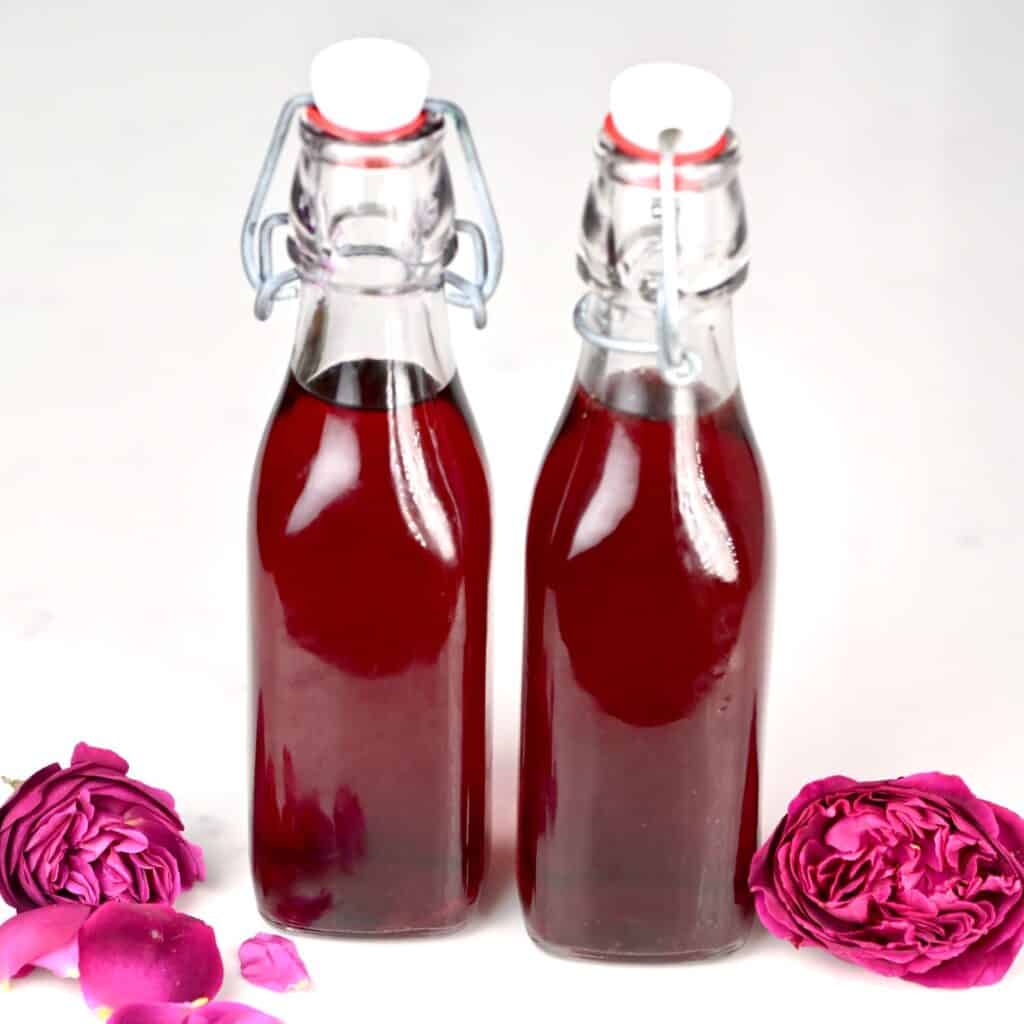
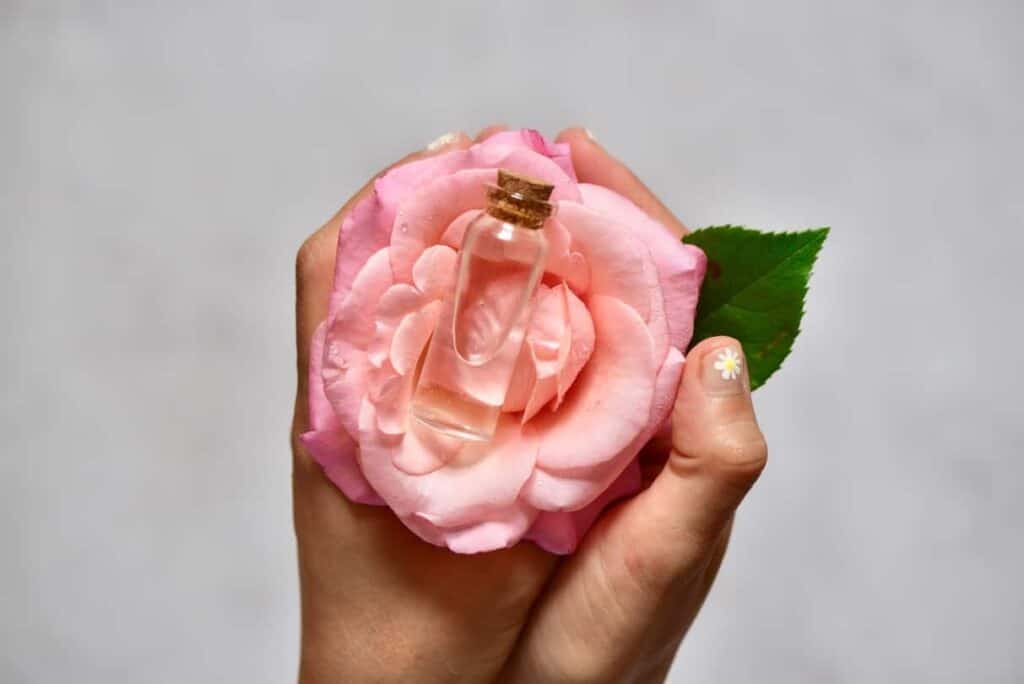
If you give this rose jam recipe a go, then let me know your thoughts and any questions in the comments. Also, feel free to tag me in your recreations @AlphaFoodie.
Rose Jam
Equipment
- Large, shallow heavy-based saucepan
- Silicone spatula or wooden spoon
Ingredients
- 3 cups edible organic rose petals
- 3/4 cup cane sugar or use jam sugar and omit the additional pectin
- 3 Tbsp pectin
- 1 lemon, juice or around 1/4 cup bottled lemon juice
- 1/2 cup water
Instructions
- Prepare the roses by removing the petals and washing them well.
- First combine the sugar and pectin in a bowl. Then, in a medium heavy-based pan, add the sugar pectin mix, water, and rose petals.
- Heat the mixture over a low-medium heat stirring constantly, till the sugar is entirely dissolved. Don't raise the temperature until it is dissolved, otherwise, you can end up with a grainy jam and/or the formation of sugar crystals.*
- Add the lemon juice and then continue heat at a slightly higher temperature for a further 5-10 minutes ( only stirring once or twice), allowing the mixture to begin thickening.**
- Remove from heat and allow the jam to cool slightly. Meanwhile, sterilize all of the jars/utensils you’ll be using to transfer and store the rose jam. To do this, wash everything with soapy water and then place it in the oven for about 10 minutes at 160ºC/325ºF to completely dry it.
- Pour into sterilized jars, being careful not to touch the inside of the jar or lid during this step. Finally, seal the jars and your jam is ready!
How To Store
- Without properly heat ‘canning’ this rose jam/ rose jelly it will last in the fridge for up to two months or in the freezer for up to 6 months.You can also use a boiling water bath canner method (check my Step-by-Step Guide to Water Bath Canning for Beginners) to properly store your jam for long-term storage. That way your jam will last around 1-1.5 years in a cool, dry, dark location.
Video
Notes
- You can make this into a rose petal jelly by simply straining the petals out of the mixture before allowing it to set. The rose jelly is best for when you don’t want any additional texture from the petals in your dish.
- You can use dried rose petals too – about 1/3 cup of dried petals are equal to 1 cup fresh.
- If you end up with a jam that is too runny, this can be cooked again to thicken up either with more reducing or a little additional pectin. It’s always better to undercook rather than overcook.
- The more jam you make, the longer it will take to reach its setting point. Mine is a small-batch jam, so it didn’t take long at all.
Nutrition
Nutrition information is automatically calculated, so should only be used as an approximation.







I love the video, can’t wait to try It
I hope you gave this recipe a try, Amaris 🙂
Hey Samira,
I am going through the worst time of my life at the moment but you always manage to put a smile on my face with your posts. Its 10 stars from me.
I stan
awww you’re so sweet, thank you so much! I hope you’re ok and things are better now. Sending you lots of love x
Absolutely loved it ❤️❤️
Thank you, Abby 🙂
Love the Rose petal jam.
Thank you so much, Lavanya. I hope you give this recipe a try 🙂
Lovely
Thank you so much.
This looks so yummy!
Thank you, Karla. I hope you give this recipe a try 🙂
Perfect❤
Thank you, Hadis 🙂 I hope you give the recipe a try.
Writing as a microbiologist and long-term home canner…heating in an oven is NO LONGER APPROVED as a sterilization technique. Please change instructions to require a minimum of 10 minutes in boiling water for glass containers to which food will be added.
Hi Ann,
Thank you so much for this information! Much appreciated!
You are so talented. I love to watch your cooking.
Thank you so much. I hope you will try this recipe 🙂
It looks amazing!!
Thanks so much, Laia. I hope you give it a try 🙂
So easy and clear. Thank you!
Thank you so much for your comment, Hindy. 🙂