
The Best Kitchen Tools I Can’t Live Without (And Some That I can!)
This post may contain affiliate links. Please read our disclosure policy.
I get messages every day (and no, that’s not an over-exaggeration) about the various kitchen tools, gadgets, and gizmos that I use – what brand do I use, are they worth it, and do you need them in a regular kitchen, etc. Finally, I promised I’d compile a whole list that I can refer everyone to. So, below is a list of the best kitchen tools and gadgets I have (and use!) as well as several of the other top-used bits in my kitchen.
I’ve even thrown a list of kitchen tools you don’t need (in my opinion!) – because there’s nothing worse than wasting money and space on something that’ll sit untouched for months (or years) at a time!
This post isn’t sponsored, although I have affiliate codes for a couple of the items I use and have included affiliate links to several others. However, all the opinions expressed below are 100% my own (if you follow me on Instagram, you’ll know I’m very “to the point” when it comes to whether I think a tool is worth it).
Want to save this recipe?
My Top 15 Kitchen Gadgets and Tools
1. Food Processor/Blender
I feel like this is a staple in most kitchens. I do have both a blender and a food processor and feel like I use them all the time. For so many years, I have been using my Blendtec and it never disappoints. I blend anything from smoothies, dips, soups, ice cream base, to nut and seed kinds of butter and dairy-free milk.
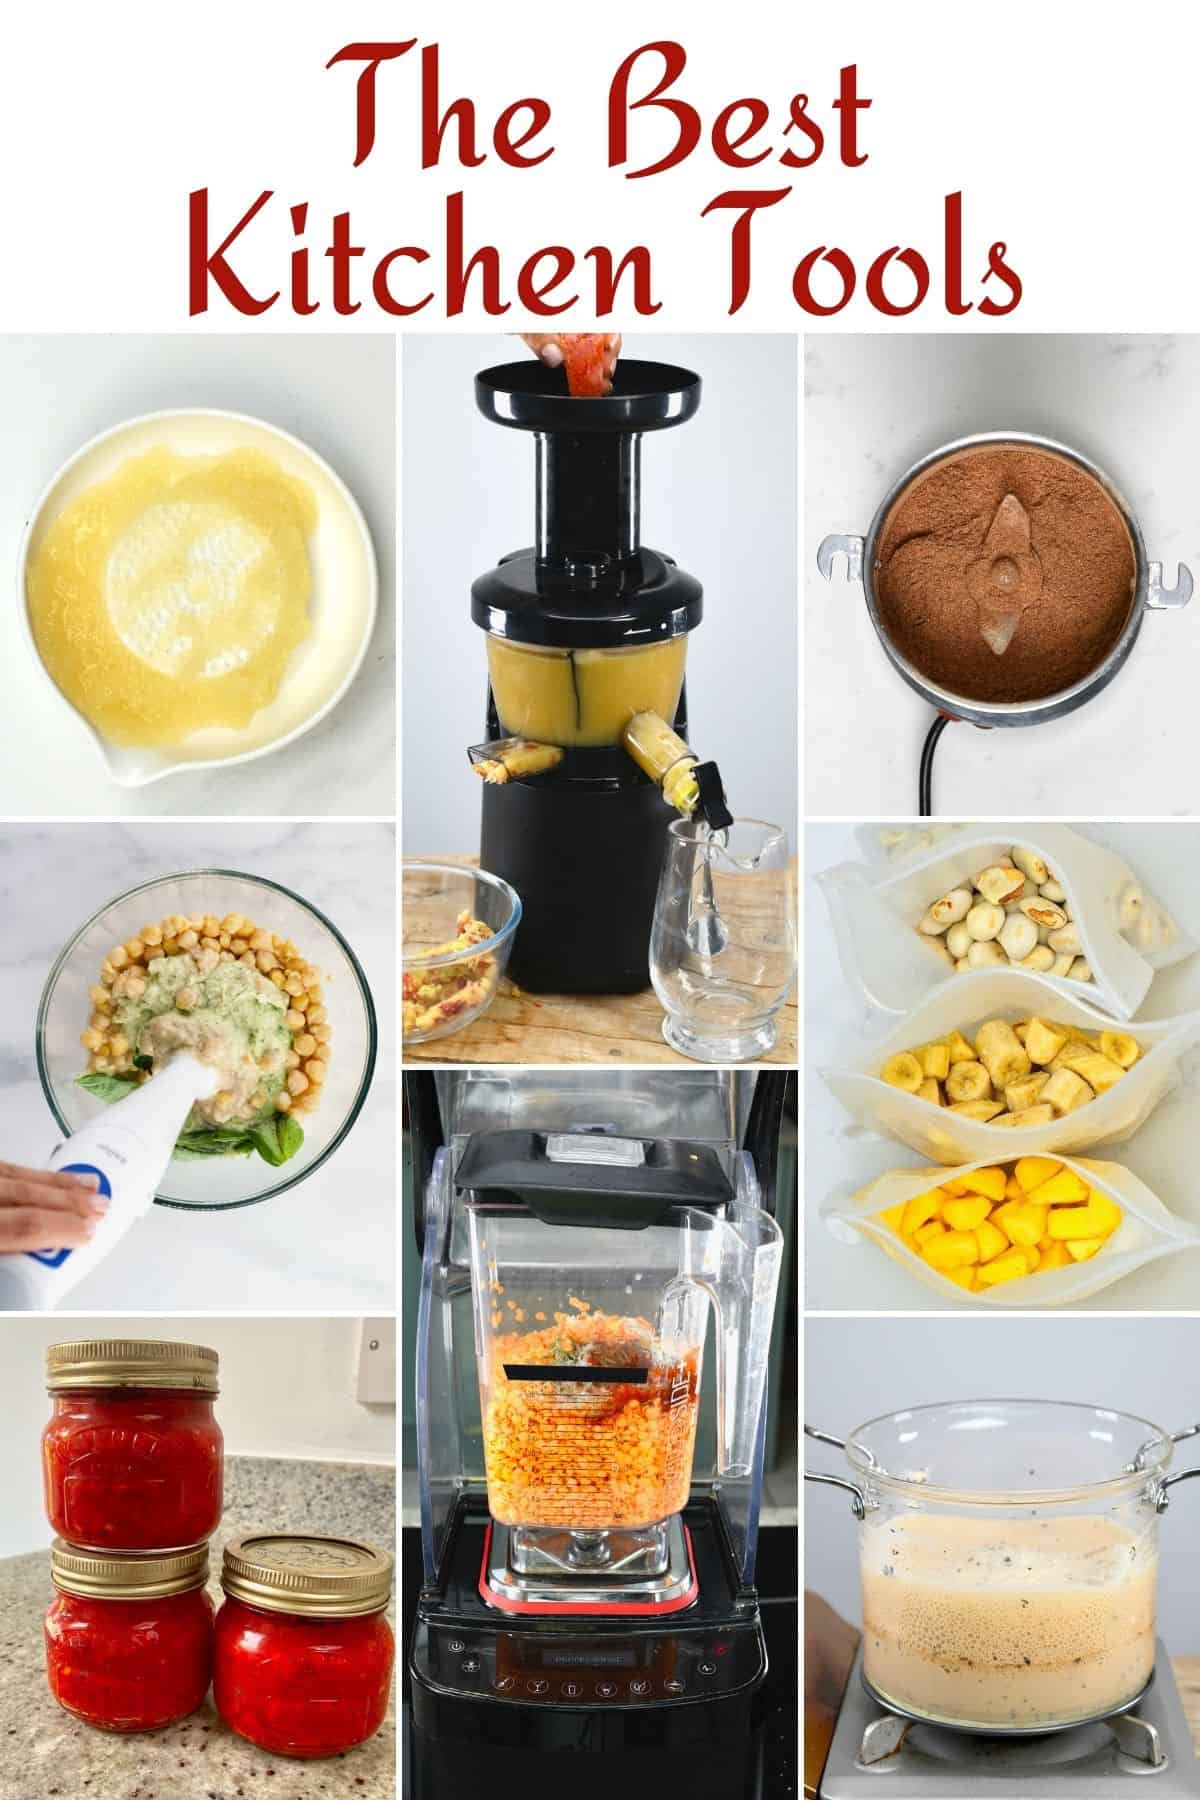
More recently, to make my nut milk, I have also started using the NutraMilk machine. Its nut milk jug has a filtration system that means there’s no need for nut milk bags or cheesecloth. It leaves less leftover pulp and has a simple “tap” for draining the milk and easy cleanup.
For the sake of being 100% honest (and something I’ve repeated time and time on Instagram) – this isn’t a low-budget item. If you already have a high-powered blender or food processor, it’s likely not worth getting it alongside those unless you are making nut and seed milk and butter regularly.
How to use: Nut and seed butter, dairy-free milk, almond paste, garlic white bean dip, chocolate hummus, etc.
My recommendation:
A Blentec Blender or the Nutramilk machine (use the code ALPHAFOODIE50, which will provide you with a $50 discount!).
2. Hand-held Blender/Mini Chopper
Small hand-held versions are the next best thing for those who don’t own a blender/food processor (or even if you do). You can even buy various kits that come with several attachments: an immersion blender, whisk, mini chopper, etc.
This tool (particularly the chopper and blender) has become a tool I use multiple times a week. Especially when I can’t be bothered dragging out my larger blender/food processor or for smaller batch items (like single-serve smoothies, chopping onions, etc.).

Best of all, these tools take up little space due to their hand-held nature and don’t feel like a pain to wash up either.
How to use: The immersion blender can be used for mayonnaise, soup (like gazpacho, creamy tomato soup, cream of mushroom soup, etc.), and smoothies like a banana avocado smoothie, guava smoothie, etc. The chopped can be used for onion and small veggies like for these steamed mushroom dumplings.
My recommendation: Braun Hand Blender.
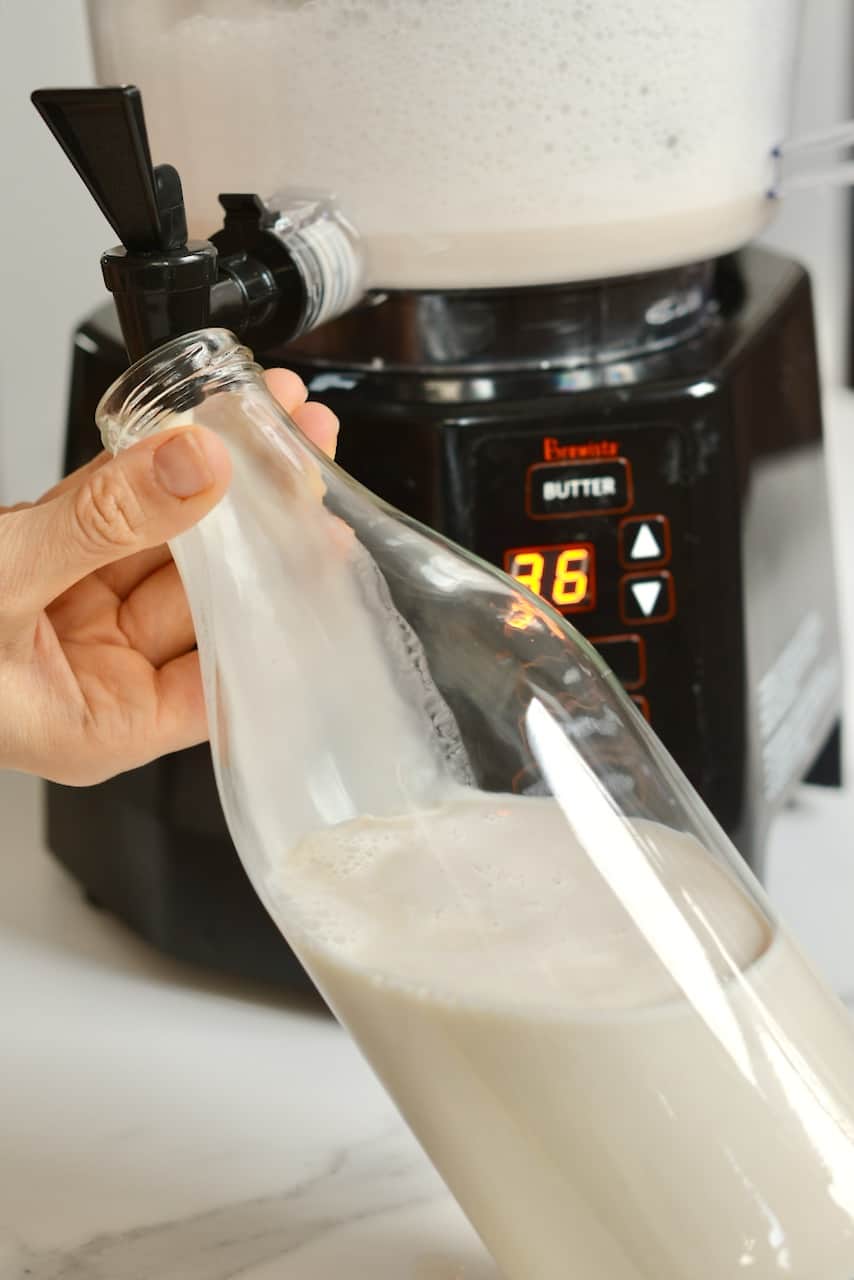
3. A Stand Mixer
On the opposite end of the spectrum to mini choppers is a large stand mixer. Now, this is a hefty bit of kitchen gear and is something that will take up a lot of space – meaning it’s only worth it if you plan on using it a lot.
Stand mixers are best used for baking: pastry dough, bread dough, pasta dough, icing (frosting), whipping cream, creating batters like cake batter, etc.
Many stand mixers come with optional attachments, including pasta machine attachments and a food grinder attachment (for meat). Meaning you get multiple kitchen tools in one. They also offer juicer attachments, a chilled ice-cream bowl, shredding/grating disks, and various other attachments that can save you from buying extra tools that take are much more space.
The best thing is that stand mixers take out a lot of the time and manual labor elements of several recipes, cutting the time and effort down monumentally.
On the downside, stand mixers aren’t cheap and, as I said above, they’re not exactly small. When it comes to mixing/kneading dough, this can be done in food processors much of the time. More so, it is possible to do many of the jobs by hand: kneading dough, whisking eggs, making frosting, etc., if it’s not something you do regularly.
How to use: Buttercream frosting, Brazilian cheese bread, egg pasta, Greek pita, pretzels, and other bread dough.
My recommendation: Cuisinart Stand Mixer
4. A Juicer
Unless you plan on making juice regularly, this is one of those kitchen gadgets that can take up a lot of space if you’re never going to use it. There are also several types of juicers, all of which have their pros and cons. These include a juice press, twin gear juicer, centrifugal force juicer, and masticating juicer; the latter two are the main juicer types I’ve used.
The most cost-effective home juicers will be centrifugal juicers that are fast to use, not massive, and are the most cost-effective. However, the heat produced by the blades when processing the juice can degrade the quality of the juice; the juice tends to oxidize faster and won’t stay fresh as long. They also tend not to handle leafy greens (like spinach or wheatgrass) that well. I consider this the “beginner” juicer for those who want to make juice and drink it immediately and aren’t necessarily drinking juice daily.
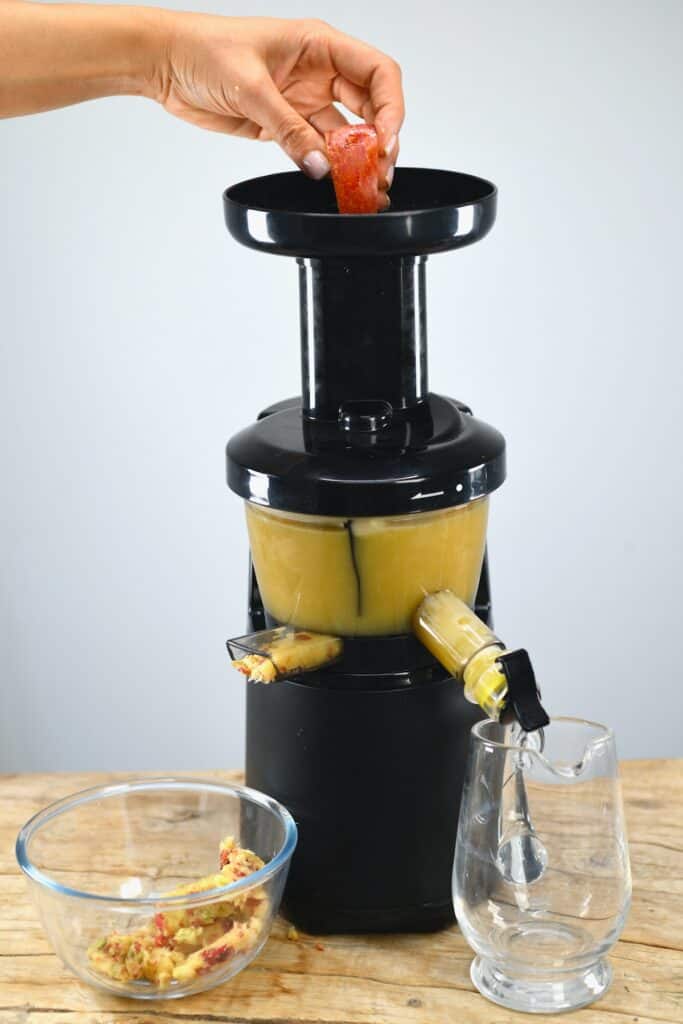
In comparison, masticating juicers are known as “slow juicers,” relying on slowly crushing the ingredients rather than using a blade to rip them apart. This means the juice tends to be slightly higher quality, you’ll have a higher juice yield, and the juice tends to stay fresher for longer. There are a couple of pitfalls, primarily the price, size, and how easy they are to clean. Interestingly, many masticating juicers can also handle making nut butter and nut milk too.
How to use: cucumber juice, orange carrot juice, carrot ginger juice, wheatgrass shots, beetroot ginger blends, simple energizing shots, green celery juice, and more.
My recommendation: Omega Juicer (I’ve used mine for years, it never disappoints) and a Vidya Vital Juicer (which I’ve used for several months now and I am very happy with the results; it seems to be only available on the European market).
5. A Dehydrator
This has become one of my favorite new kitchen gadgets. Removing the water from food means you can get months and months (or even years) of shelf-like.
Dehydrate herbs, spices, and ingredients like mushrooms. You can also dehydrate fruits for healthy snacks (like fruit leather or dried fruit to dip in chocolate -yum), dry nuts, make kale chips, incubate yogurt (or cacao beans when making chocolate), and prepare all sorts of “raw diet” recipes (which allow low levels of heat).
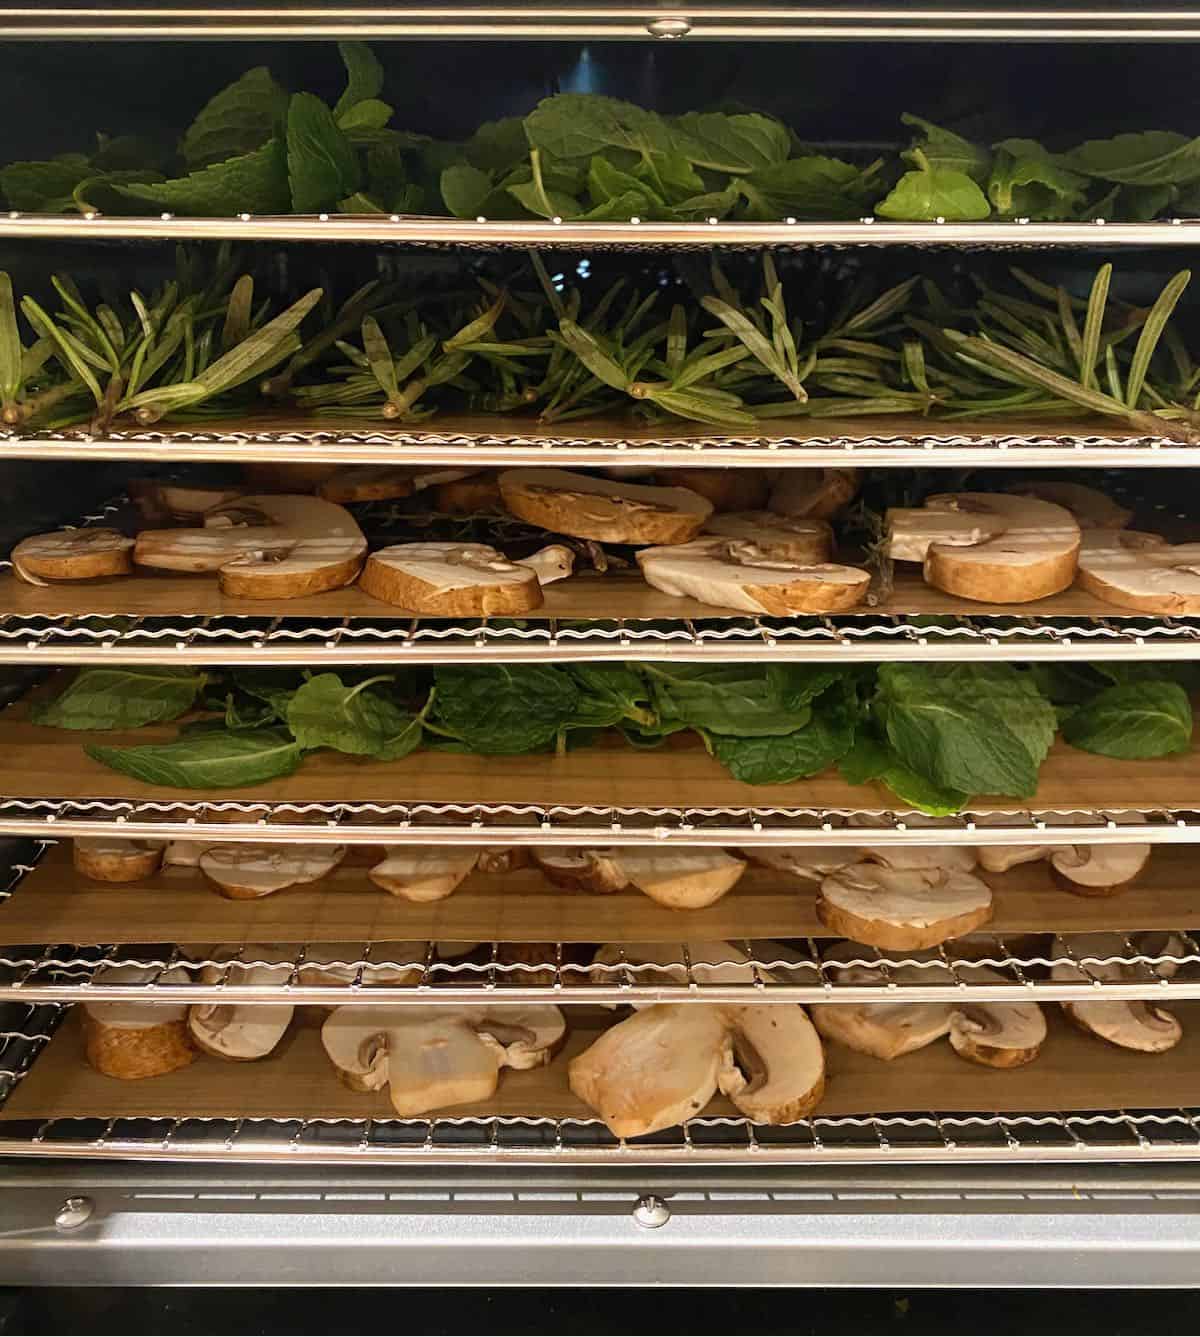
I think it’s perhaps even handier for those who grow their produce, as an extra way (other than pickling and freezer storage) to preserve your fresh produce! For those interested in food preservation, a dehydrator can be a handy tool and doesn’t necessarily have to be stored in the kitchen.
How to use: Dry mushrooms, sun-dried tomatoes, chili flakes, ube powder, bean-to-bar chocolate, spinach pasta, garlic powder, ginger powder, powdered milk, etc.
My recommendation: Excalibur Food Dehydrator and Vidya Food Dehydrator – I’ve used both and am happy with the results (note: Vidya is available only on the European market).
6. An electric coffee or spice grinder
This is one of my newer kitchen gadgets that I’ve started using a lot within the last couple of years but has become invaluable. I use my electric grinder for spices, nuts, seeds, coffee, flours, etc. Just be aware that if you want to use one for food purposes, I wouldn’t also rely on it to grind your coffee beans as flavors may linger, and no one wants garlic powder coffee beans! There’s a lot more than just spices that this powerful little machine will grind!

Best of all, this tool is small and inexpensive and saves a lot of time and effort compared to using a mortar and pestle. It’s also the best option I’ve found for smaller batches like spice mixes and grinding small amounts of nut flour. While this can be done in a high-speed blender/food processor – most of the time, you need to make larger batches.
How to use: Garam masala, falafel spice, golden spice, ube powder, garlic powder, almond flour, shawarma seasoning, etc.
My recommendation: Grain seed grinder.
7. A Pasta Machine
When I first started making homemade pasta, a pasta machine was always an “optional” item in my kitchen. I’ve rolled out my pasta by hand several times. Then I started to make more pasta (and more dough in general). This tool became super handy for making sure that my dough is coming out even (especially important for dishes like ravioli and laminated pasta).
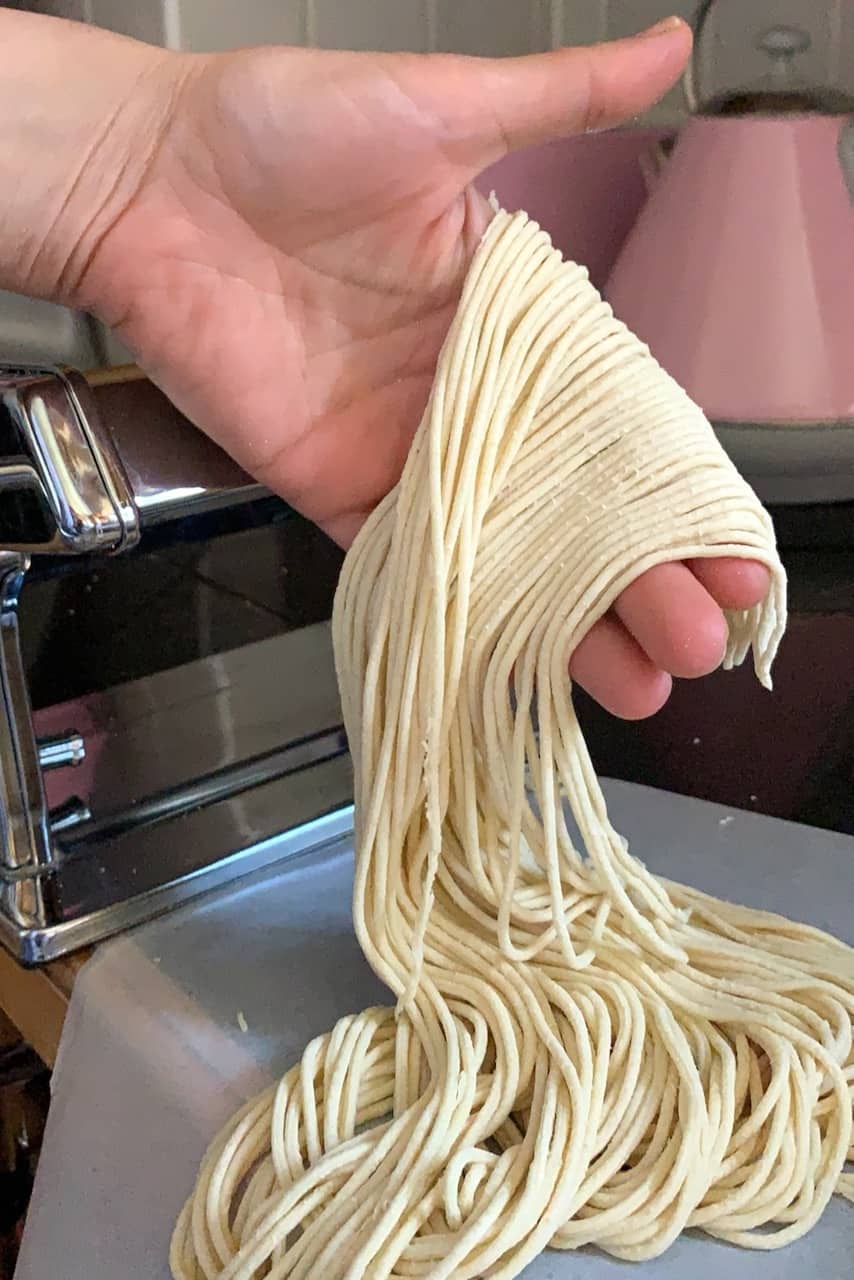
My pasta machine also comes with attachments for spaghetti and noodles, making the process so much faster than cutting noodles by hand. Pasta machines are helpful for more than just pasta, too. I’ve used my machine for pastry dough, fondant icing, cookies and crackers, wonton wrappers, etc.
At this point, I still say that a pasta machine is an optional kitchen gadget for those who wouldn’t be using it weekly. While it is inexpensive and not as large as something like a blender, it still takes up space that’ll be wasted if you don’t plan on using it.
How to use: Egg pasta, spinach noodles, chickpea flour pasta, oat pasta, vegan pasta, laminated floral pappardelle, dumpling wrappers, ravioli, etc.
My recommendation: Pasta Machine.
8. A Mandoline
If you are a master with a sharp knife then, the sky is the limit, but for us mere mortals – using a sharp knife often means slow and uneven slices. For many dishes, this makes no difference. However, there are also many where it’s important. Most also have several settings, including julienne blades to cut skinny fries.
More so, I’ve found that a mandoline can cut my meal prep (when there’s lots of chopping involved) down sometimes more than half the time!

The major downfall of any mandoline is the safety aspect. The blades are incredibly sharp, and using the safety equipment (guard and glove usually) is a must! Saving yourself some time in the kitchen isn’t worth losing a fingertip, after all!
How to use: Parmigiana, candied orange slices, zucchini pizza bites, fries, and especially when dehydrating anything like these dried mushrooms and beetroot chips.
My recommendation: Benriner Japanese Mandoline.
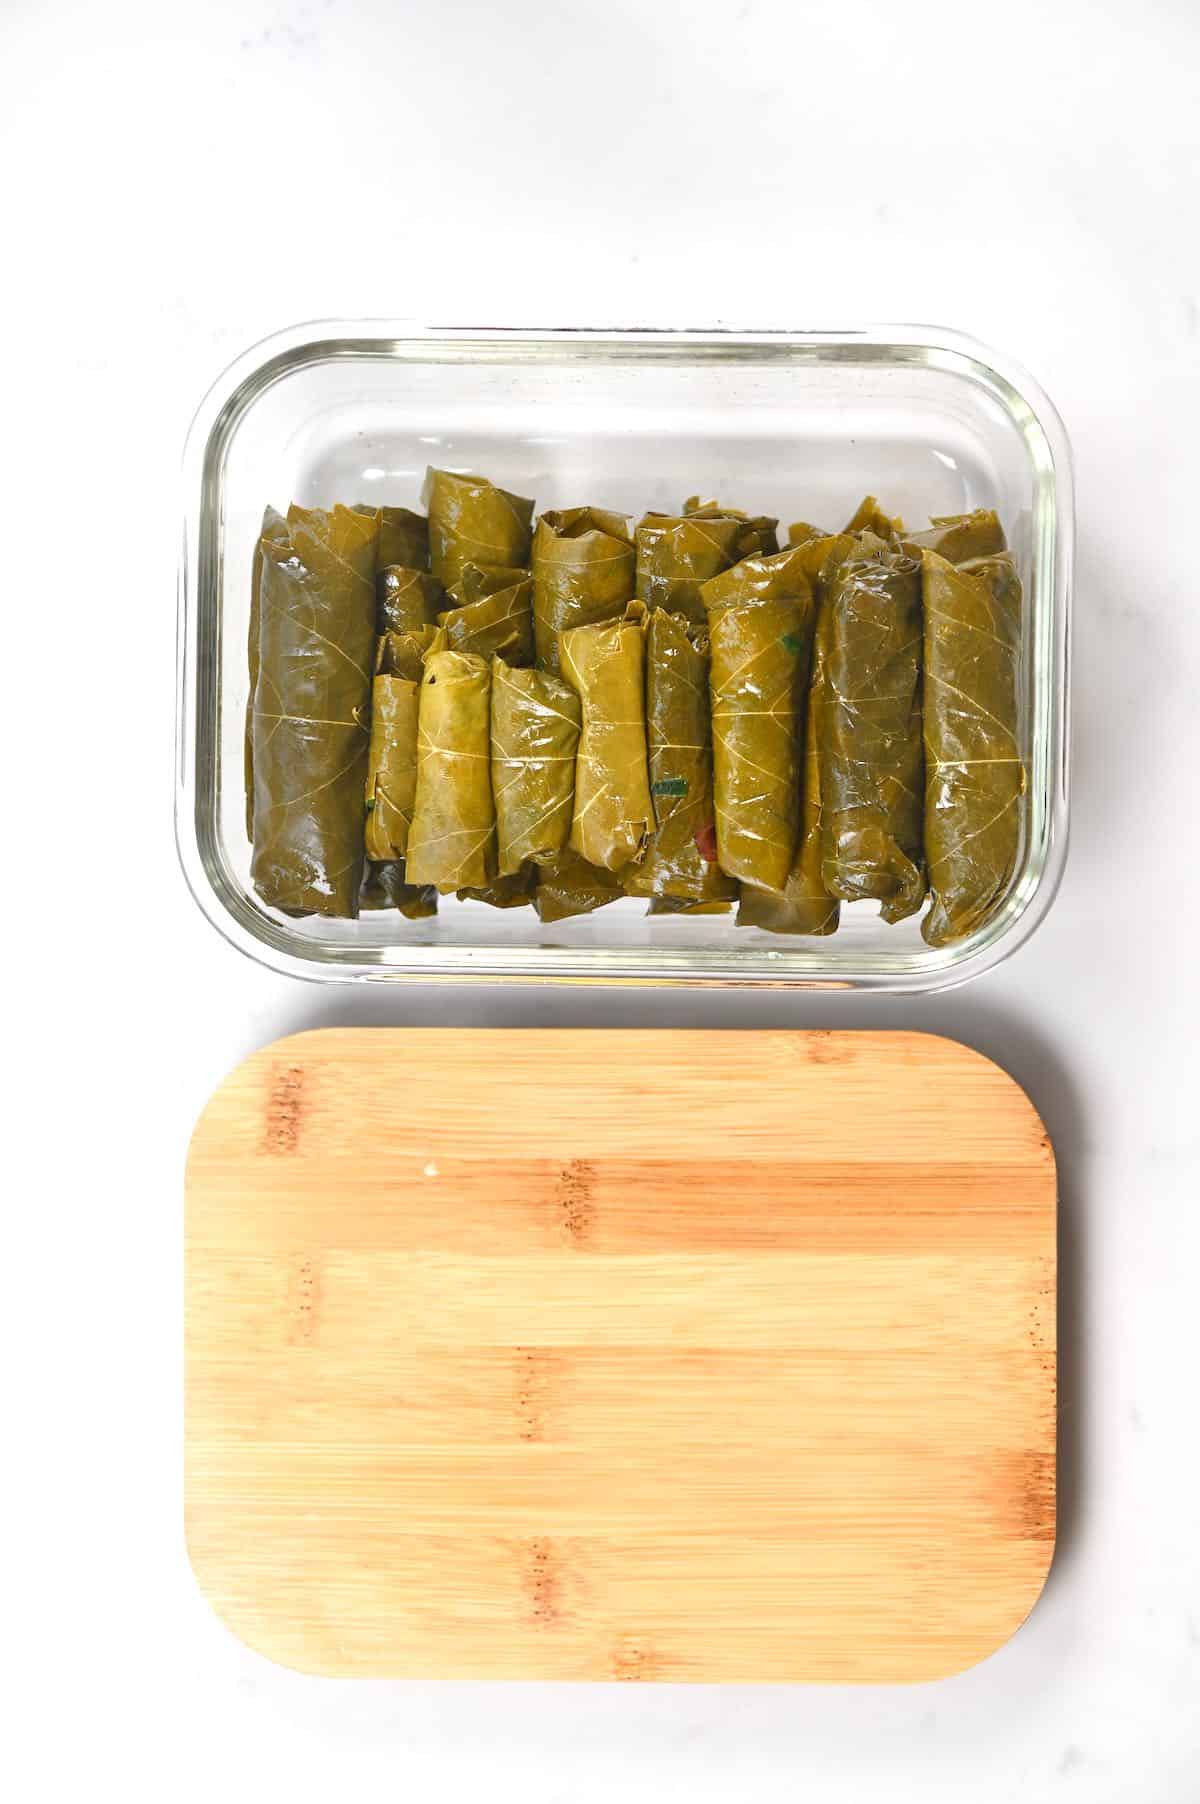
9. Reusable Silicone Bags
If you store a lot of leftovers, then reusable storage bags and containers are a must. You get to avoid single-use plastic (which is always a win), and silicone bags can be inexpensive for a bundle. Especially when considering you should be able to use them for years – the amount saved in not buying single-use bags more than makes up for that alone. When not in use, these take up no space and can be stored above your fridge/freezer or in a cupboard.
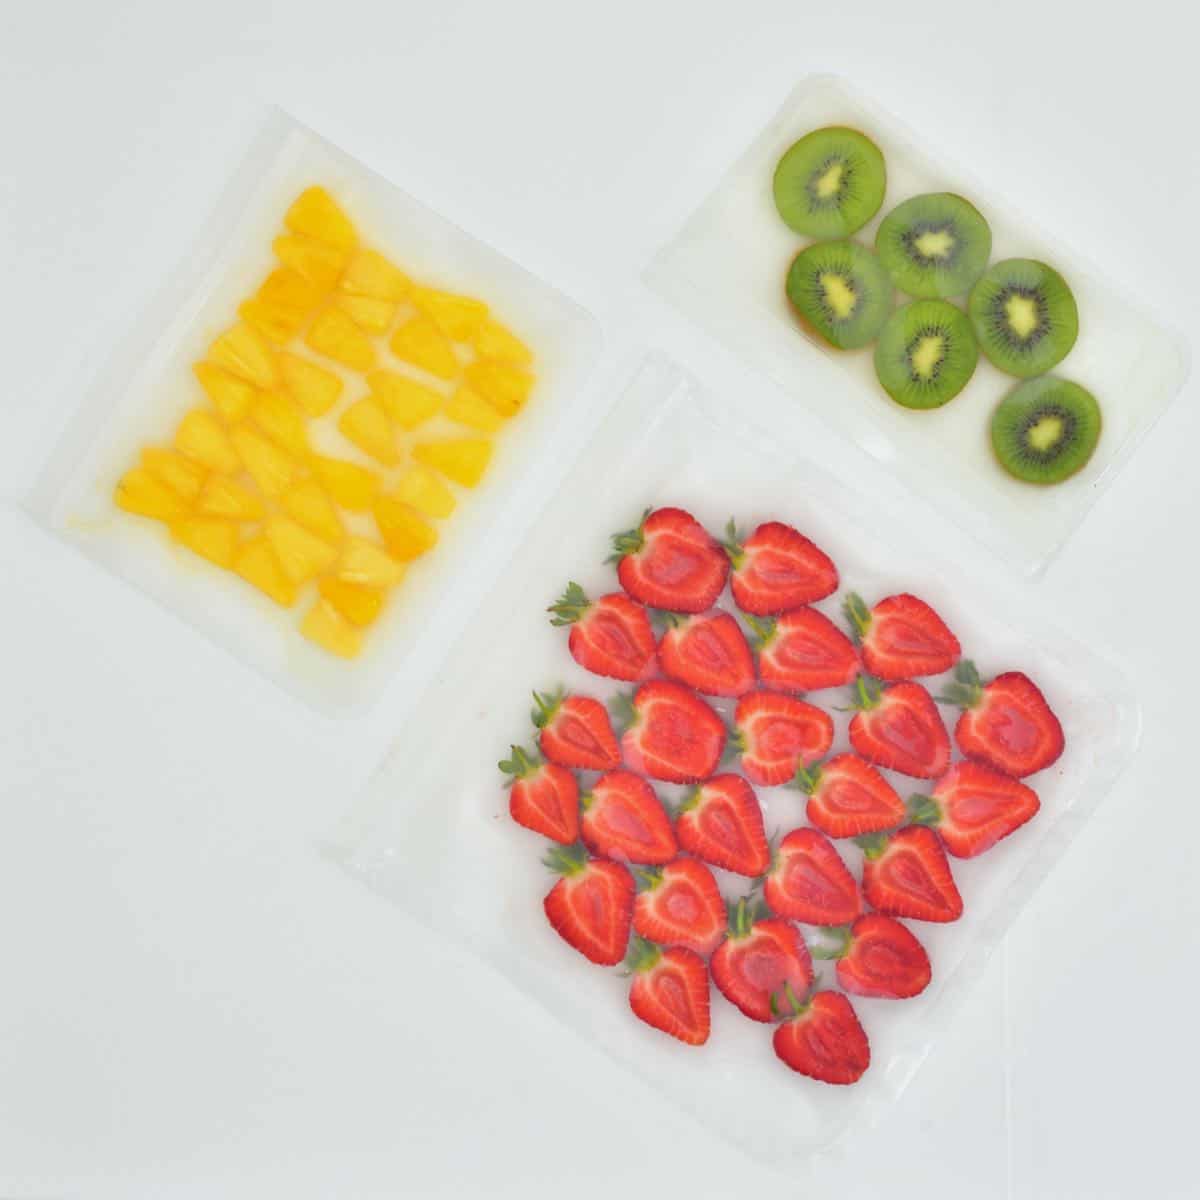
How to use: Replace your single-use plastic Ziploc bags with these reusable silicone ones. They’ll work for solids and liquids (like soup).
My recommendation: Reusable Freezer Bags.
10. Reusable Glass Storage Containers
It’s been years now since I decided to swap over from plastic containers to glass. While plastic contains are light, often take up less space, and can be very inexpensive, they can also leech chemicals into our food (even BPA-free plastic), are porous (absorbing colors and odors), not always recyclable, and many aren’t safe for dishwashers, microwaves, etc.
In comparison, glass containers are non-porous, won’t warp, melt, or be otherwise ruined from your dishwasher, and are usually microwave friendly. I now exclusively use glass containers for storing leftovers at home. The only reason you may want some lightweight options comes down to things like lunch boxes and food storage on the go.
I think It’s important to mention that if you currently have a lot of plastic containers, there’s no need to suddenly chuck them all out. Use them until they warp/need to be thrown away, slowly replacing them with glass containers and other more environmentally-friendly containers.
How to use: Replace your plastic containers with these glass ones. Perfect for meal prep, freezing leftovers, and these smoothie packs.
My recommendation: Glass Food Storage Containers with Lids
11. Glass Jars
Although similar to the glass containers above, I think it’s worth mentioning glass jars in a separate section. Jars are so versatile too. I often make a single-serving smoothie in a large mason jar or prepare my chia pudding and overnight oats in cute little jars. I also have started making canning recipes recently (water-bath canning) and of course, jars are needed for that too.
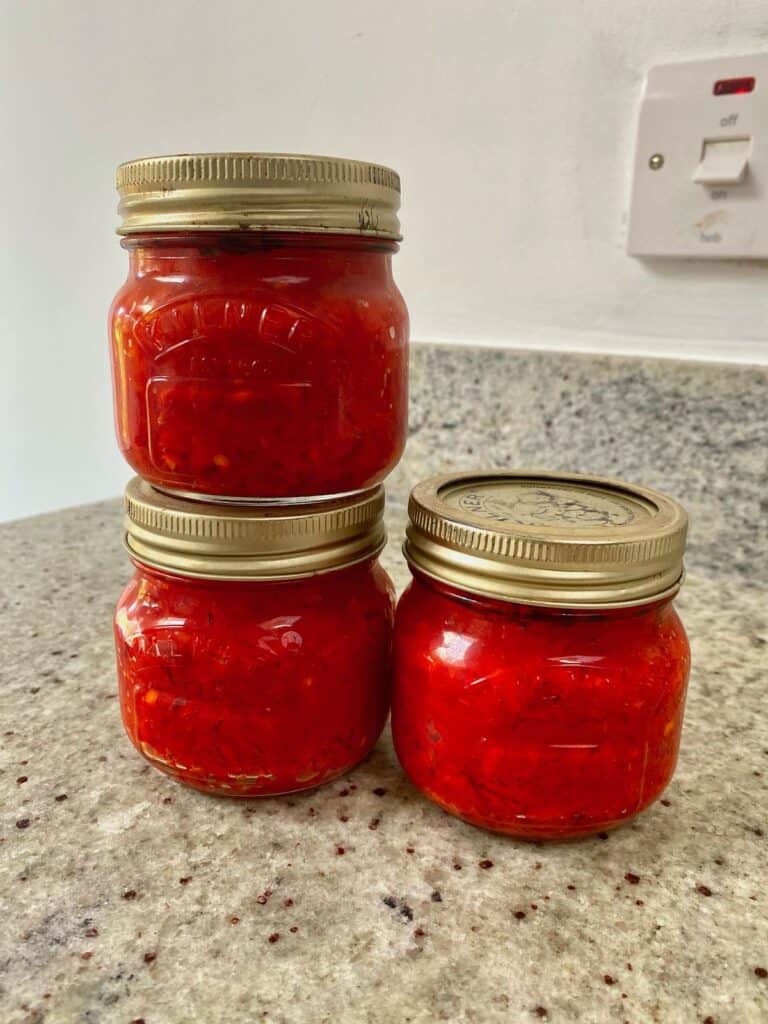
Having a few jars of different sizes is a must in every kitchen. The best part is that sometimes you don’t even have to buy them separately. Every bought a jar of pickles from a store? Keep that jar and reuse it at home.
How to use: make cucumber pickles, make healthy smoothies, use for water bath canning.
My recommendation: I use some glass jars with clamp seals (for pickles), mini tulip jars ( great for overnight oats), and Mason jars (for canning).
12. Garlic Press and Grater
Okay, technically, this is two kitchen tools – but as they’re super linked, it makes sense to discuss them together. A garlic press and garlic grater are invaluable kitchen tools for perfectly minced garlic every single time for any garlic lovers out there. More so, it’s more than just garlic that you can use them for. I quite often use my grater and press to mince and juice ginger too!
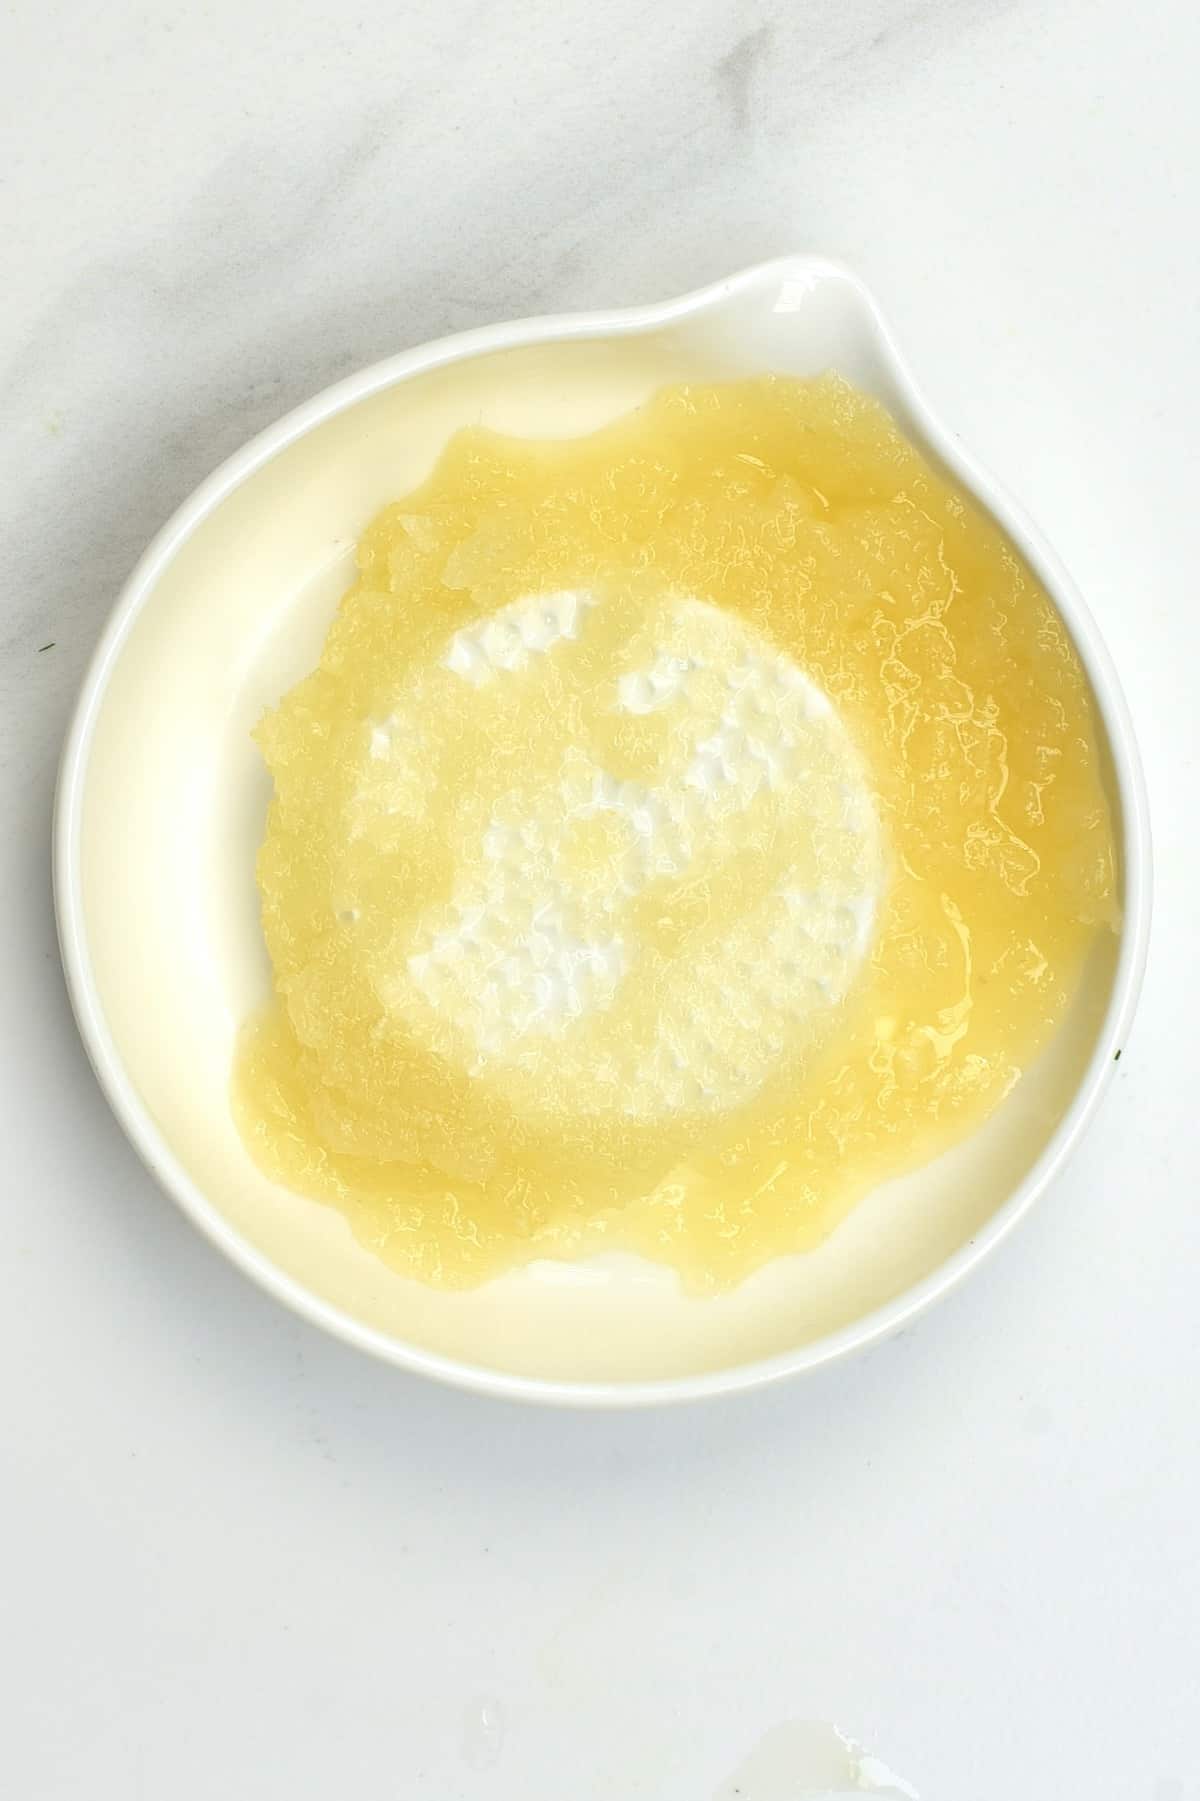
Best of all, both tools are low-budget (often around $10) and don’t take up much space at all in the kitchen. For someone who uses garlic multiple times a week, my garlic grater is something I use a lot, and it’s one of those kitchen tools that makes life easier – precisely what they’re there for! You don’t even have to peel the garlic before pressing it!
How to use: for garlic and ginger, but also to juice ginger.
My recommendation: Ceramic Grater Plate and Handled Garlic Press.
13. Digital Food Scales and Measuring Cups
As a food blogger, I probably shouldn’t admit that I like to make things up as I go along in the kitchen and weighing wasn’t always my thing. However, as I’ve become more into baking – a digital food scale has become necessary. They’re sleek and slim – perfect for sliding into a corner of the cupboard and perfect for making sure you’re using the correct amounts in recipes as well as tracking macros (if you’re into that sort of thing!). For those times when a scale isn’t needed, then measuring cups certainly are!
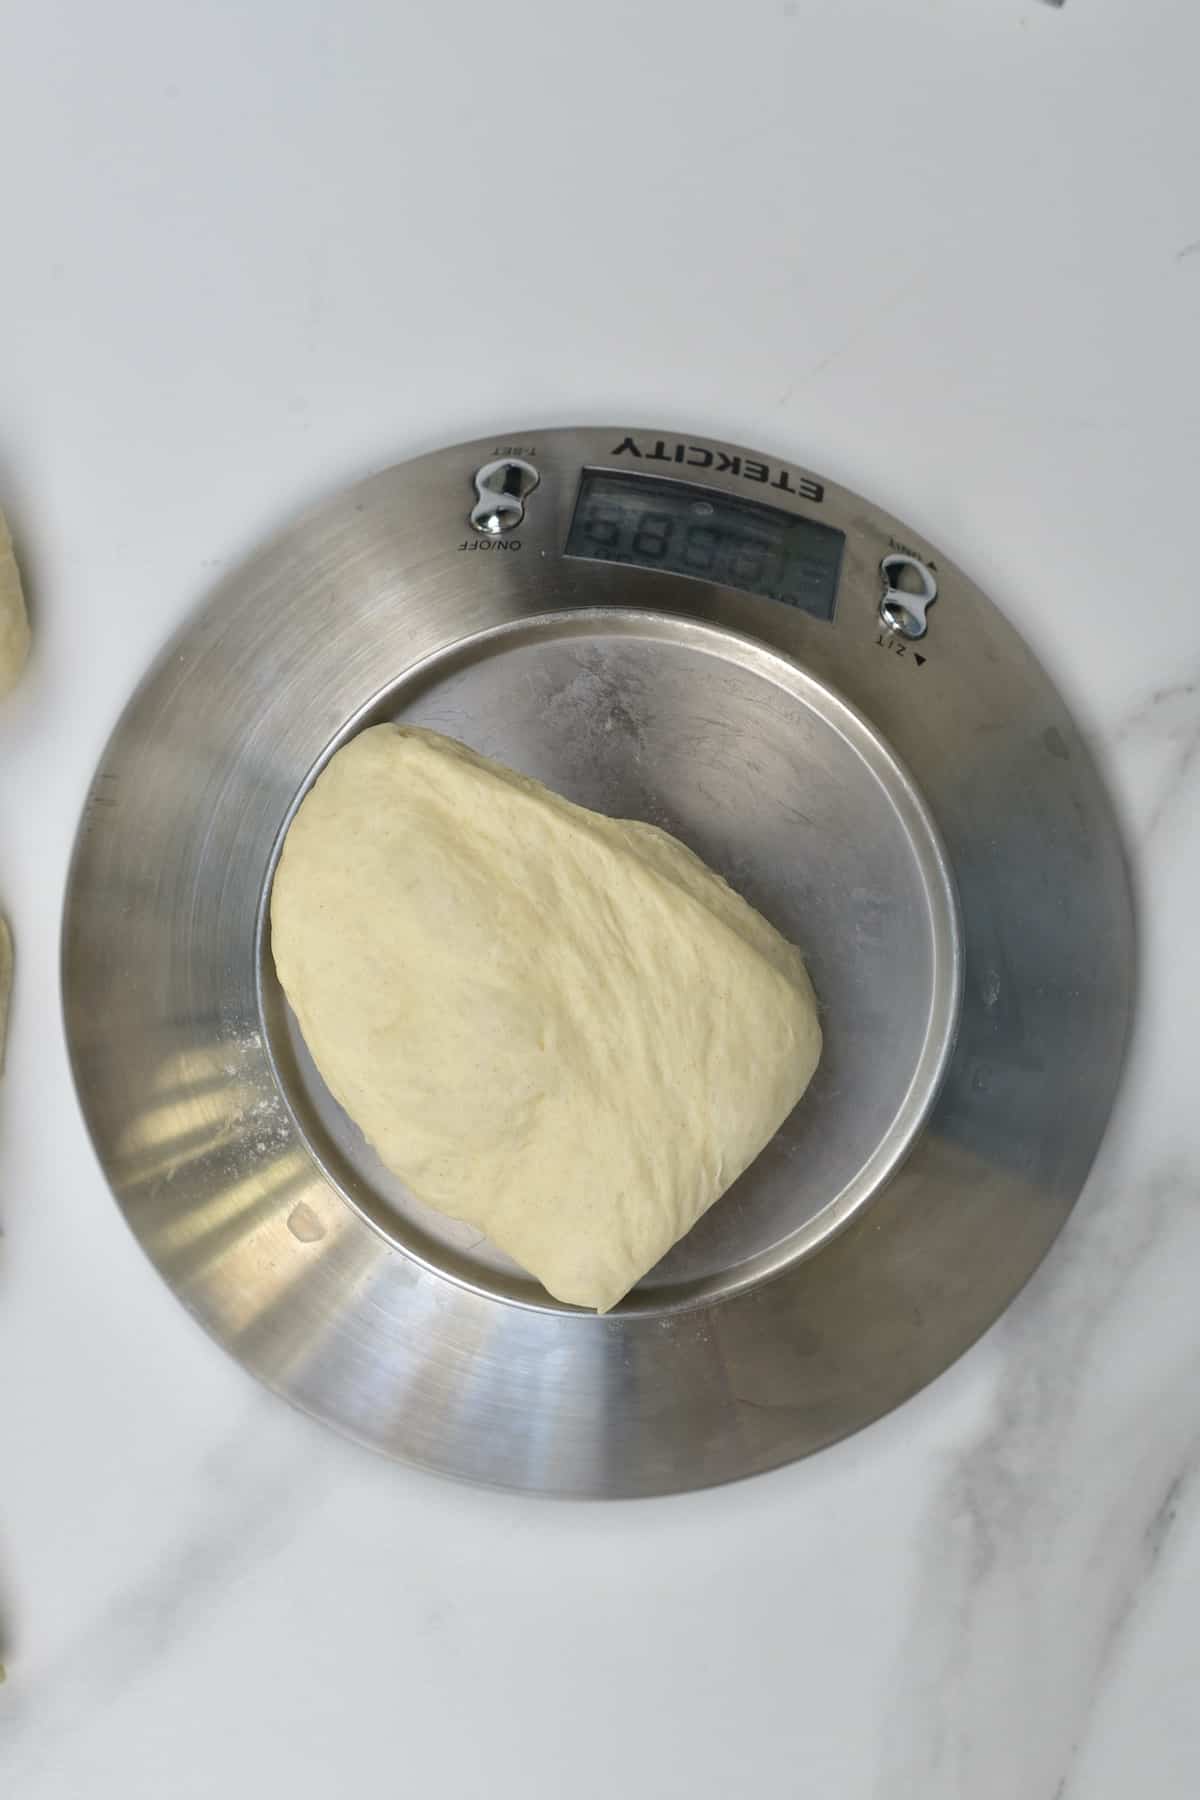
My recommendation: Etekcity Food Scale and a set of measuring cups and spoons.
14. Nut Milk Bags/ Cheesecloth
I use nut milk bags at least weekly. For example, I used it to help manually squeeze juice from cucumber for tzatziki, to drain yogurt, labneh, and cheese. I prefer them to layers of cheesecloth (which is harder to clean). You can buy multi-packs and save certain ones for certain ingredients (for example, I keep one for highly staining ingredients like beets/turmeric, etc.).
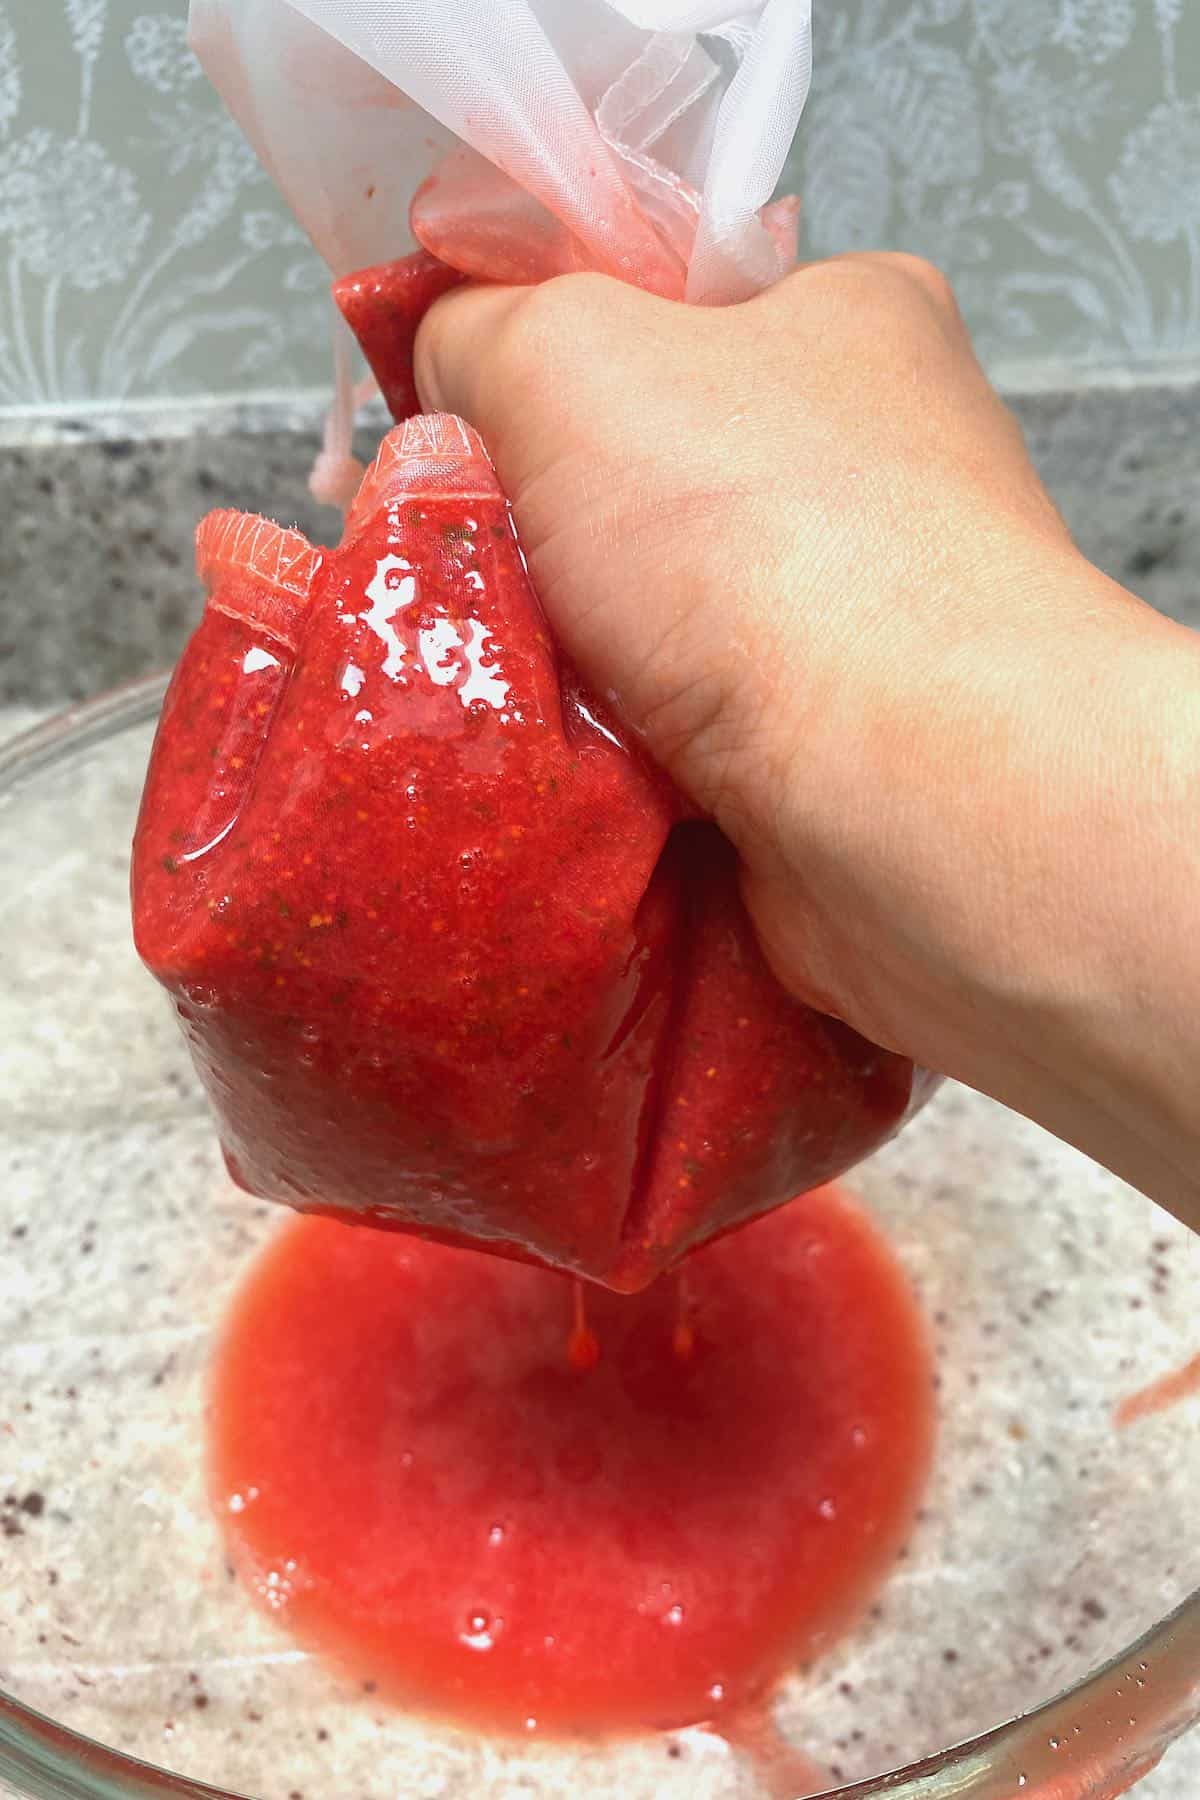
How to use: nut and seed milk, labneh, ricotta, ginger juice, tzatziki, etc.
My recommendation: Nut milk bag and/or Cheese Cloth.
15. Freeze Dryer
OK, I know this sounds weird but recently I’ve completely fallen in love with my freeze dryer. I can’t say it’s a must for everyone! It takes quite a bit of space and might be a bit pricey. However, if you are someone who preserves a lot of food (maybe you live on a farm?) or someone who prepares a lot of healthy snacks and trail mix (maybe you are running the local boy and girl scout groups?), then I highly recommend it.
I’ve been using mine since the beginning of the summer and I am loving everything I make with it. The best part is that I am yet to run out of ideas for recipes and foods I can freeze dry.
My recommendation: HarvestRight Home Freeze Dryer.

Other Kitchen Tools and Gadgets That I Use a Lot
Air Fryer: this is new to my collection and something I’m still experimenting with. An Air-fryer is just a mini convection oven. The small size means the hot air can rapidly circulate the small space, so food is cooked quicker and more evenly than most larger ovens, with crispier results. However, if you’re feeding an entire family, it’s hard to find one with enough space while maintaining the “single-layer” rule in the pod-shaped air fryers. Plus, they’re pretty bulky and take up lots of space – so this is one of those kitchen gadgets that will only make sense if you plan to use it frequently.
The other two devices that are new to my collection but I am using more and more often are Instant Pot and Zojirushi Rice Cooker. I am in the process of testing all my rice recipes with the rice cooker but, so far, the results have been impeccable. Plus, it keeps your food warm too!
Vegetable chopper: I have been enjoying this vegetable chopper a lot recently. It’s not a must-have but it definitely speeds up the chopping of veggies. I like that it has different attachments like large and small dice blades – they are great when you want to make a quick salad or prep the ingredients for a soup.
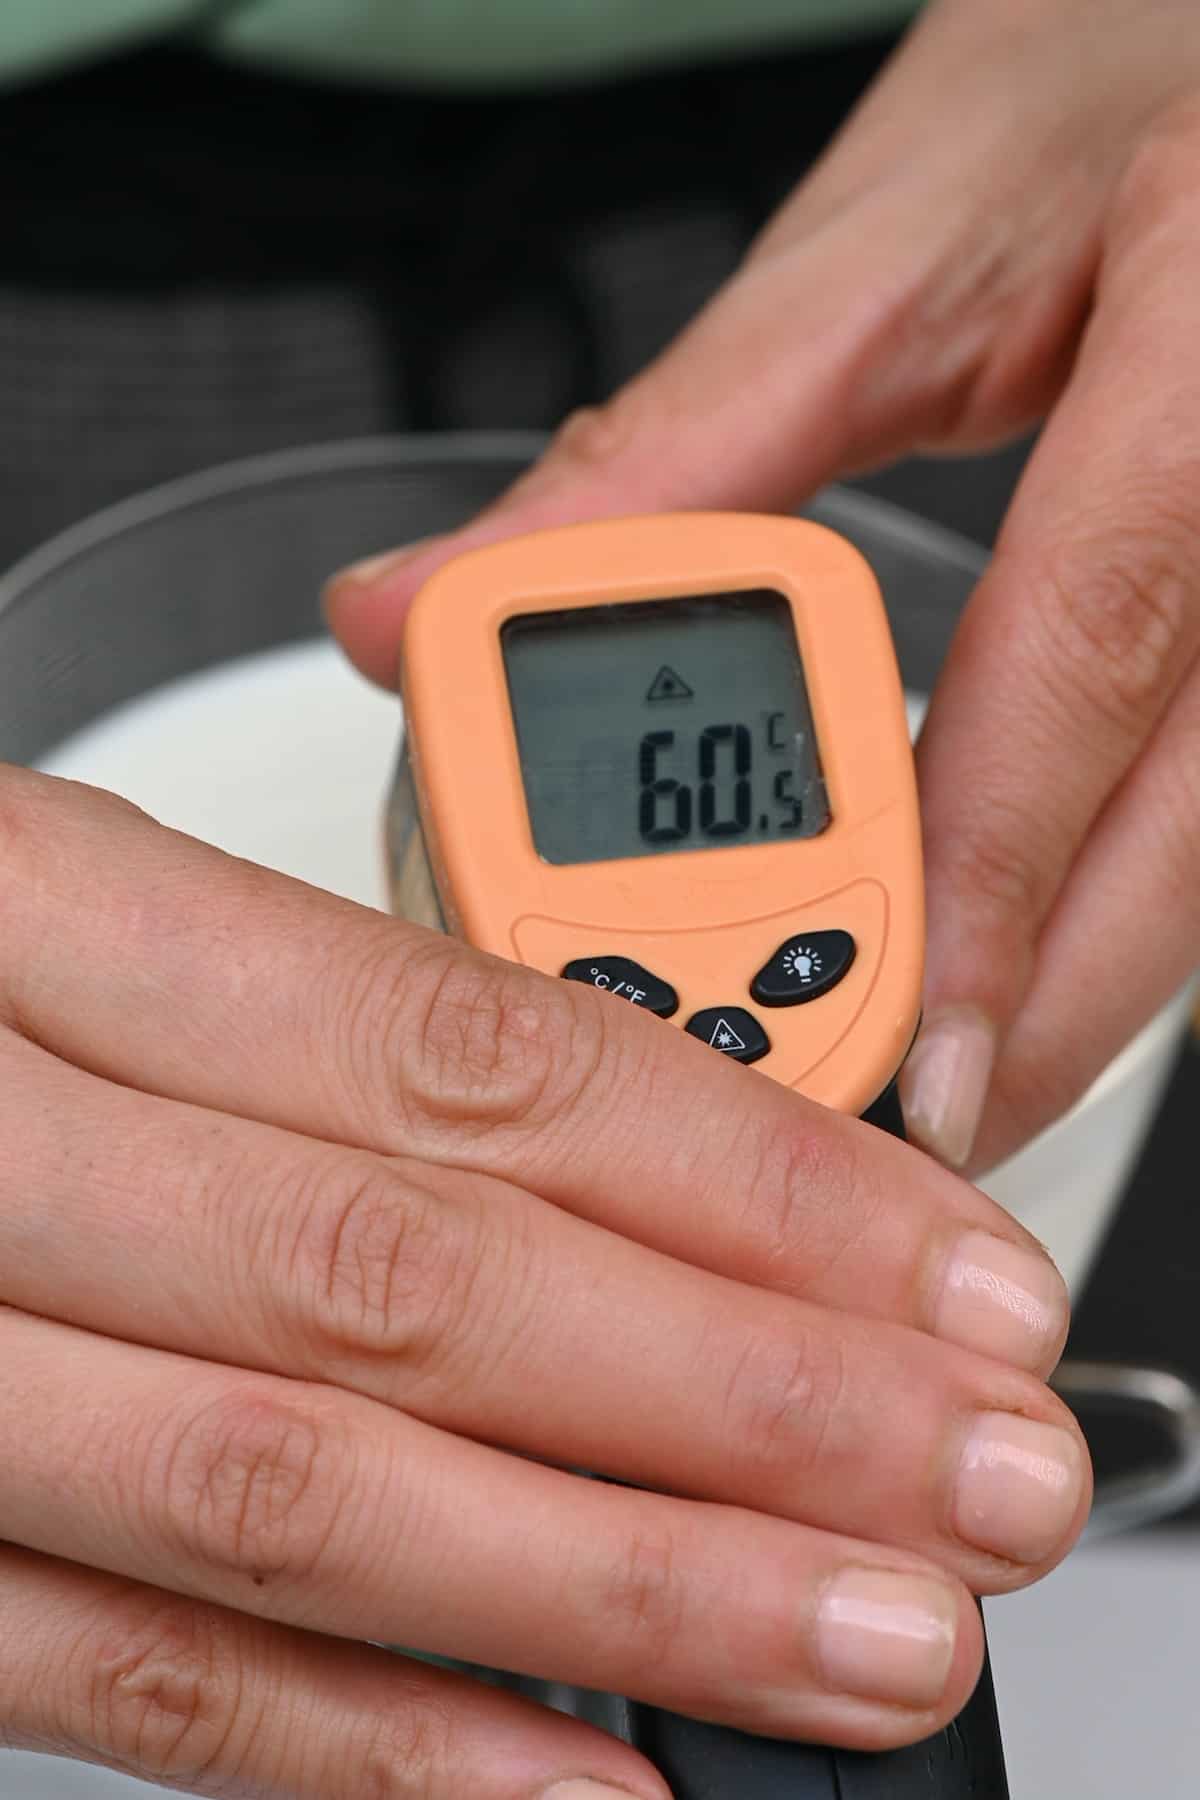
Food thermometer (temp spatula/spoon): For someone who makes their cheese, homemade yogurt, chocolate, etc., a food thermometer is necessary. I have several types in my kitchen, including an instant-read thermometer spatula (great for chocolate and candy making) and an infrared thermometer (to test temperatures from a distance). I don’t find it necessary to have an electric probe/meat thermometer as I don’t cook a lot of meat.
Ice cream scoops/mini scoops: ice cream scoops aren’t just for ice cream; you can use these to measure out baked falafel, cookies, and even mashed potatoes. Plus, mini scoops can be used for melons and other fruits – perfect for fruit salads and decorating tarts and desserts!
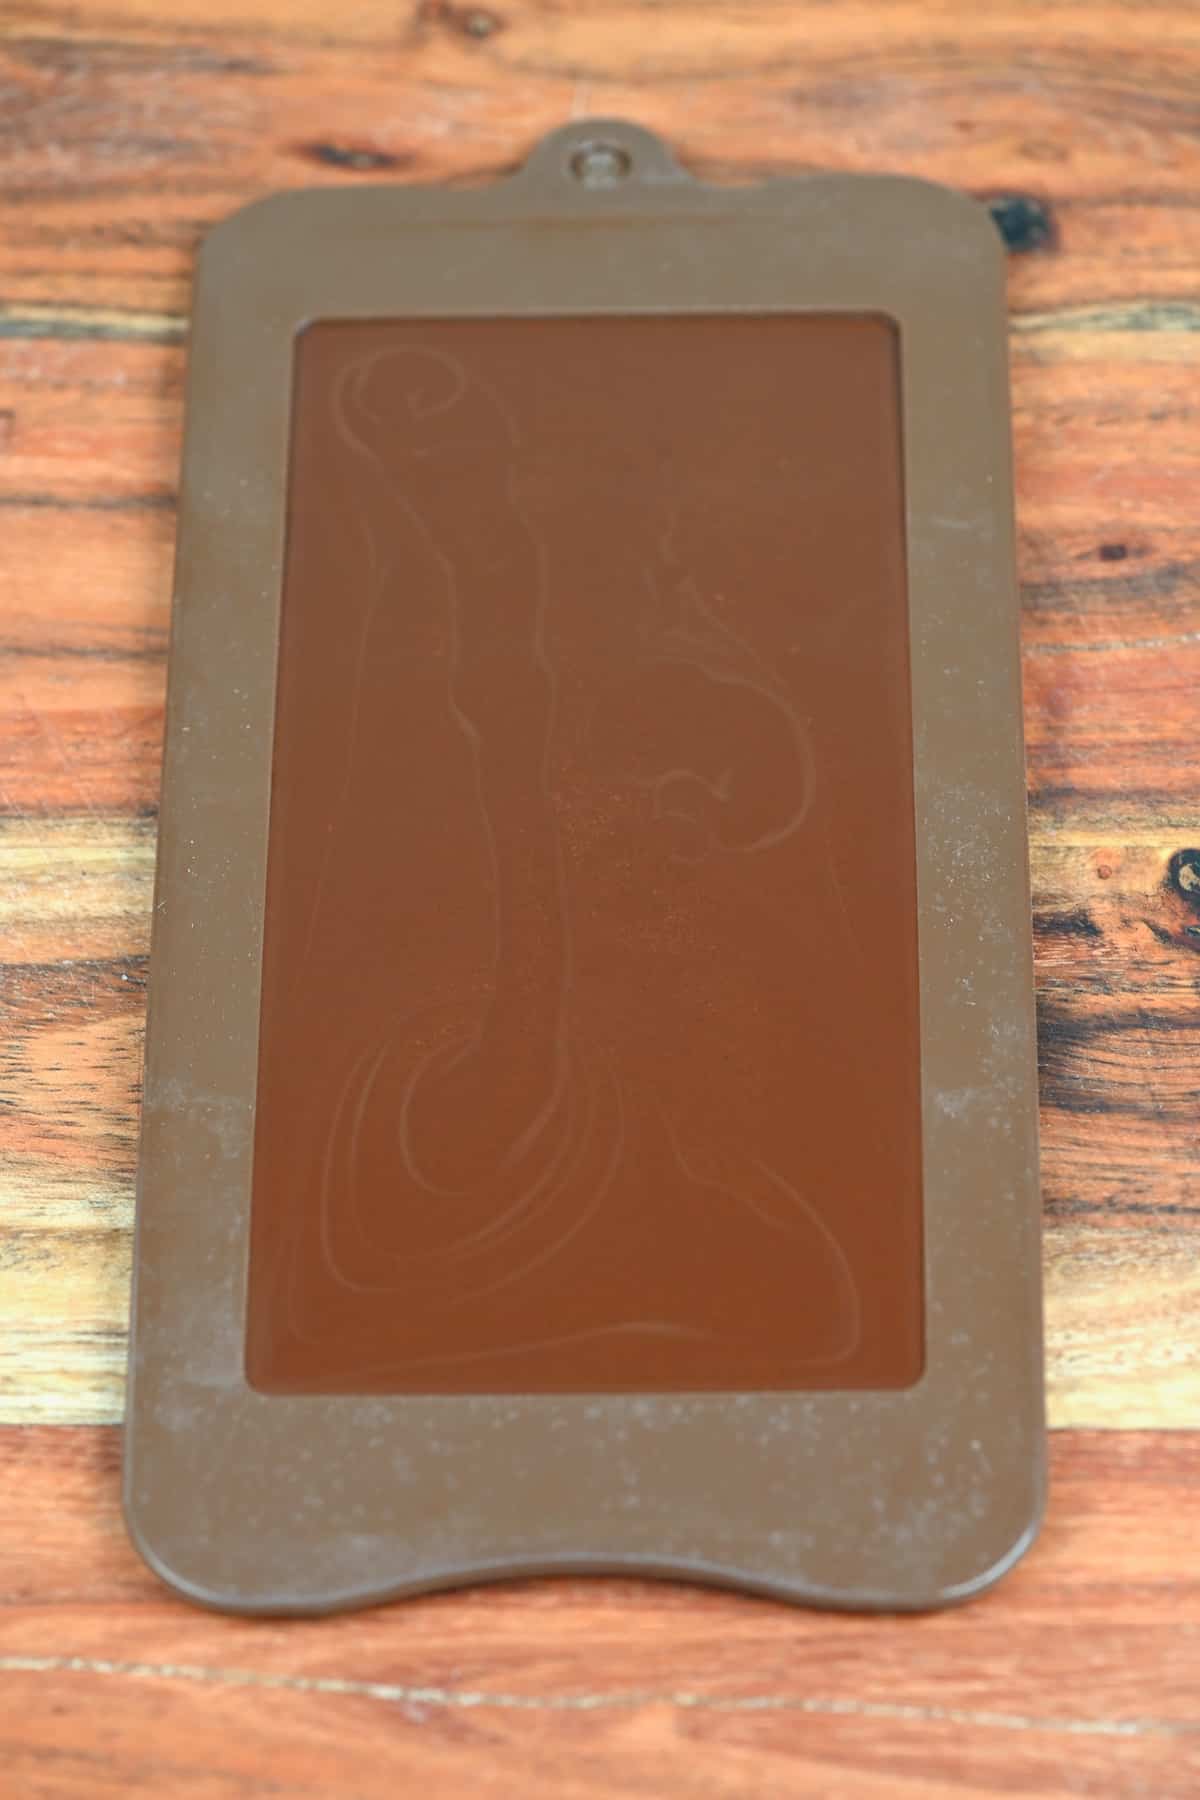
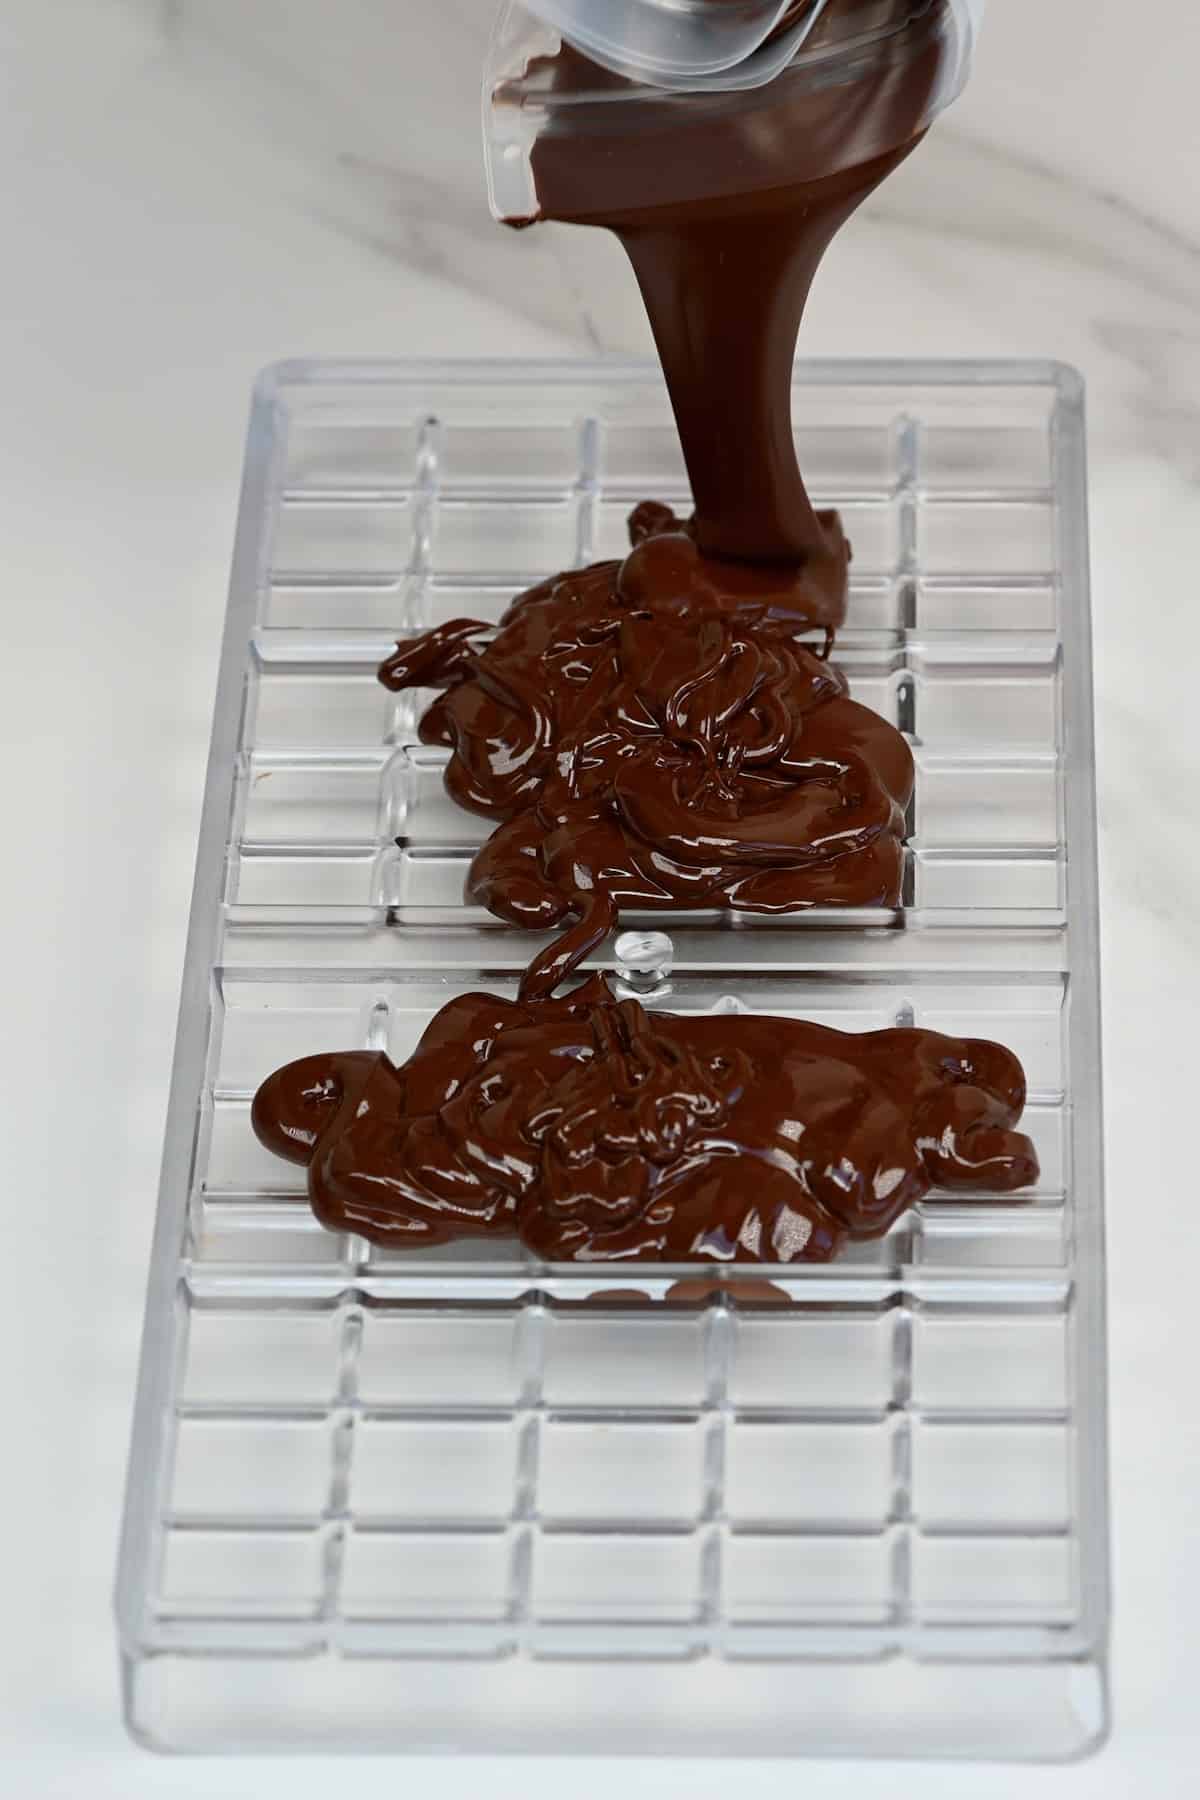
Silicone and Polycarbonate Molds: whether you’re interested in chocolate making, cakes, etc., silicone molds are perfect for decorations and baking without the worry of sticking – like with homemade dark chocolate, homemade milk chocolate, and homemade white chocolate. They don’t take up much space at all and are relatively inexpensive. For any more serious chocolate-makers, polycarbonate molds are a must for shiny, tempered chocolate.
My most-used silicone molds are probably ice-cube trays in different sizes, perfect for portioning leftover juice, pulp, etc. Then, you transfer to a silicone bag – you never have to struggle to release anything from an ice-cube tray again!

Milk Frother wand: if you don’t own a fancy coffee maker with a frothing function but you enjoy lattes like a dalgona latte, matcha latte, etc., then a hand-held milk frother is a great little tool to have. It’s super inexpensive and doesn’t take up much space in your cutlery drawer. Plus, it can also be used to whip cream, eggs, mix in protein powder to drinks, etc.
Small Glass Vials: These small bottles are perfect for storing individual juice portions like lemon, ginger, cayenne blends, wheatgrass mixes, or turmeric-ginger shots.
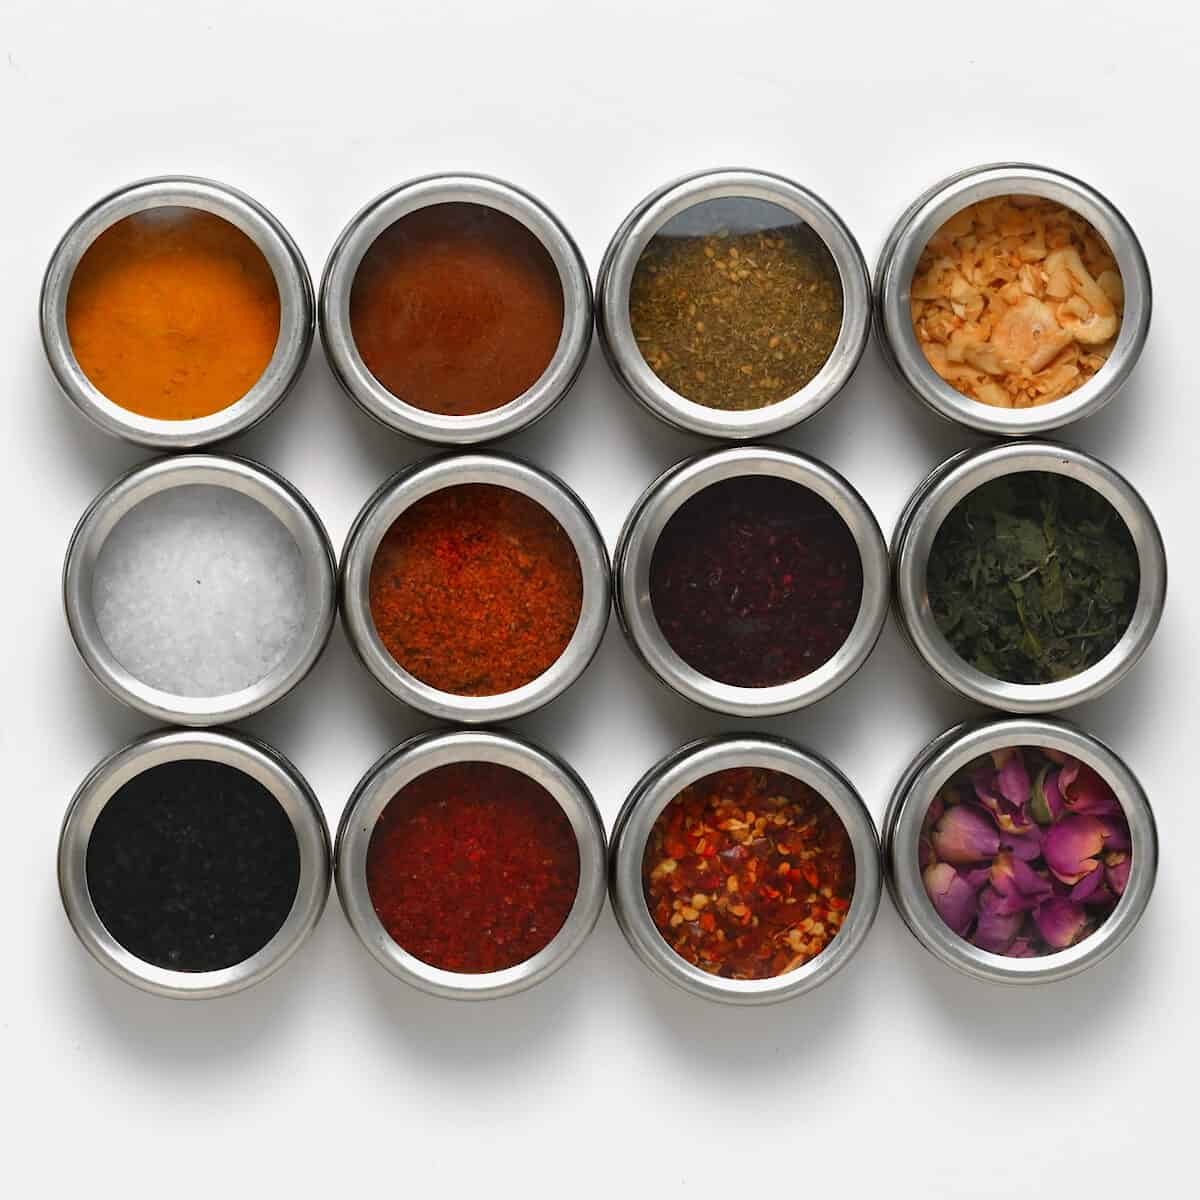
Magnetic Spice Tins: these are amazing because their magnetic bottoms allow them to be easily stuck on the fridge – so no need to store them in your drawers or cupboards. The glass lids allow you to see what’s inside (unless you are very organized and label them all) and you have two different types of shakers. Plus, these magnetic spice tins are great not just for spices!
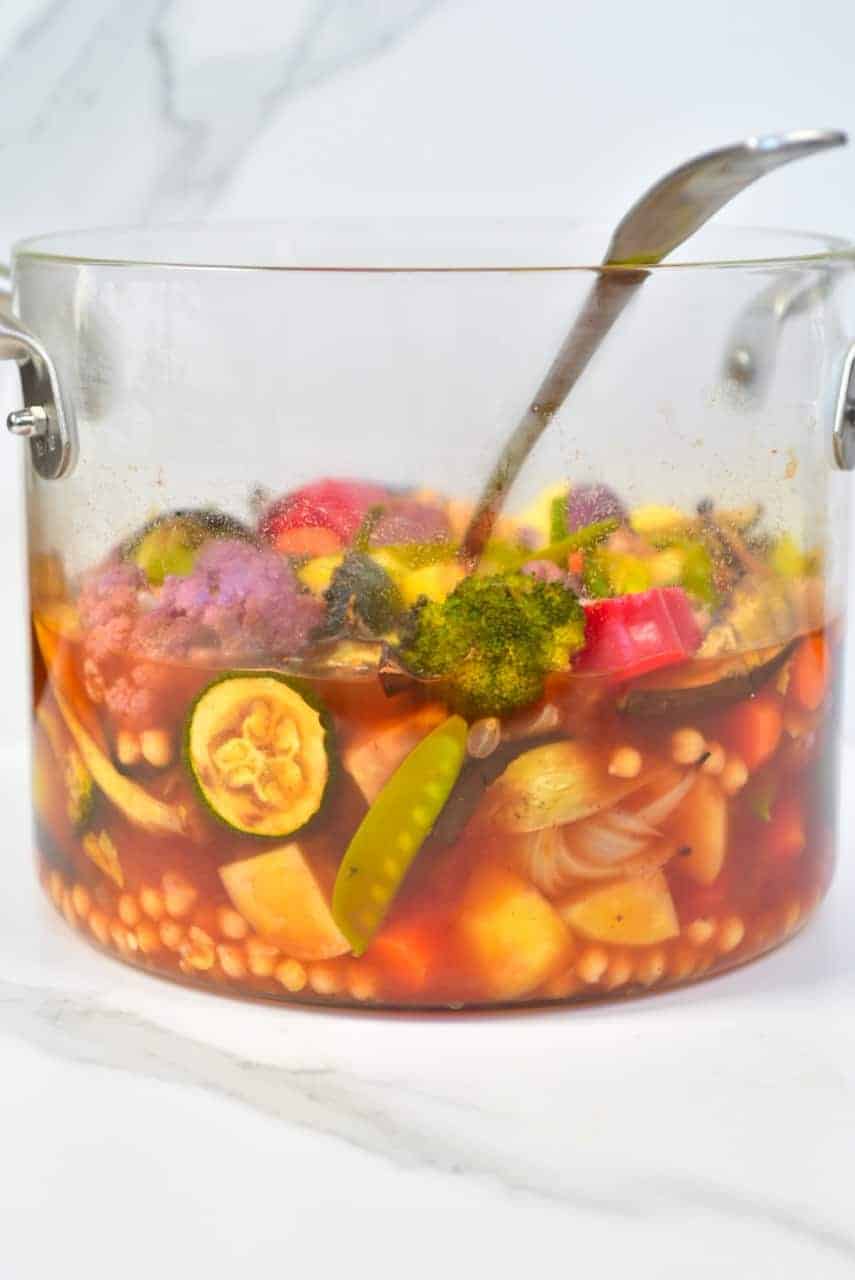
Glass stovetop pot: I wasn’t going to mention this on this list – except I keep getting questions about it. I bought this glass pot specifically for work with a client to see the interior of the pot ingredients while cooking on the stove. Yes, it looks cool, and I’ve ended up using it as a food blogger in my photos quite a bit since (for that very reason). However, every time I use it, I’m terrified it’s going to break into a million pieces. It’s not a necessary tool – a large non-stick pot is much higher up on my list of must-haves! This kind of kitchen tool is style over substance.
Kitchen gadgets you don’t need
Okay, I know this entire post is subjective. But here are a few tools that I’ve decided not to buy.
Bread maker: I’m making a lot of bread and dough now, so, technically, a bread maker could be a potentially good purchase. However, I’ve found it unnecessary. I can use a stand mixer or food processor for kneading the dough, and I like my bread to be different shapes/sizes, so it’s just not necessary for me. I’d recommend one if you like to make all your bread loaves weekly and want lots of effort removed from the equation.
Ice-cream maker: once again, this is one of those tools used a few times a year by most people then forgotten about (if that!) – left to take up a ton of space. Instead of using an ice cream machine, just remove your mixture from the freezer every hour or so to mix it manually. It takes a little more effort, but I find it worth it for the extra kitchen space!
Yogurt Maker: you may have caught onto a theme here that most of my “unnecessary” kitchen tools/gadgets tend to be quite “niche” items. I’ve made tons of yogurt with no yogurt maker. You can, instead, use a heating pad or just find a warm place for incubation (I use my oven, switched off). Unless you plan to make big batches (mine are smaller) of yogurt regularly, I just don’t find this tool worth it.
Poffertjes pan/ waffle pan/ aebelskiver pan: yes, I have all three, and yes, you’d be correct in guessing that I’ve used them less than a handful of times in several years. All these tools take up a ton of space, are heavy, and are only helpful for those who plan on using them weekly. Otherwise, save your money and use a mini cupcake pan instead of the pancake pans and a grill pan instead of the waffle maker!
I also tend to avoid most “special cutters” like apple cutters, cherry pitters, etc. Instead, I just use a sharp knife!
A Few Final FAQs and Notes
I haven’t mentioned several tools that I use daily like knives, whisks, and cutting boards; as I’m aware, most kitchens already have these. Please let me know in the comments if you want to know more about these kinds of tools.
Wood vs. metal vs. silicone tools? I think this ultimately comes down to personal preference and what you’re making in the kitchen. For example, some recipes require non-reactive (no metal) and non-porous (no wood) tools, where silicone tools are best.
Blender vs. food processor and do we need both? I think the answer to this question very much comes down to who you are in the kitchen. It’s undeniable that some jobs simply can’t be done with only one or the other; usually when one won’t chop something as finely or can recreate the same texture.
A food processor is a great tool for chopping, shredding, slicing, pureeing, mixing, etc. Meanwhile, a blender is great for smoothies, nut milk, softer foods, soups, and drinks. However, it’s important to note that some food processors come with a blender attachment – though the speed and power of the machine will greatly dictate what it can handle (let’s be honest, making nut butter is not a task for a sub-parr machine!).
Useful Guides and Tutorials
- Guide to Fridge Organization, Ideas and Tips
- A Step-by-Step Guide to Water Bath Canning for Beginners
- How to Paint a Refrigerator (Low-budget Retro Refrigerator)
- DIY: Clean A Microwave With Lemon (Clean Microwave Hack)
What kitchen gadgets and tools can’t you live without, and how does your list differ from mine?! I’d love to know down in the comments!


